 tobychui
Features
- Basic Web Server
- Directory View
- Cookie based login system
- File Manager
- File Upload / Download (with multiple-file zip download support)
- File Open, Cut and Copy
- Support UTF-8 filename (32 bit length only, filename length depends on variable bytes used per char)
- File Searching Tool
- Much slower than Google Search (Is this even a feature?)
- System Information
- SD storage info
- WiFi info
- WebApps
- Music Player
- Photo Viewier
- Video Player
- Markdown Editor
- Notepad (Modified version of ACE Editor)
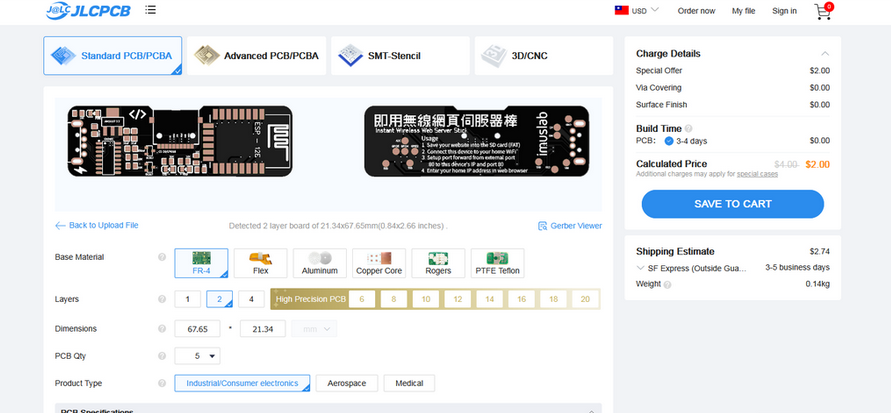
Usage
Hosting
- Format your micro SD card as FAT (Recommend using SD Card Formatter)
- Download and put everything under sd_card folder in this repo into your micro SD card
- Edit the files under /cfg/ to setup WiFi credentials (wifi.txt), management passwords (admin.txt) and optionally mDNS domain name (mdns.txt)
- Insert your SD card into the WebStick SD card slot
- Power on your WebStick by inserting it into your computer USB port (for debug / flash mode) or phone charger with USB A port.
- Access your WebStick using the device IP address (http://192.168.0.100/) or mDNS name (e.g. http://webstick.local)
Using your domain with WebStick
mDNS are local only domain names. If you want your viewer to be able to access your website from the public internet via your domain or your home public ip address, you will need to purchase a domain name, setup your DNS and / or your NAT router's port forward rules.
Build from Source
The following libraries are required for building the WebStick backend code (firmware to be used in ESP8266) using Arduino IDE. You can find the source code for the backend bare metal web-server in the /web-server folder.
Board Settings
Here are the recommended settings for best performance.
- Board: Wemos D1 R2 & Mini
- CPU clockspeed: 160Mhz
- IwIP Varient: v2 Higher Bandwidth
Require external library:
- - ESPAsyncTCP (https://github.com/me-no-dev/ESPAsyncTCP)
- - ESPAsyncWebServer (https://github.com/me-no-dev/ESPAsyncWebServer)
- - ArduinoJson (https://github.com/bblanchon/ArduinoJson)
Limitations
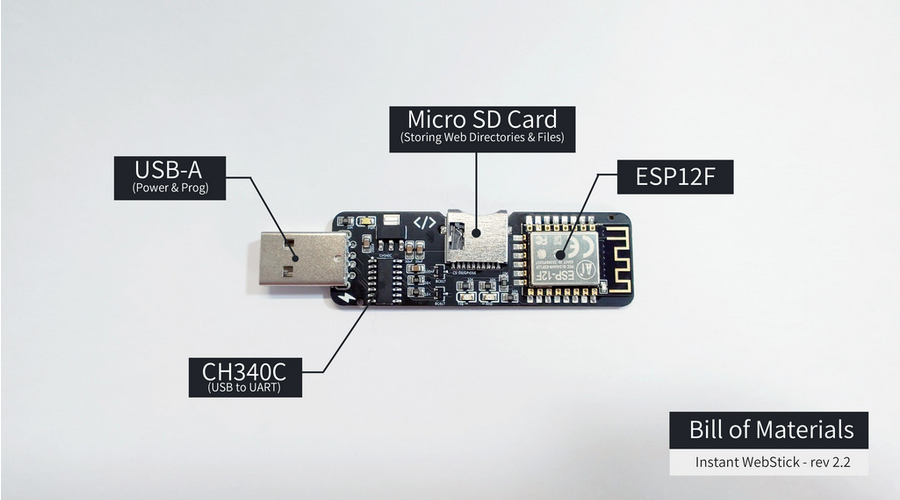
As you might have notice by now this system is hosted on a 1 USD MCU (ESP8266), even if web server is written in bare metal, it still have the following limitations
- Filename length (hardcoded to 32 bits per filename, might be shorter for UTF-8 as it use variable byte structure, but technically this is not the system limit)
- File size limit (recommend) <= 5MB, any file size larger than 5MB that is not stream-able (e.g. mp4) is not meaningful. Stream-able files can be larger than this size (e.g. webm) with acceptable playback speed.
- Slow Upload / Download speed (2 - 4Mbps), Very slow concurrent R/W speed (200 - 210 Kbps)
- Single admin session (cookie), due to limit in runtime memory (i.e. If you try to login from 2nd browser, the first browser will automatically logged out)
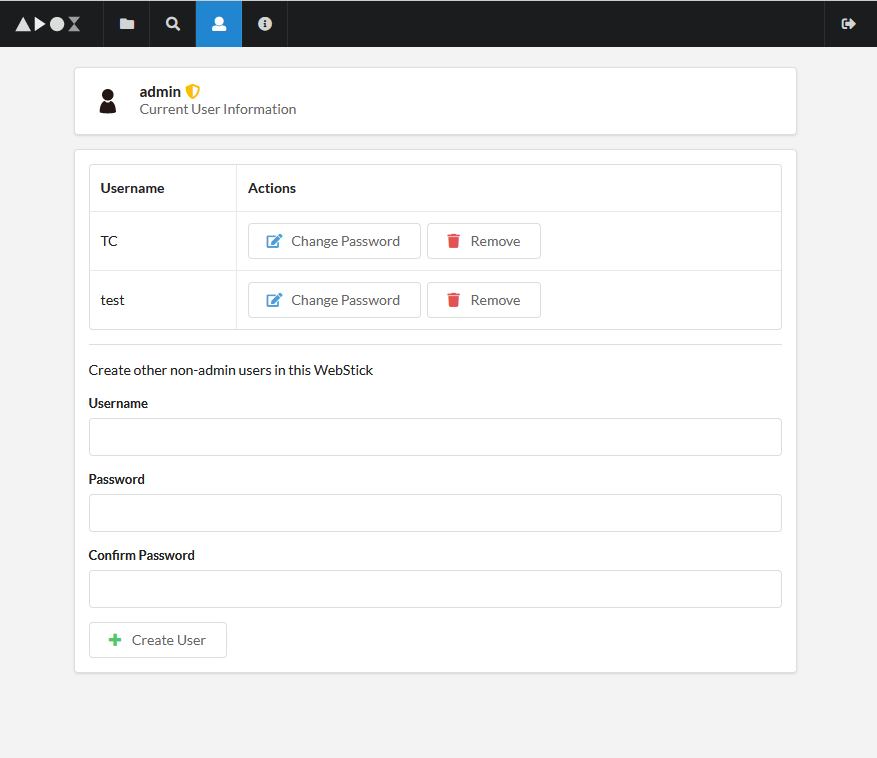 Though, this can mostly be done because of the external SD card that uses as the main storage for the WebSticks. Based on the previous implemented key-value database emulation module (which is file system under the hood), it is now possible to create user accounts to share files and documents on your websticks with other users.
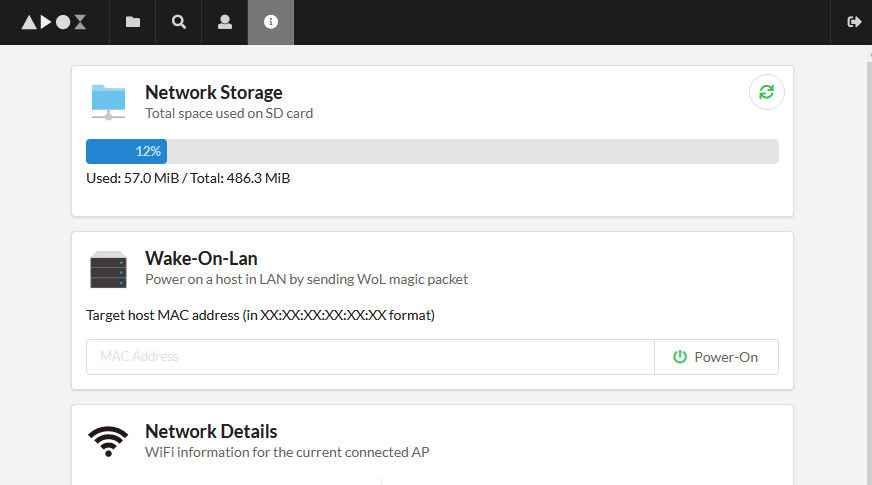
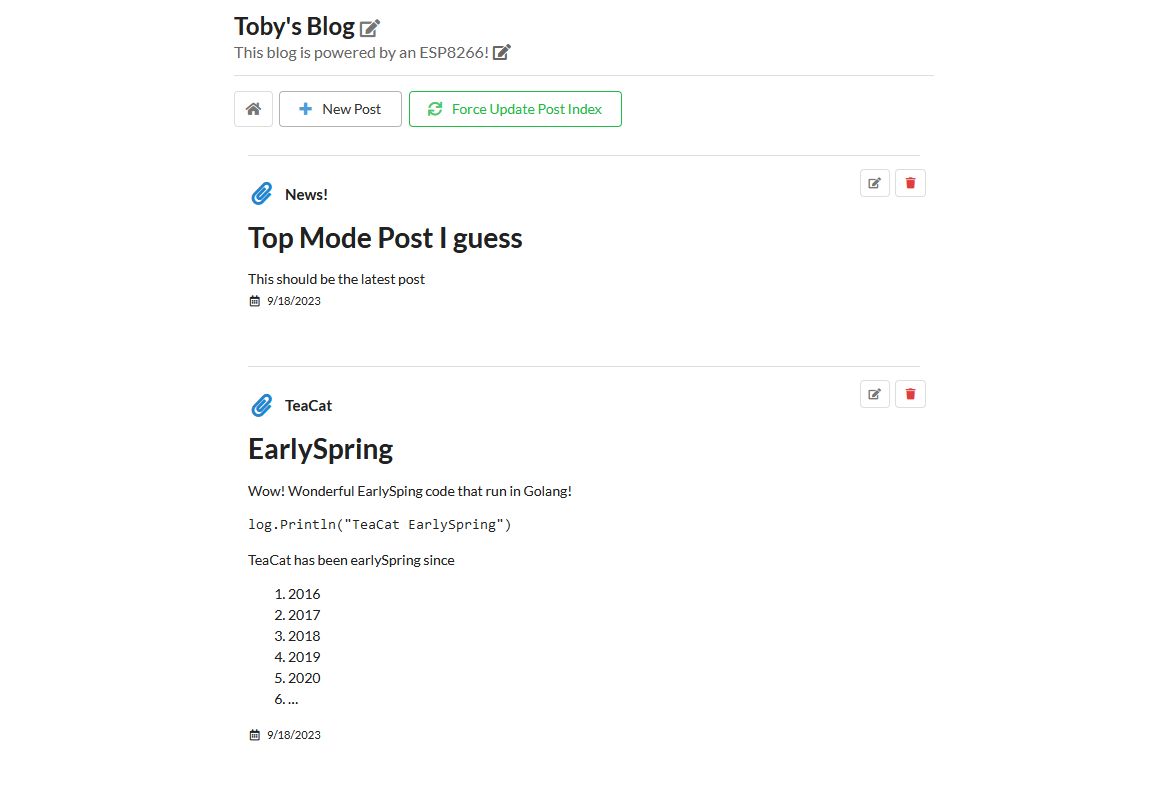 With the latest sd_card content, you can now write your own blog on your WebStick. To add a post, click the New Post button
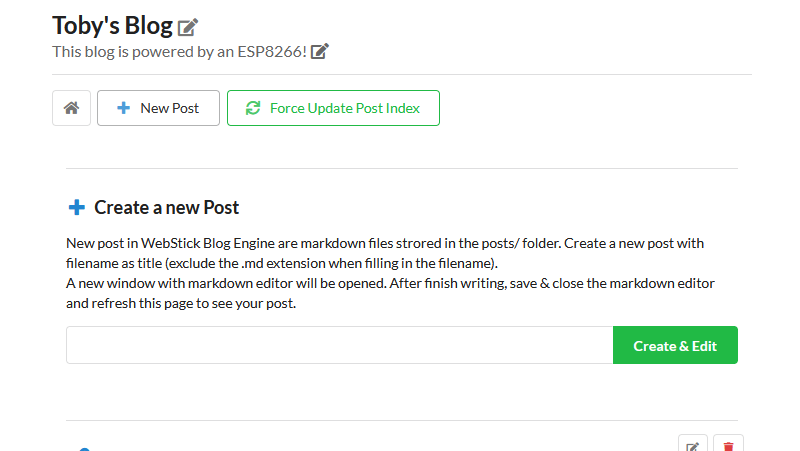 And you will be redirected to the markdown editor, where you can now write your blog post on your WebStick
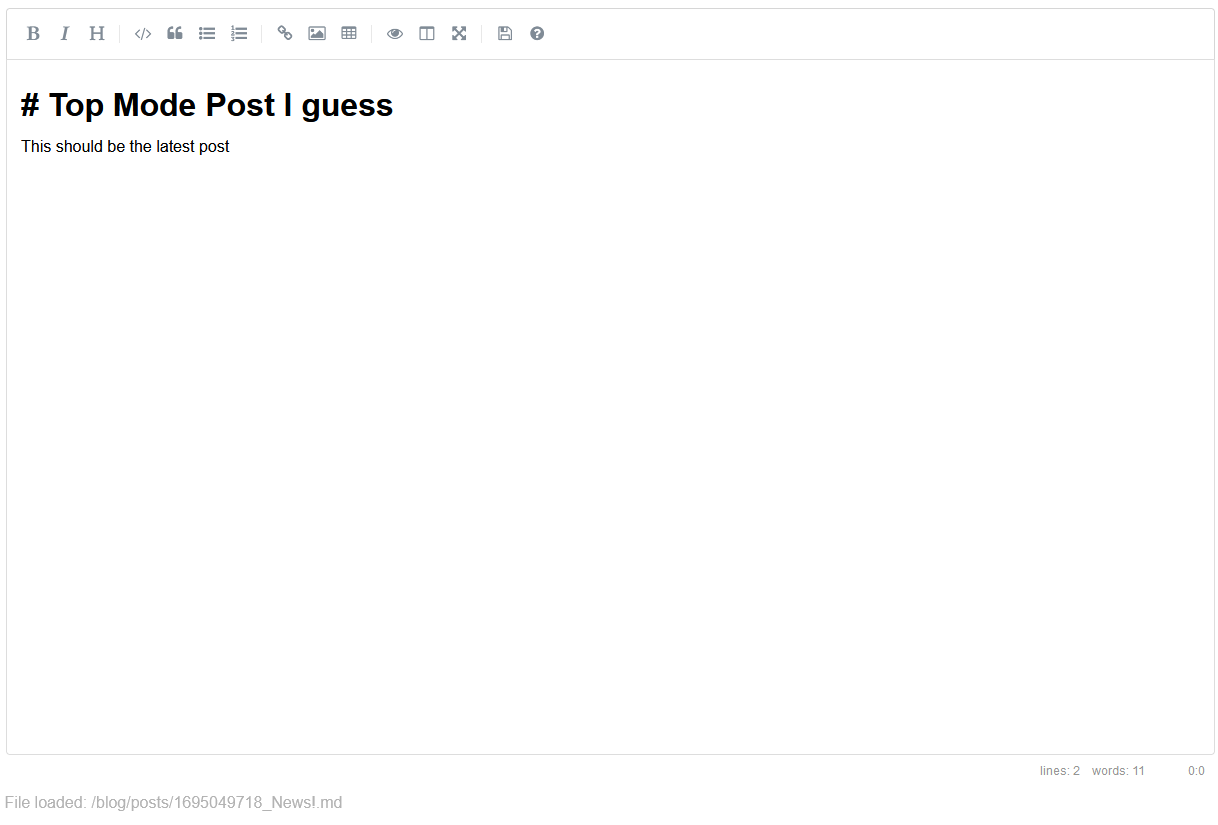 After you have finished writing, save it and back to the blog engine. Click the Force Update Posts Index or just refresh the page and you will see your post online!
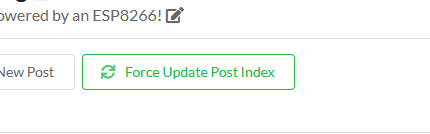 And of course, if you are not logged in as admin, you won't be able to change the post contents.
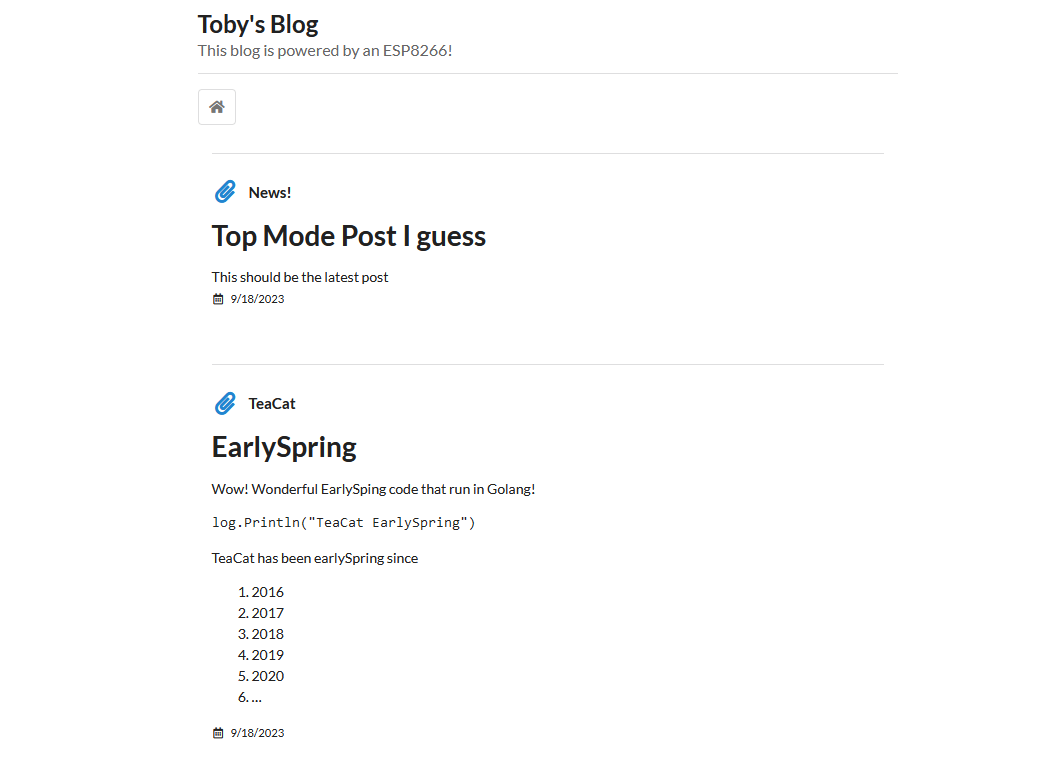


 Christoph Tack
 Enki
Enki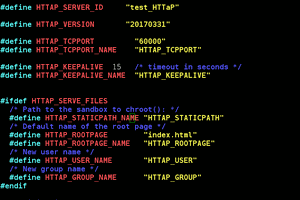
 Yann Guidon / YGDES
If I need to Change the Port from 80 to 81 as I already have something on 80 for PortForward what Change will I need to make ?