 Jan Bert
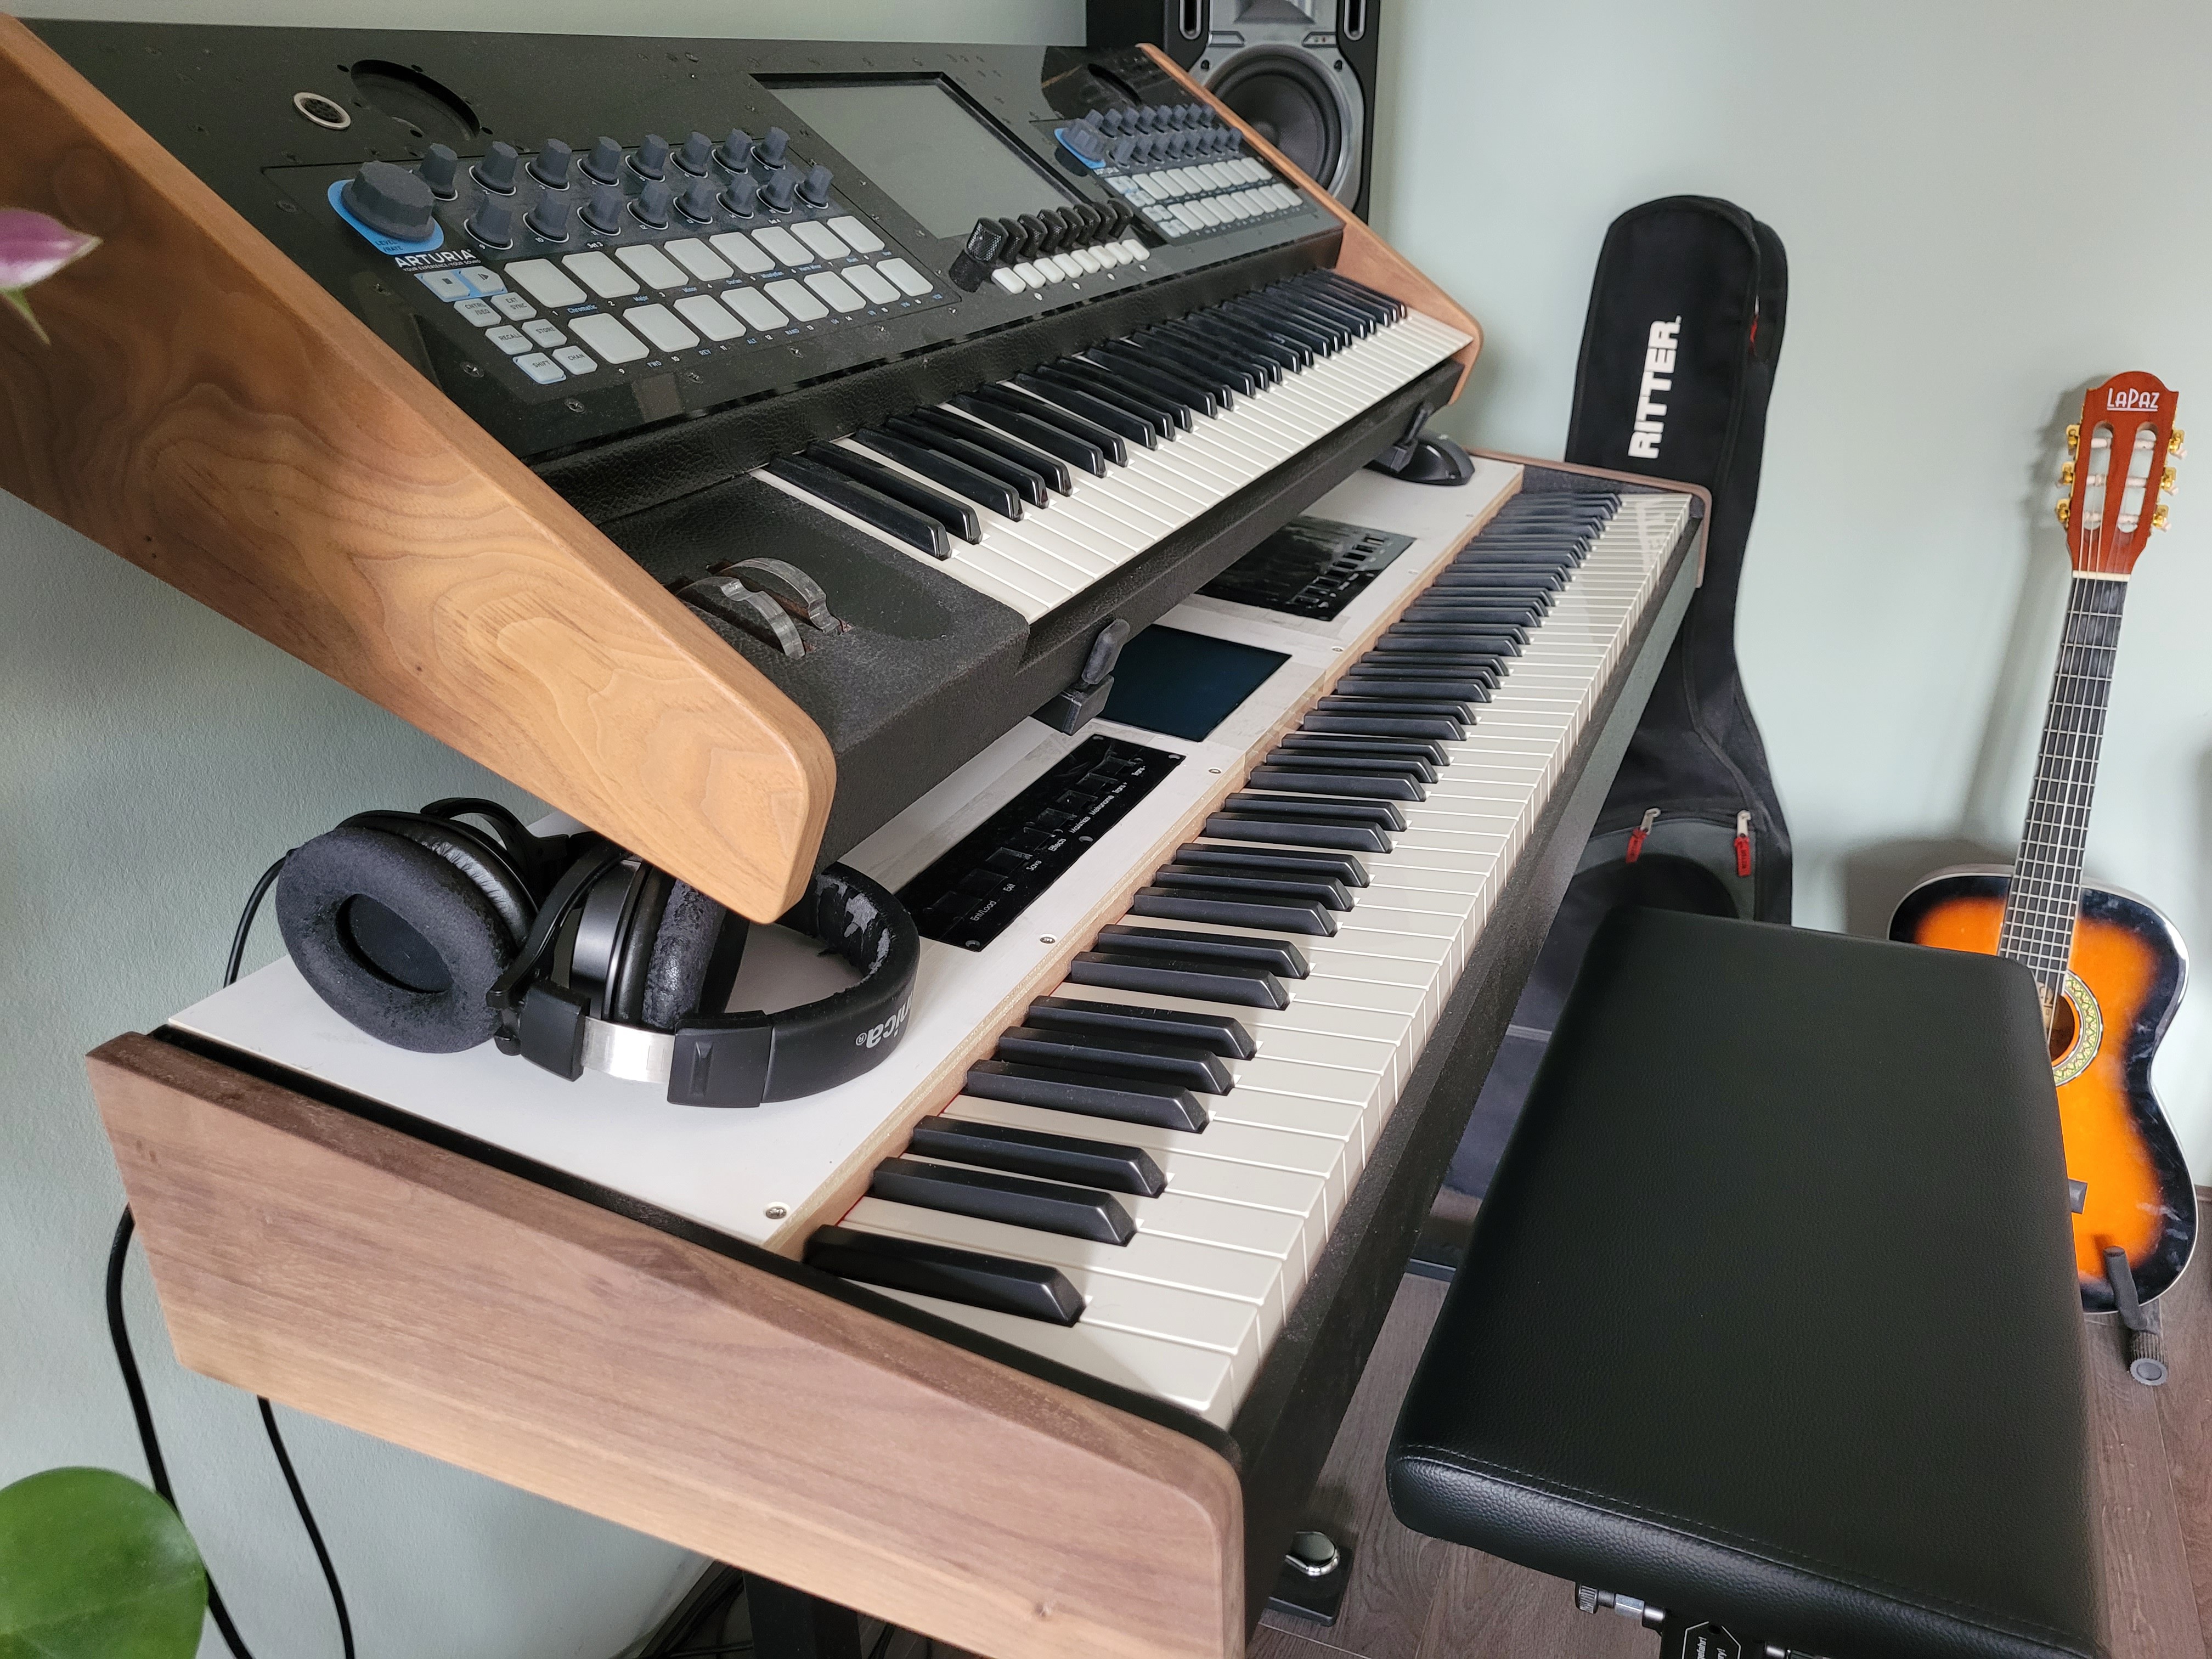
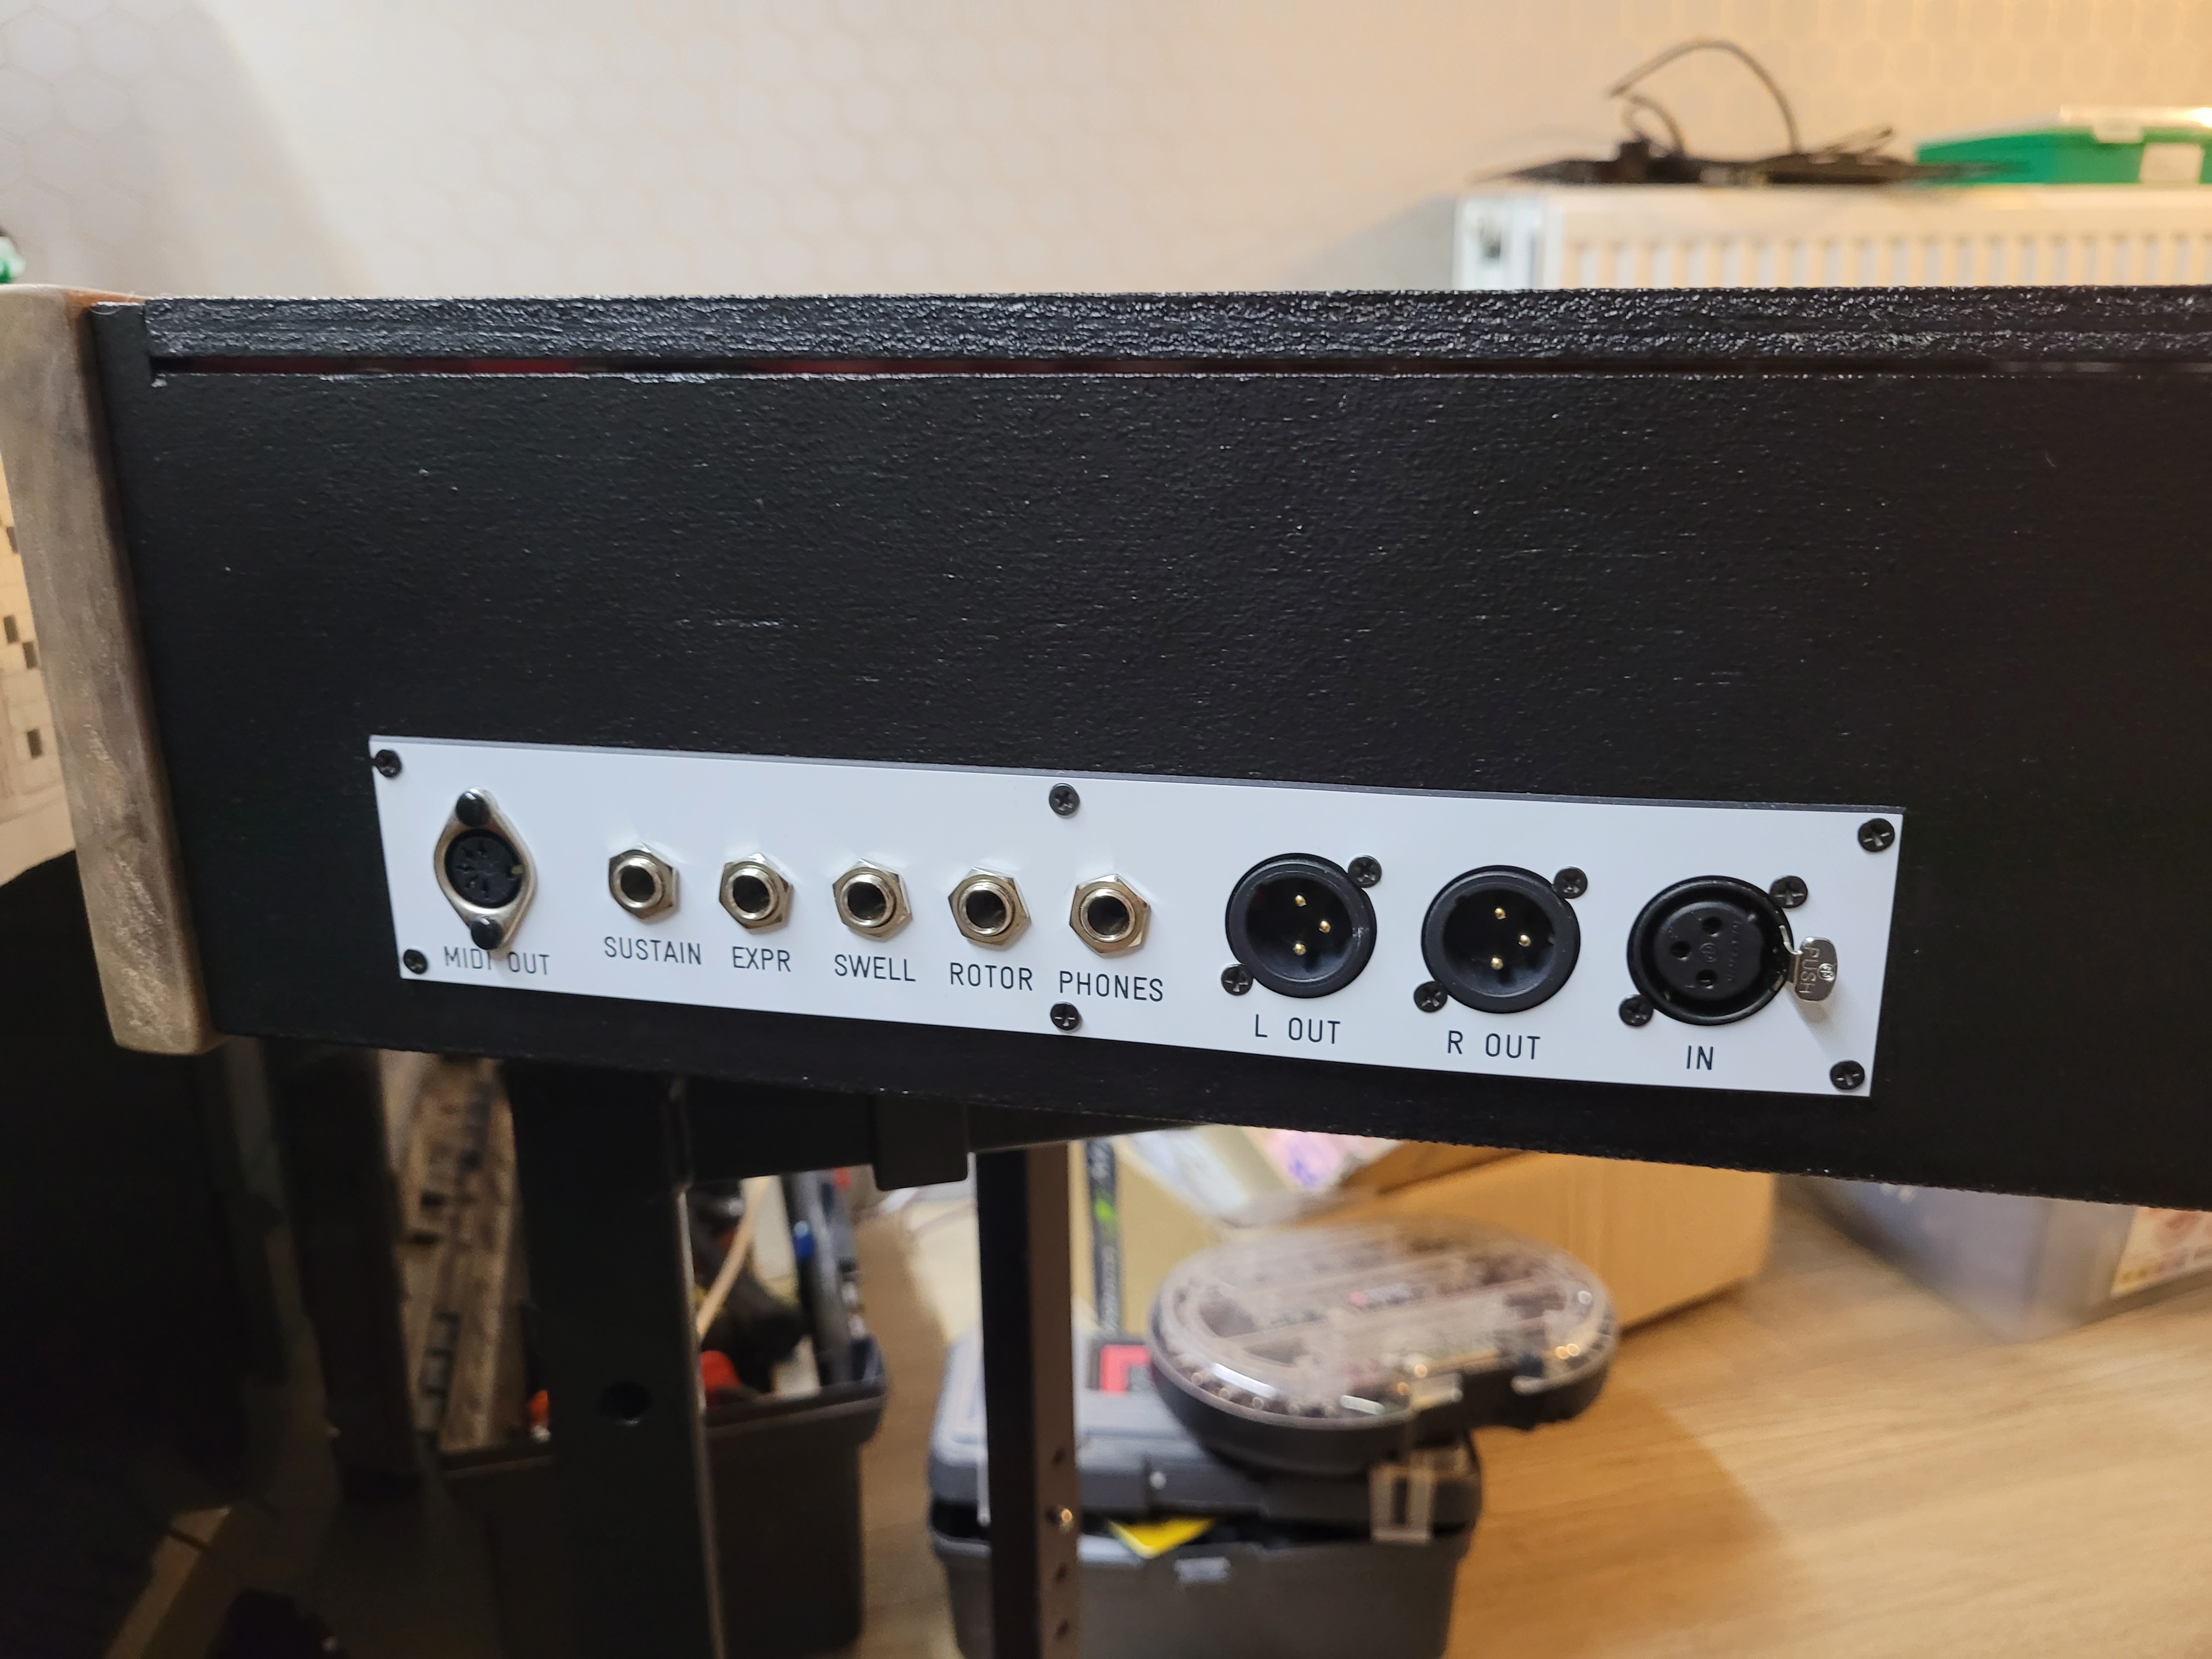
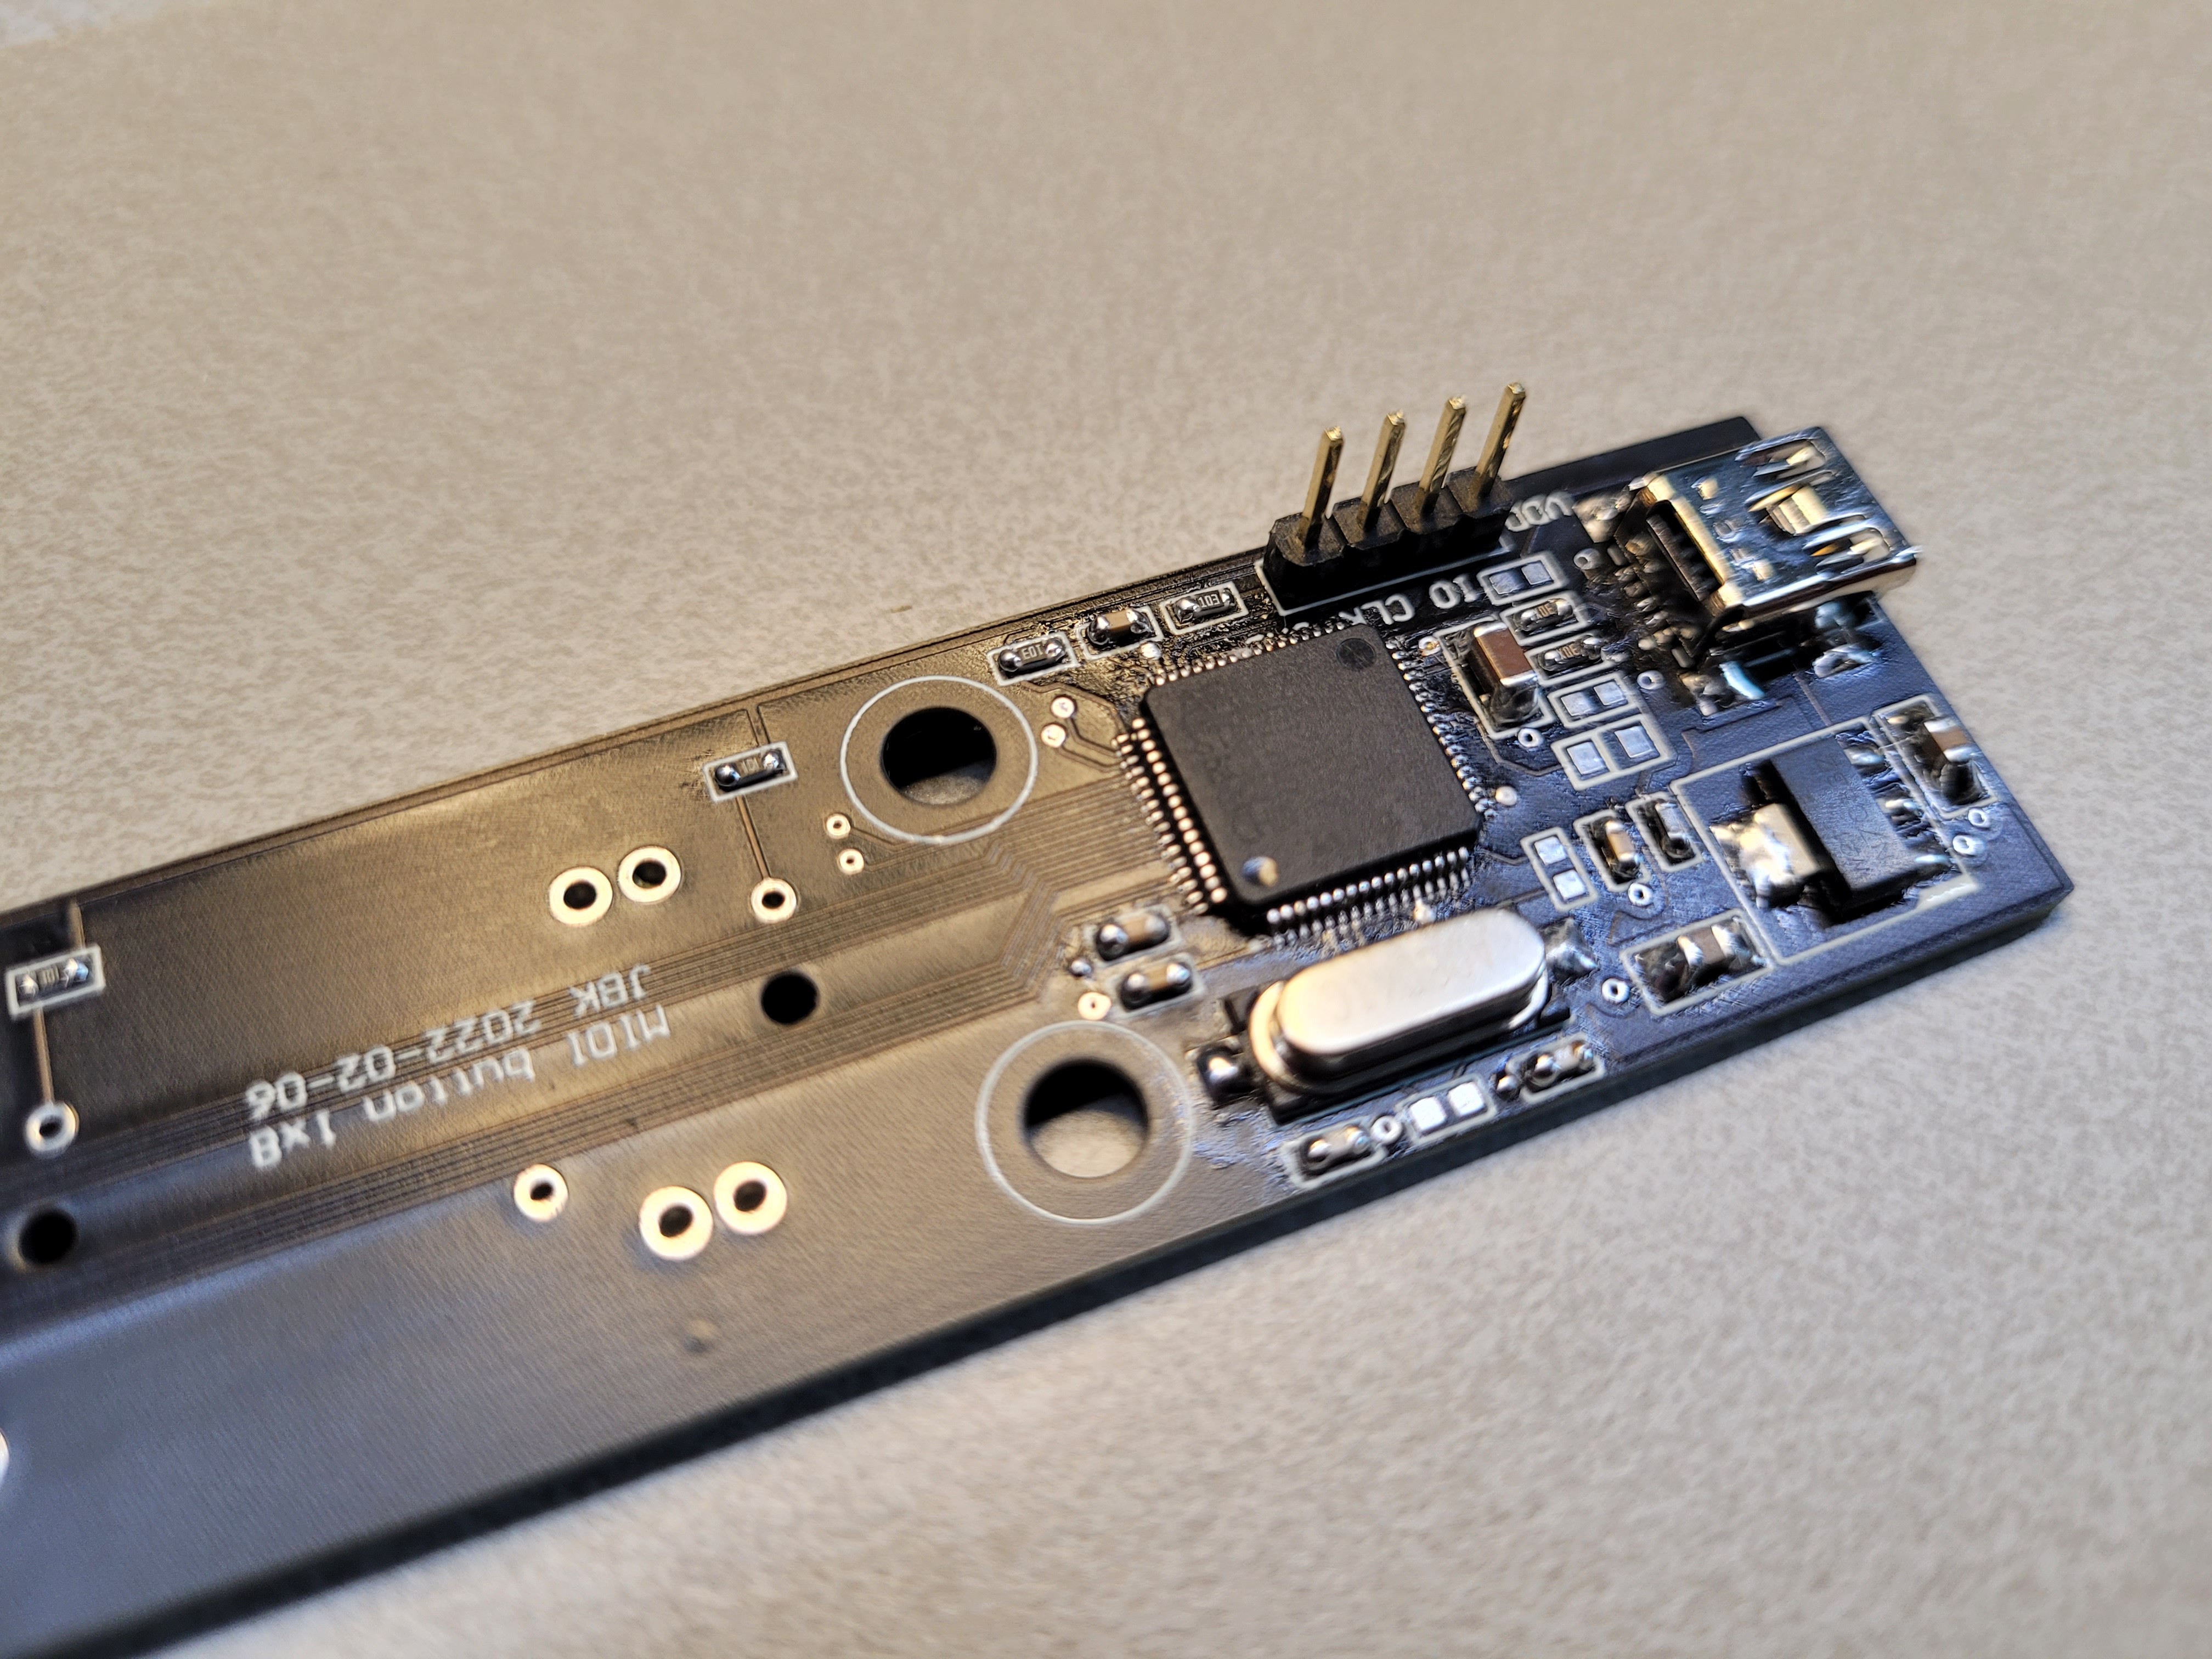
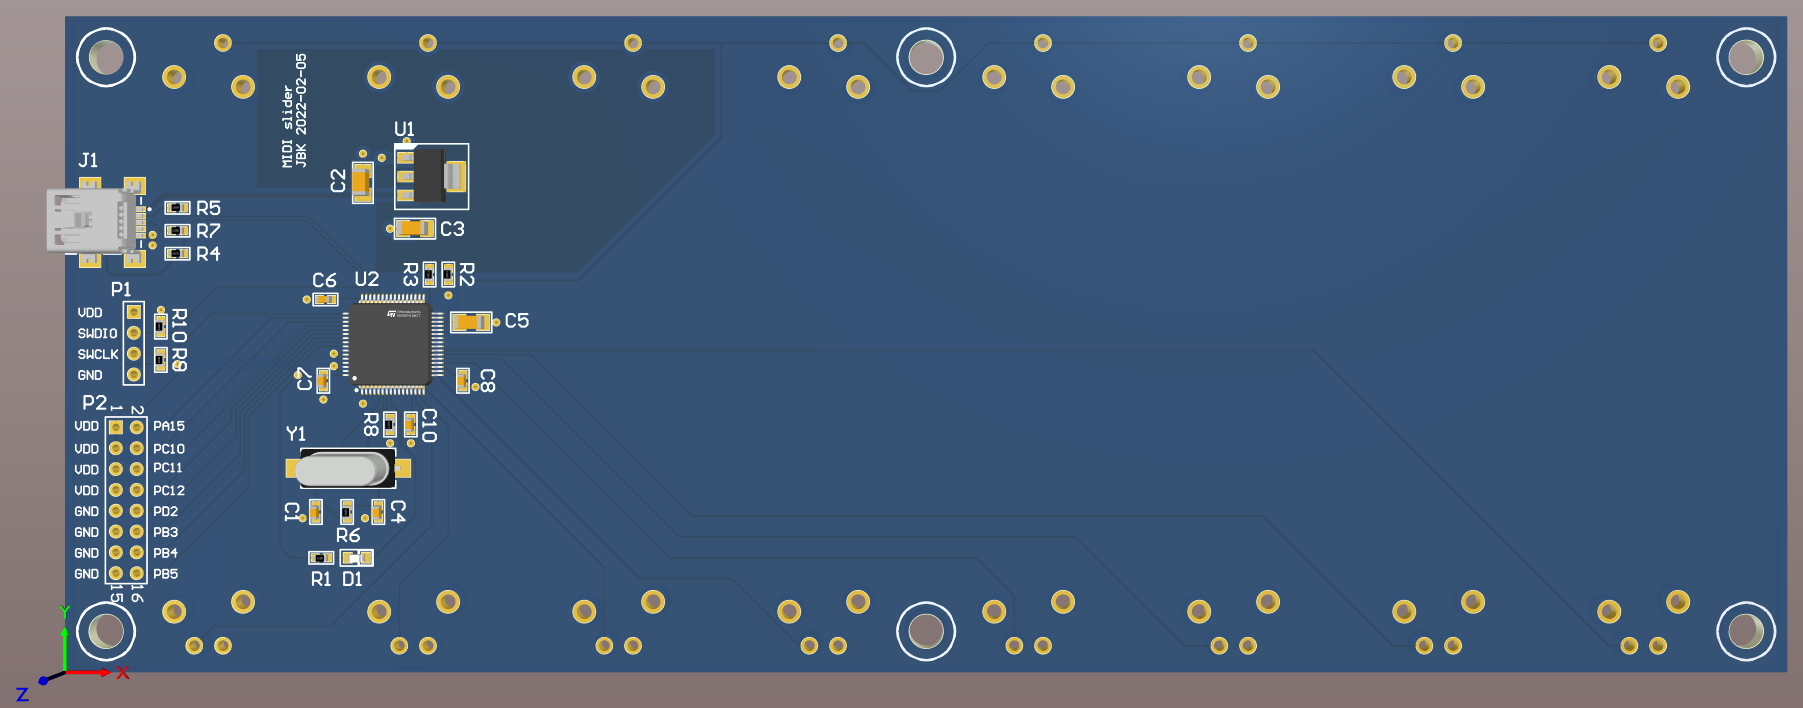
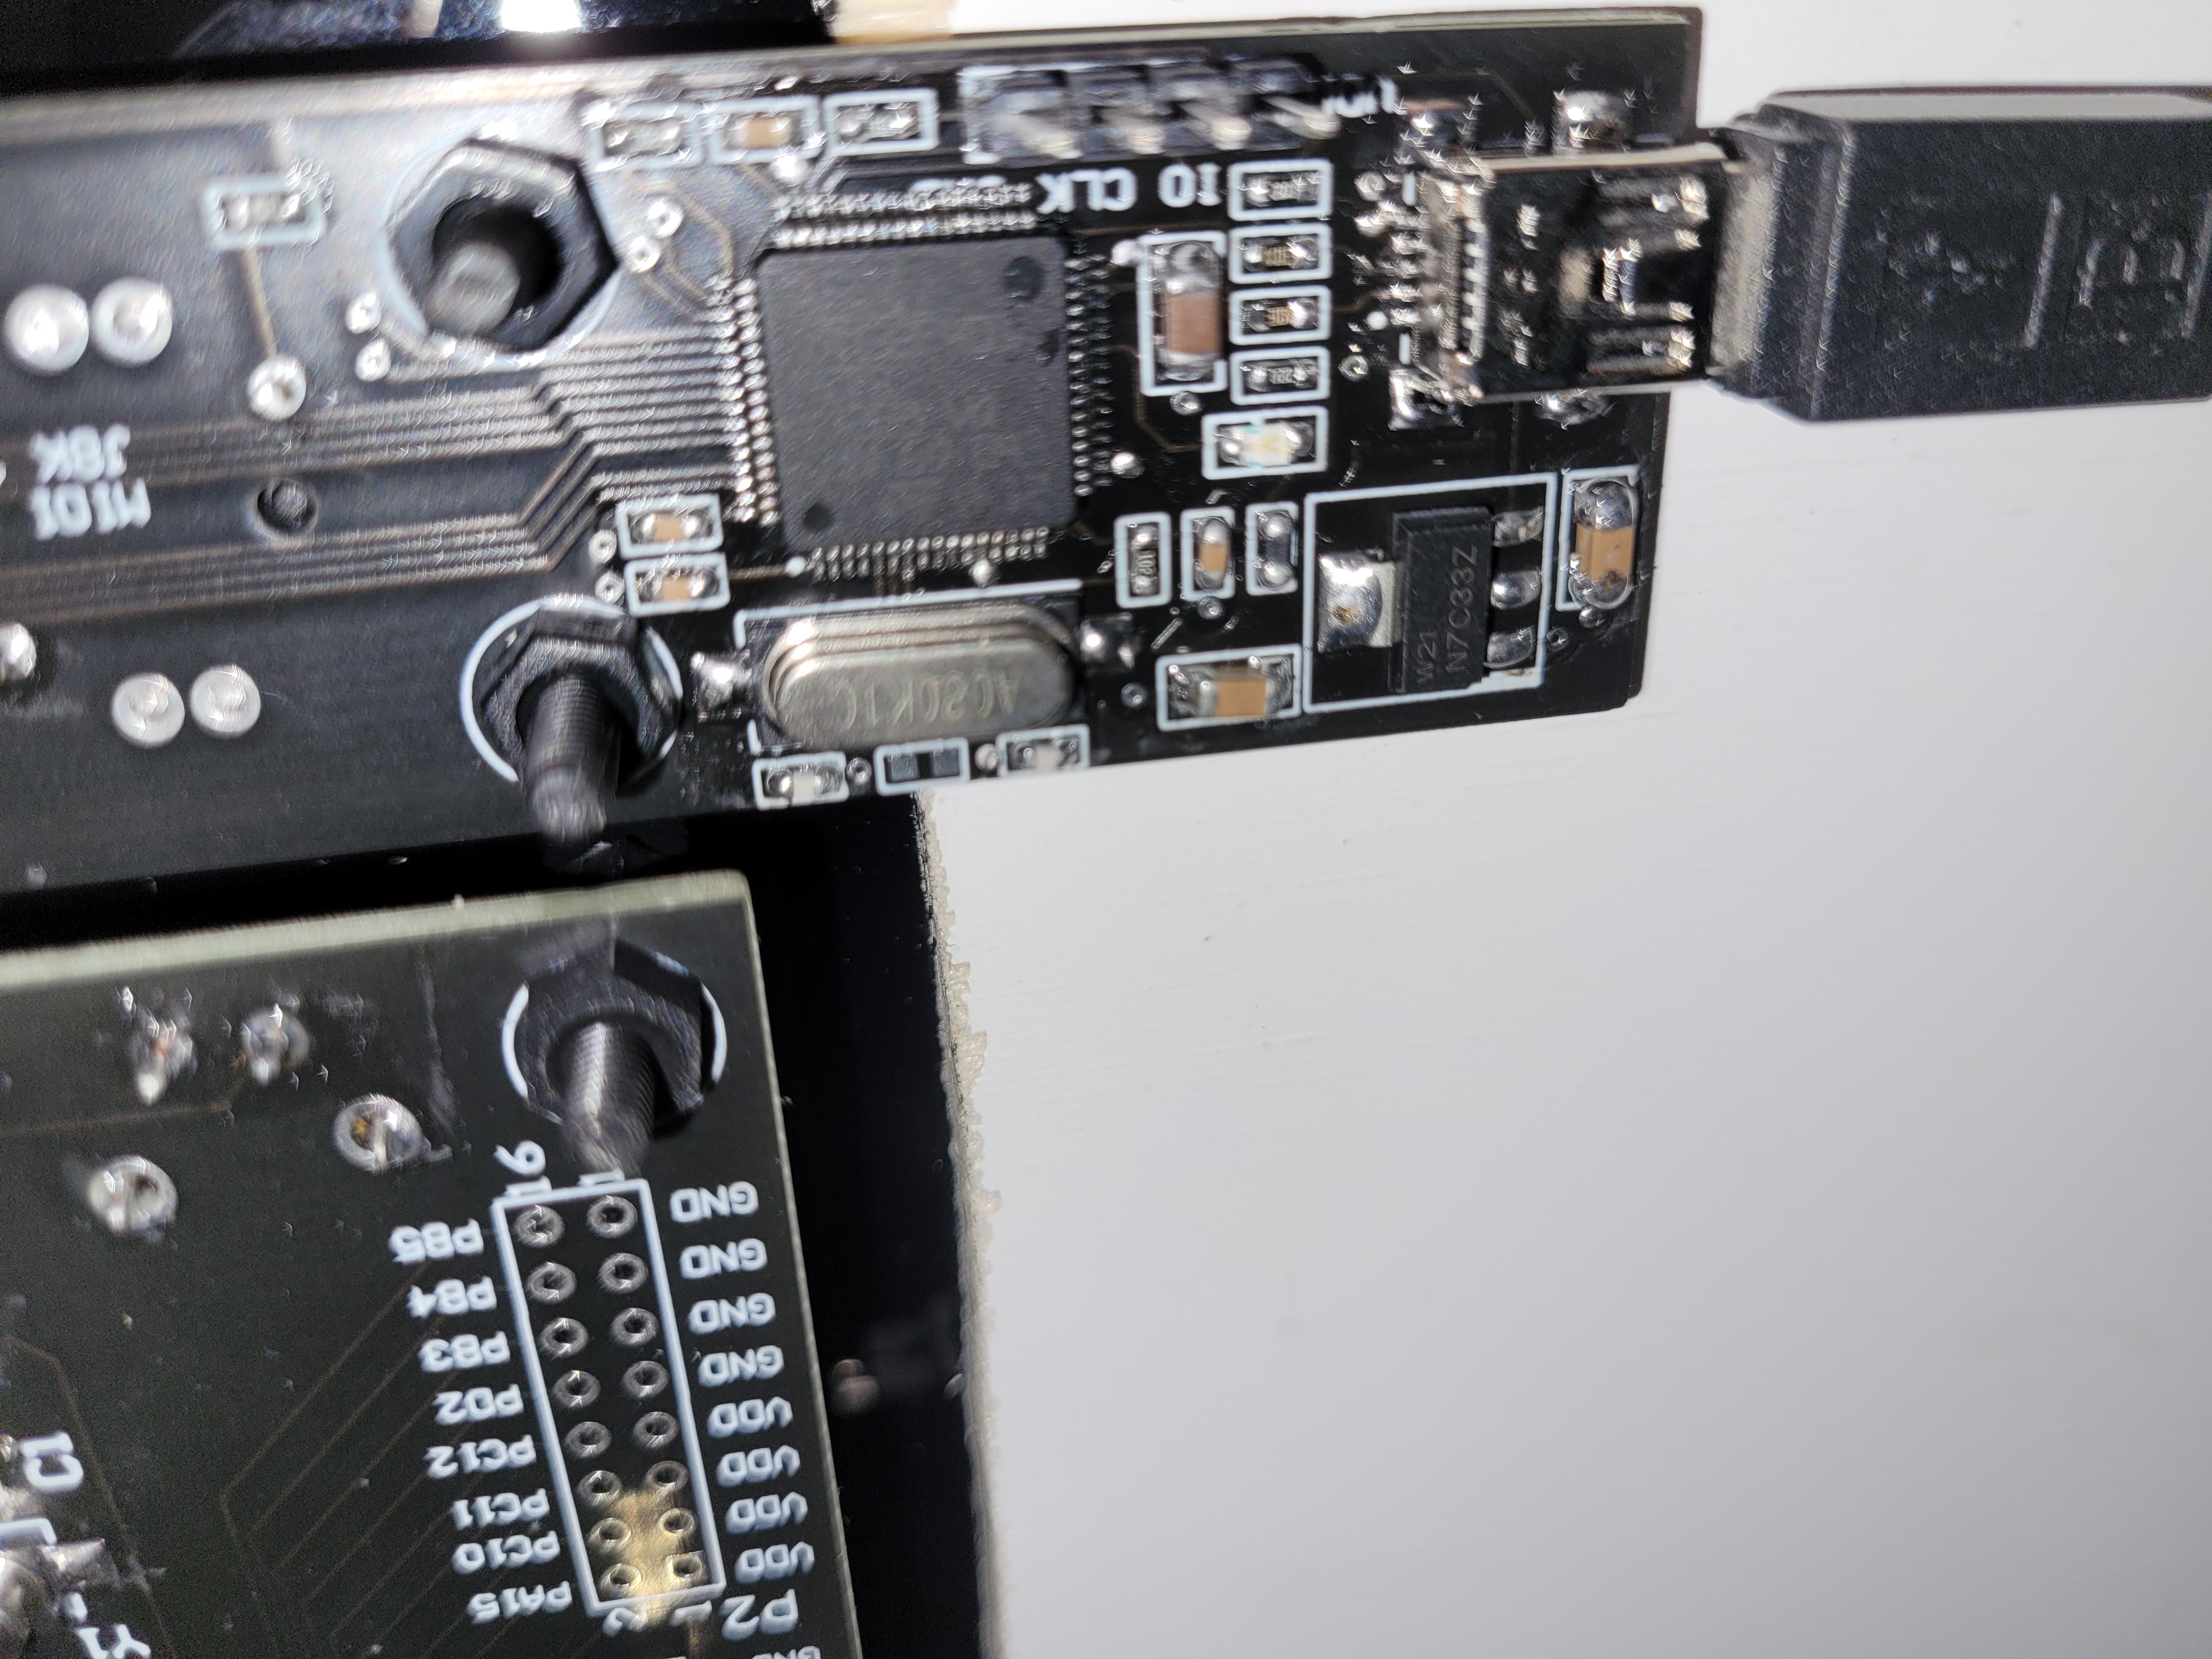
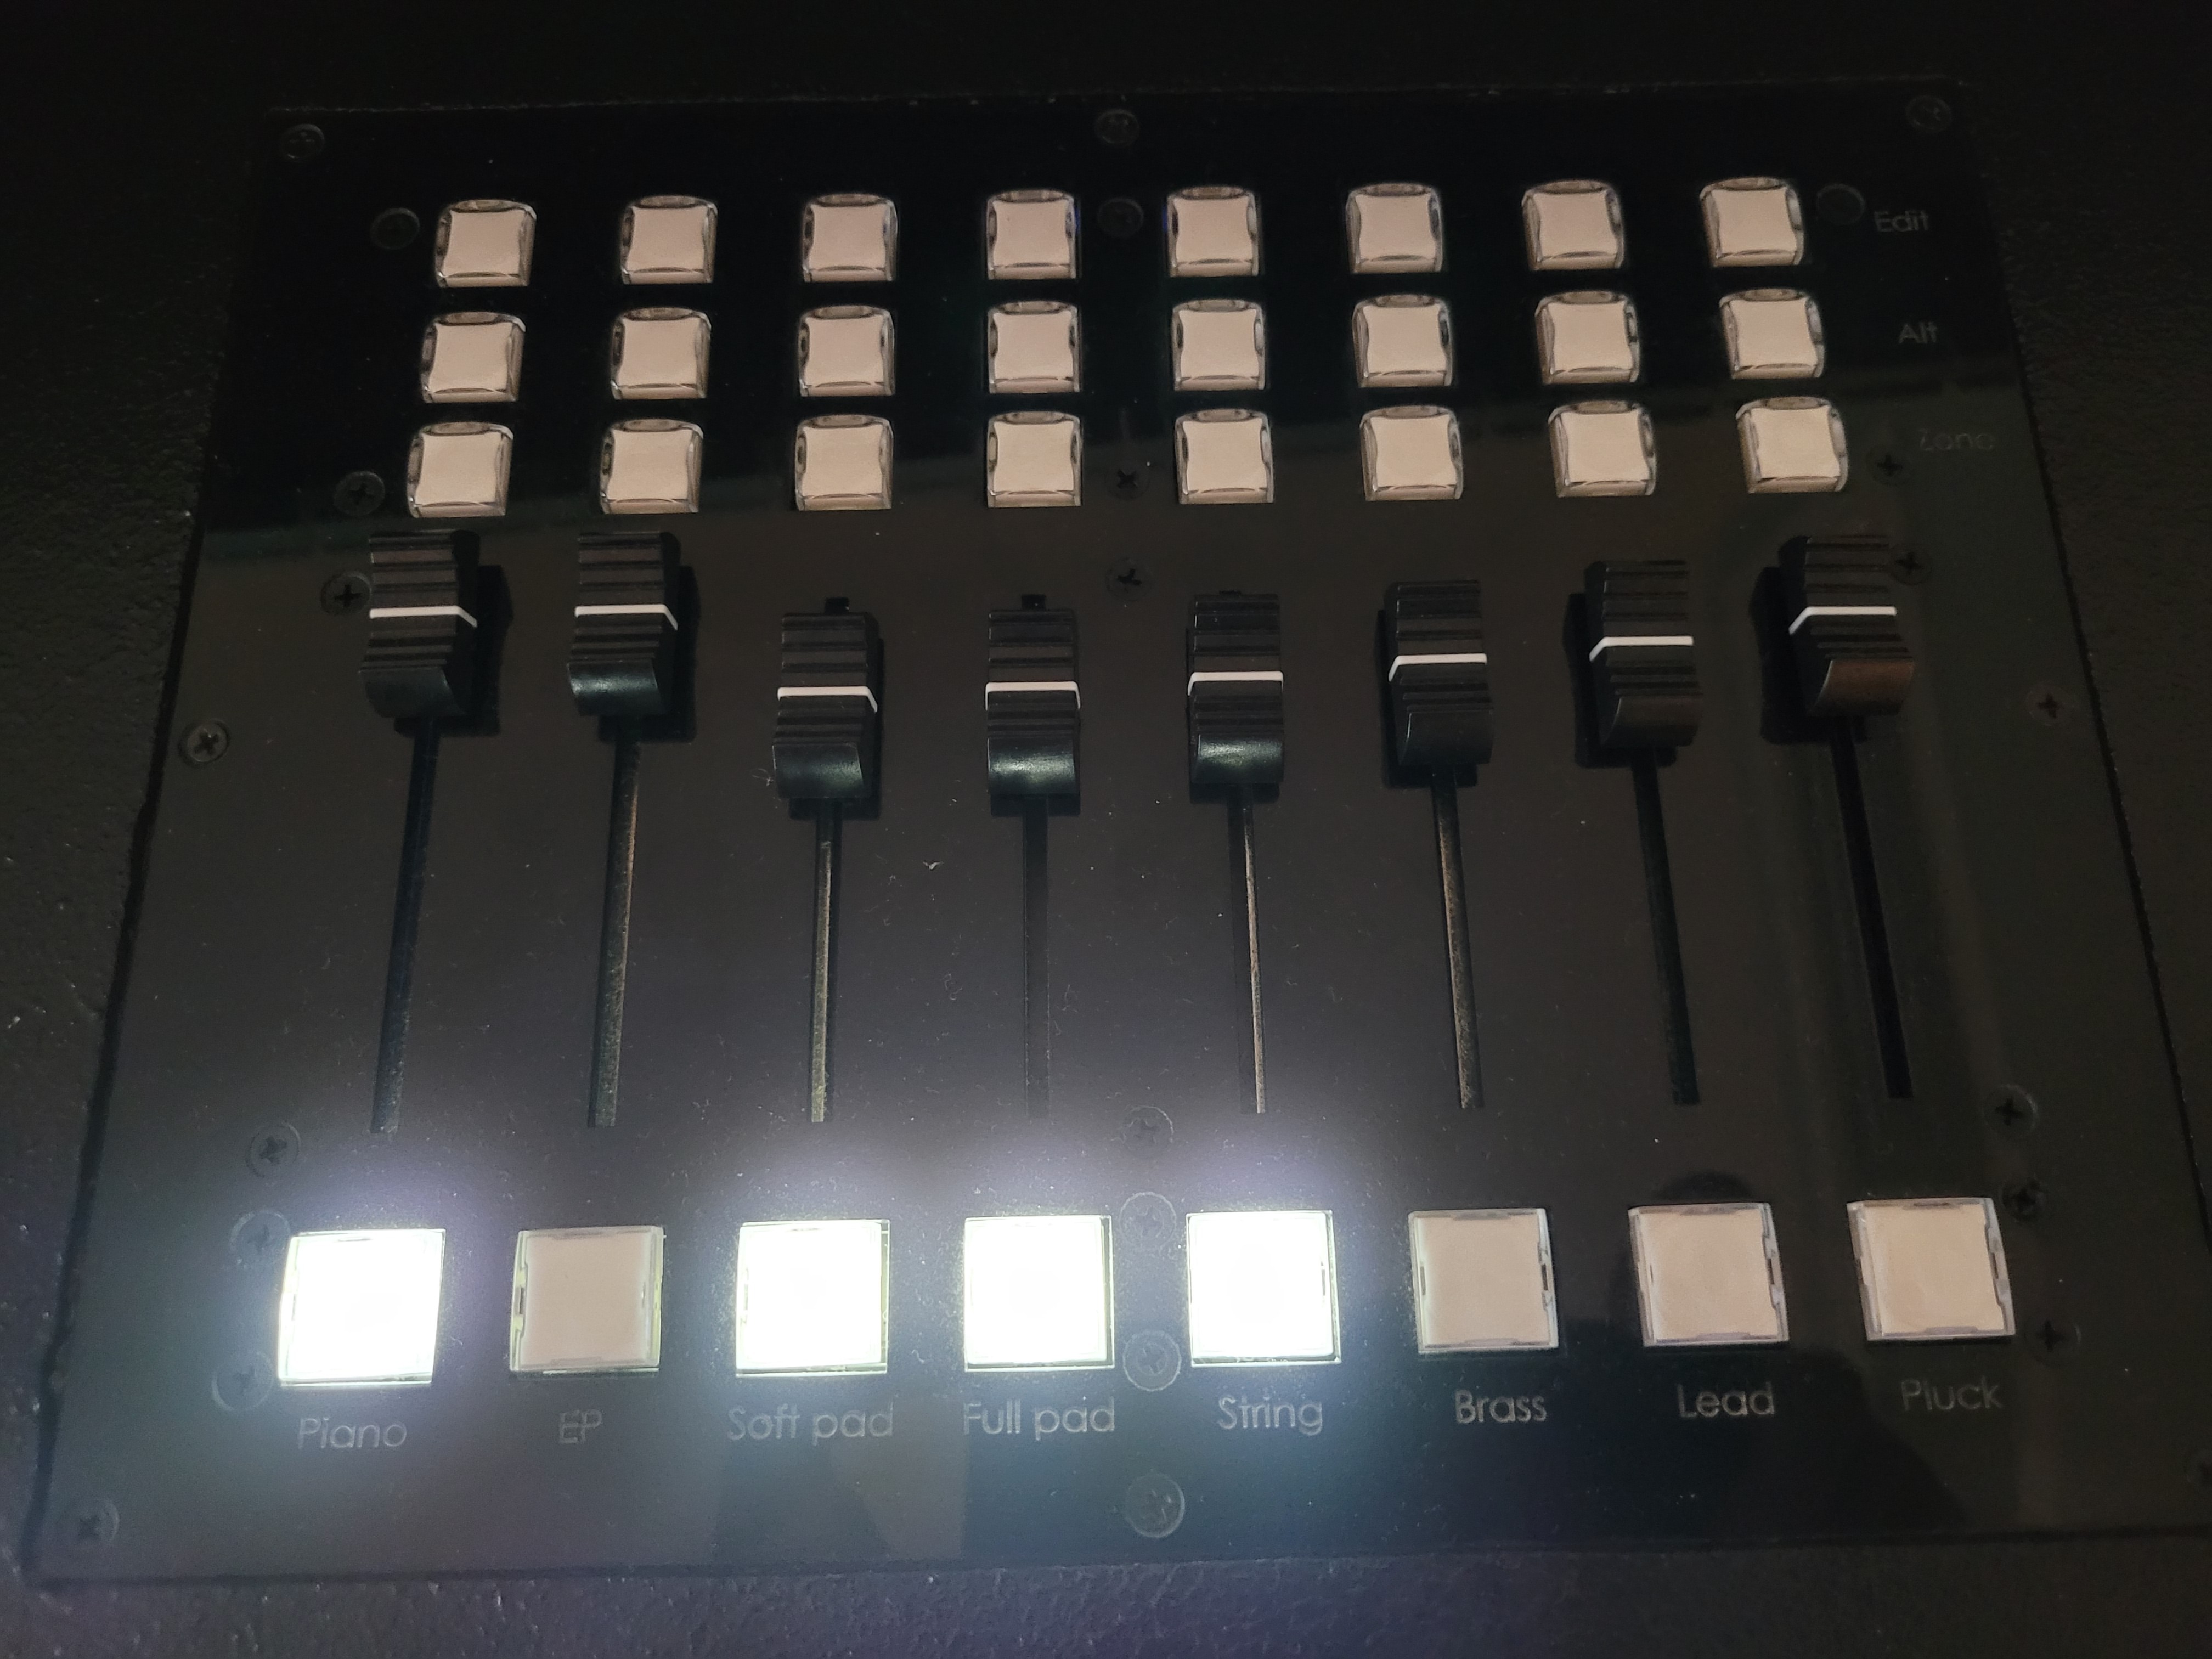
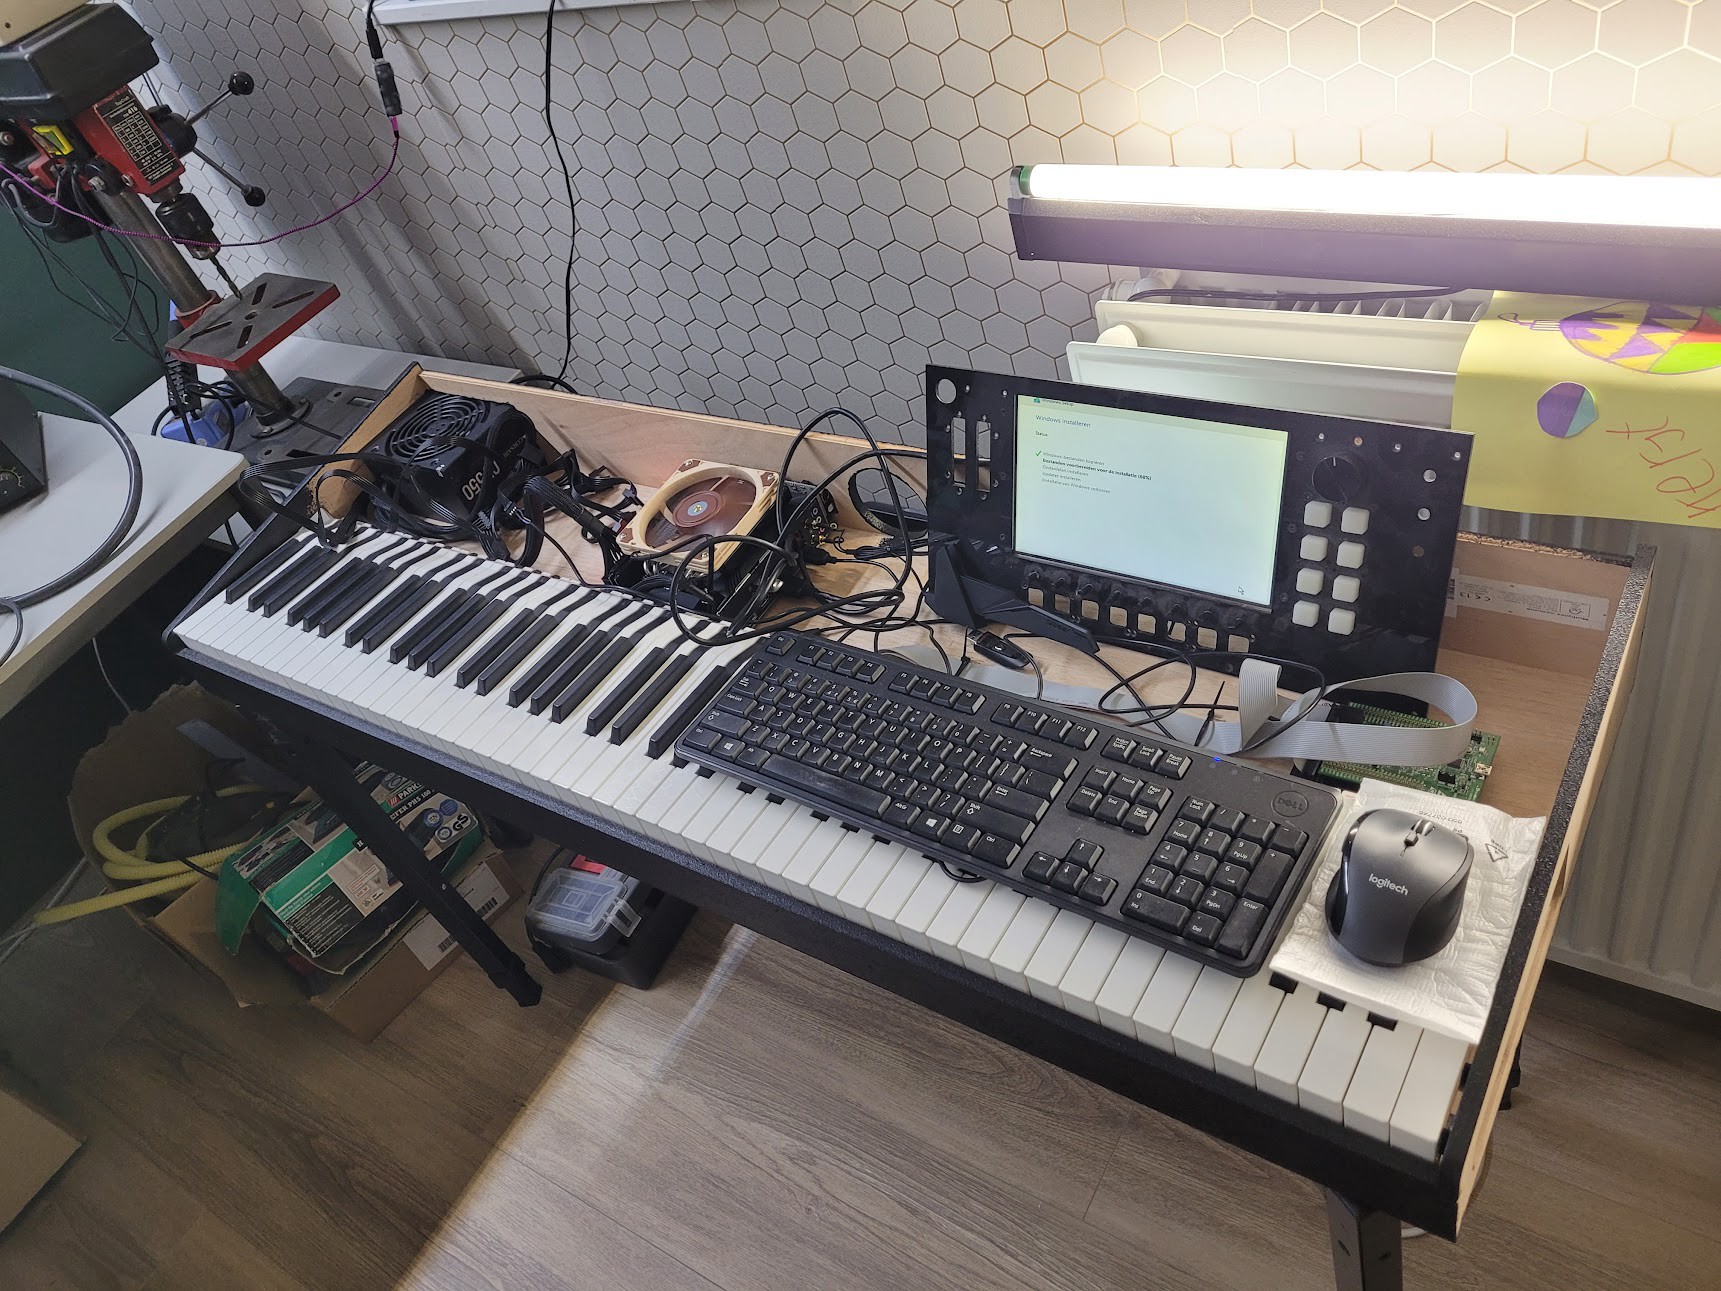
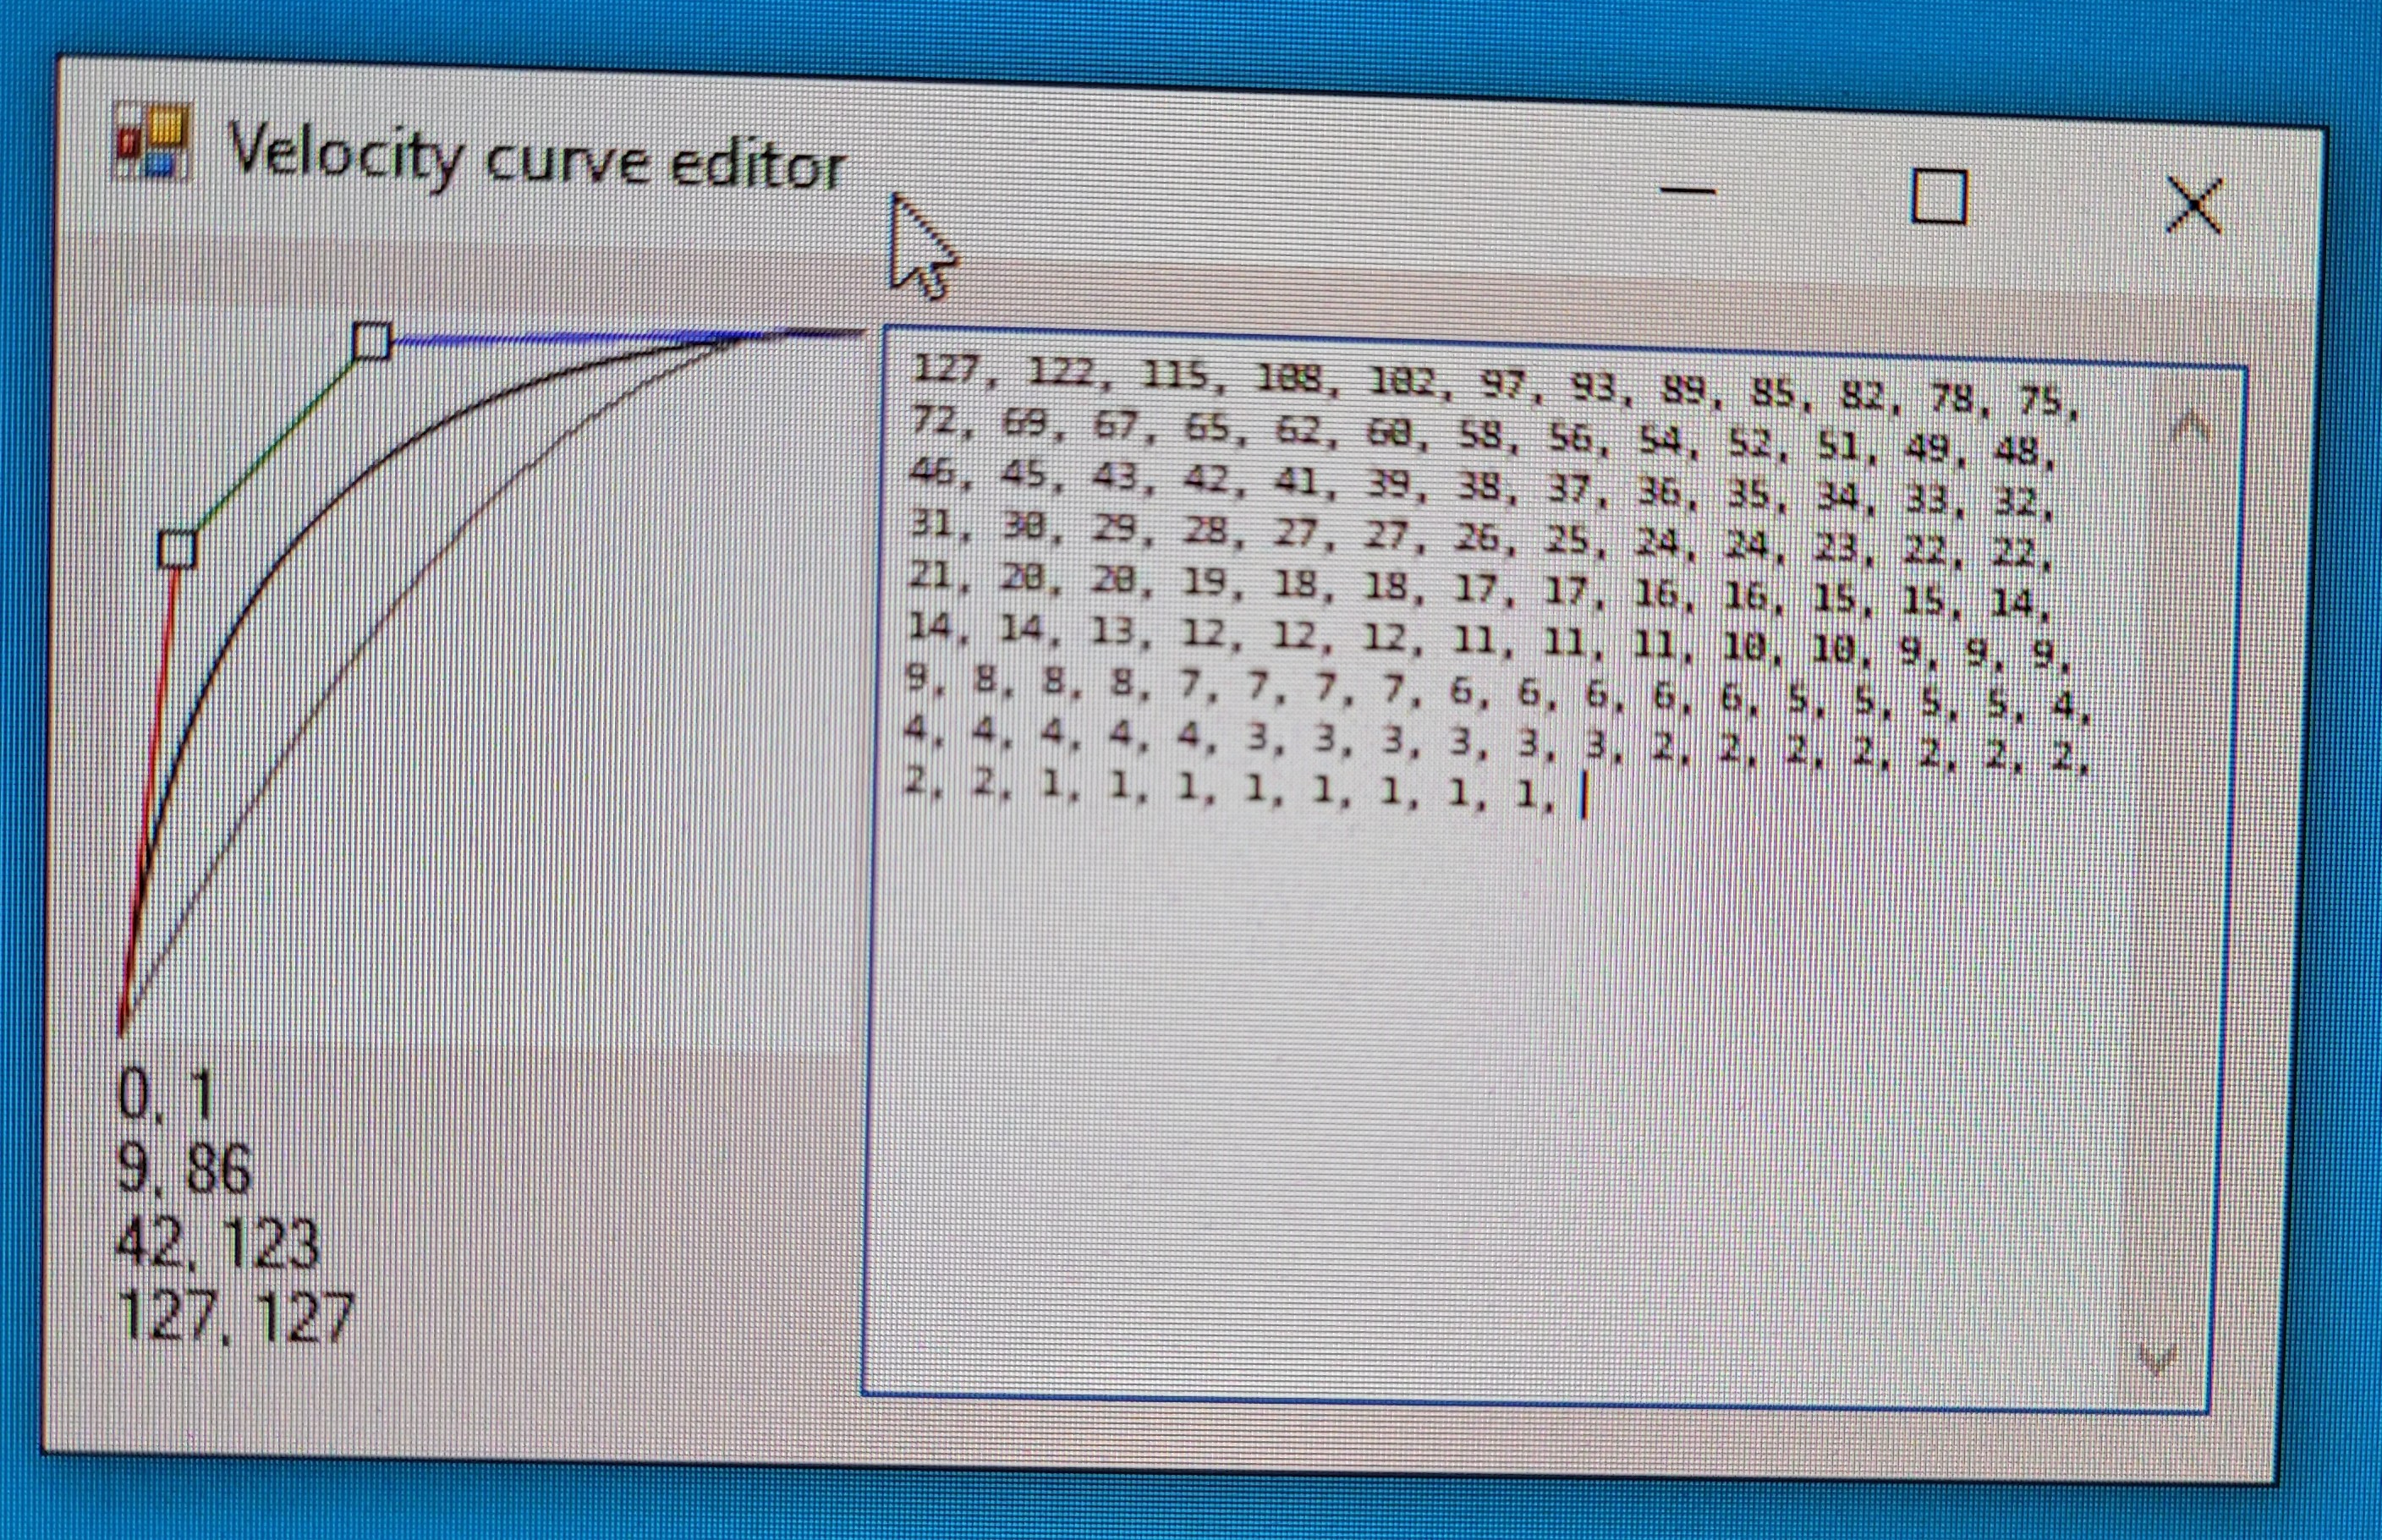
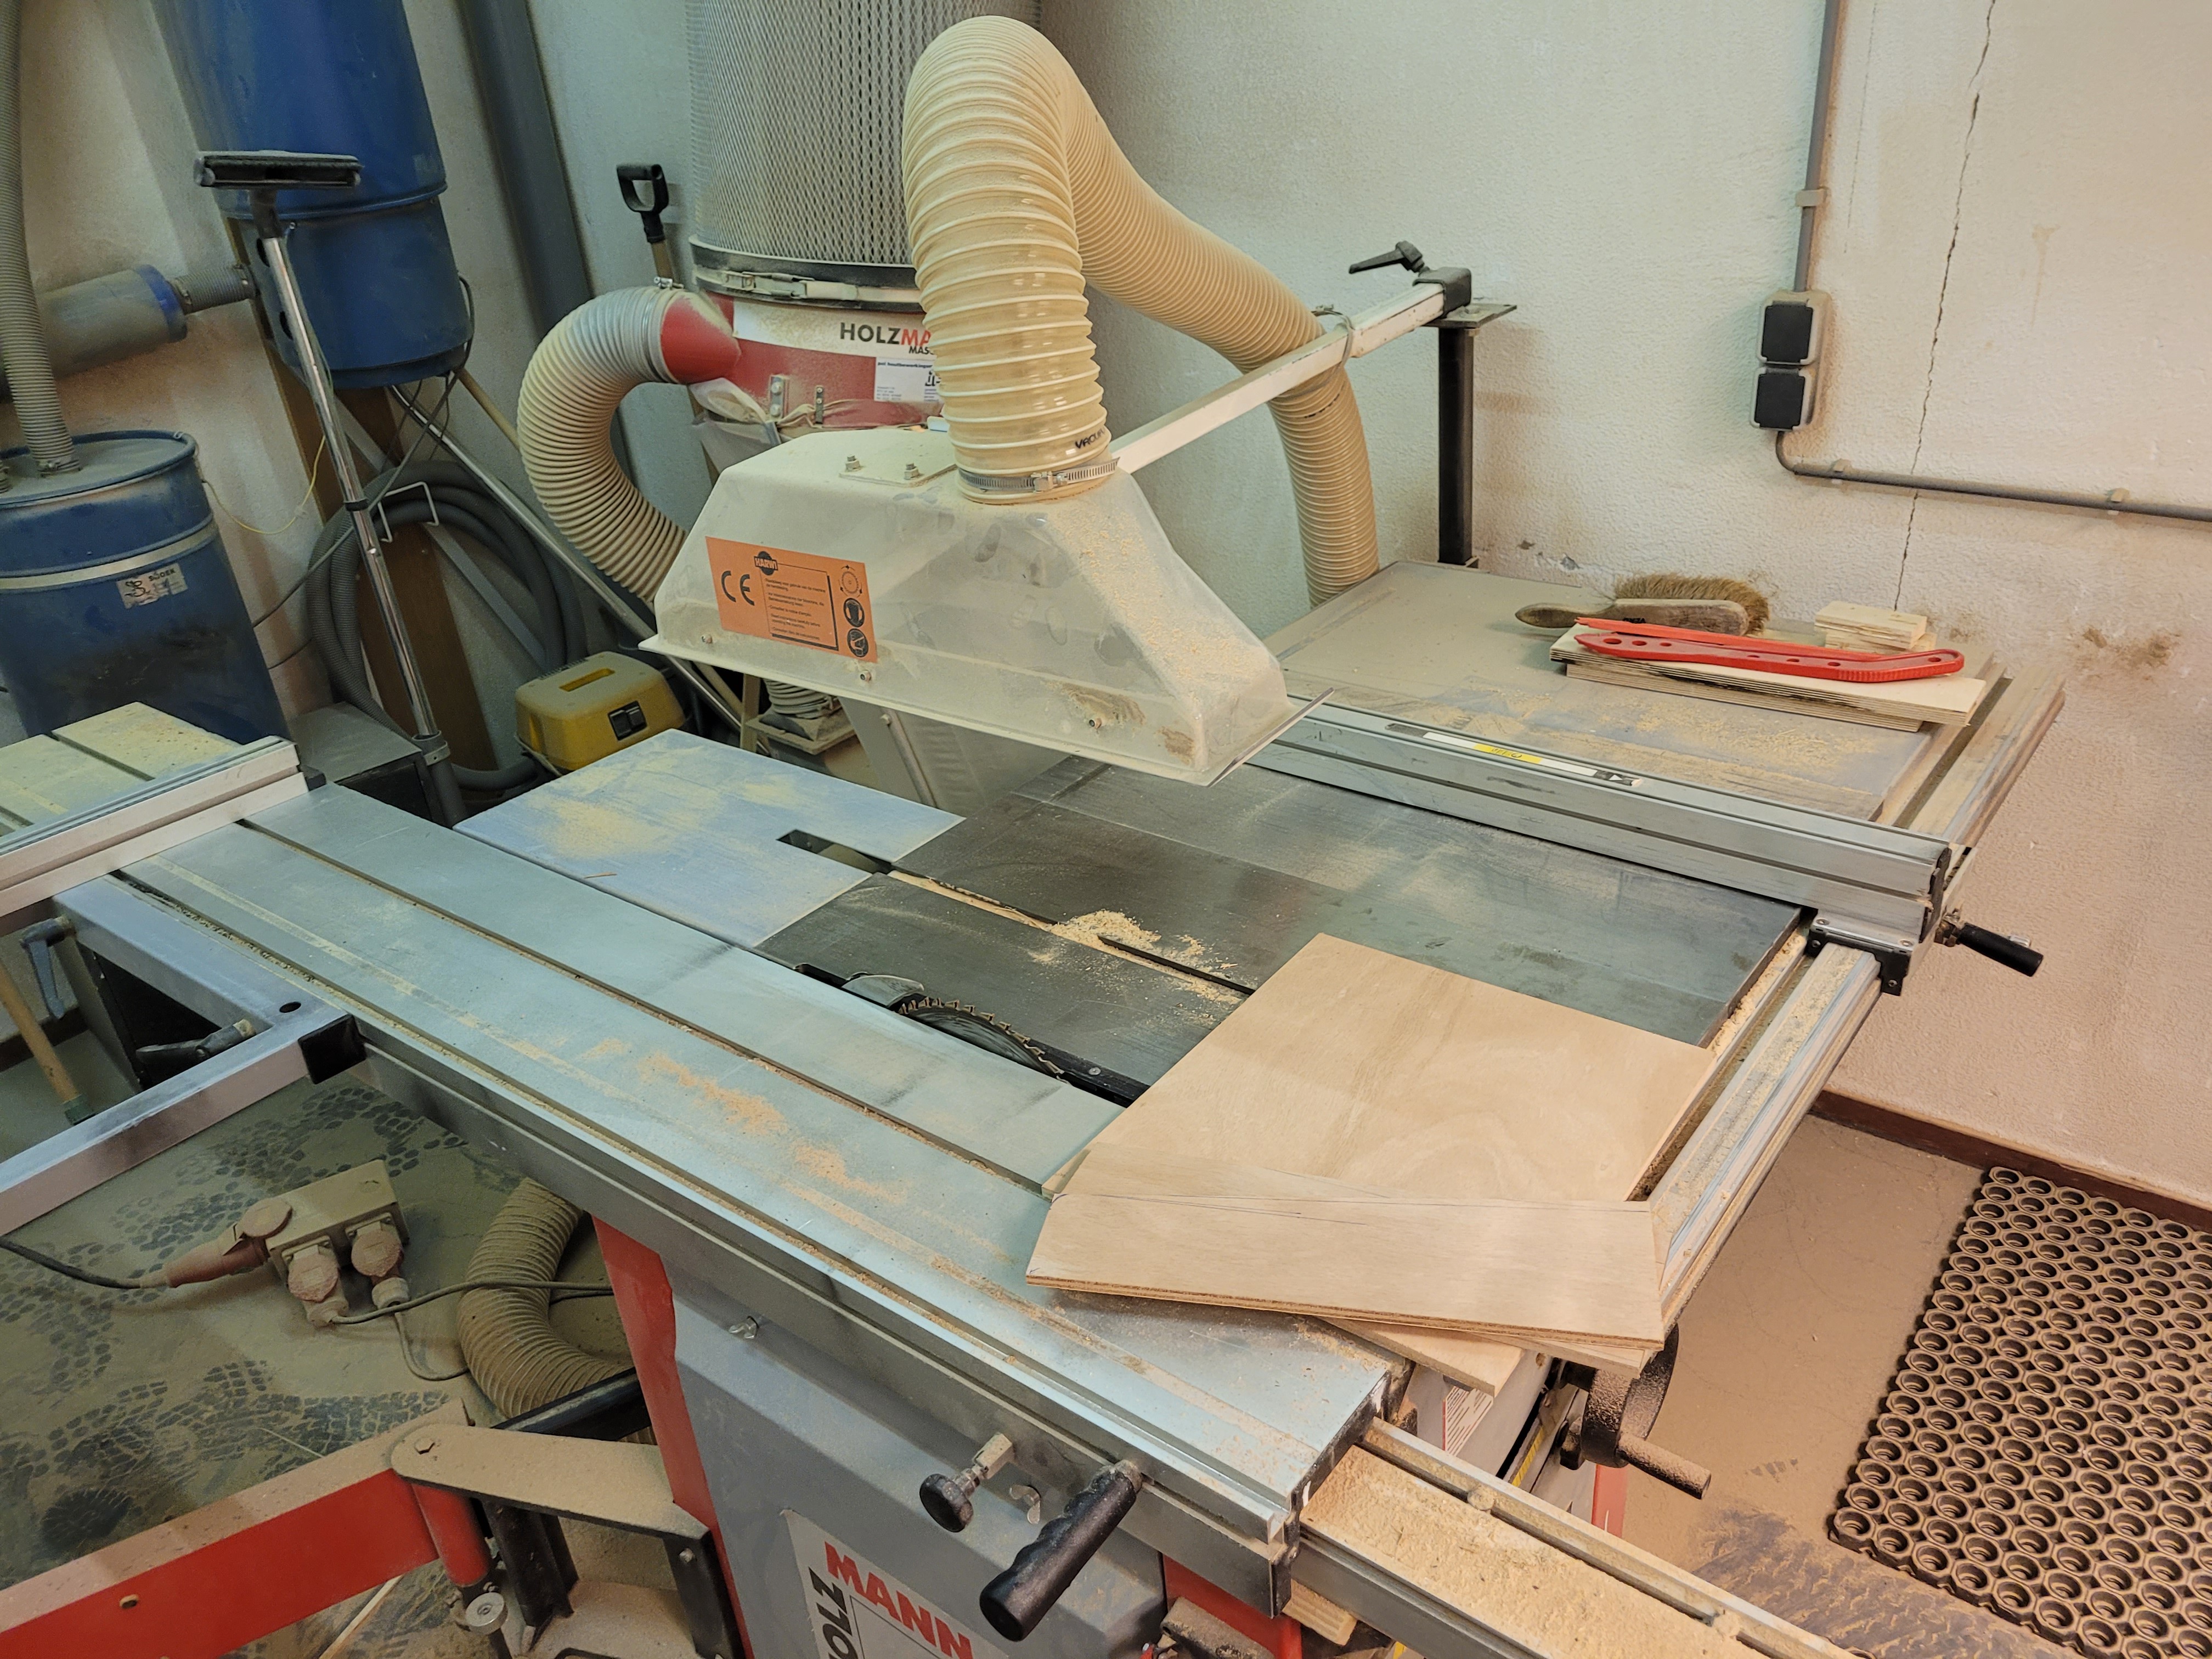
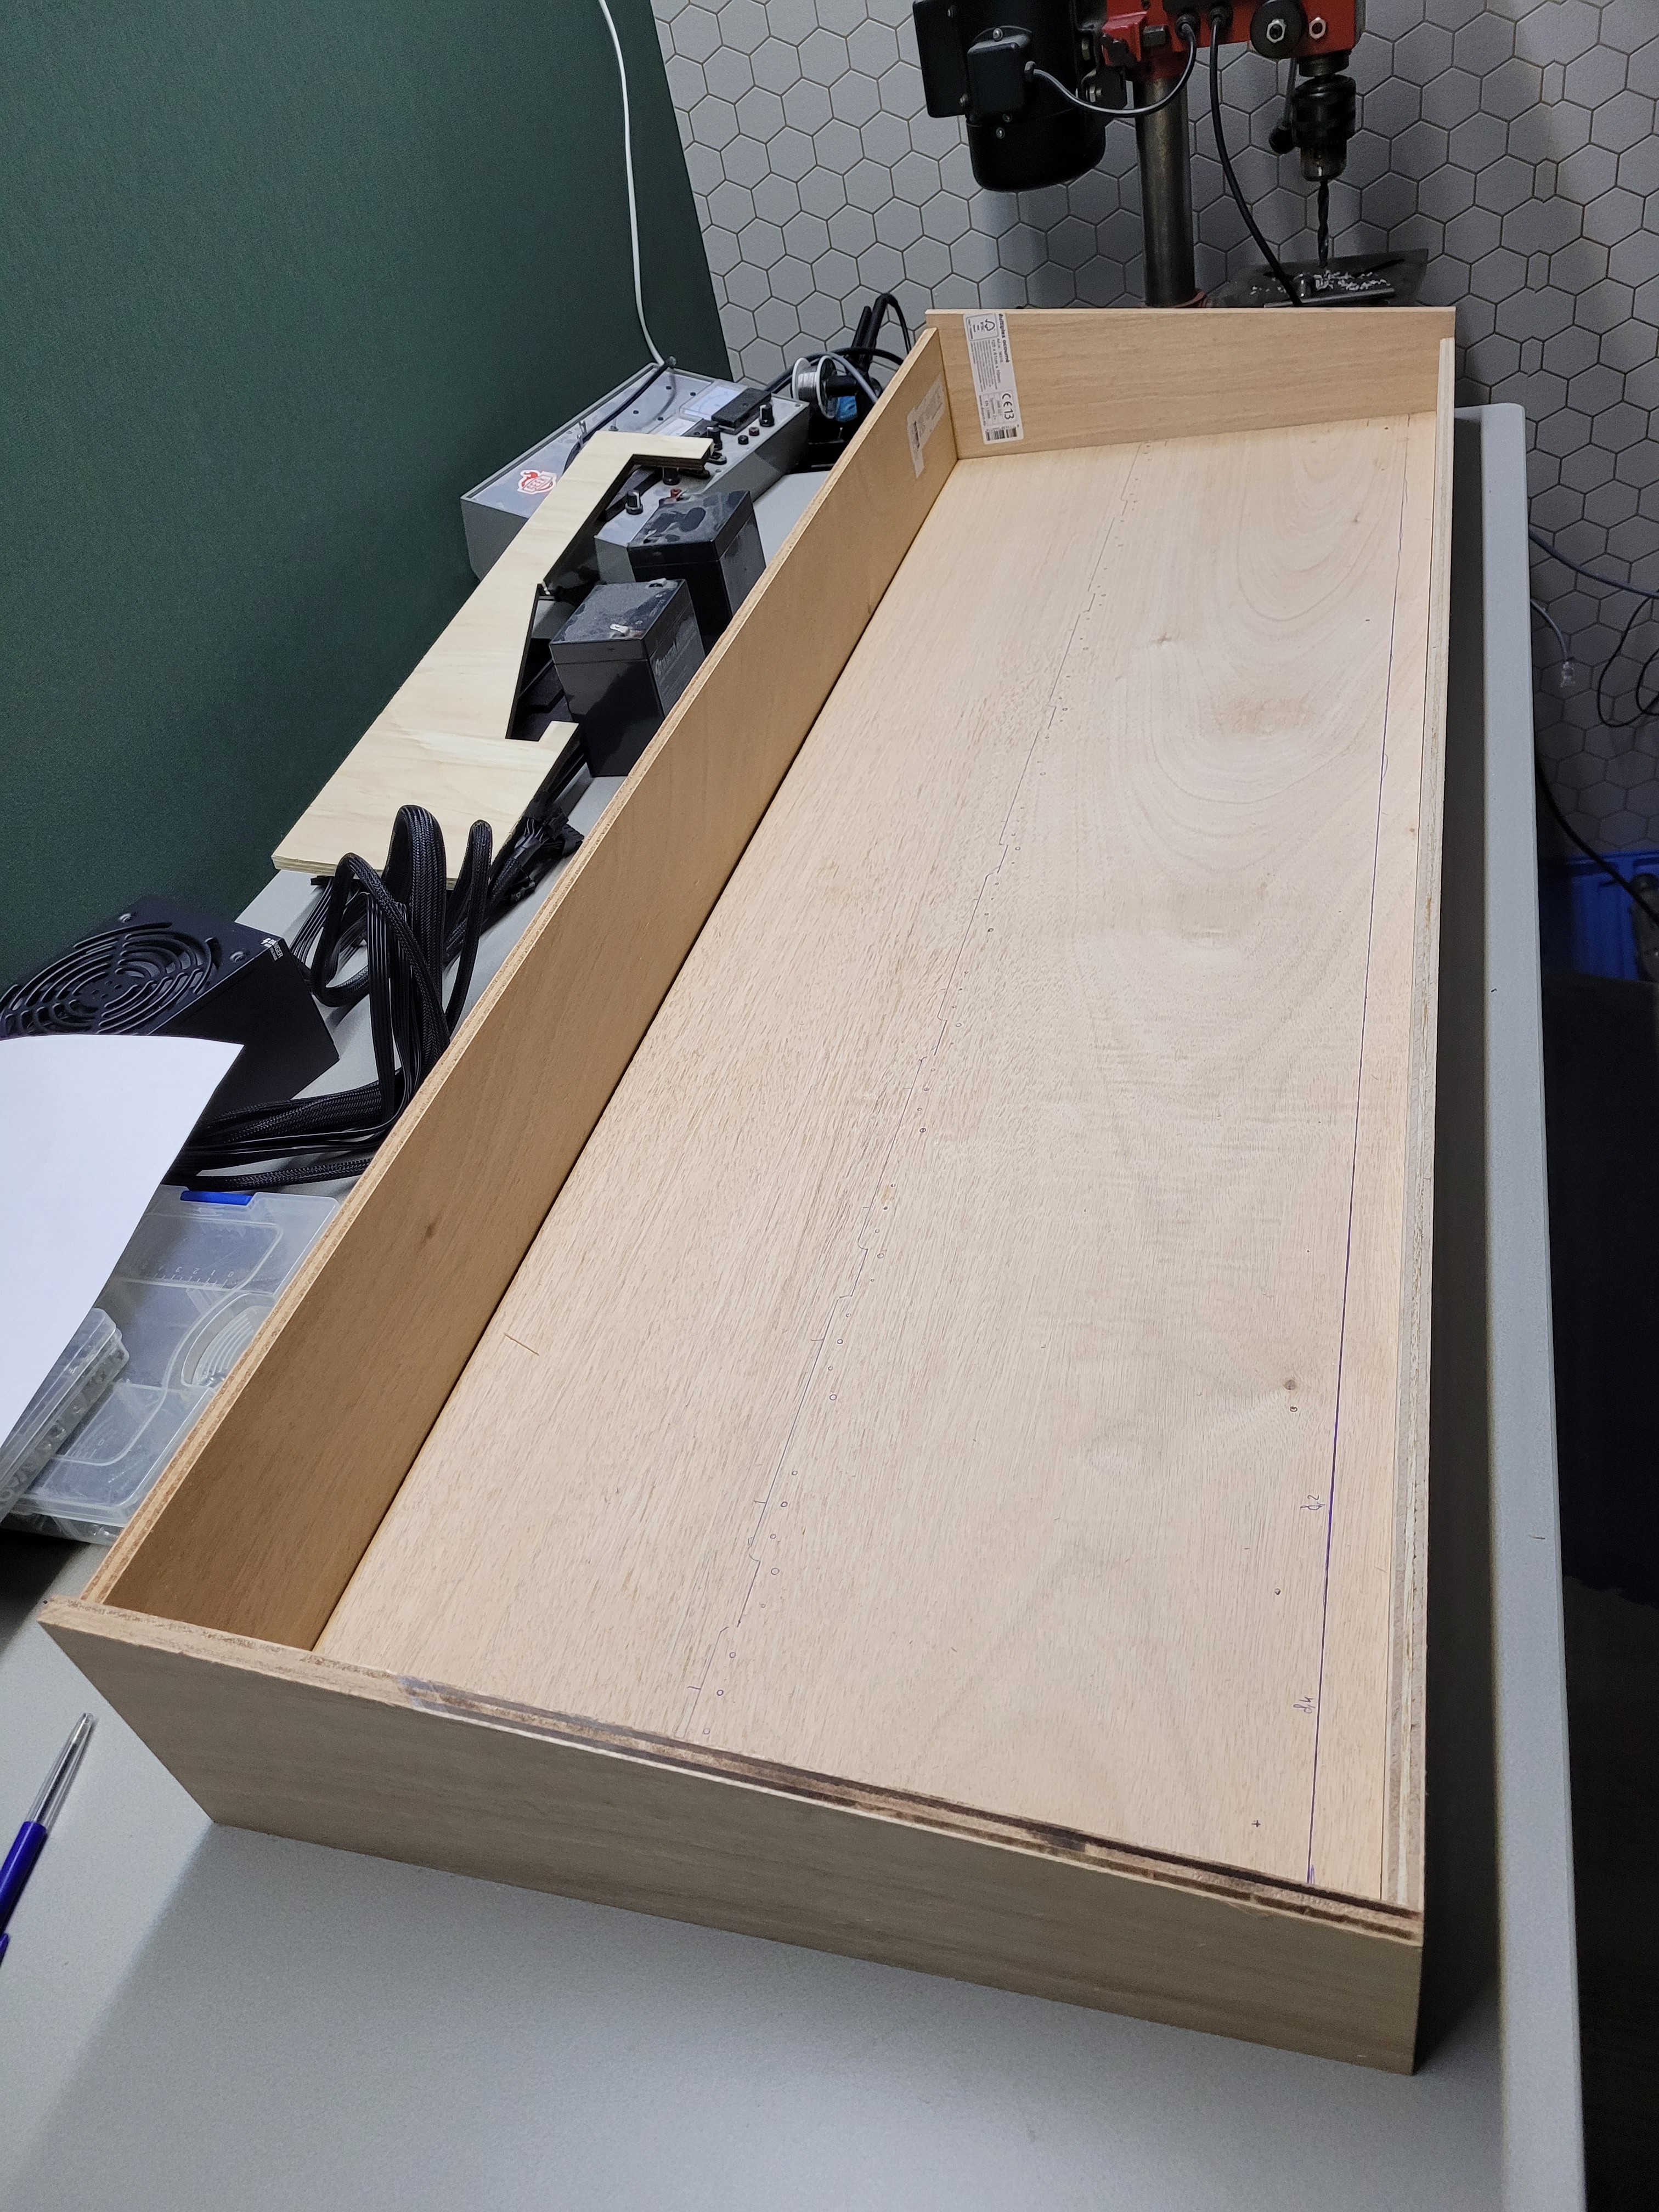
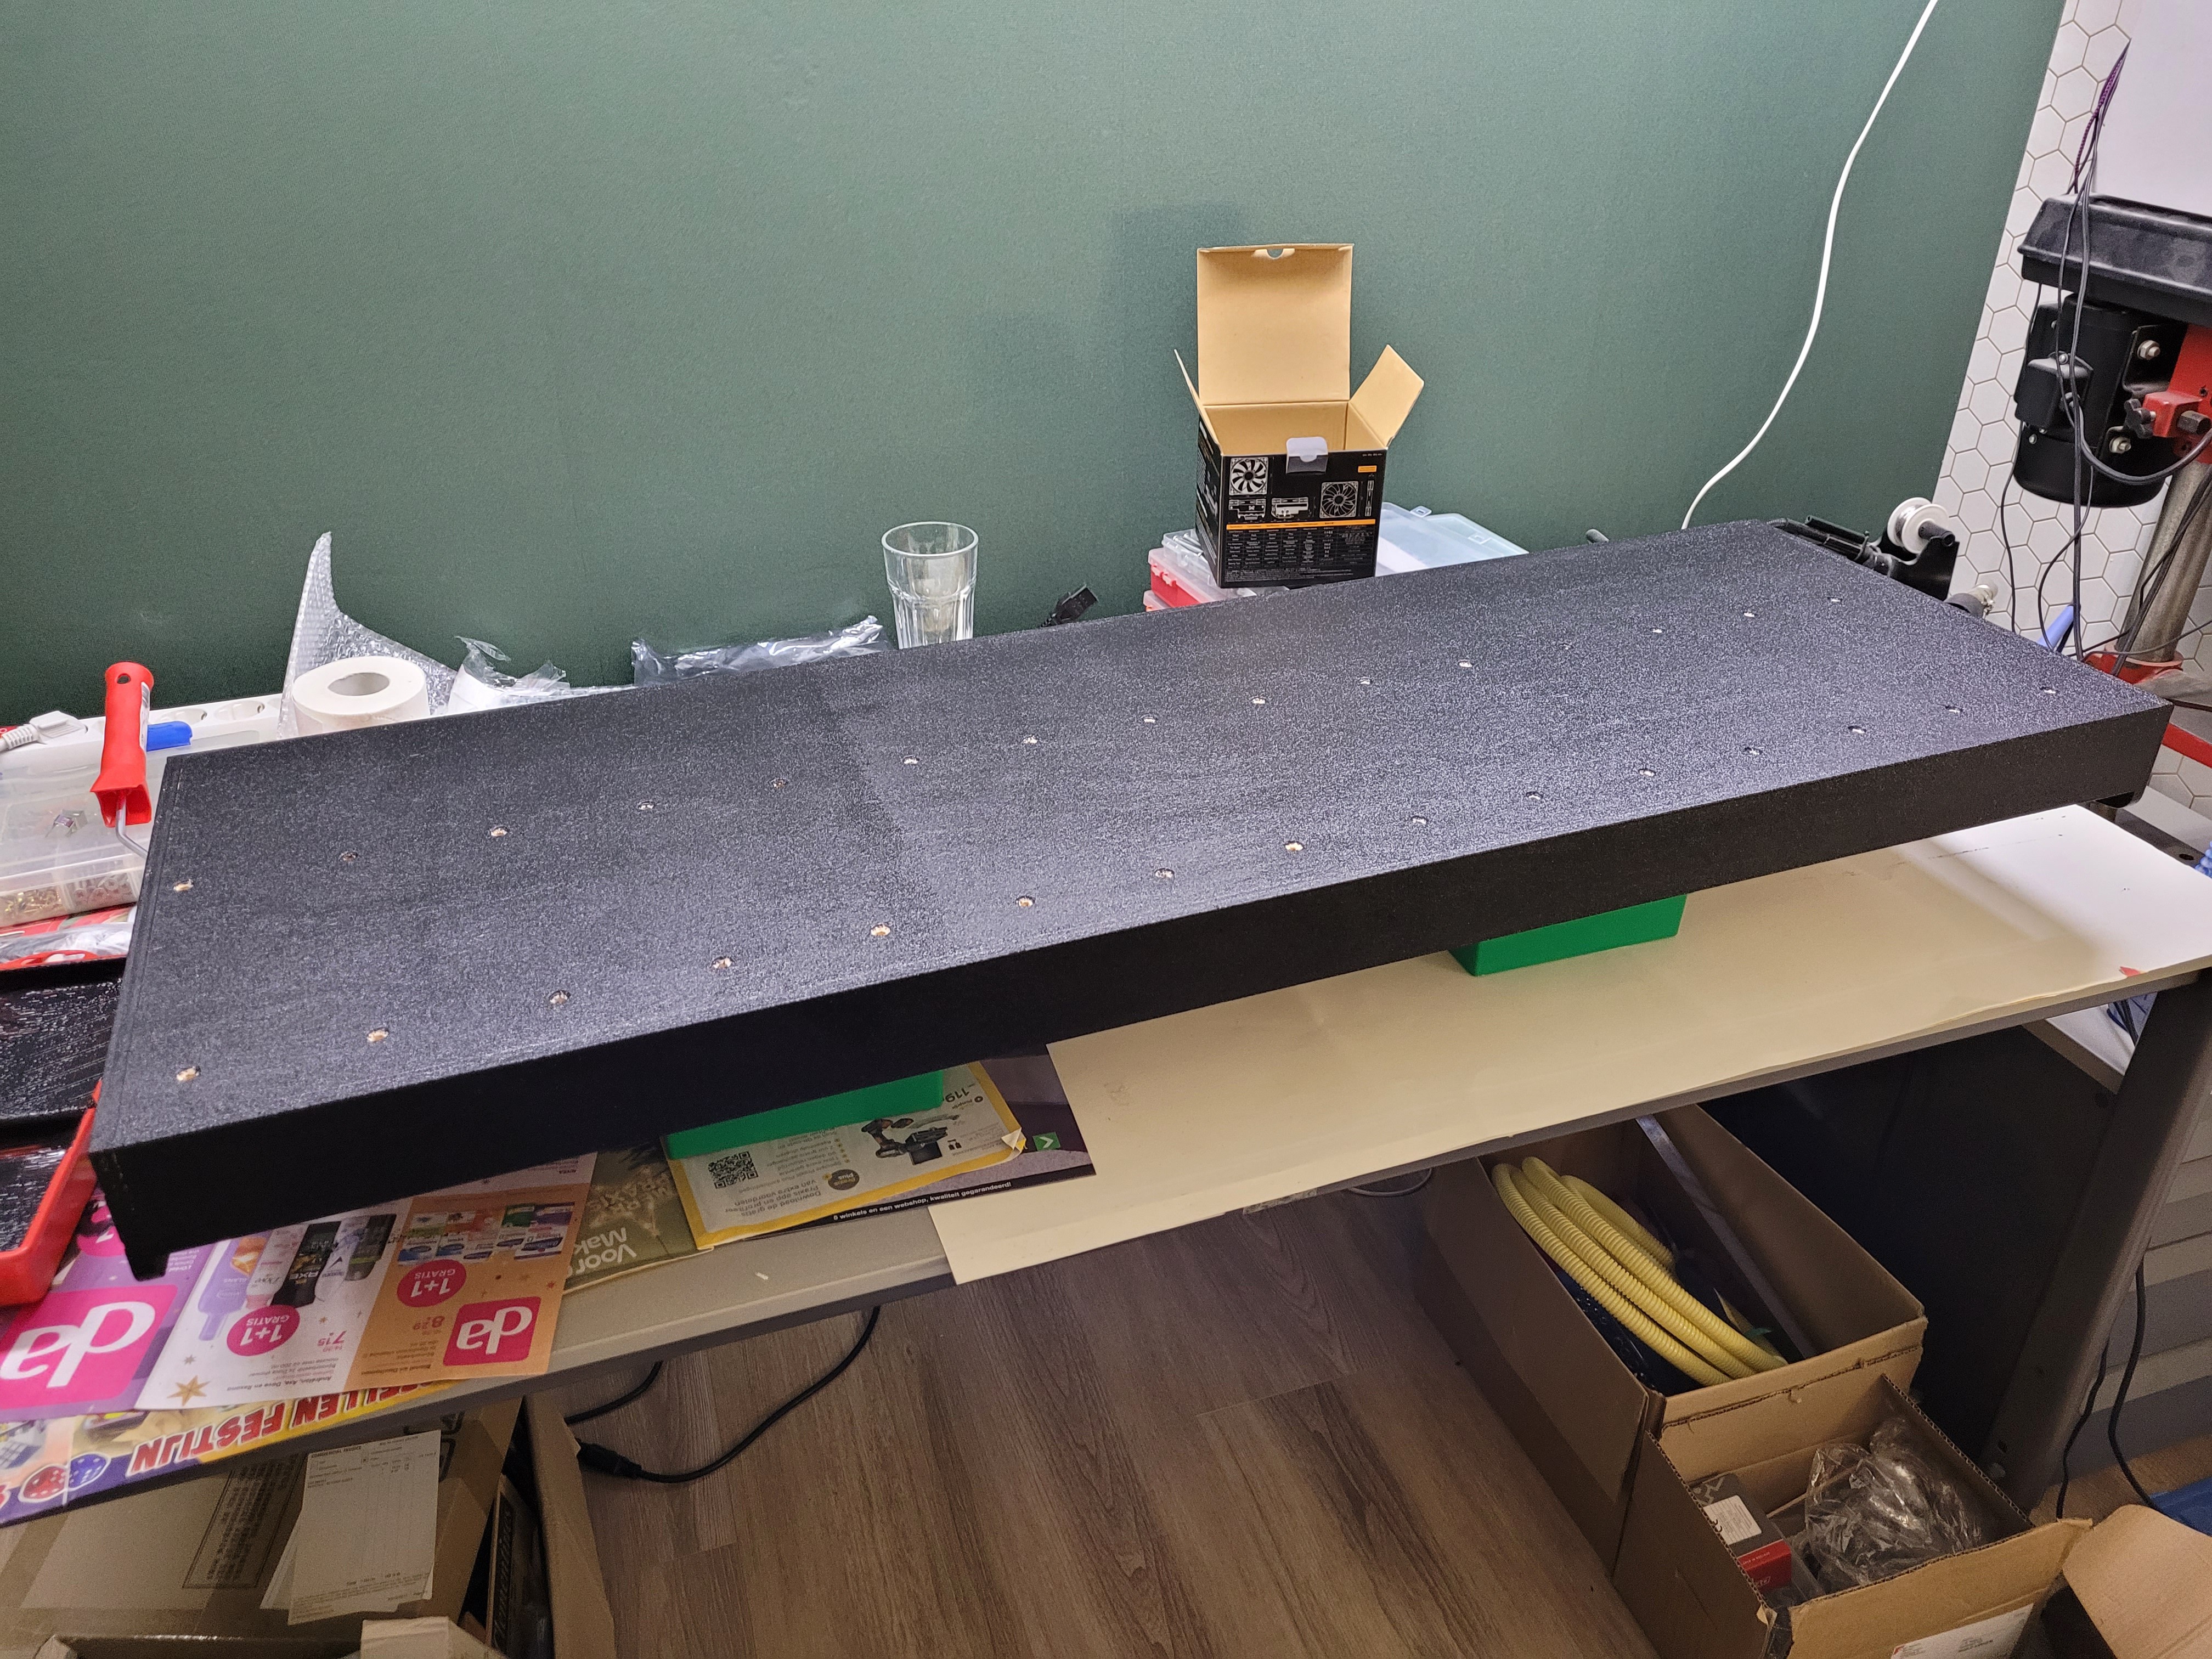
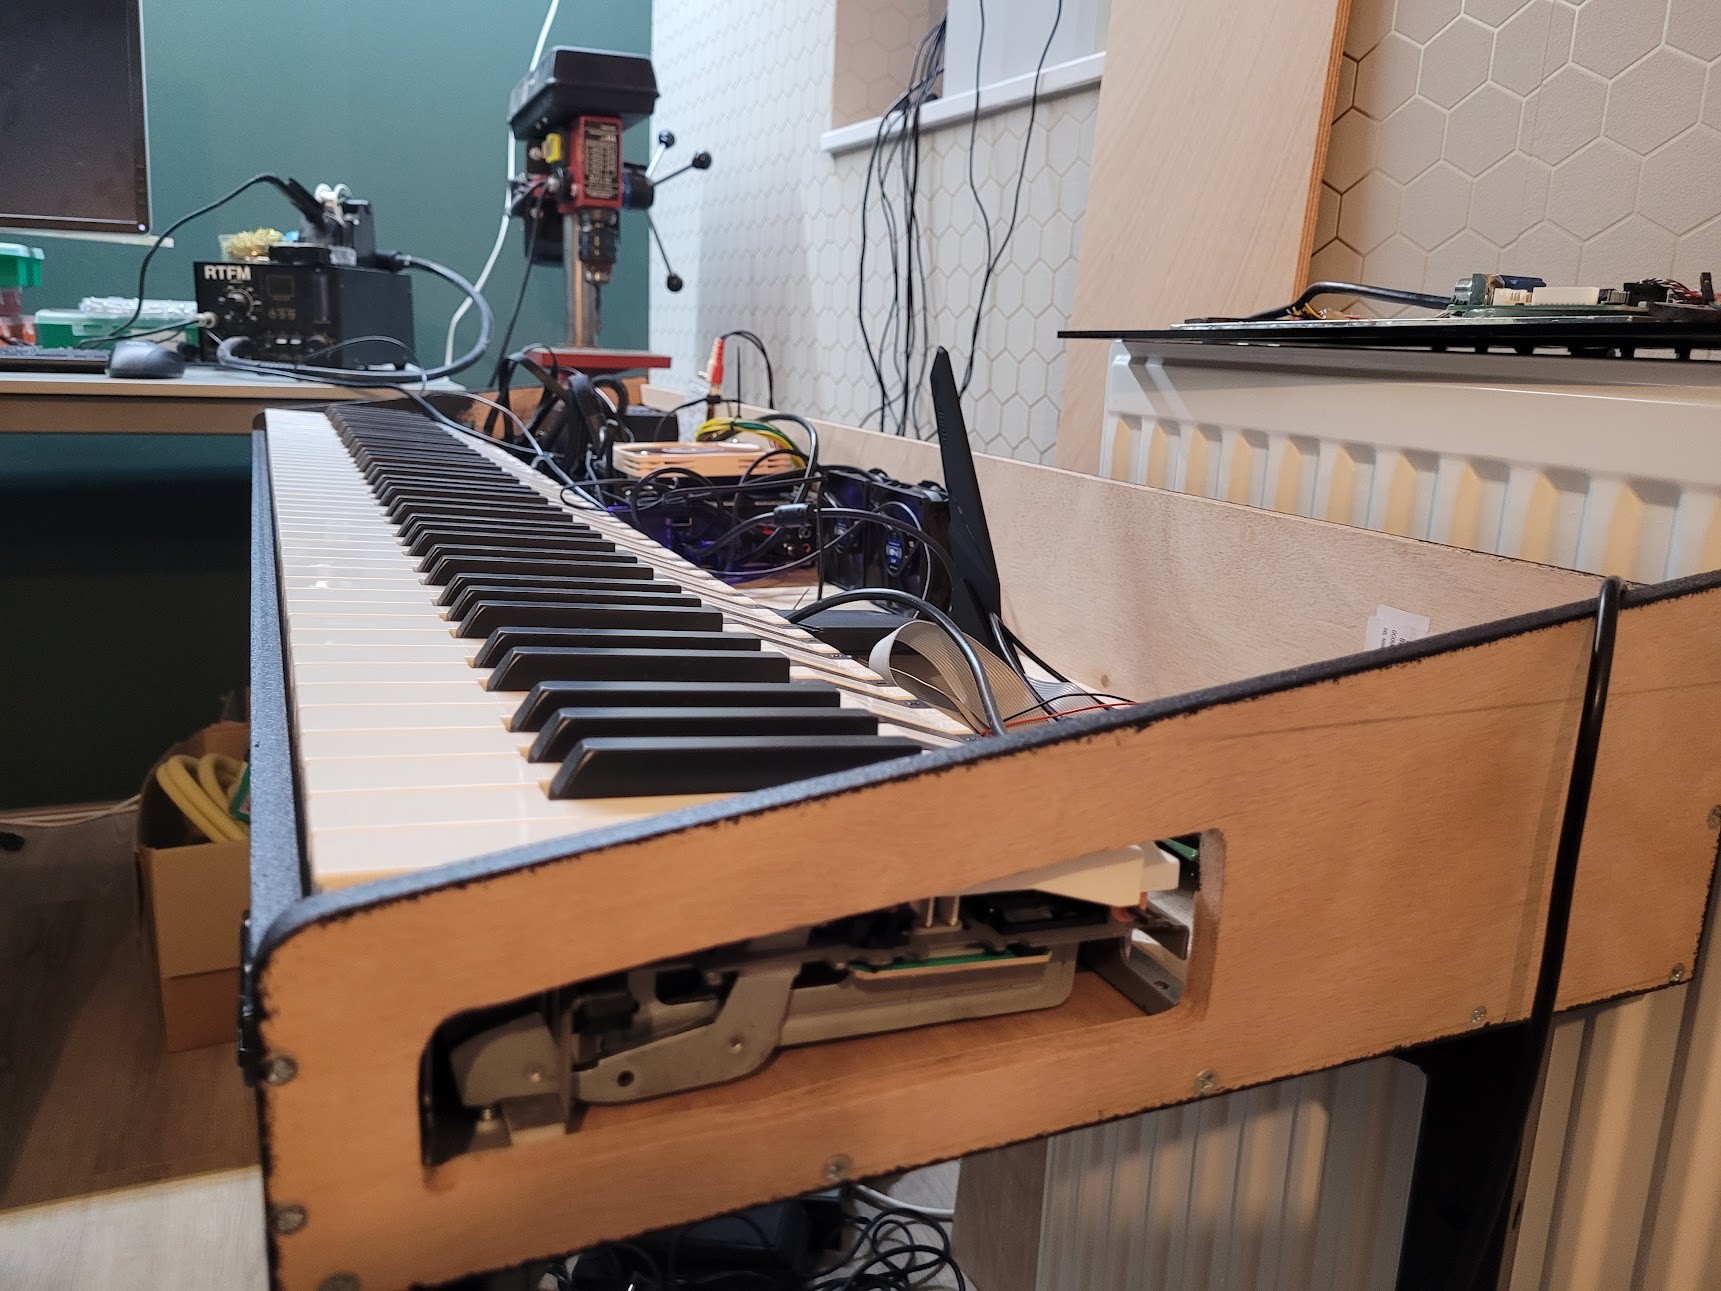
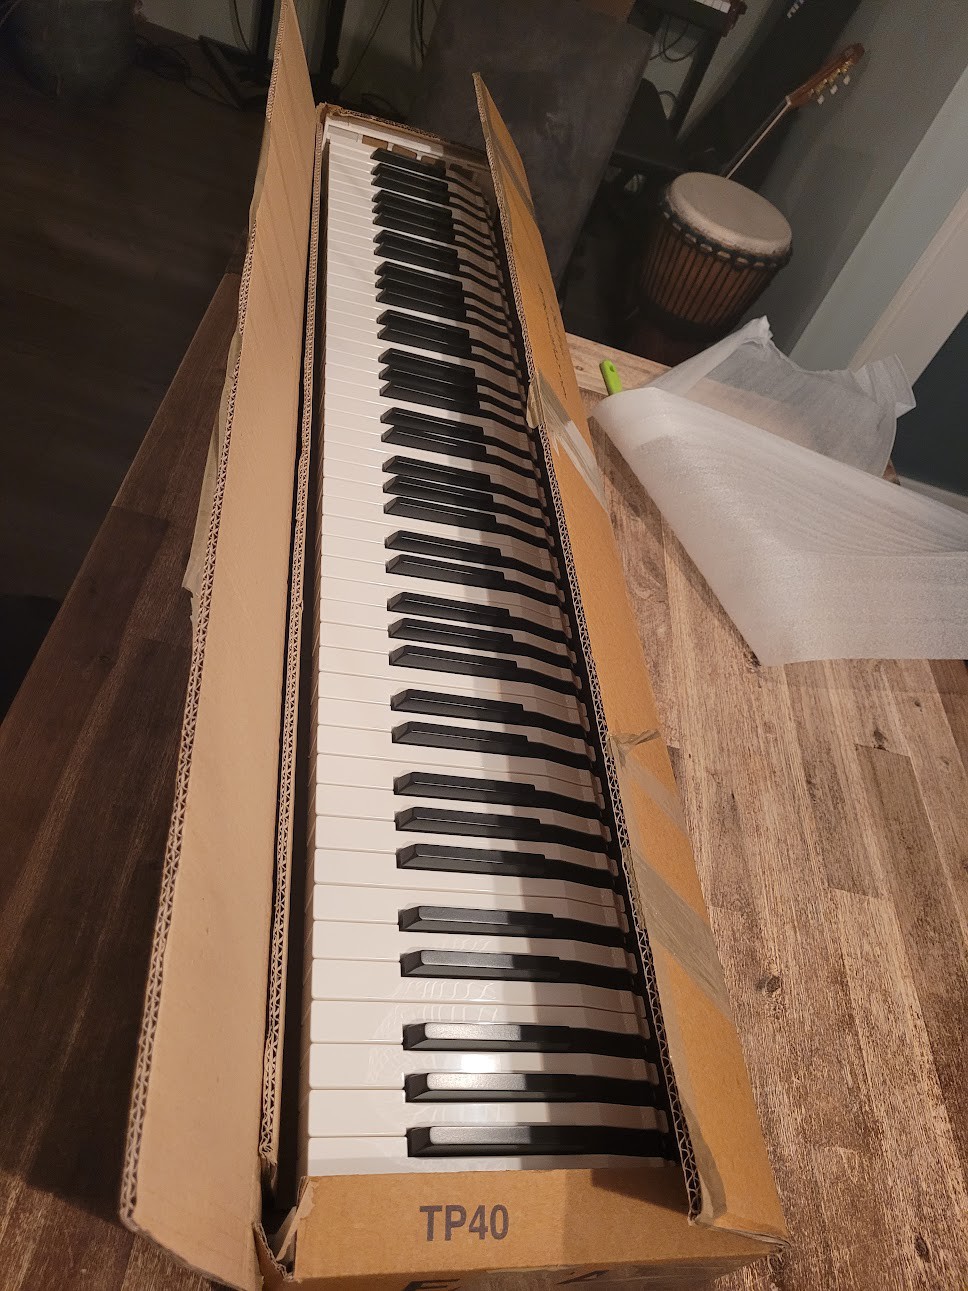
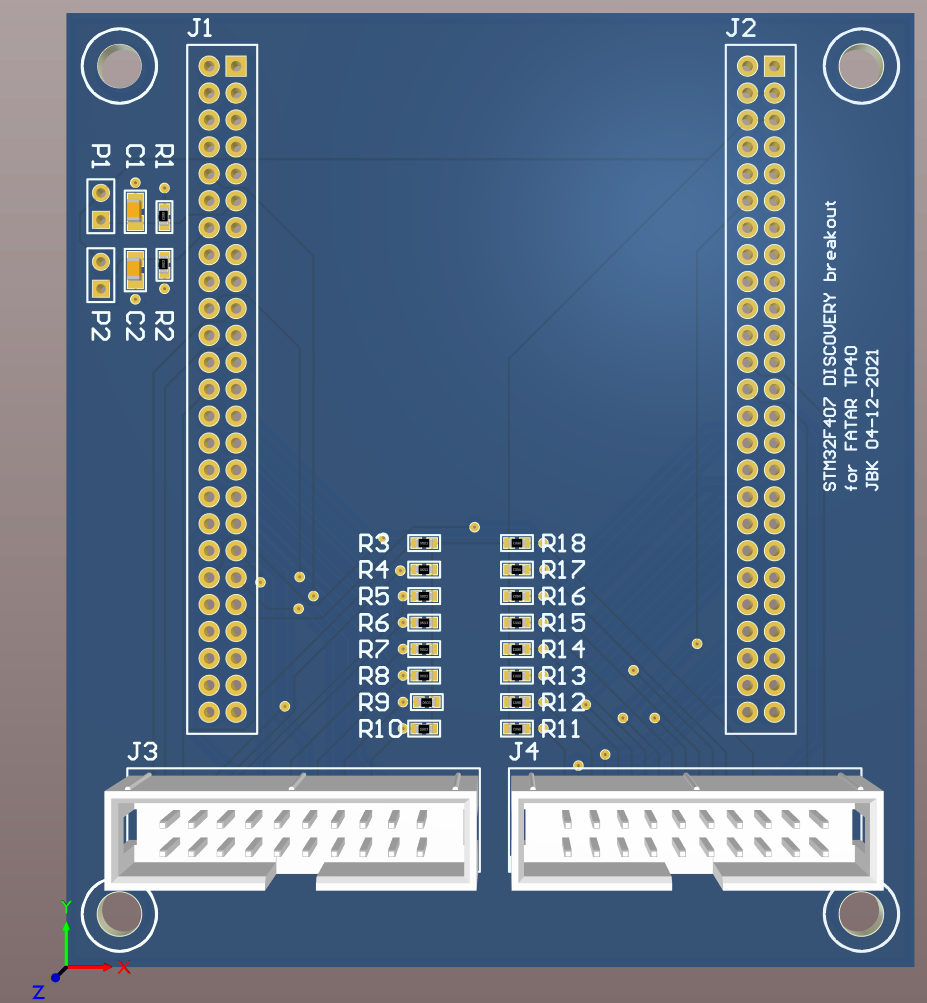
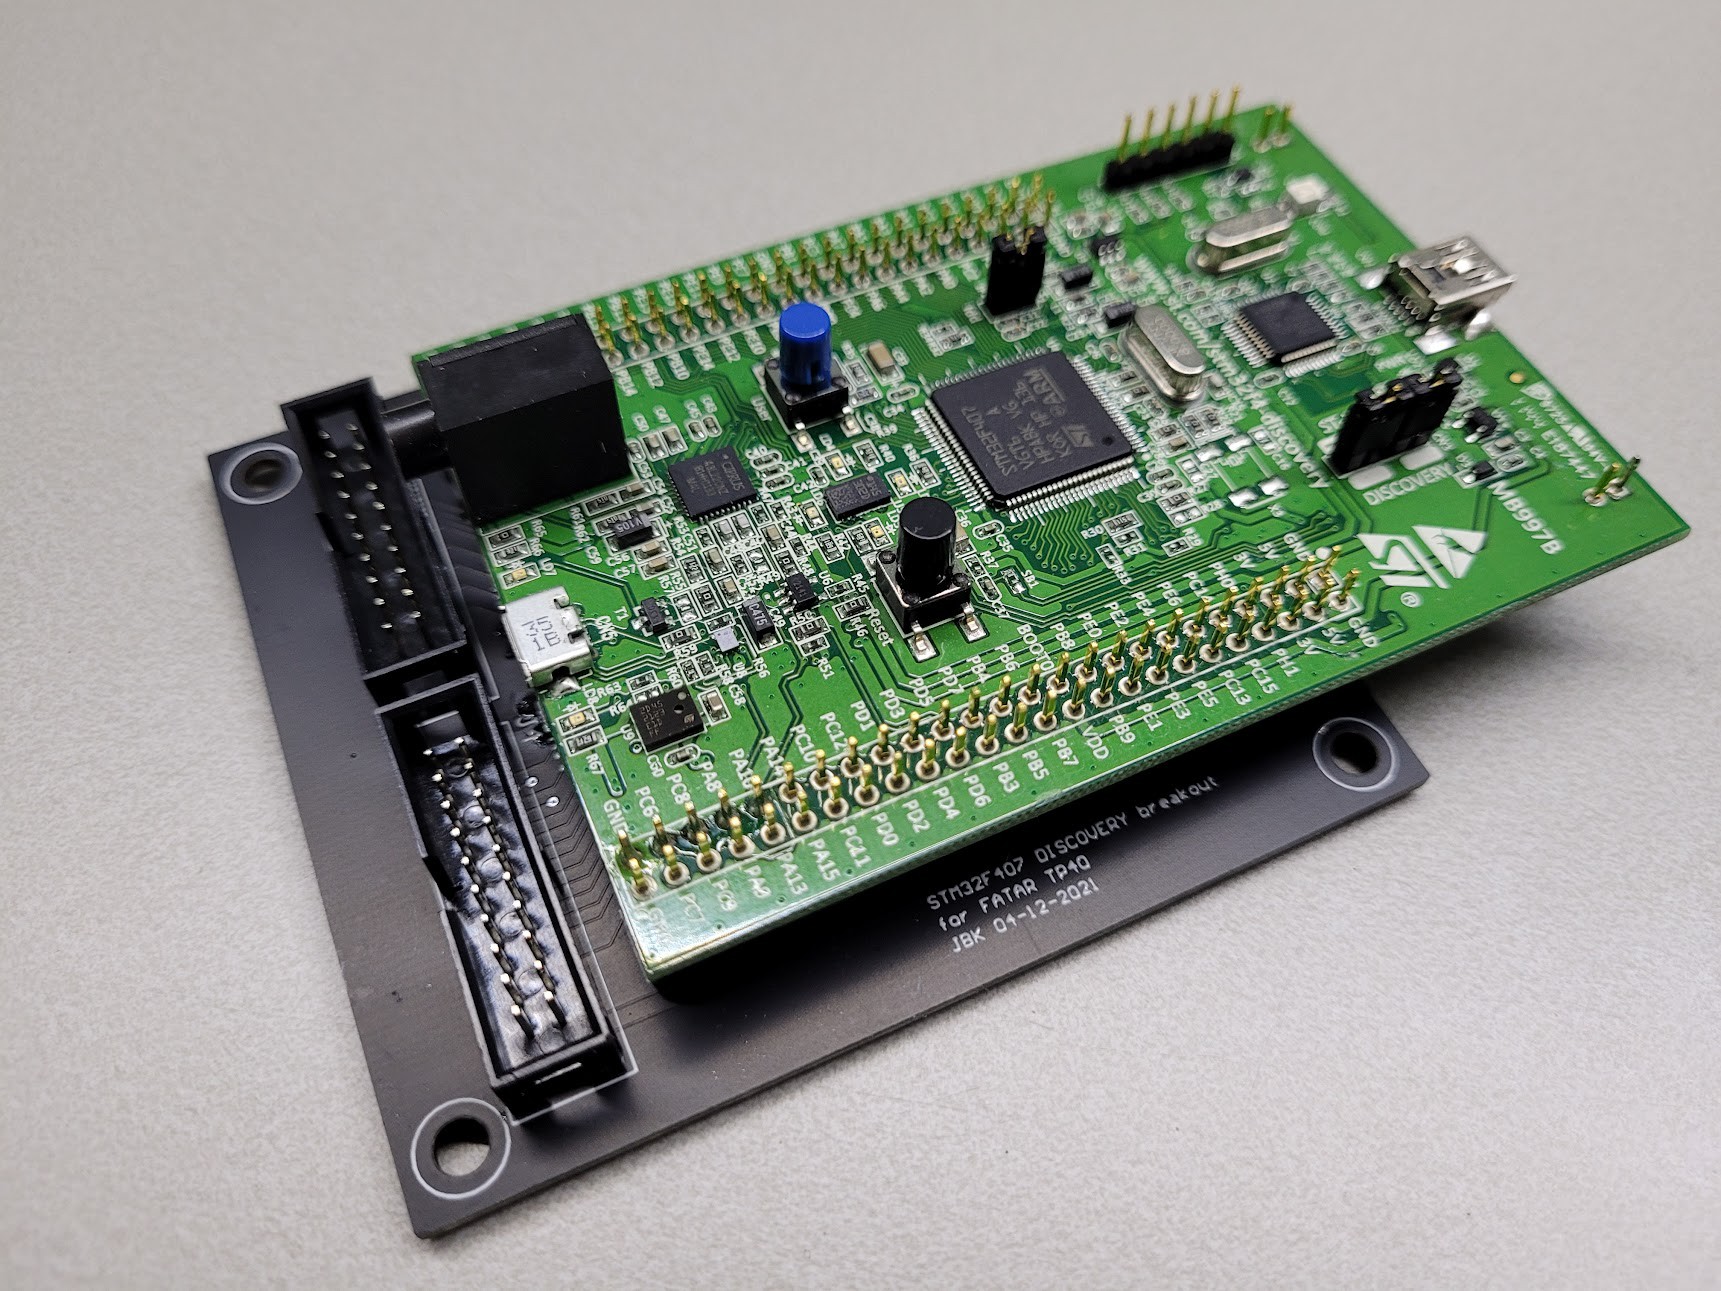
The VSTiPiano is designed to have 8 channels/layers of VST plugins that are controlled with buttons and volume sliders. A Crumar D9U drawbar controller is added for controlling the Hammond sound. The buttons and sliders are custom made MIDI-USB interfaces. Additionally, the keyboard scanning interface is also custom, allowing me to fine-tune the keyboard's responsiveness to match the piano action exactly to my liking.
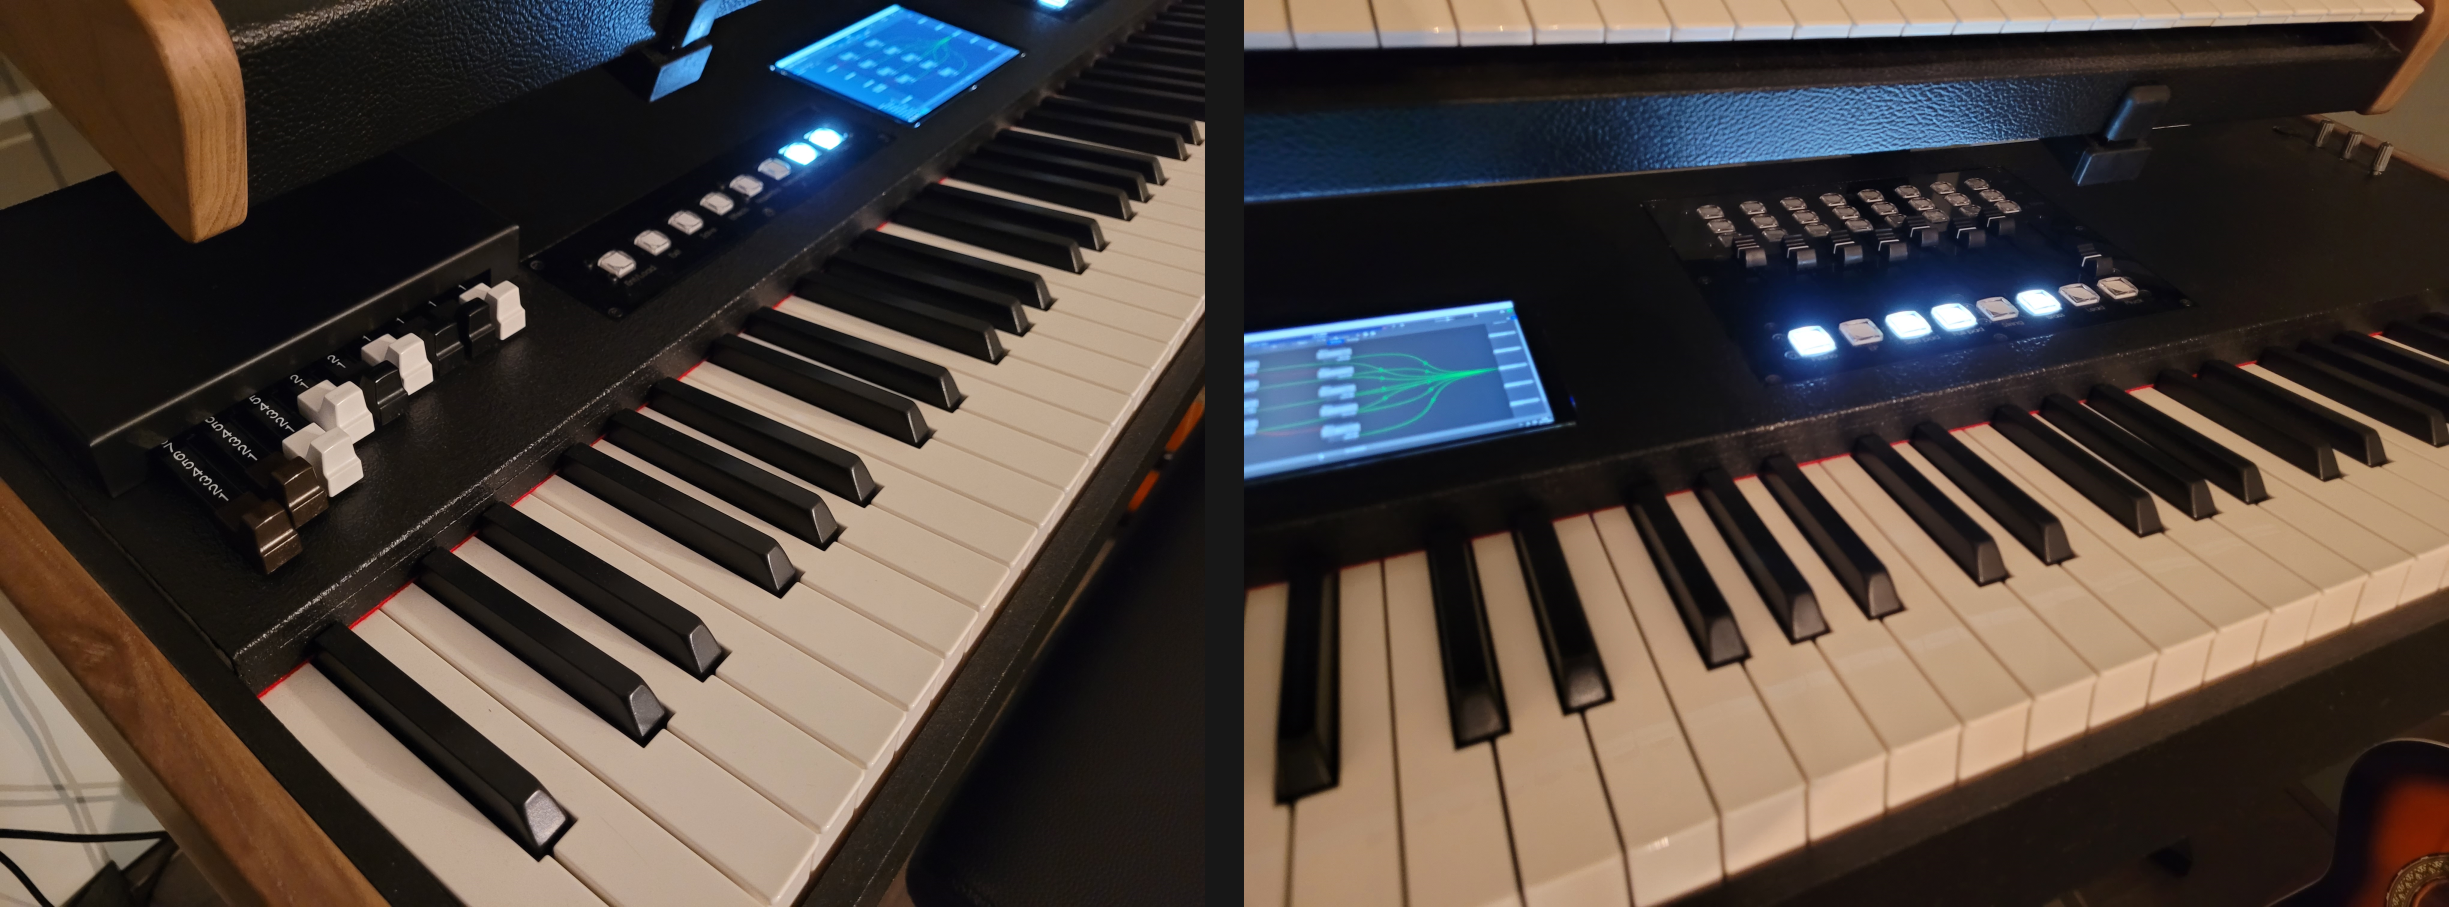
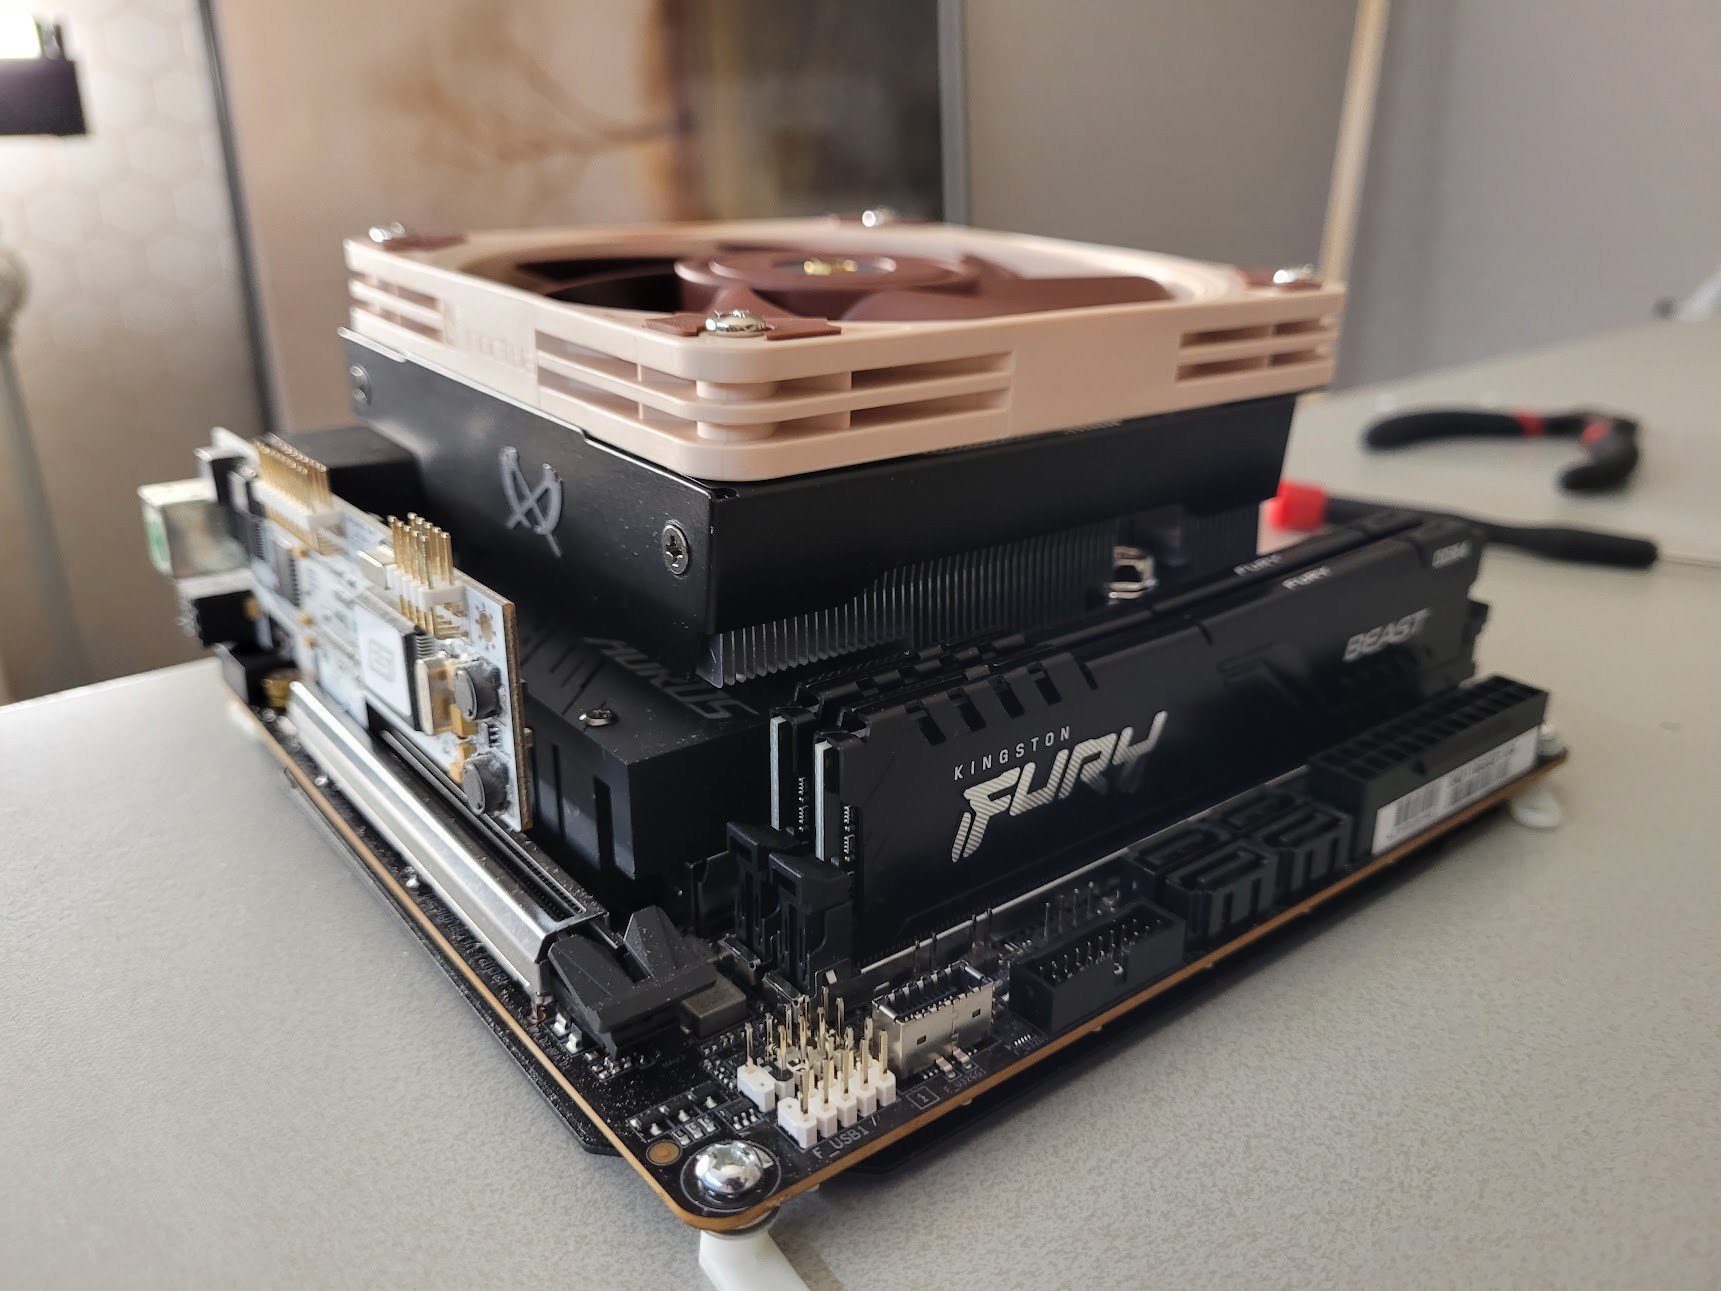
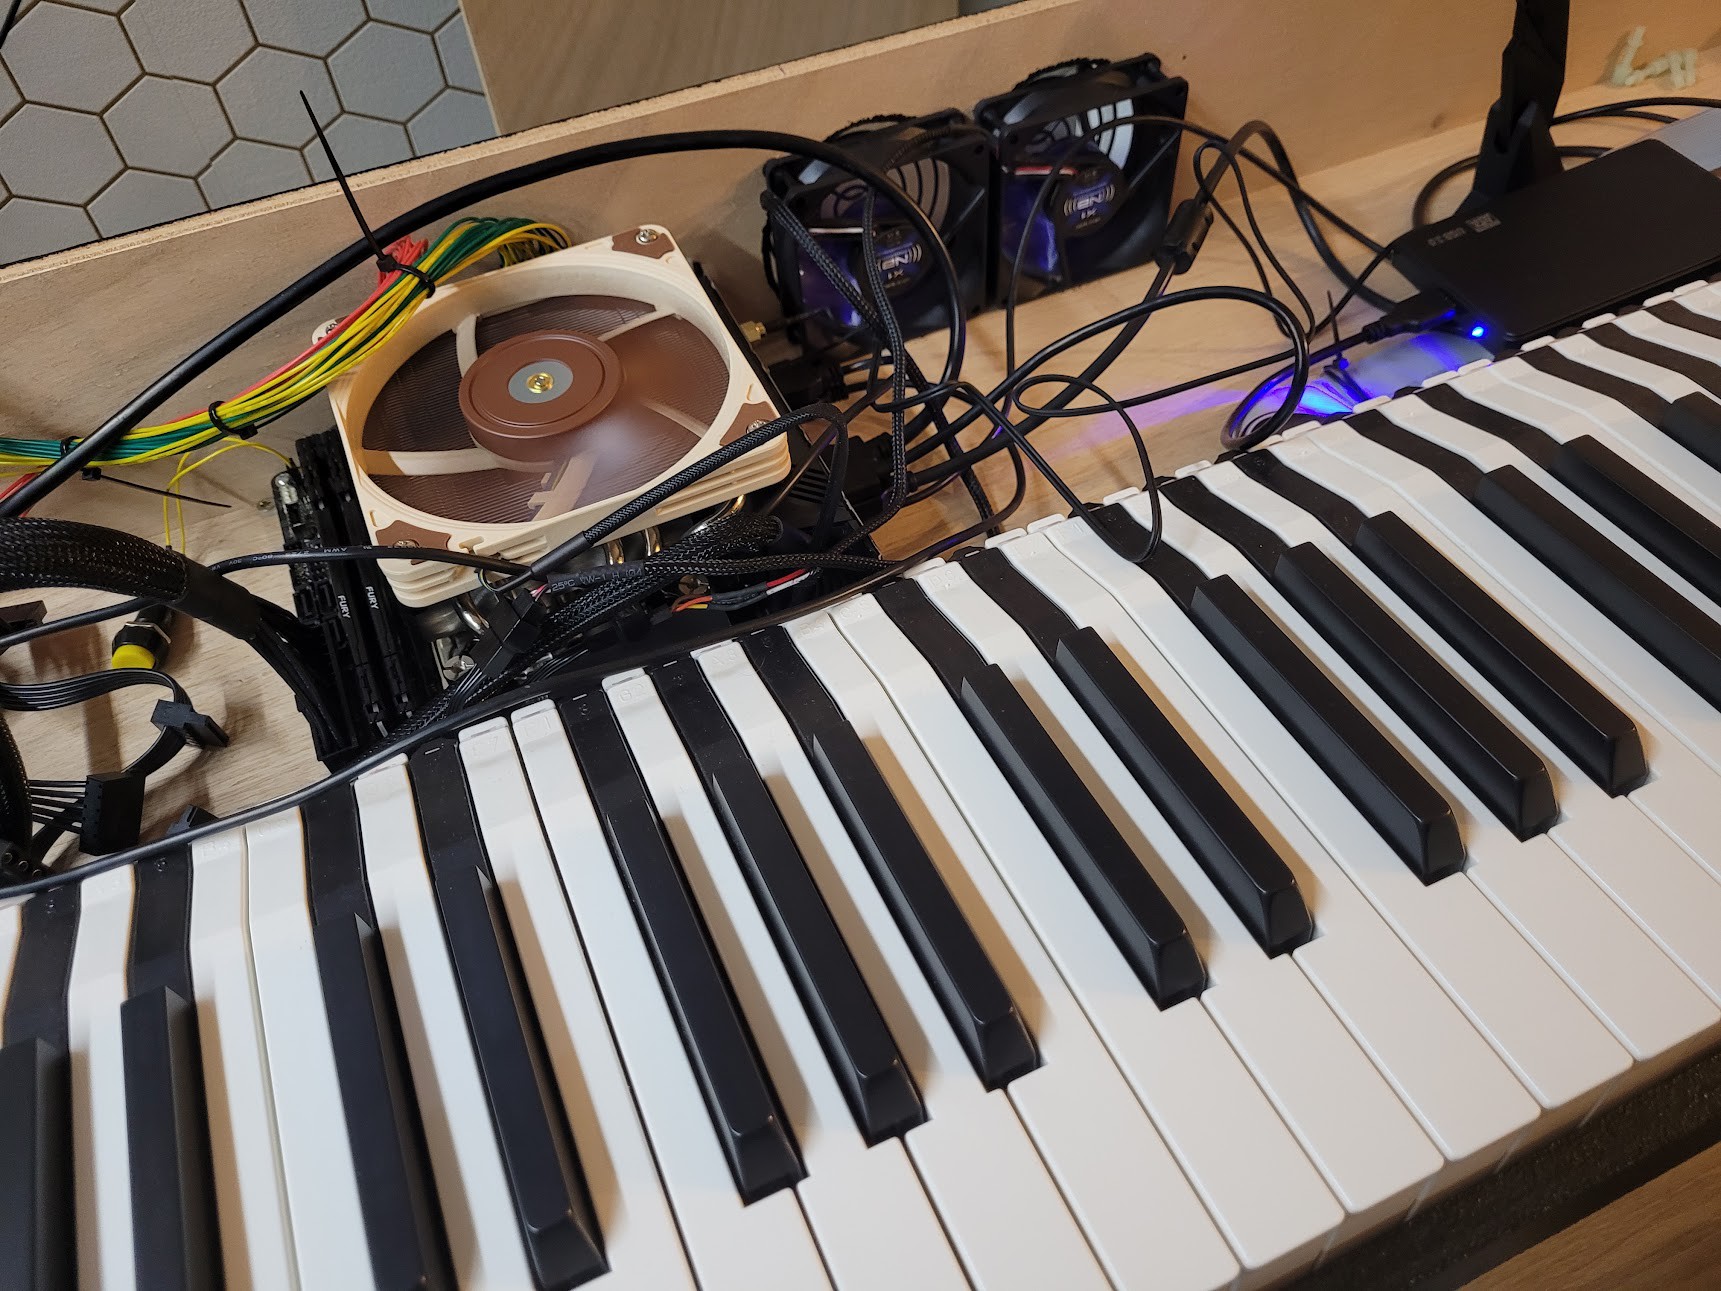
The synth on top is also PC based; it is my 49 key version of the VSTiBox.
The current software used to run the VST's is Cantabile which works great! (https://www.cantabilesoftware.com/)
I did write my own DAW for the VSTiBox, but that currently only supports VST2's. Once x64 VST3's are supported and the engine runs in C++, I will use that instead. This will also allow me to implement the intended functionality for the 3x8 button controller. Another potential upgrade involves adding effect control panels with encoders or potentiometers to control various effects like a compressor, distortion, delay and reverb.


 mircemk
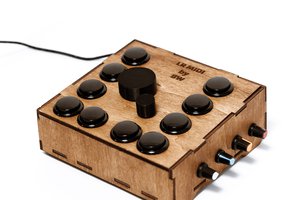
 Swoosh Mihu
 CriusDigitalStudio
 Red Chili
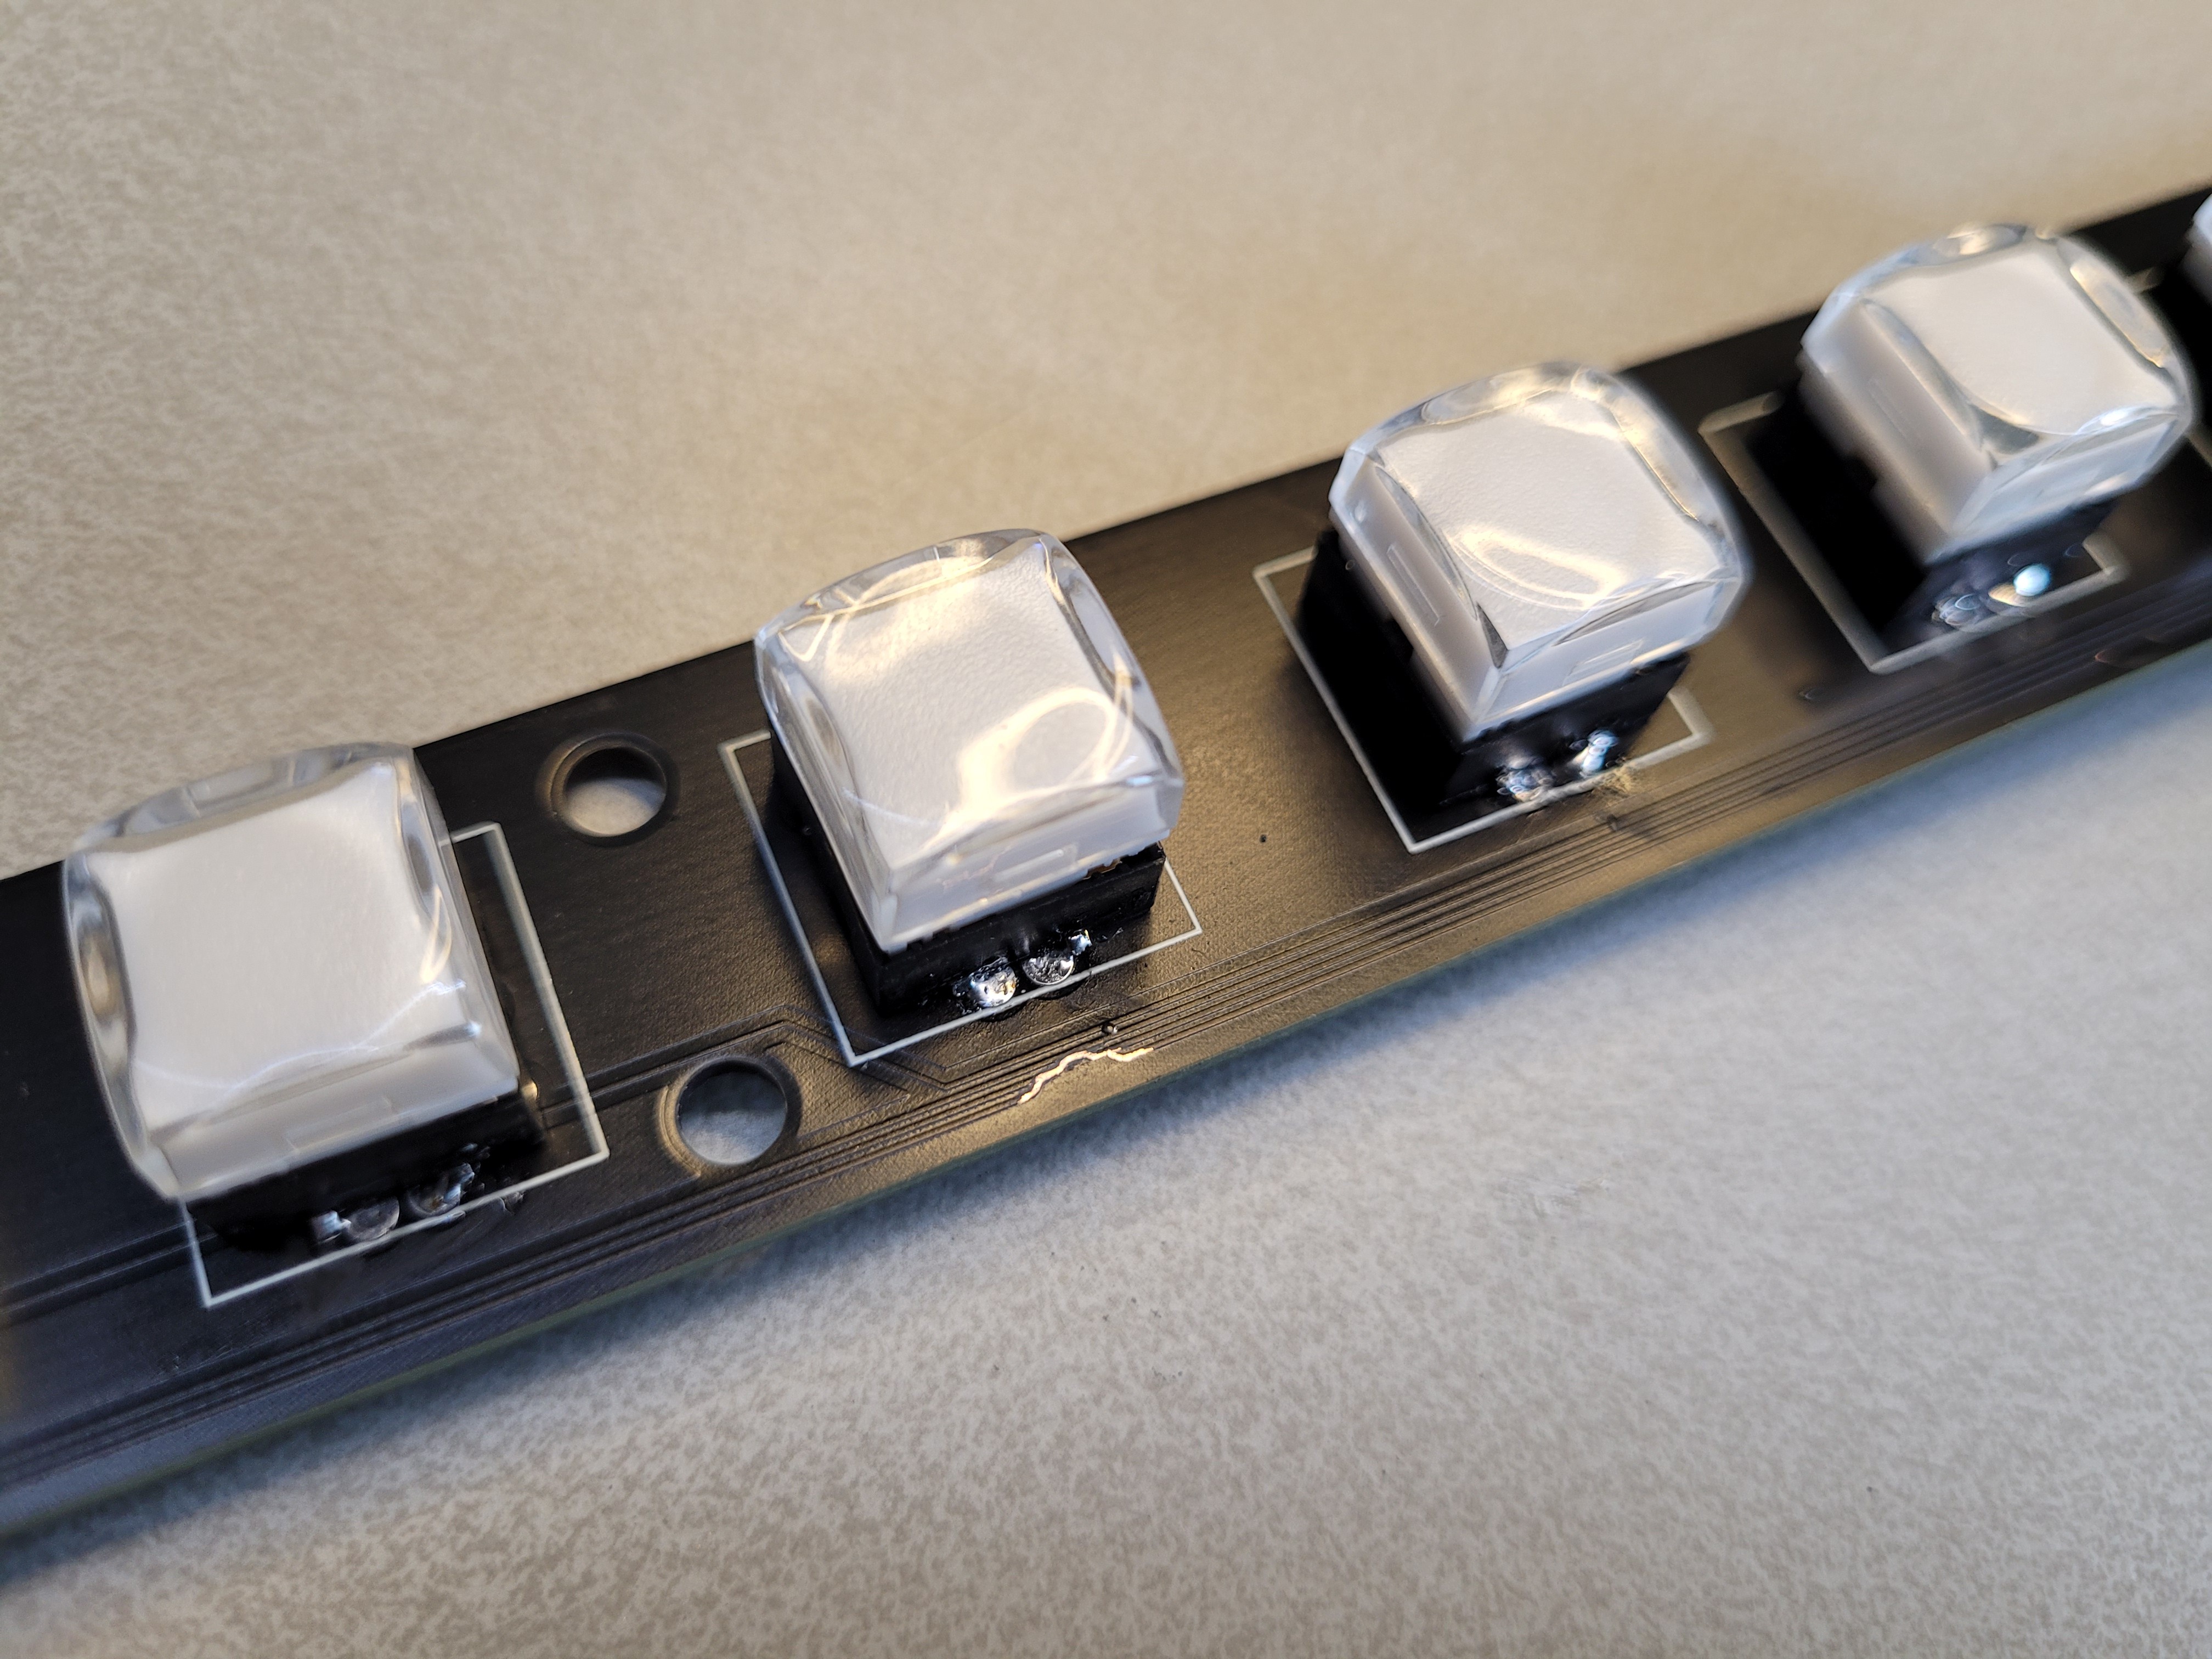
In the previous design (monoblock) we see silicone buttons, in this one we see buttons with a mechanical membrane.
What's wrong with silicone buttons?