Our M8B is very simple to use:
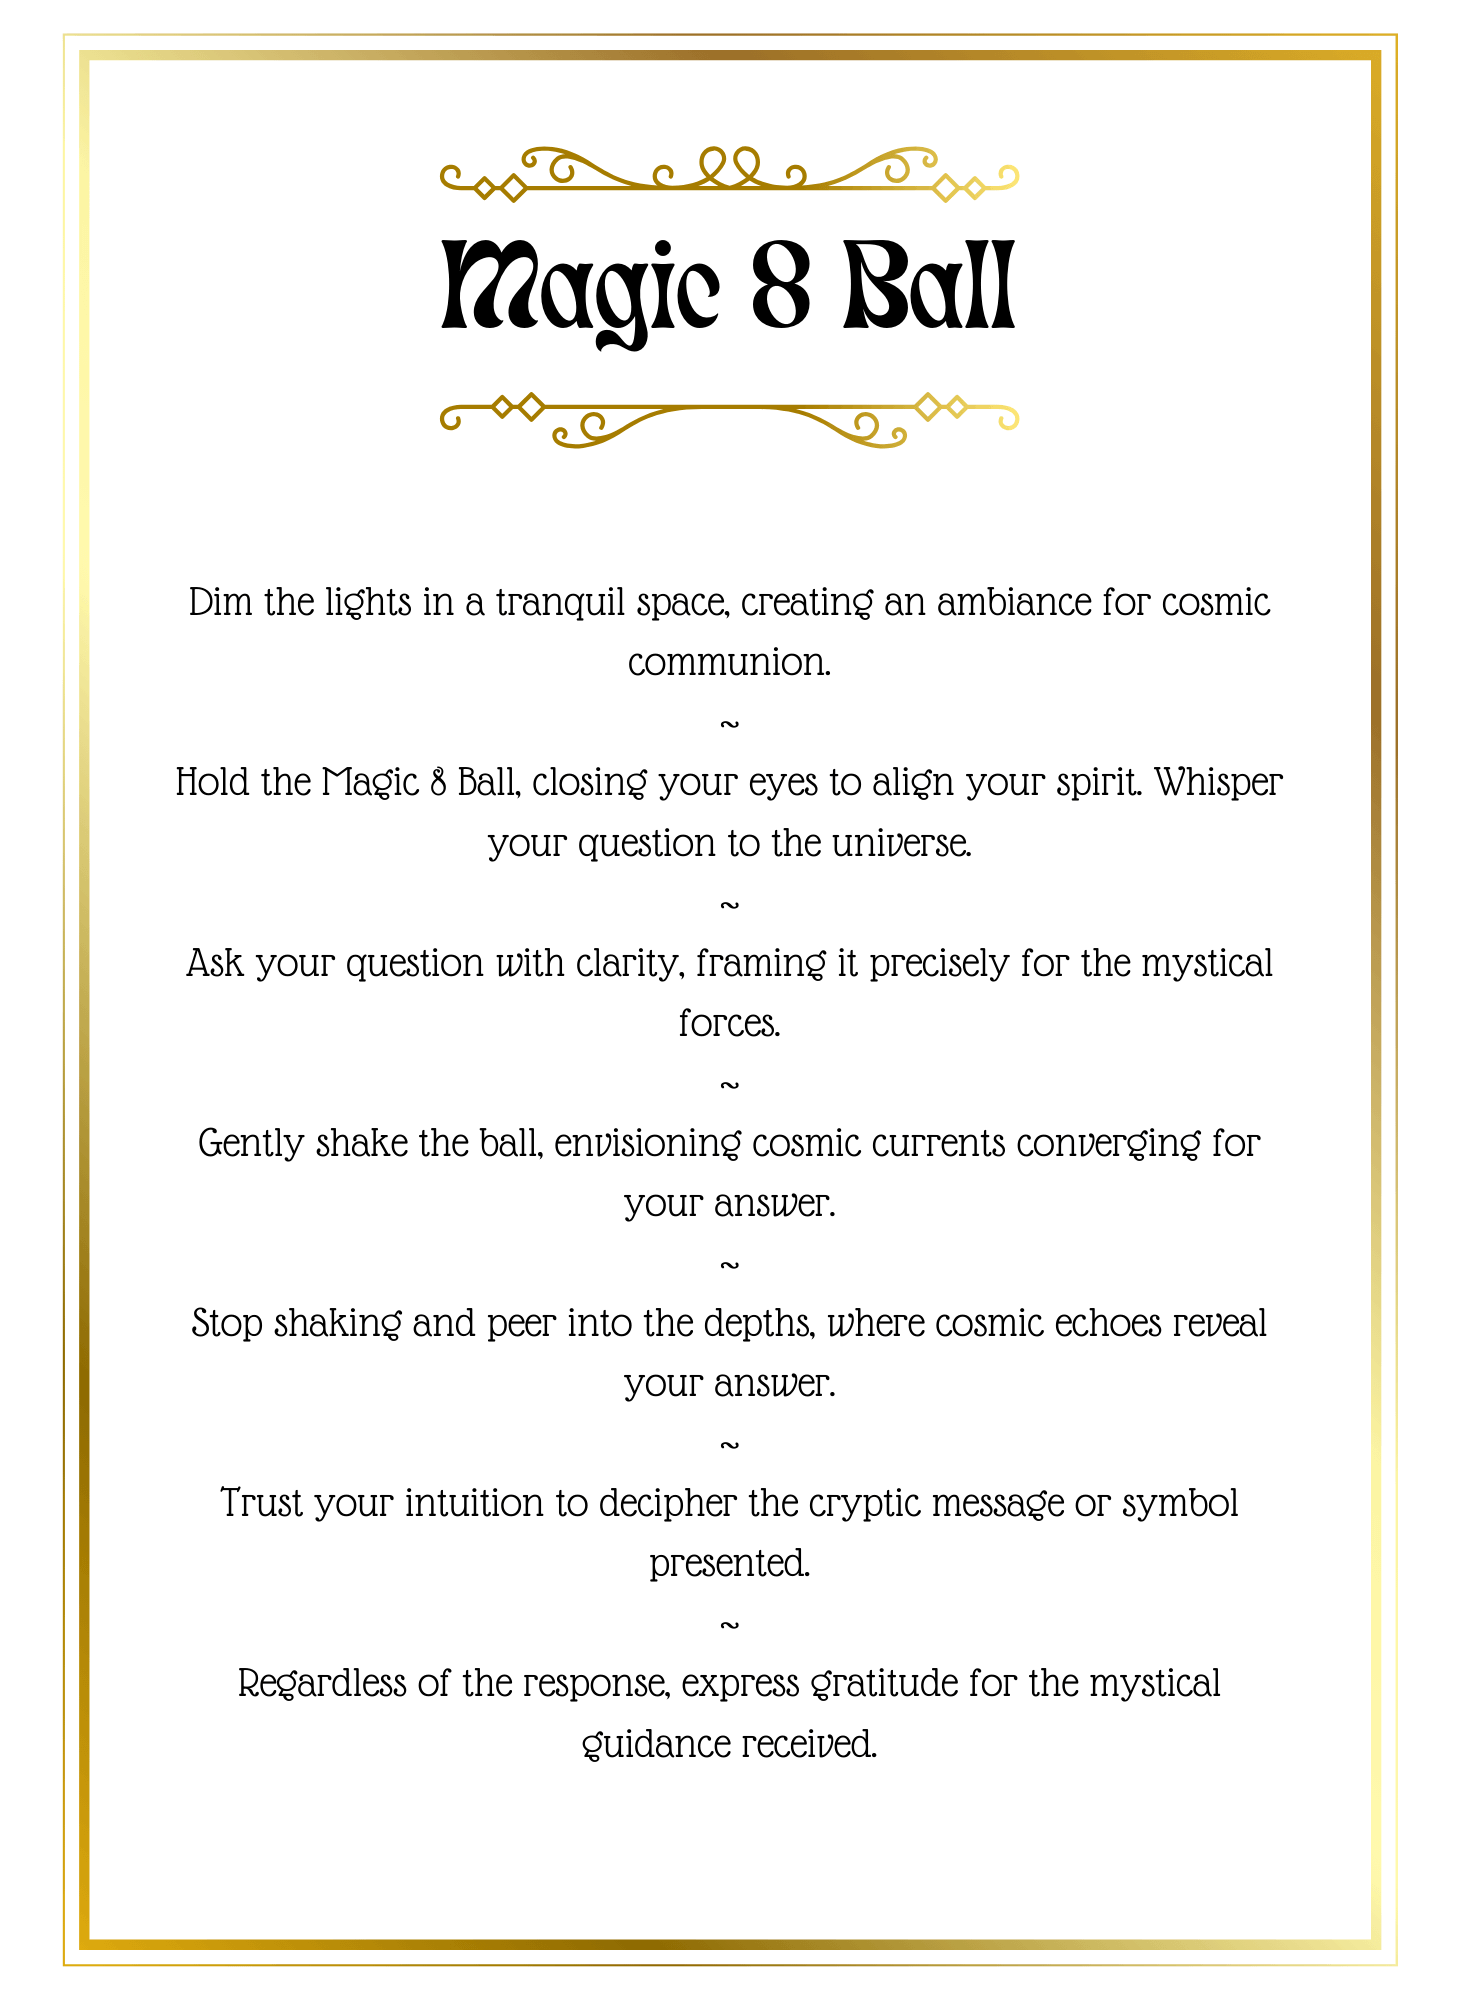
1) Read the magical instructions book!
2) Touch the sensor to displays your answer on the screen.
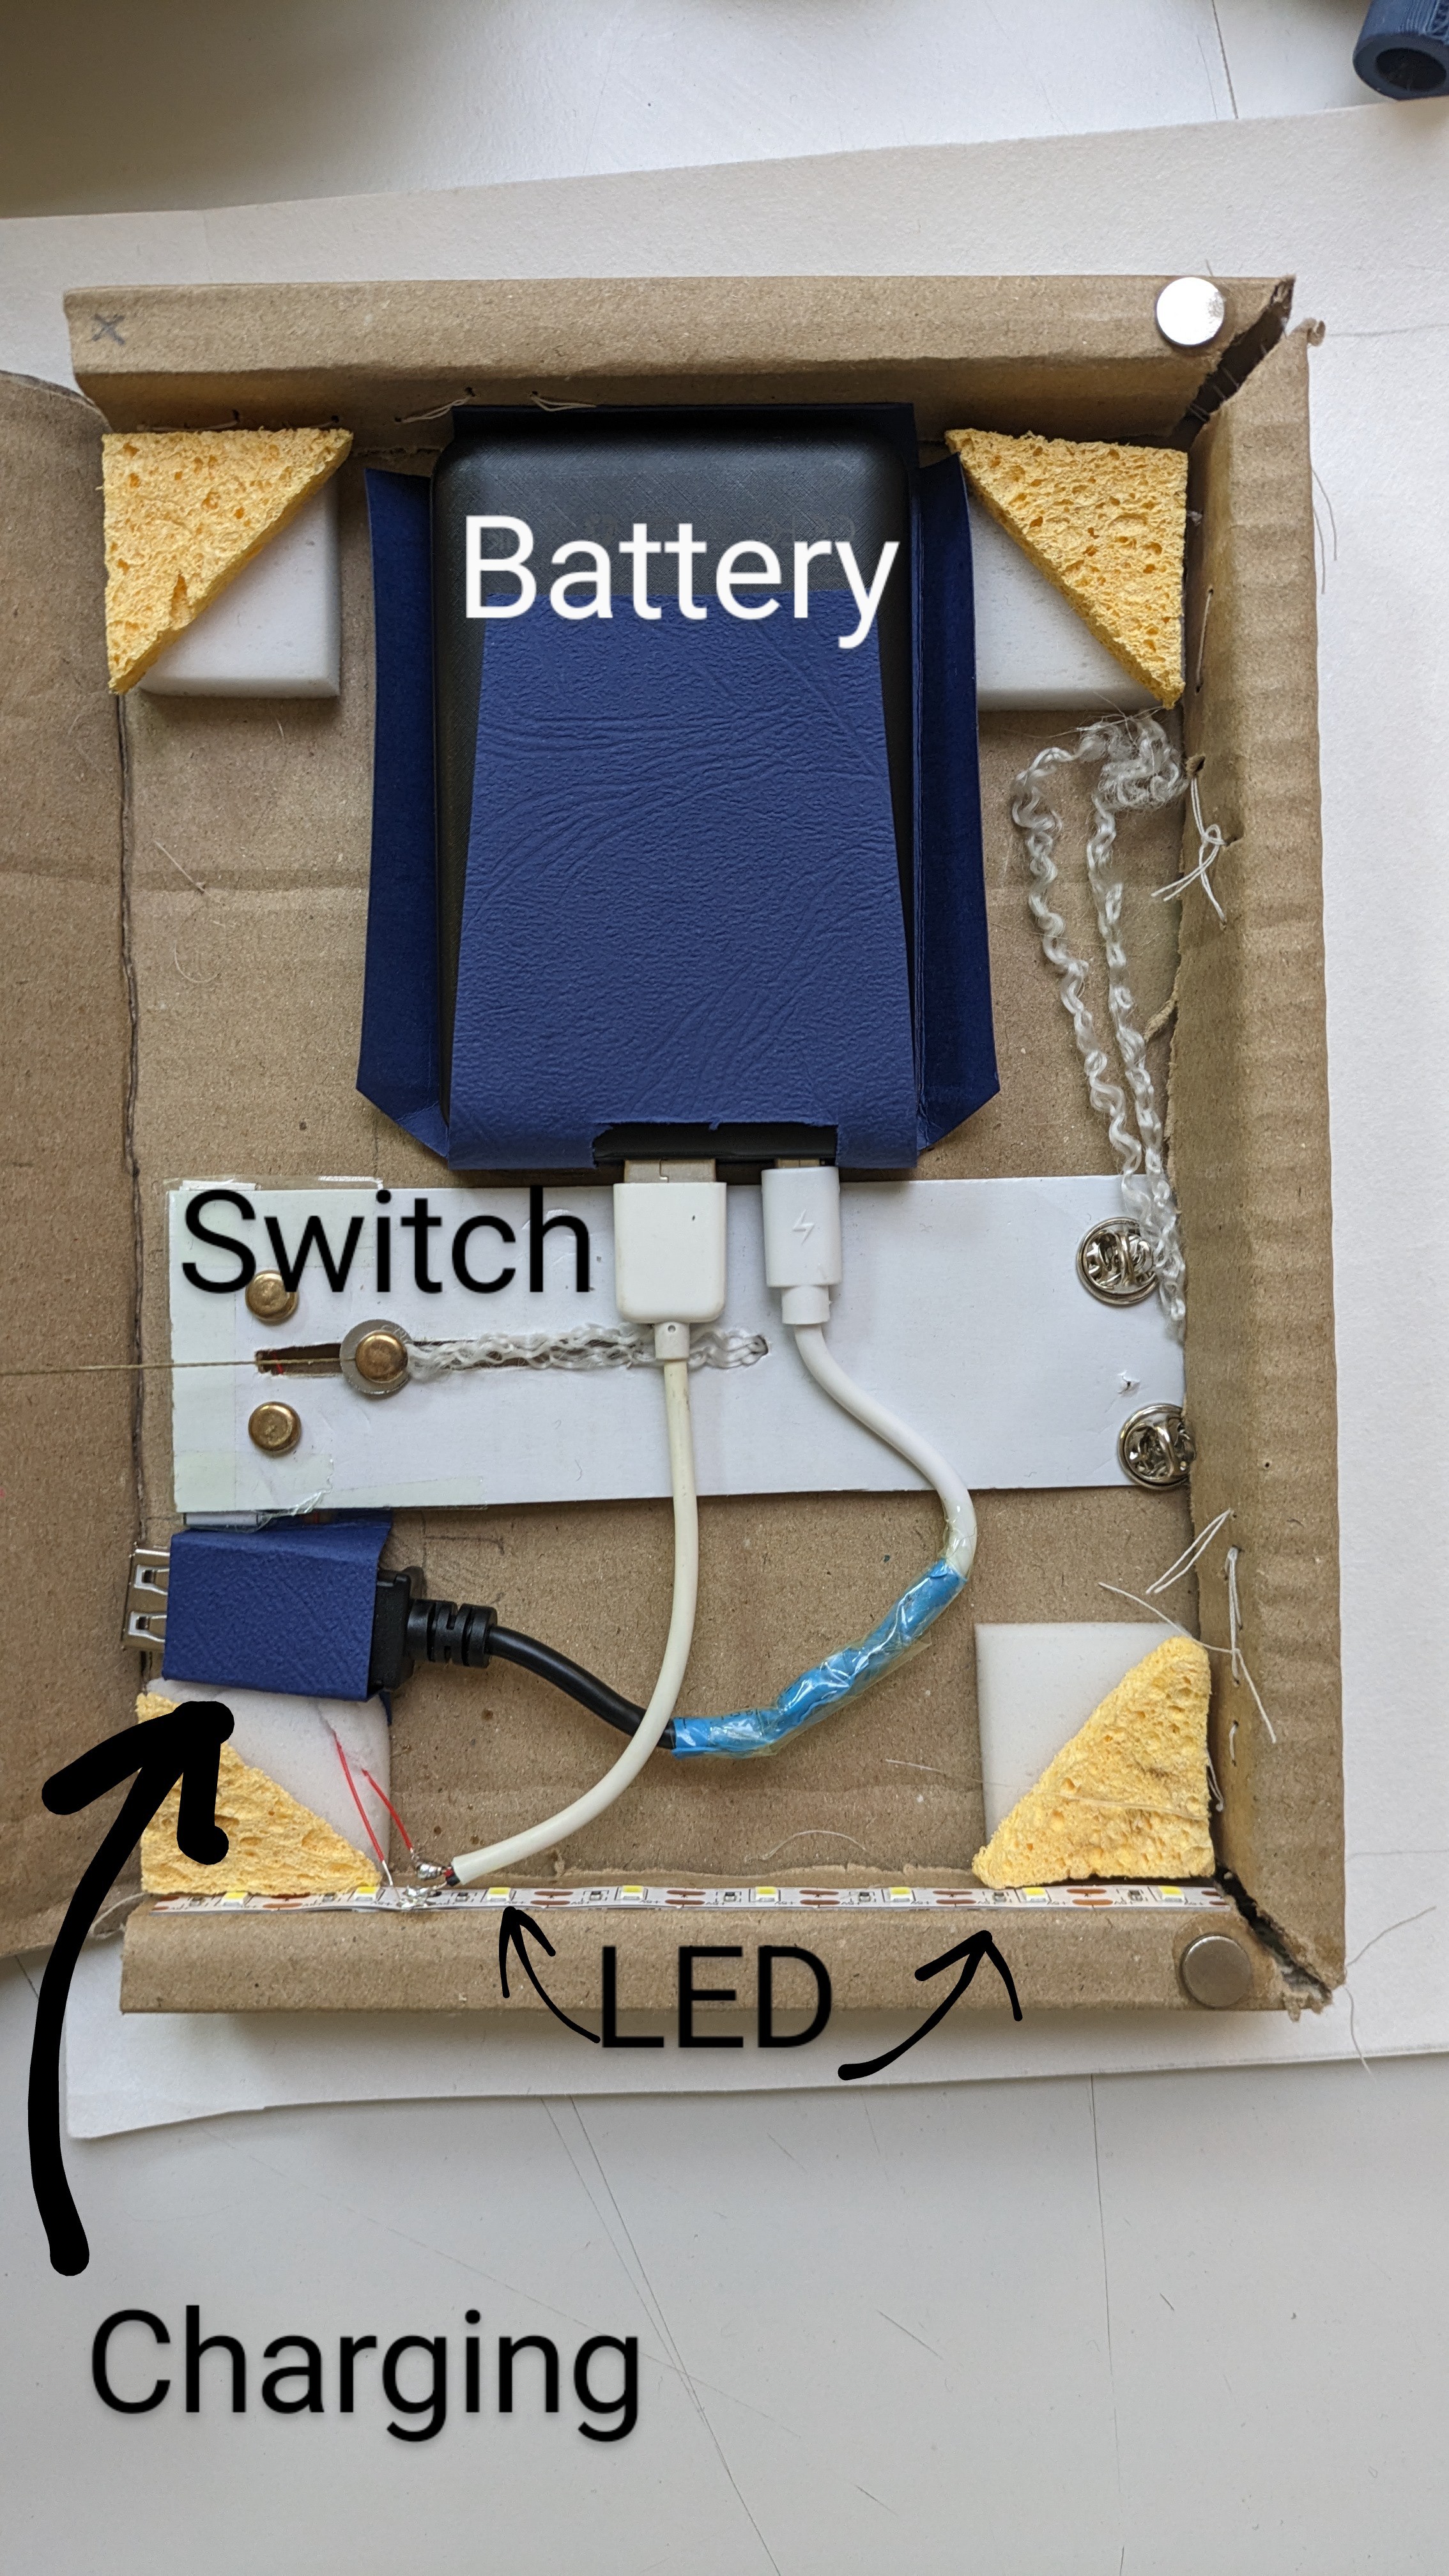
To create it, we used several components:
- 3 LEDs
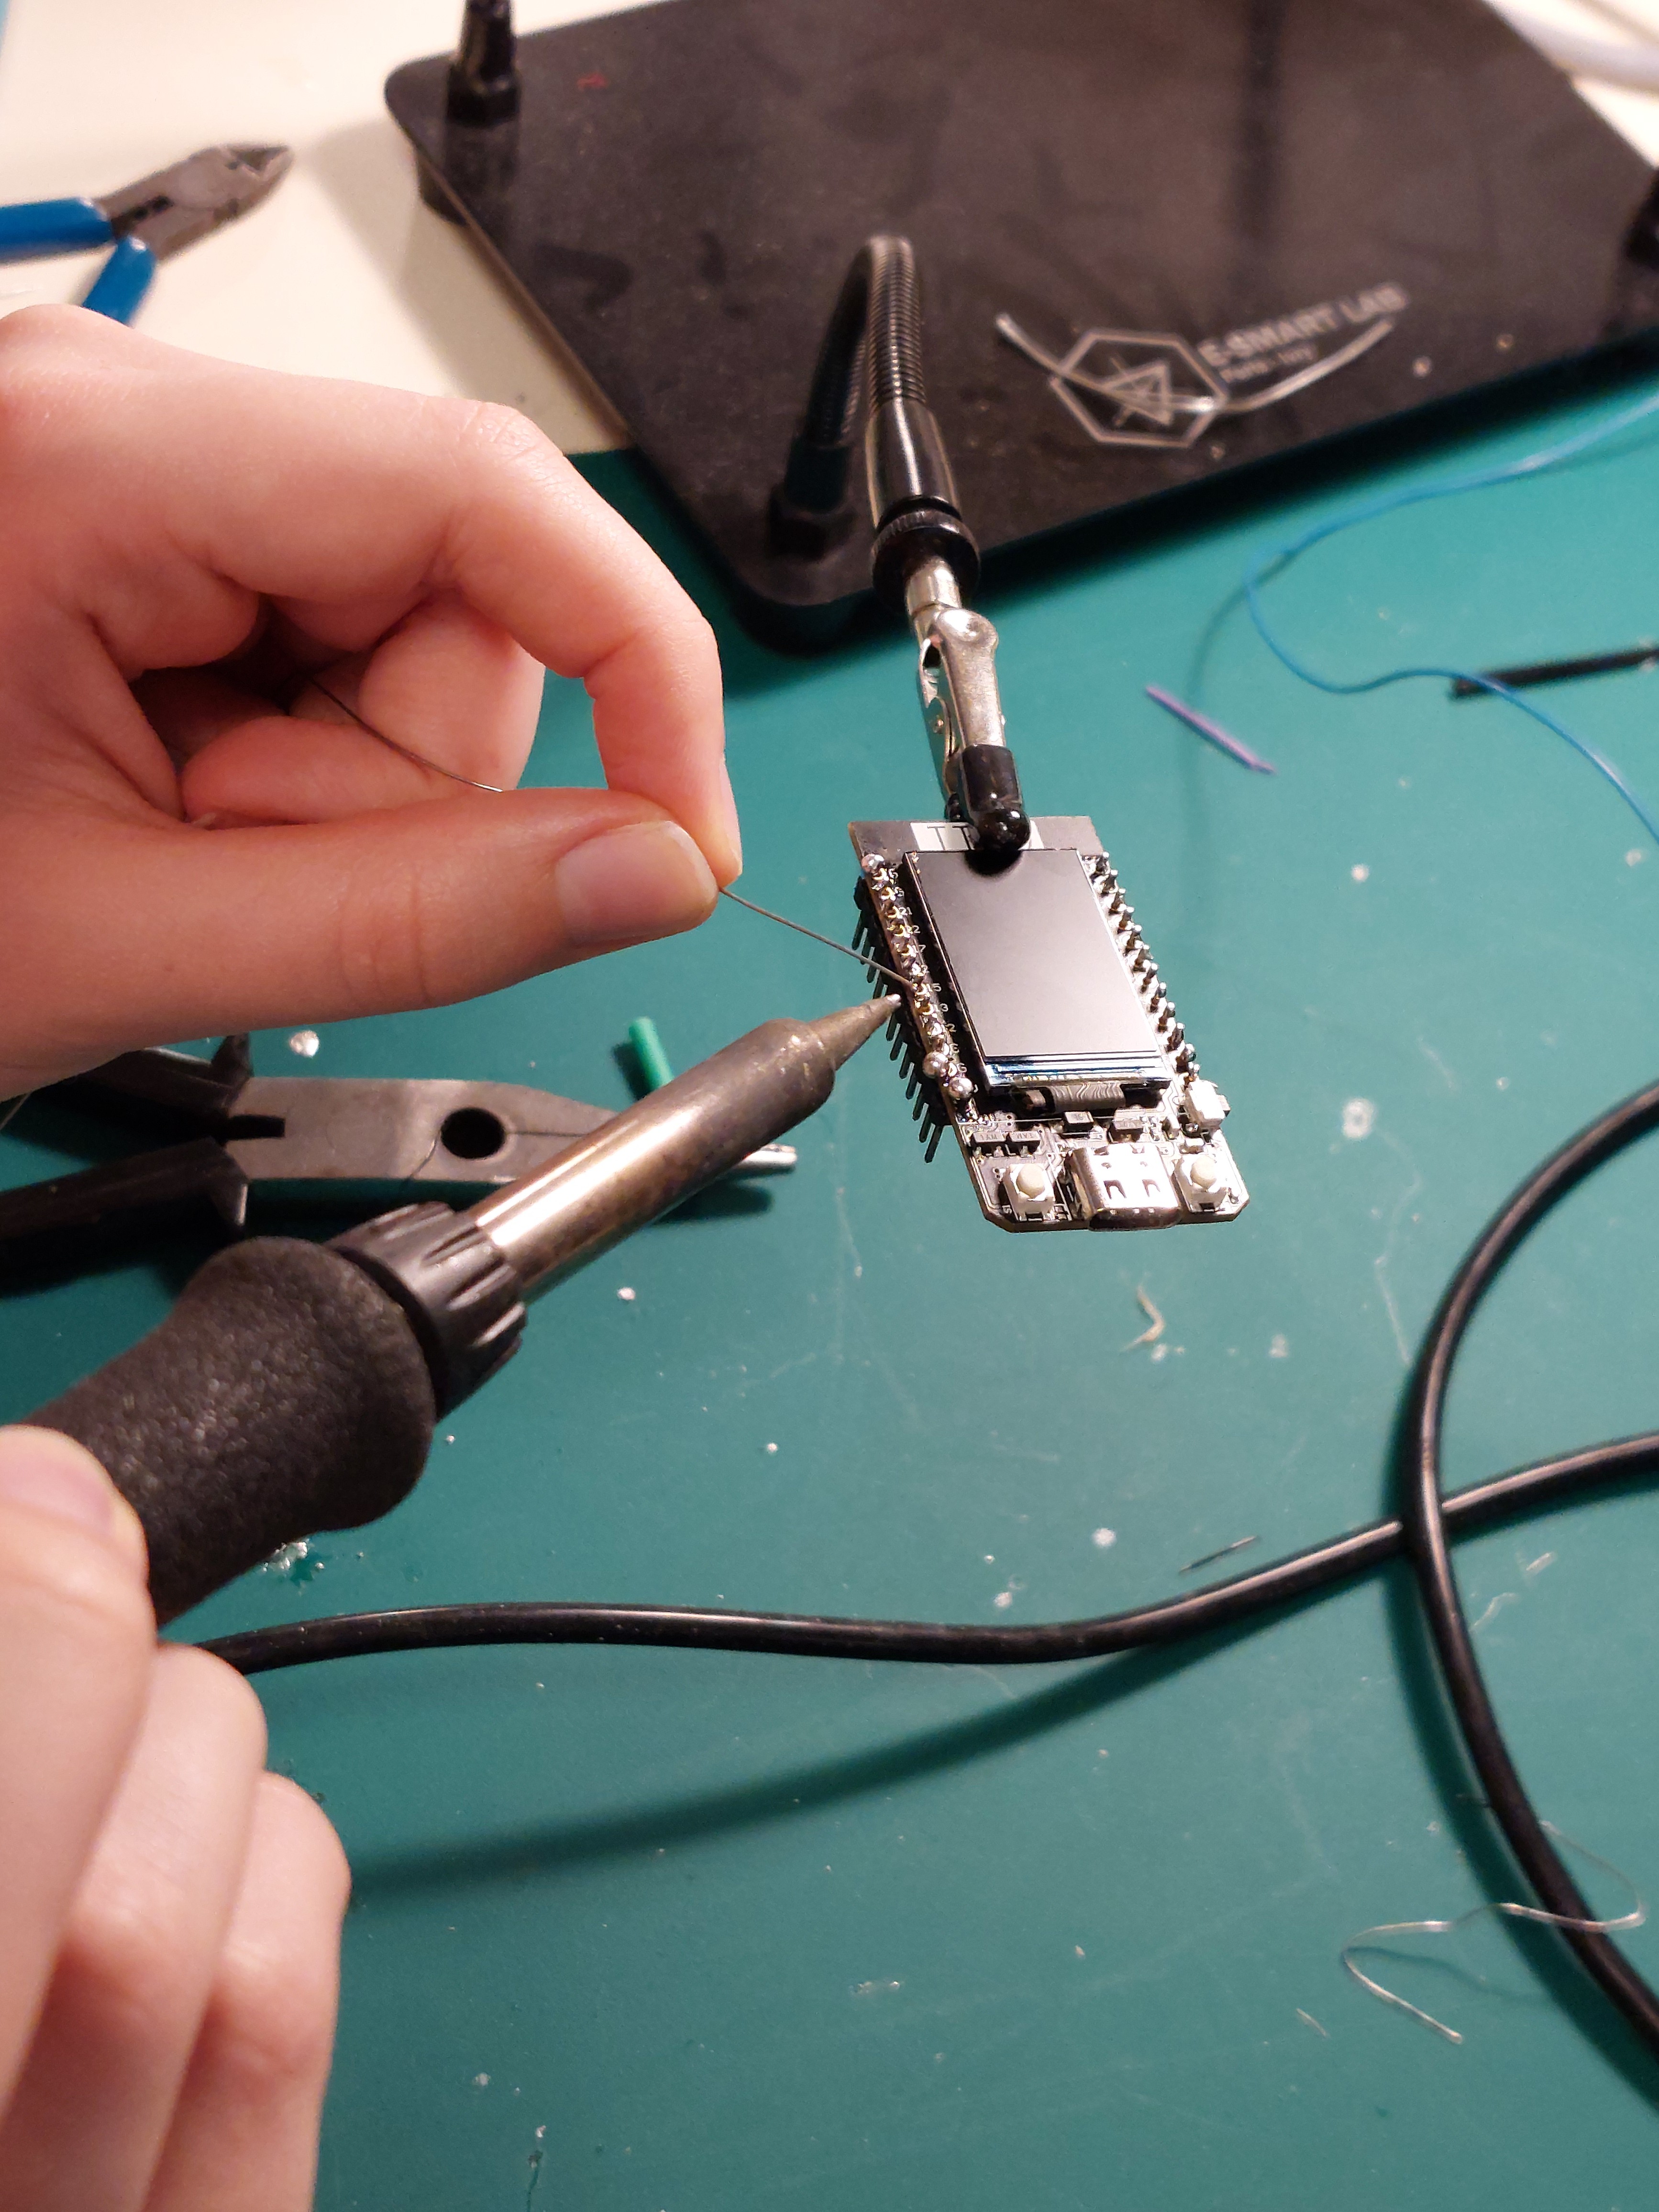
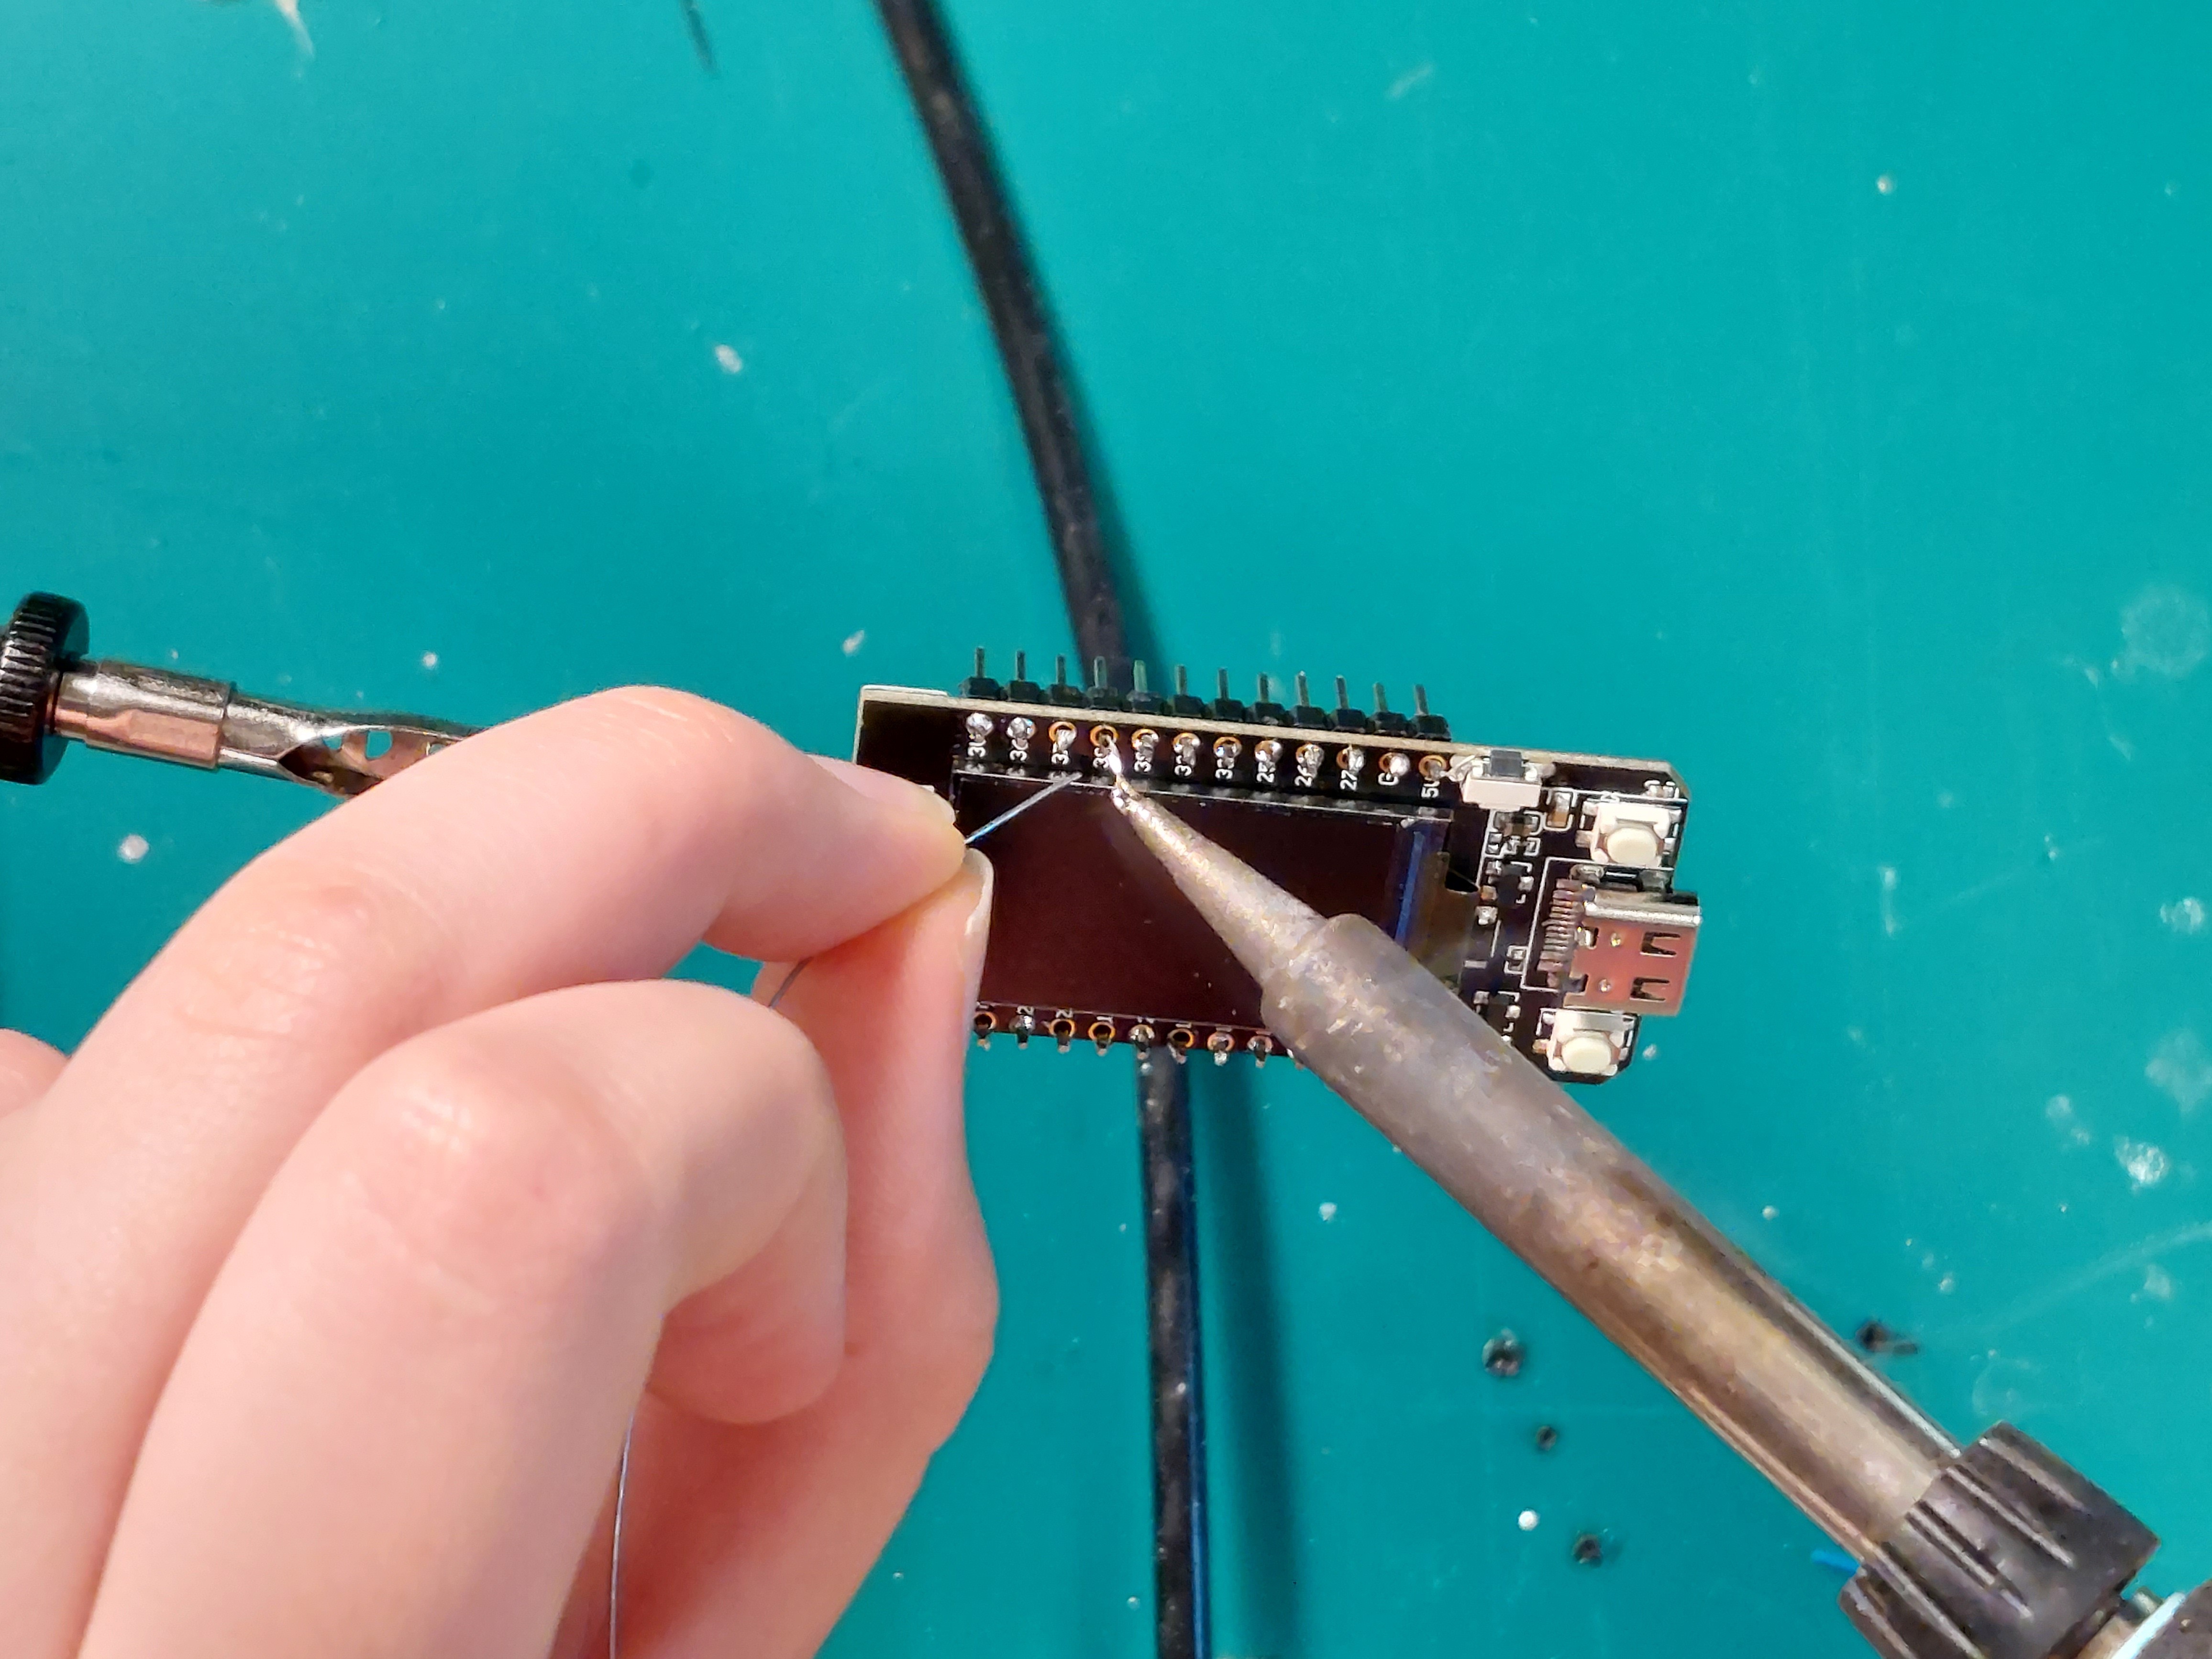
- 2 ESP32 TTGO LilyGo
- A touch sensor keyestudio
- Breadboard
- Cables
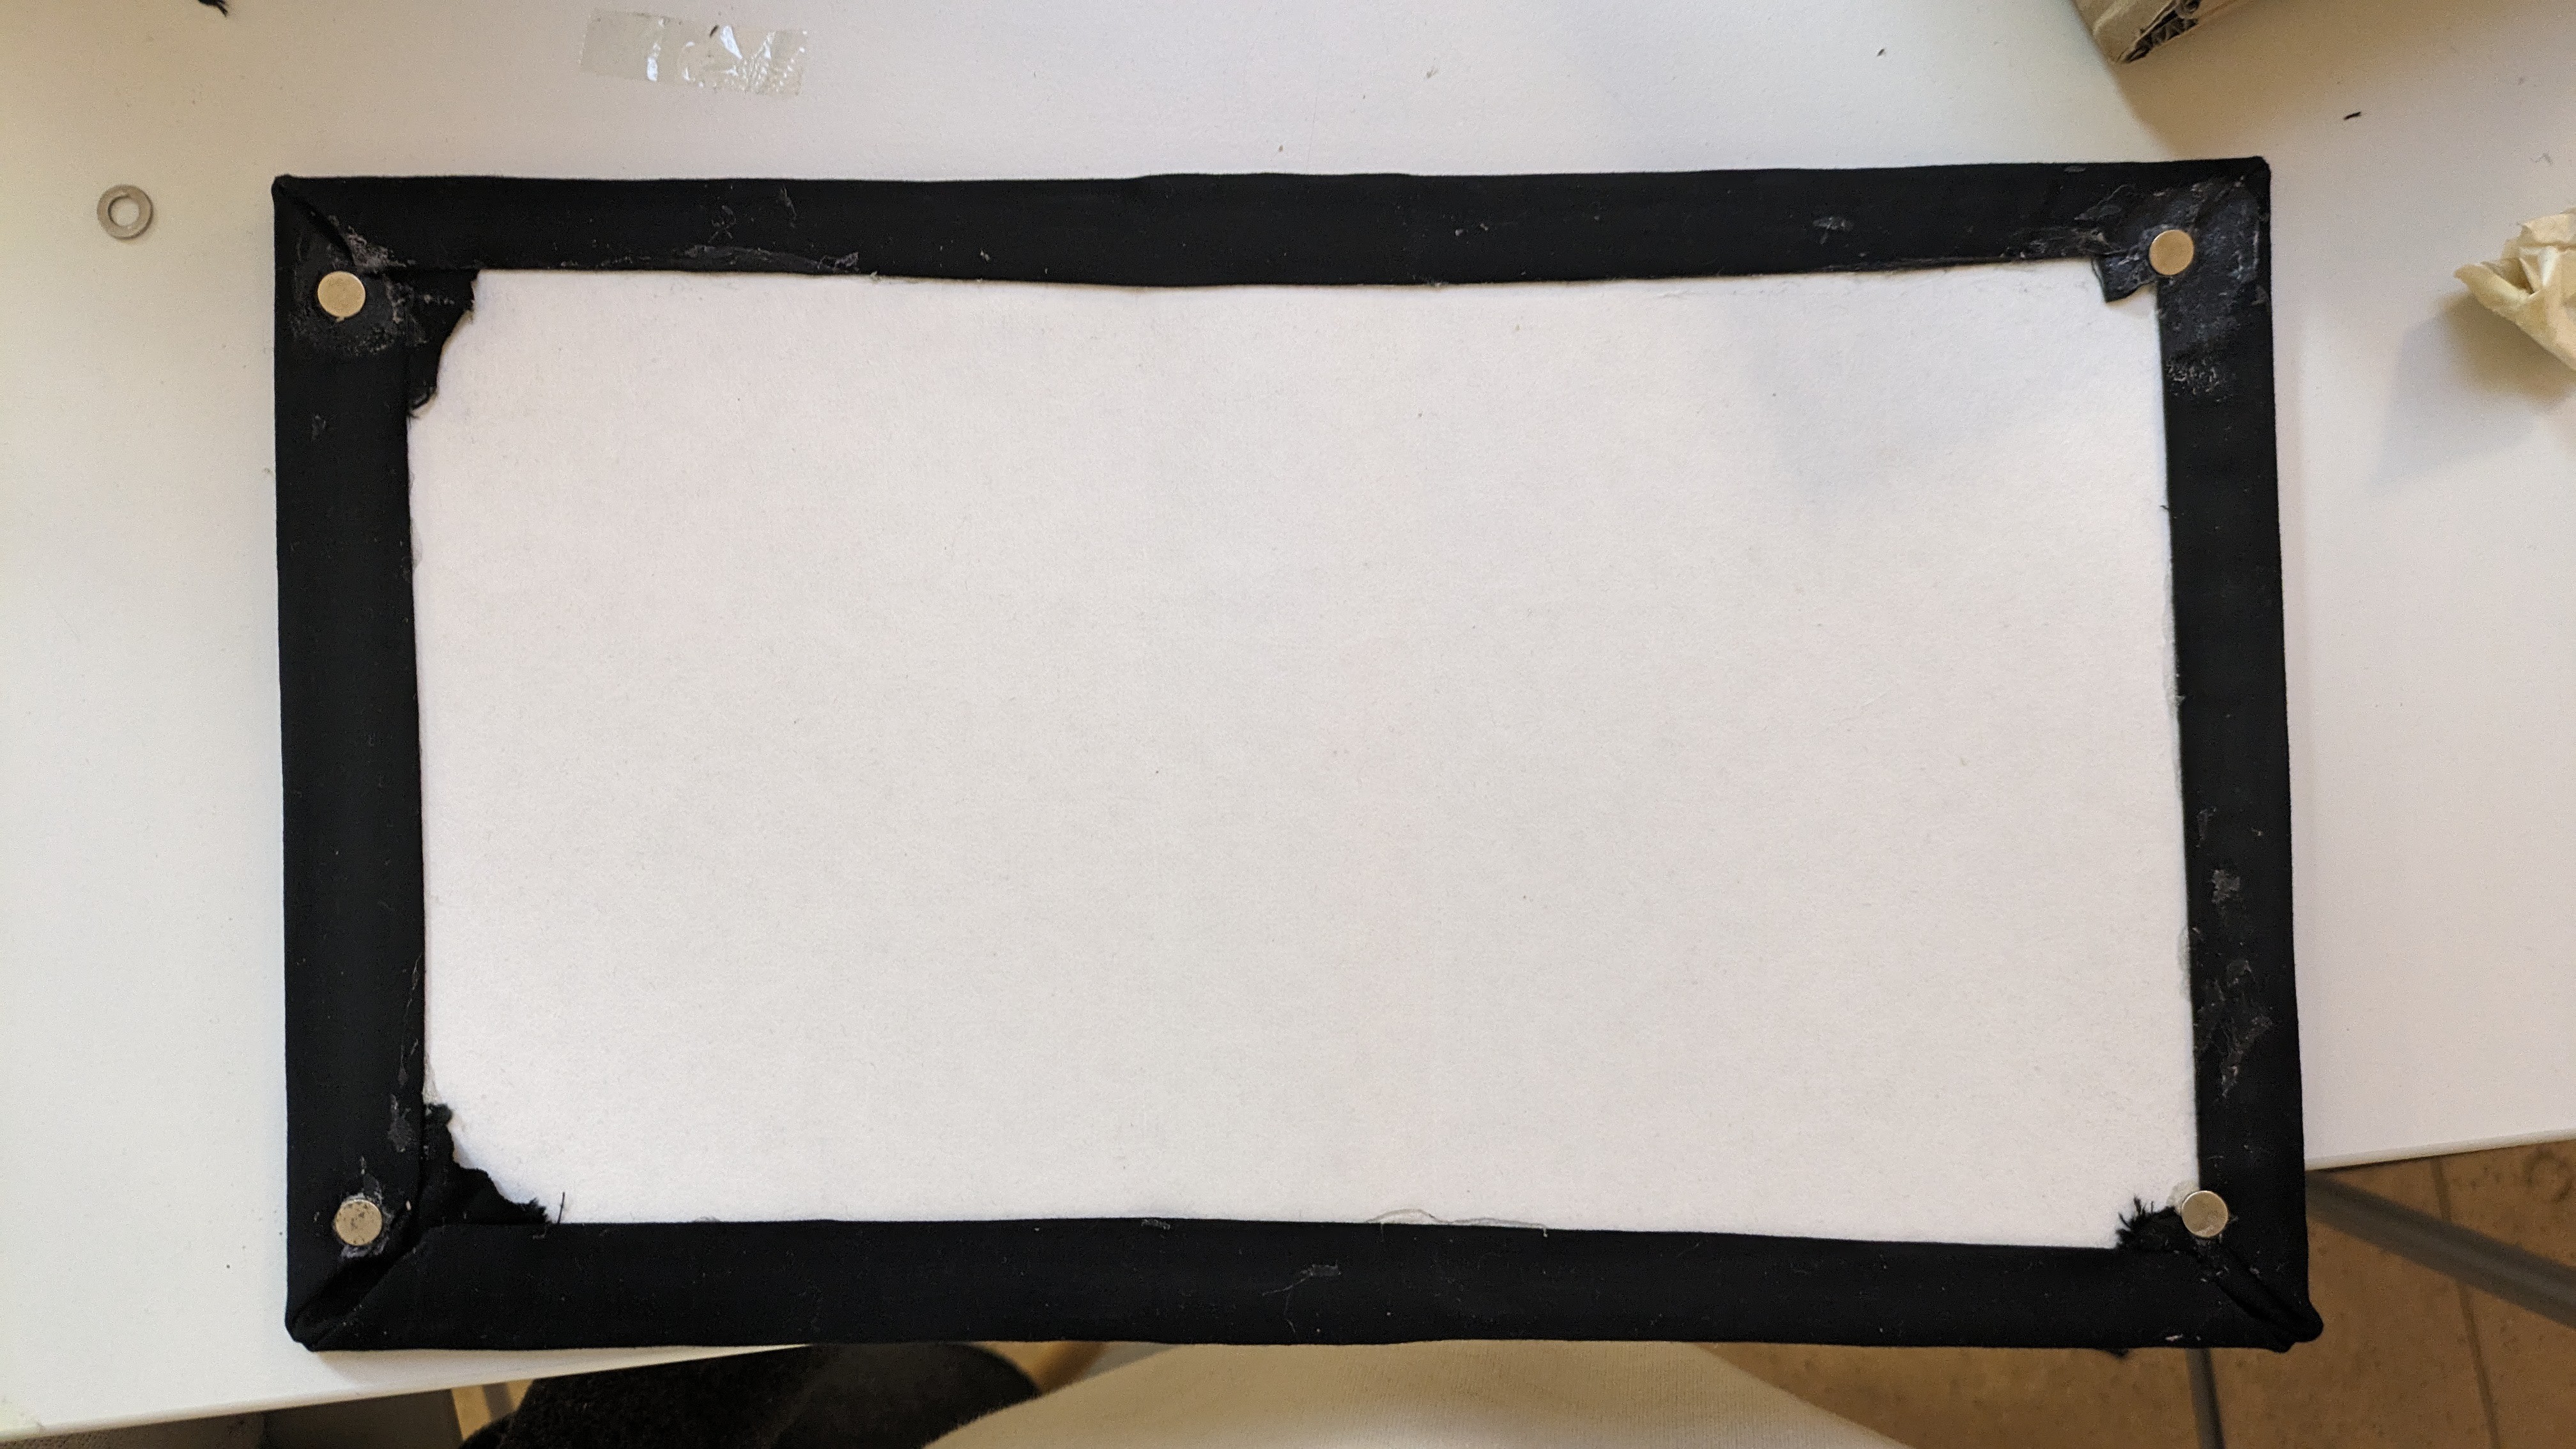
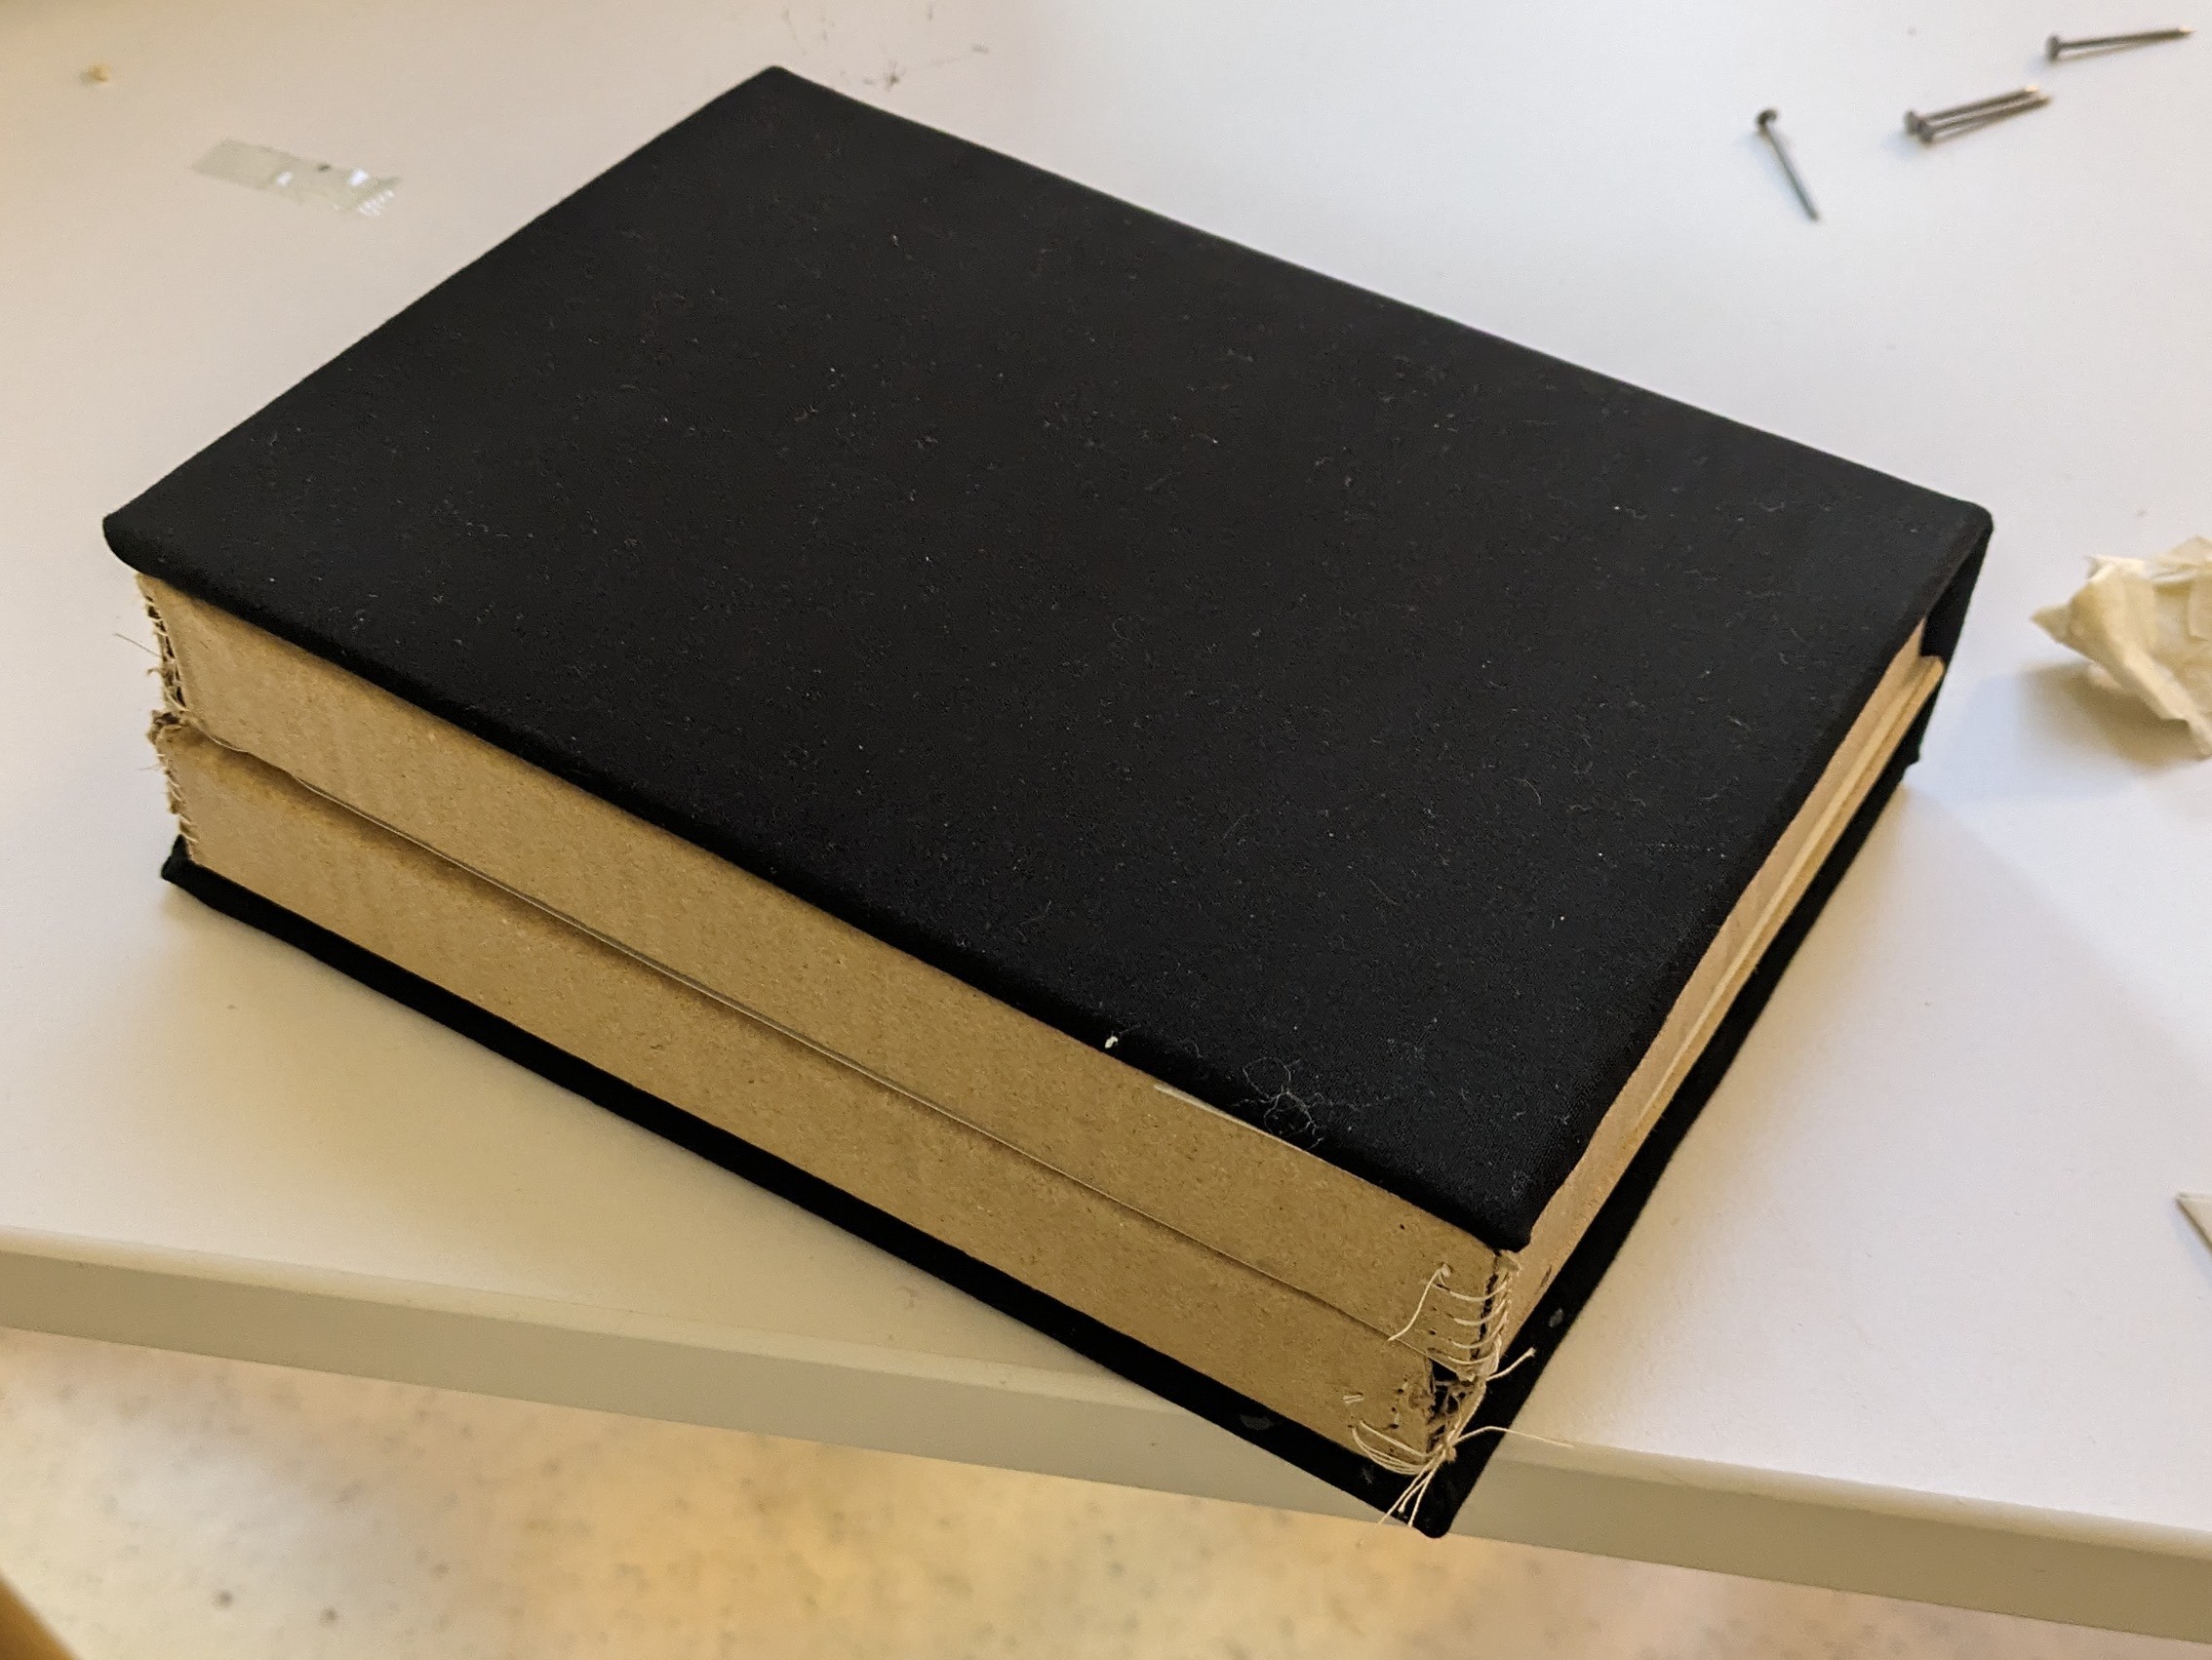
- Cardboard
- Staples


 PJK
PJK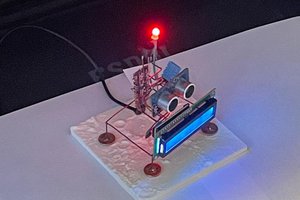
 Hari Wiguna
 Richard Hogben