By using MPPT technology, solar power systems can operate at peak efficiency, maximizing the energy harvest from the solar panels and improving the overall performance of solar energy systems. Different MPPT algorithms and techniques can be employed, including perturb and observe (P&O), incremental conductance, and constant voltage, among others, to achieve optimal MPPT performance in various situations.
So if we assume 30A and 50V battery you can theoretically charge it with 1500W.
But due to the power point tracking, you can establish a proper time for it to charge at full speed or not.

I also wanted to have a display to show the info. Power, battery state, and even voltages. But this design does not include that. SO in the upcoming design i will have a display that the user can use to view/ program the device. Using Blynk.io App integration you can also remotely monitor the Charge controller.
On the upcoming design i will have 3x RJ 45 connectors that can connect to the I2C BUS. For the communication of other devices, such as another MPPT, or my new upcoming solar inverter..
 Above shows the MCU section of the project( Note this is the old version)
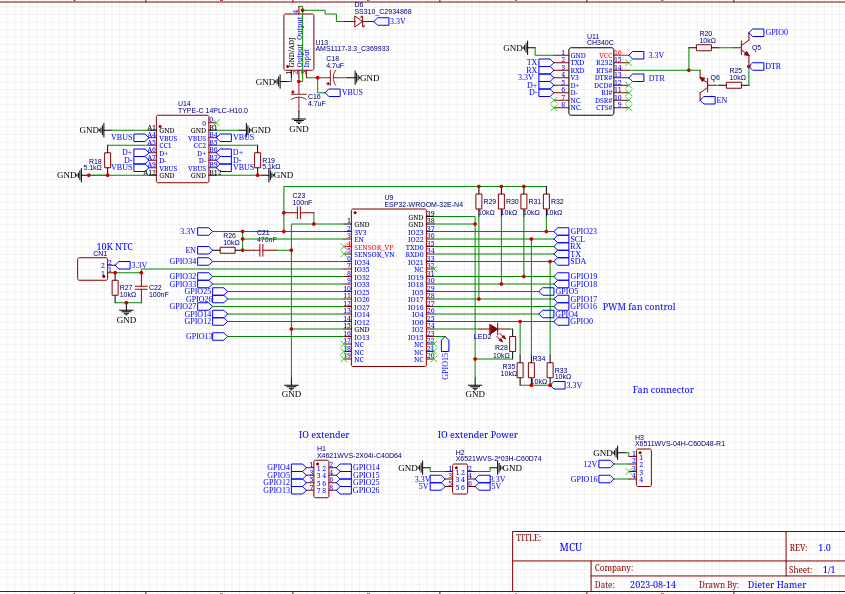
The MCU section only has the MCU and programmer IC.
 Above is the powerstage of the project, Note that its the old one.
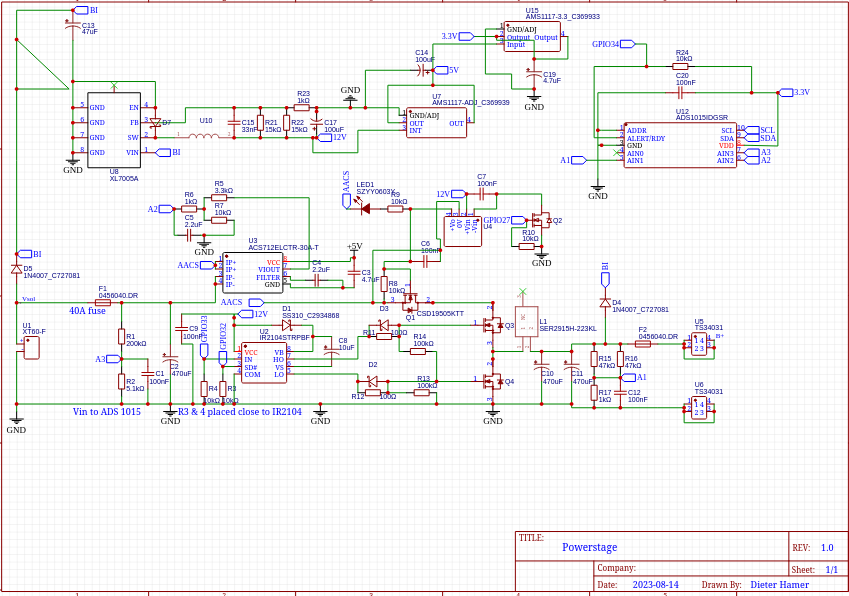
The powerstage only has the power related items / components on it.
The new design also has load control based on battery voltage, remaining capacity, or even manually.
Also having a 4 pin fan header and a 2 pin one. Both are controlled by PWM, the 2pin header allows for DC control, and the 4pin header allows for onboard fan pwm control.
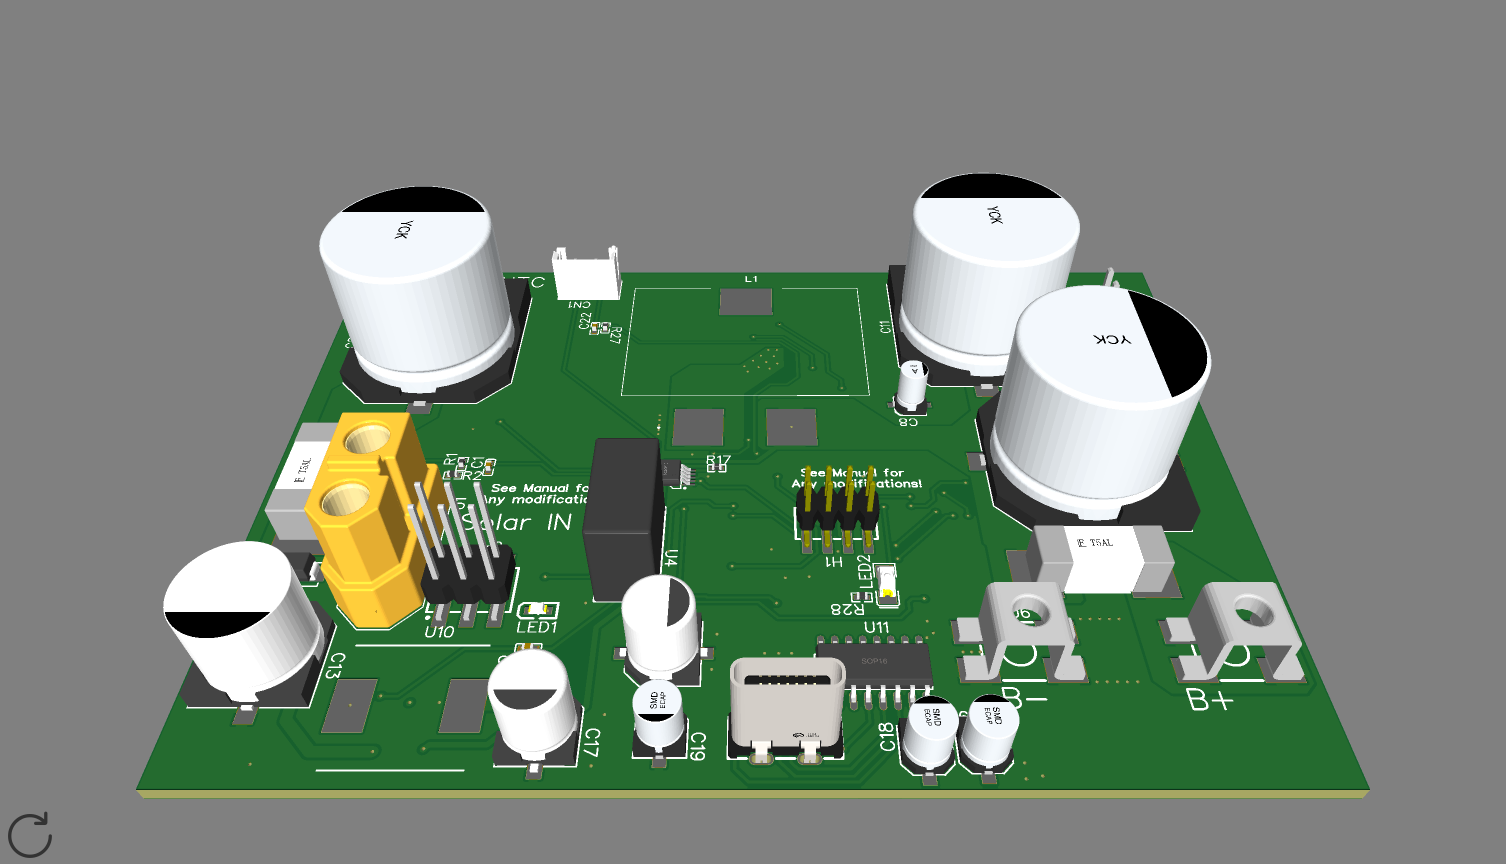 The actual PCB design allows for a heatsink to be attached to the back of the MPPT not needing a fan so it can be passively cooled. SO heat generating components are on the back and neutral components on the top. Thiis variant of board does not have a Display for current/voltage. Setup has to be done Via the USB-C port..
If you wanted to try and build it yourself, I have the files for it. You can use the PCB assembly service PCBWay offers so they can assemble the board for you. But i wont recommend doing so, since my project has a V2 coming up. and rather use that one.
 Kumar, Abhishek
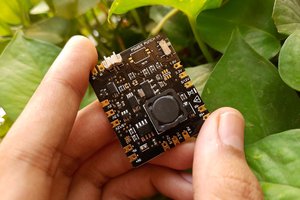
 MakerPals
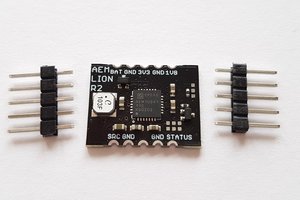
 Jasper Sikken
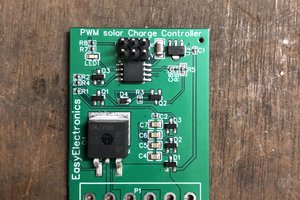
 puneet1984