 Roman Piksaykin
Several days ago I devised a WSPR beacon which operates on 40 meter shortwave band. I had managed to devise it completely on the Raspberry Pi Pico microcontroller board, so precise frequency synthesis was carried out in C and Assembler programming languages. This software is available on the GitHub platform and can be used freely in accordance with MIT licence.
Owing to the fact that no additional hardware is required to start and test this beacon, whose WSPR protocol had been developed by Noble laureate and HAM radio enthusiast Phil Karn, this software induced keen interest amongst not only amateur radio enthusiasts, but also among people who want to enter such multi-dimensional hobby as amateur radio.
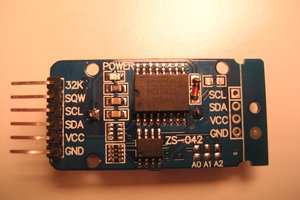
Today I would like to represent a serious addition to starting version of this beacon. The novel version 0.5 is equipped by GPS receiver which serves two purposes:
- Providing an accurate time reference for scheduling WSPR transmission in order to work autonomously.
- Providing a precise time mark (PPS) in order to calculation and correction of Raspberry Pi Pico’s clock drift.
I devised a signal processing pipeline in C in order to calculate and filter frequency imbalances between Pico’s system clock and GPS reference time pulse. The results of the aforementioned improvement are encouraging:
- Improved receiving of my signals: max QRB is ~3400 km to RX9O whose QTH is in central Siberia.
- Meager clock drift of the WSPR beacon: it is below detection threshold most of the time (WSPR is tolerant to ~2..4 Hz clock drift per packet of 2 min, it operates much better).
- Meager absolute frequency error (it is quite baffling to measure correctly due to low reception SNR, however it can be estimated as ~1..1,5 Hz, or lower than 0,2 ppm which marks the solution is precise).


The schematic of the WSPR beacon as well as its core pico-hf-oscillator is simple:

You should use a decent antenna such as dipole. You might need to add a low pass filter between the output and the antenna in order to suppress harmonics. If there is no decent full sized antenna, it’s expedient to add a 1-transistor power amplifier in order to boost output power to compensate antenna’s inefficiency.
If you are interested in this project, please don’t hesitate to ask me about this matter. In addition, consider clicking a star on the GitHub project’s page.
I’m planning to go further with this interesting principle of building HAM radio beacons. Copying the software is much much simpler than tinkering some intricate analog schematics :).
Cheers, Roman Piksaykin, amateur radio callsign R2BDY. QRZ page.
 AlfredC
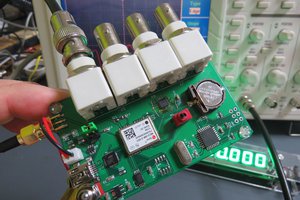
 kodera2t
 Nick Sayer
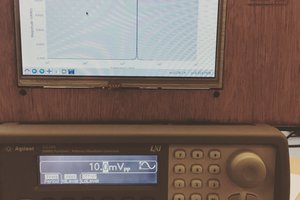
 Dan Kisling