 WJCarpenter
Finally, I've put a little mortar to work, so the tiling is truly underway. I started with the niches, but first I have to confess.
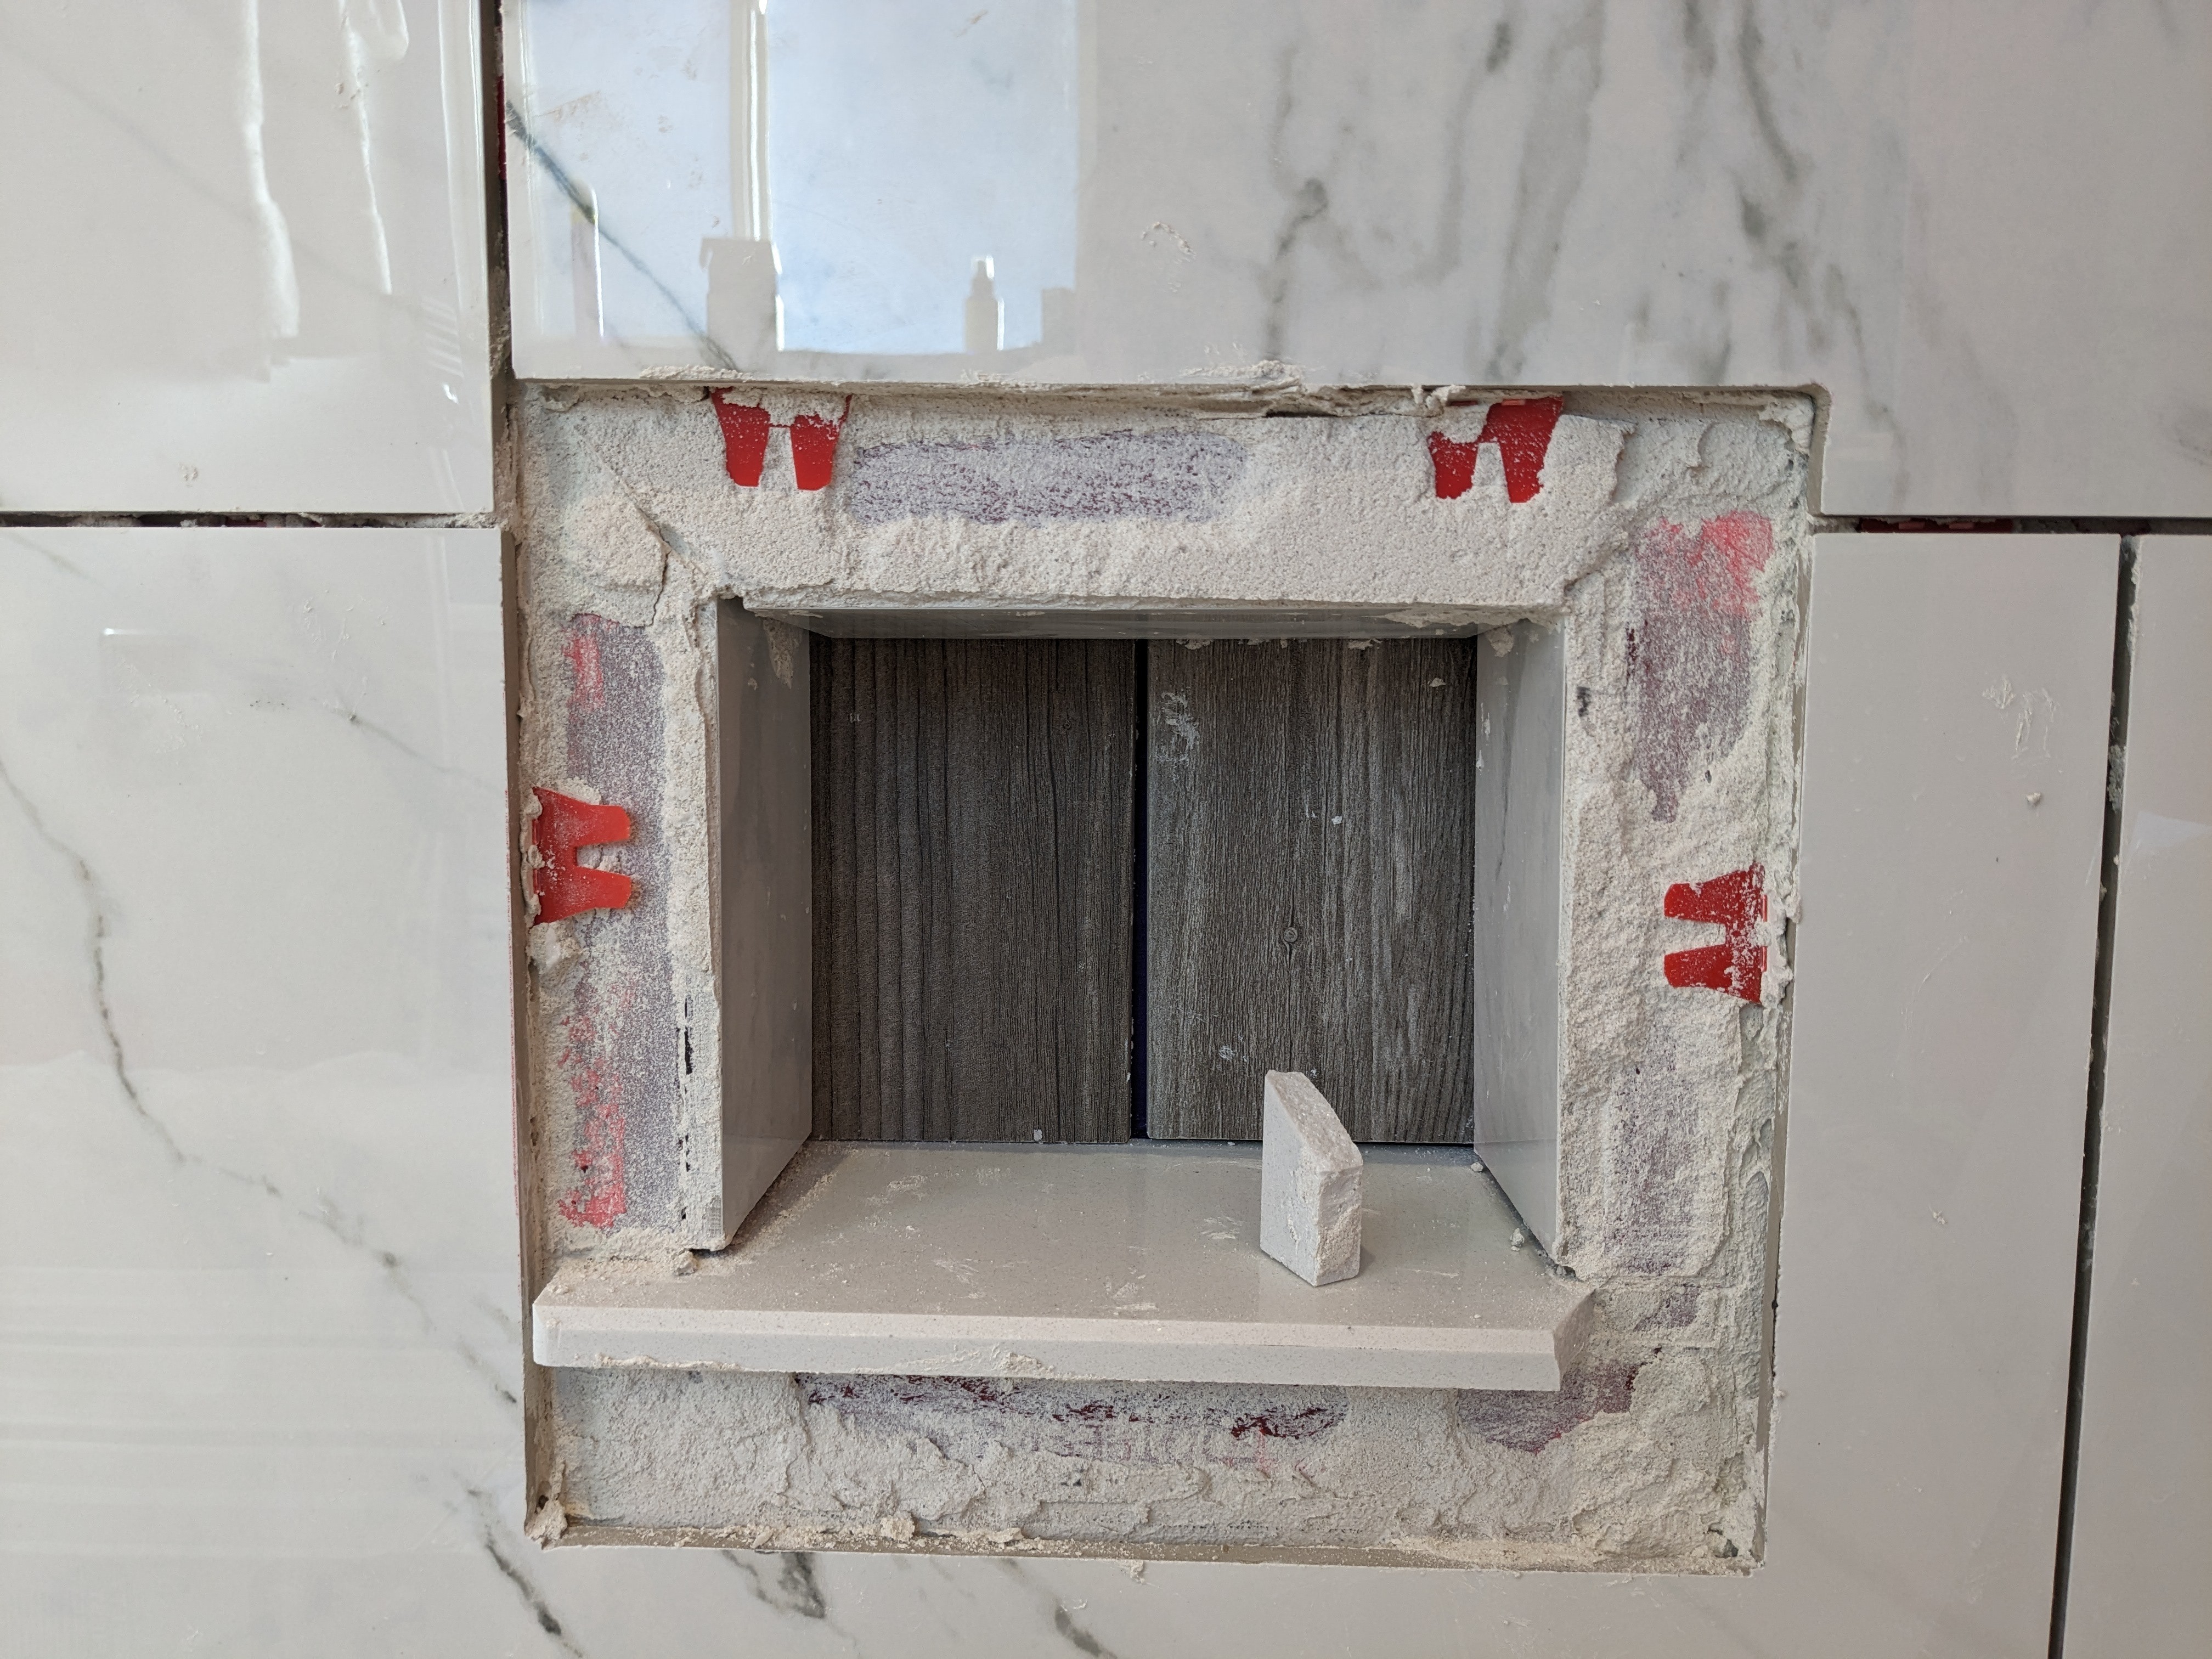
Two of my specialties in projects like this are changing my mind and making obvious blunders. My original plan for the sills of the niches was to use some leftover engineered stone (I think it's this one) donated by a friend of mine. It was a fairly bright white color, but it looked OK next to the tiles I was using. I cut out those sills and showed them in some photos in earlier project logs. When I finally got around to planning how I was going to tile the rest of the niches, I decided that my original "earless" look for the sills wasn't very appealing. I didn't have enough of that left over to cut new sills, so I went off to a tile store to buy a nice 6x36 inch chunk of marble. It wasn't a match for my Carrara marble tiles, but it was close enough to fit in nicely. It had two beveled edges. I didn't want a bevel at the back of the niche to collect water, but that wasn't a problem since I needed to trim off an inch or so from the piece to get the proper depth. I don't know the exact order of cuts I made, but I didn't notice until I was doing a test fitting that I had used the flat (trimmed) side of the piece as the front for the larger niche, leaving the bevel in the back. I was pondering if there was a way to deal with that when I noticed (aka, remembered) that the larger niche was slightly deeper by 1/8 inch or so compared to the smaller niche. I had used the smaller niche sill as a template for trimming the larger niche sill, so there there was an unacceptable gap at the back of the niche. If I had instead messed up the smaller sill, I might have had enough material to re-do it. Instead, I went to another store and bought yet another 6x36 inch slab. This one was again engineered stone. It was said to have a marble look, but it was that light gray with specks sort of marble. It looks fine with my other tiles. Before doing each cut, I measured several times and checked that I was doing it right. Things turned out OK, but my work area looks a bit like the slag heap at a quarry. Sheesh.
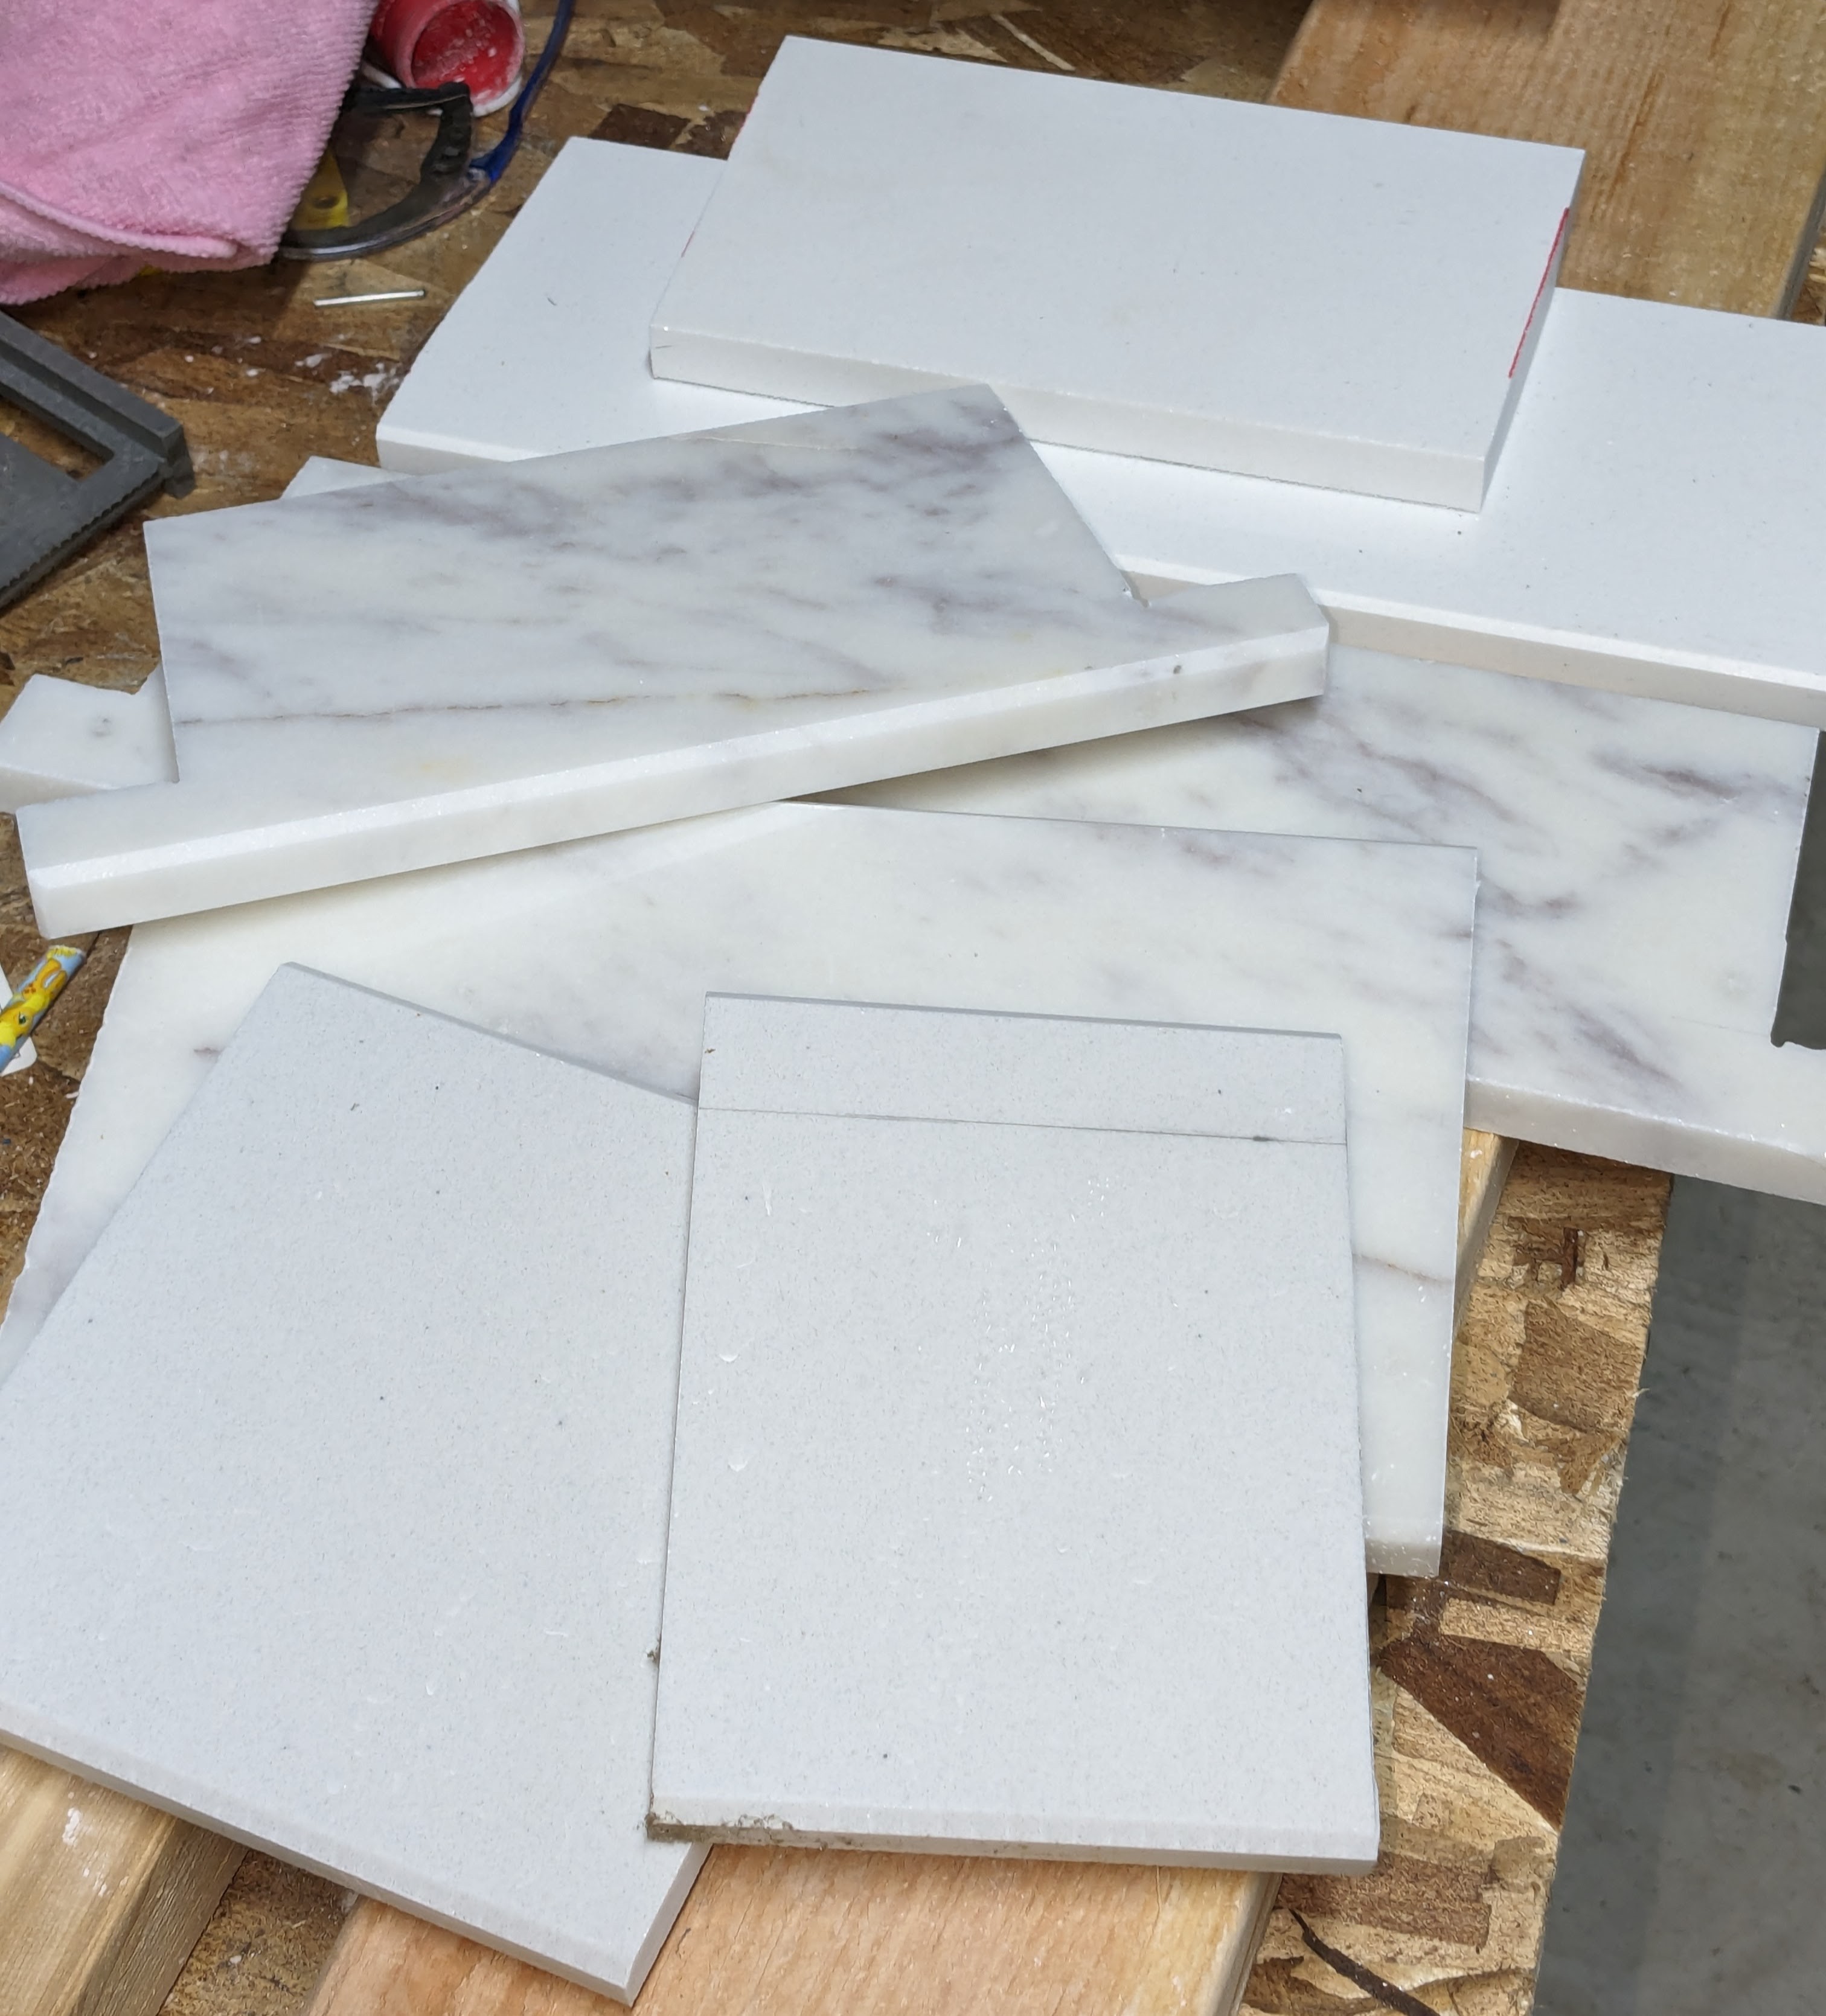
When doing a shower niche, you want the sill to slope gently downward so that water will naturally run out of it. EZ-Niches makes that easy since the slope is built into the pre-formed niche. All you have to do is lay the sill flat against the EZ-Niches surface, and you automatically get the desired slope. It's a blessing and a curse. The slope is built into all four size of the niche. That means that all of the surfaces except the back are trapezoids instead of rectangles, and the difference from right angles is small. I measured it at about 2.5 degrees using an angle finder tool. You can see the slant in the small marble sill in the photo above, though that one was cut slightly higher than 2.5 degrees. Through careful transfer of the angle from the angle finder tool, I was able to do a pretty decent job of cutting that slant with my wet tile saw during the re-do. I guess having some earlier practices counted for something.
I used the standard technique to cut the sills with my wet tile saw: cut the front side until the blade just reached the intersection of the measured lines, flipped the piece over and did the same thing from that side. Because of the curvature of the blade (my tile saw is a 7 inch blade), the waste piece is still attached to the main piece by a tiny fragment. It was easy enough to snap out the waste piece without damaging the main piece. I then used a grinder to gently remove the fragment to make a proper corner. I also used the grinder to gently round the corner of each ear. The material was soft enough that an ordinary, run-of-the-mill grinding wheel took care of things. I didn't need a diamond wheel.
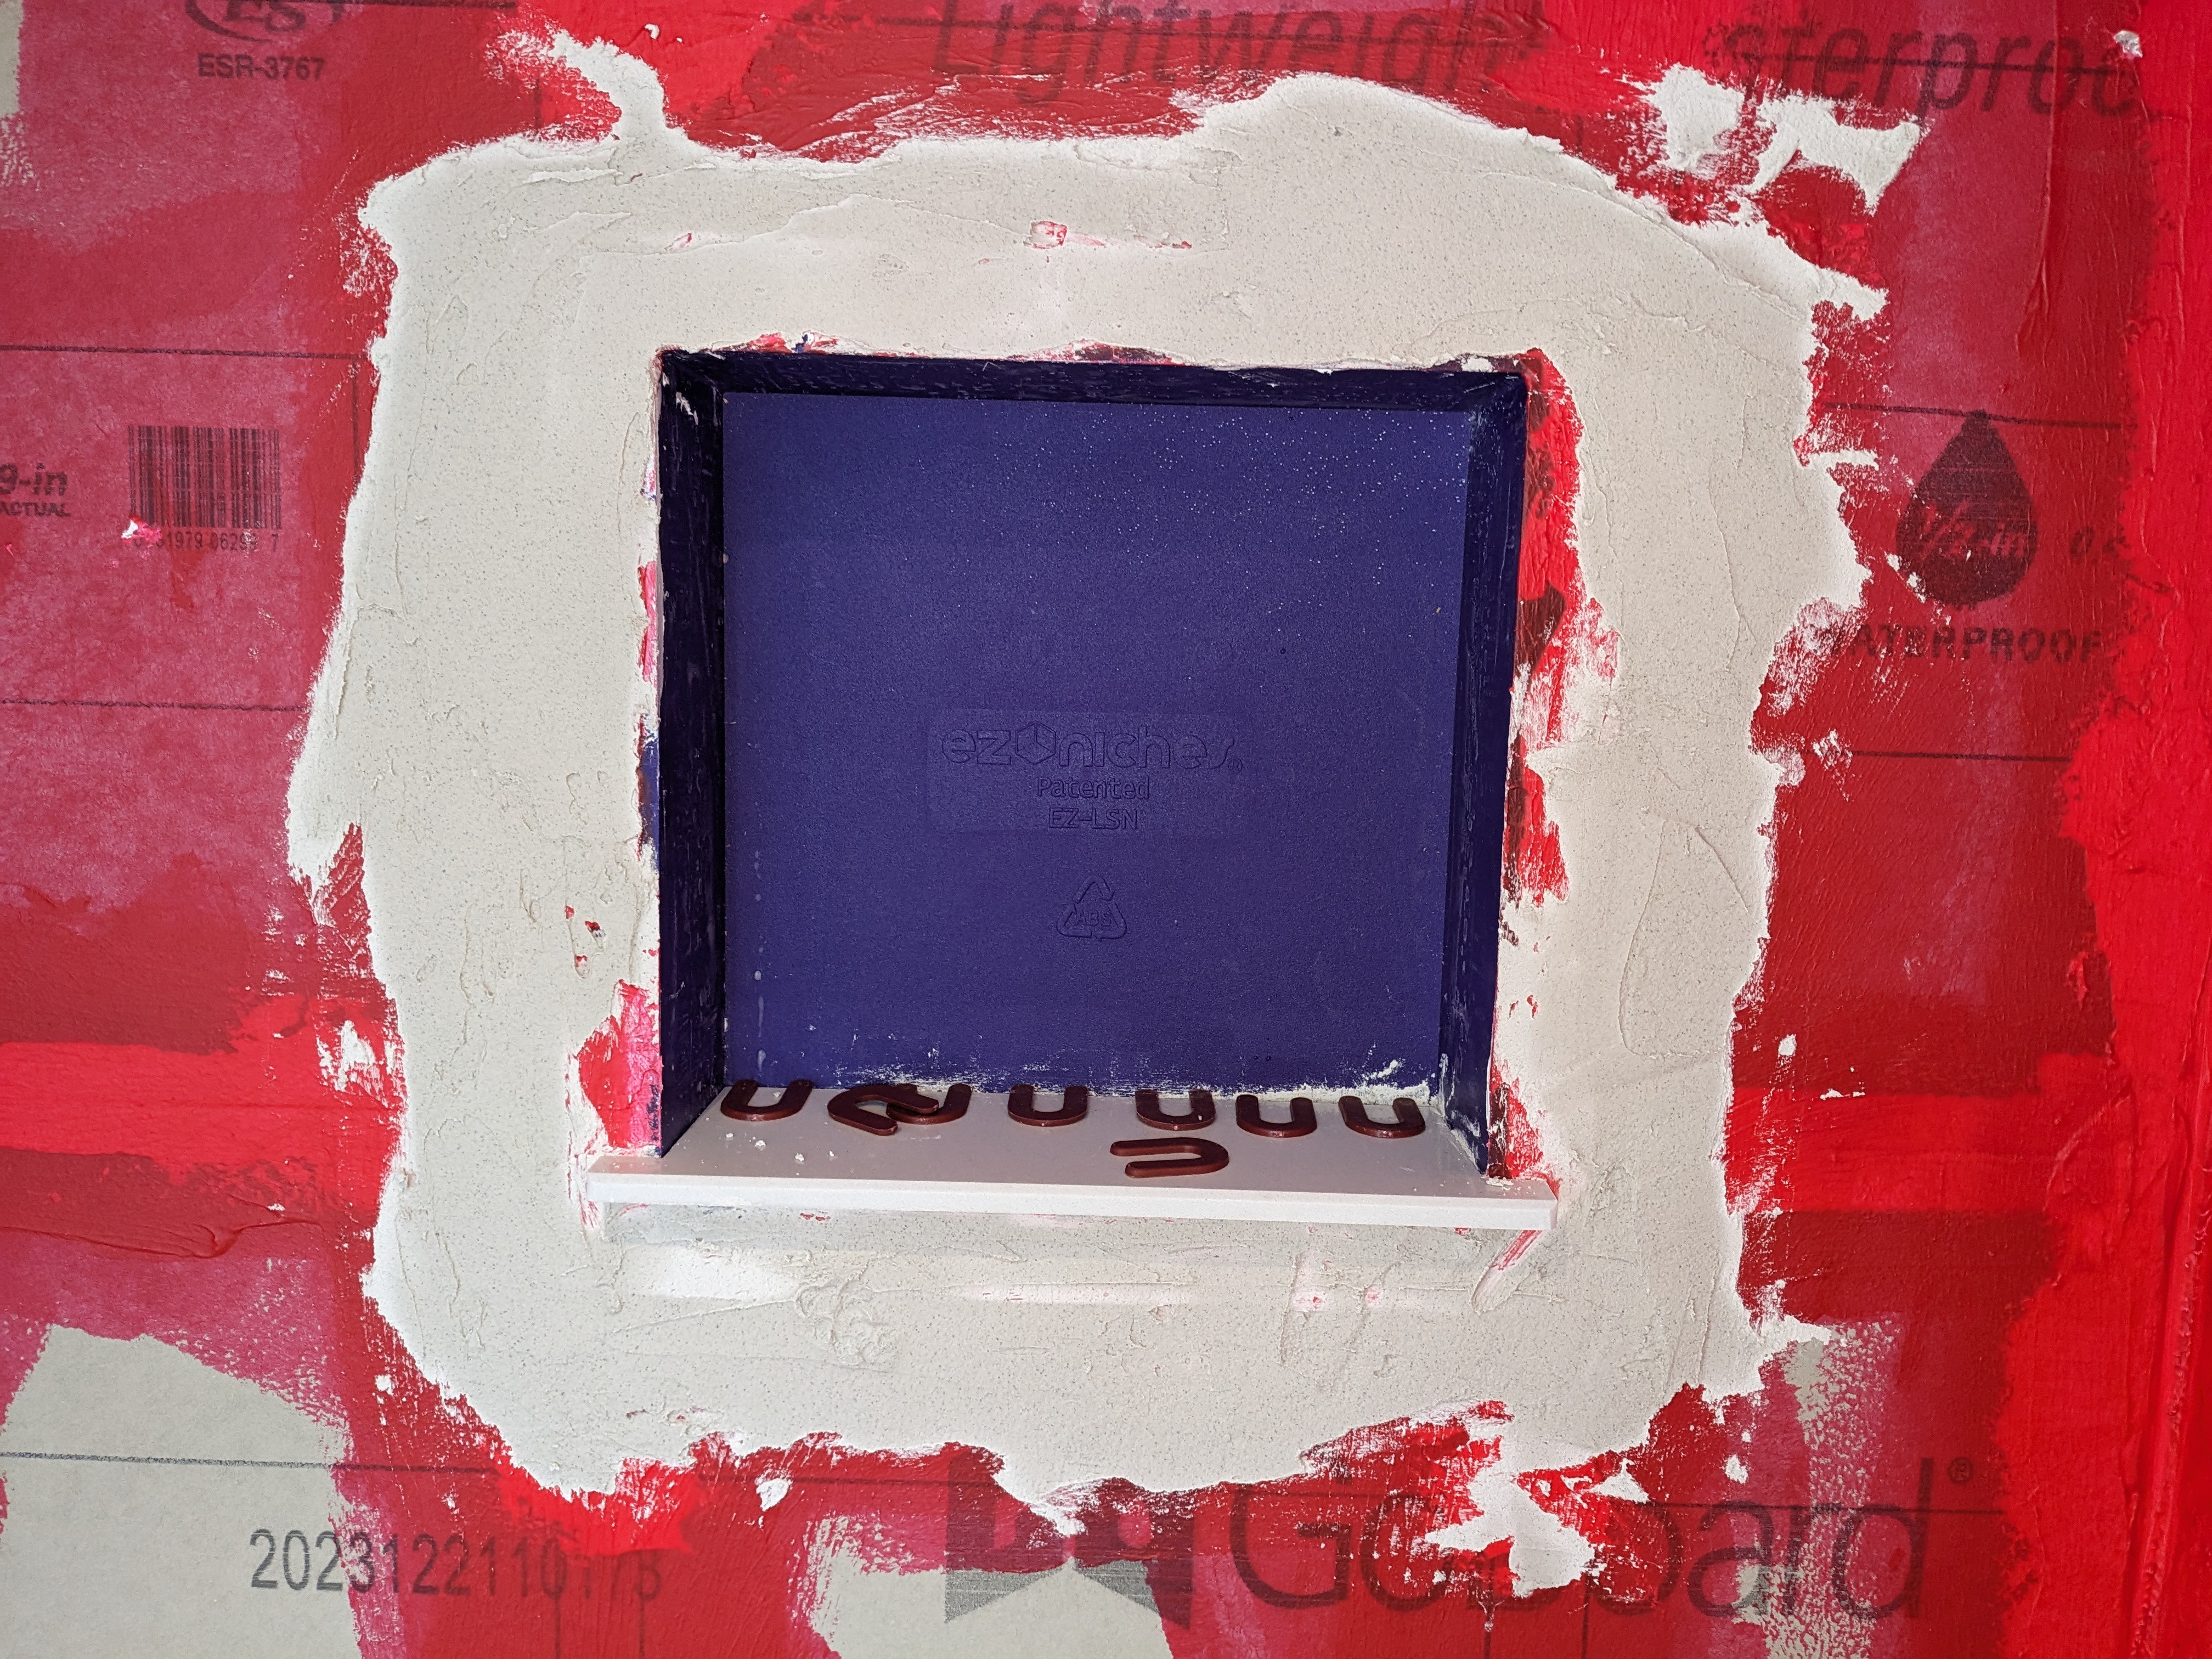
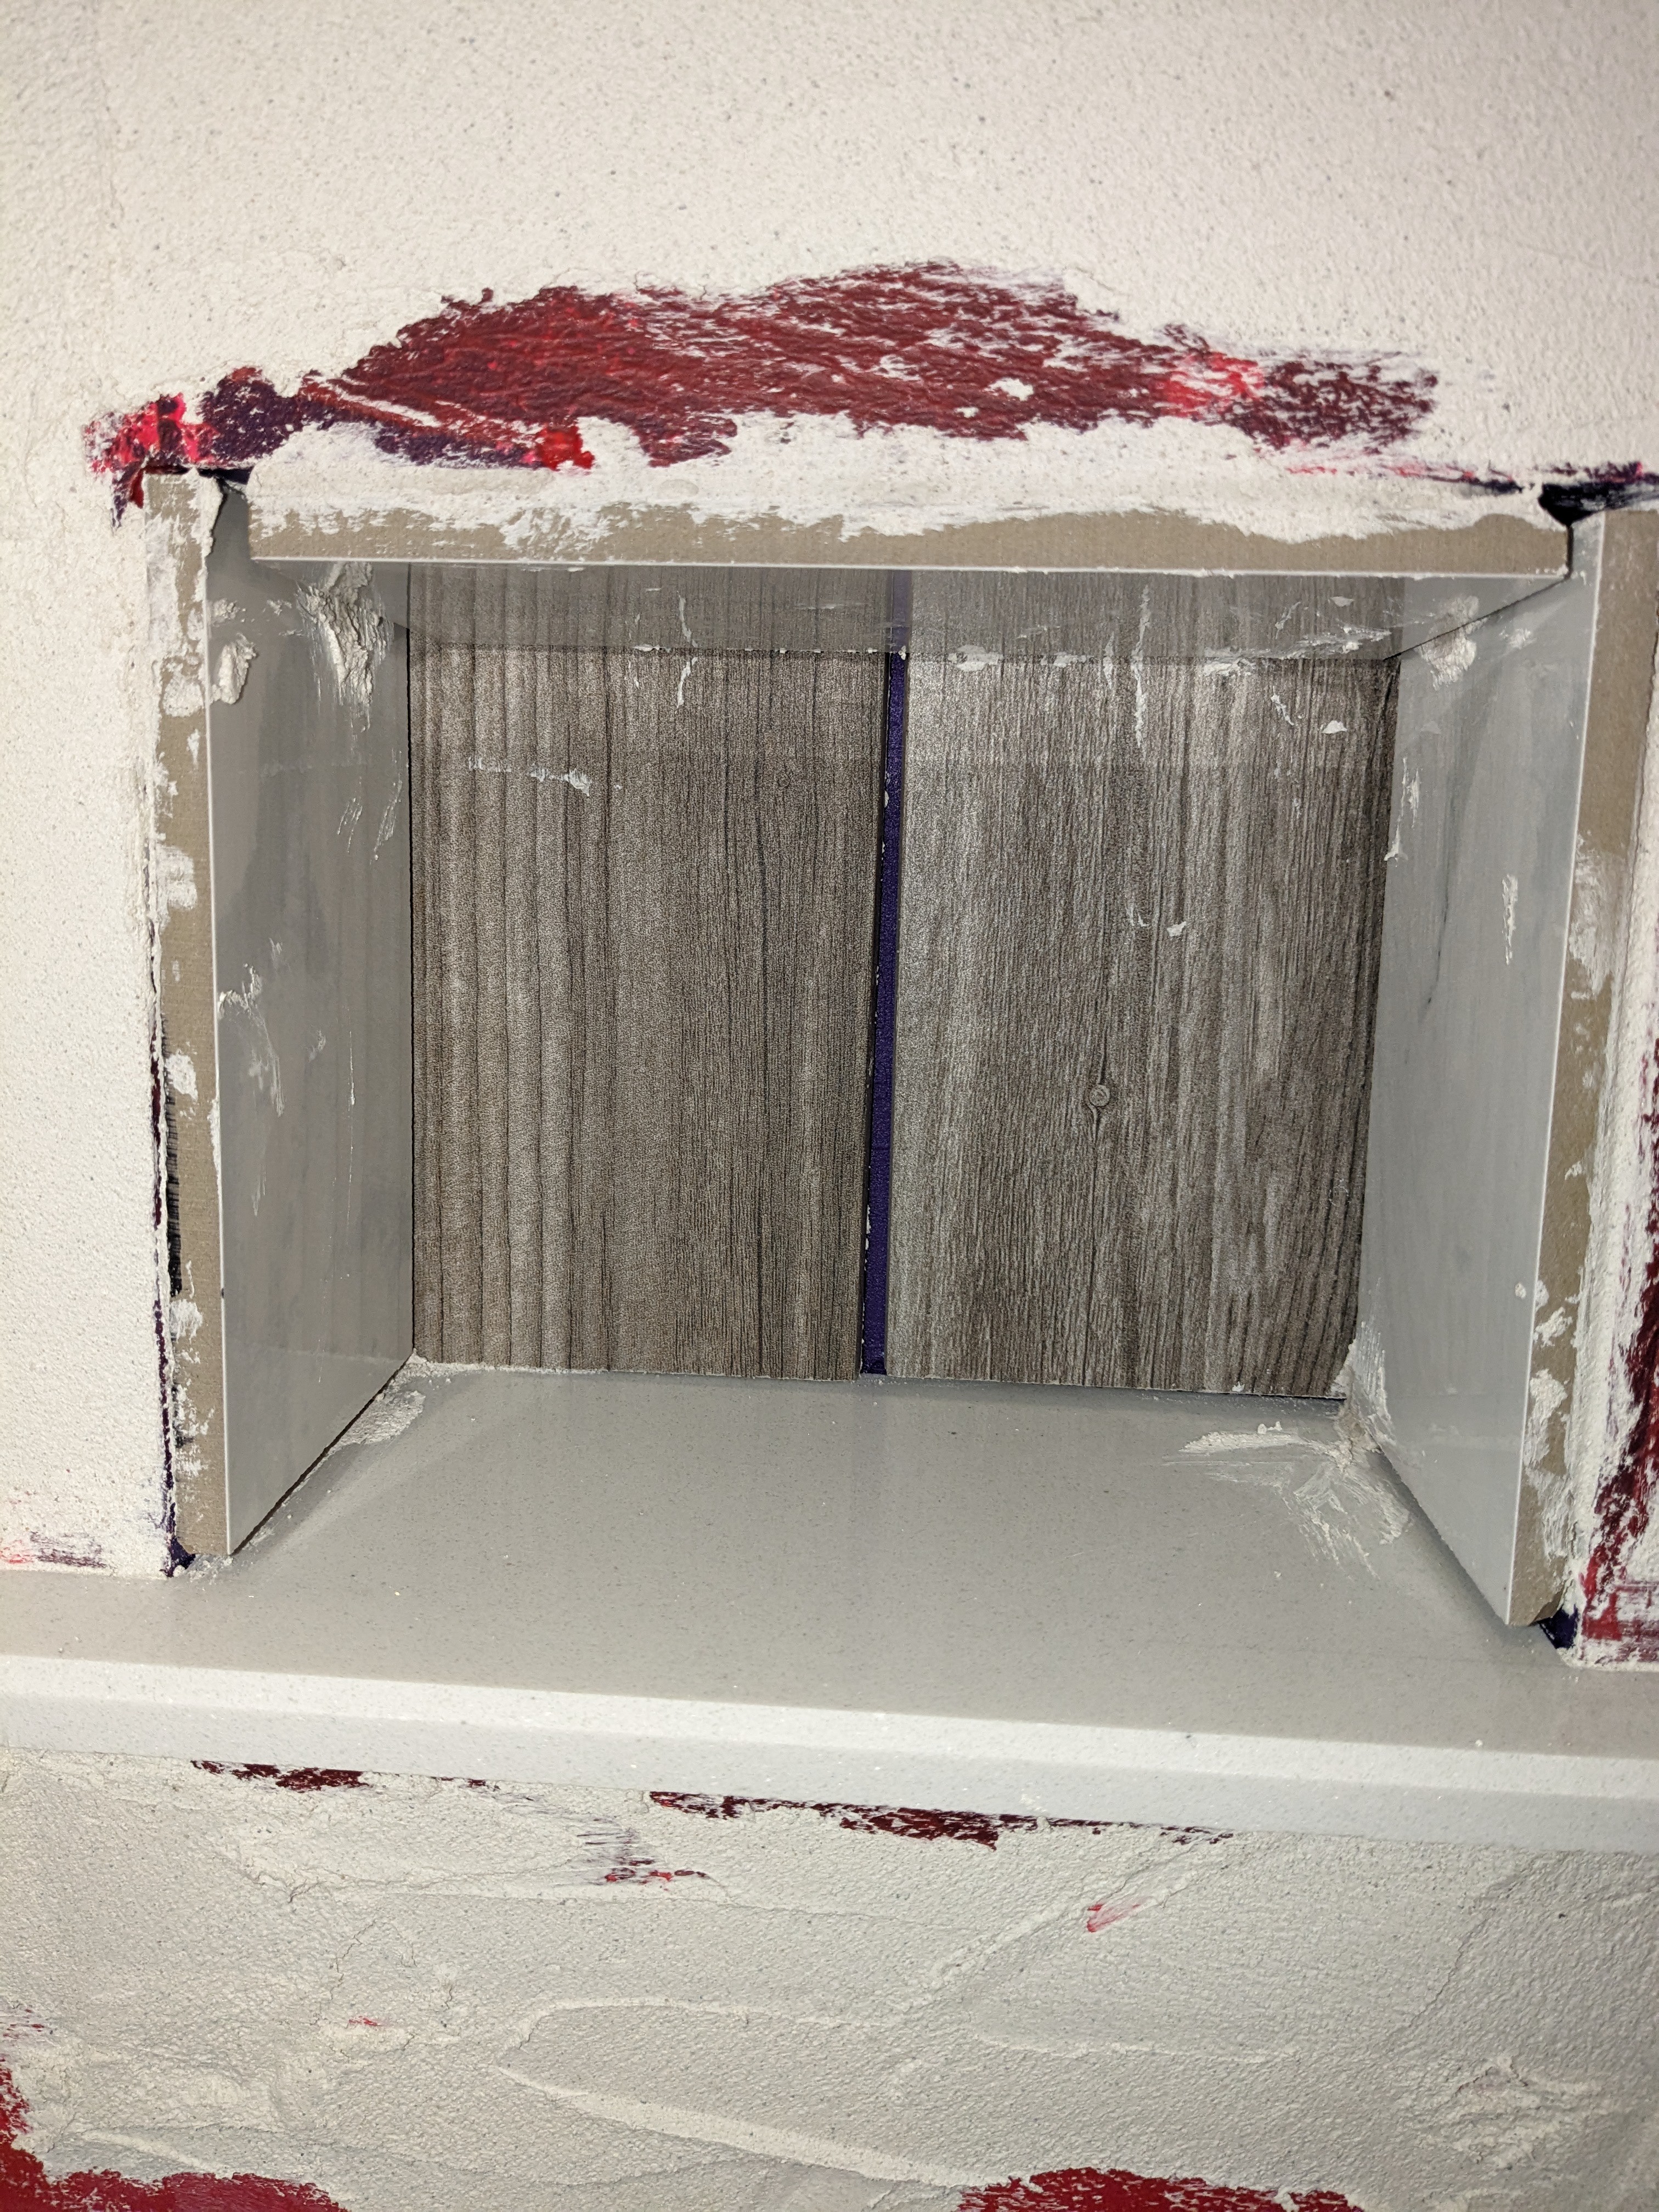
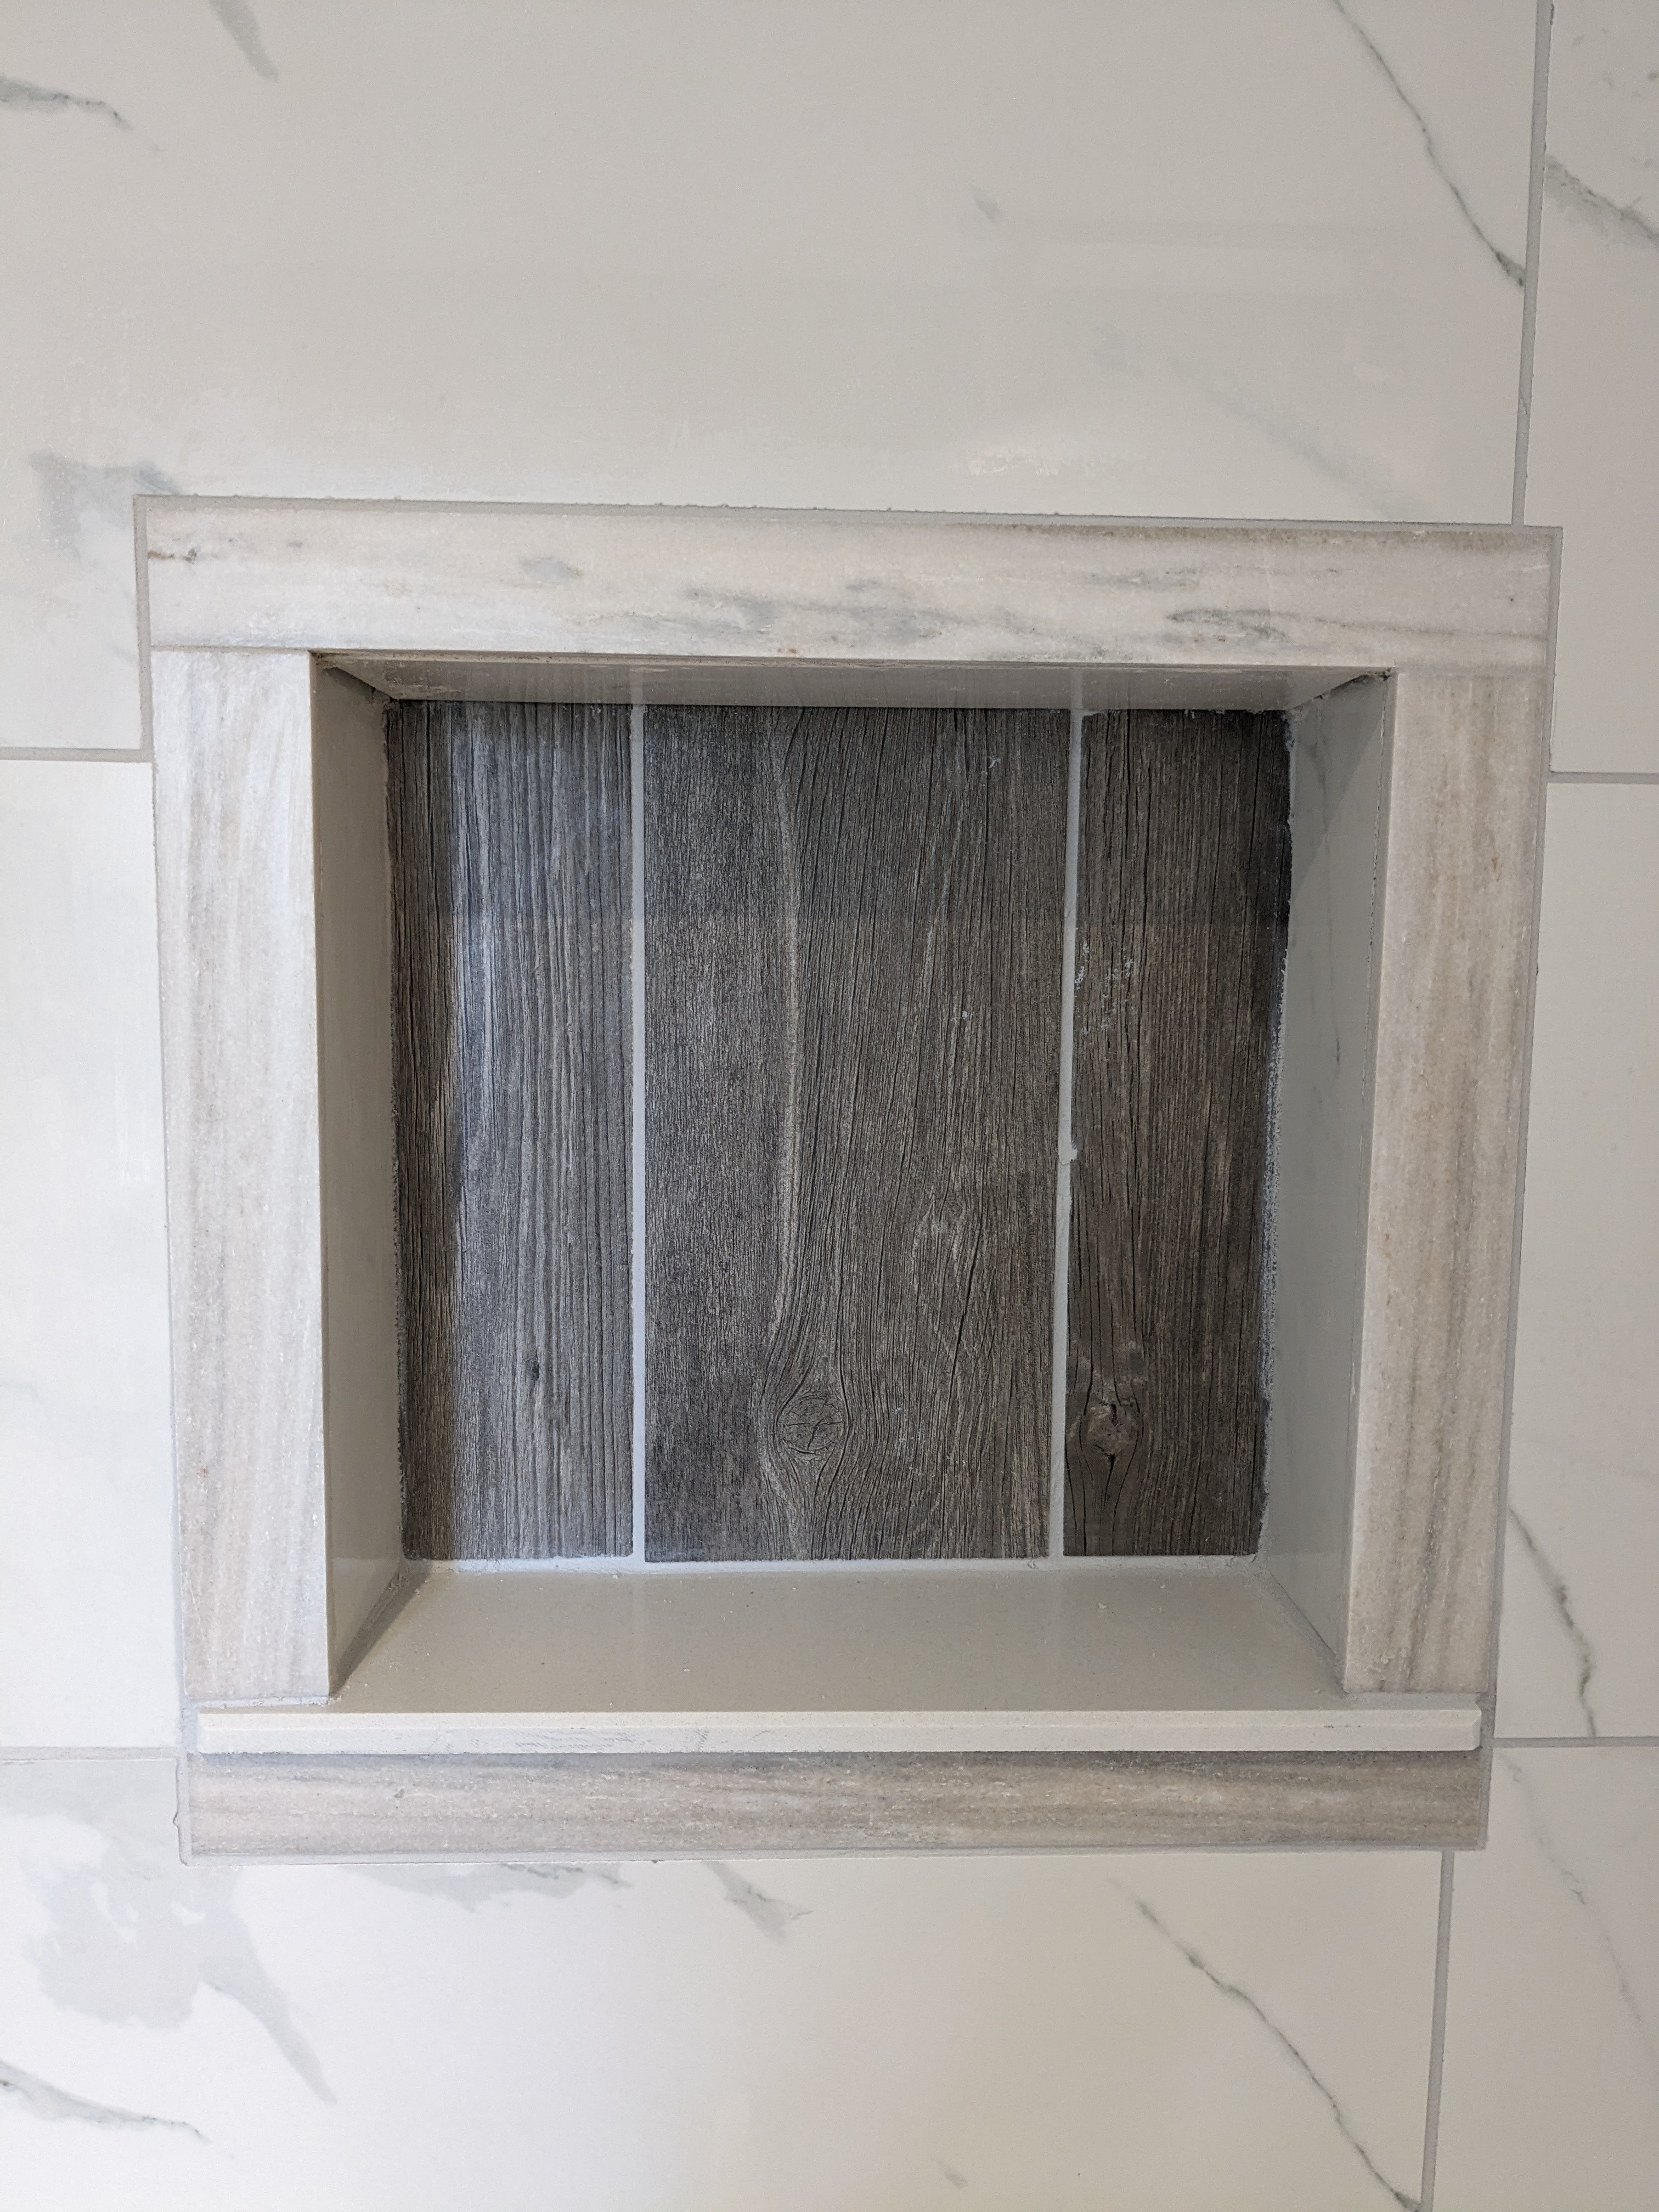
Here is the larger niche after placing the sill. I feathered the thinset around the edges of the niche, which has a flange about 1/16 inch thick. The sill is mortared into place with thinset.
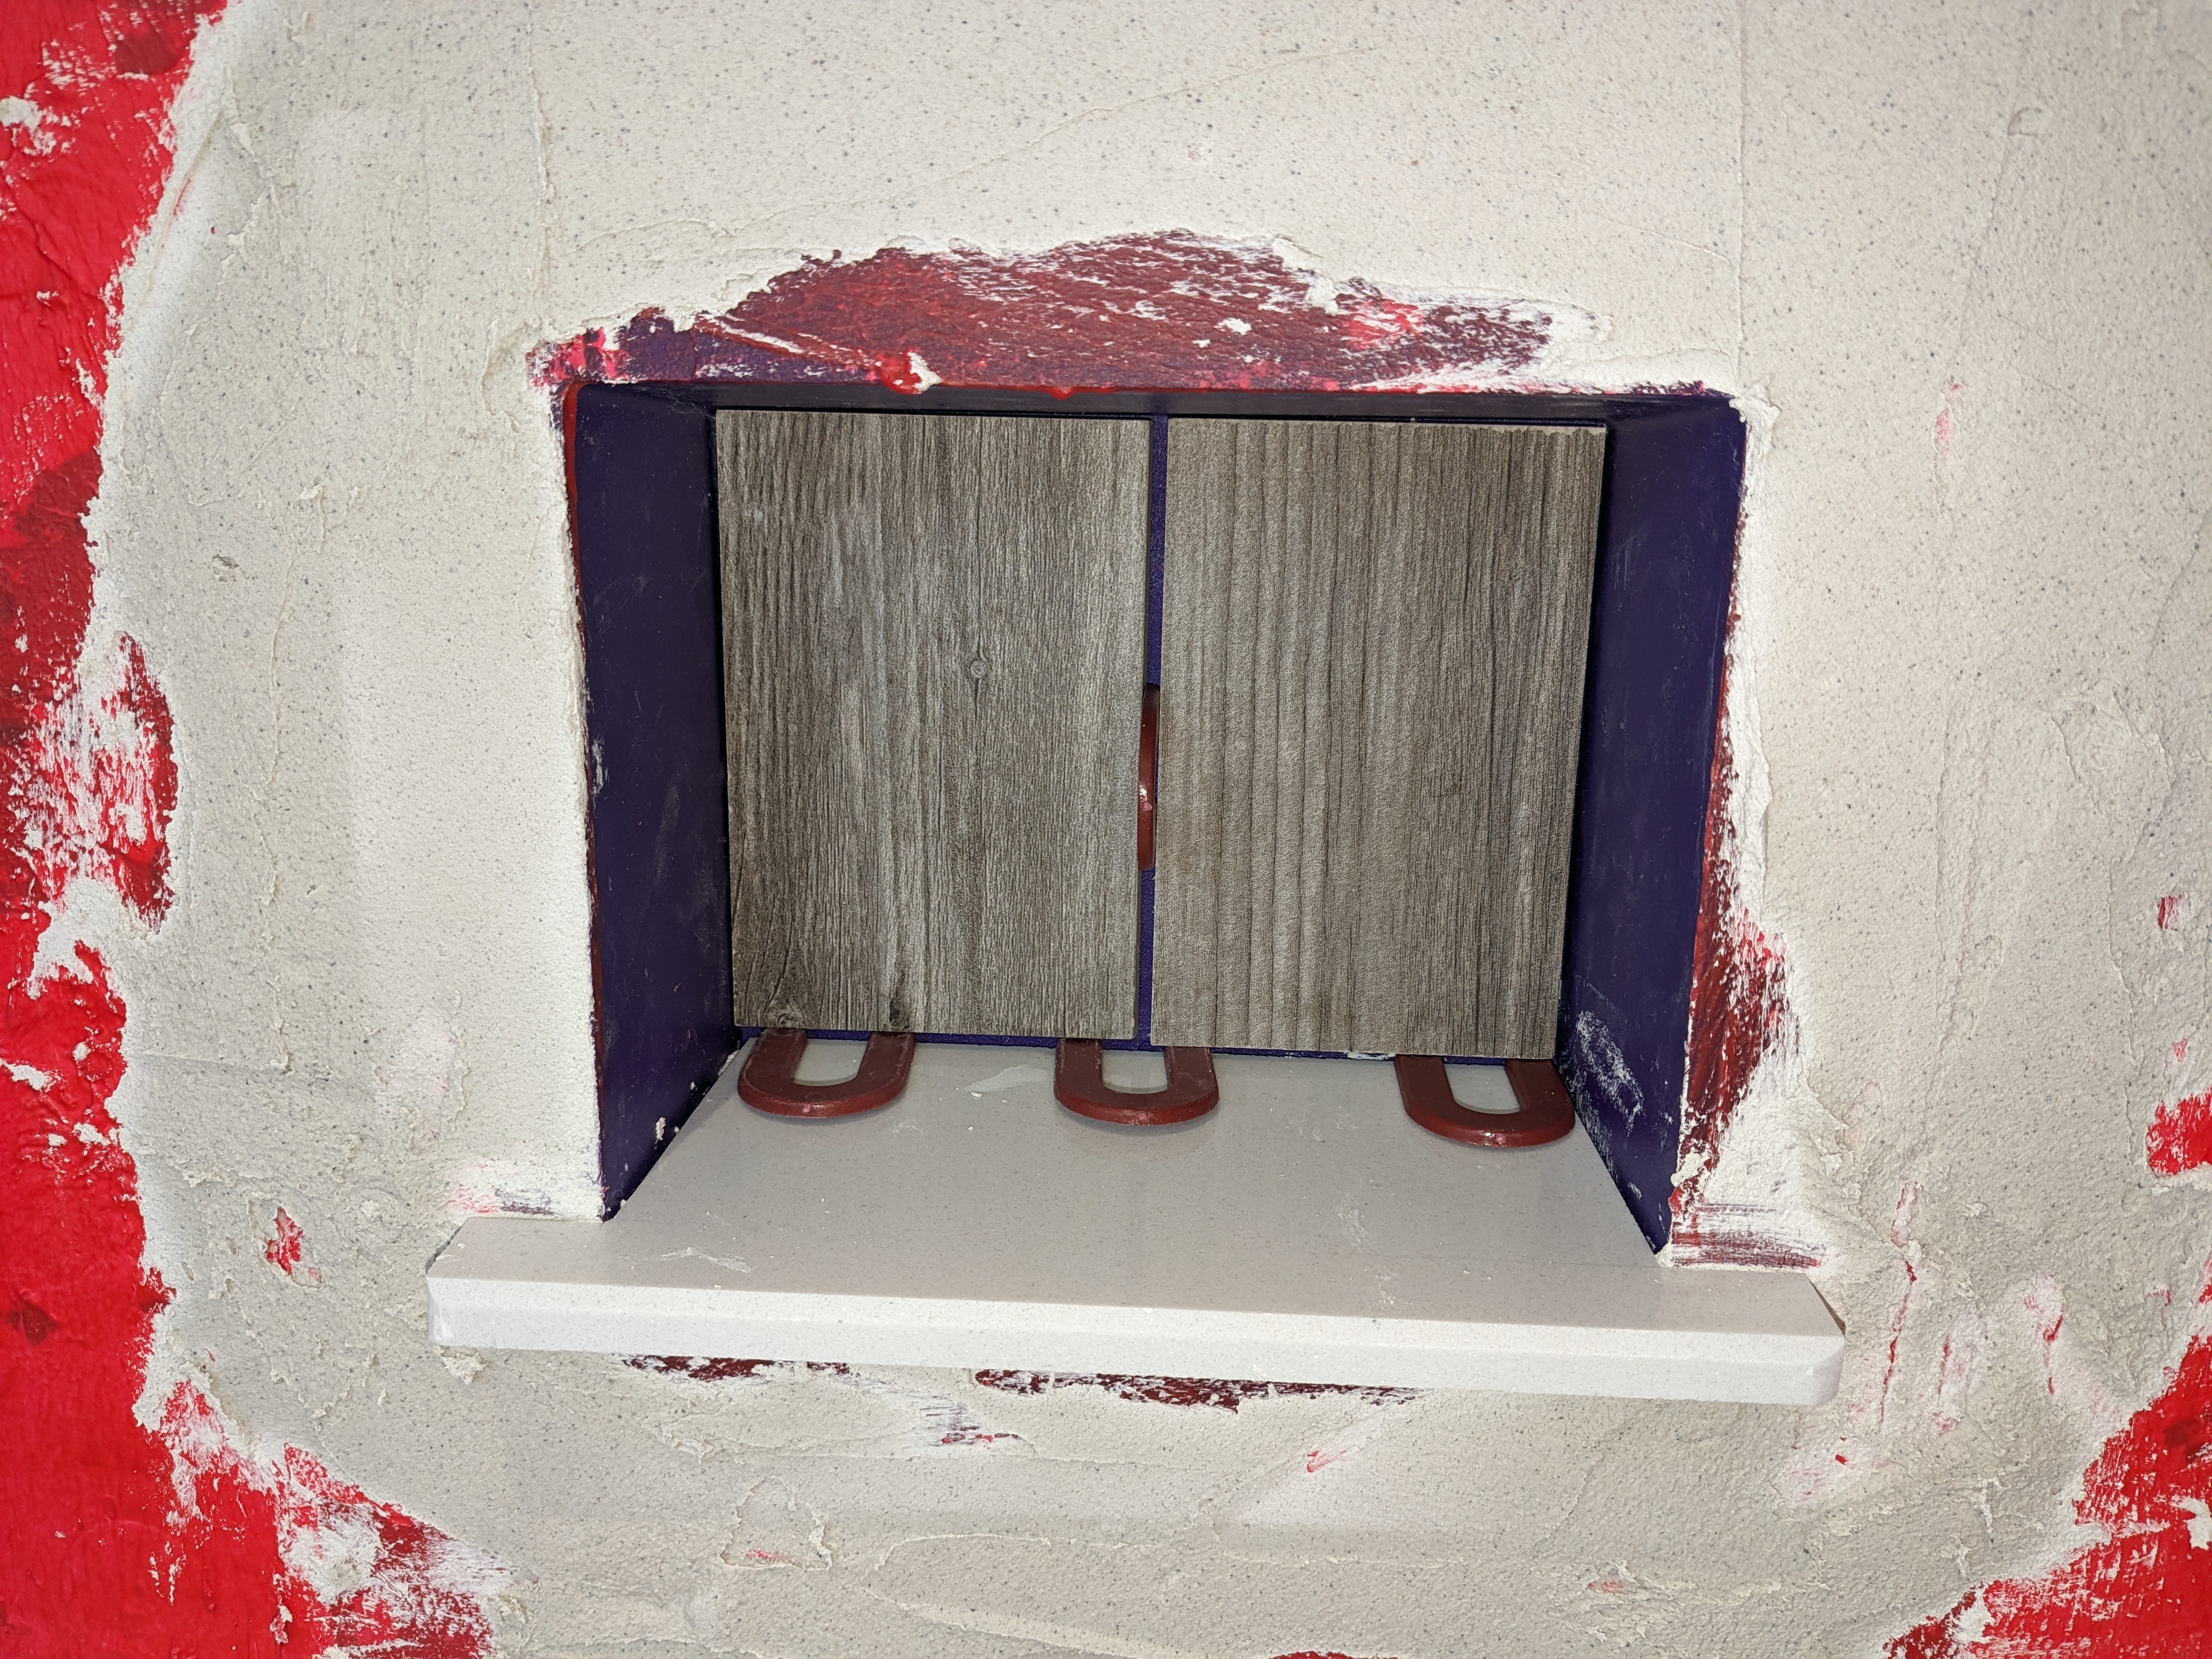
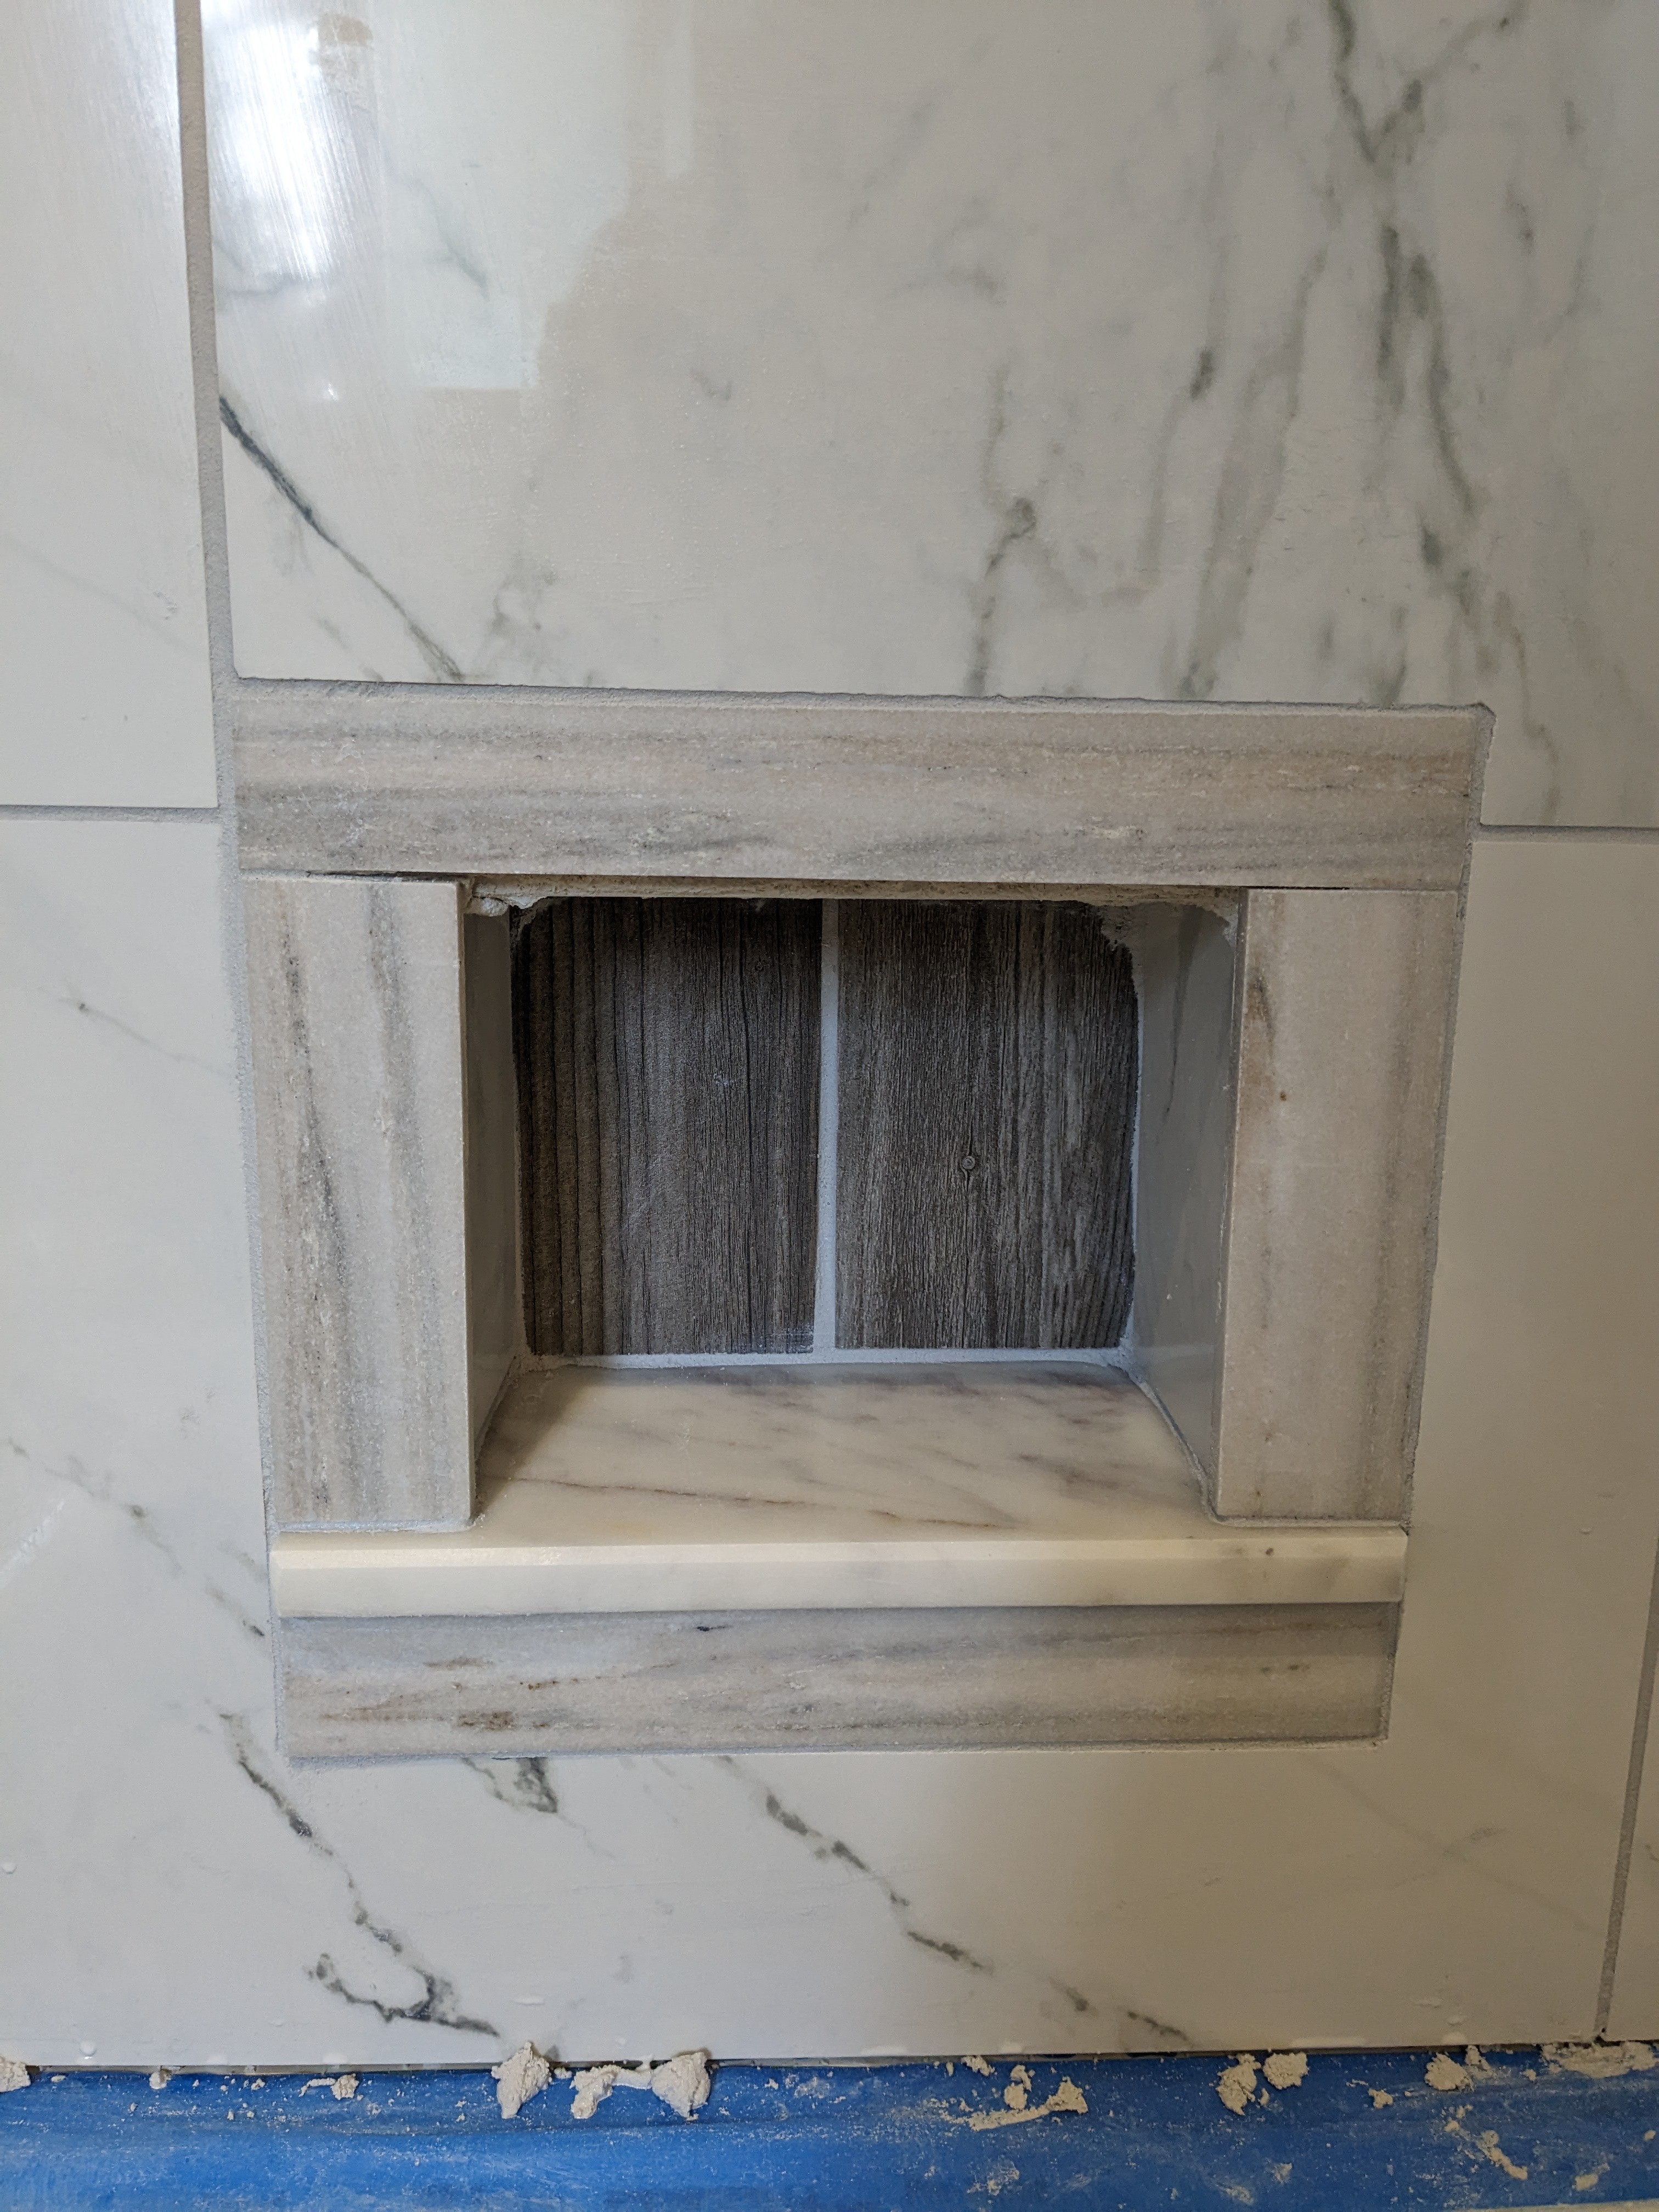
Here is the smaller niche. It also has the tiles on the back, though they are merely placed to see how they will fit and look. I did the same with the pieces for the larger niche, but they were unwilling to stay standing long enough for me to take the pictures.
I'm doing the tiling of the niches one step at a time because my immature tiling skills don't let me predict in advance what the thickness of the thinset will be. So, I have to get adjoining pieces mortared in place before I take measurements for following pieces.
By the way, an objective is to tile the niches to make accumulation of water less likely, so the order of tiling is sill, back, sides, and then top. There will be some trim pieces covering up the outward-facing tile edges. I've watched several videos specifically about tiling a niche. In some cases, they fill the gaps with thinset, sometimes with grout, and sometimes with caulk. Under the theory that the niche is just a microcosm of the whole tub surround, it should be caulk for a change of plane and grout for gaps in a single plane. The caulk versus grout might not matter as much because there shouldn't be much expansion/contraction in something the sizes of these niches. Even if the grout cracks, the pre-made niches will prevent any leakage. I have some caulk that is color-matched to the grout by the manufacturer. I have a lot of flexibility for appearances, but I haven't decided which plan to use yet.
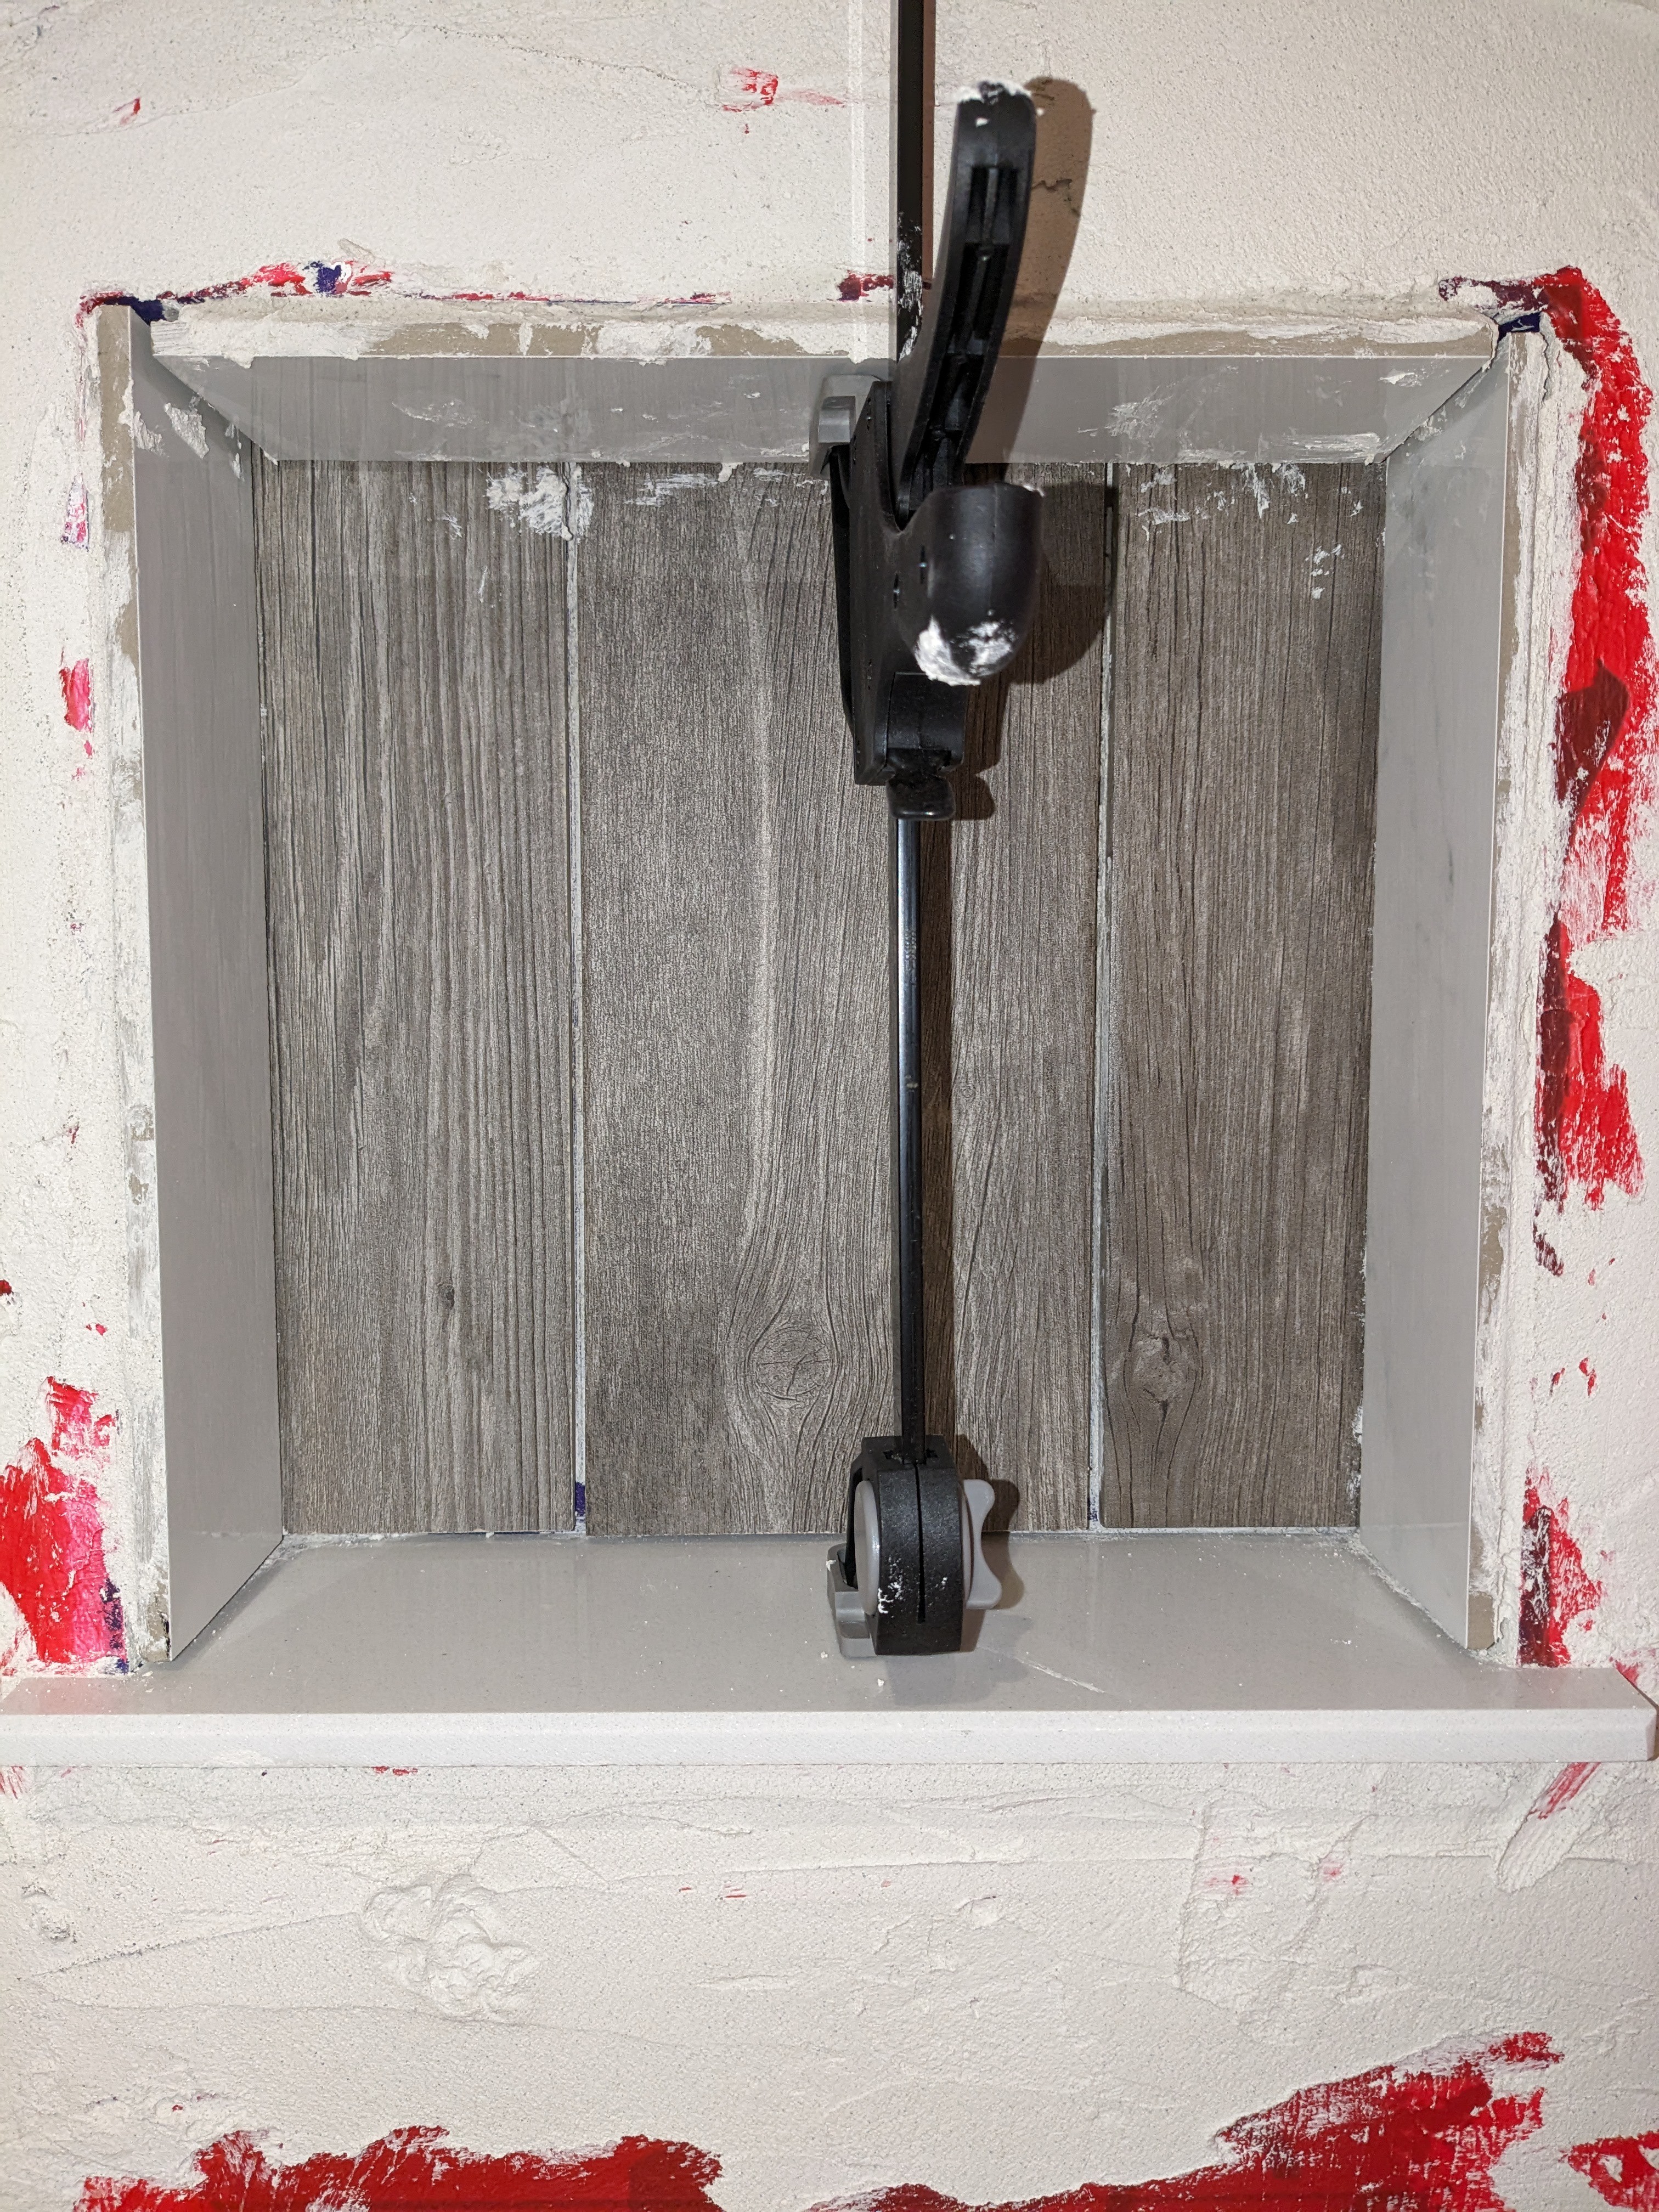
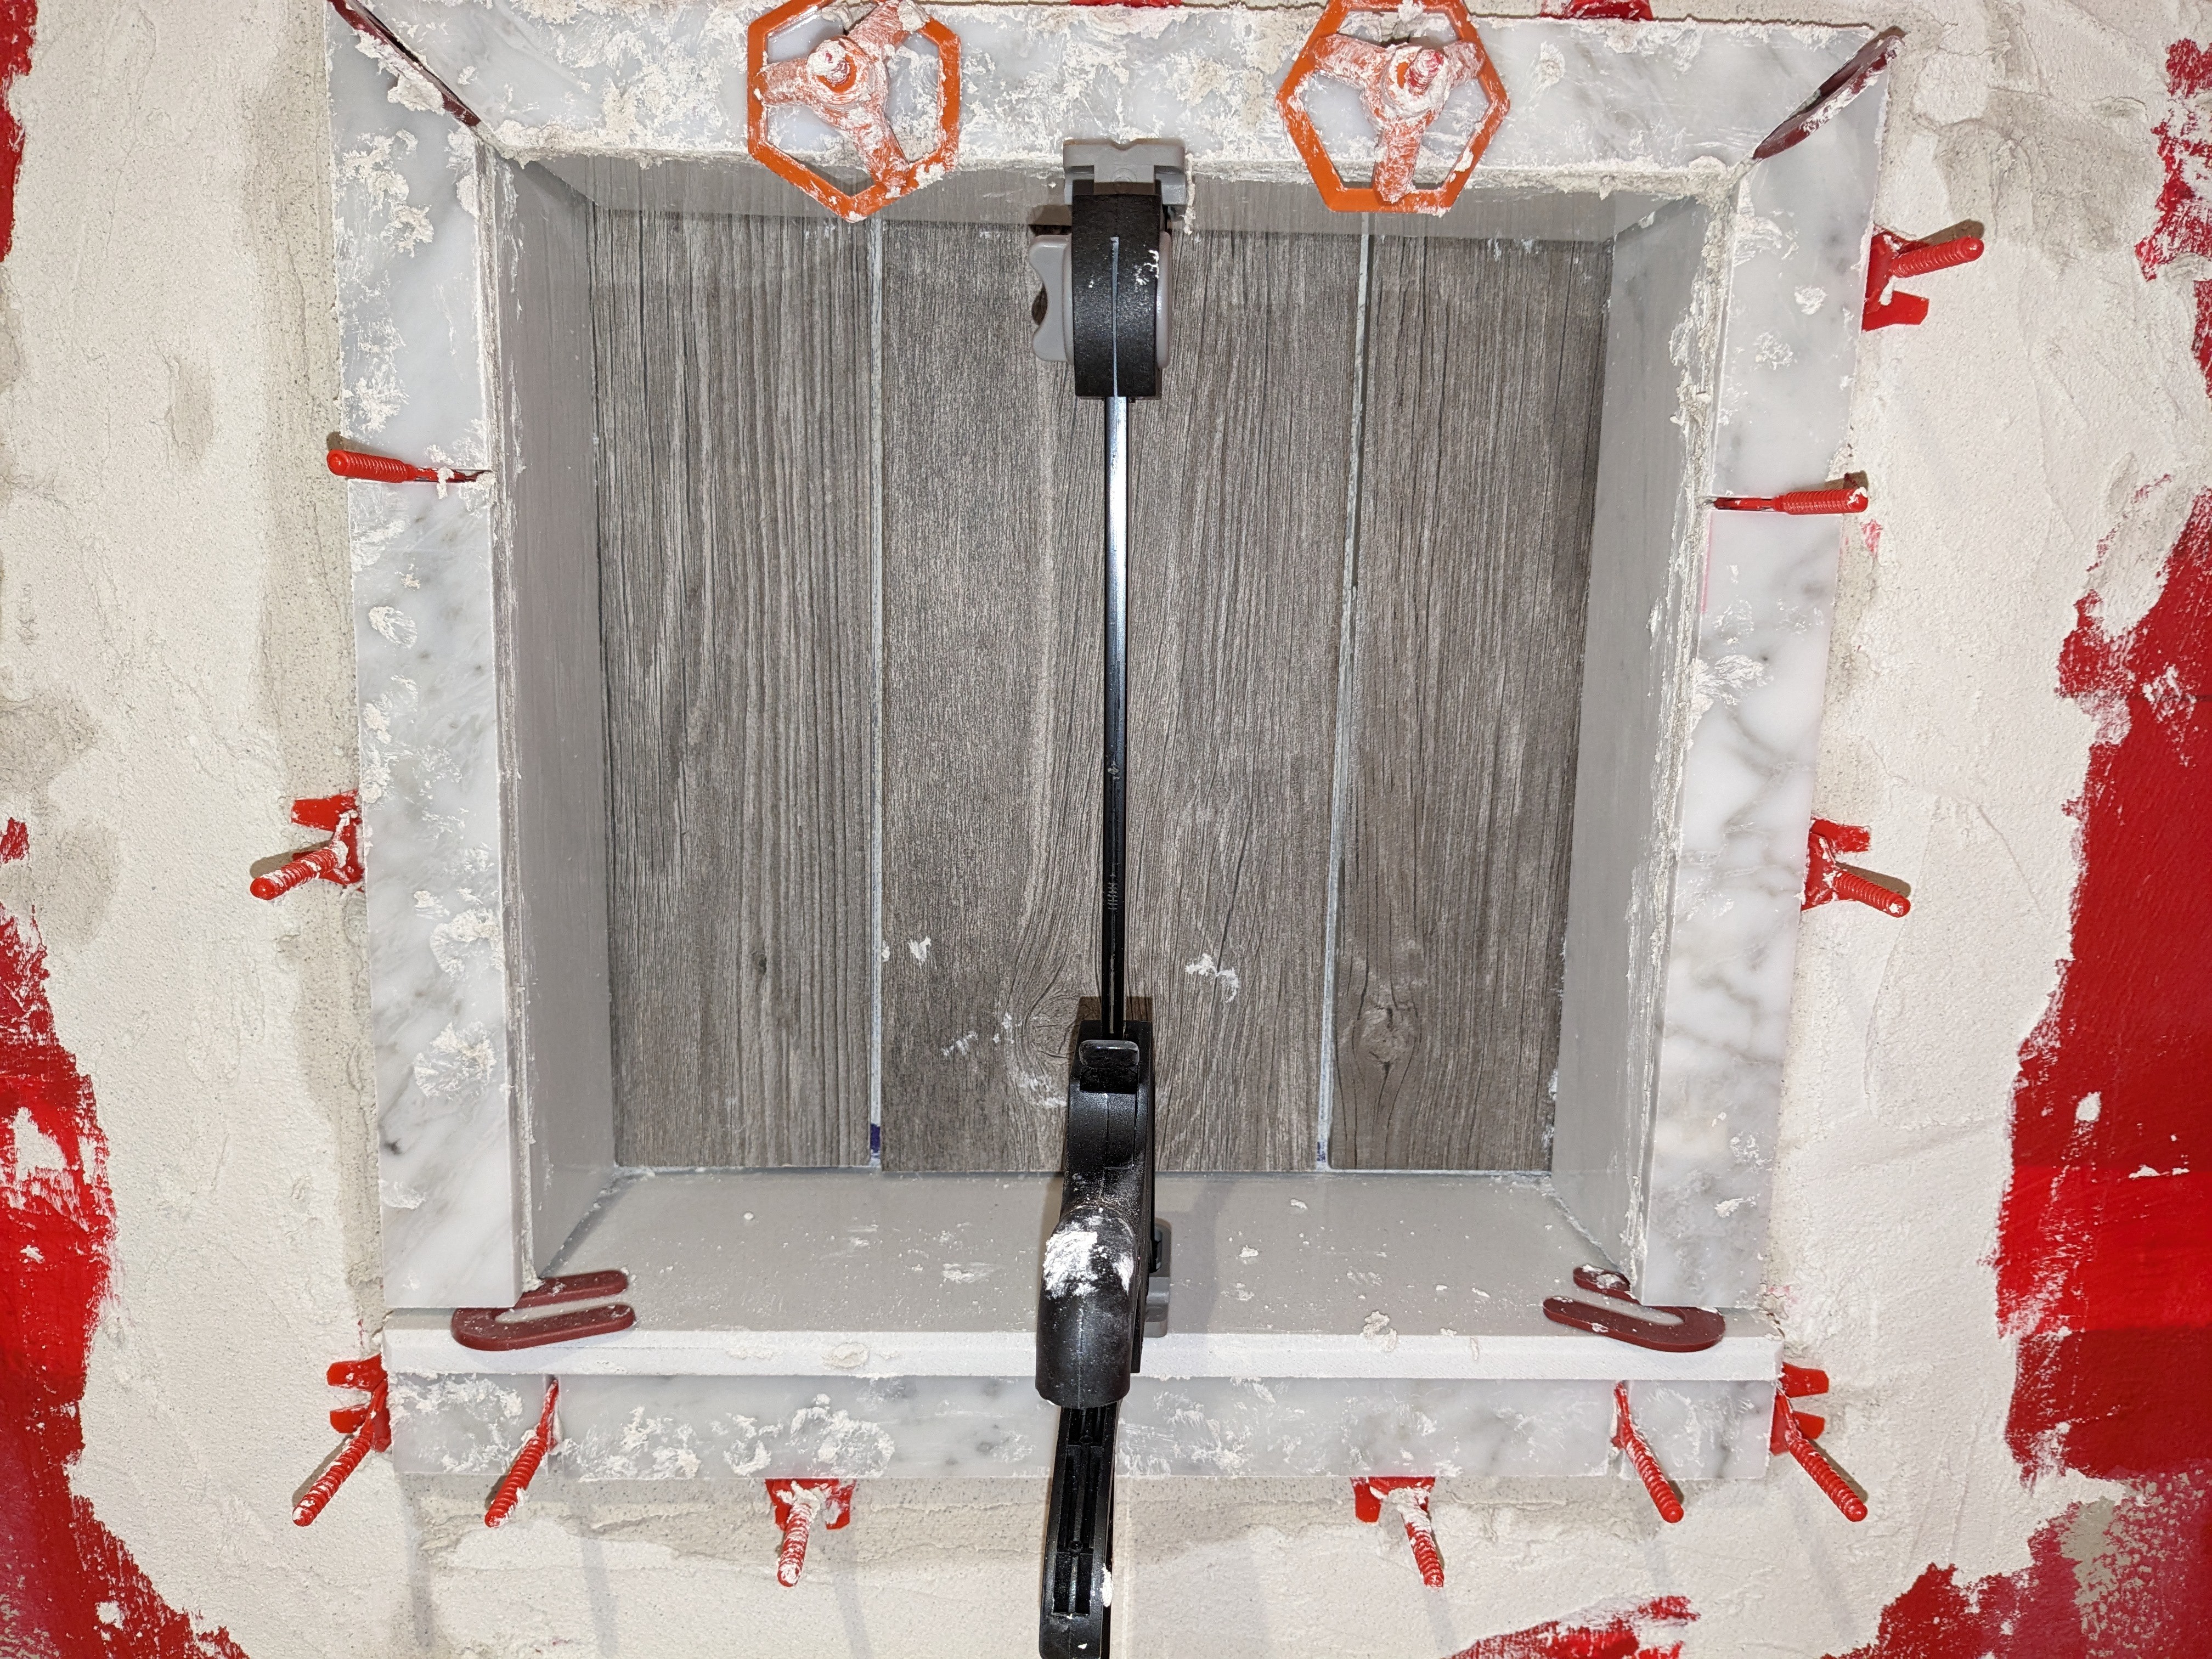
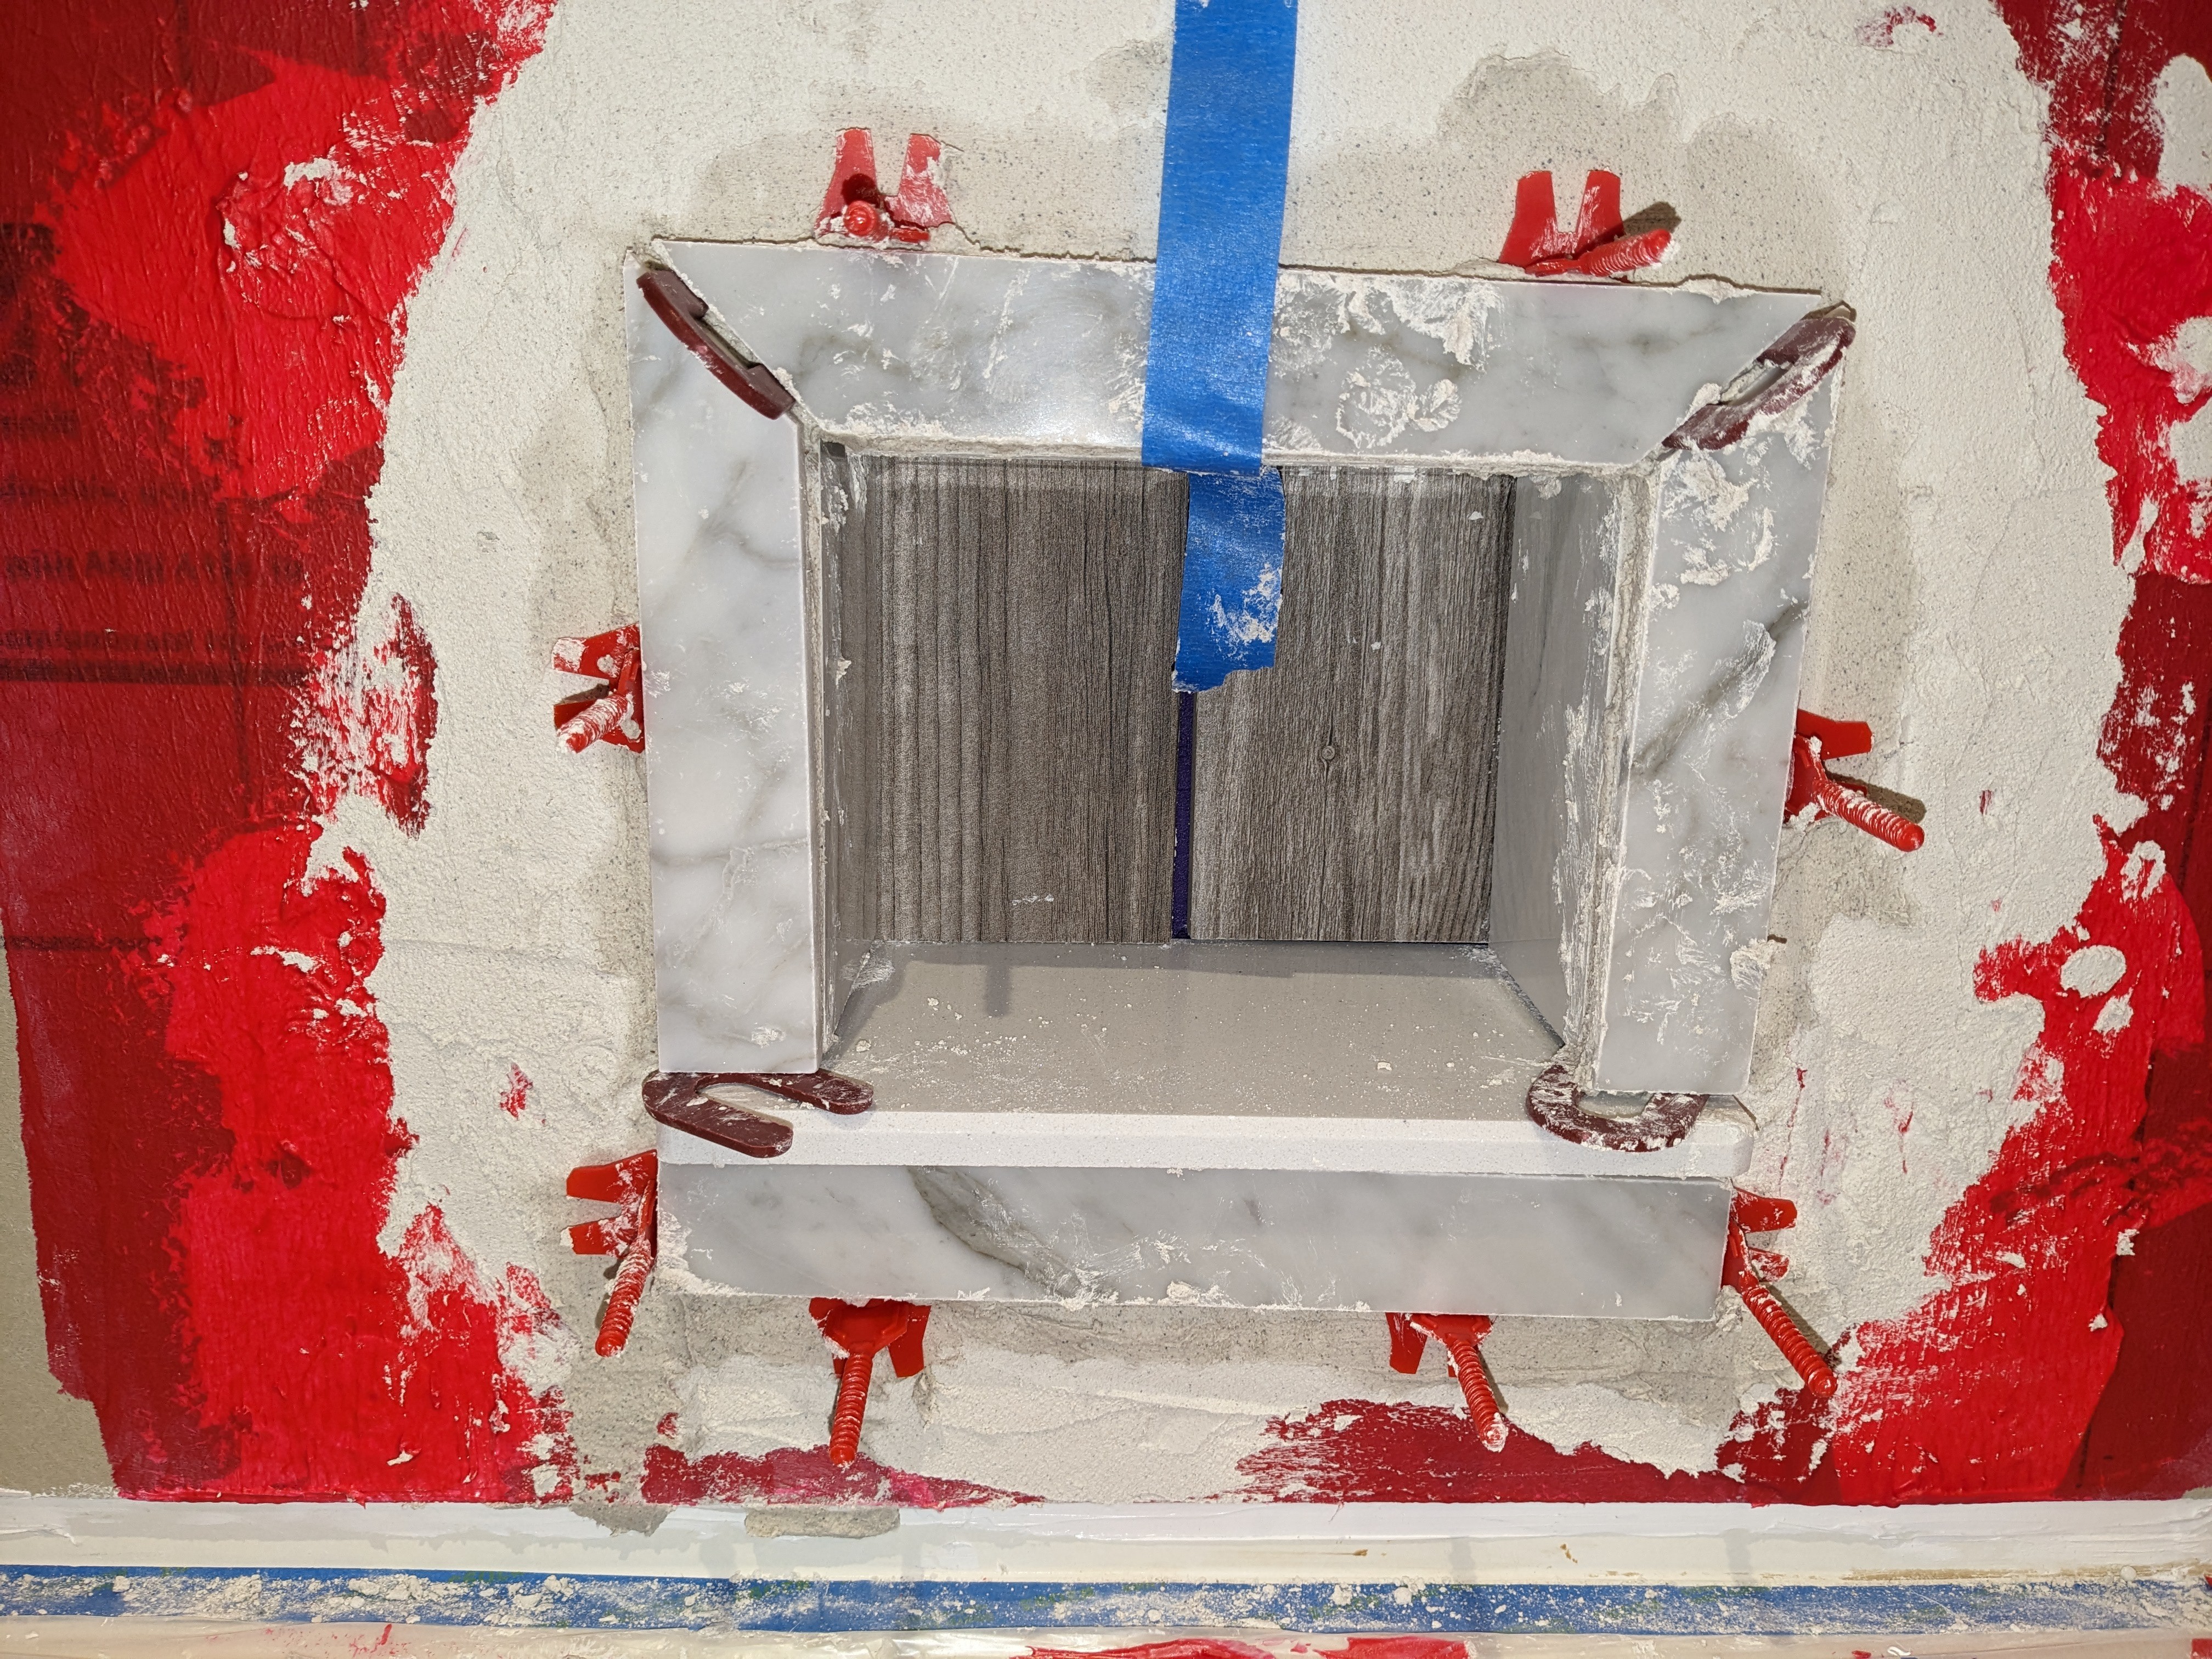
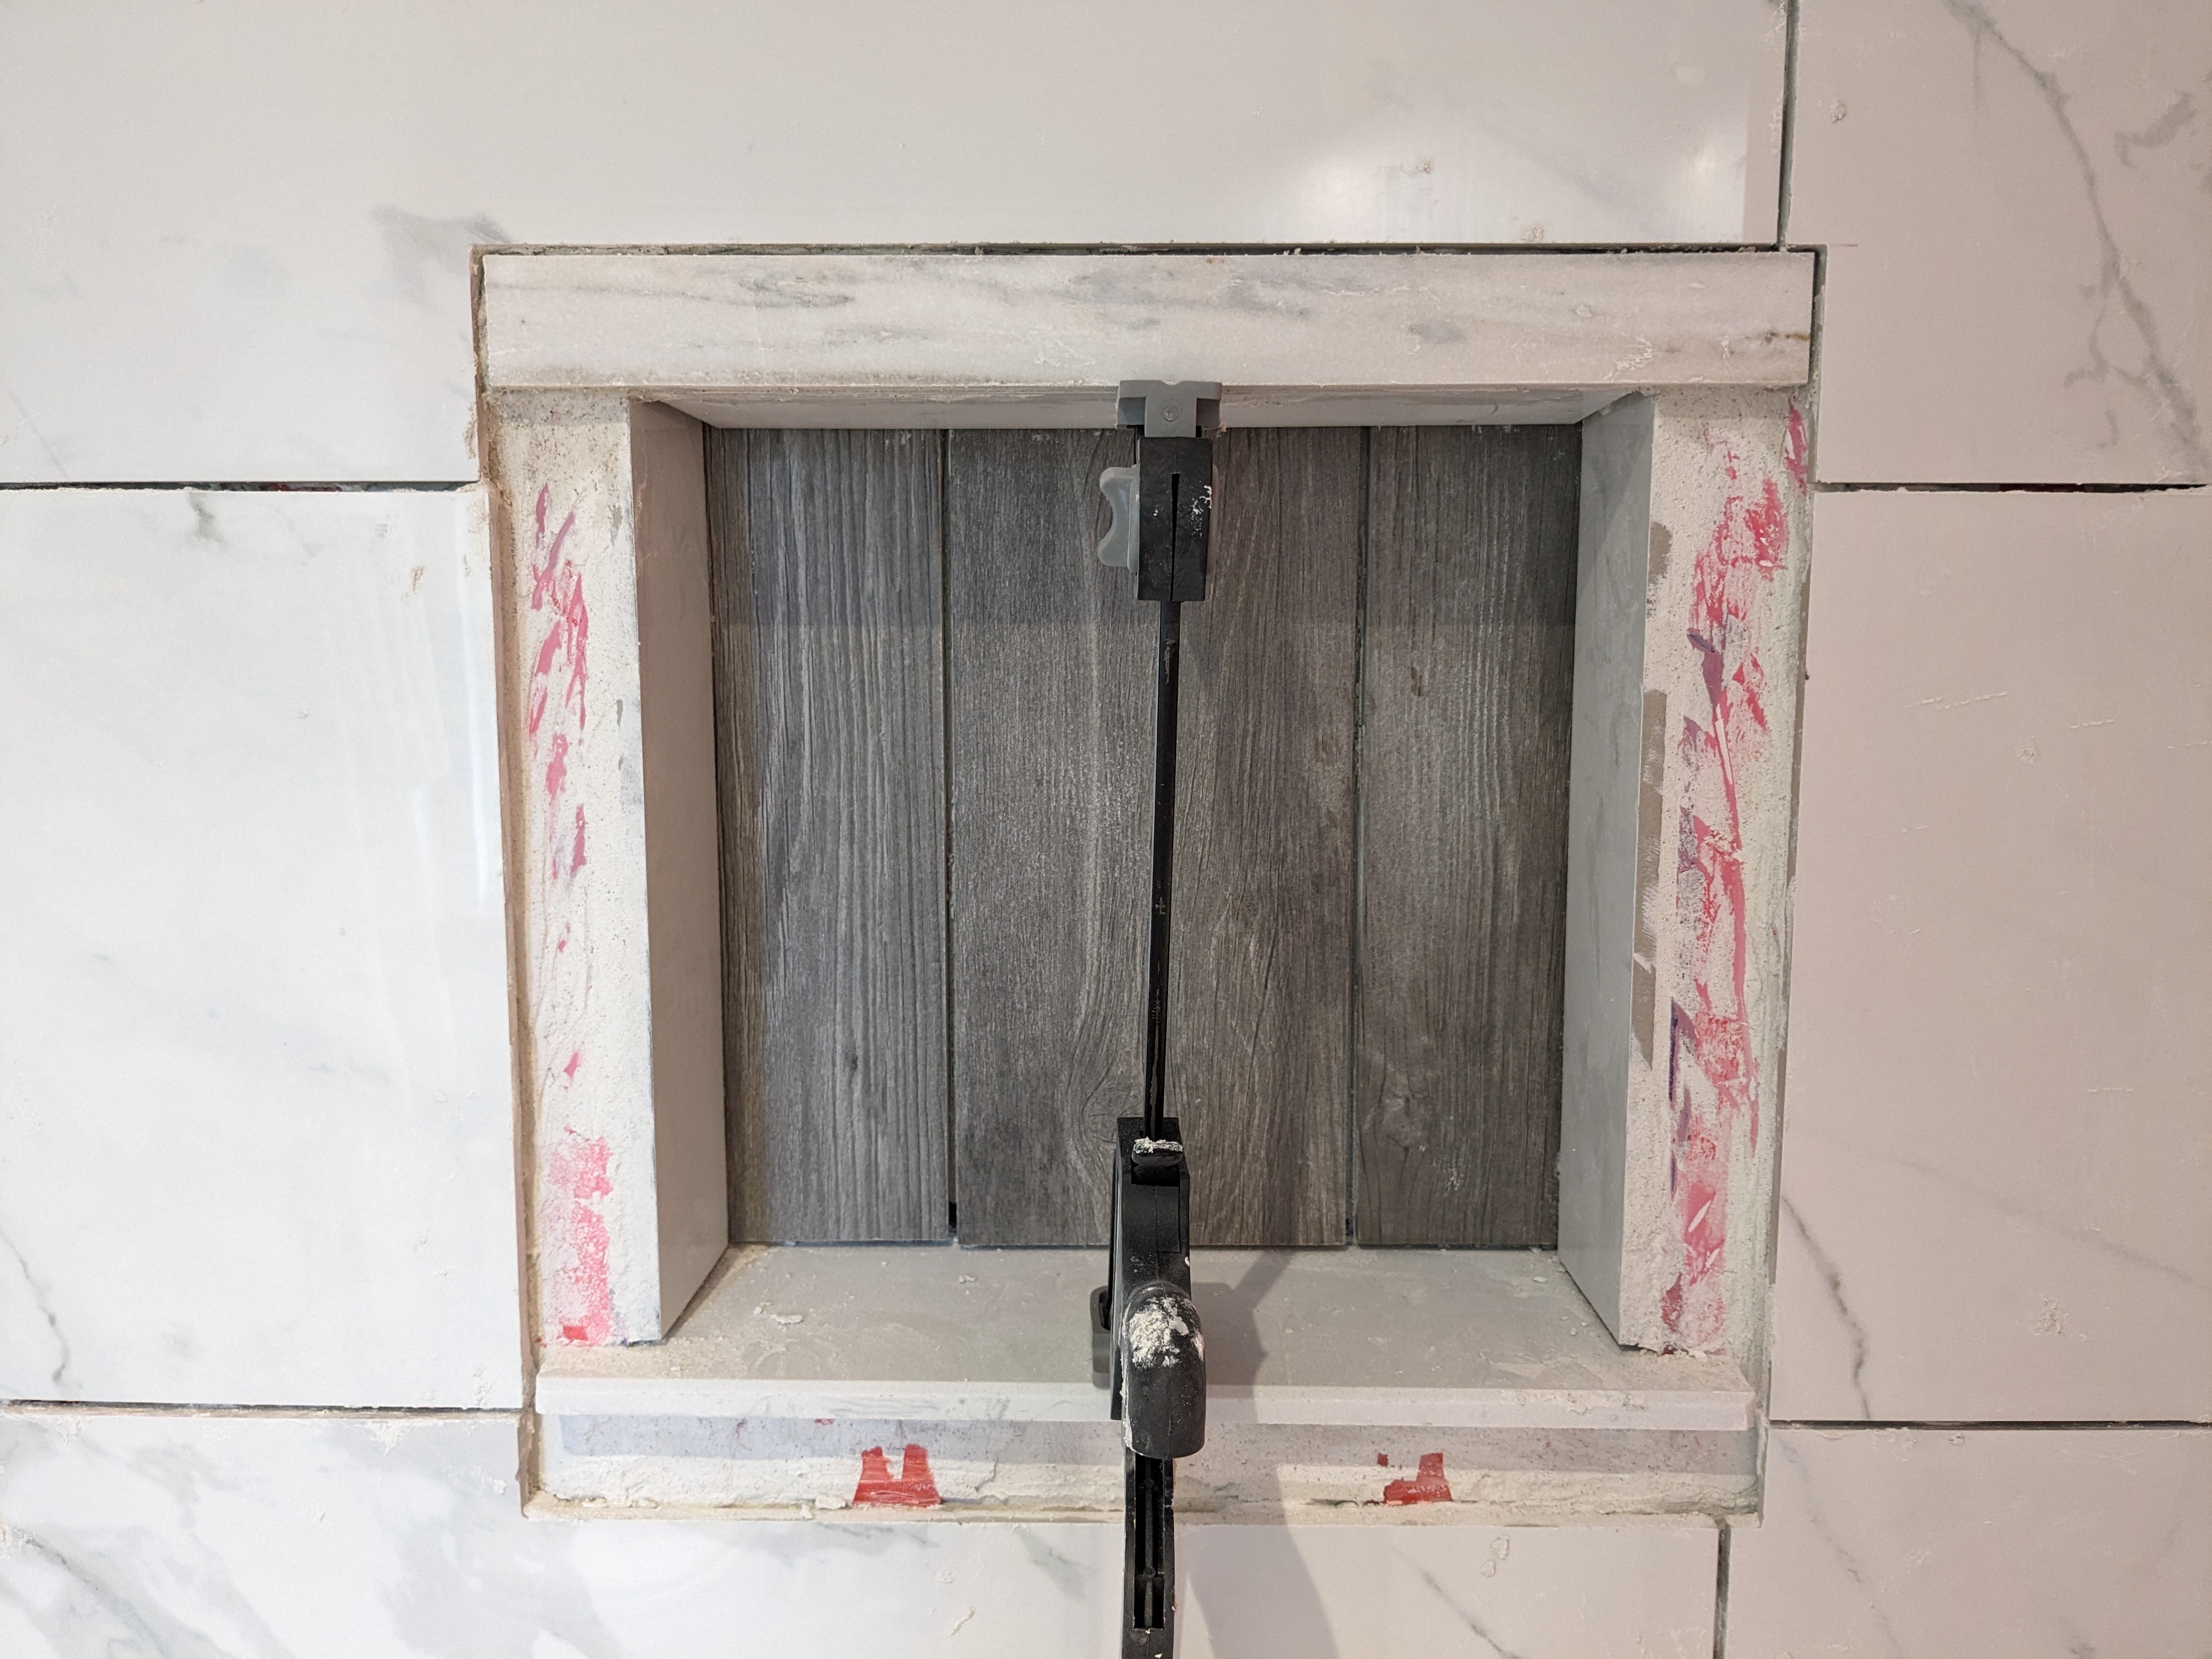
Here are a couple of photos after things progressed. The clamp is just holding the larger niche top in place until the thinset dries a bit.
Update: The edge trim around the niches.
Update: Now that the smaller niche is completely surrounded by tile, I really don't like the look of it. This picture was taken before I adjusted the vertical position of the tile resting on top, so the grout line between the trim piece and that tile is even more out of whack (on an angle). I will definitely remove and re-set that top trim piece. I may even redo the whole niche trim arrangement.

Update: I removed the trim from around the niches. My idea was that I could place individual pieces of the new trim whenever I had a little bit of thinset leftover from a batch. It all went smoothly until it didn't. I snapped one of the ears off the sill on the smaller niche. Since the sill was the first piece tiled inside the niche, I'm now pondering how much of that small niche's tiling I'll have to undo to replace that sill. The good news is that I have leftover material to make the new sill. If I break up the old sill and am lucky, I might be able to slide the new sill in place without removing other tiles. Do you feel lucky today, punk? Well, do you?
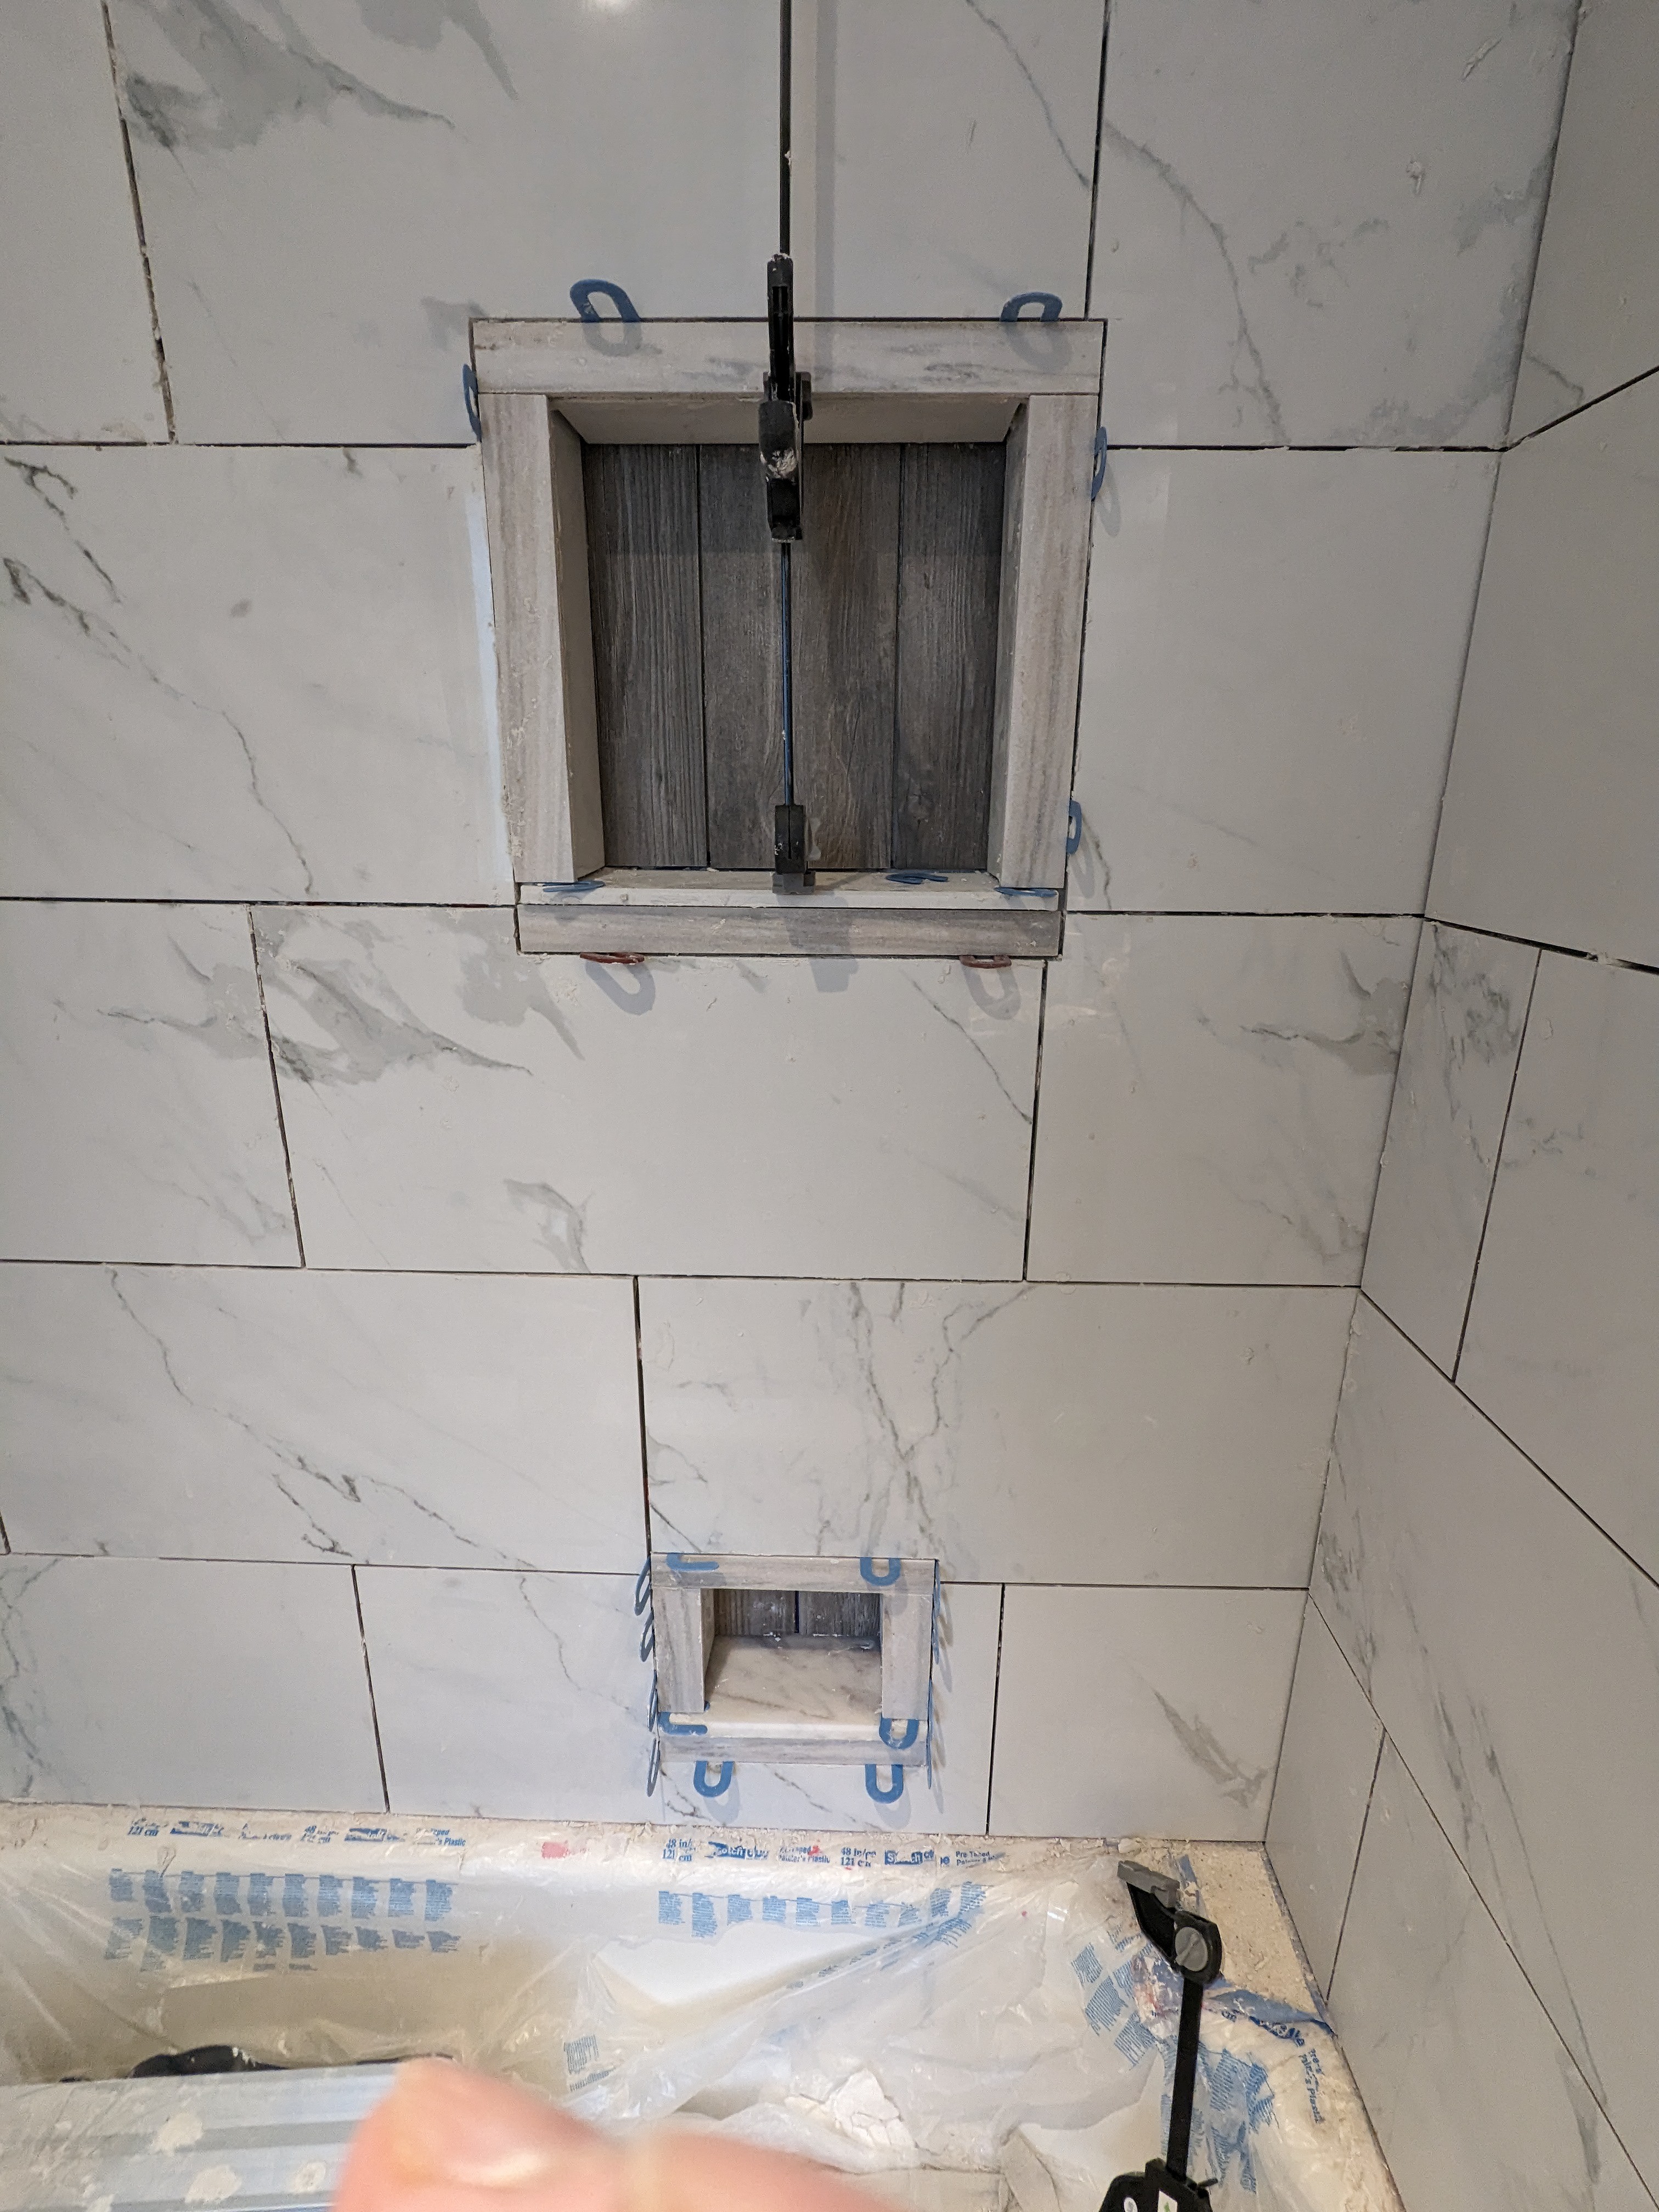
Update: After finishing the left end wall, I did the first piece of the new niche trim with some left-over thin-set.
I removed a lot of the previous thinset with an angle grinder tool (big dusty mess). The photo shows how well the colors go together. After I took this photo, I realized that I had forgotten to take into account the main reason for separate niche edge trim pieces. The edges of the surrounding porcelain tiles are partially exposed because the combination of thinset and the trim tile was not as thick as the surrounding tile. I removed that trim piece but left most of the thinset in place to dry as a built-up layer. I had already cleaned up my thinset bucket for the day or I would have laid down a thinset layer on the other three sides. In retrospect, I could have left most of the thinset in place instead of grinding it away. I just didn't think about it at the time.
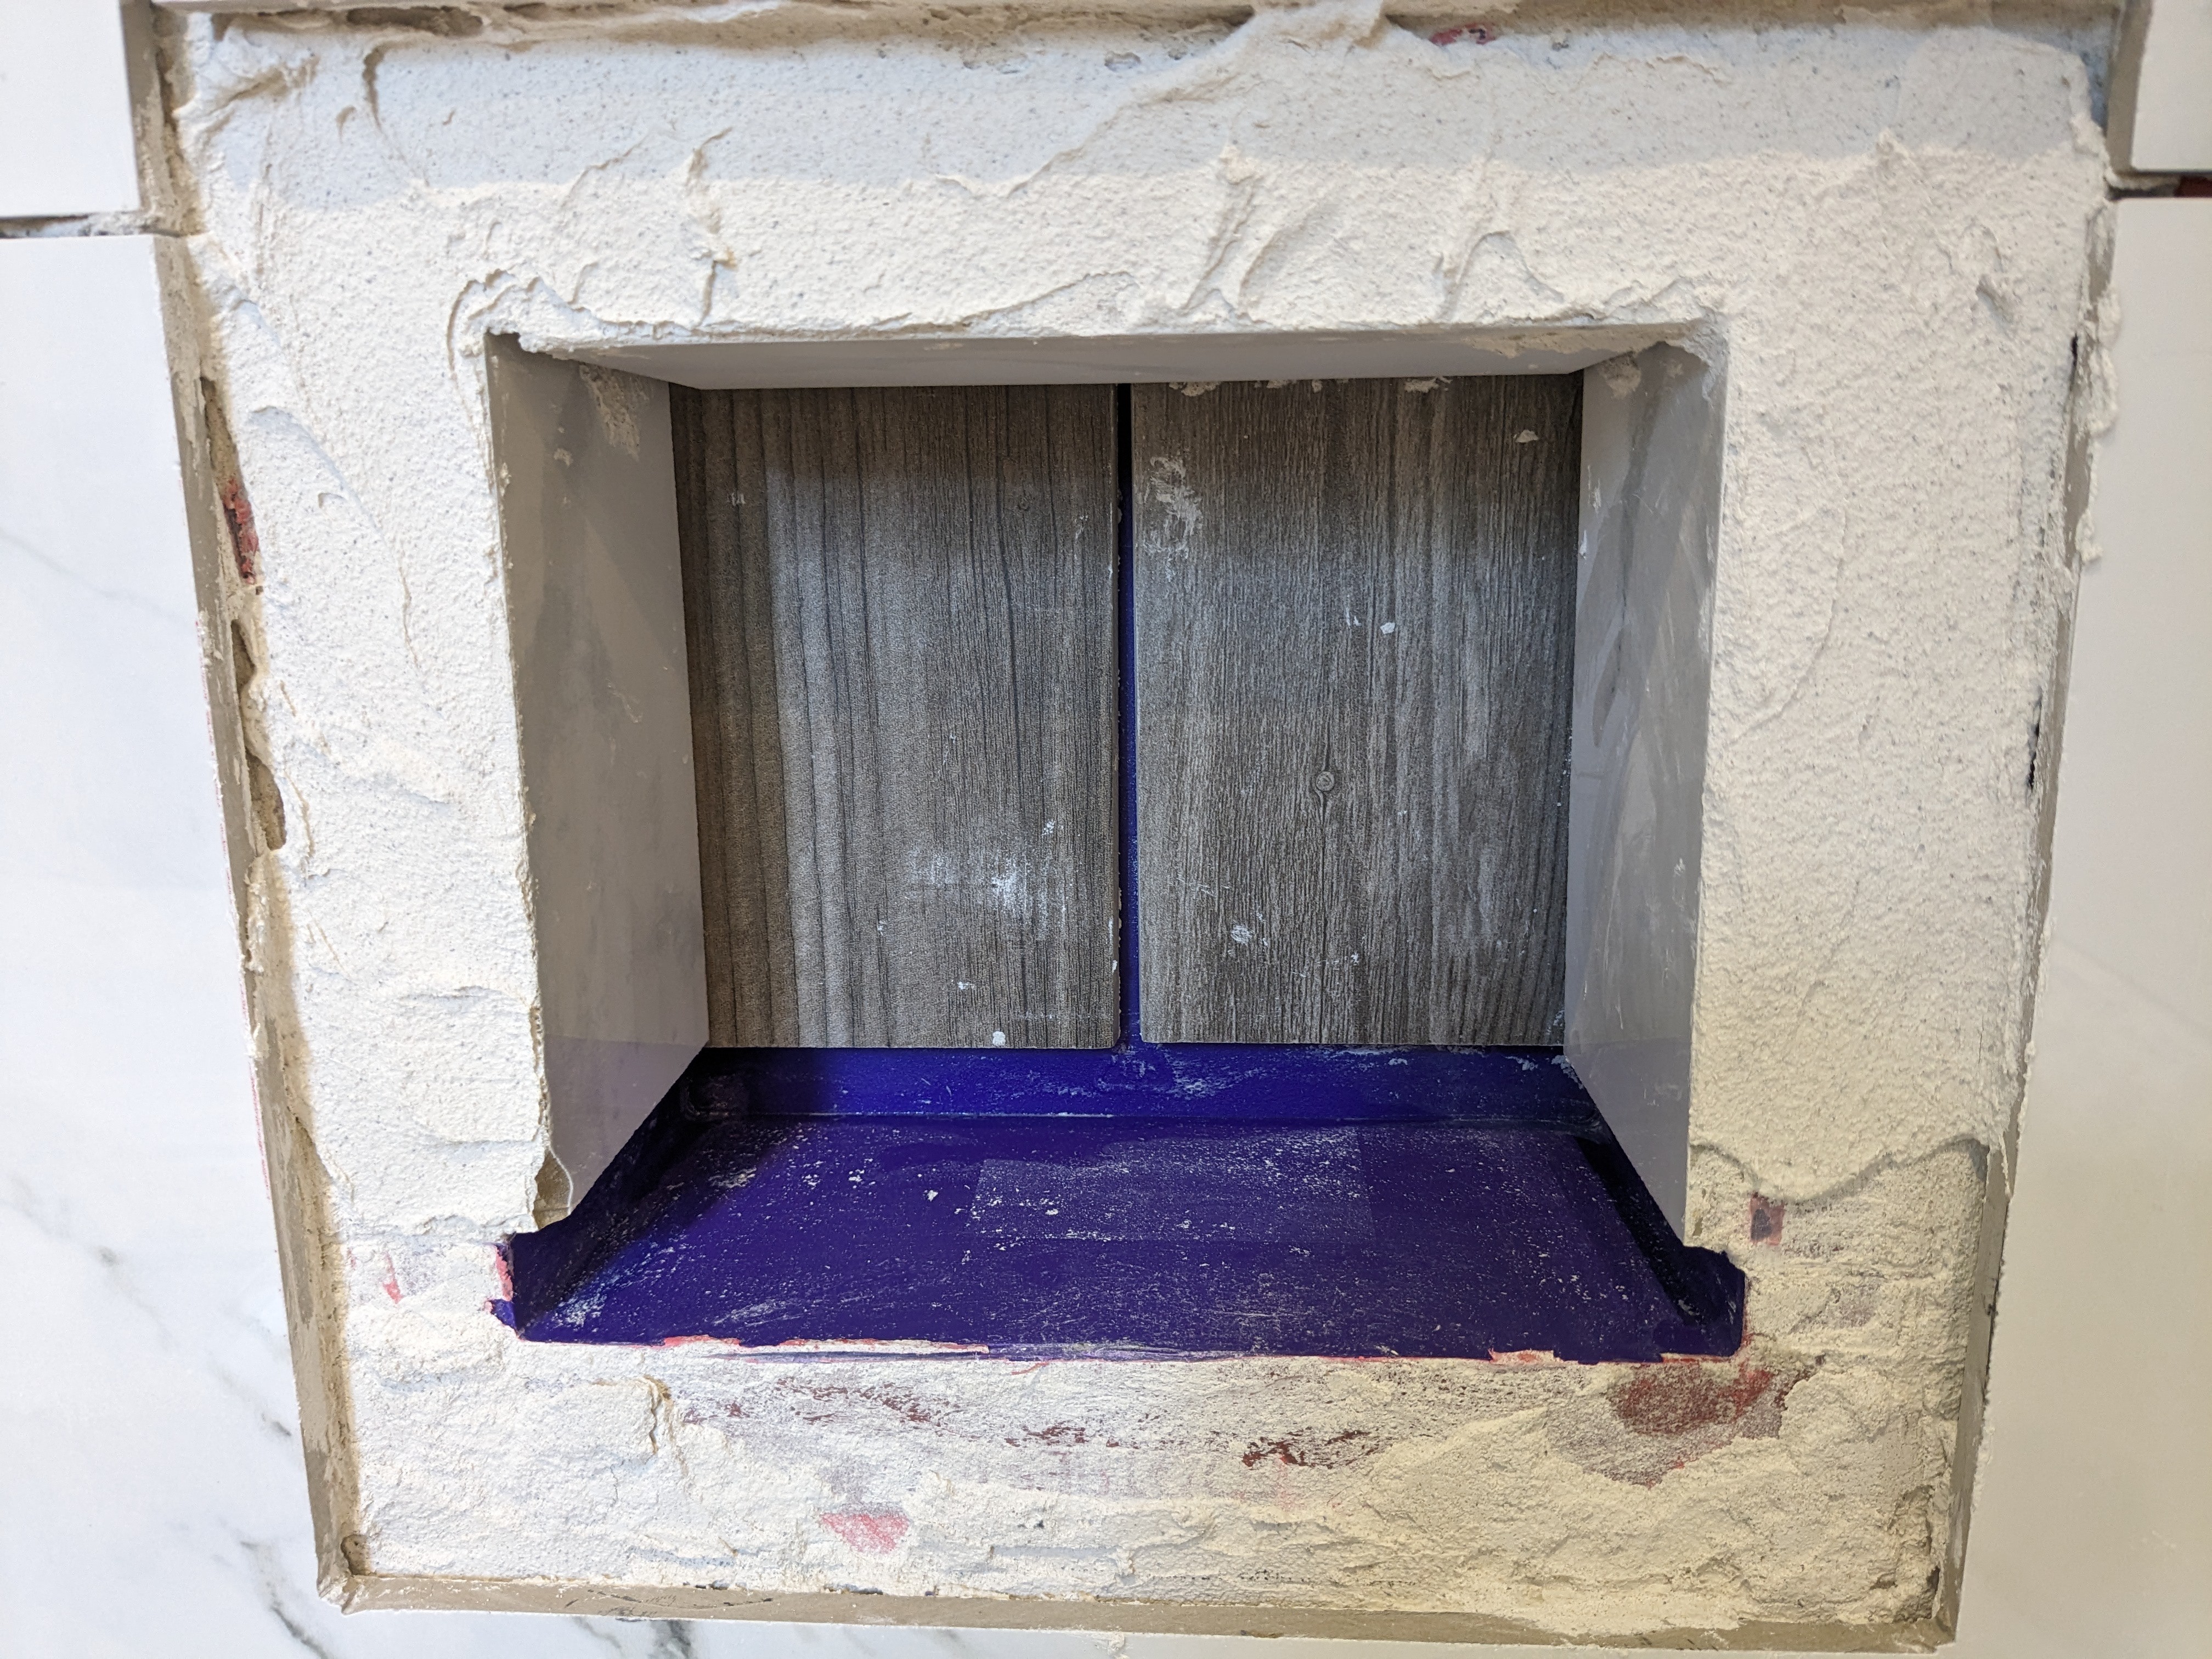
Update: It took just about every tool in my arsenal (and a certain amount of swearing), but I was able to get the sill out of the small niche by grinding and breaking it. There's a small chip out of the bottom of the left side piece, but I'll just do some kind of cosmetic touch-up on that (not sure how). The best news, as far as I'm concerned, is that the purple EZ-Niches surface was not injured at all, so the water barrier is intact. Now I just have to cut the new sill and slide it in.
Update: I re-did the niche trim pieces today. It's not perfection, but I like it a lot more than my first attempt. It was pretty easy to slide the replacement sill into the small niche. Rather than cut a new sill, I decided to use the marble pattern sill for the small niche that I had left over after goofing up the marble patterned sill for the large niche. The two sills don't match now, but they are far enough apart that I don't think it matters much.
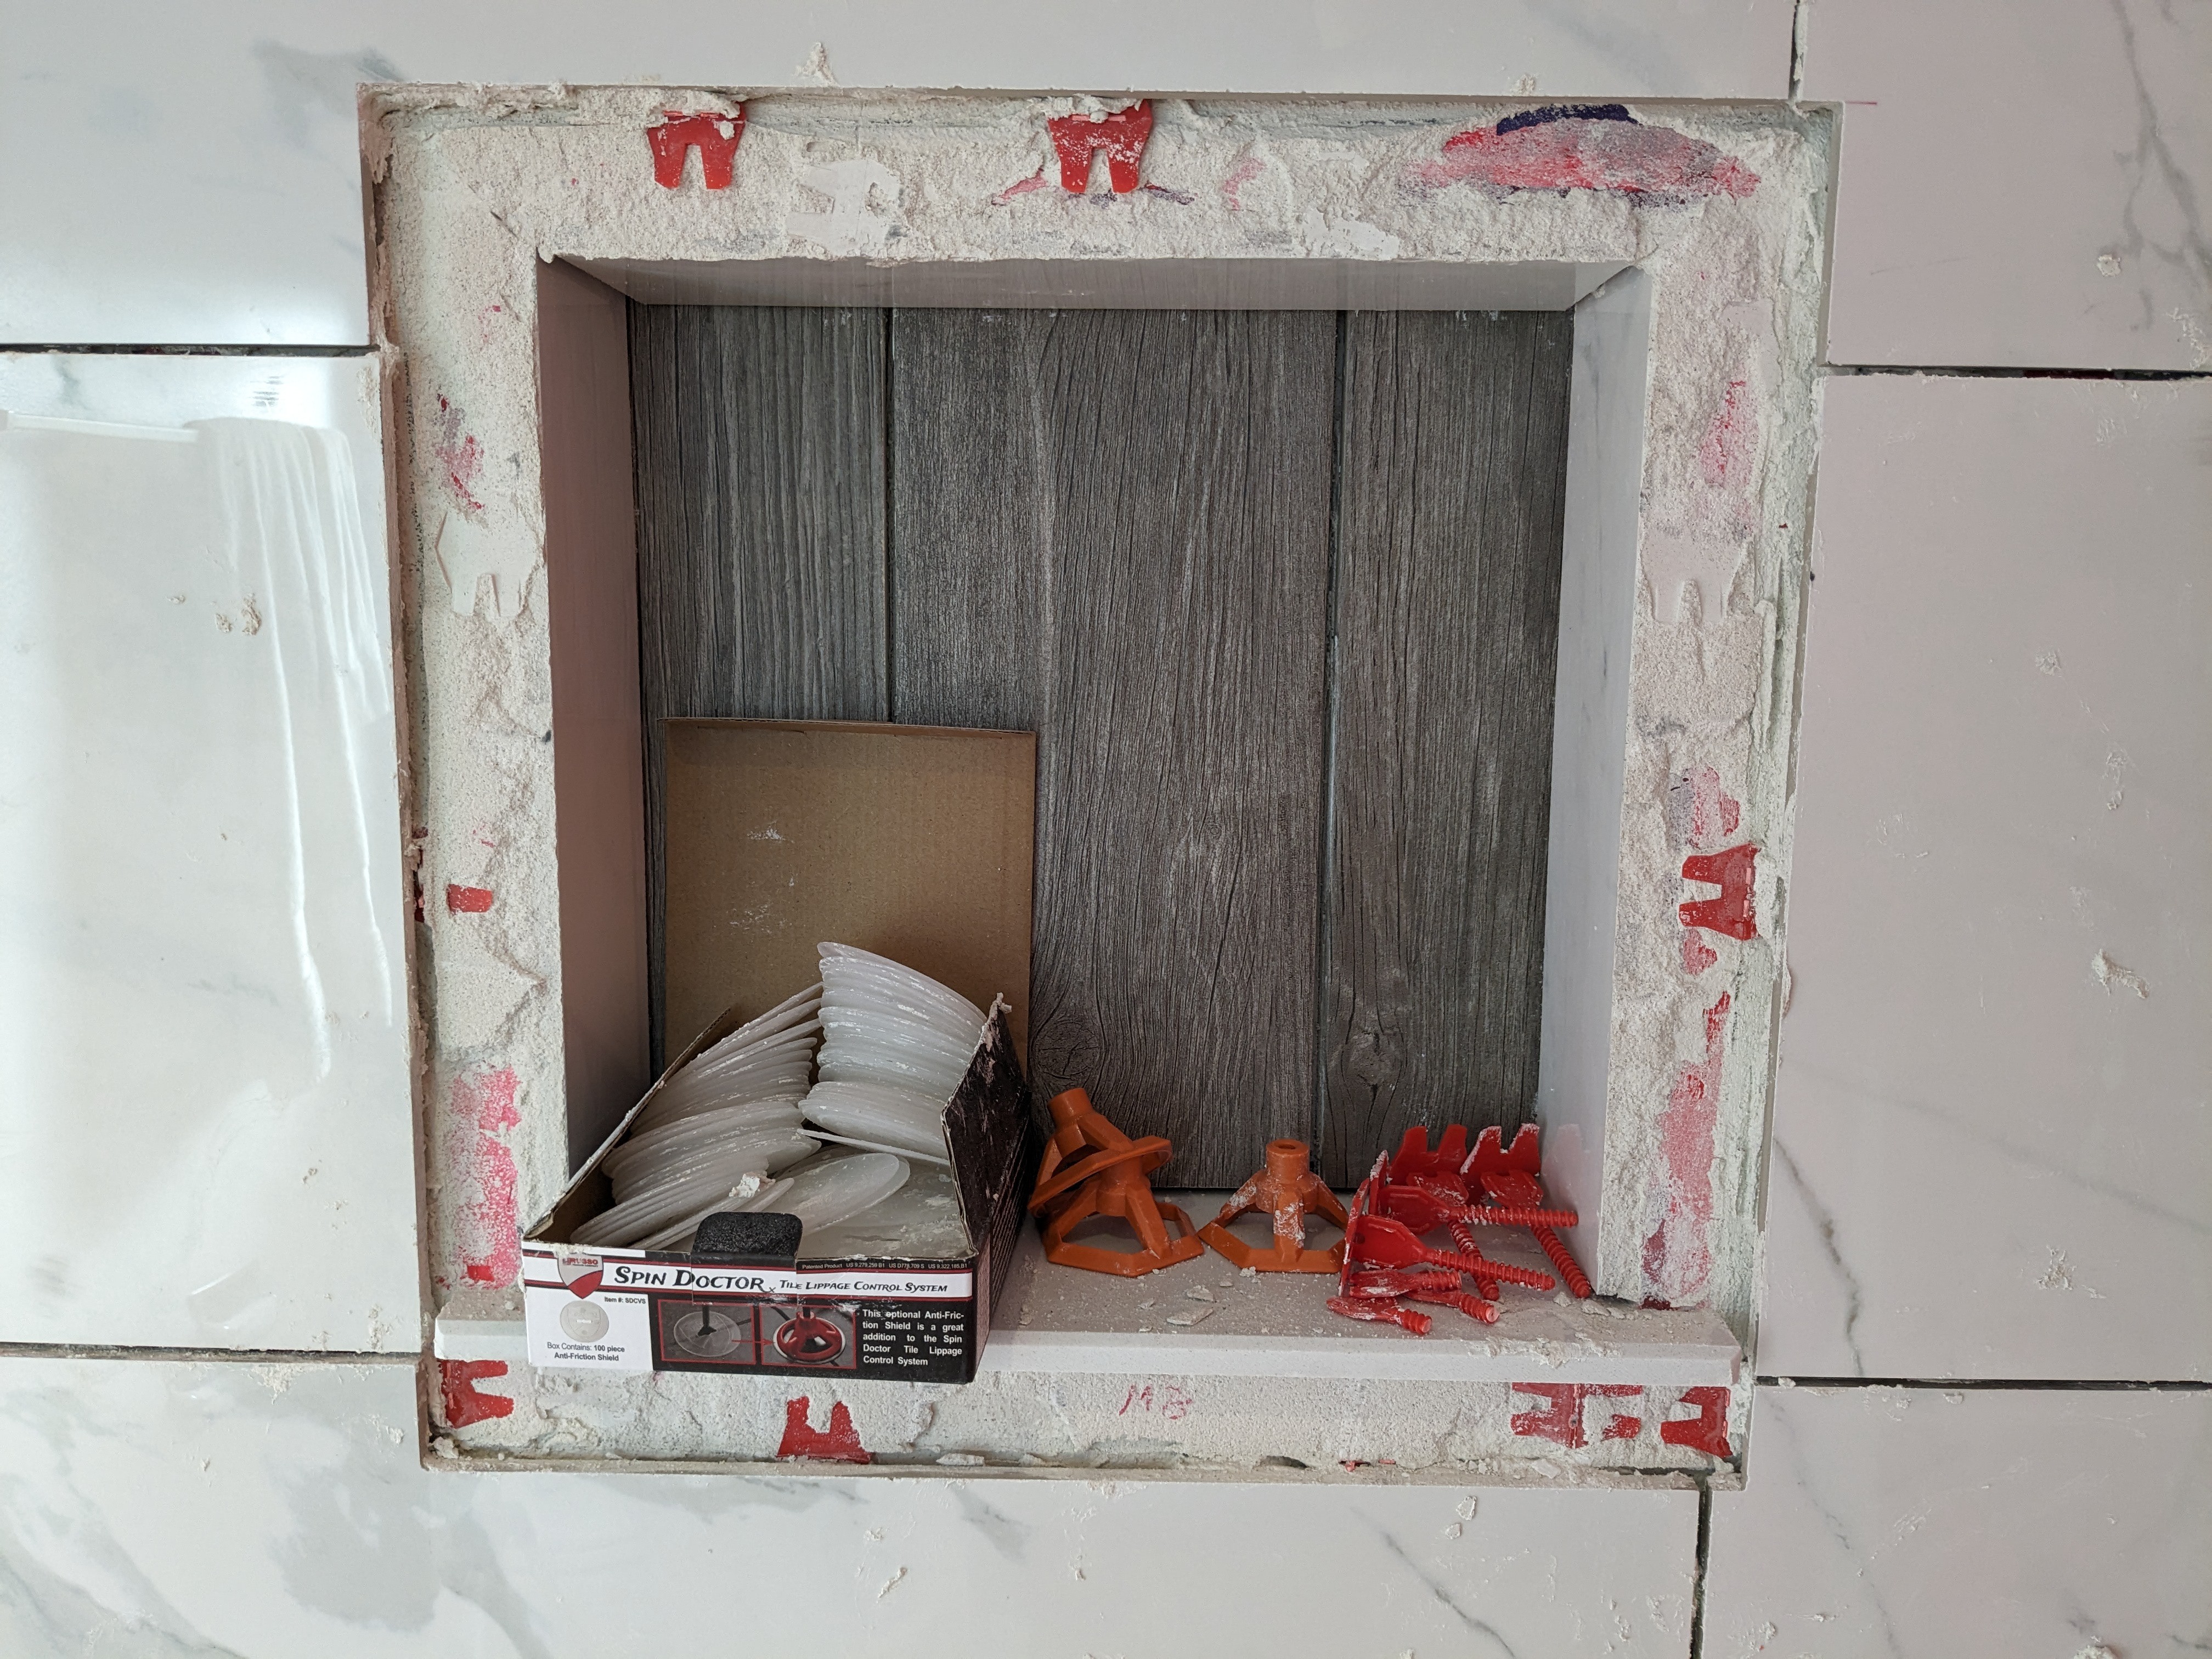
Update: Now with grout!
The little crumbs at the top inner corners of the small niche are actually dried mortar, which I will chip off later.
Discussions
Become a Hackaday.io Member
Create an account to leave a comment. Already have an account? Log In.