Design
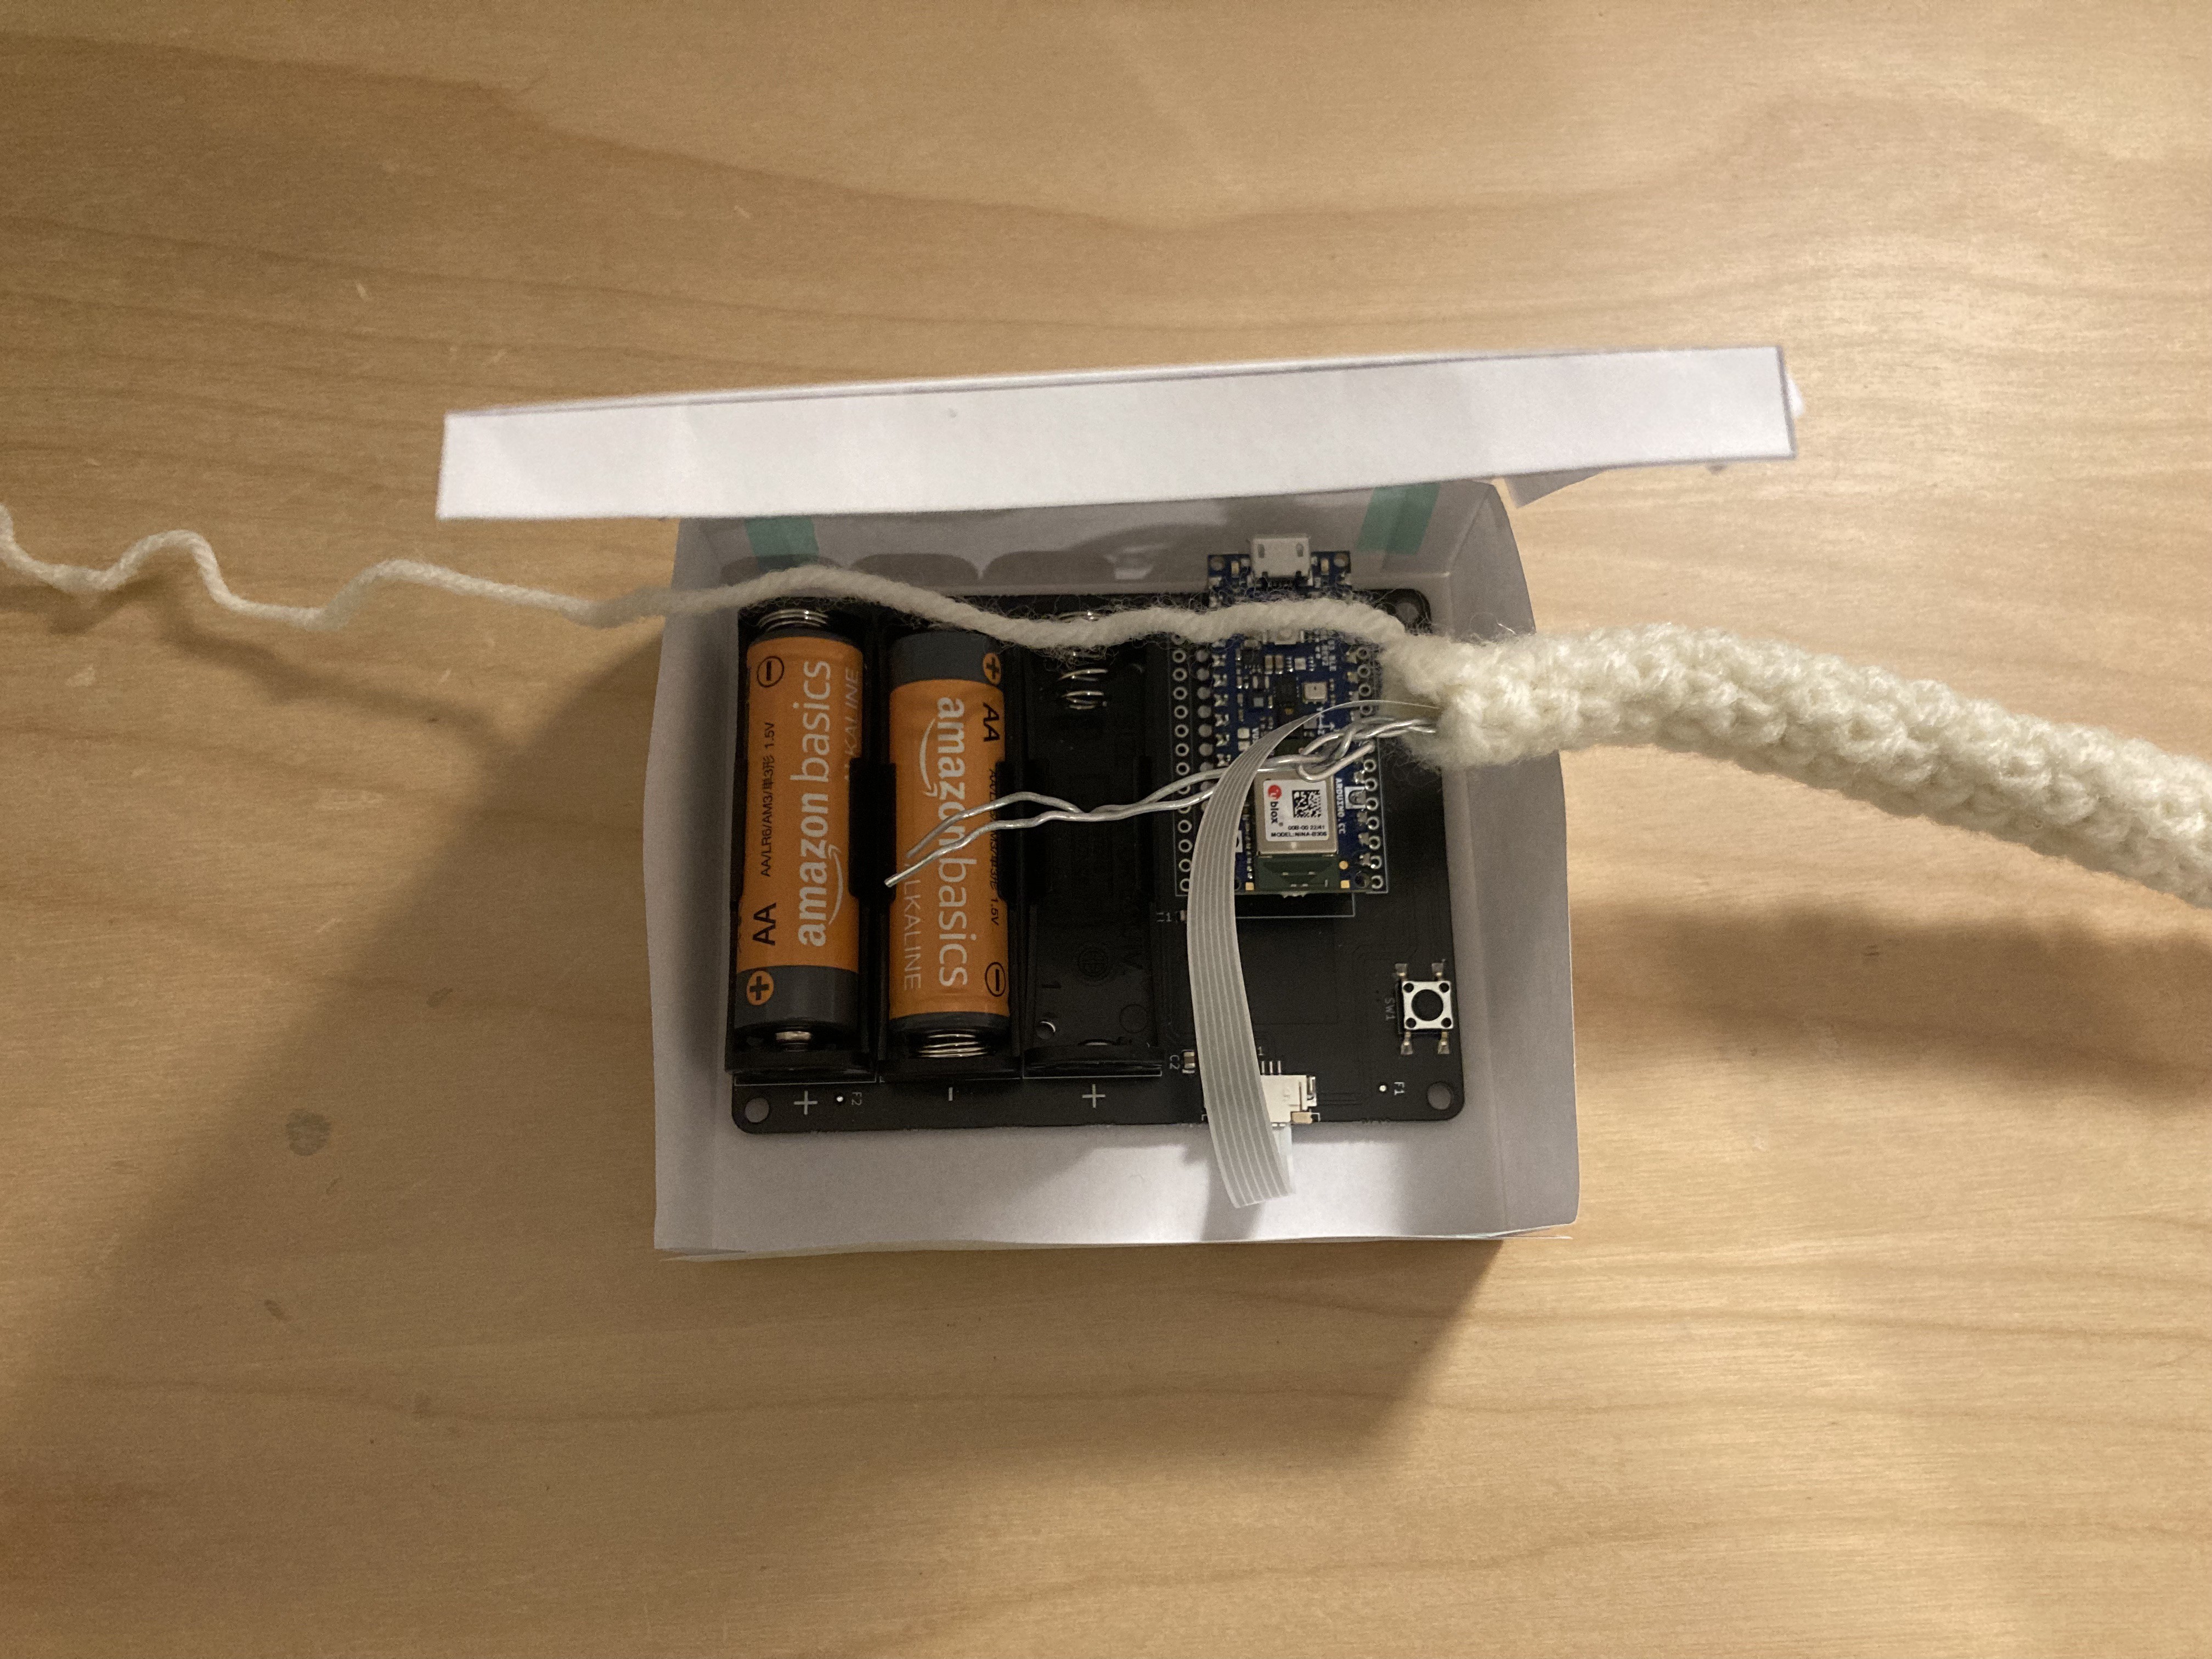
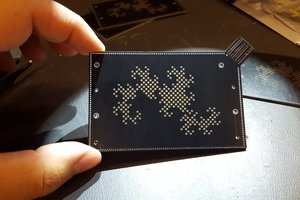
I started by designing around the provided PCB boards, which included the controller board and the lamp board (I chose the straight line shape to match the shape of the tail).
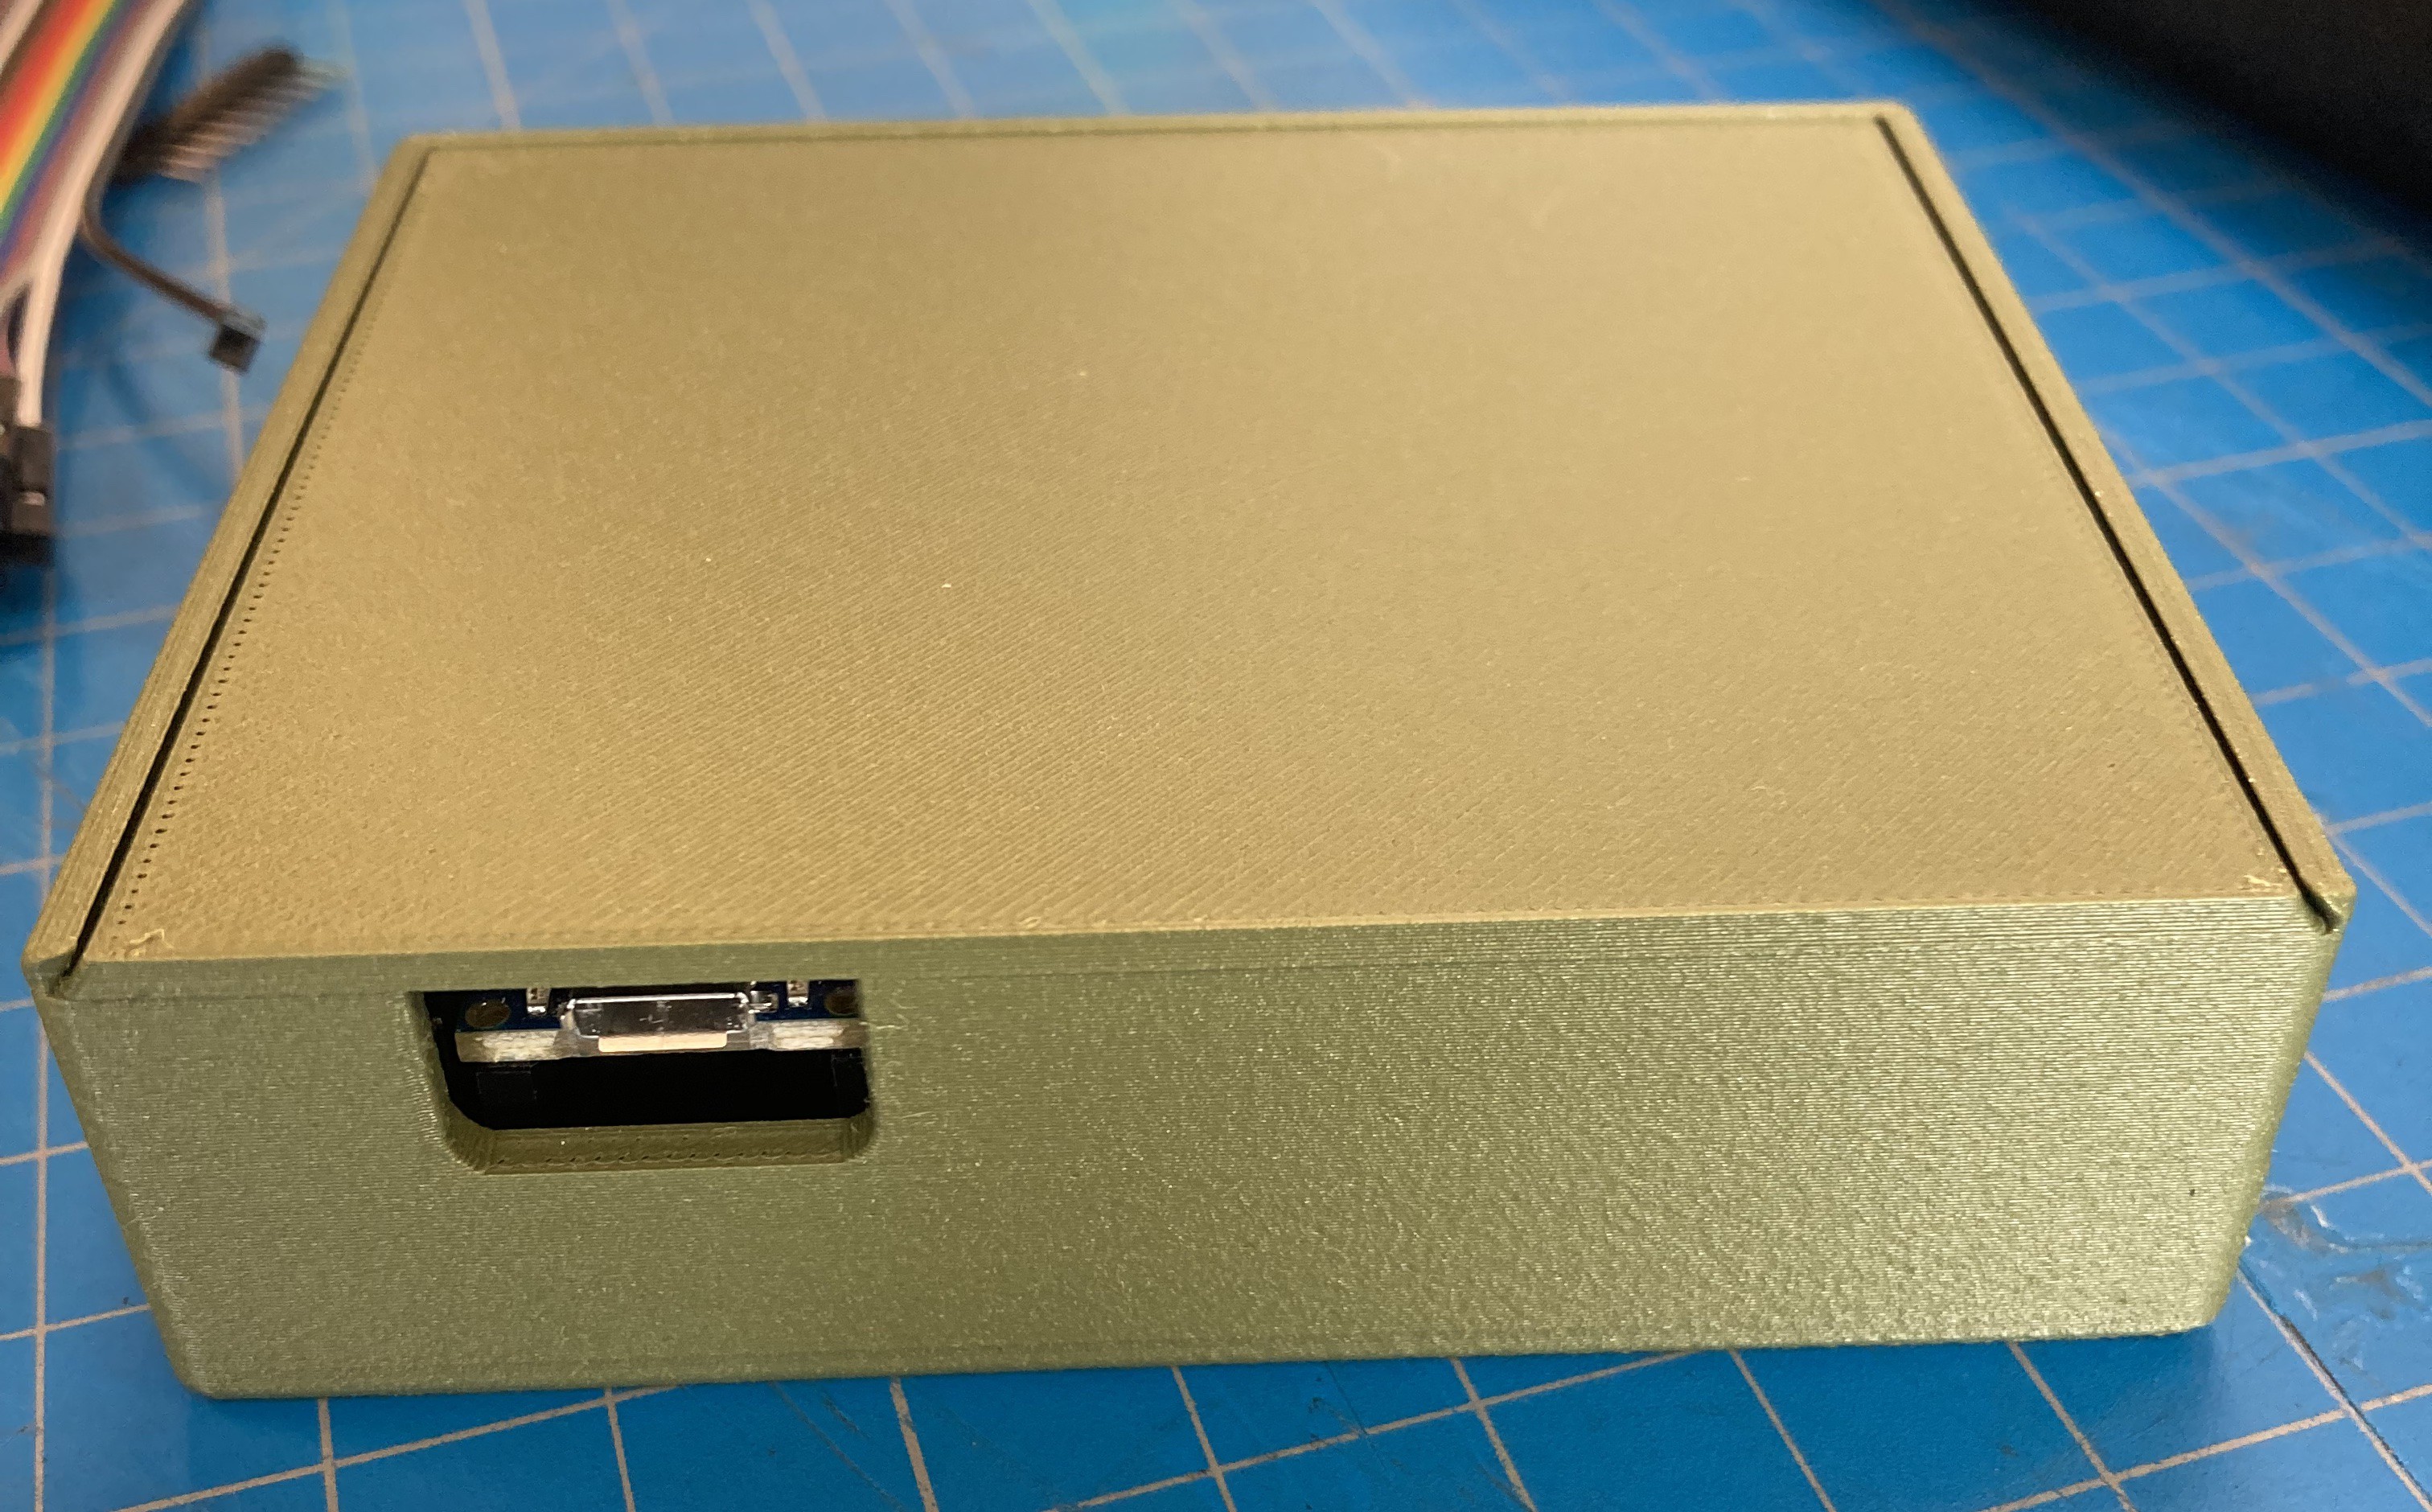
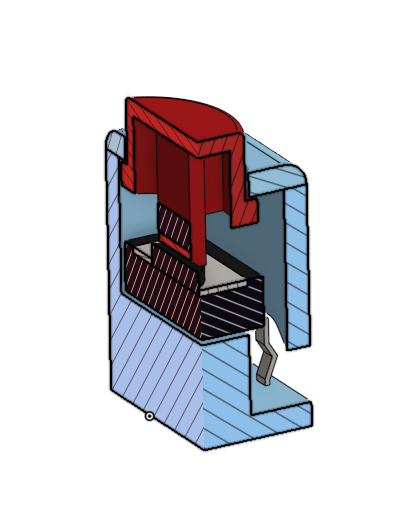
I designed a 3D printed enclosure for the controller board, which became the body of the cat. This enclosure was also important to protect the electronics from the yarn and stuffing. Because I wanted to be able to easily access the controller board inside the case (such as to connect other components or change the batteries), I added a sliding lid that can be opened at the bottom of the cat. The PCB board is mounted upside down inside the case with screws.
The lamp board is connected to the controller board with a flexible ribbon cable, which forms the tail of the cat. I wanted the tail to be bendable, so I added metal wire to support and hold up the lamp board inside the tail.
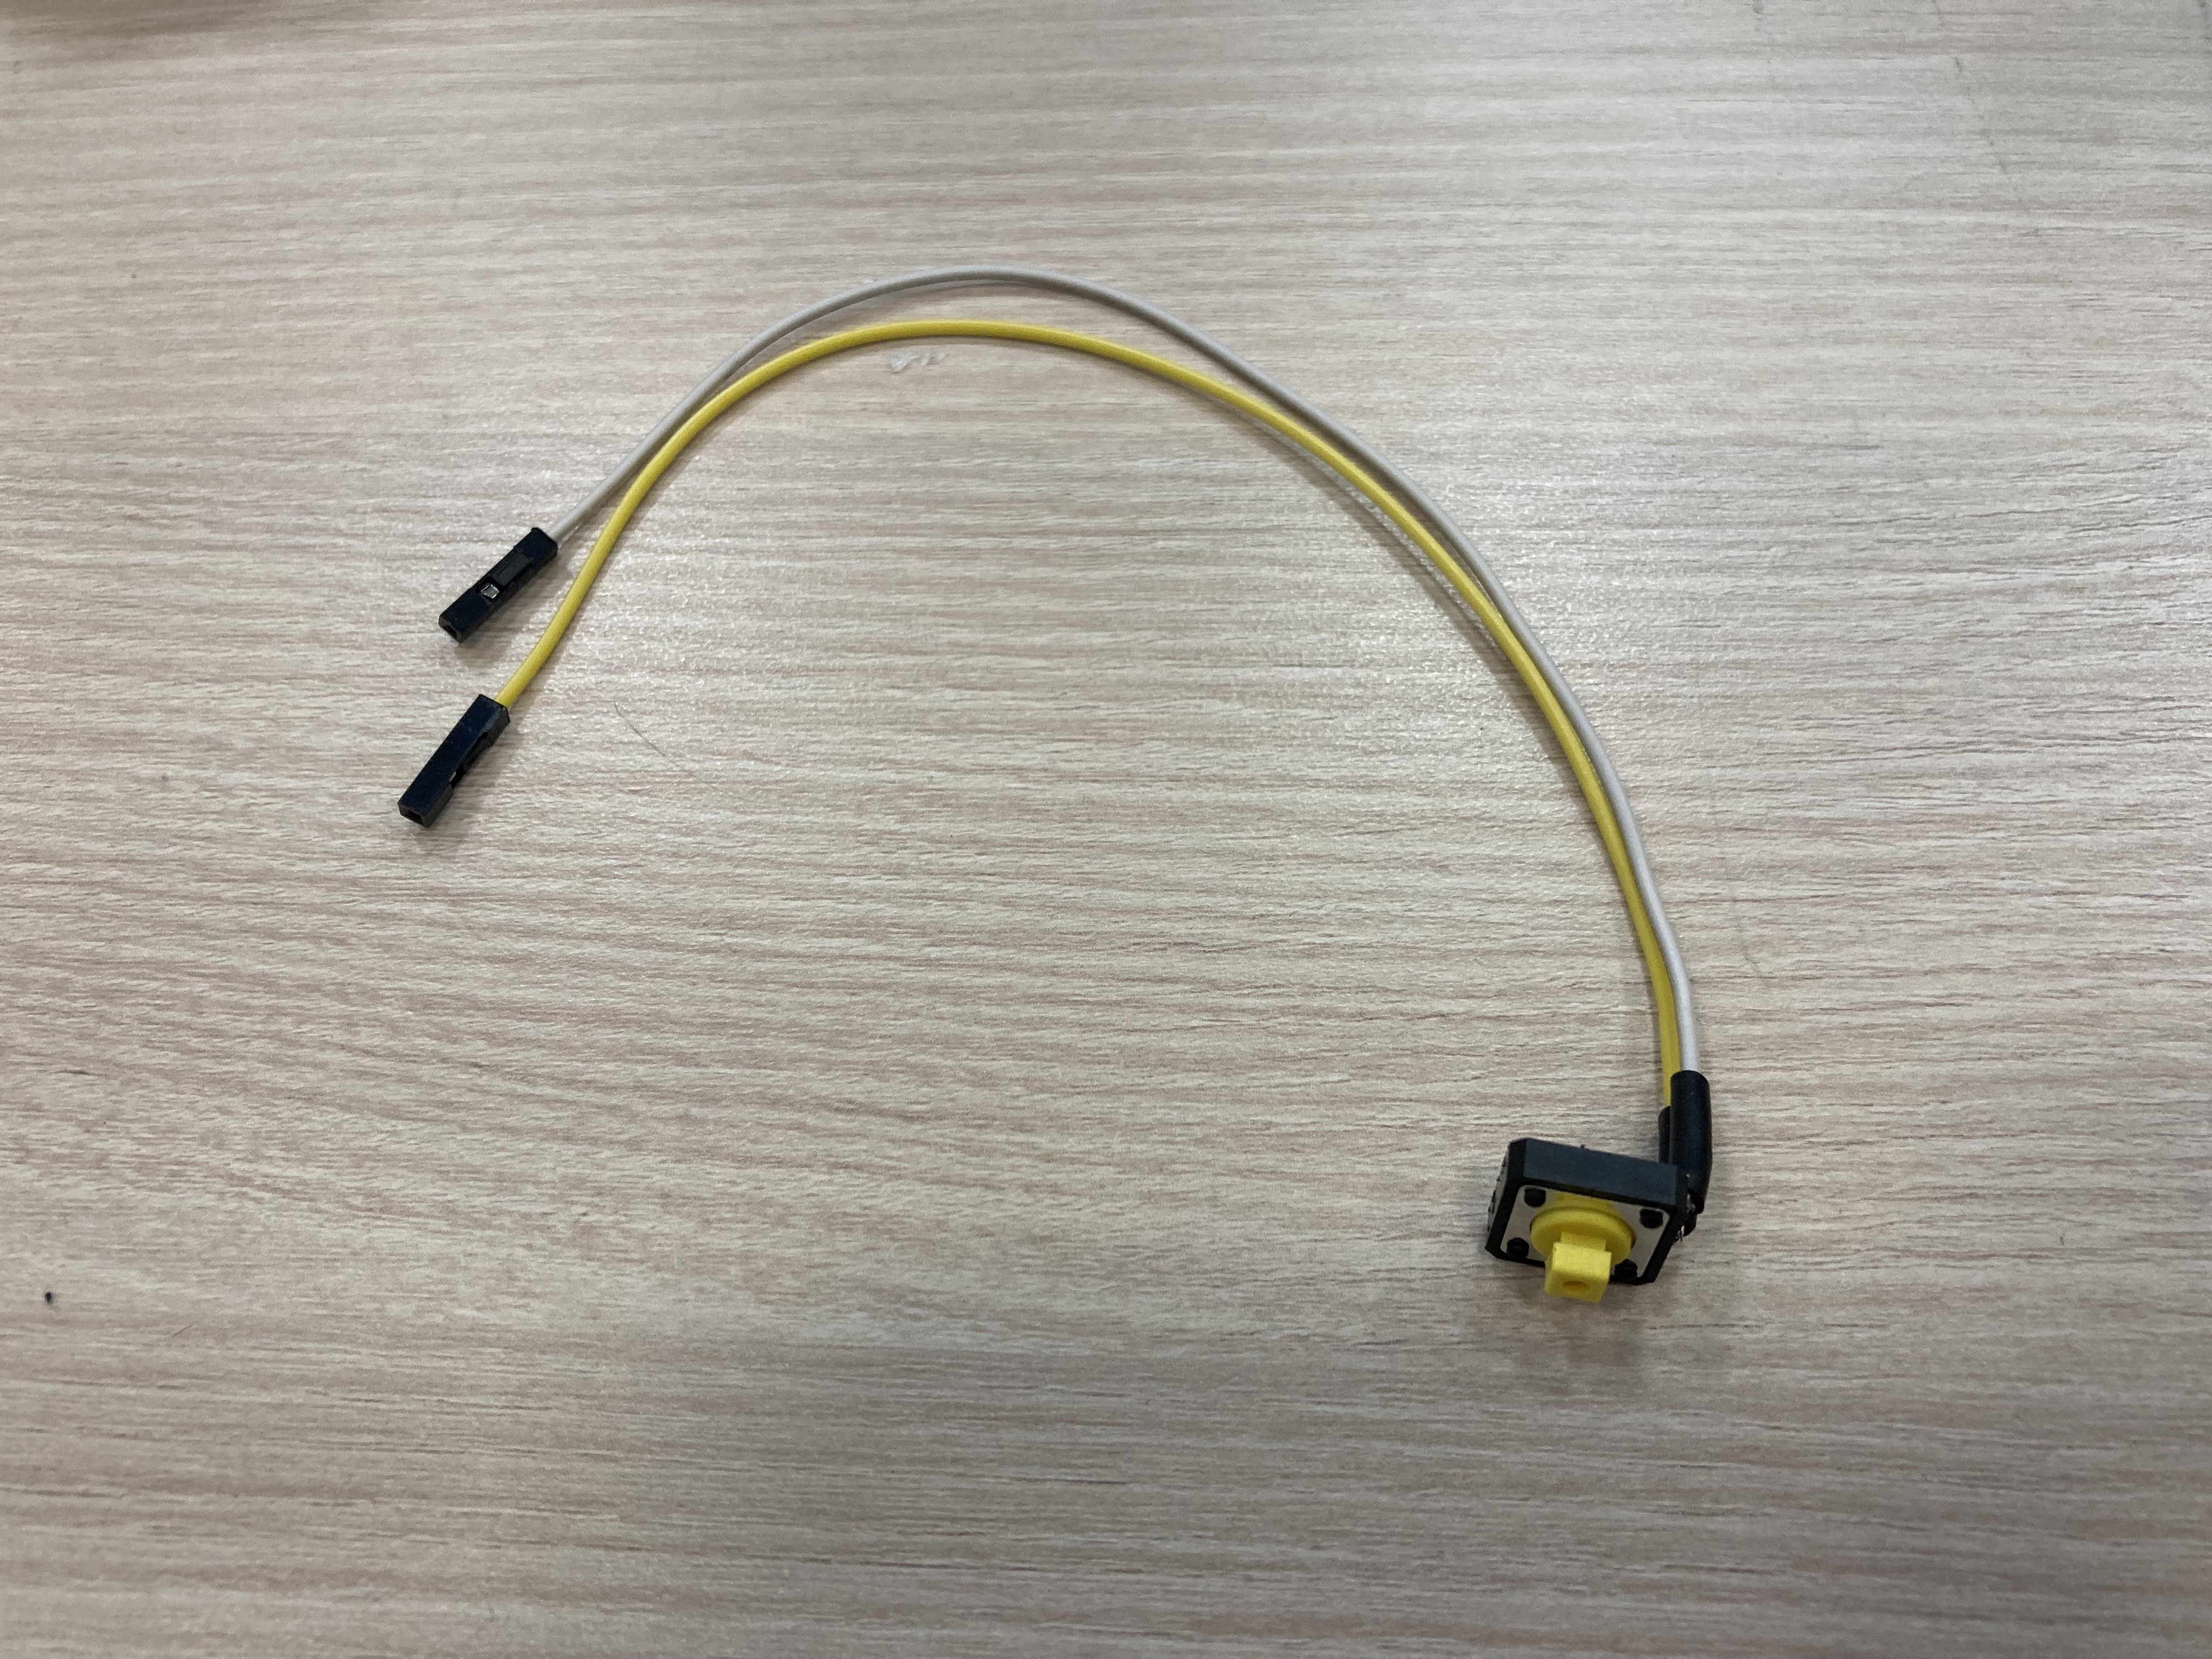
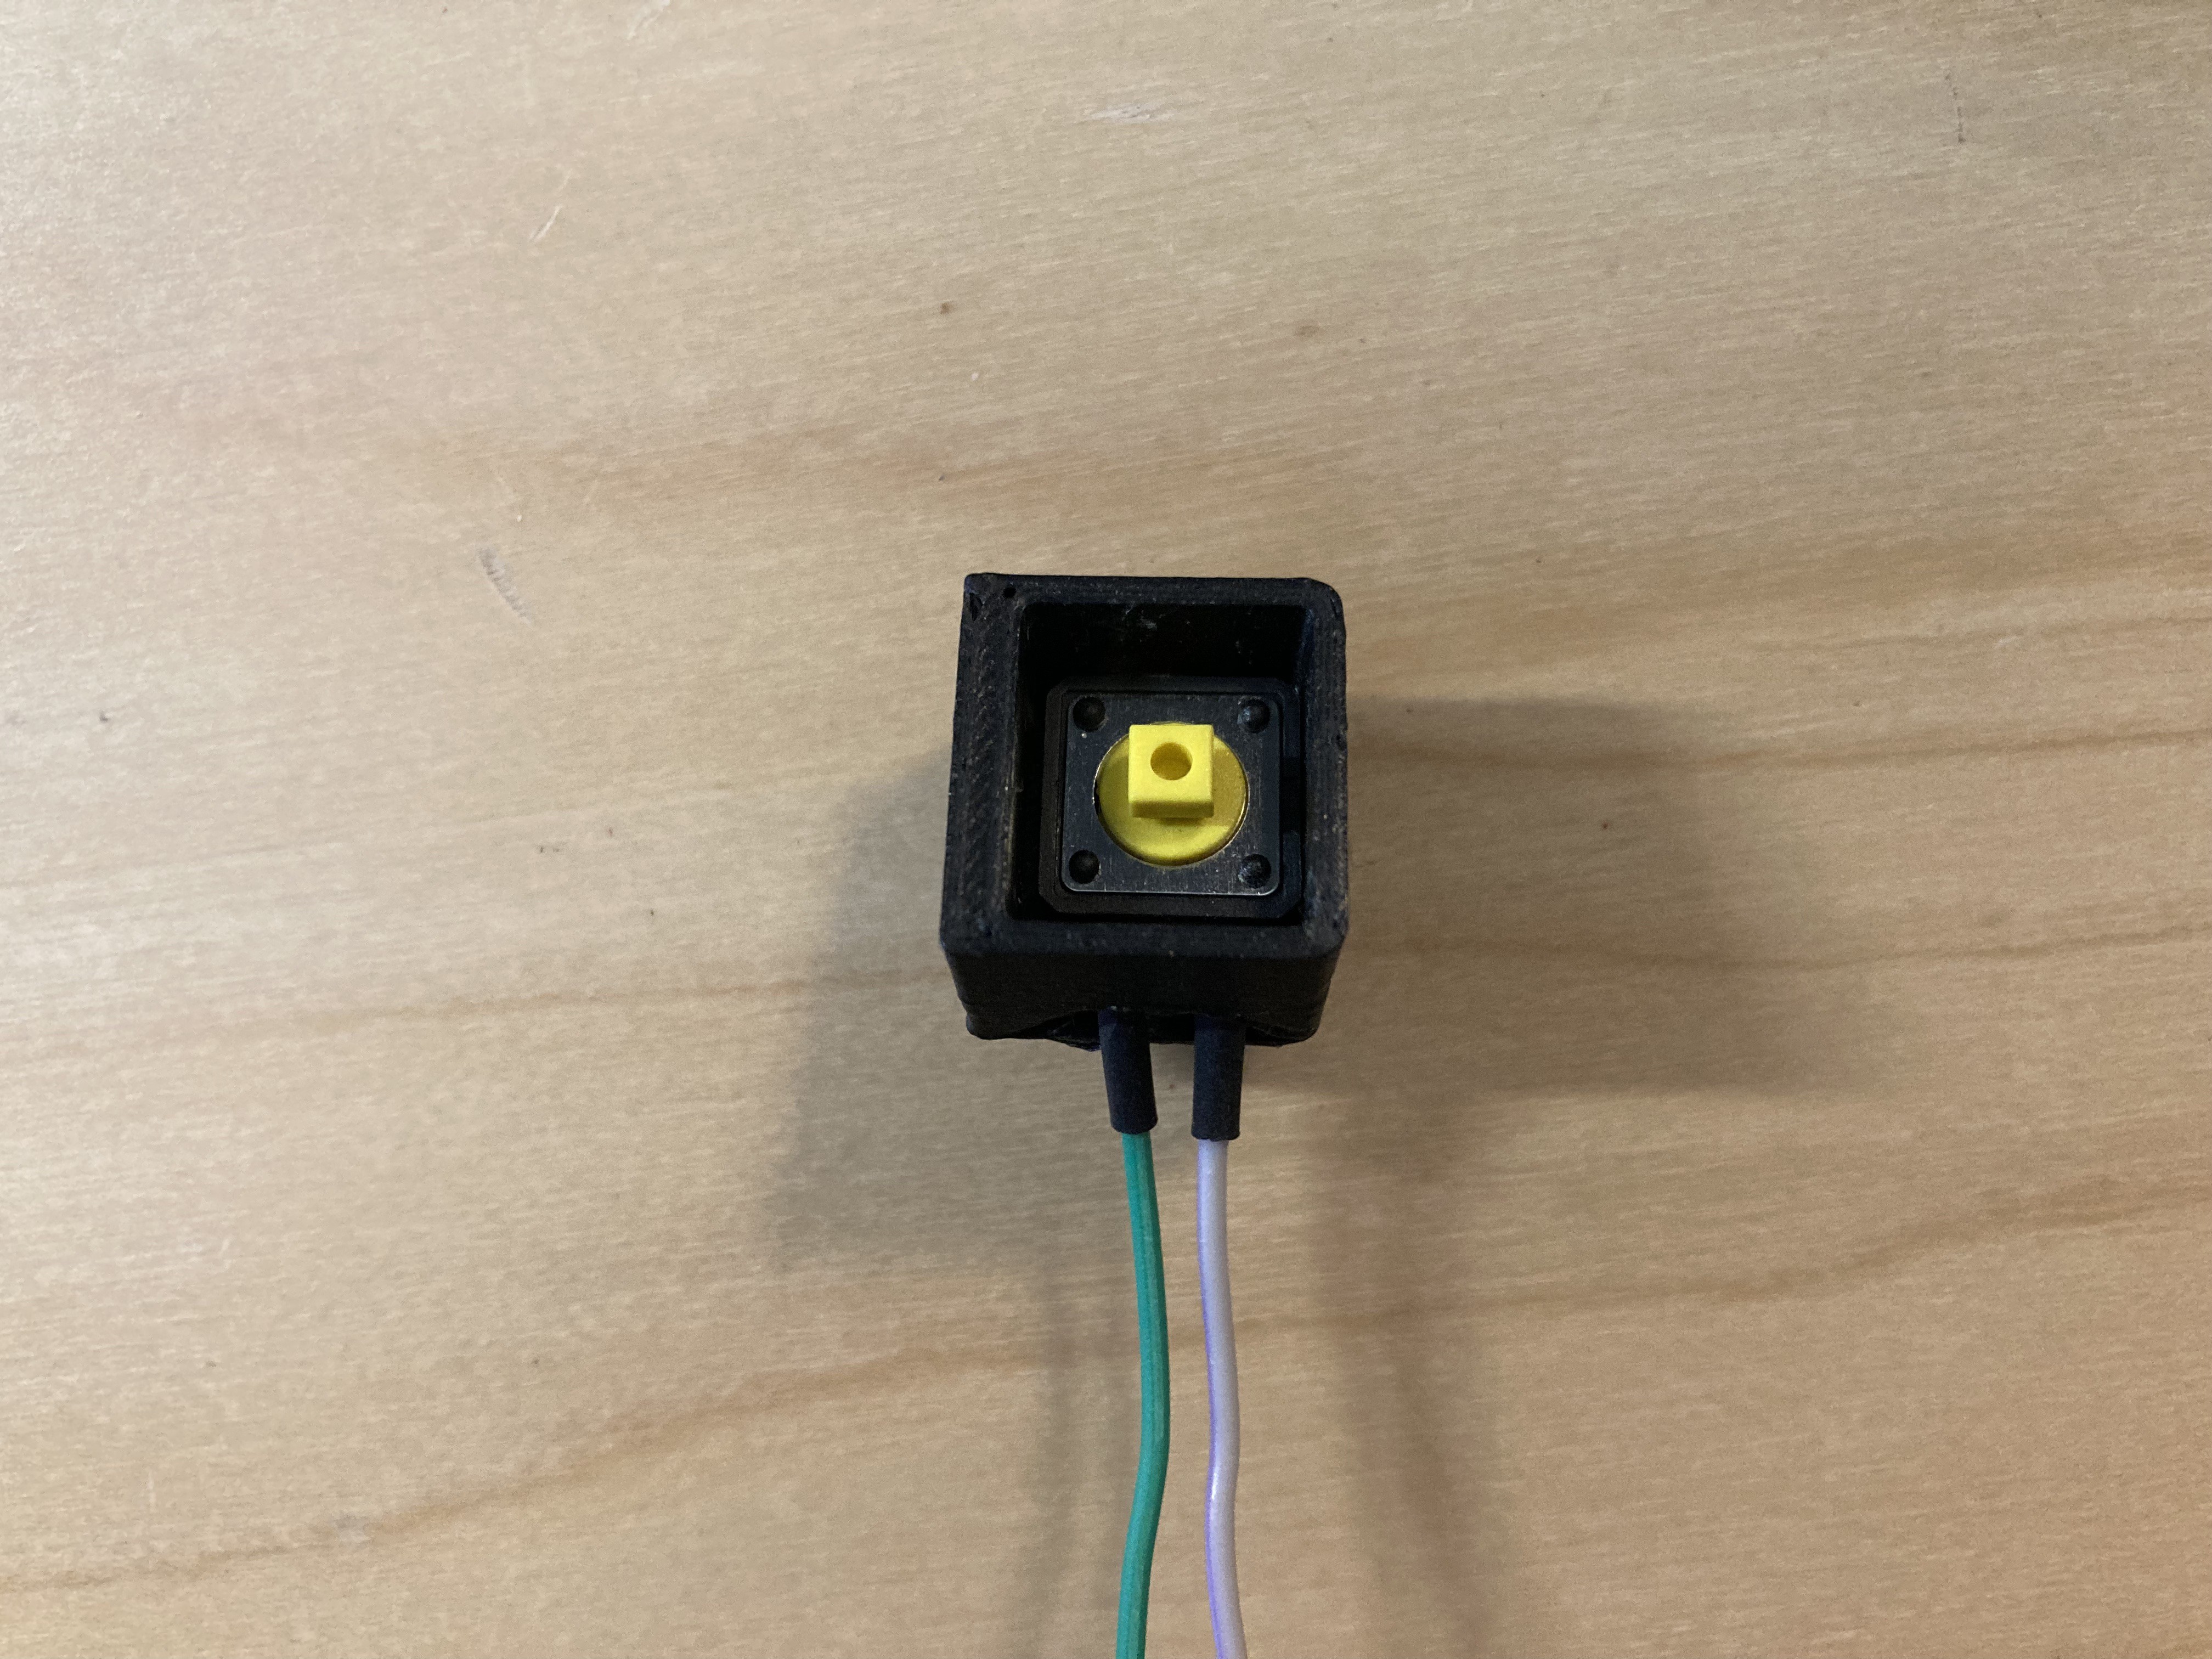
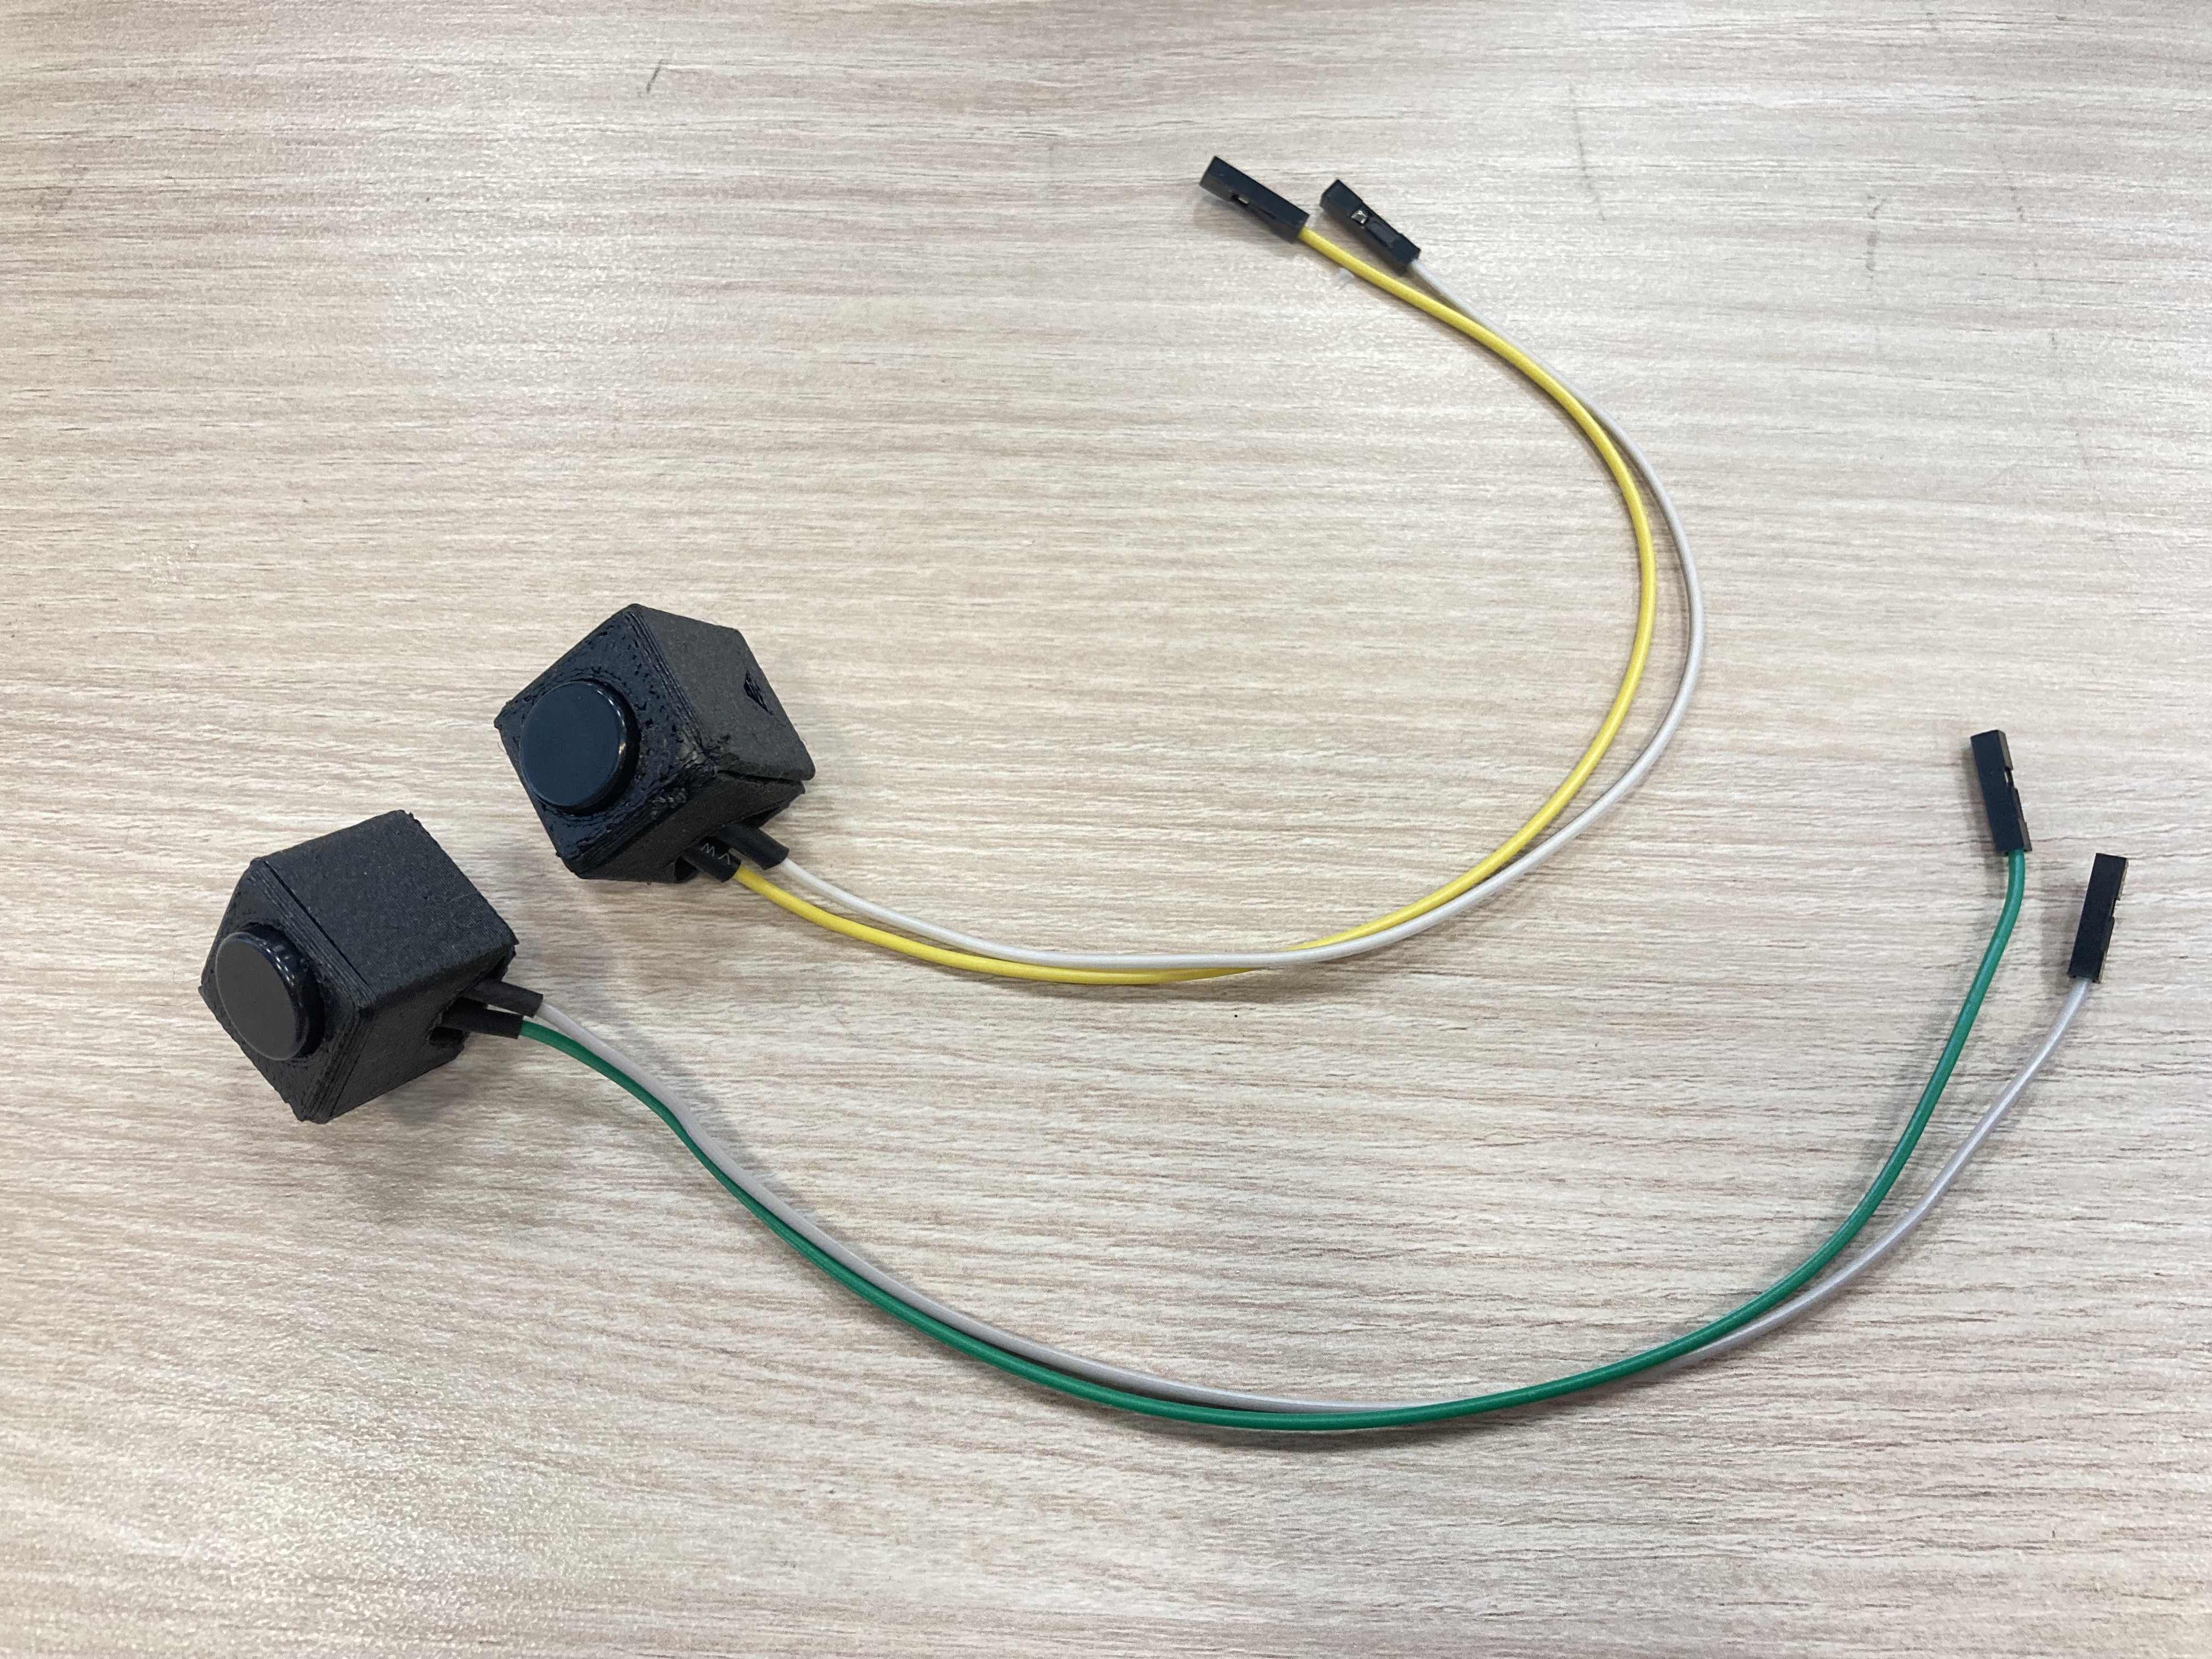
To make the cat lamp more fun and interactive, I added push buttons in each of the front paws to control the LED brightness and color mode.
Finally, I crocheted around all of these components to form the shape of the cat plushie!
LED Brightness
The left paw push button toggles between 5 levels of brightness (0%, 25%, 50%, 75%, 100%).
LED Color Modes
The right paw push button toggles between two color modes.
- Color Mode 1: the LEDs change color based on the direction and angle that the cat is tilted. This color mode takes advantage of the built-in accelerometer on the Arduino Nano BLE 33 Sense Rev2.
- Color Mode 2: the LEDs are fixed at a particular color. To set the LED color, press the color mode button while the cat is tilted at the desire color. In this fixed color mode, the lamp will stay at the selected color (even when tilting the cat) until the button is pressed again to switch back to color mode 1.
Project Skills
- Soldering
- CAD (Onshape)
- 3D printing
- Coding (Arduino)
- Crochet

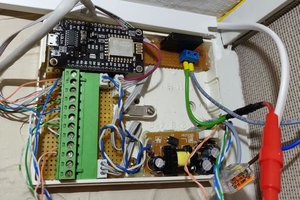
 Final 3D printed case (with soldered battery holders and header pins)
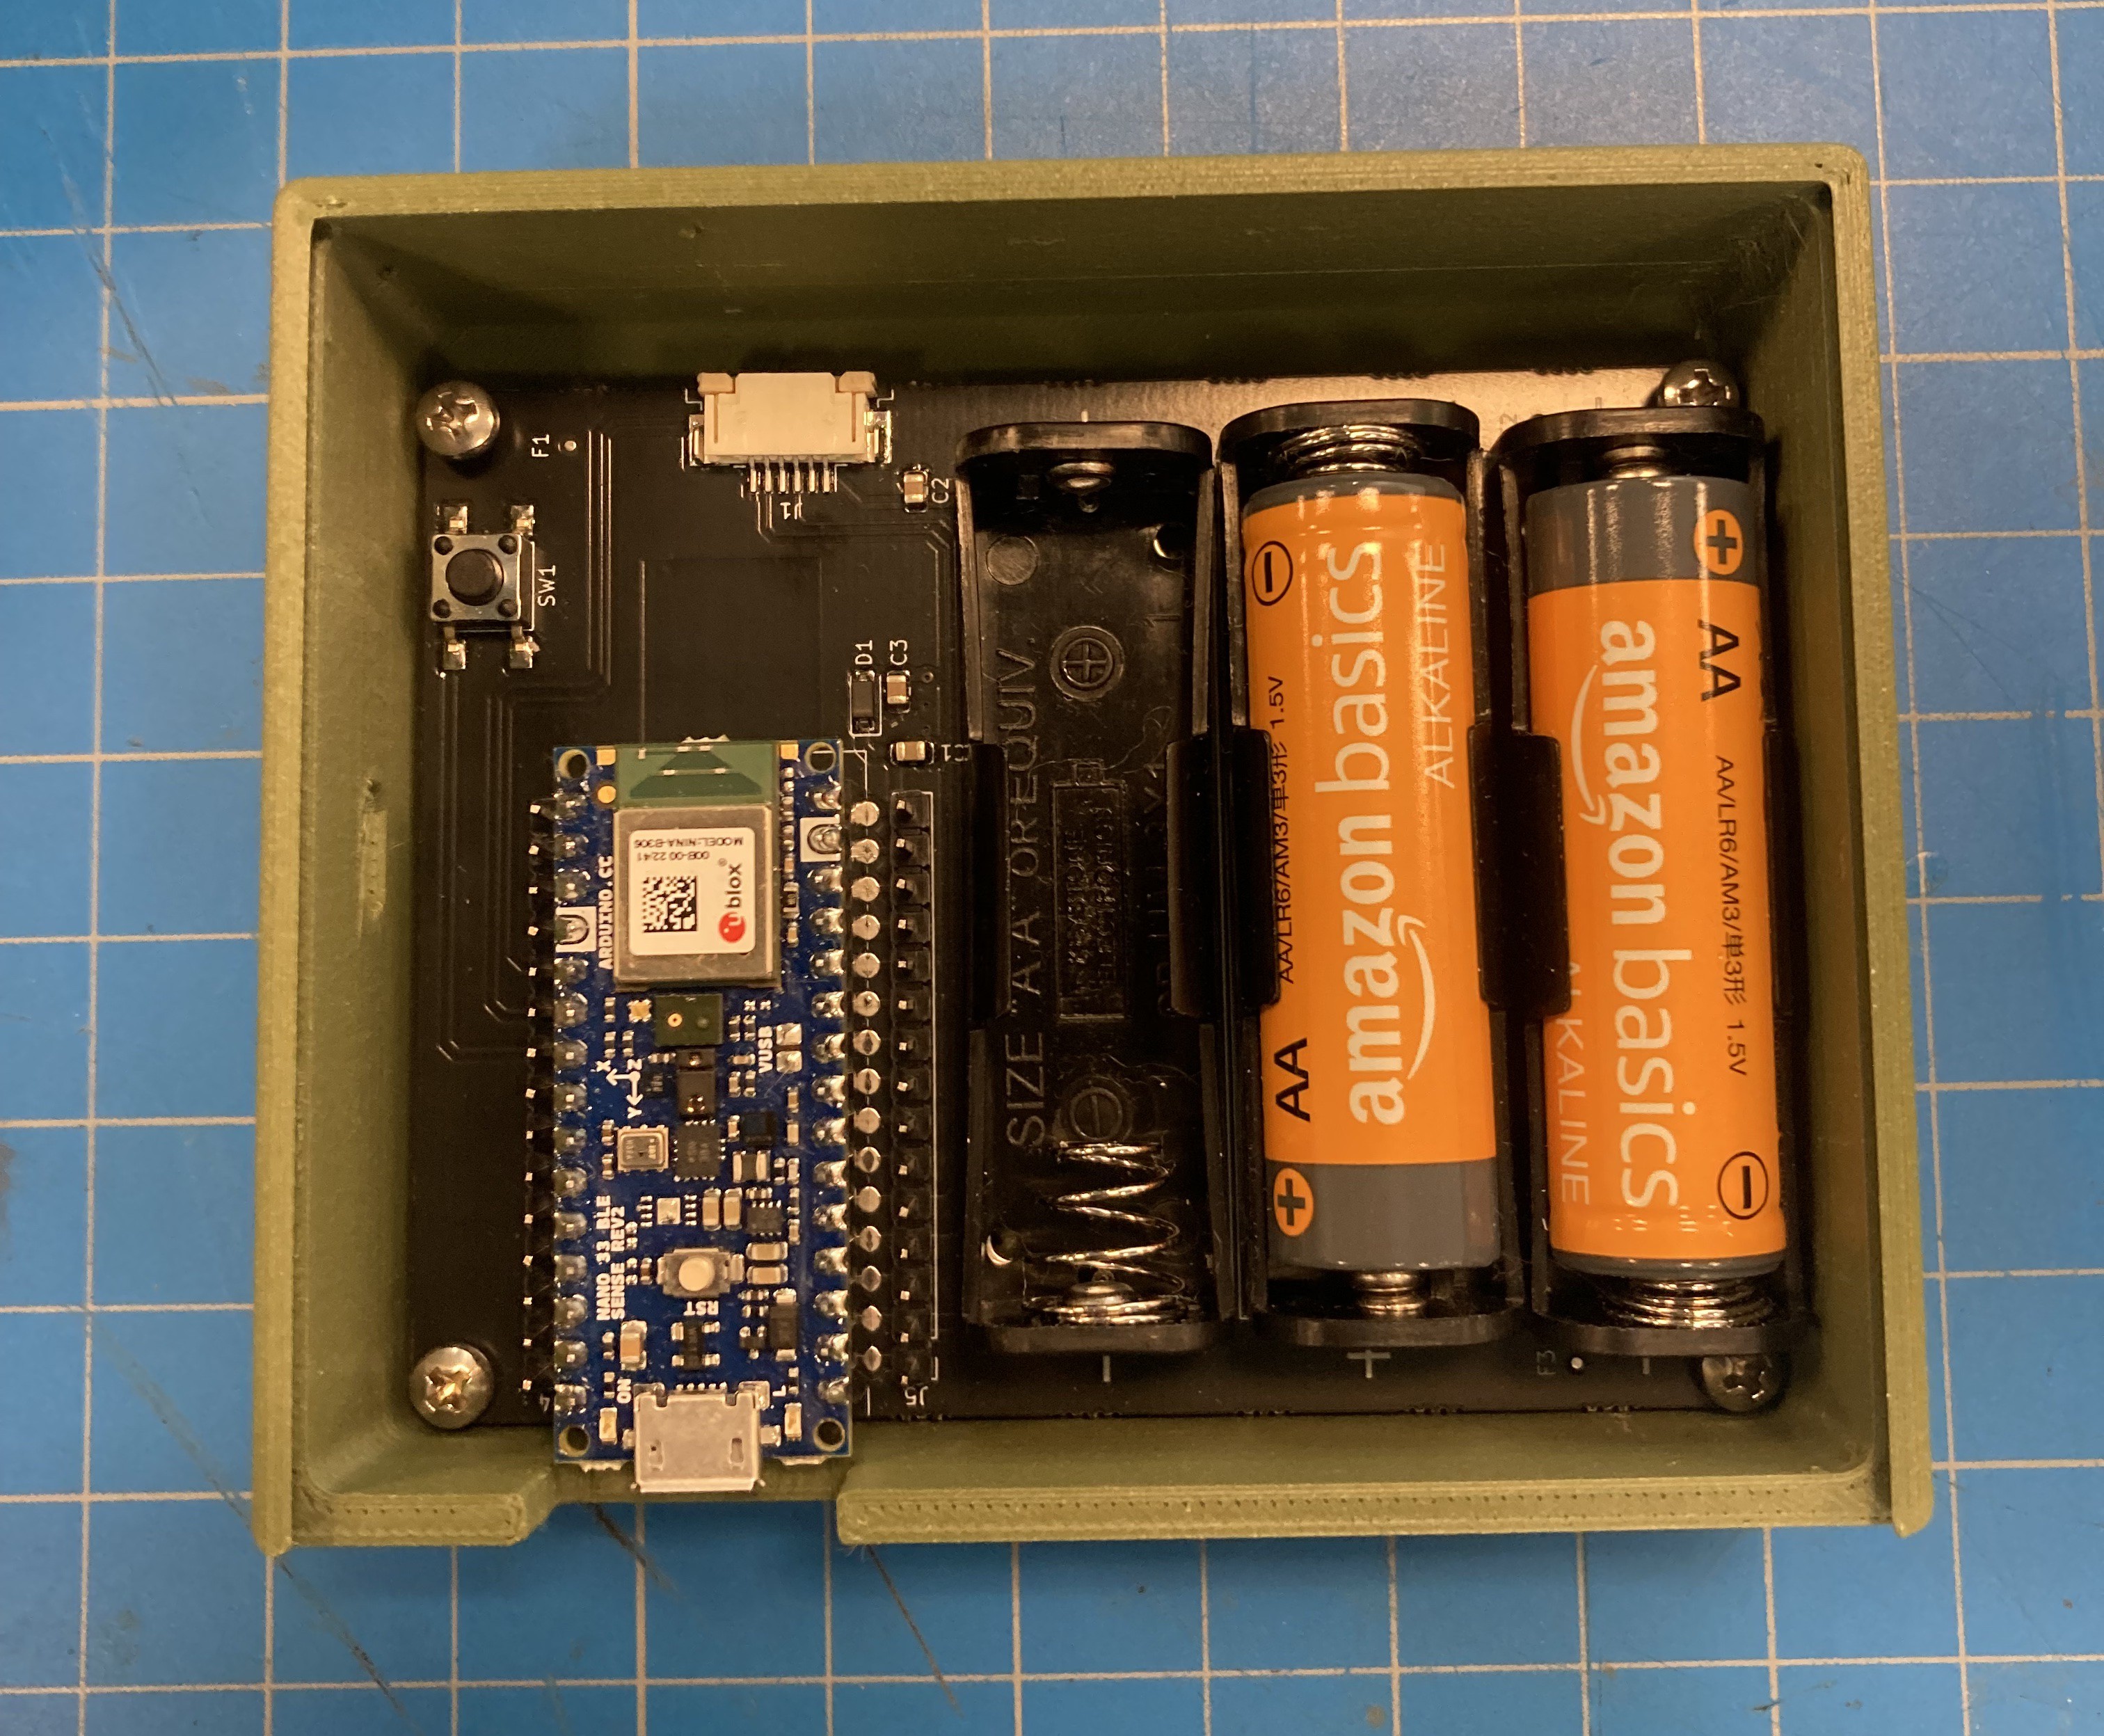

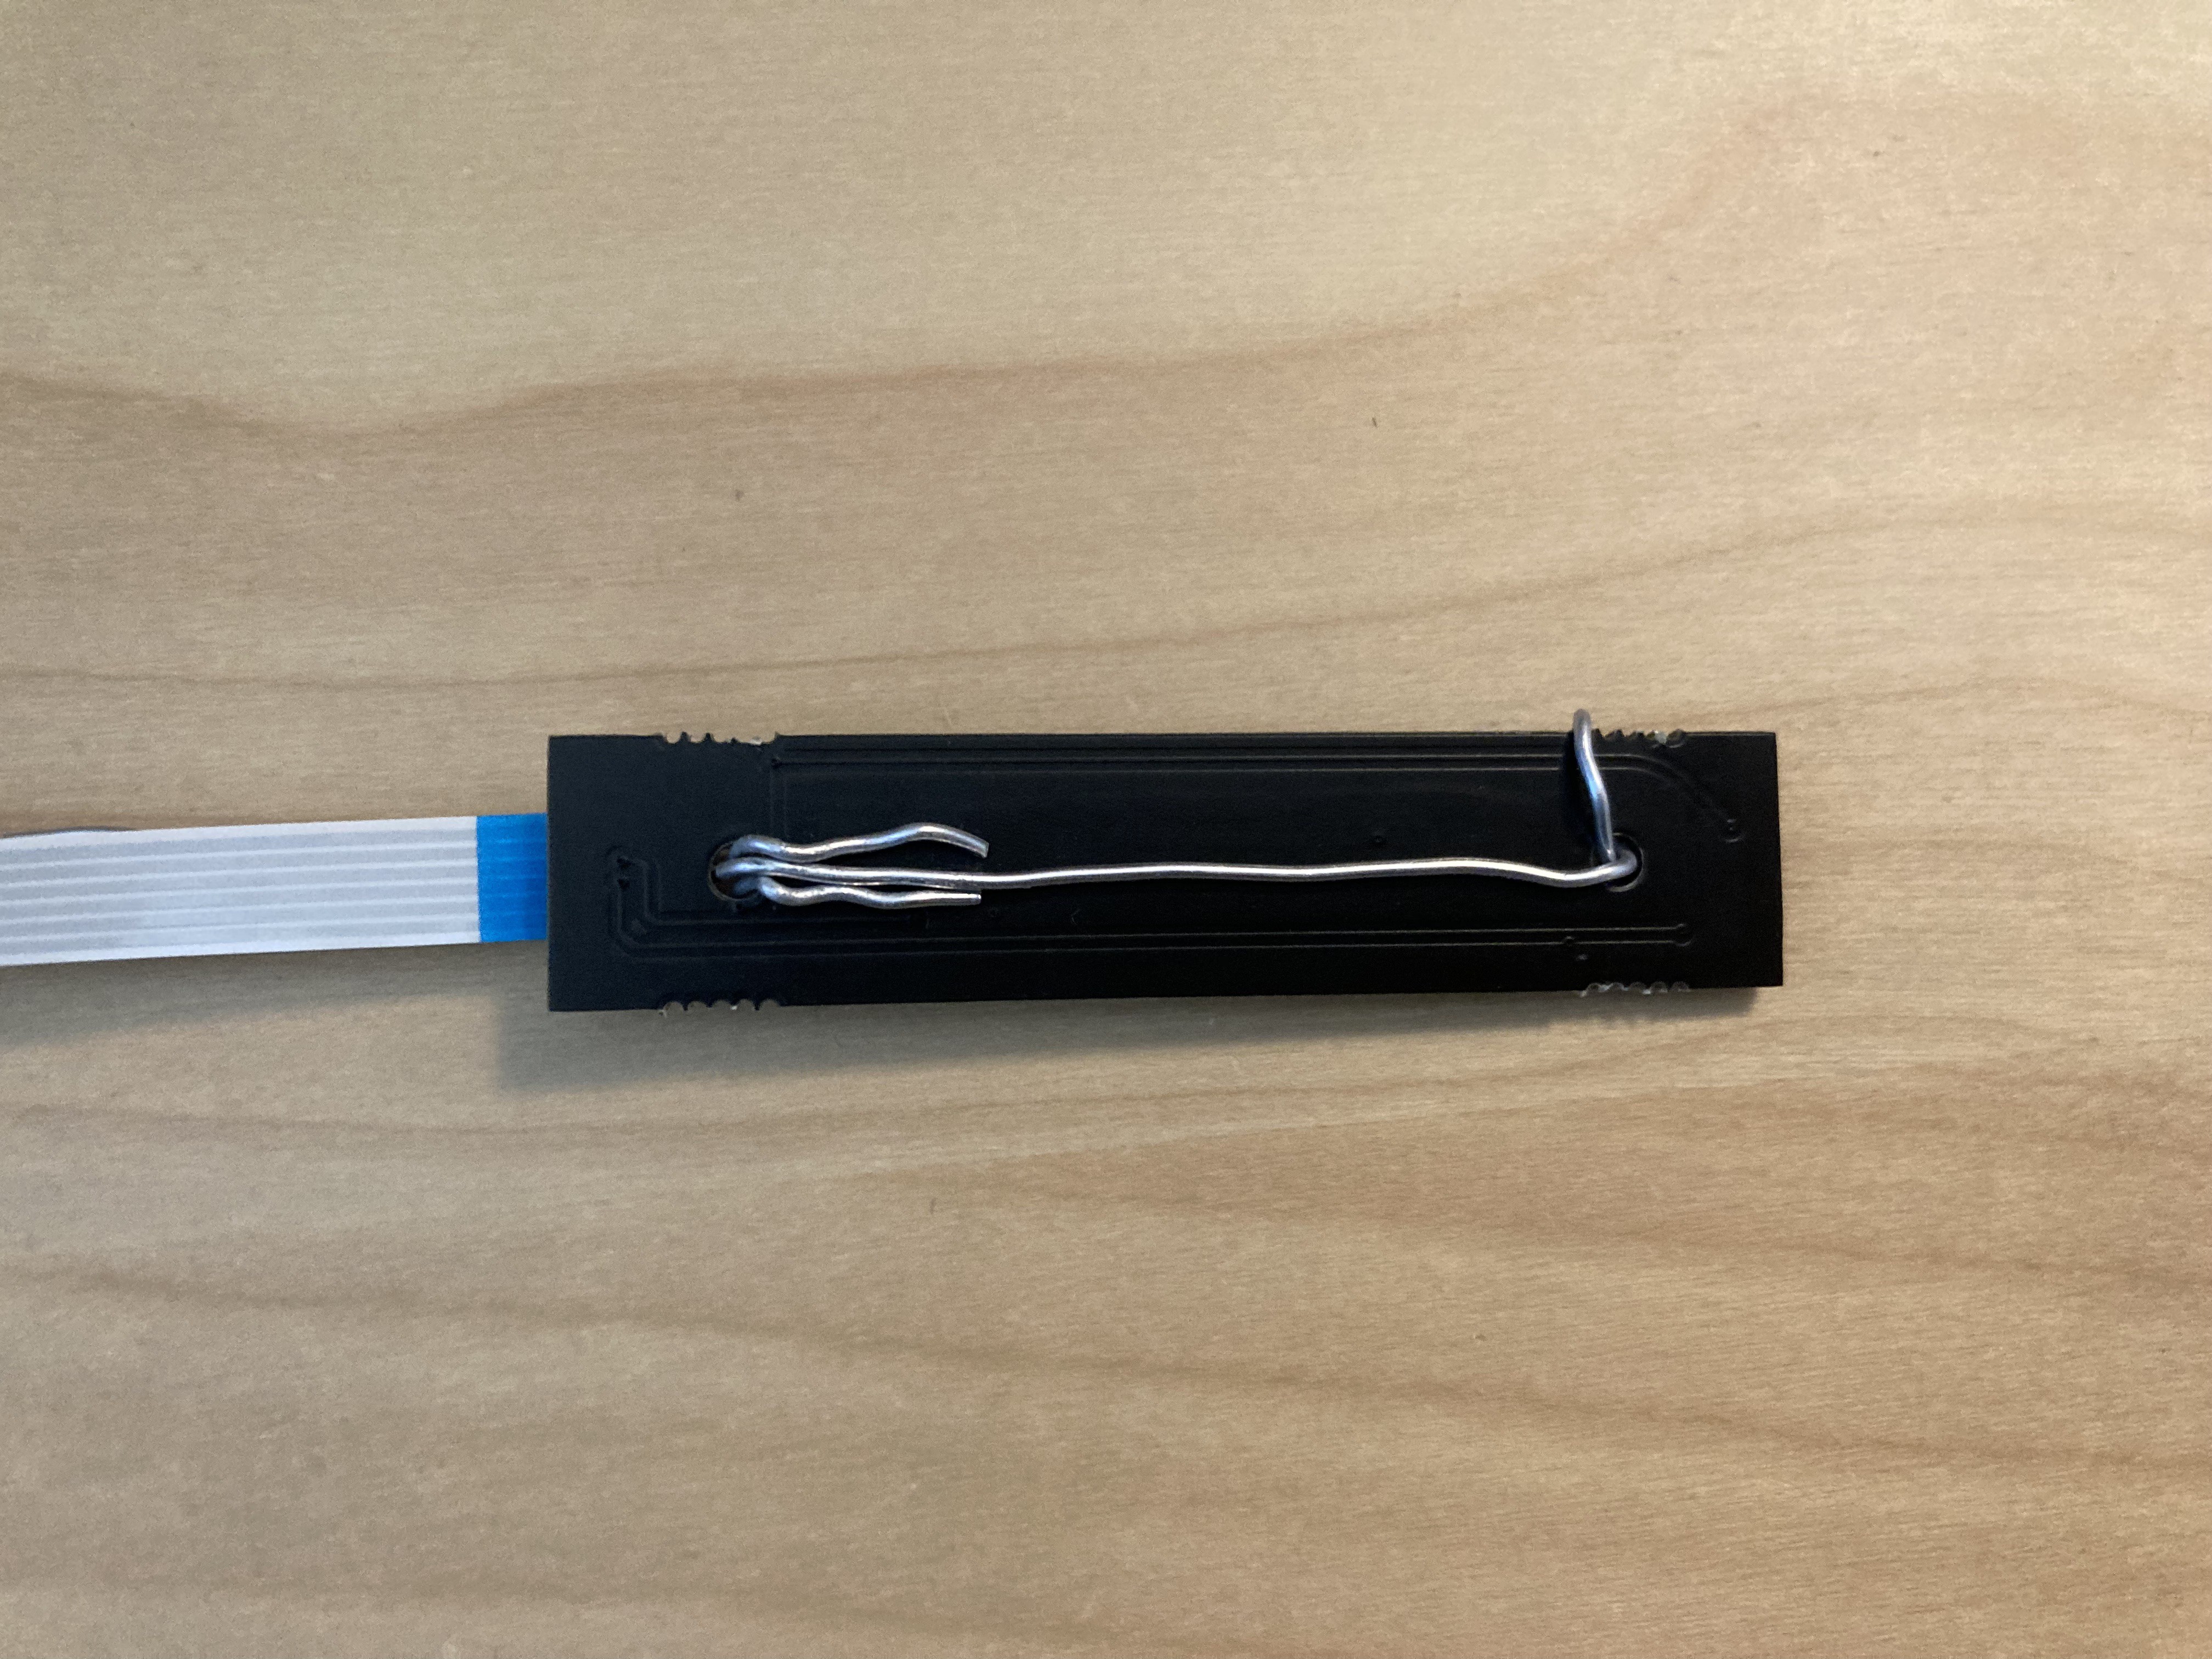 Braid wire along length of ribbon cable
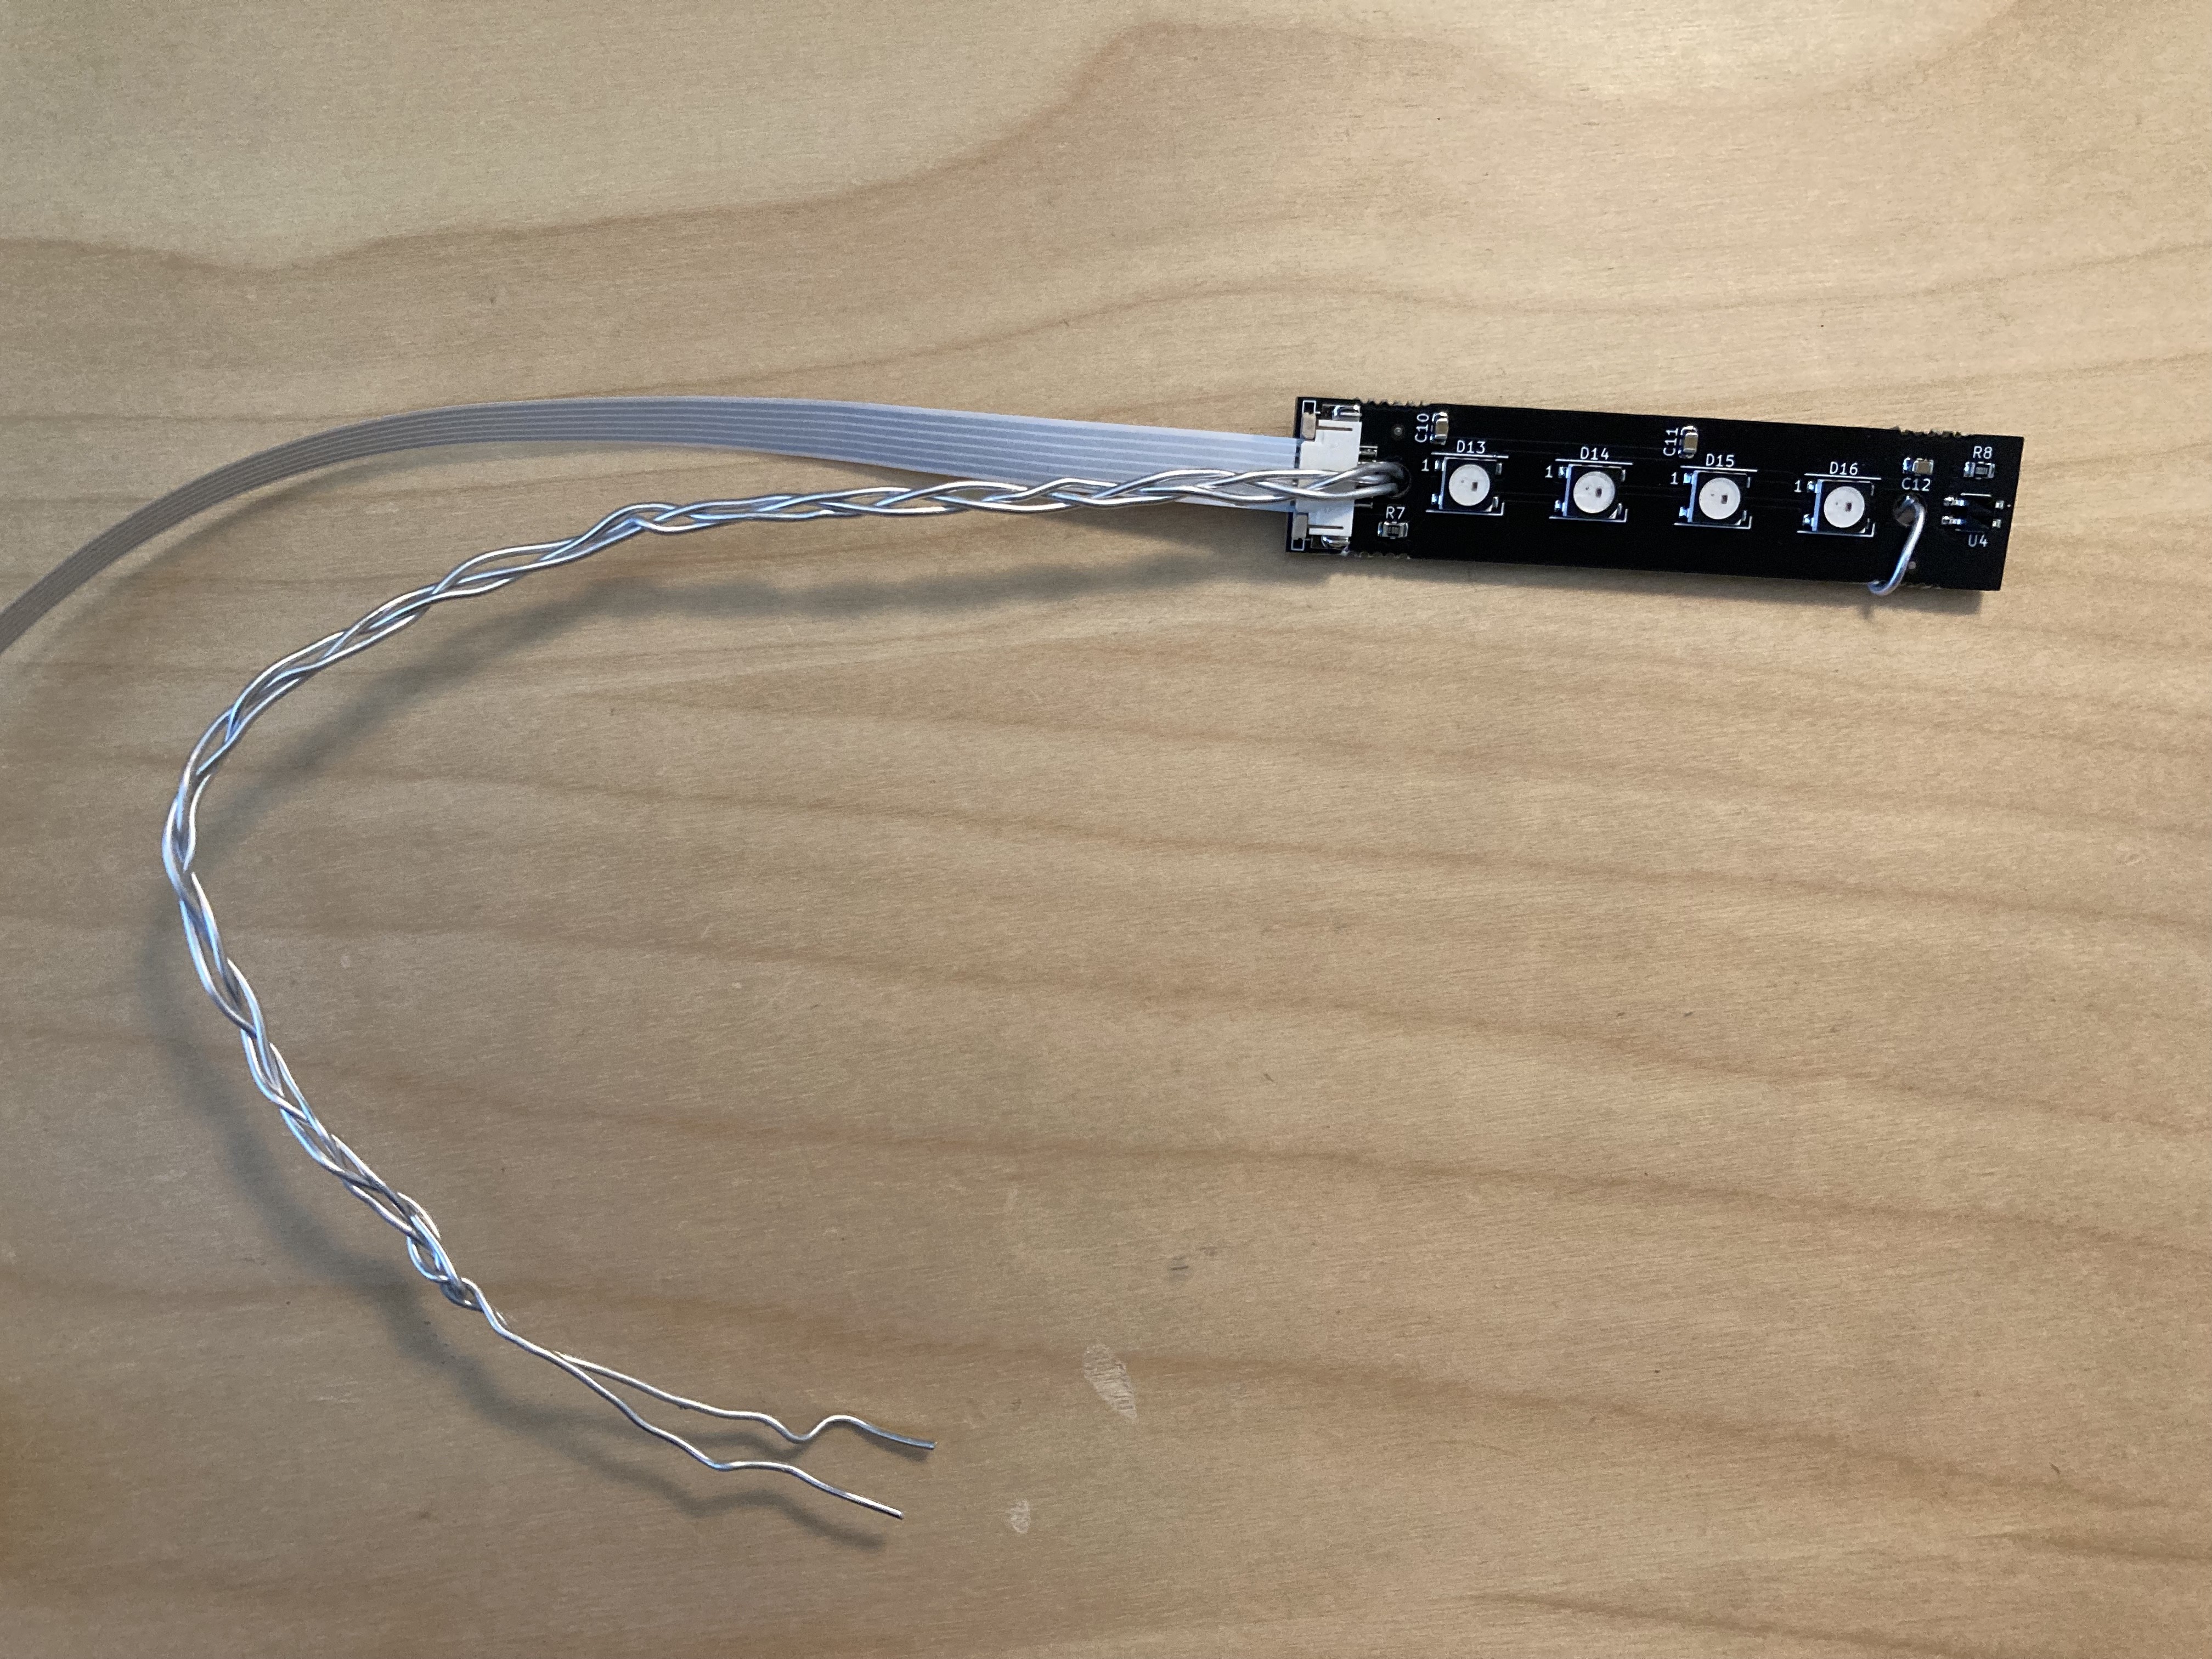

 Jeremy Ruhland
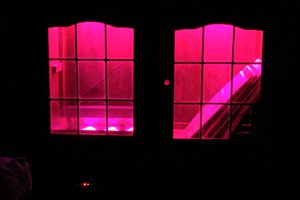

 pauliusbau