 Sven Gregori
Yes, there's an undeniably vast amount of famous pop and rock songs out there using a chord progression built around the Tonic (I), Dominant (V), Submediant (vi) and Subdominant (IV). You won't even need the submediant to cover all of blues, country and punk music along the way. So why bother learning the full spectrum of an instrument (or, for that matter, learning any of the music theory terms I was just throwing around) and not just build one focusing on the essence of it. This is exactly what I did with 4chord MIDI.
What once started as a tongue-in-cheek idea to mock the simplicity of mainstream music has since grown into a full-blown project. Dabbling with songwriting myself taught me a thing or two about the infamous I-V-vi-IV progression over time. For one thing, it's catchy and it simply works, and I caught myself often enough accidentally ending up with it, despite all the mocking. But well, there's anyway a lot more to a song than the chord progression alone. After all, some exceptions (and cynicism) aside, all those famous "same" songs are far from being identical.
The Project
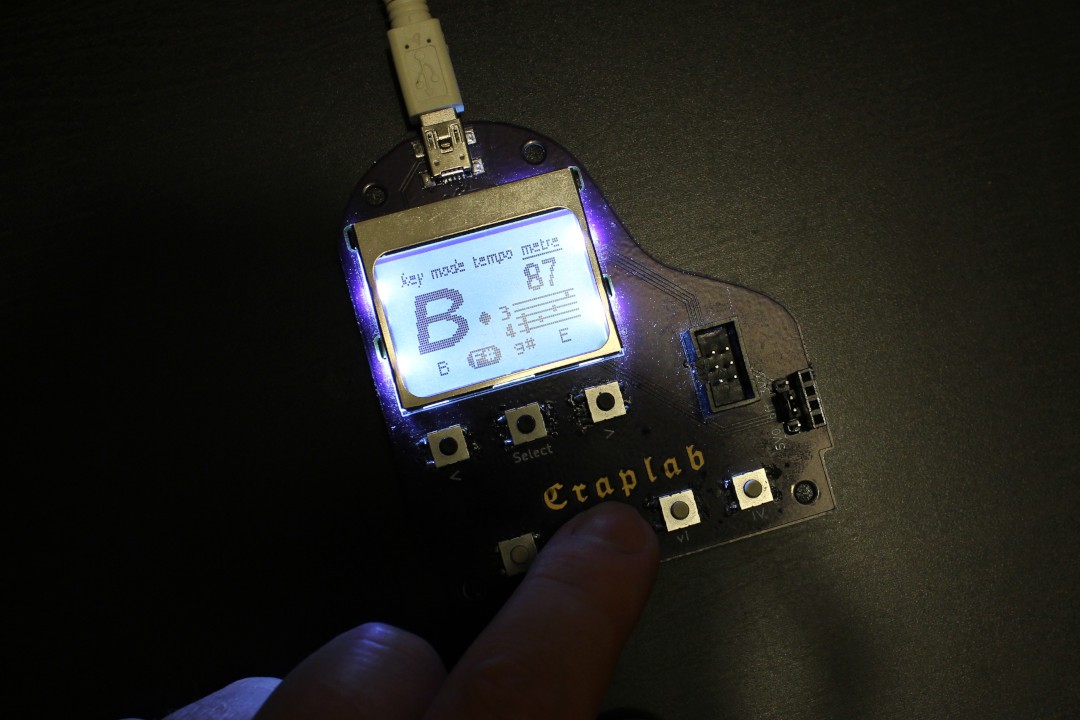
As stated in the description, 4chord MIDI is a USB MIDI keyboard, and as such, it works and behaves like any other MIDI instrument. The main difference is that the playback options are limited to four buttons, to play those mentioned four chords.
To make things more interesting and varied, any key can be selected as base for the chord progression, and the playback itself can be either a simple chord triad, an arpeggio, or a combination of both in a user defined tempo. In the first version, this is rather limited to 4/4 metre and quarter notes with very simple arpeggio patterns, but this is going to change in the future firmware development.
The Hardware
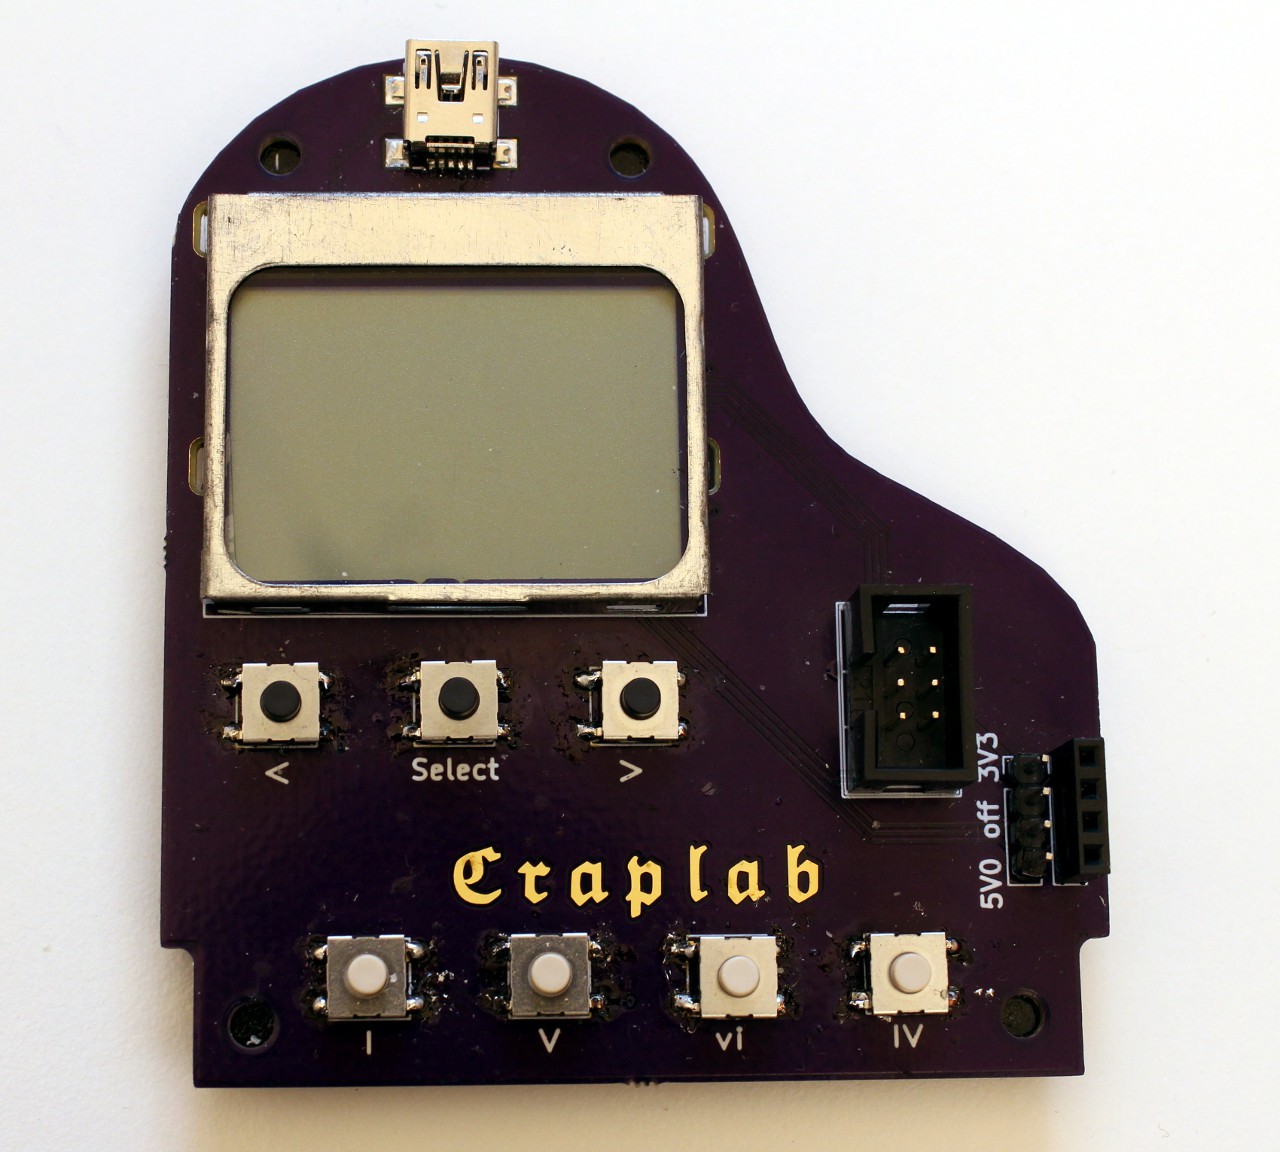
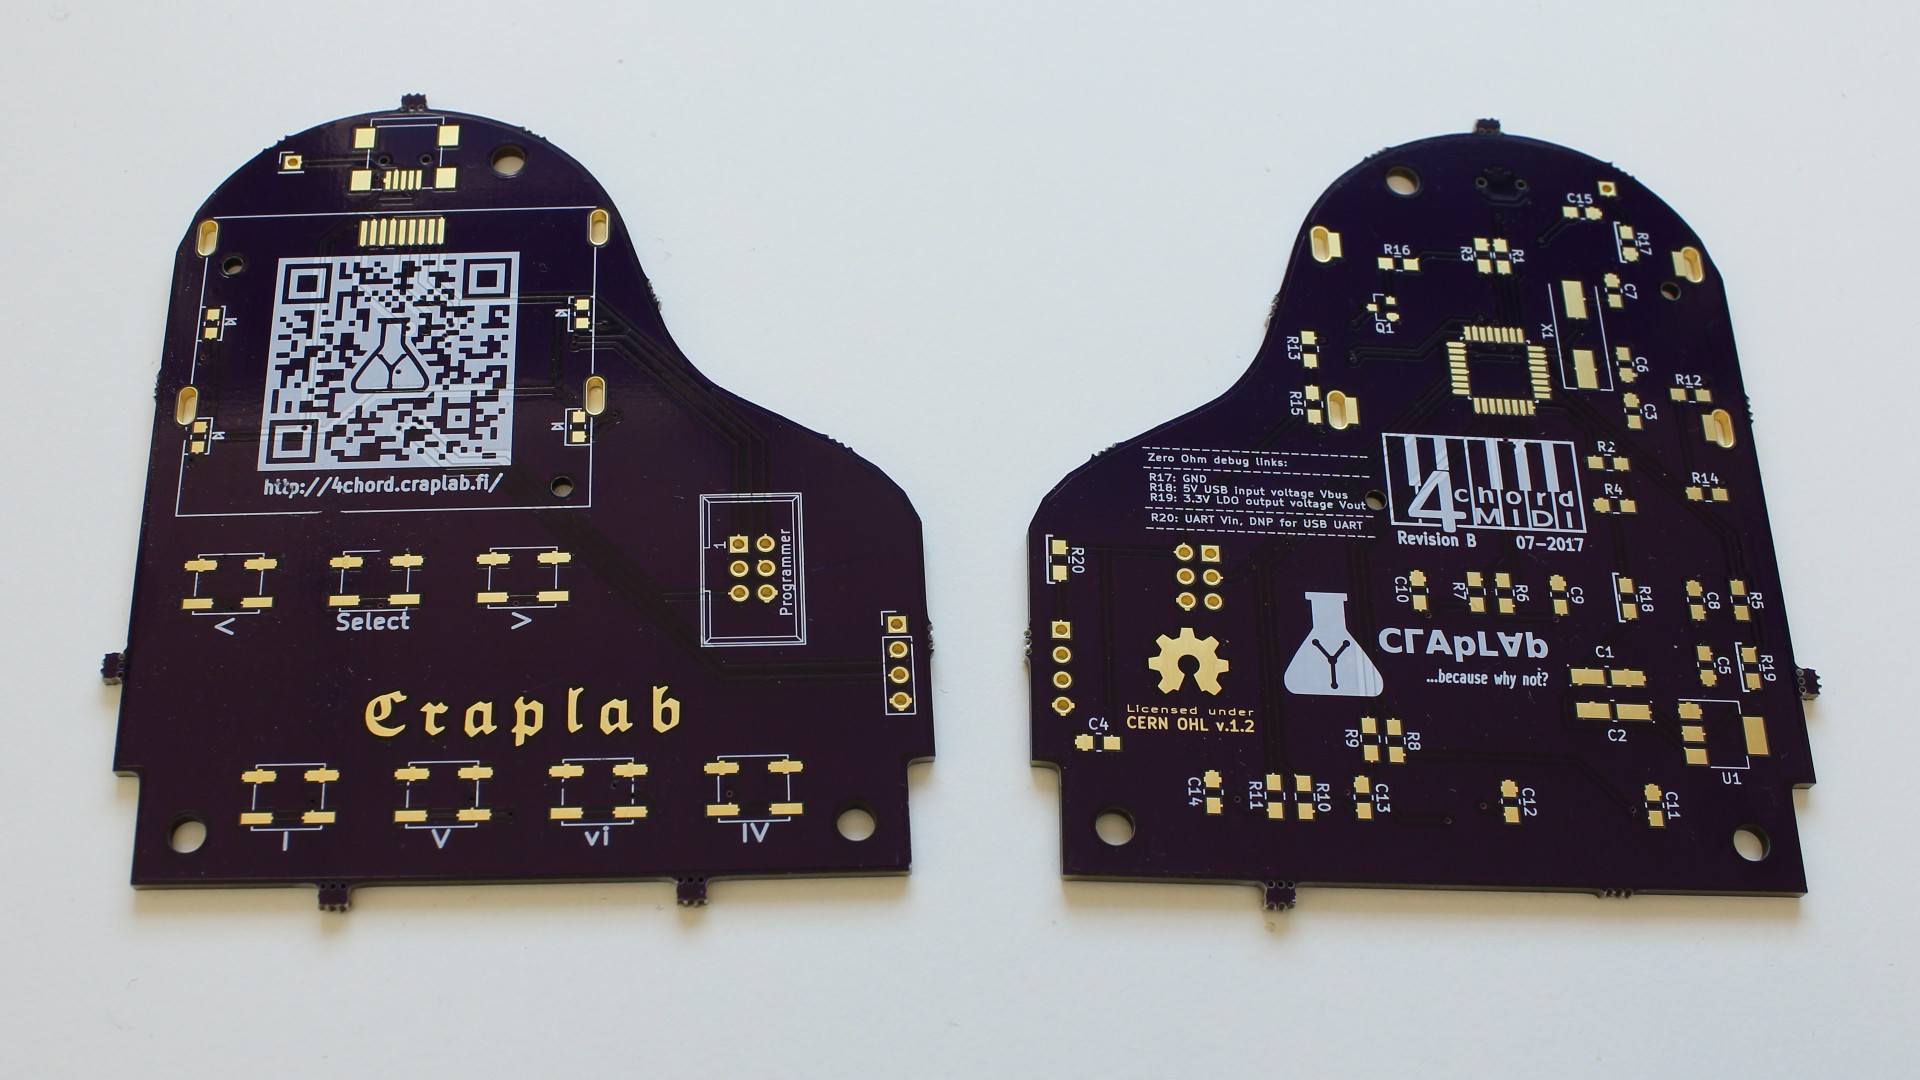
4chord MIDI is USB powered and mainly built around an ATmega328P, a good old Nokia 5110 display, and seven buttons - four to play the chords, and three to navigate the user interface.
Initially designed in credit card form factor (as you can see in the introduction video above), revision B was re-designed to get a more musically appropriate shape:
One recent design experiment took the music shaped theme then one step further:
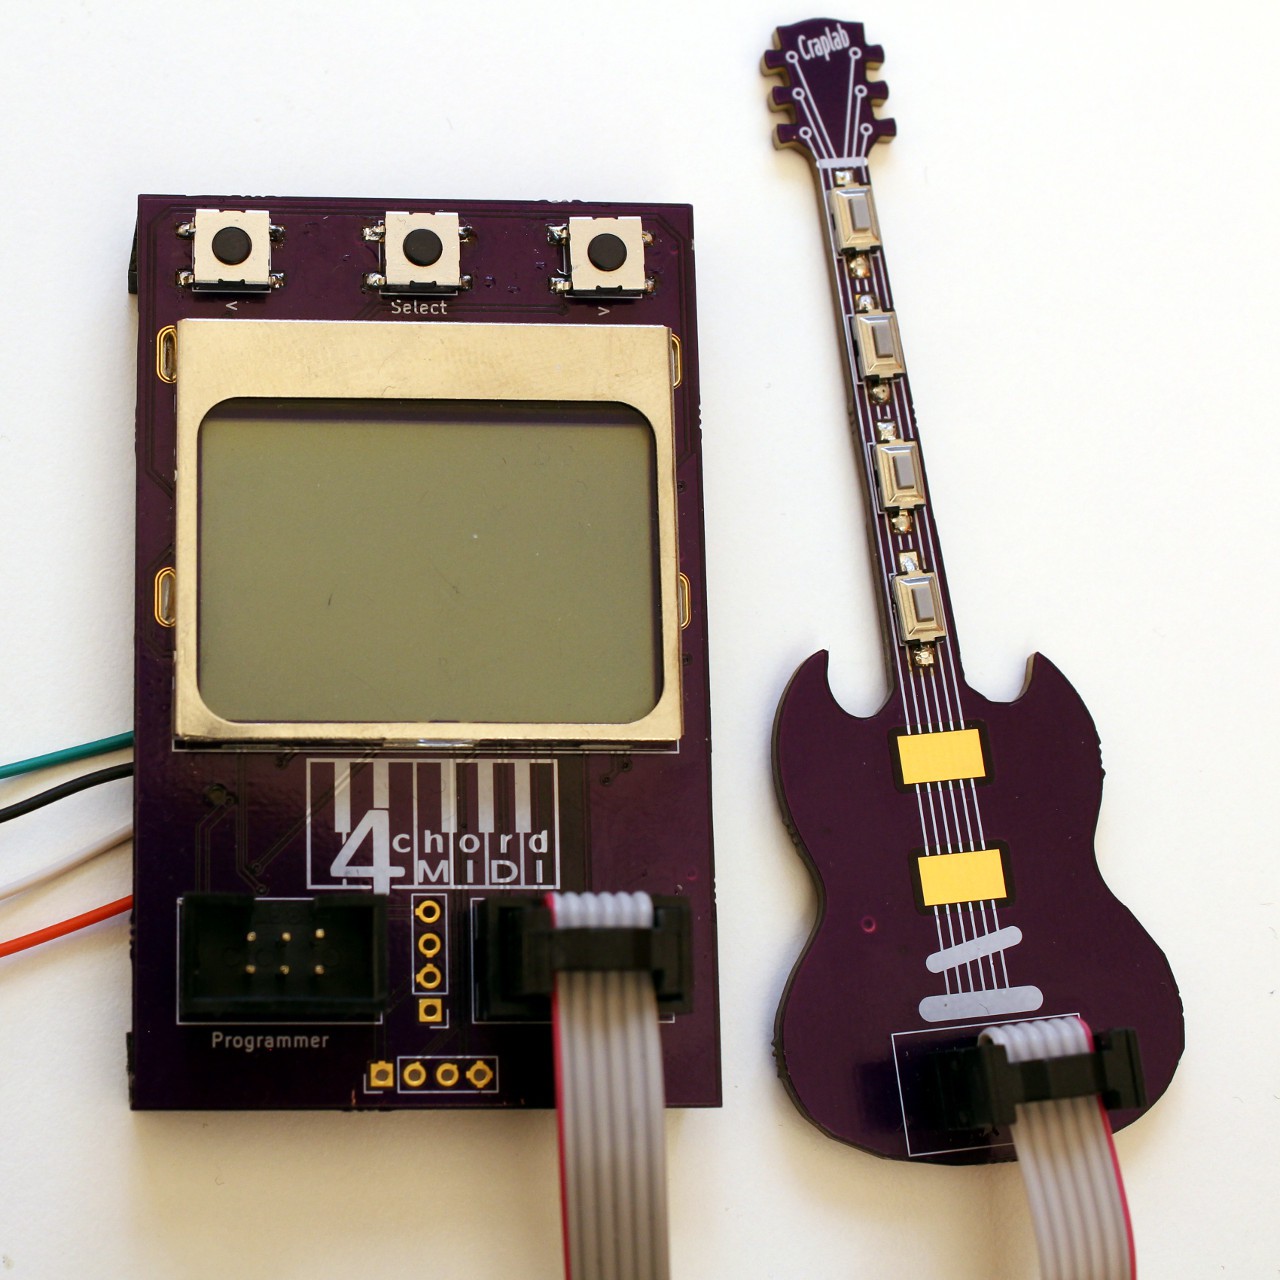
For now I keep the focus on the piano shape, but I really like the guitar. The routing on the "amp" is pretty horrible though and nothing I'm comfortable to release at this point - I mainly wanted the guitar shape, so I just botched a quick and dirty amp design as proof of concept together. But that's going to change some time in the future.
Hardware Licenses
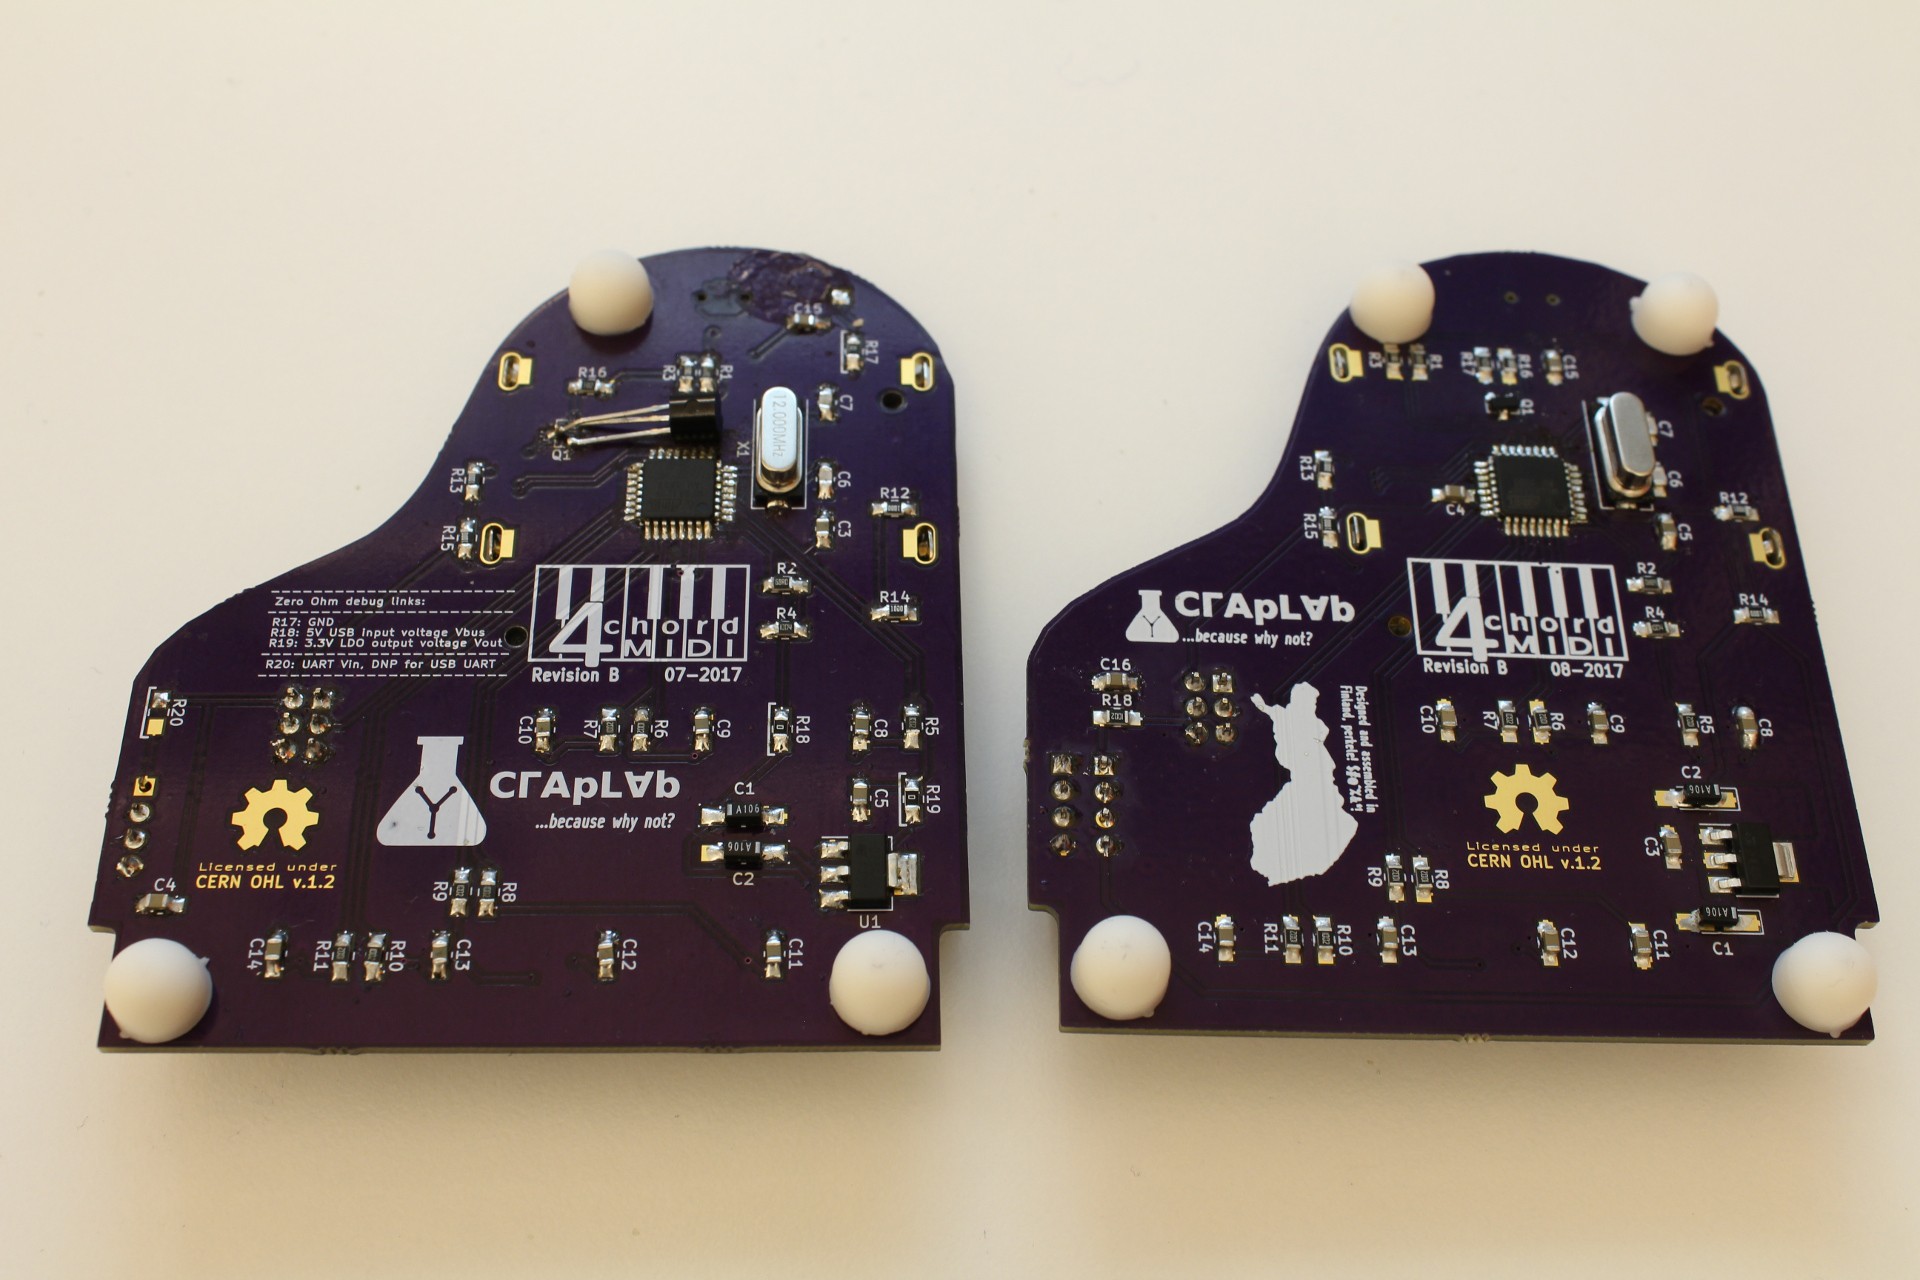
All 4chord MIDI hardware documents, such as the schematic and PCB design are released under the terms of the CERN Open Hardware License (OHL) version 1.2.
The Firmware
Since there's no hardware USB controller in the ATmega328P, one central part of the firmware is the Objective Development V-USB library, set up to implement the USB MIDI device class specification reference design (see Appendix B). The rest is some custom designed code written in C, to be compiled with avr-gcc and flashed via avrdude - nicely wrapped into a Makefile.
In the big picture, the firmware takes care of three main things:
- everything USB, handled by the V-USB library
- user interface settings and displaying it on the LCD
- chord playback based on the user interface settings
There's an additional UART interface for debug output and user input - you can basically emulate the button presses through a serial console with it.
Firmware Licenses
Both the V-USB library and the 4chord MIDI firmware are released under the terms of the GNU General Public License (GPL) version 2.
The Mission
Shits, giggles, and dominating the wedding band business.
Apart from that, well 4chord MIDI is neither going to revolutionize how we create music, nor will it change the world in any significant way. It will, however, provide everyone interested actively in music - be it song writing or just covering songs - a simple and convenient way to do so, packed in a nifty little package....
Read more »
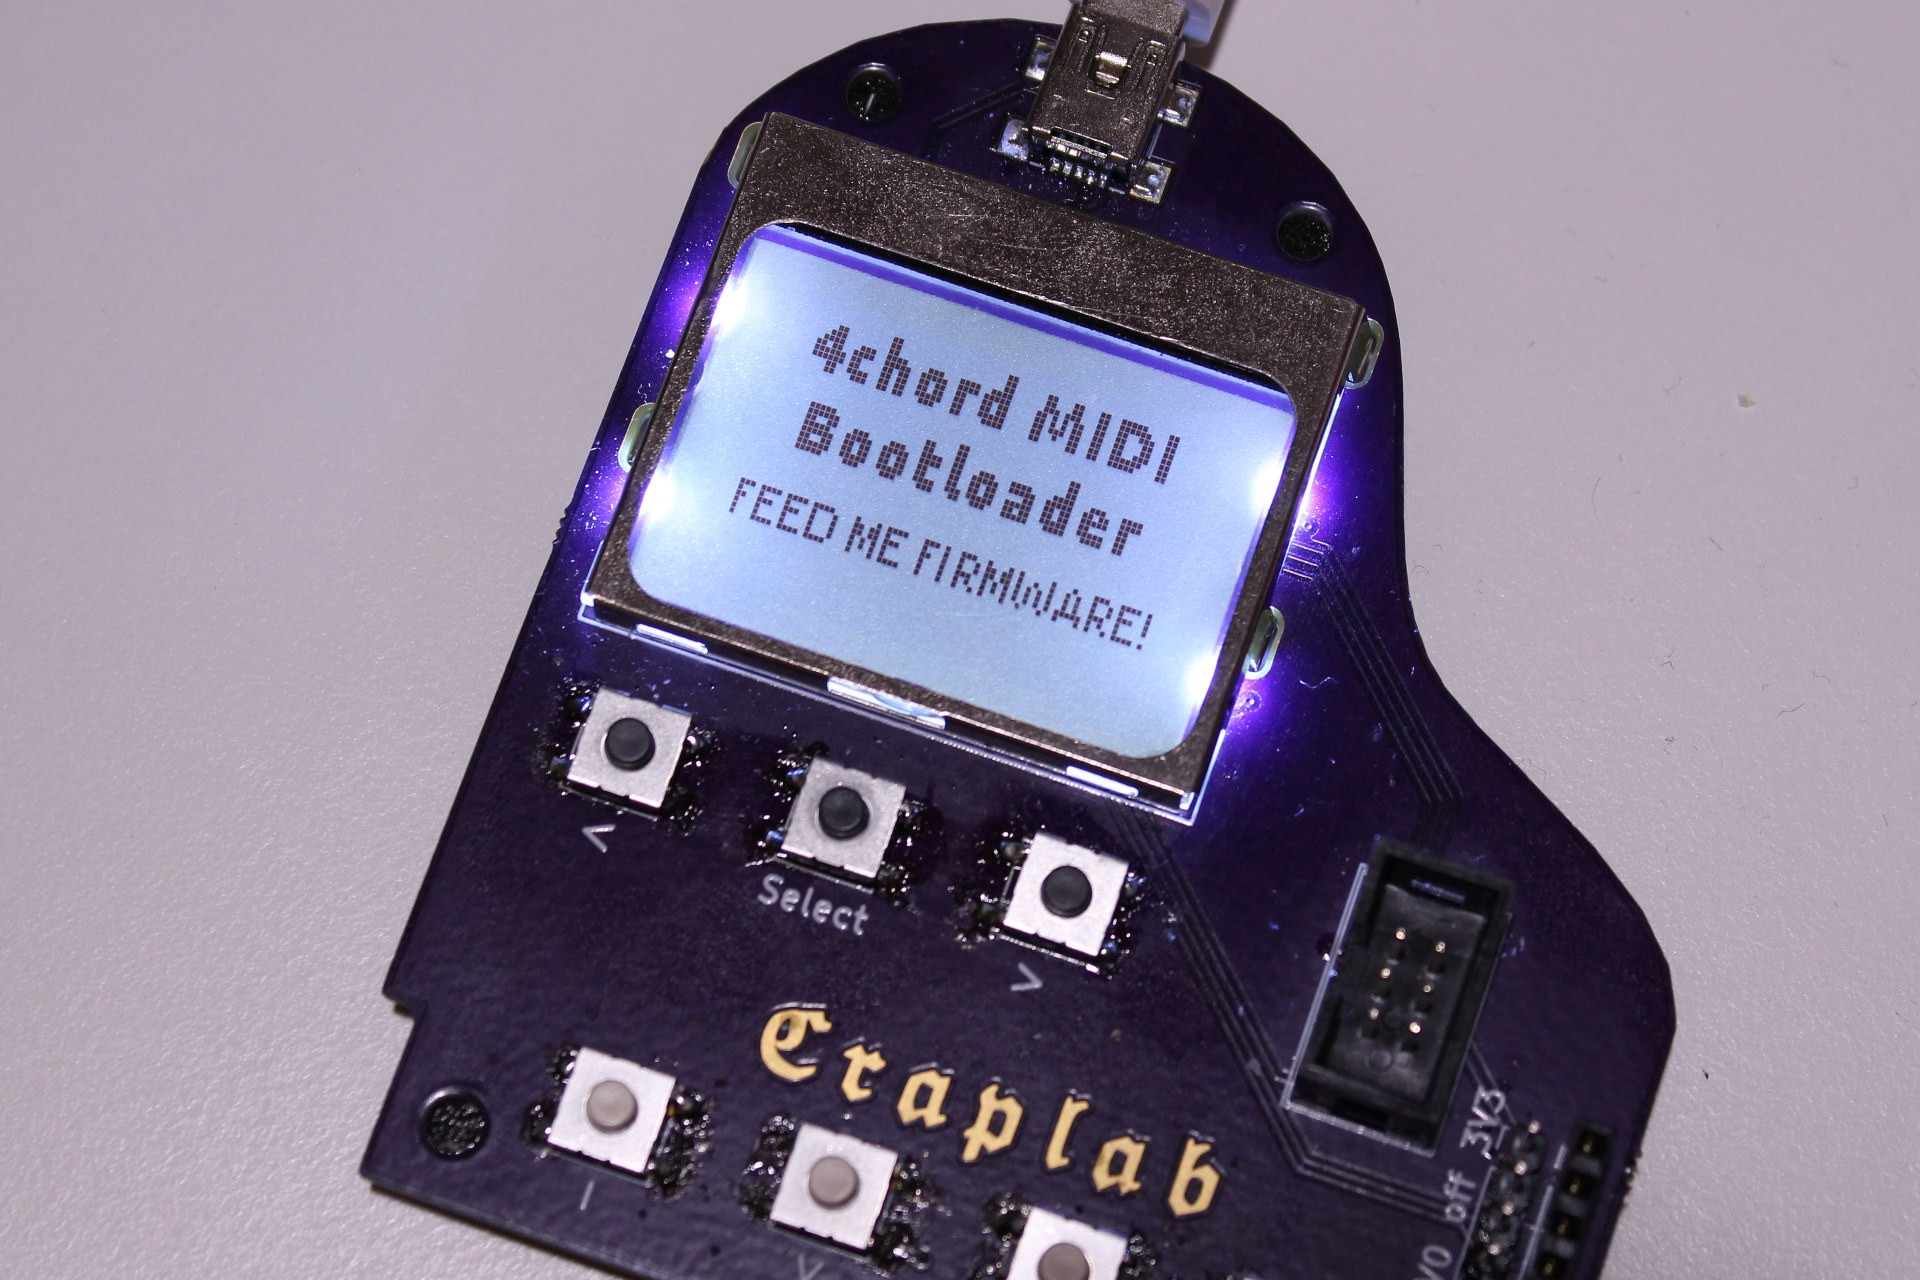 When I put together the firmware roadmap, it became clear to me that having an easy and convenient way to update the board with any future versions will be one of the most important features. With such a feature, I don't have to worry too much about missing features and can go ahead and offer 4chord MIDI to the world. Sure, there's the ISP connector, so updating the firmware has always been possible, but like I wrote in the previous log, I want that everyone can fully enjoy 4chord MIDI, regardless of their programming or electronics background.
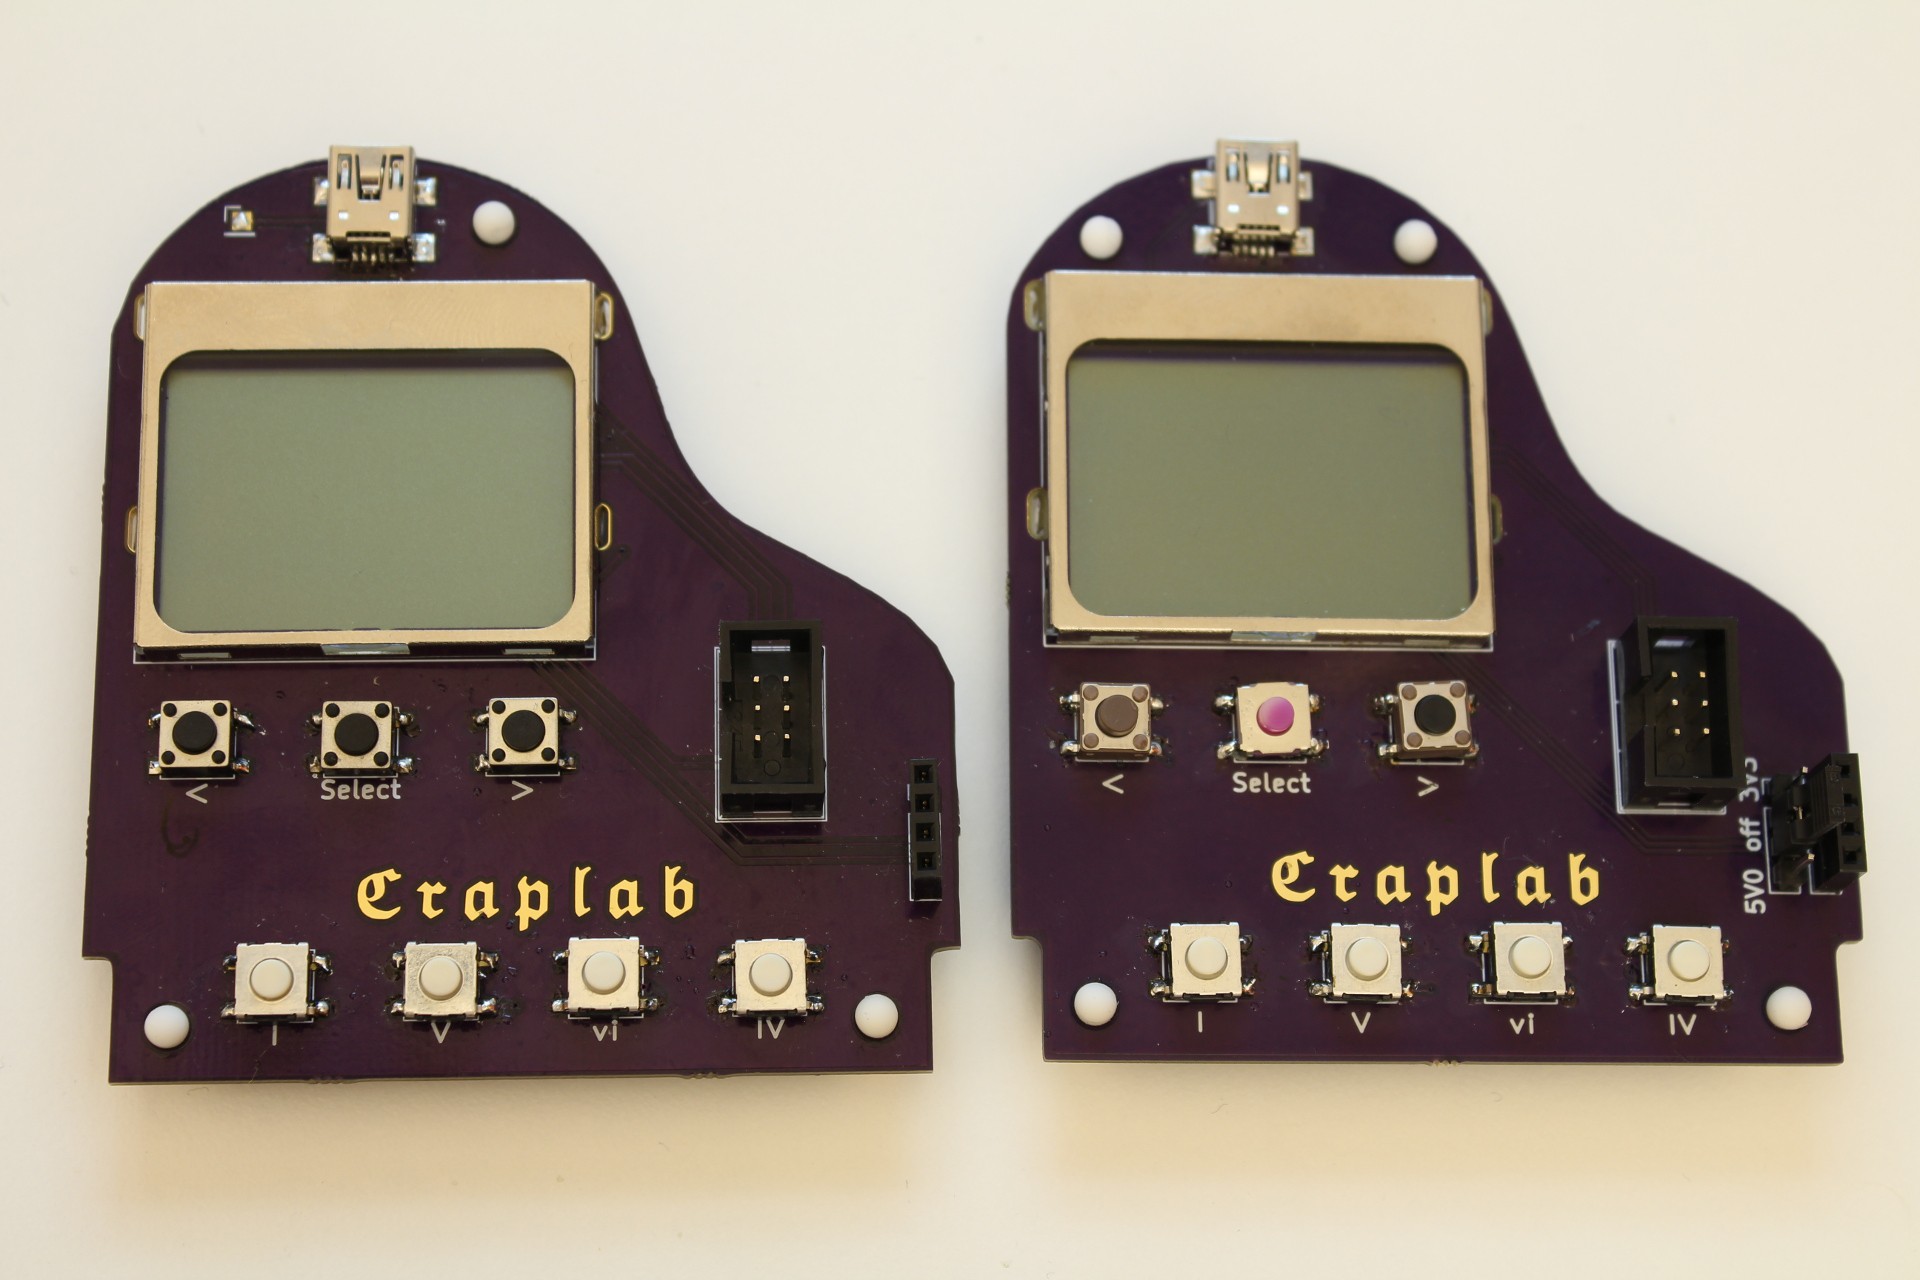


 NuclearPhoenix
 Xasin
Xasin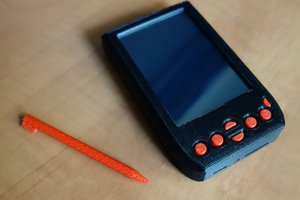
 brtnst
 AndrewMcDan
this is brilliant.