 Brandon Langdon
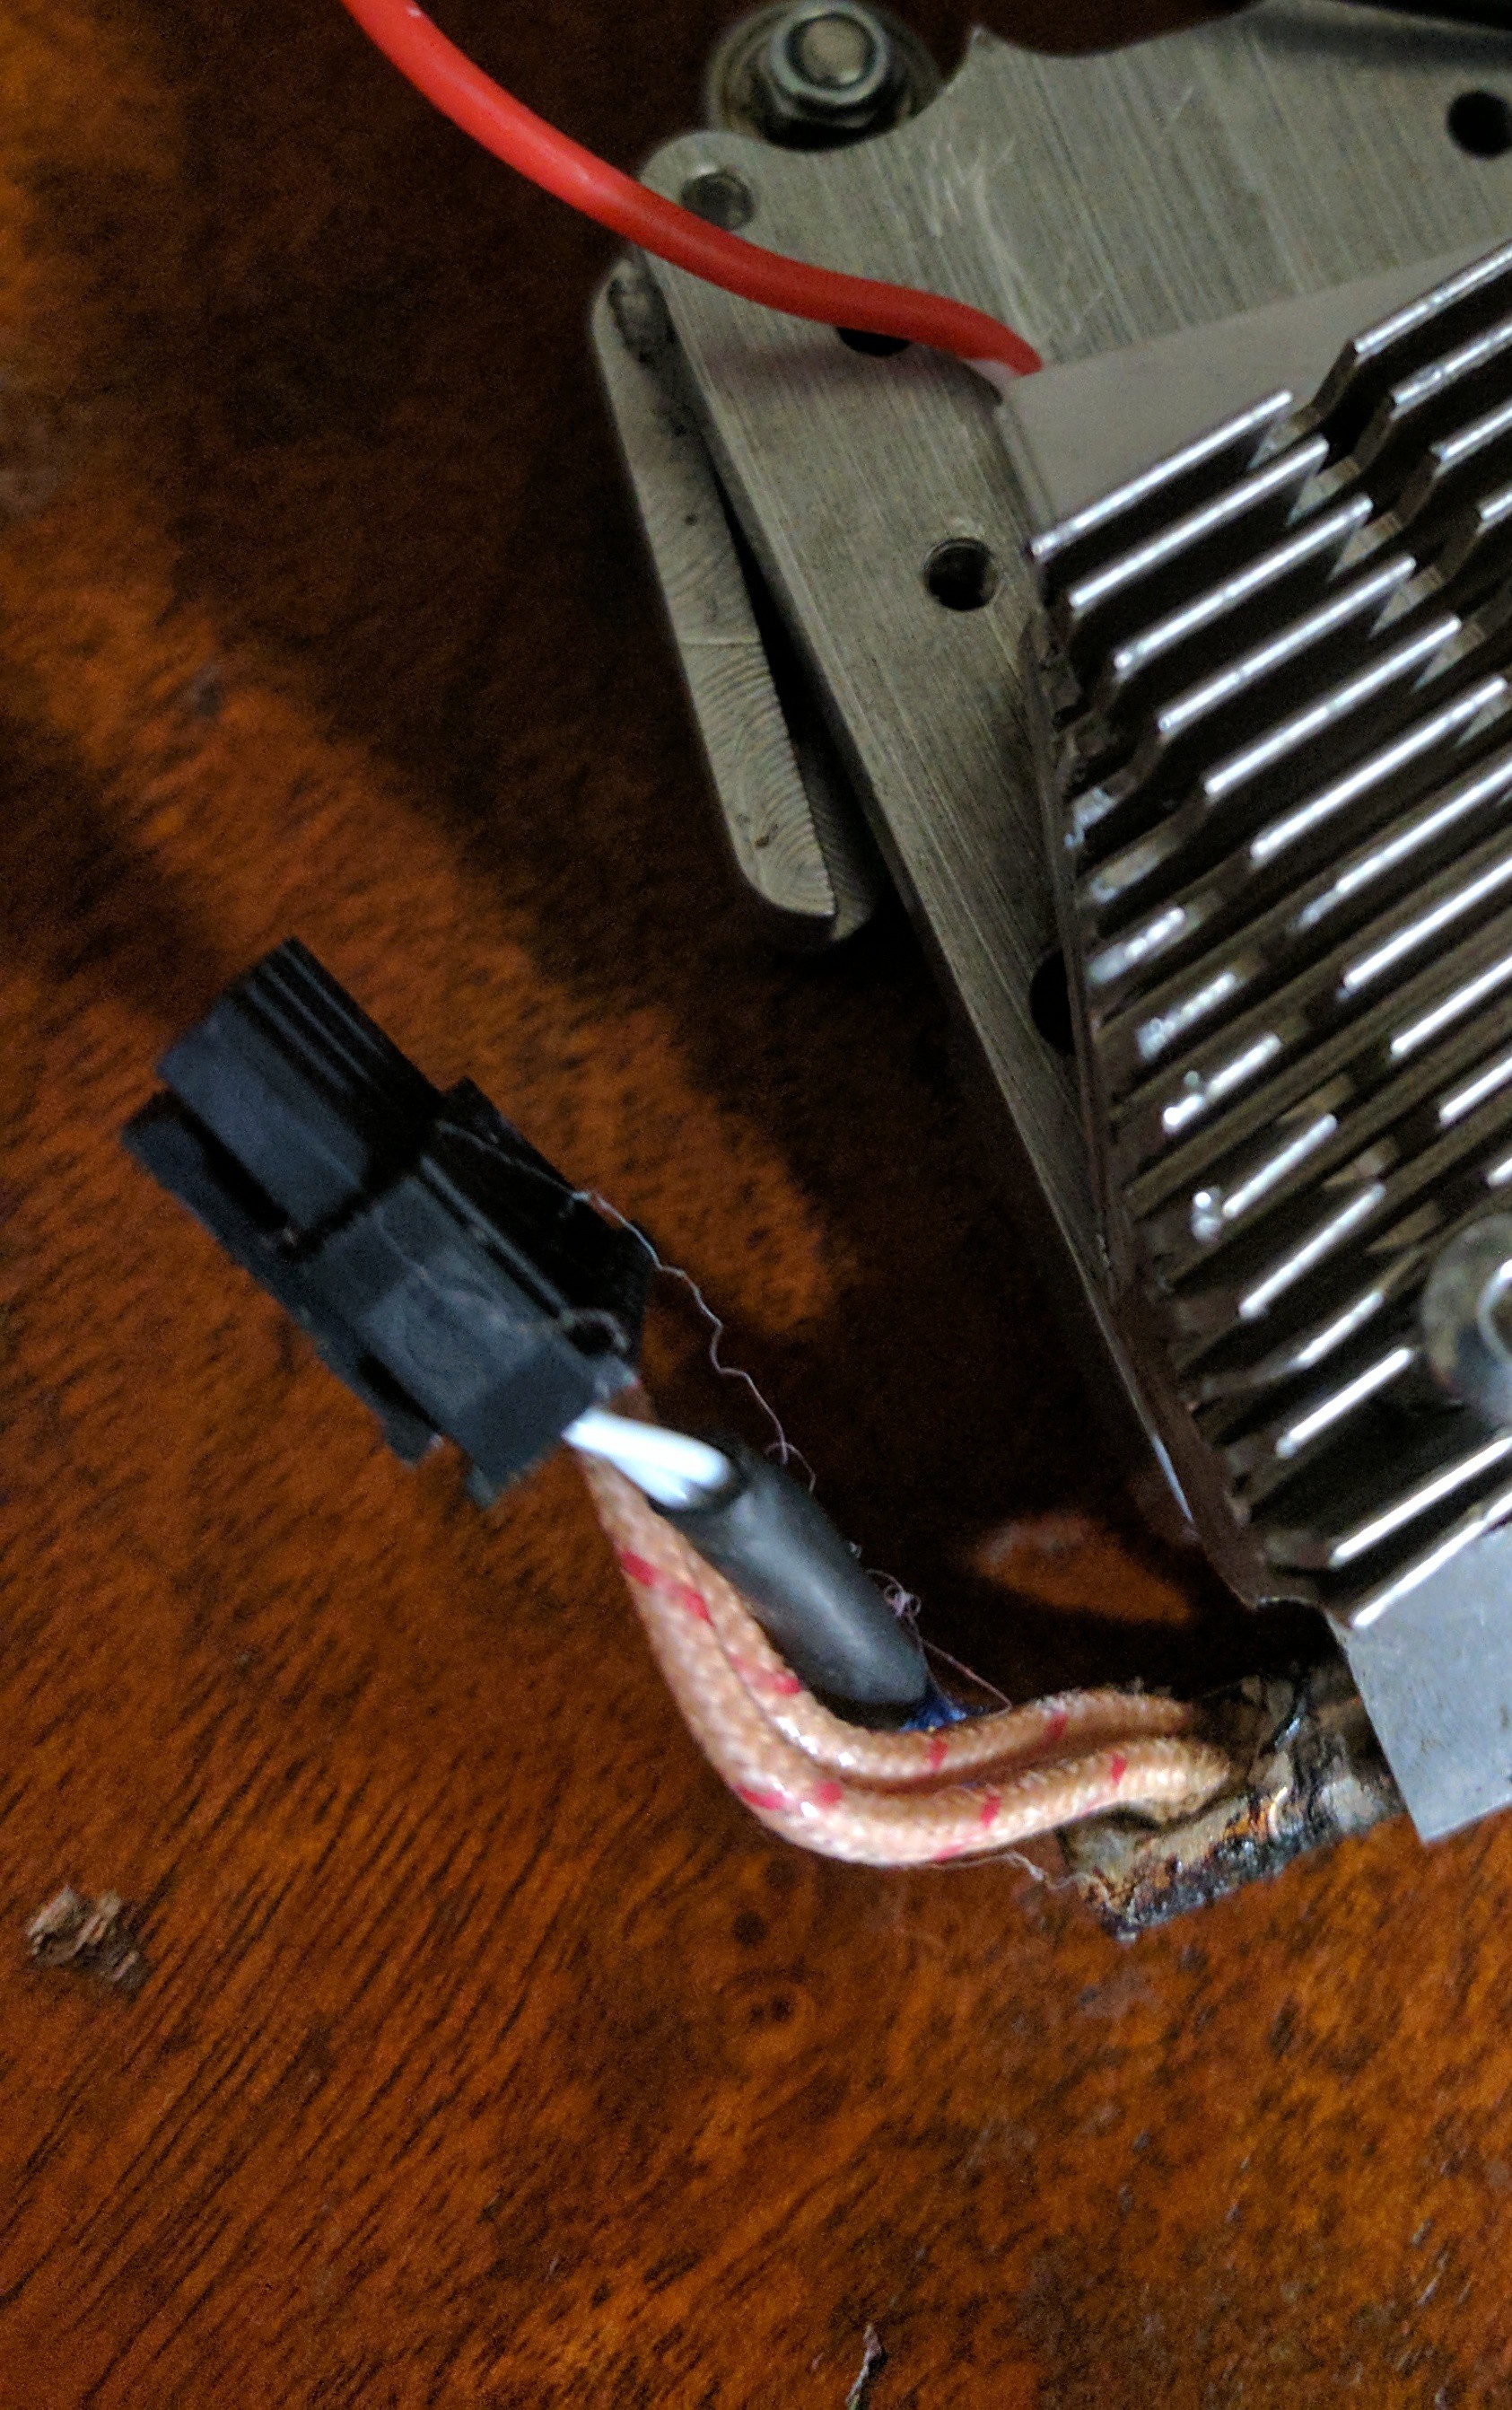
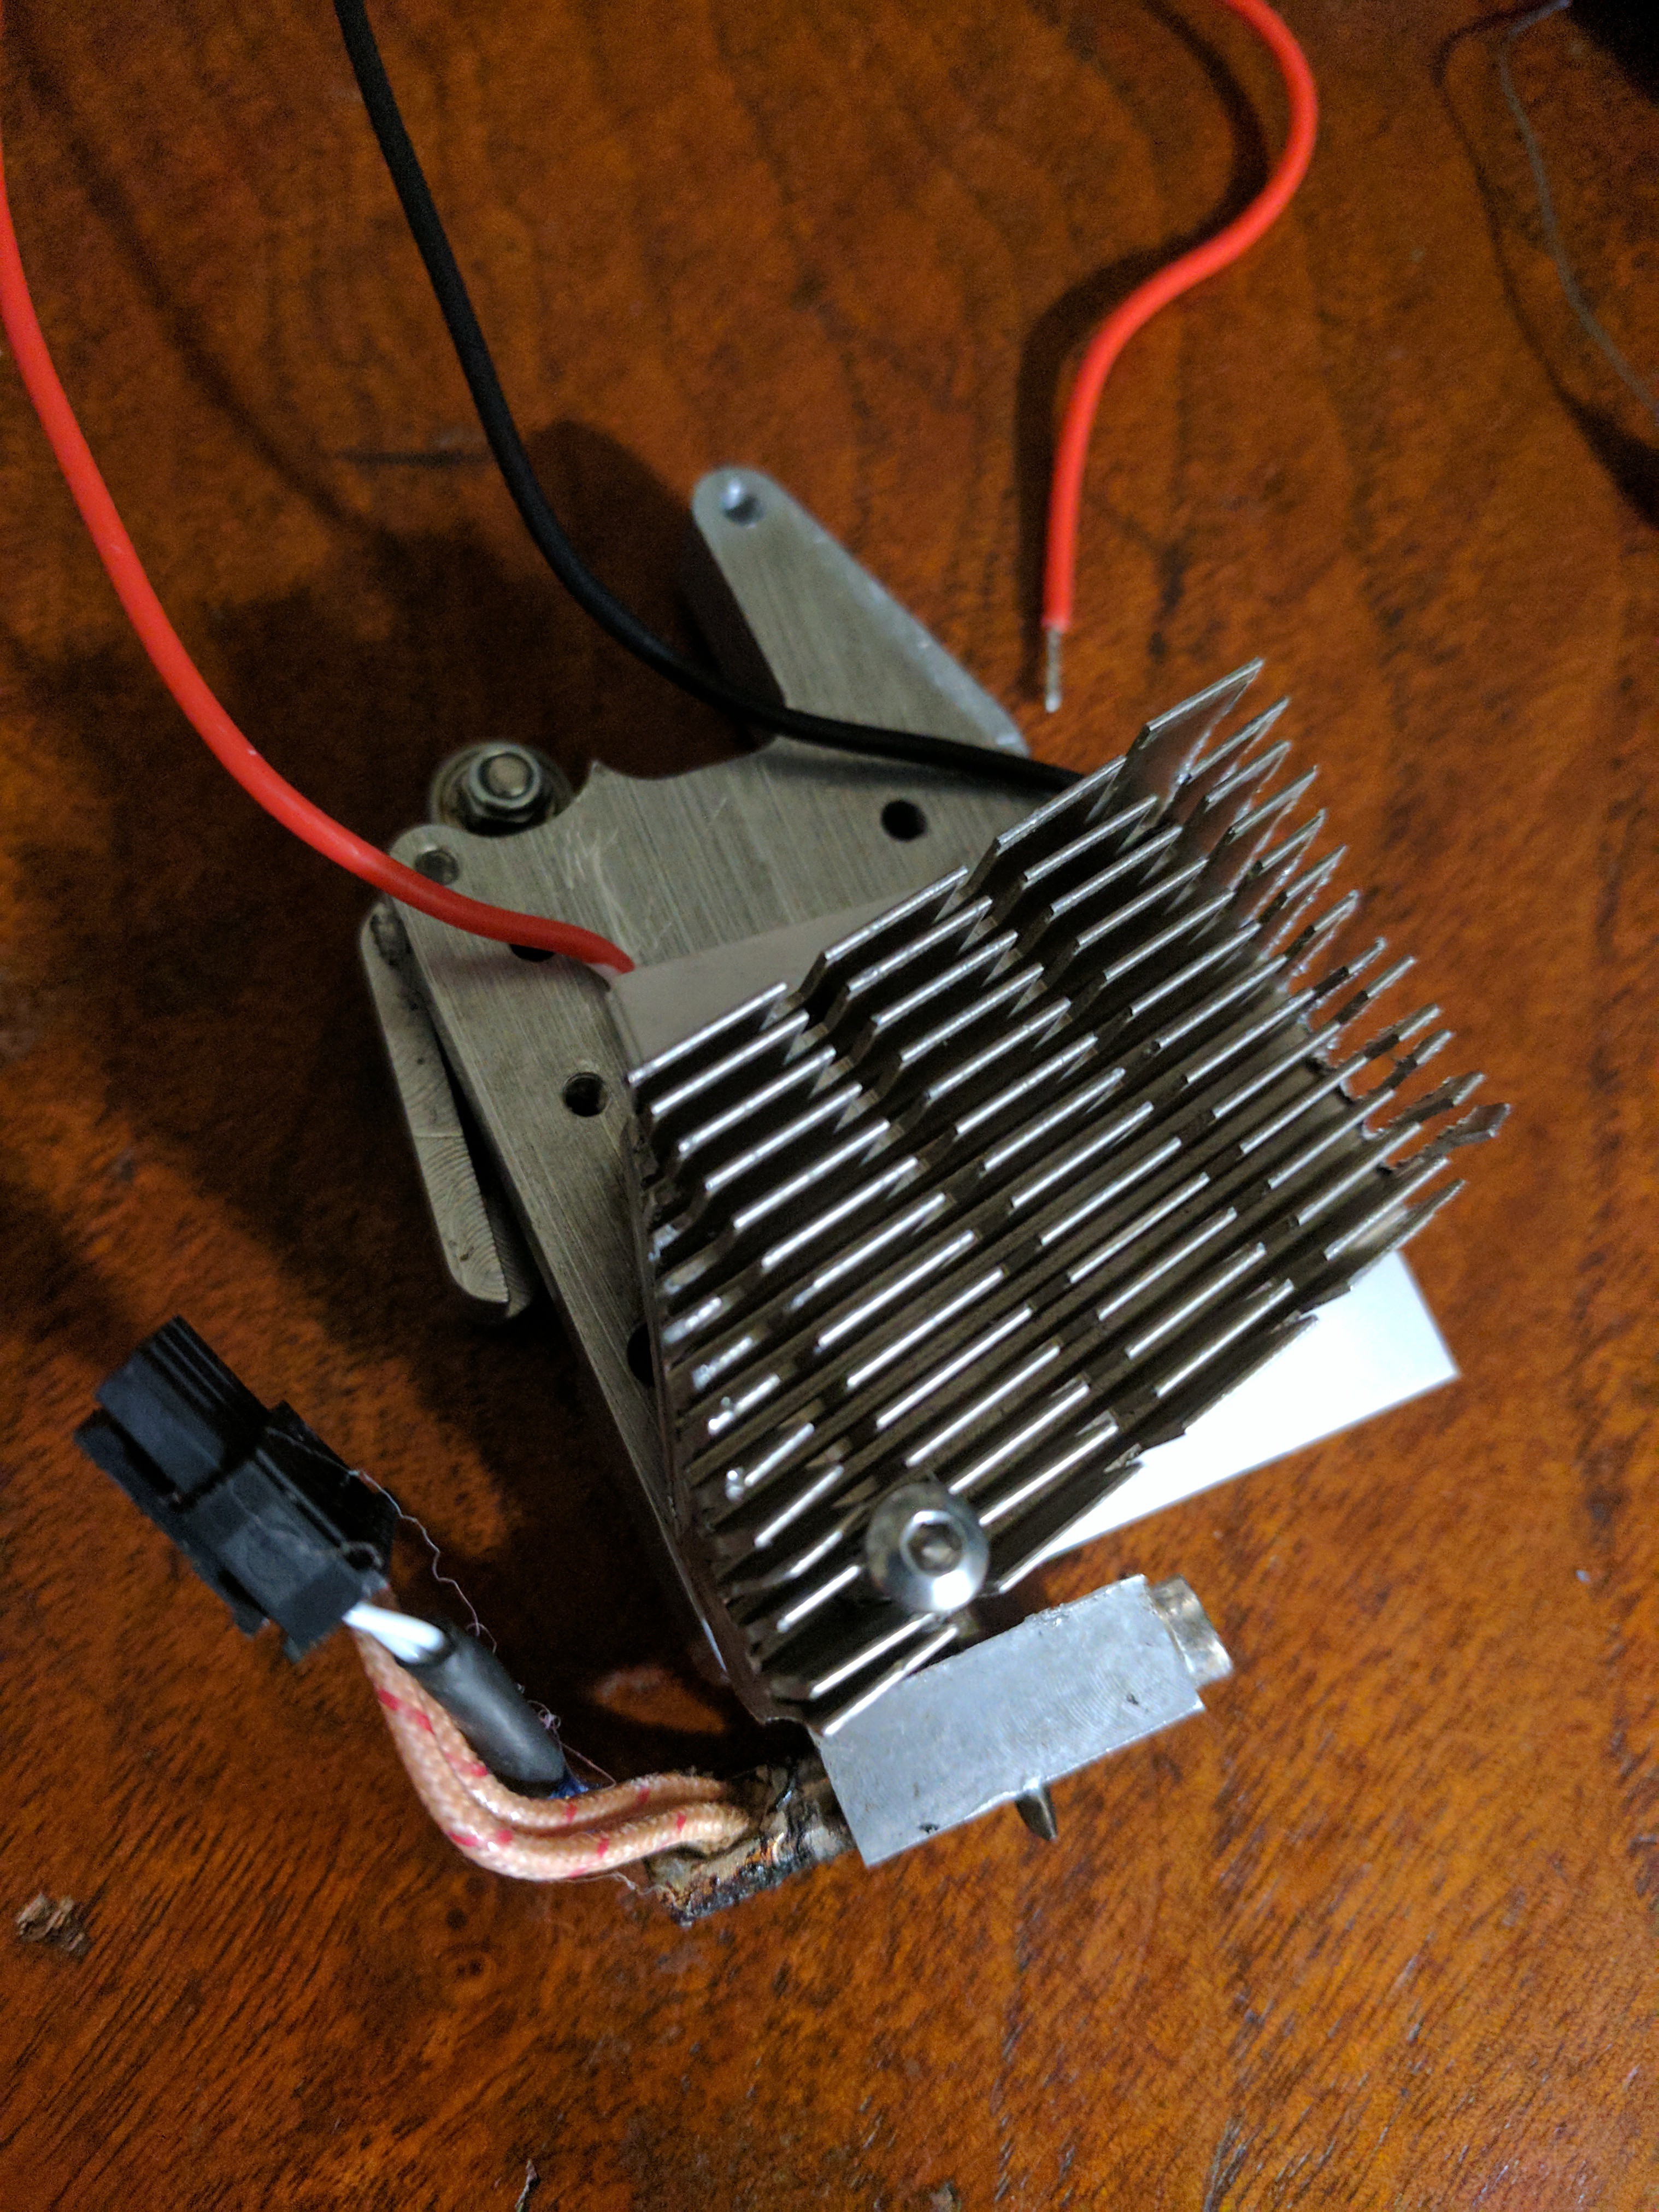
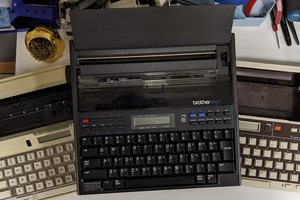
Fed up with inadequate cooling I decided to change things. Here I added a thermoelectric cooler in place of the 40mm fan. It's also completely silent!
0%
0%
Better Cooling for 3D Printer Extruders
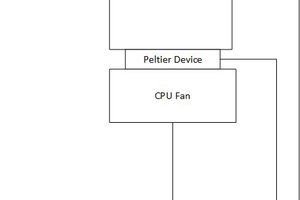
Installing a peltier device (TEC) in place of the 40mm cooling fan of an all metal extruder.
Become a Hackaday.io member
Already have an account? Log in.
Just one more thing
To make the experience fit your profile, pick a username and tell us what interests you.
Pick an awesome username
hackaday.io/
Your profile's URL: hackaday.io/username. Max 25 alphanumeric characters.
Pick a few interests
Projects that share your interests
People that share your interests
 parkolay
 Elite Worm
What happened to this project? I experimented with thermoelectric elements a few years ago, building a rapid drink cooler. My experience was that for one degree of cooling, you got 3 to 5 degrees of heat on the other side, so it's very clear that you need a fan. Ideally a big fan and an even bigger heatsink with lots of surface area. If you don't cool the hot side properly, the heat goes back to the cold side and then the TEC just wastes energy without actually having any effect...
Anyways, the question remains if you got anything useful out of this. I am currently modding my printer for high temperature filaments and installed water cooling. This allows me to keep the extruder about 10 degrees cooler than the surrounding air, which is not bad. I definitely see an improvement with ABS in an enclosure. But when the air in the enclosure is already hot (which is good), then the cooling struggles (which is bad) and 10 degrees of a difference is not enough.
Now my idea was: what if I install a TEC to cool it even more? But unlike your approach, I would not install the TEC on the hotend, but rather somewhere further away where I can easily install a big heatsink and a big fan. It will just cool the water after all, and the water delivers the heat from the hotend to the TEC where it can be pumped to the other side. Maybe the hot exhaust air could even be used as a chamber heater.