 BadKaiPanda
Warning note: I am dyslexic so I am really sorry if there is any problems reading this post, if you see a big boob please feel free to comments on how to fix it.
Project:
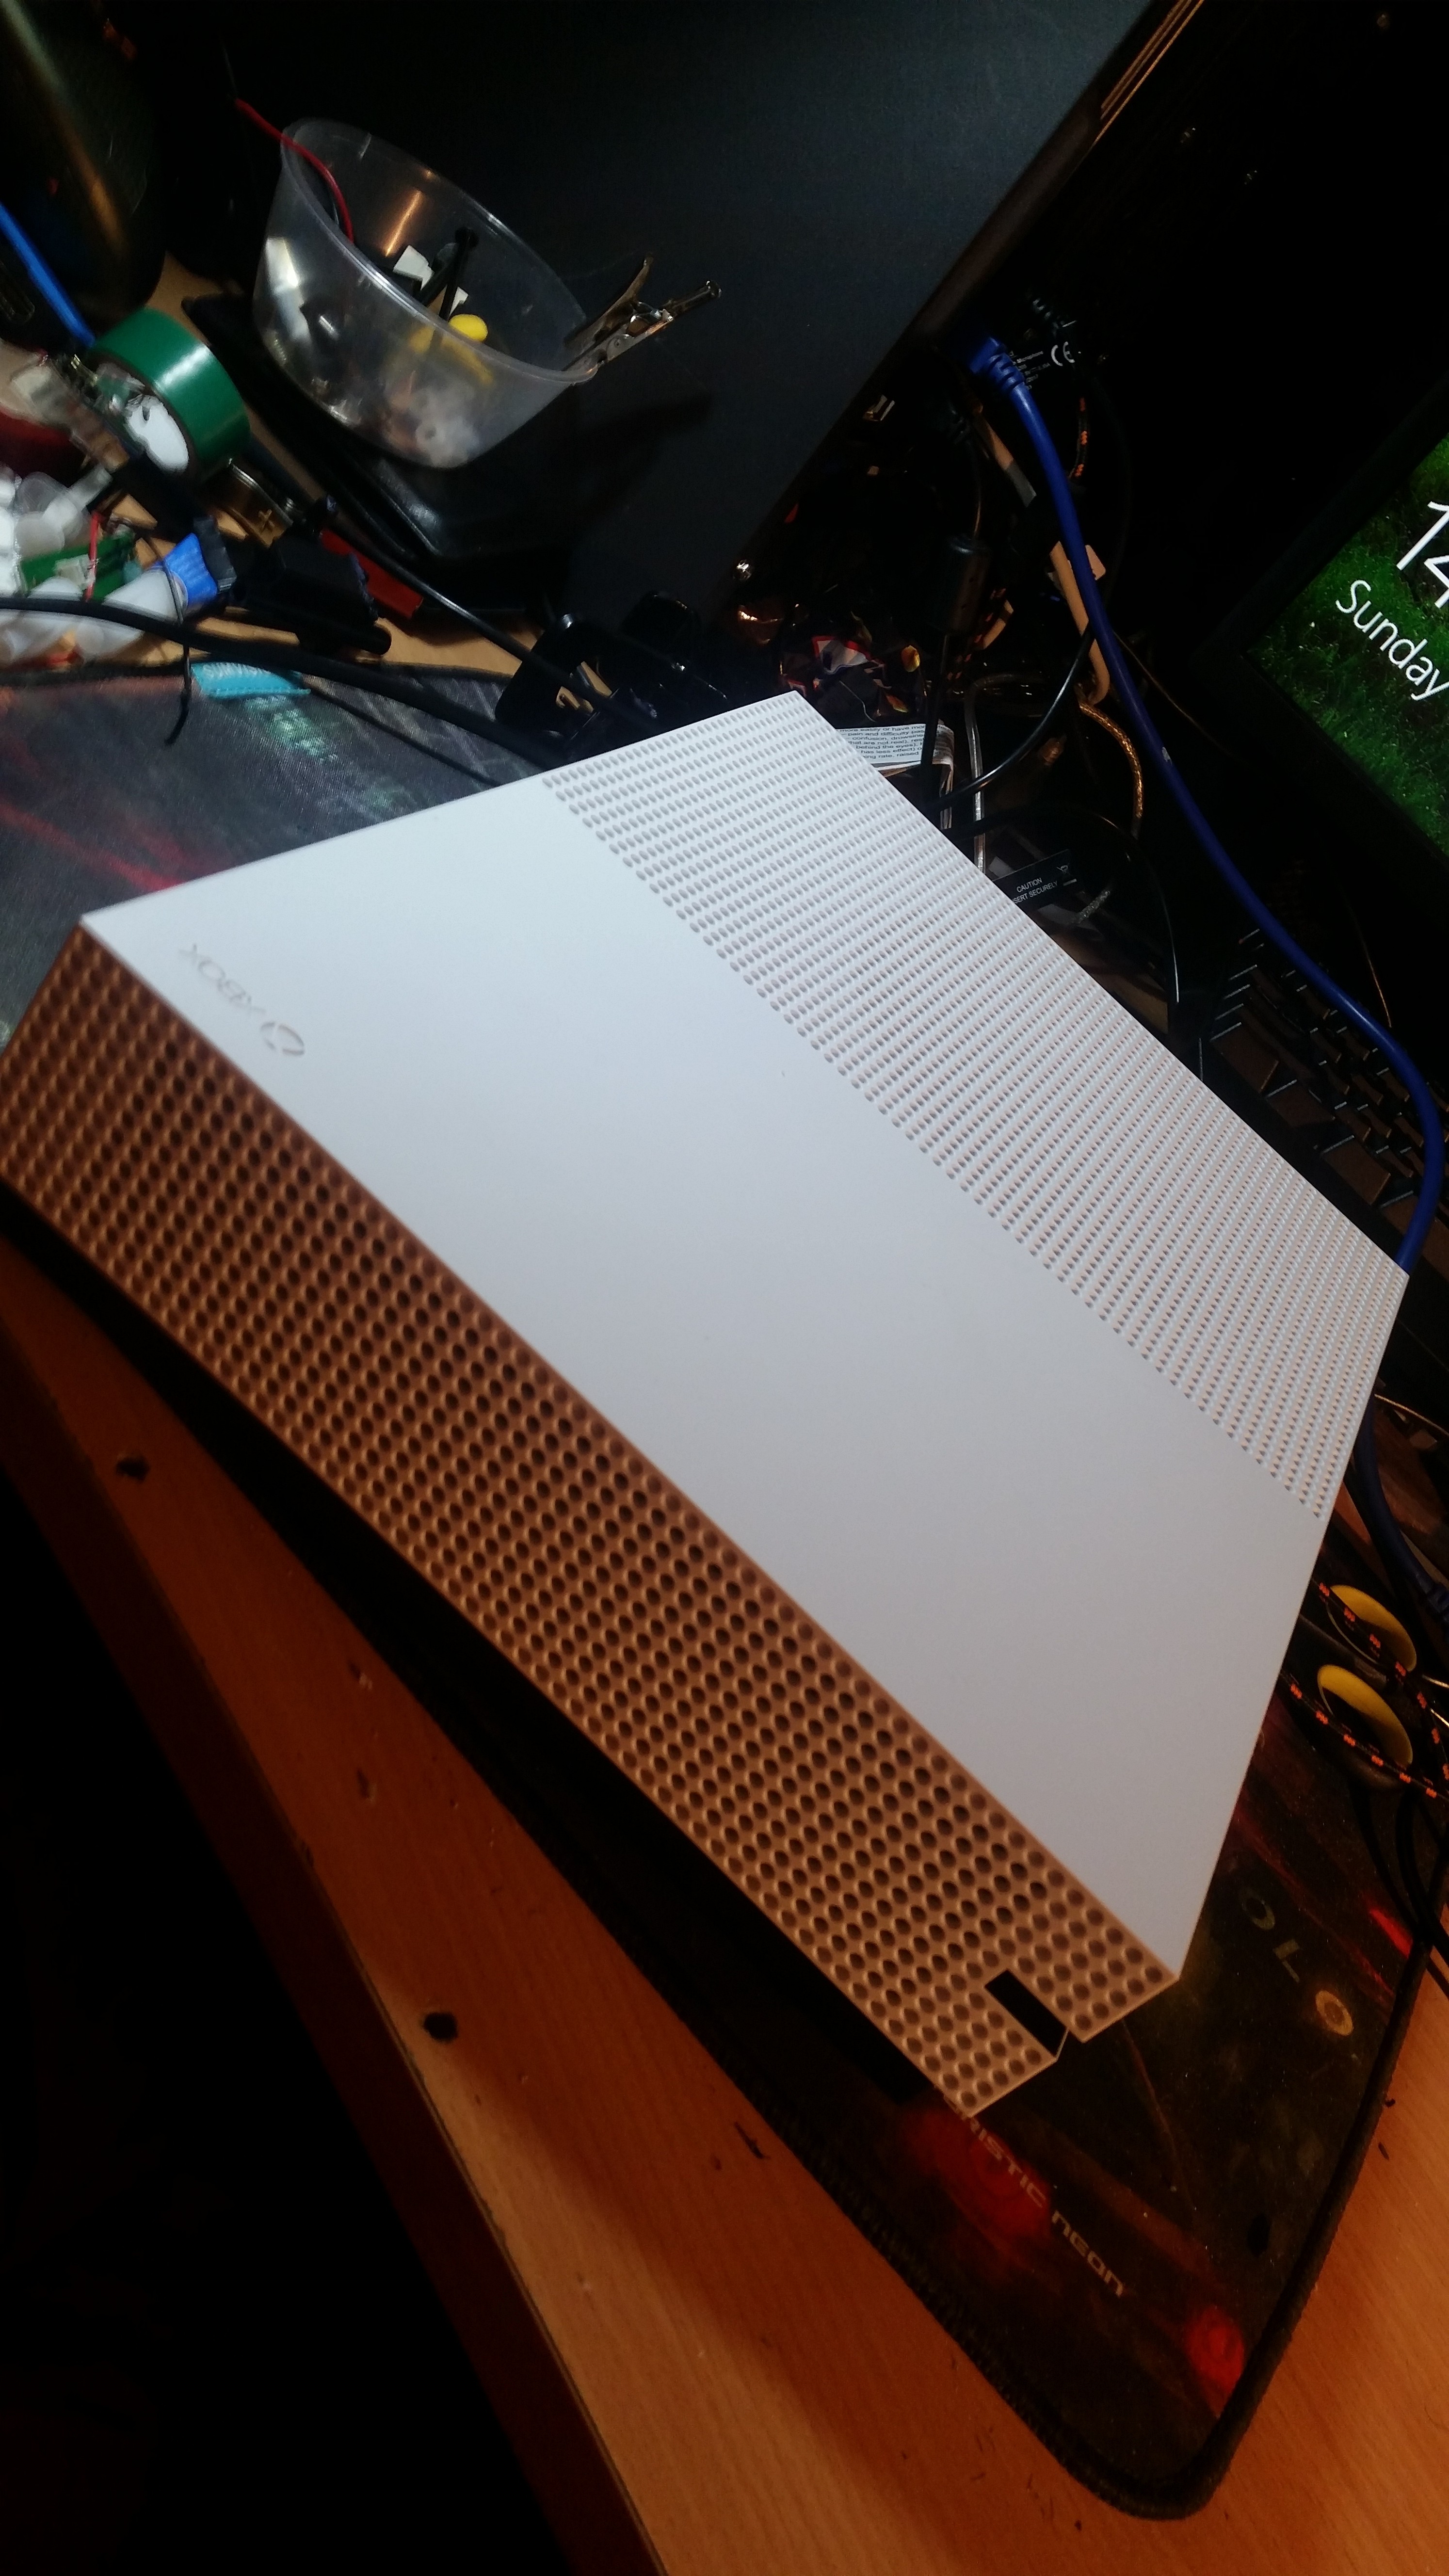
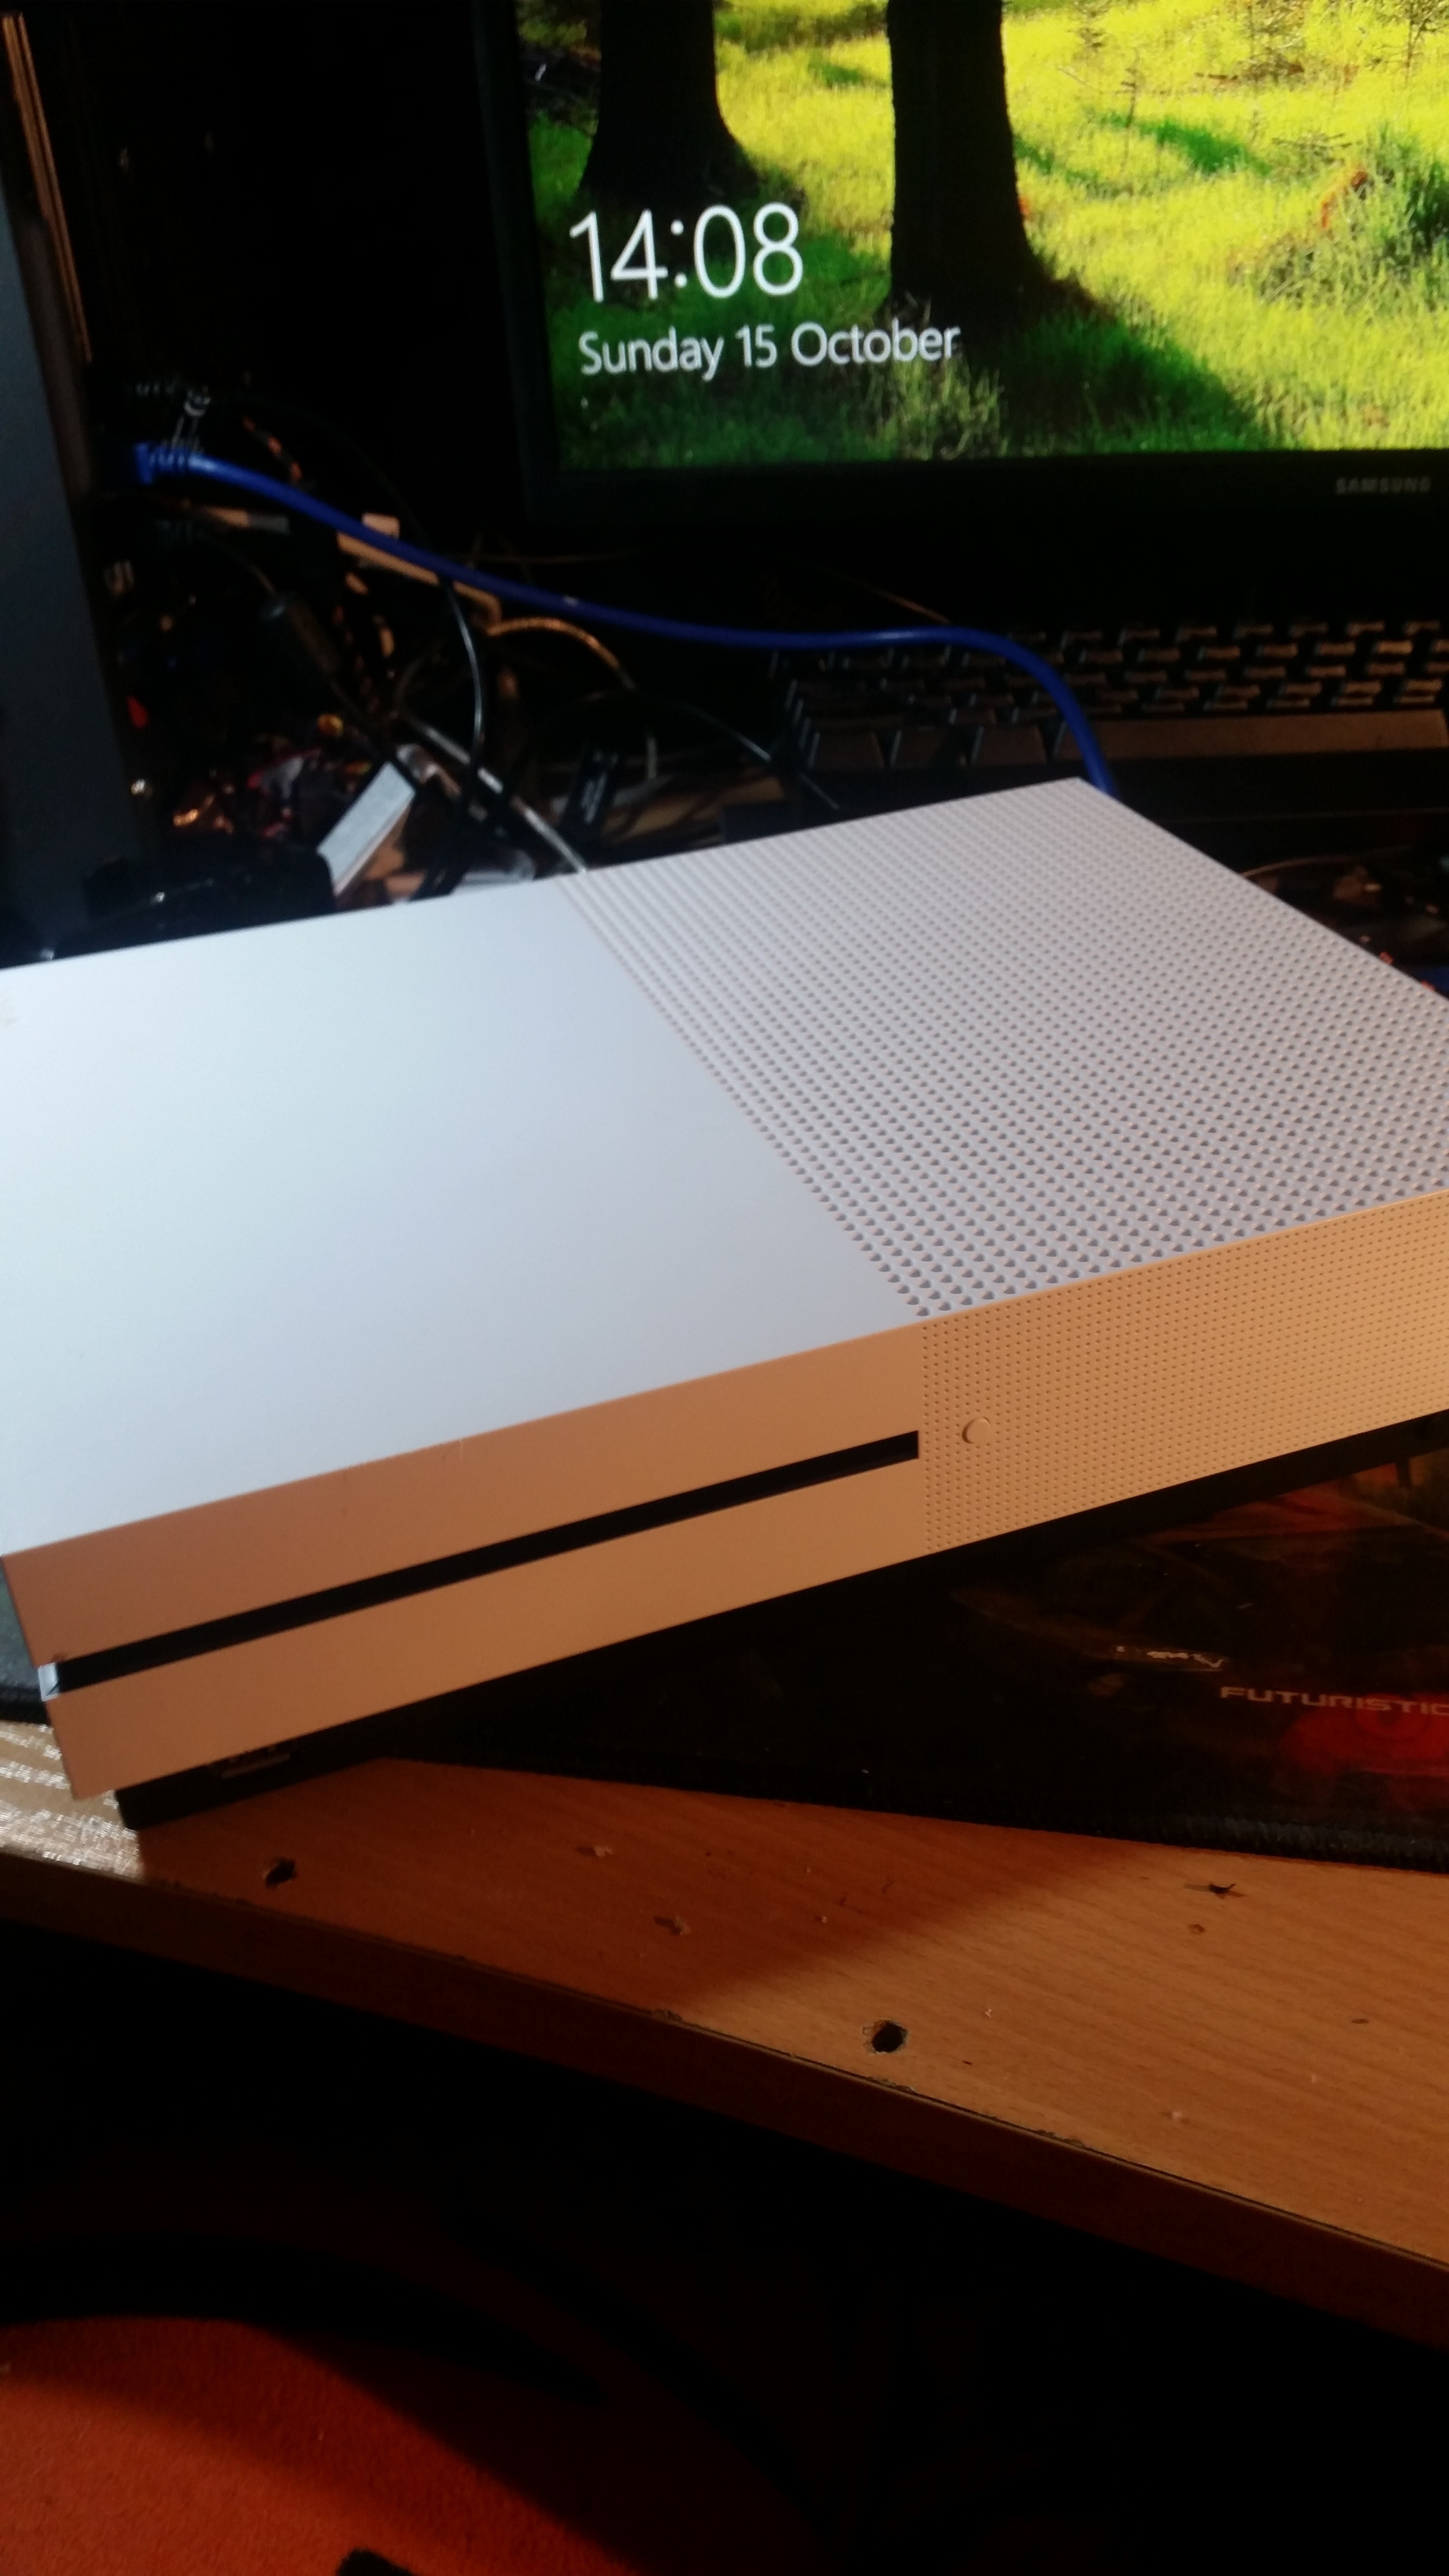
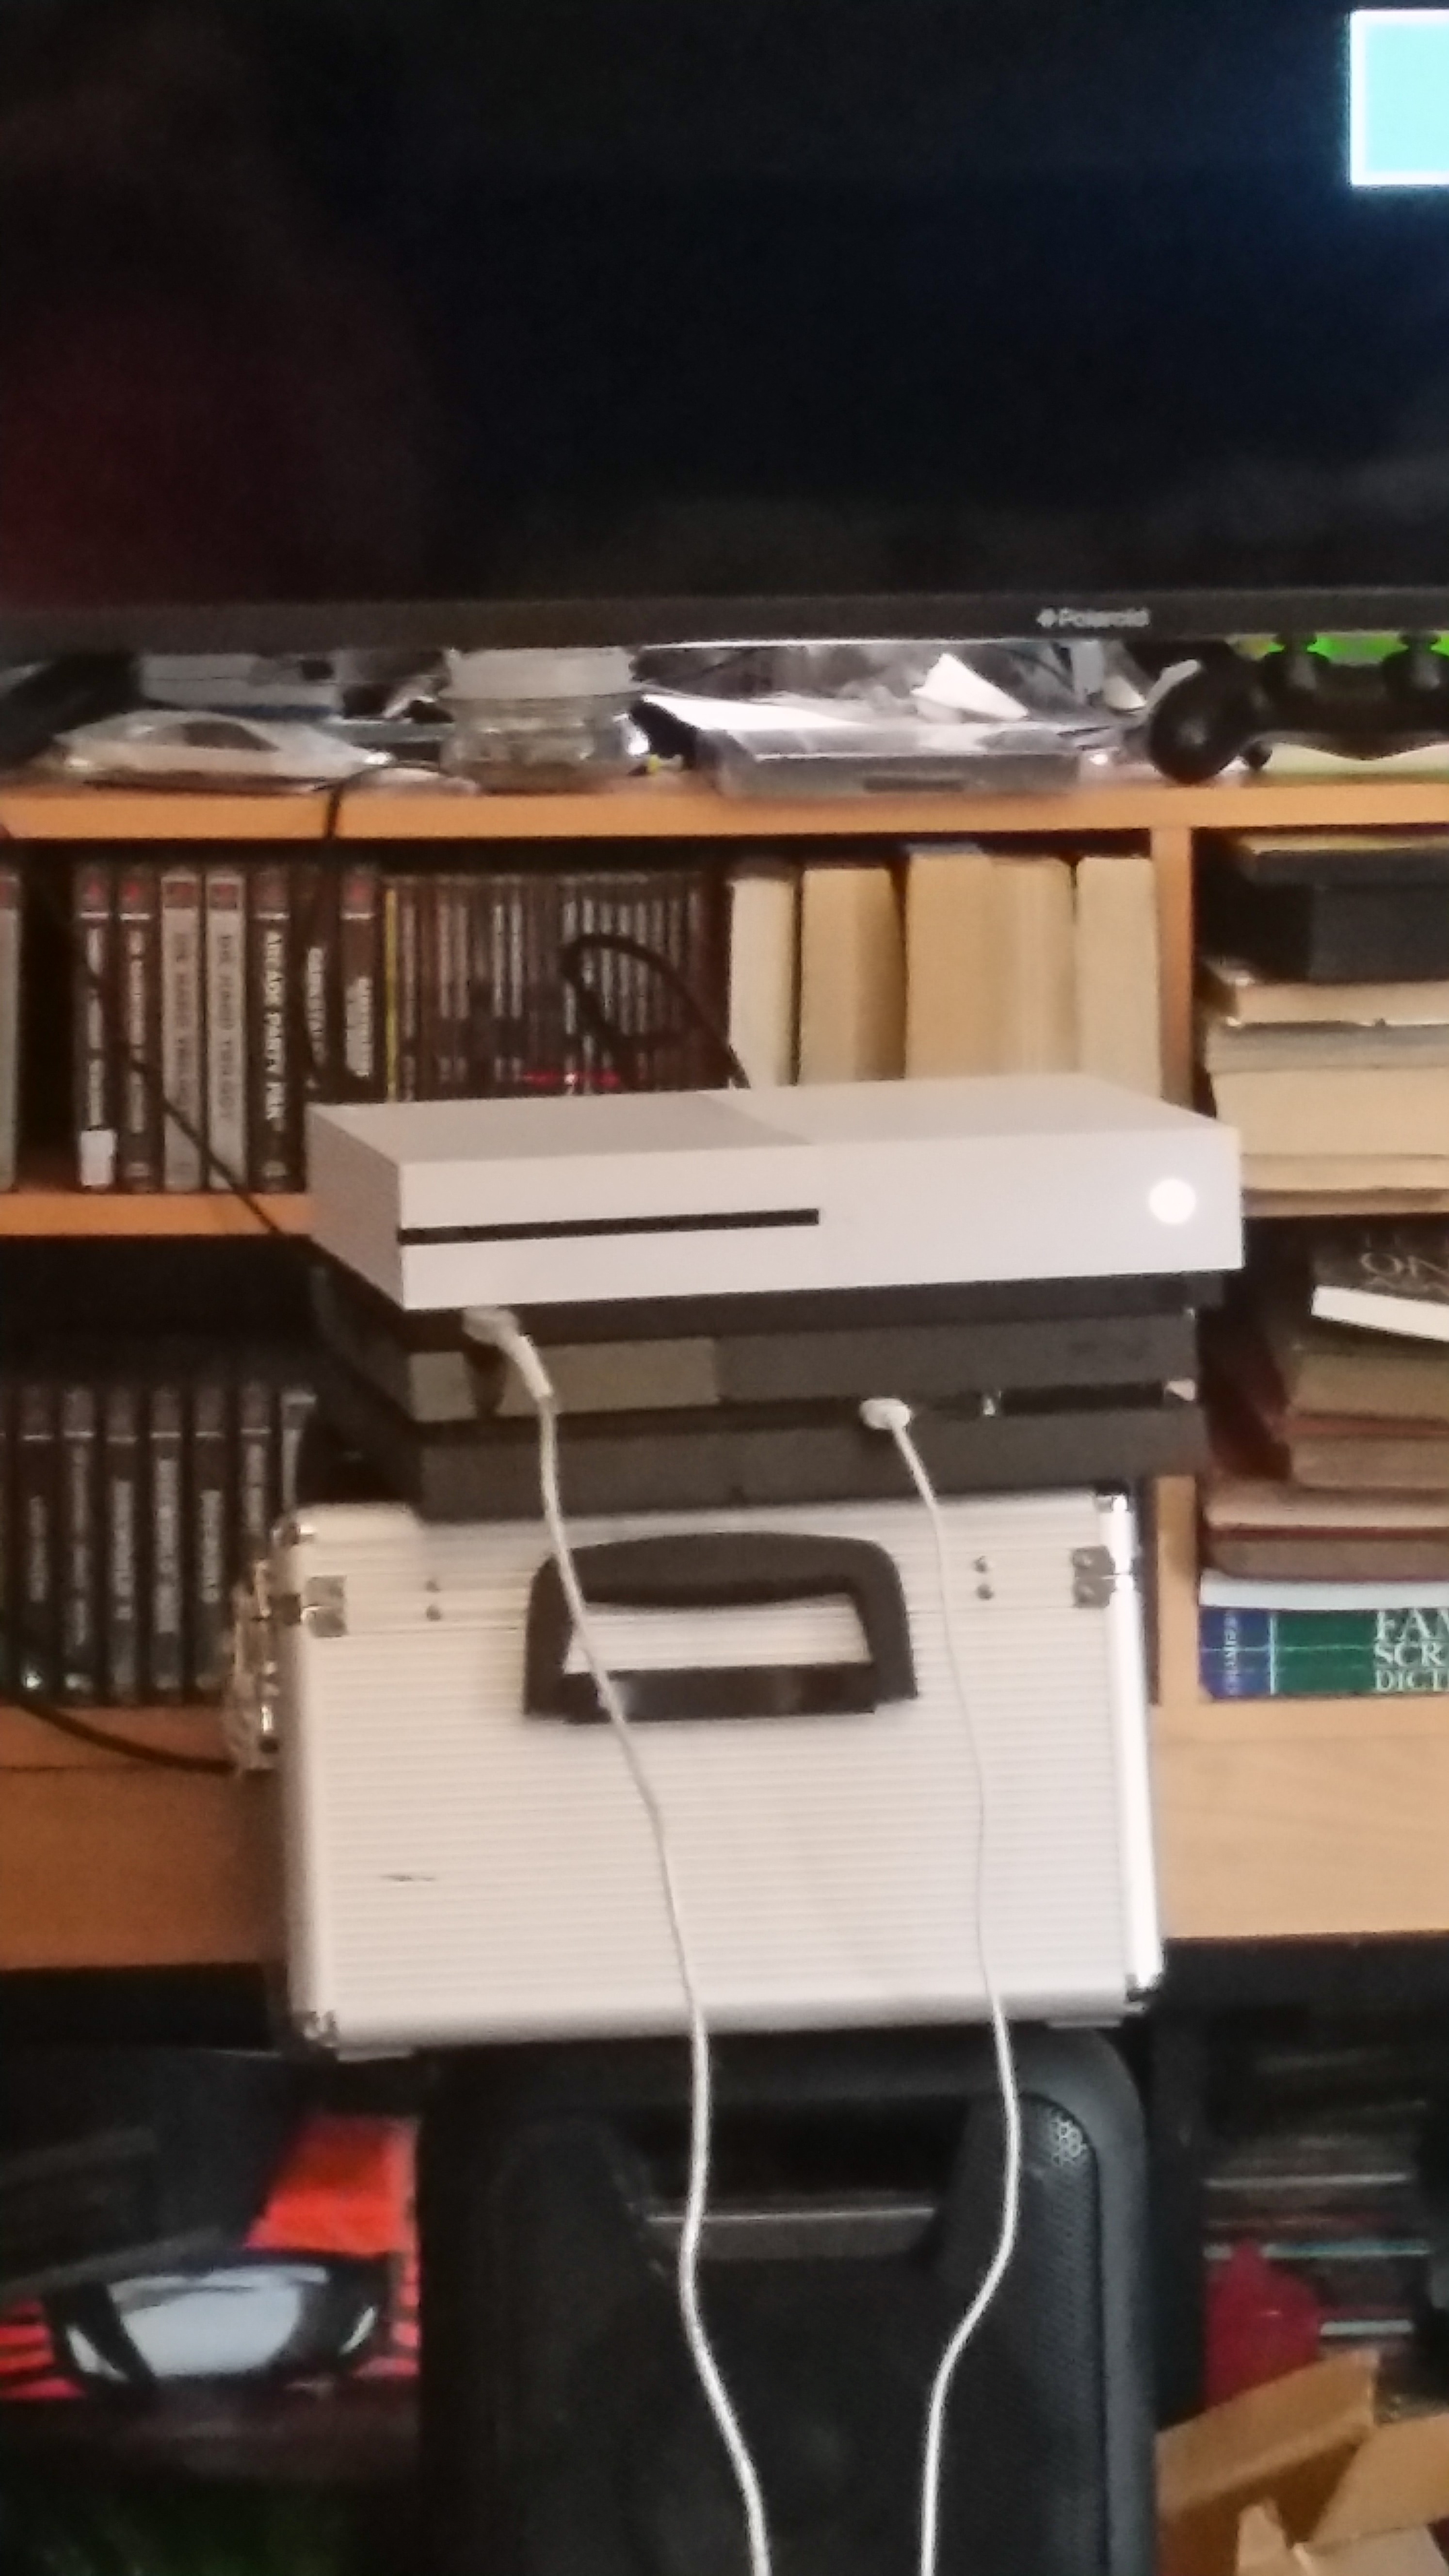
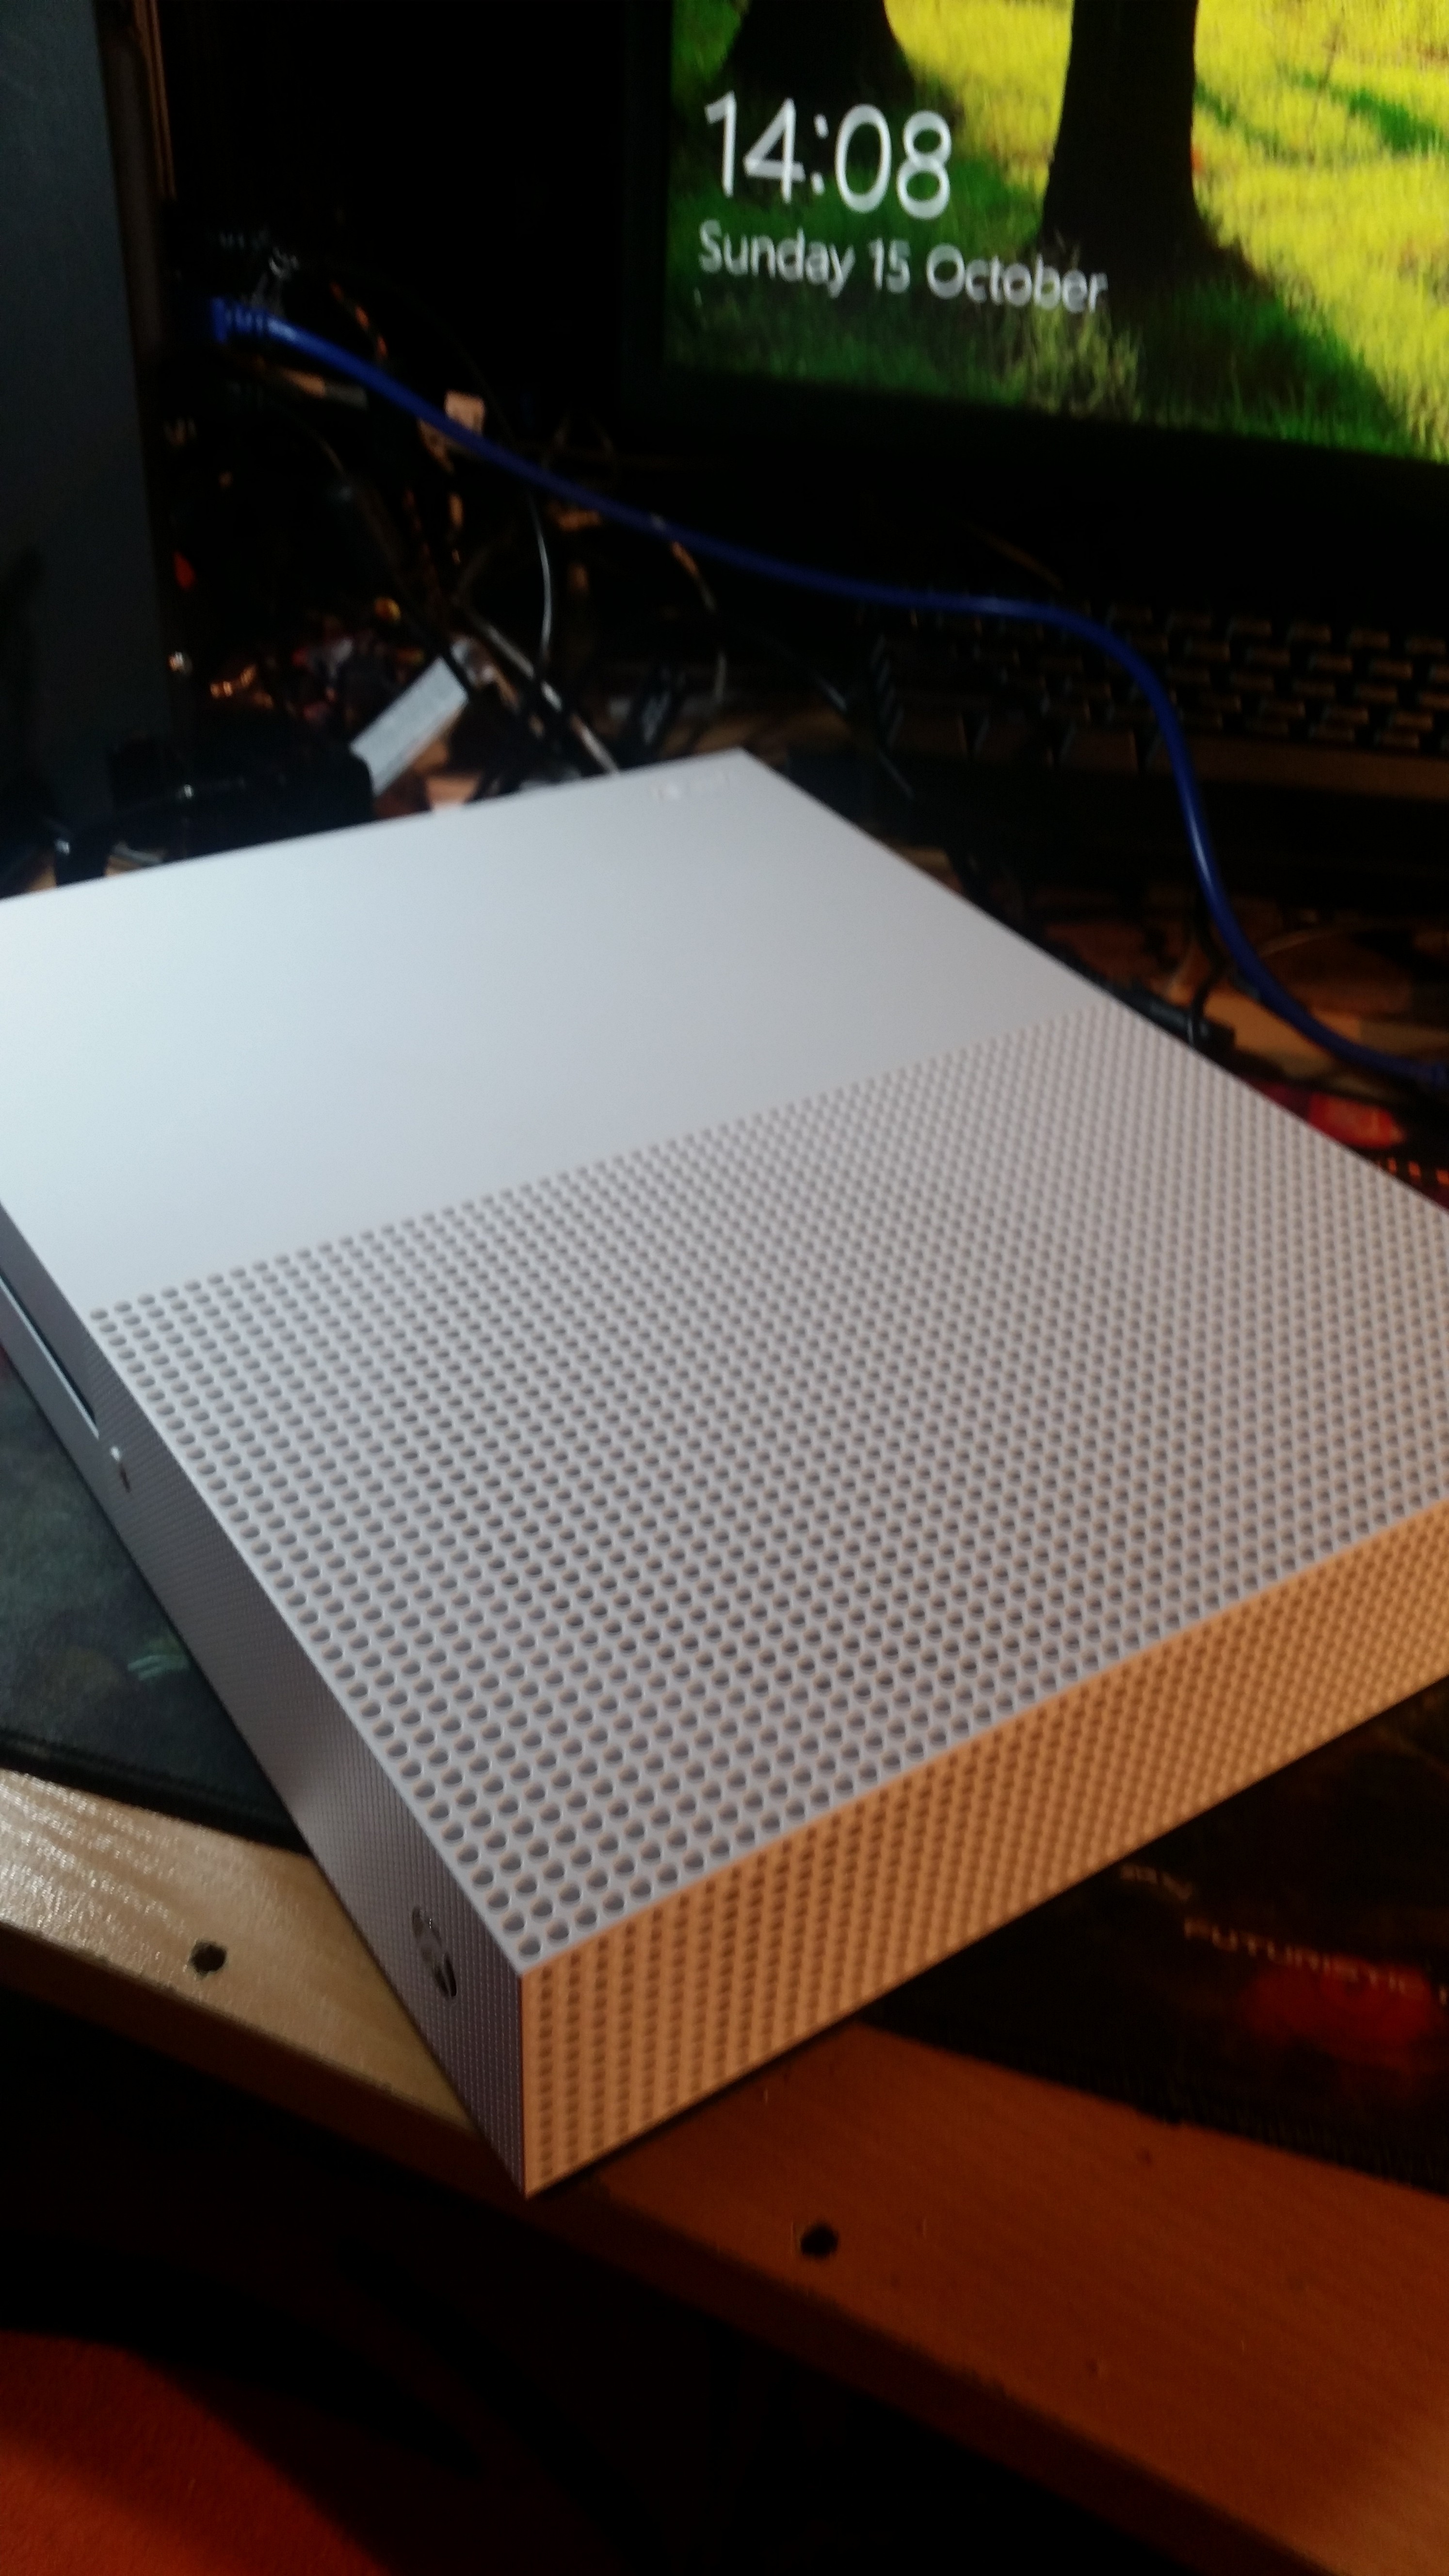
When I first started this project I first started it as just a simple case mod nothing more, just a pi in Xbox one s case it would fit with out home set up and left room for better hardware in the future.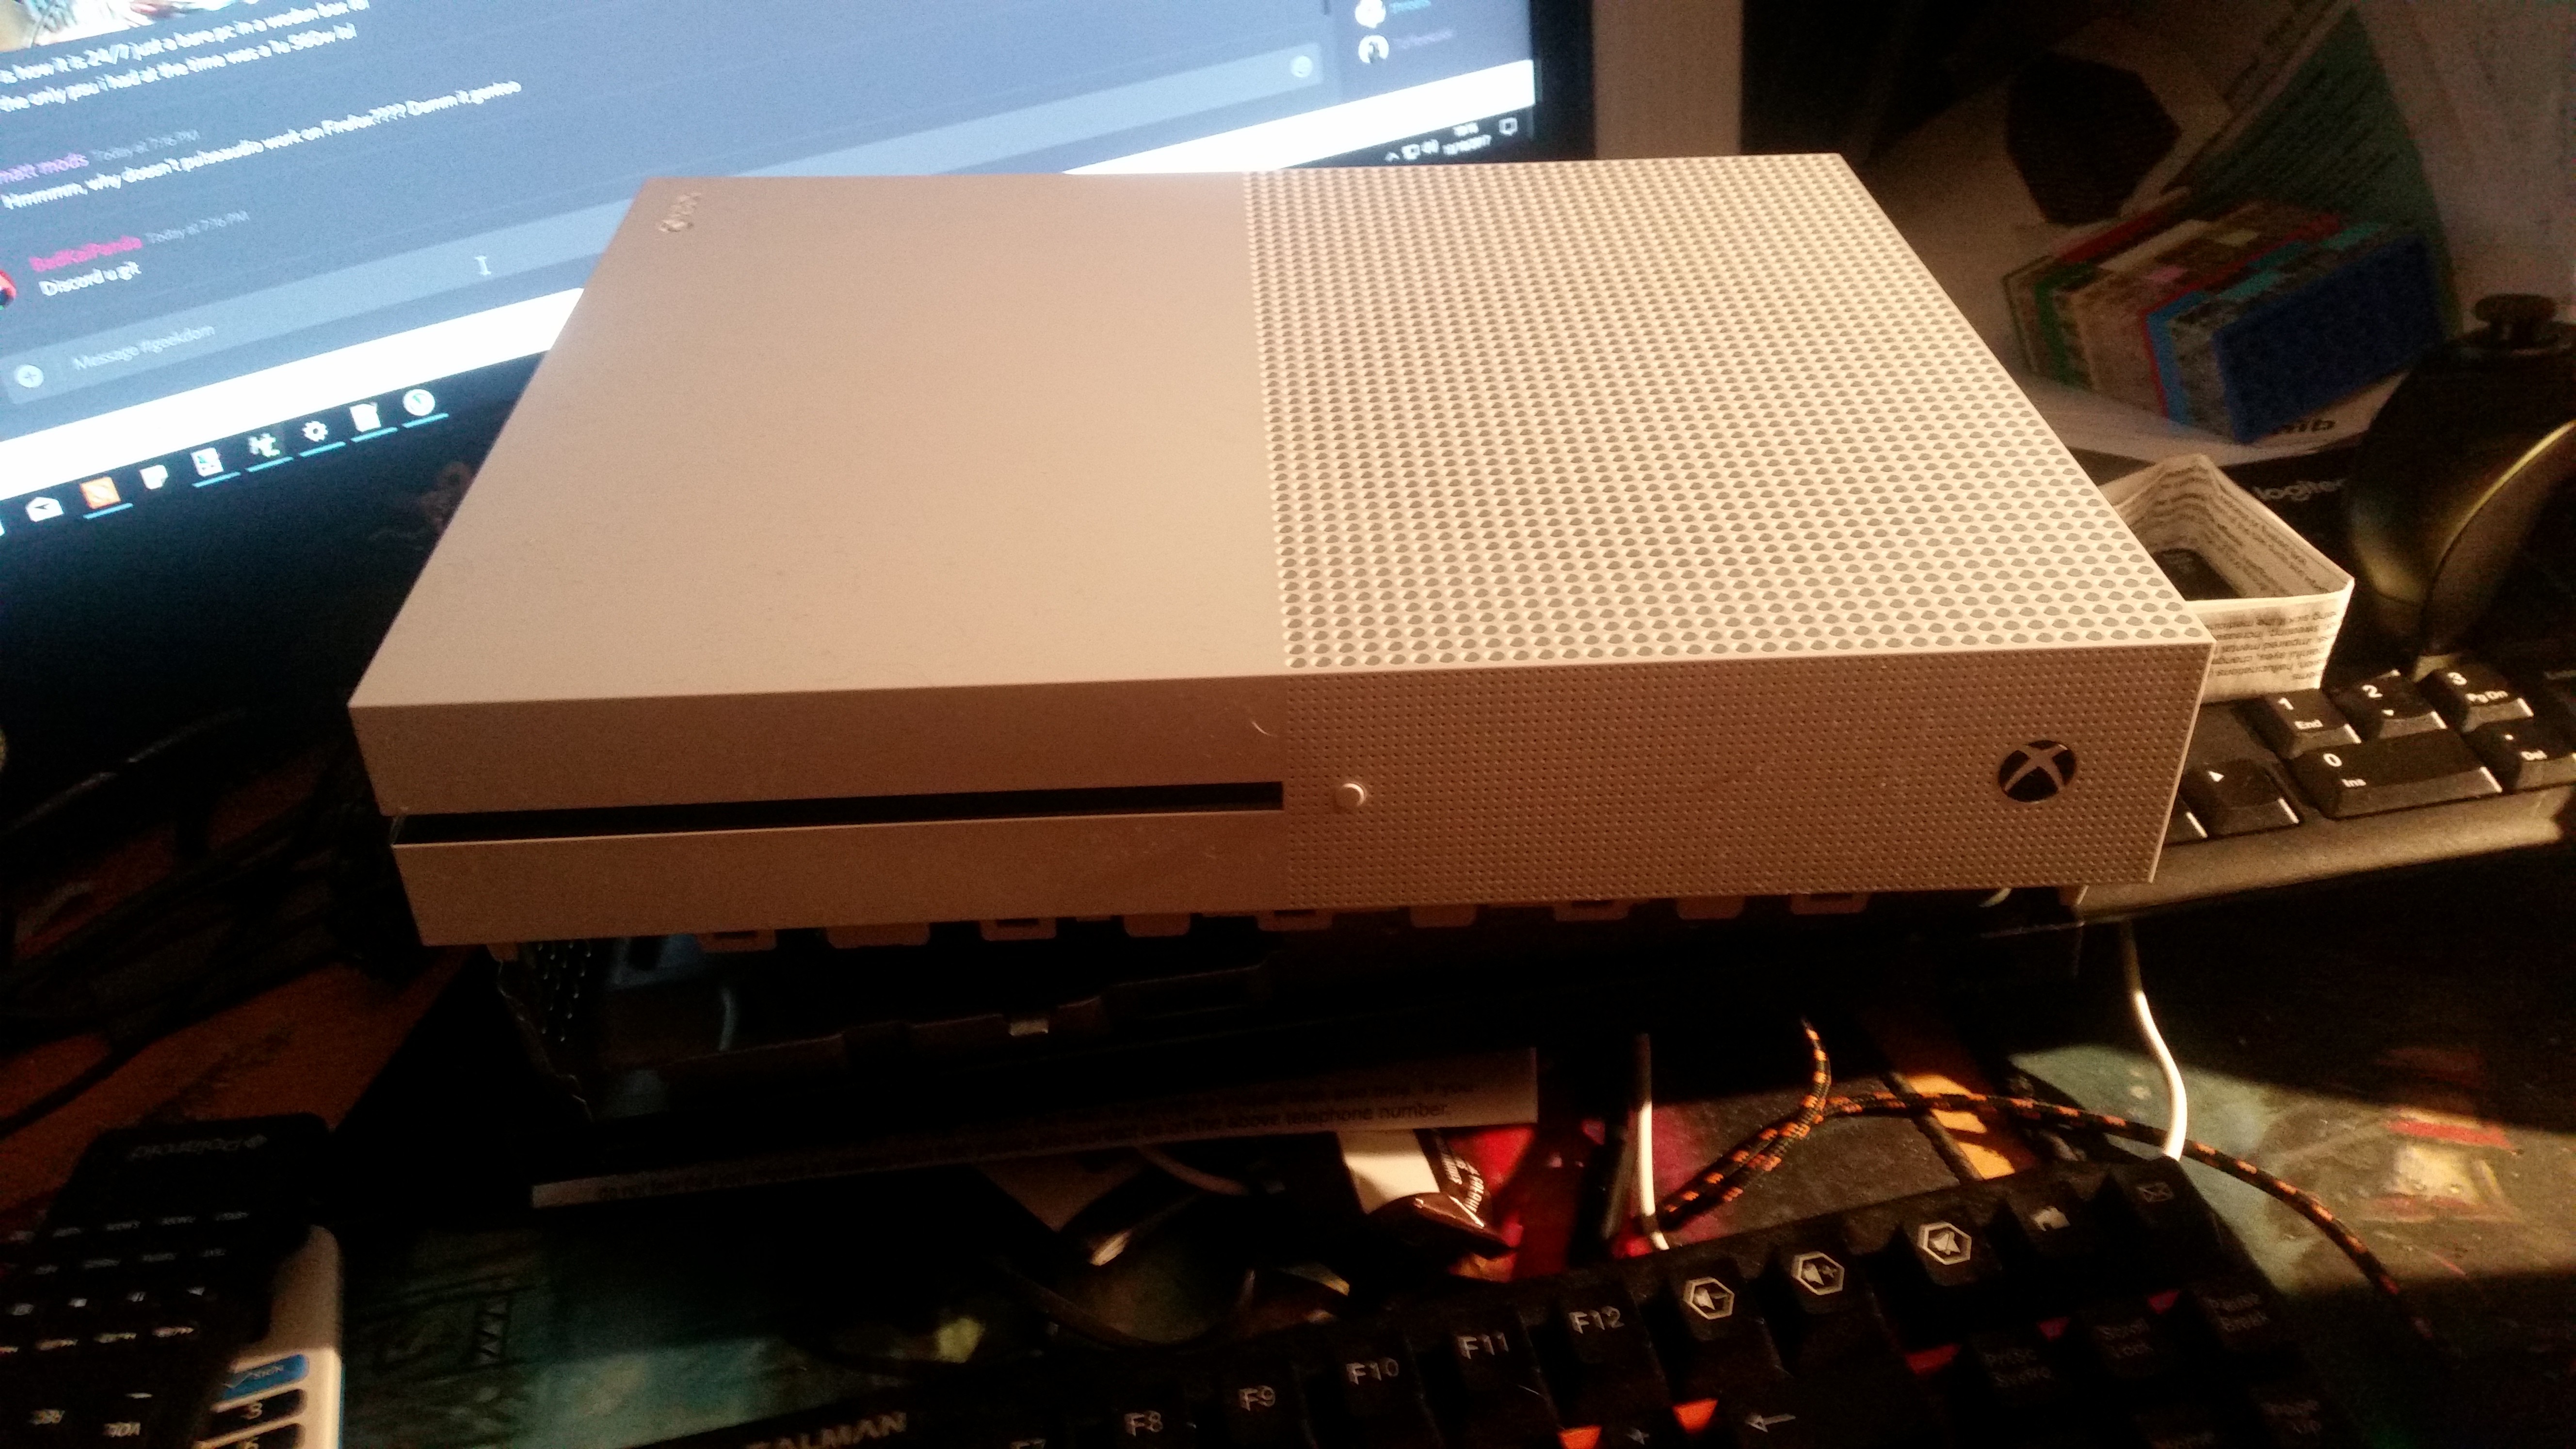
Once I started the project I first wanted to include the power in once place, so knowing my PC builds and knowing Microsoft's past with using very close to PC hardware I did a little check online, and found out that ever rail in the Xbox one s PSU was 12 volts at 10 amp, little over ill for what I needed but I thought I could get some kind of step down from the interwebs.

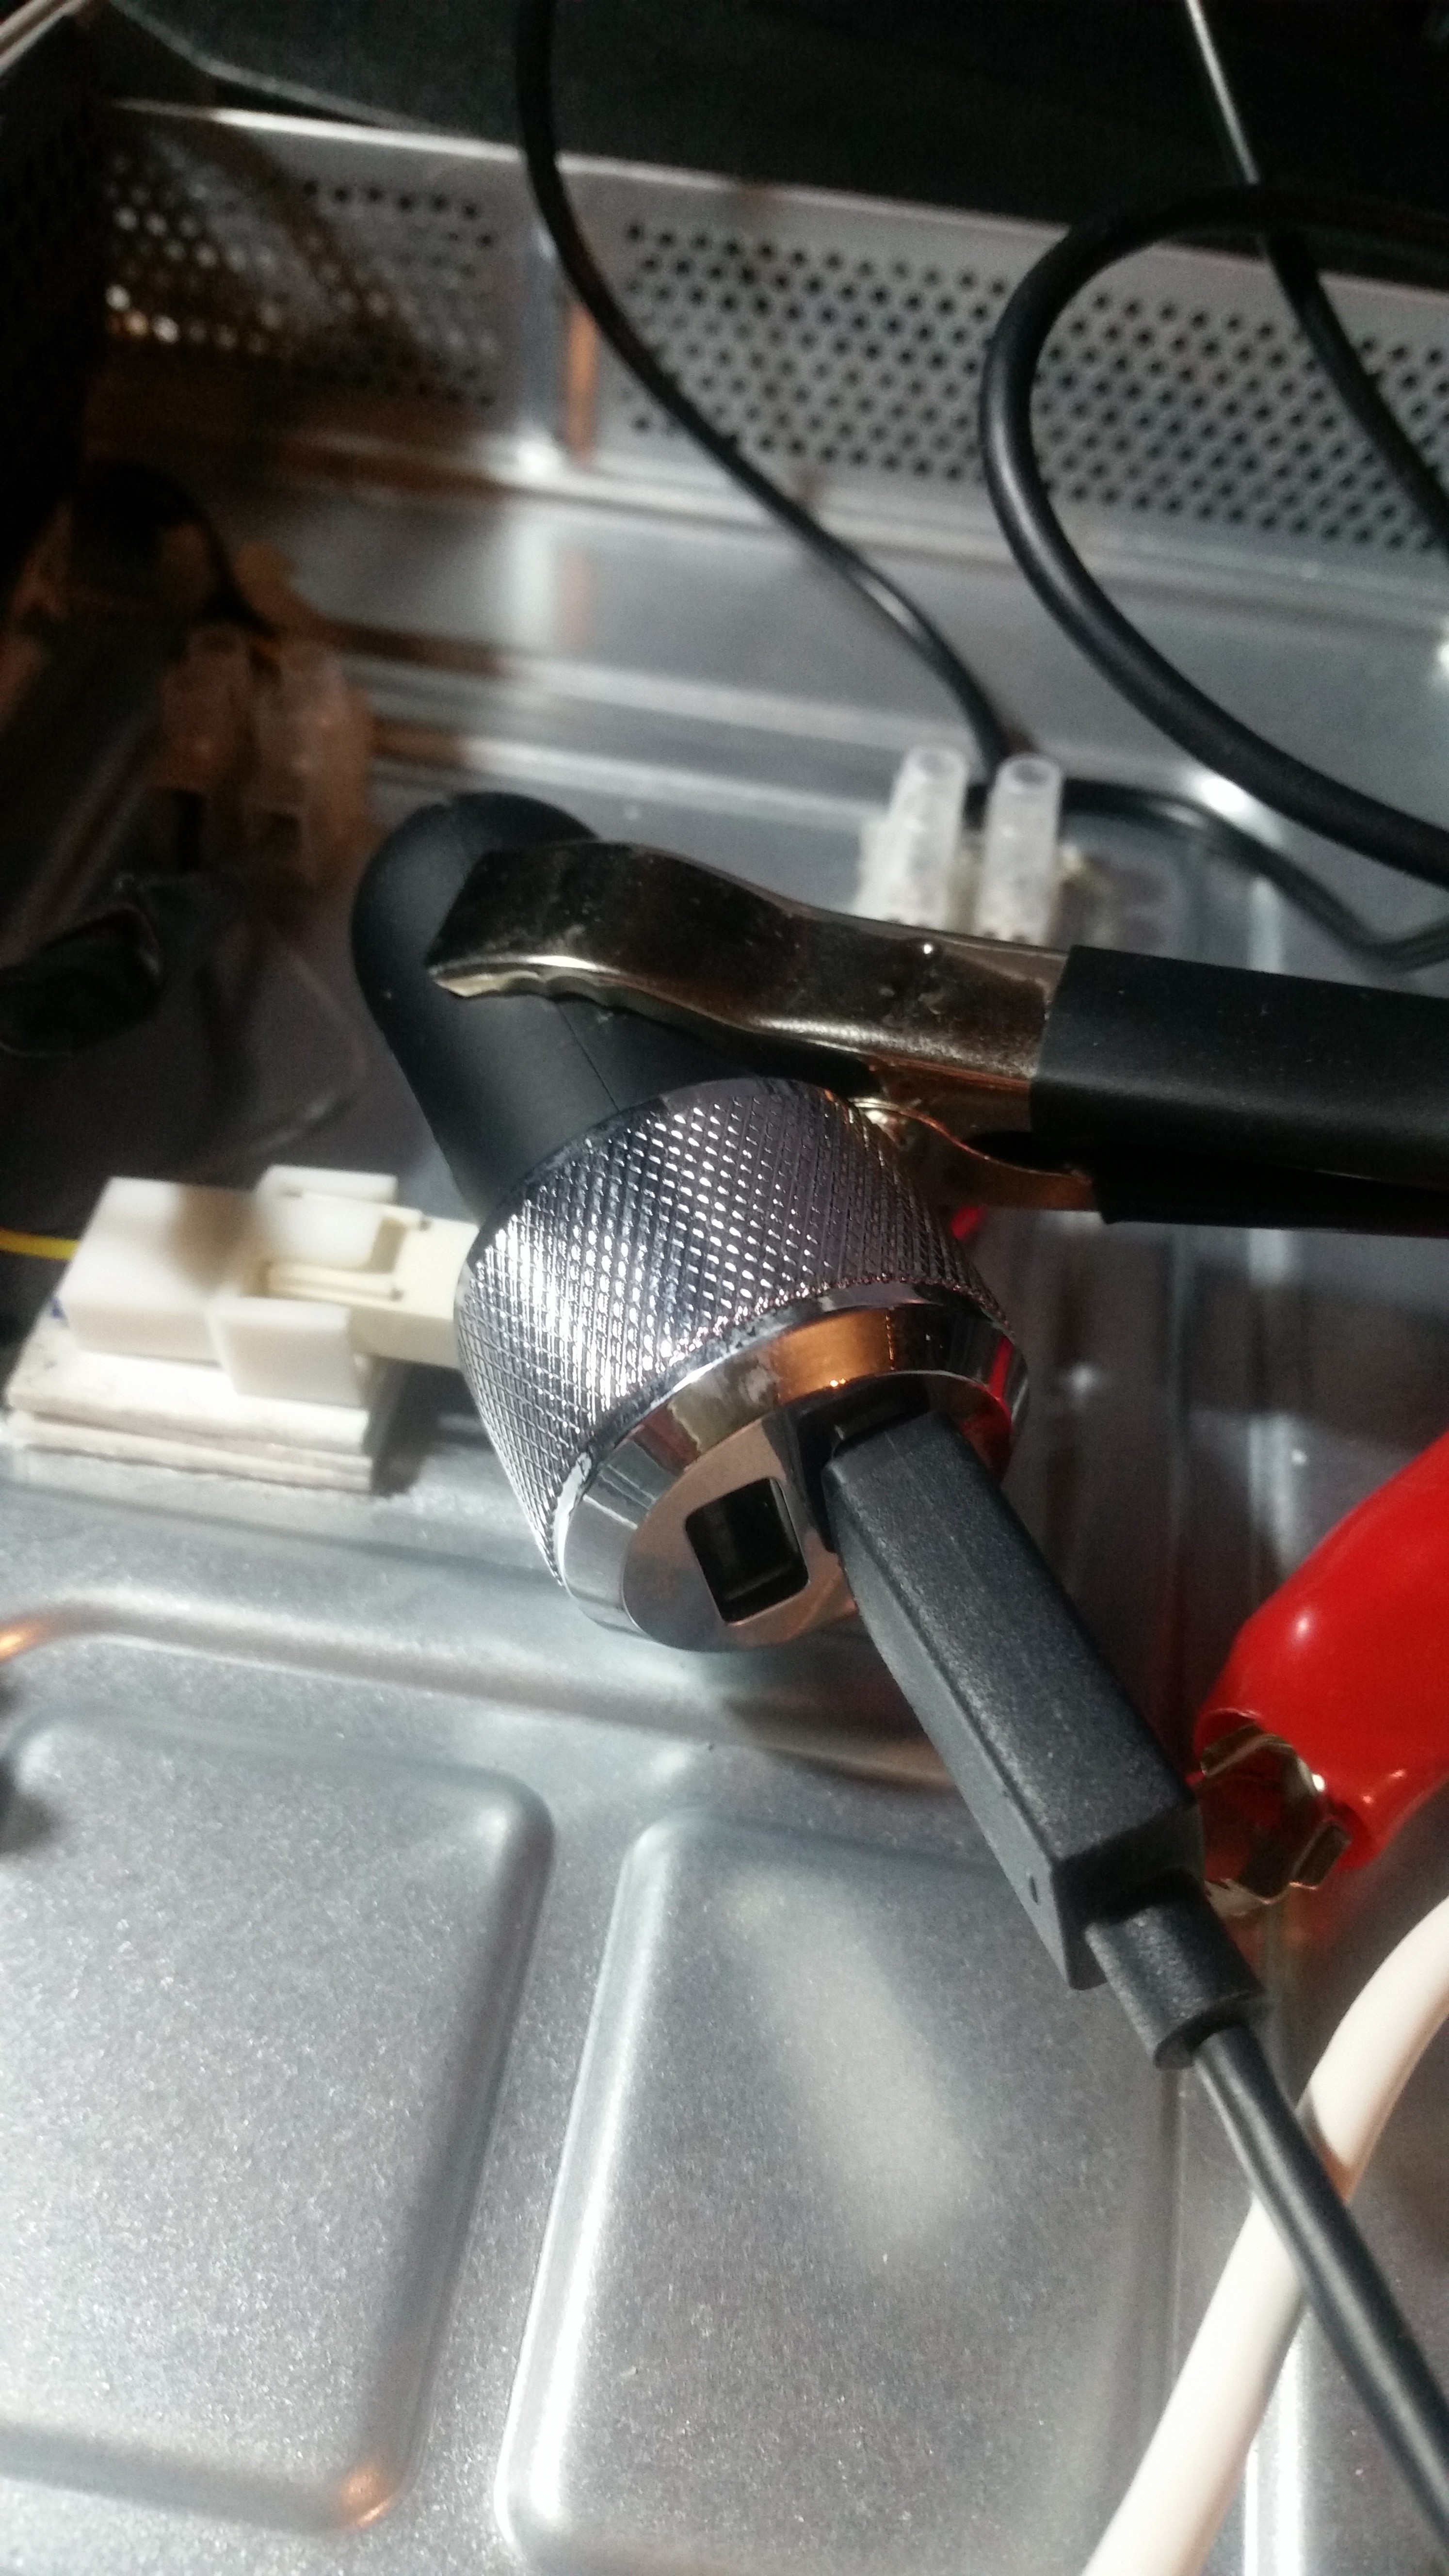
I was shopping around for other stuff in my local PC shop and saw a 12 volt car USB convert a 4.8 amp 2.4 amp per port, I had idea I could use that for now to get things sorted so I got it, for £10 I was fine with that since I could use it on the motorbike after(no longer :P) so I got it home and tested it all out to see if it would work, well it worked perfect and also would my USB drive(Not got working 100%)
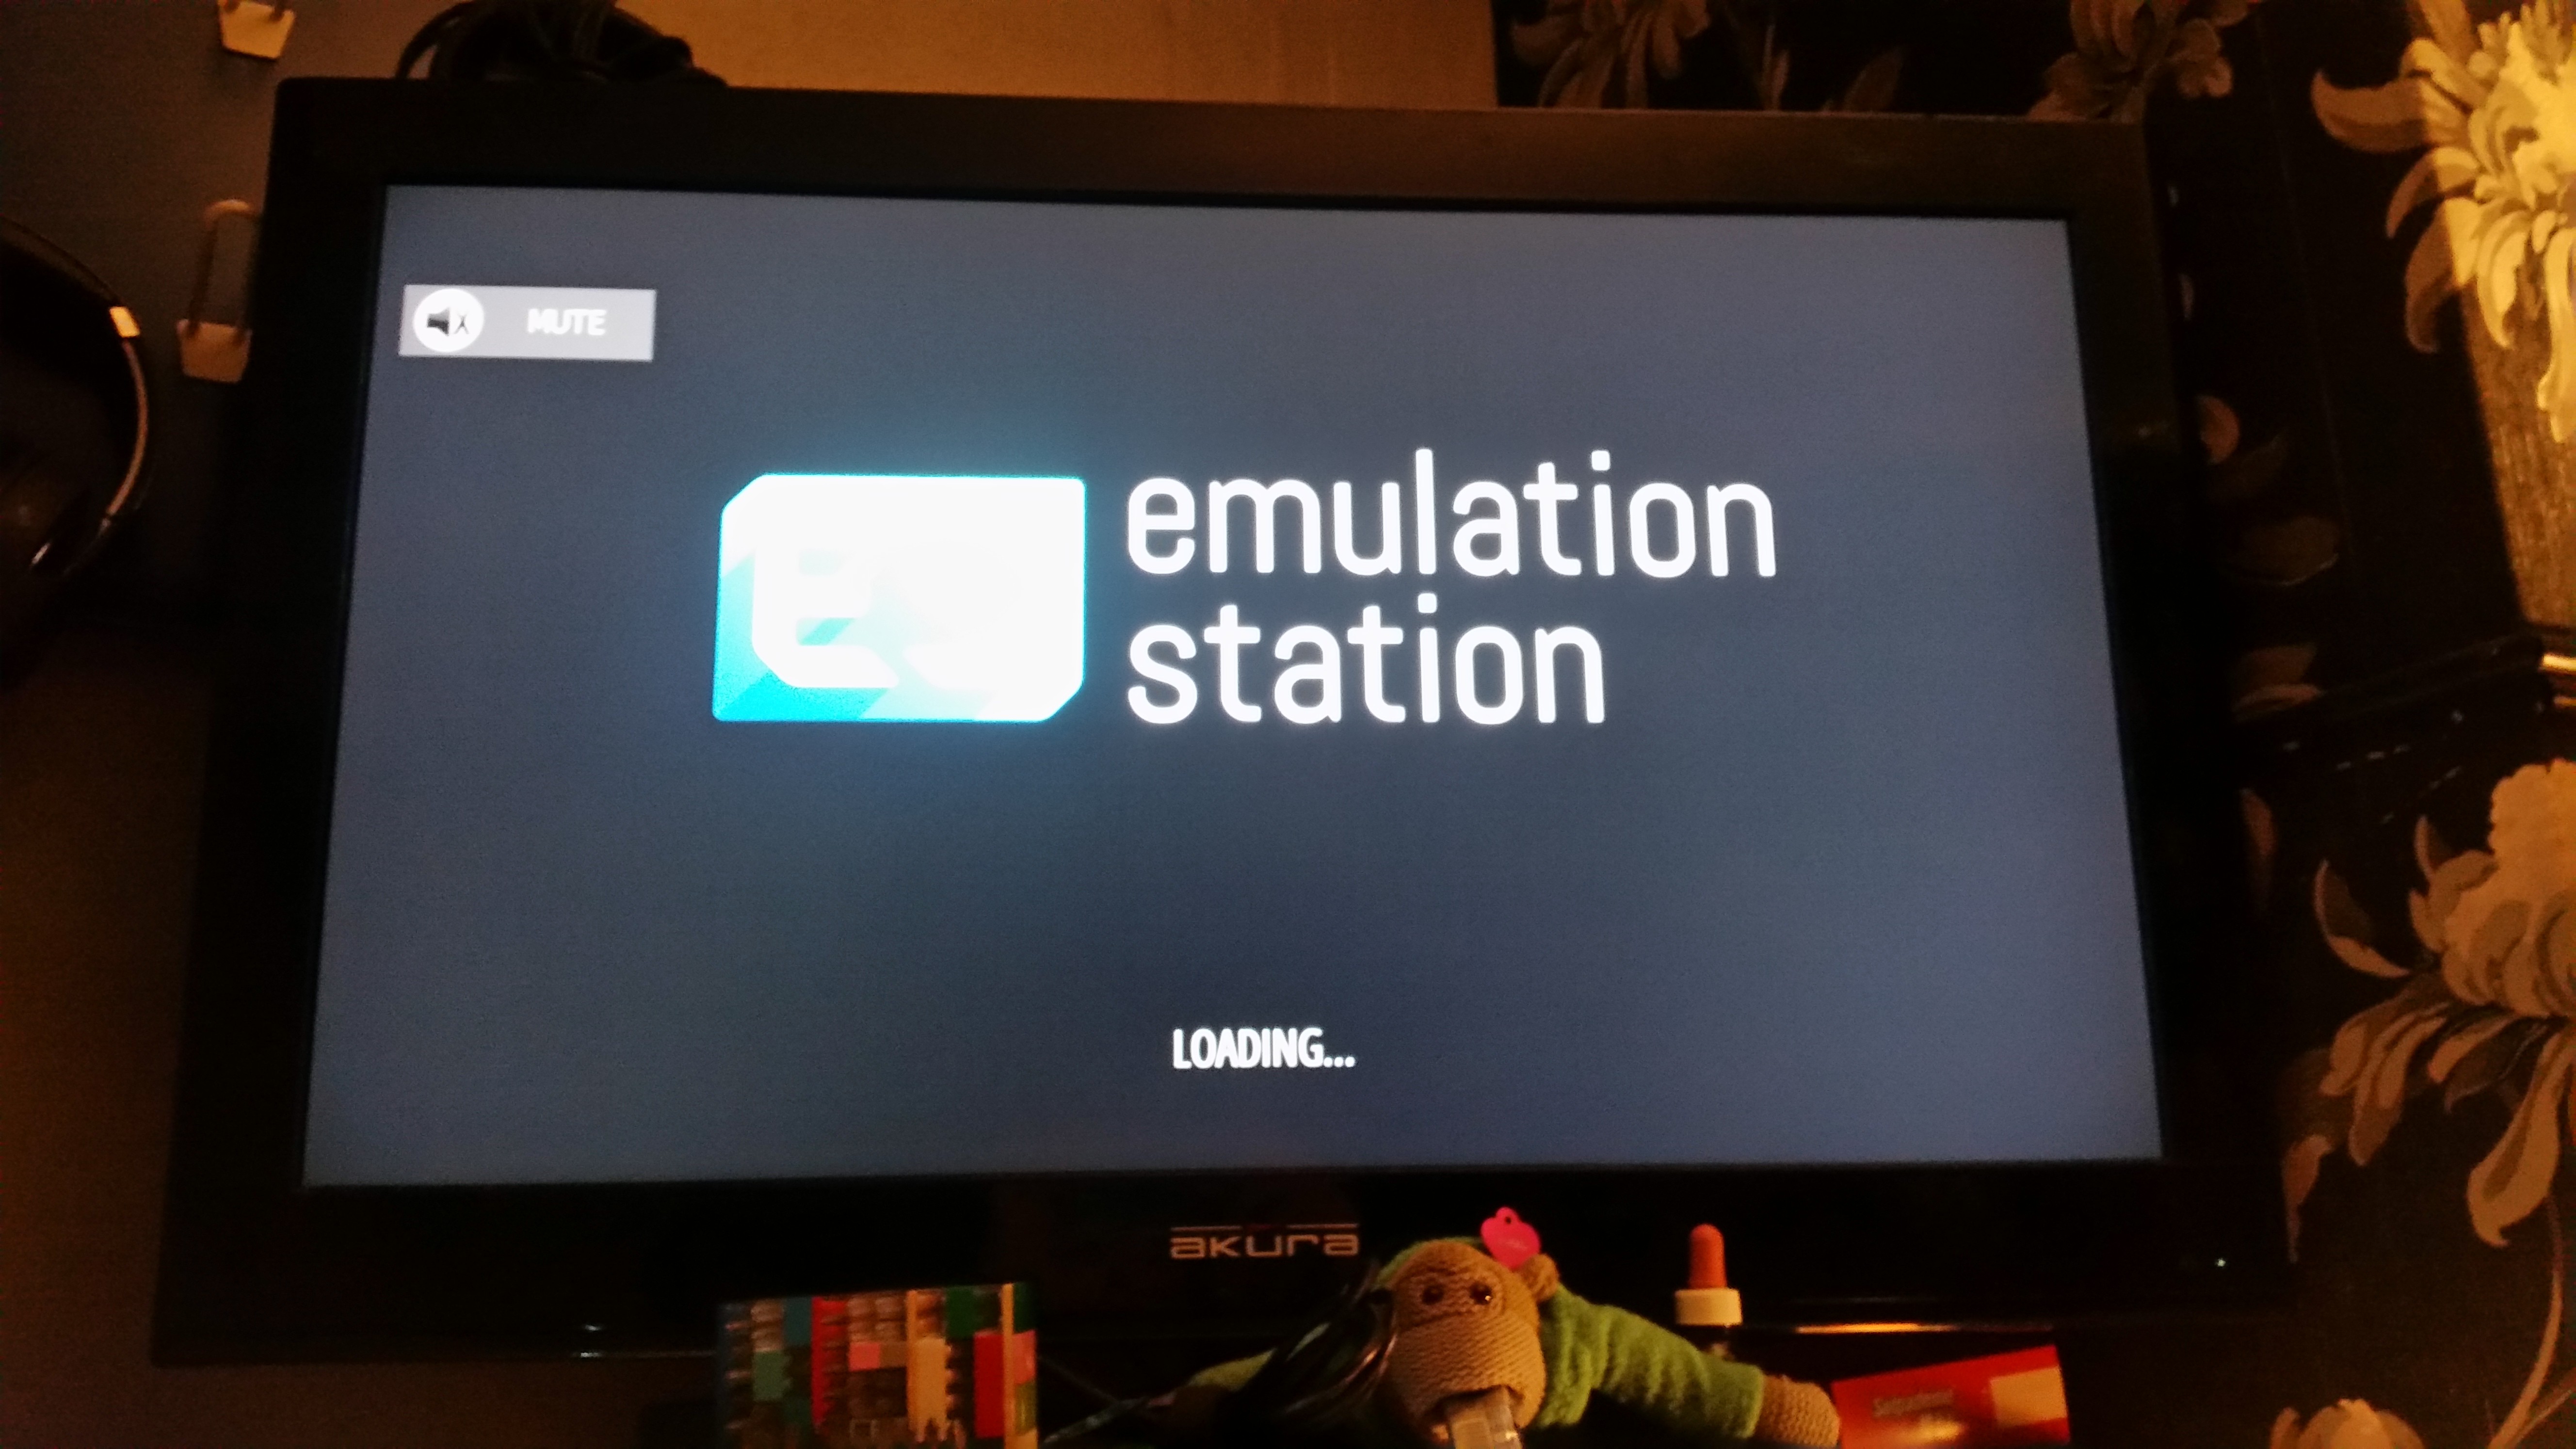
After this I was going sod this I going to cheat just use this and I am done, just mount the pi and be done with it, wife would of been happy and I would be able to clean up, but the the retro pi build I was using had the script for the button should down I had to have a little play.
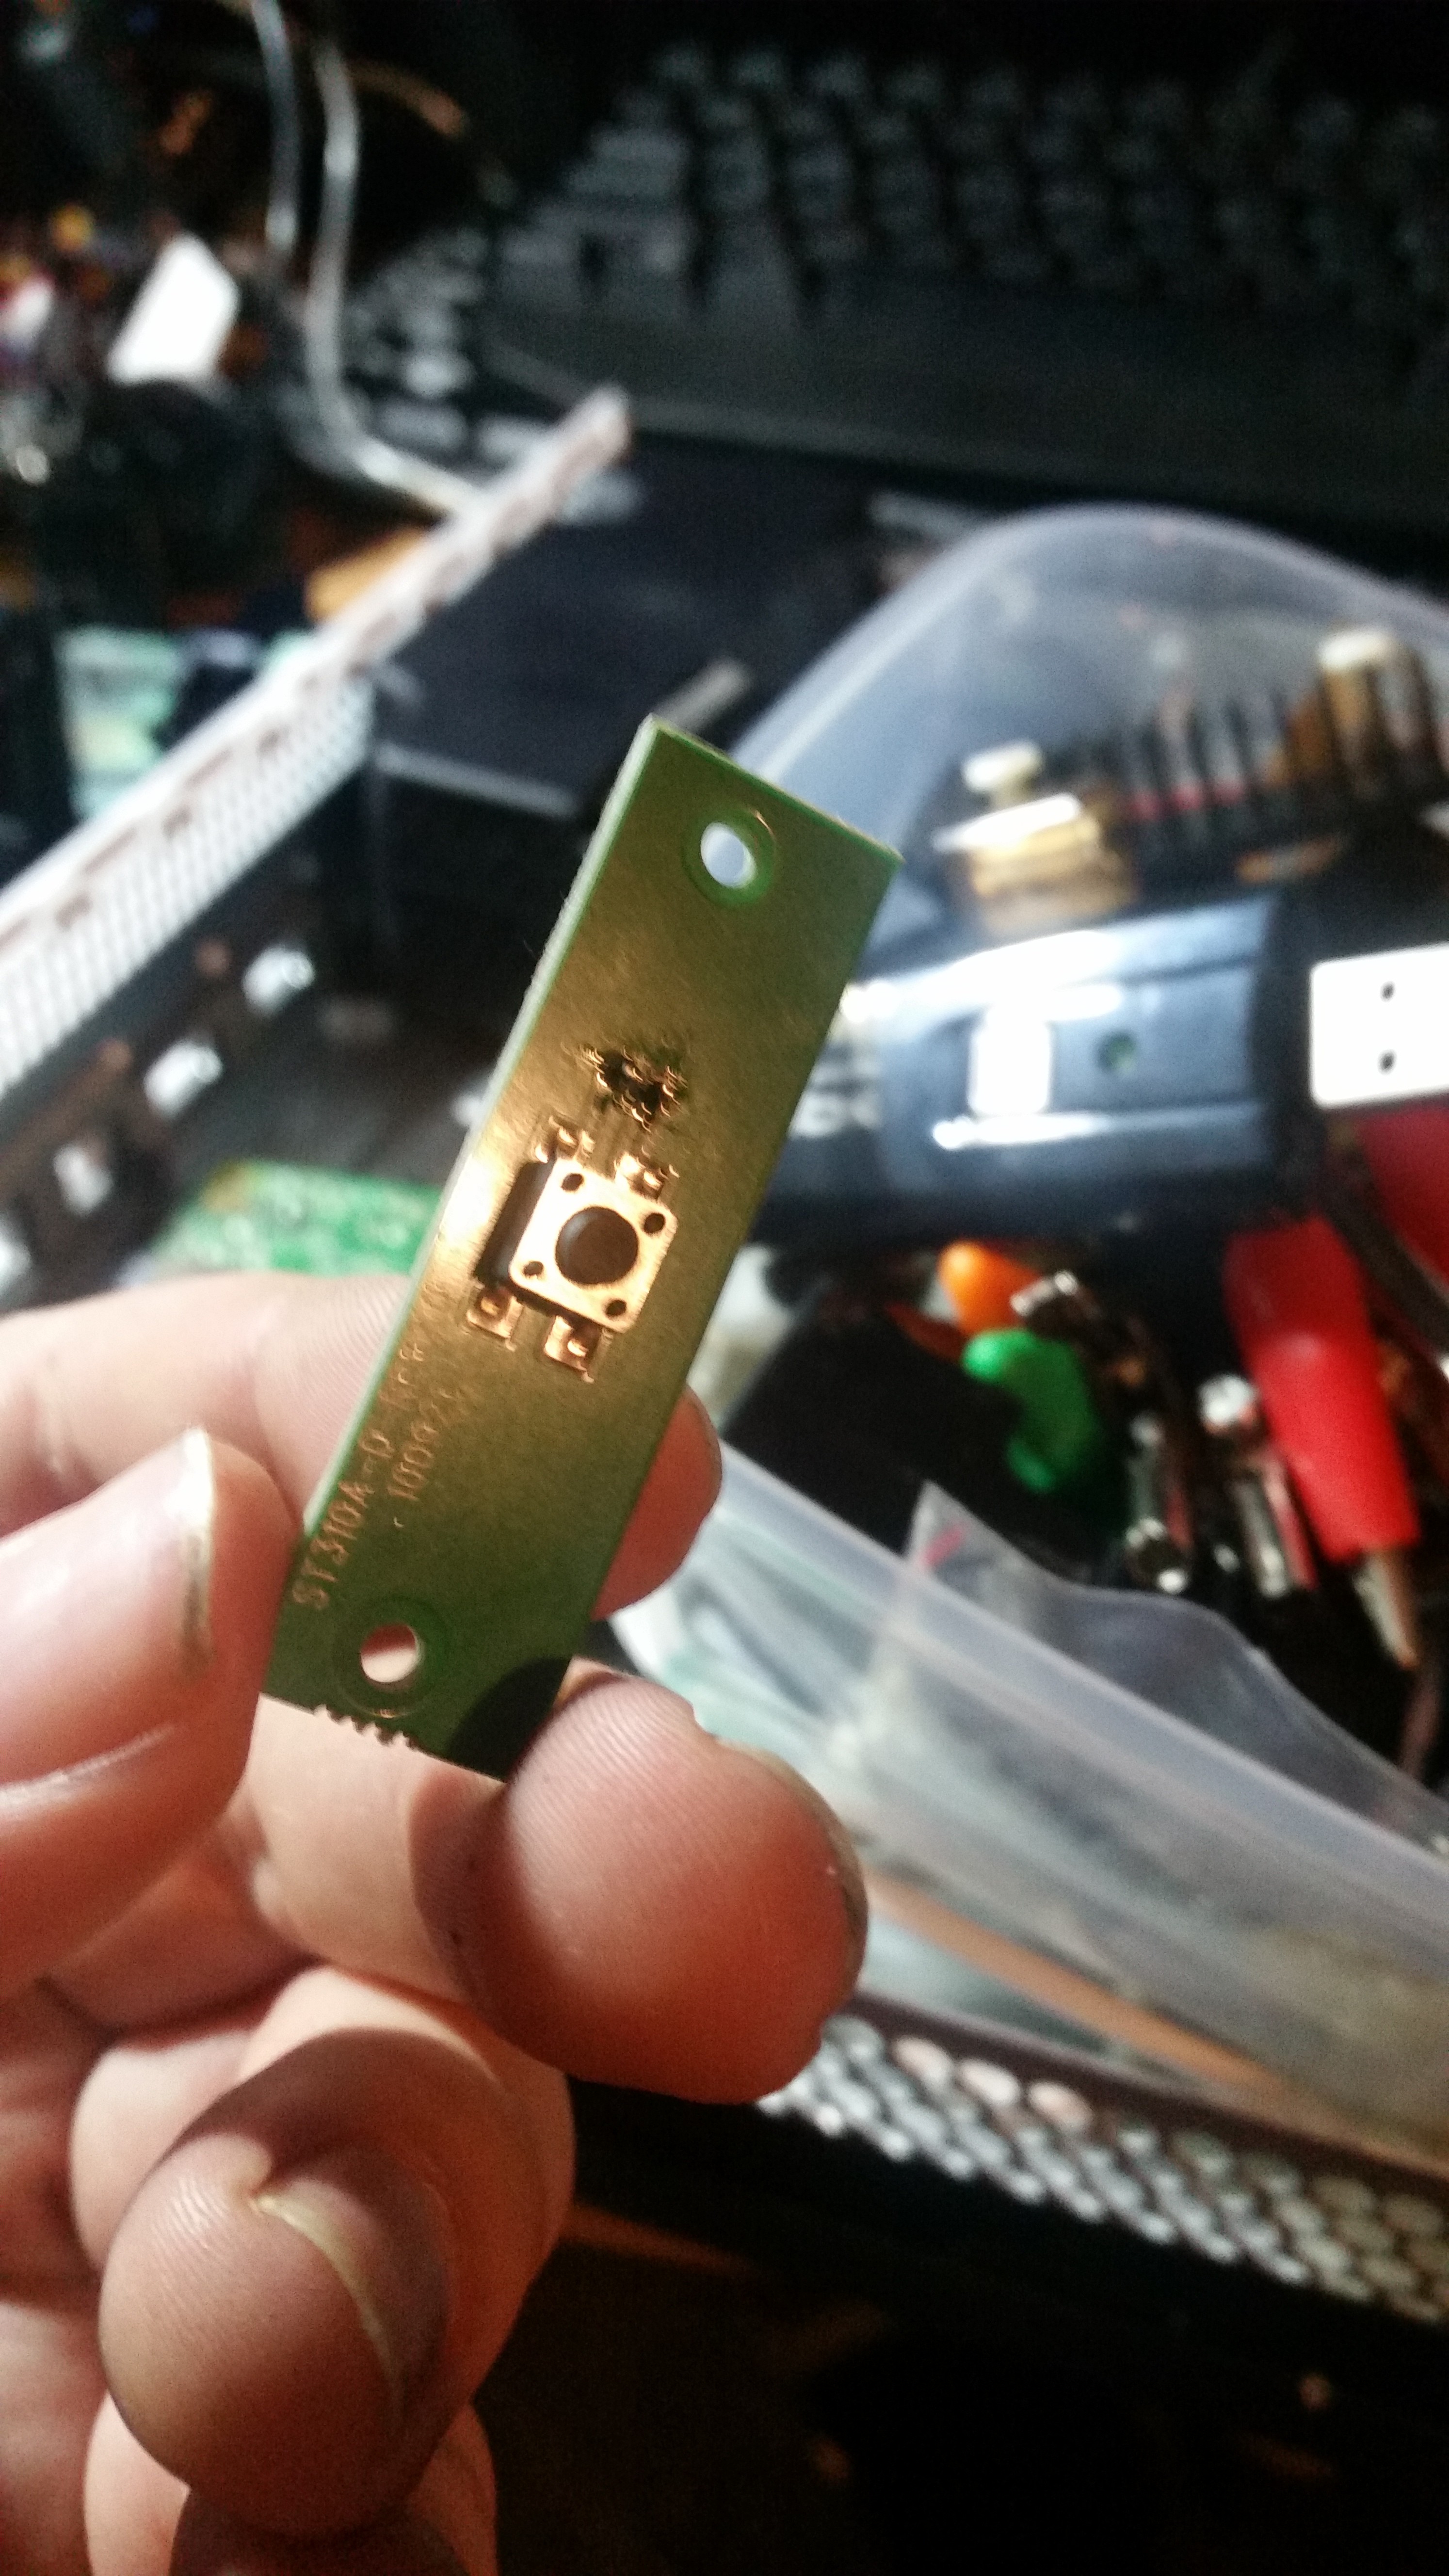
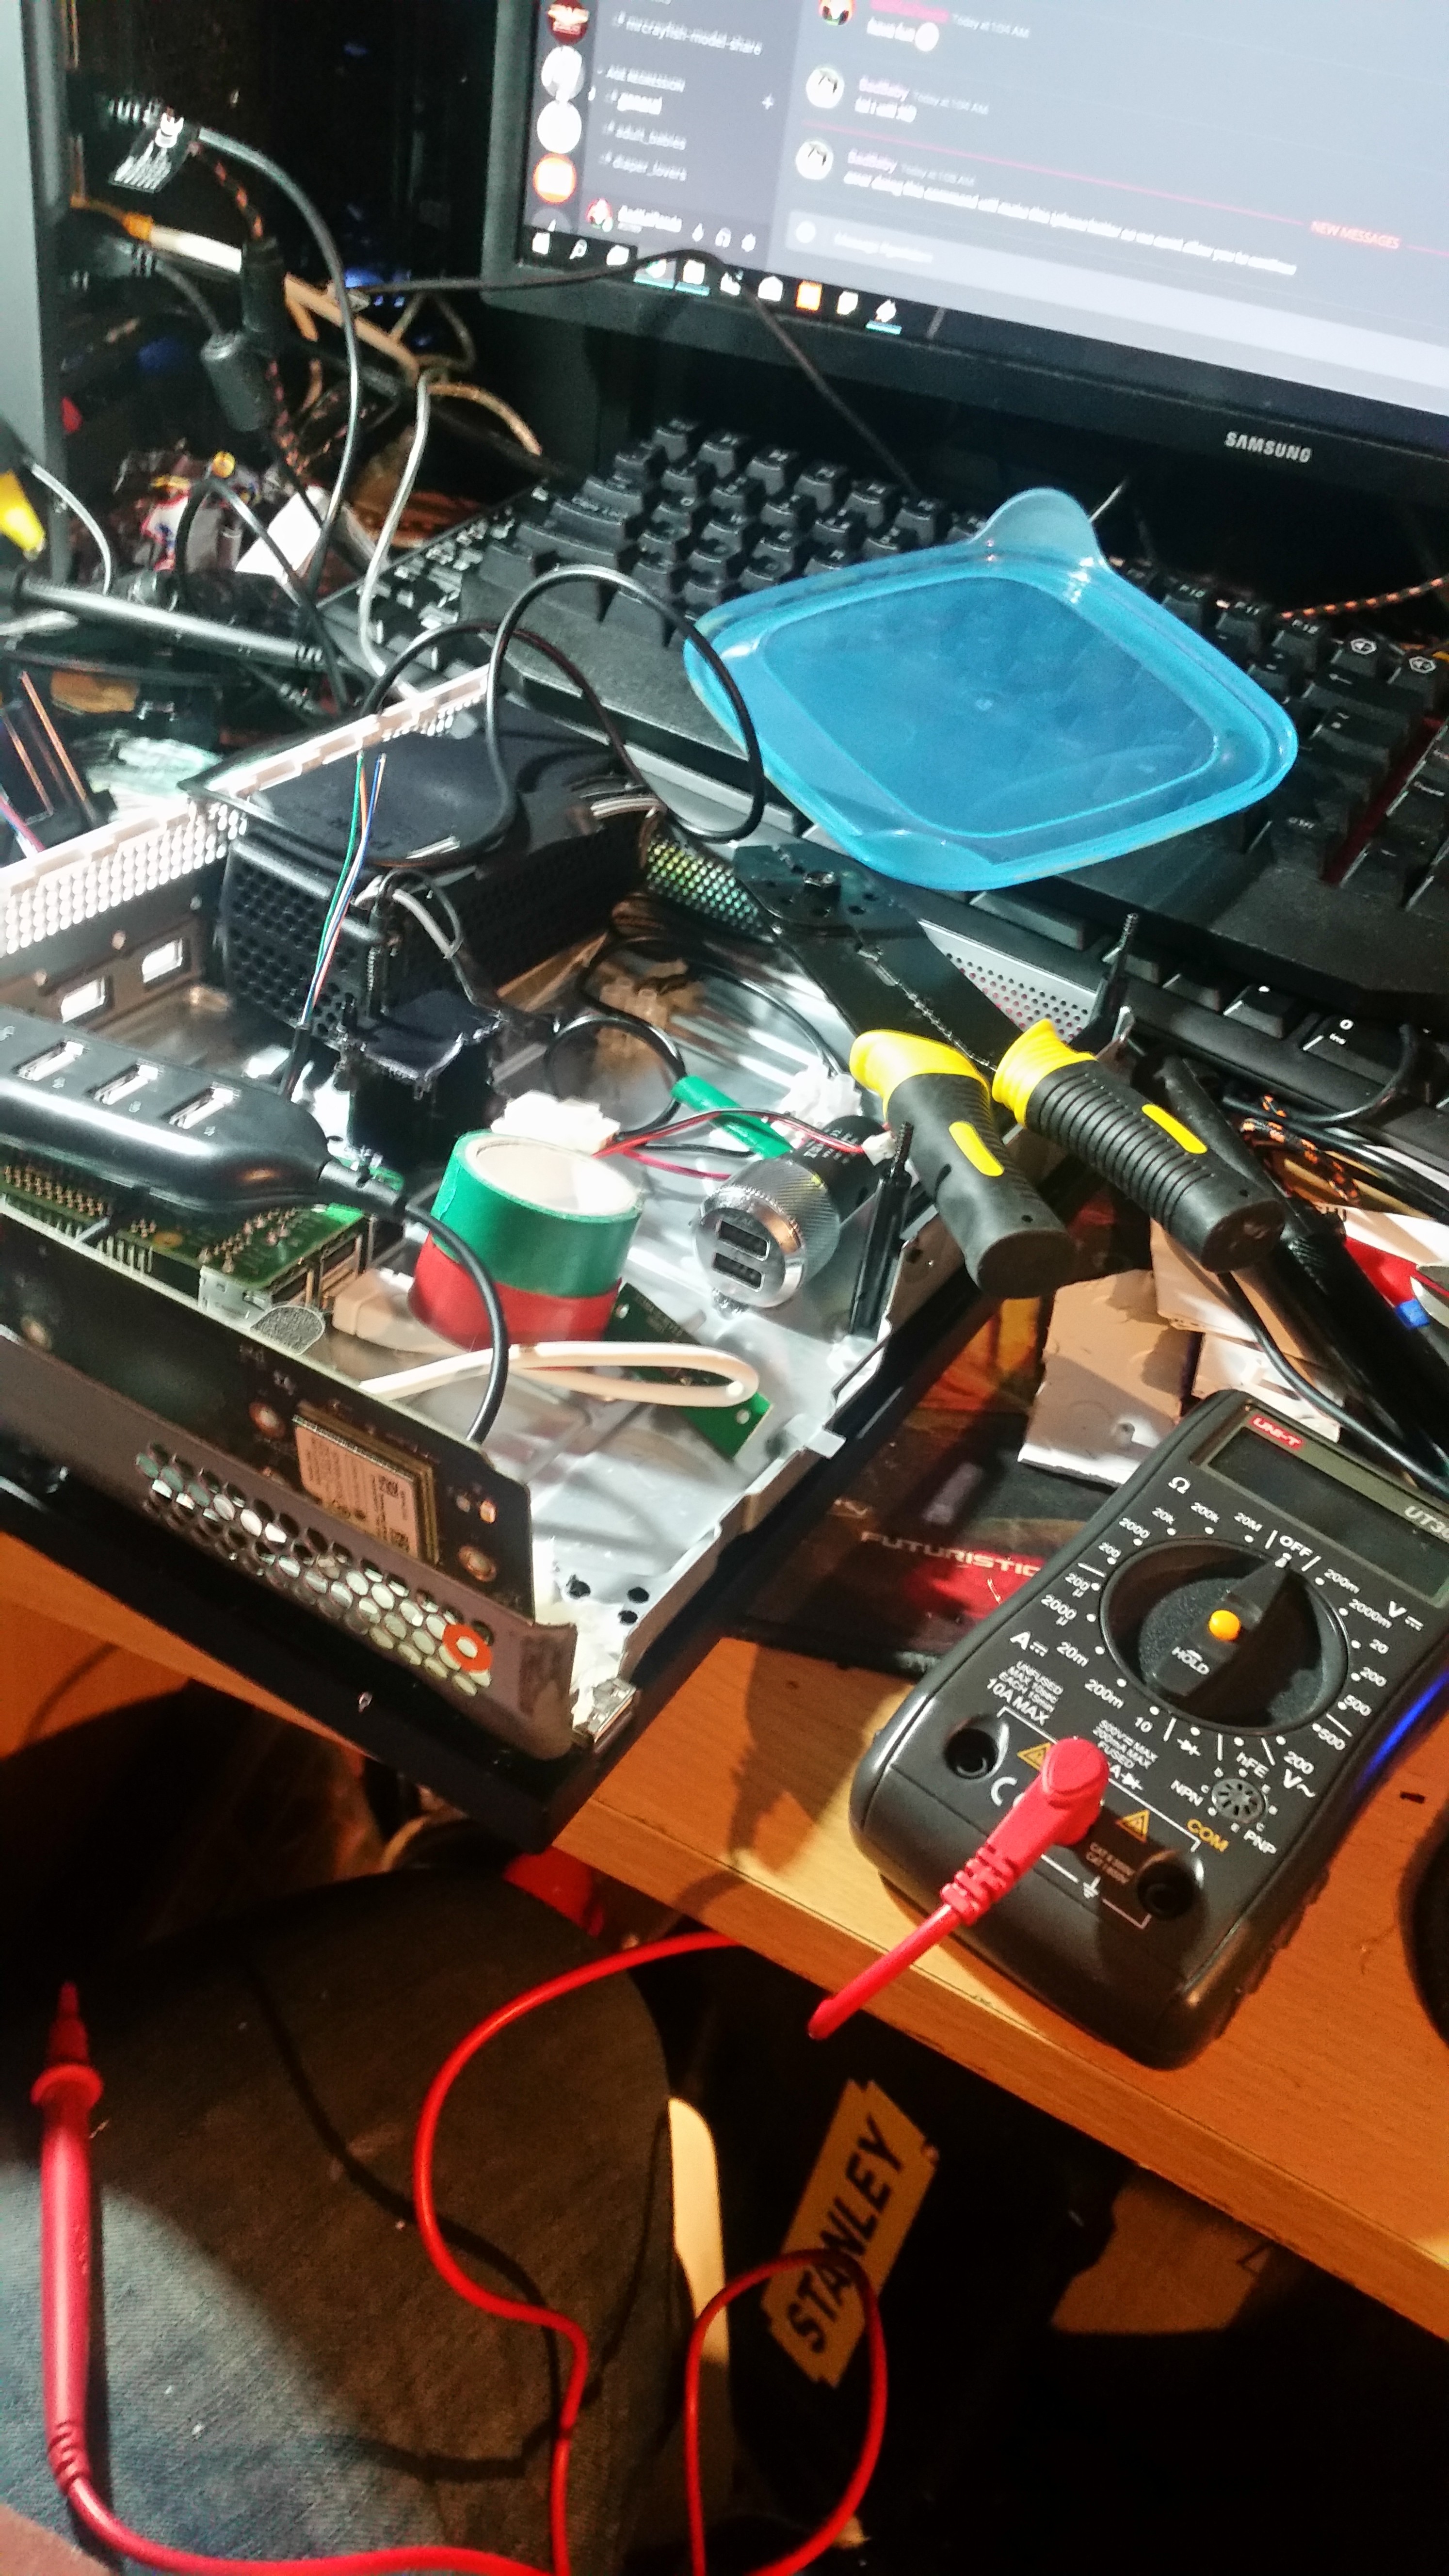
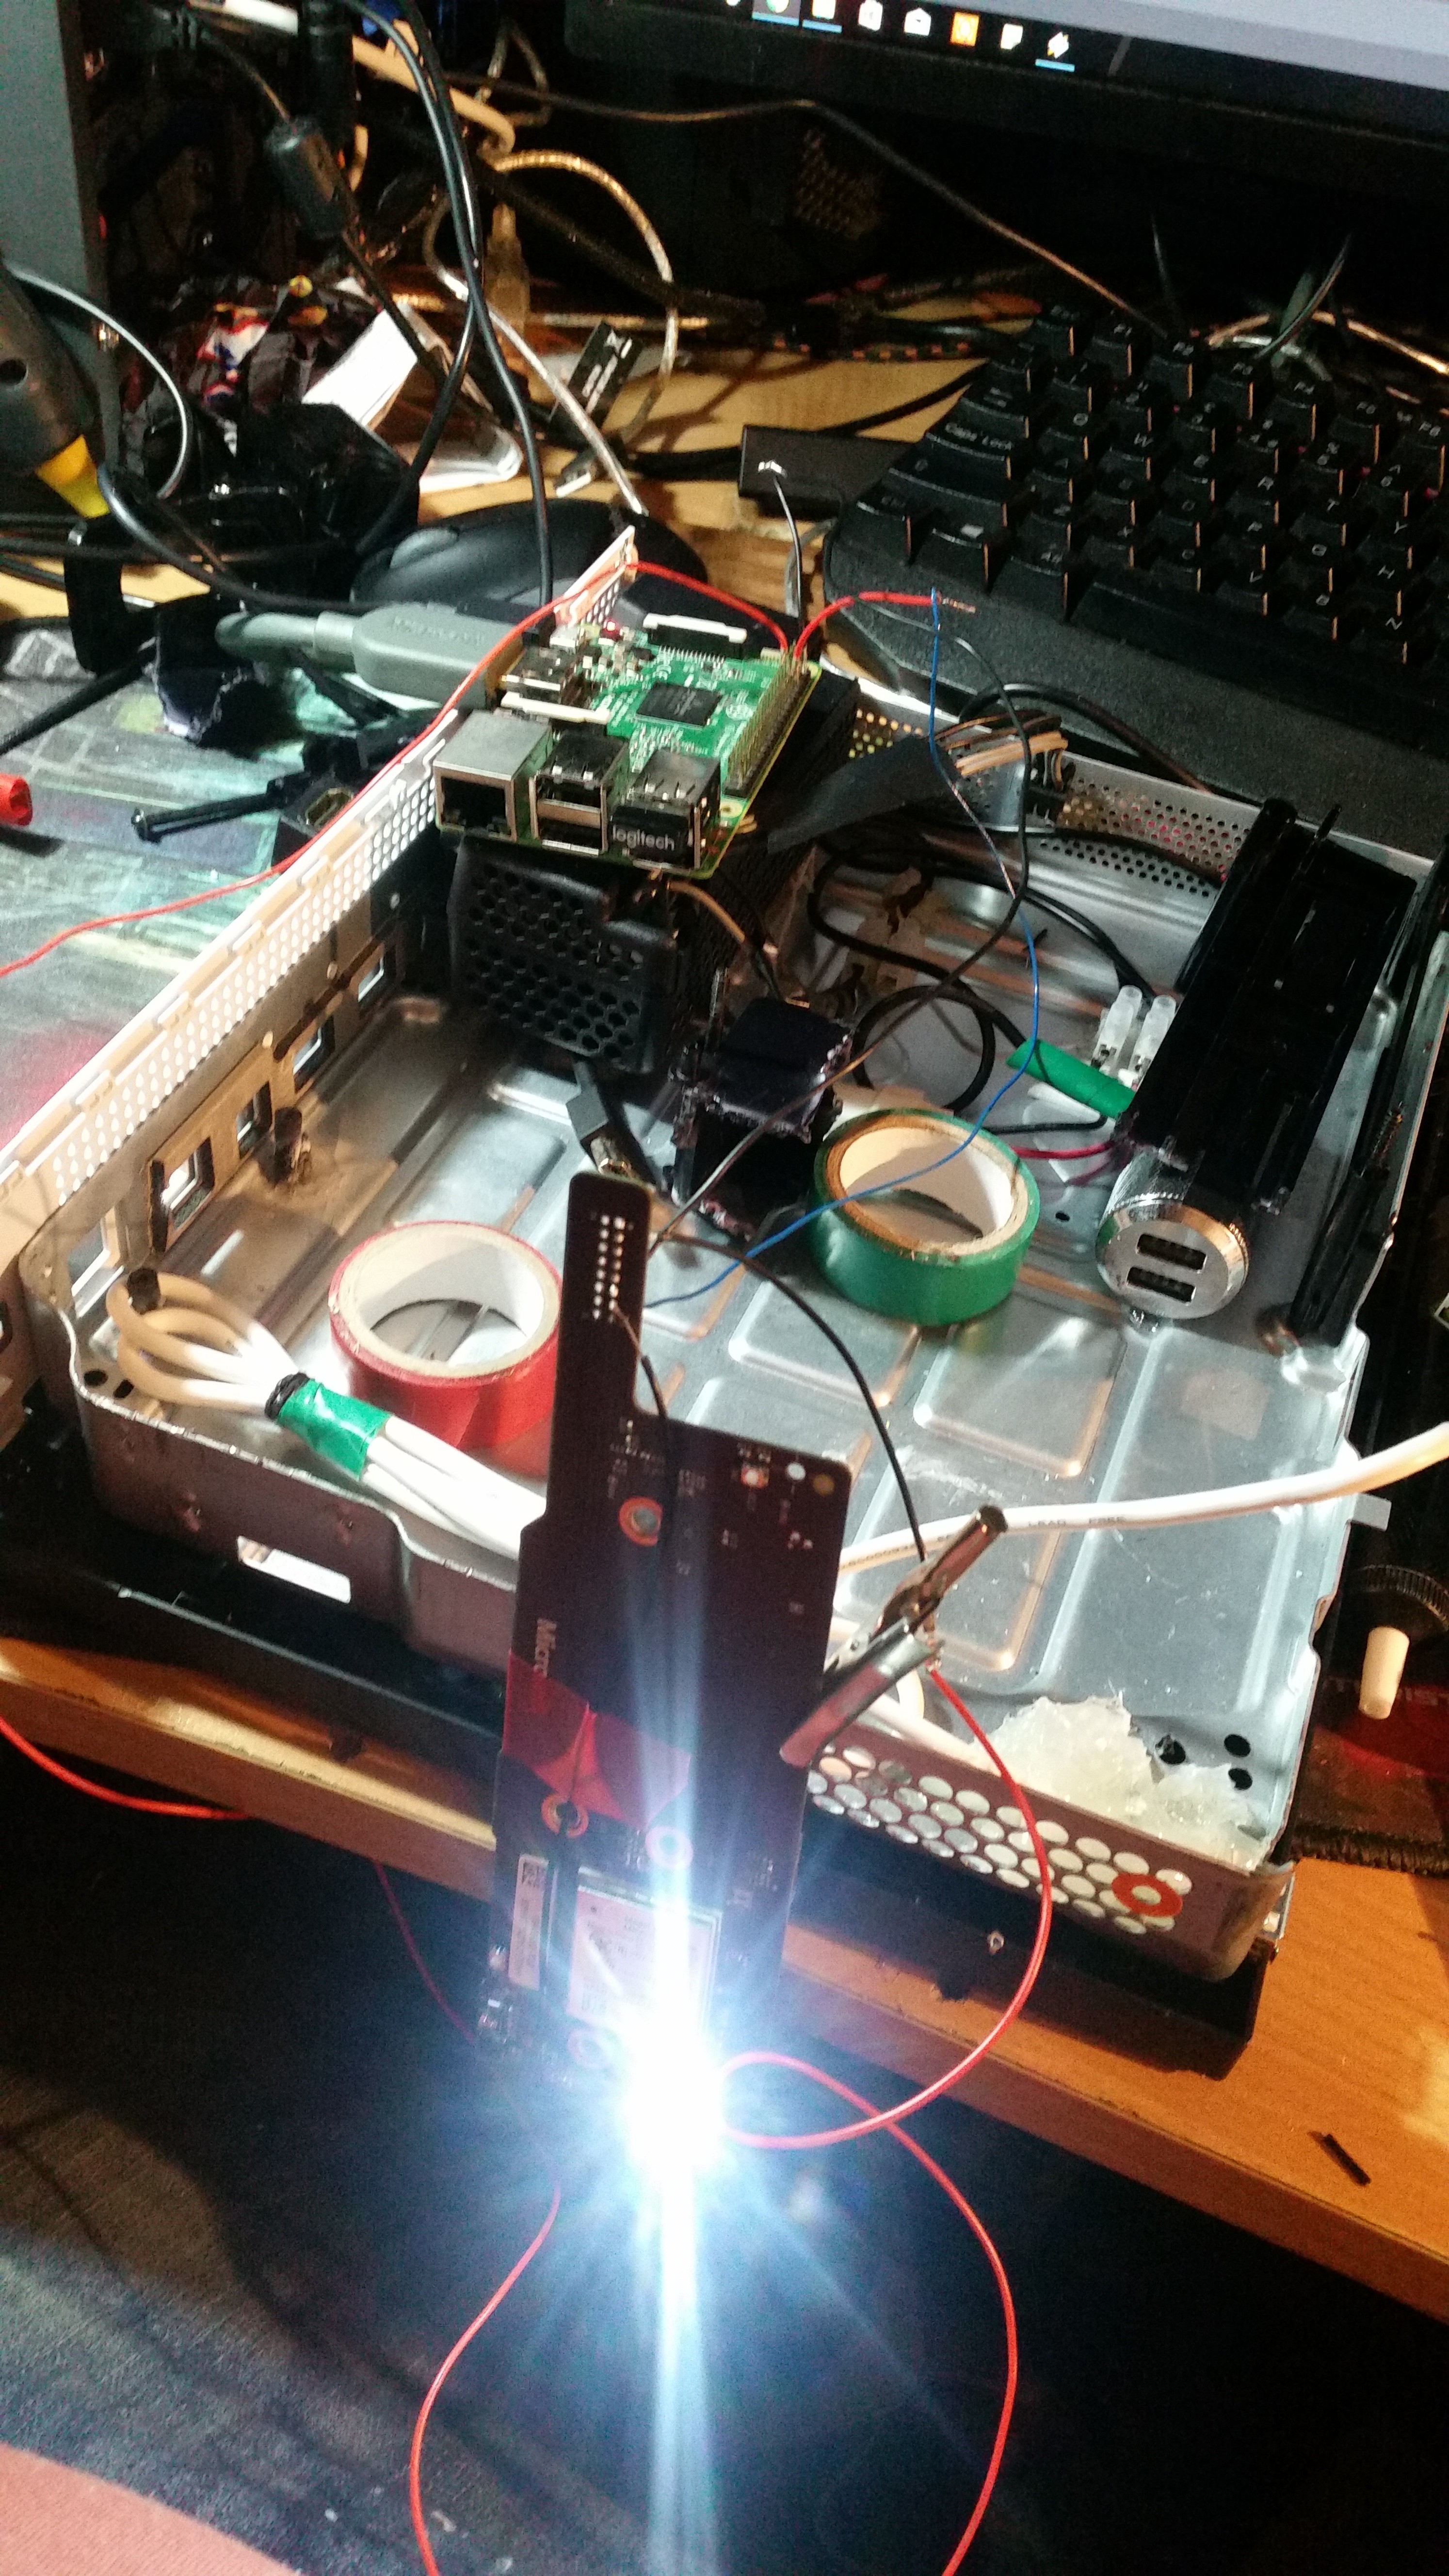
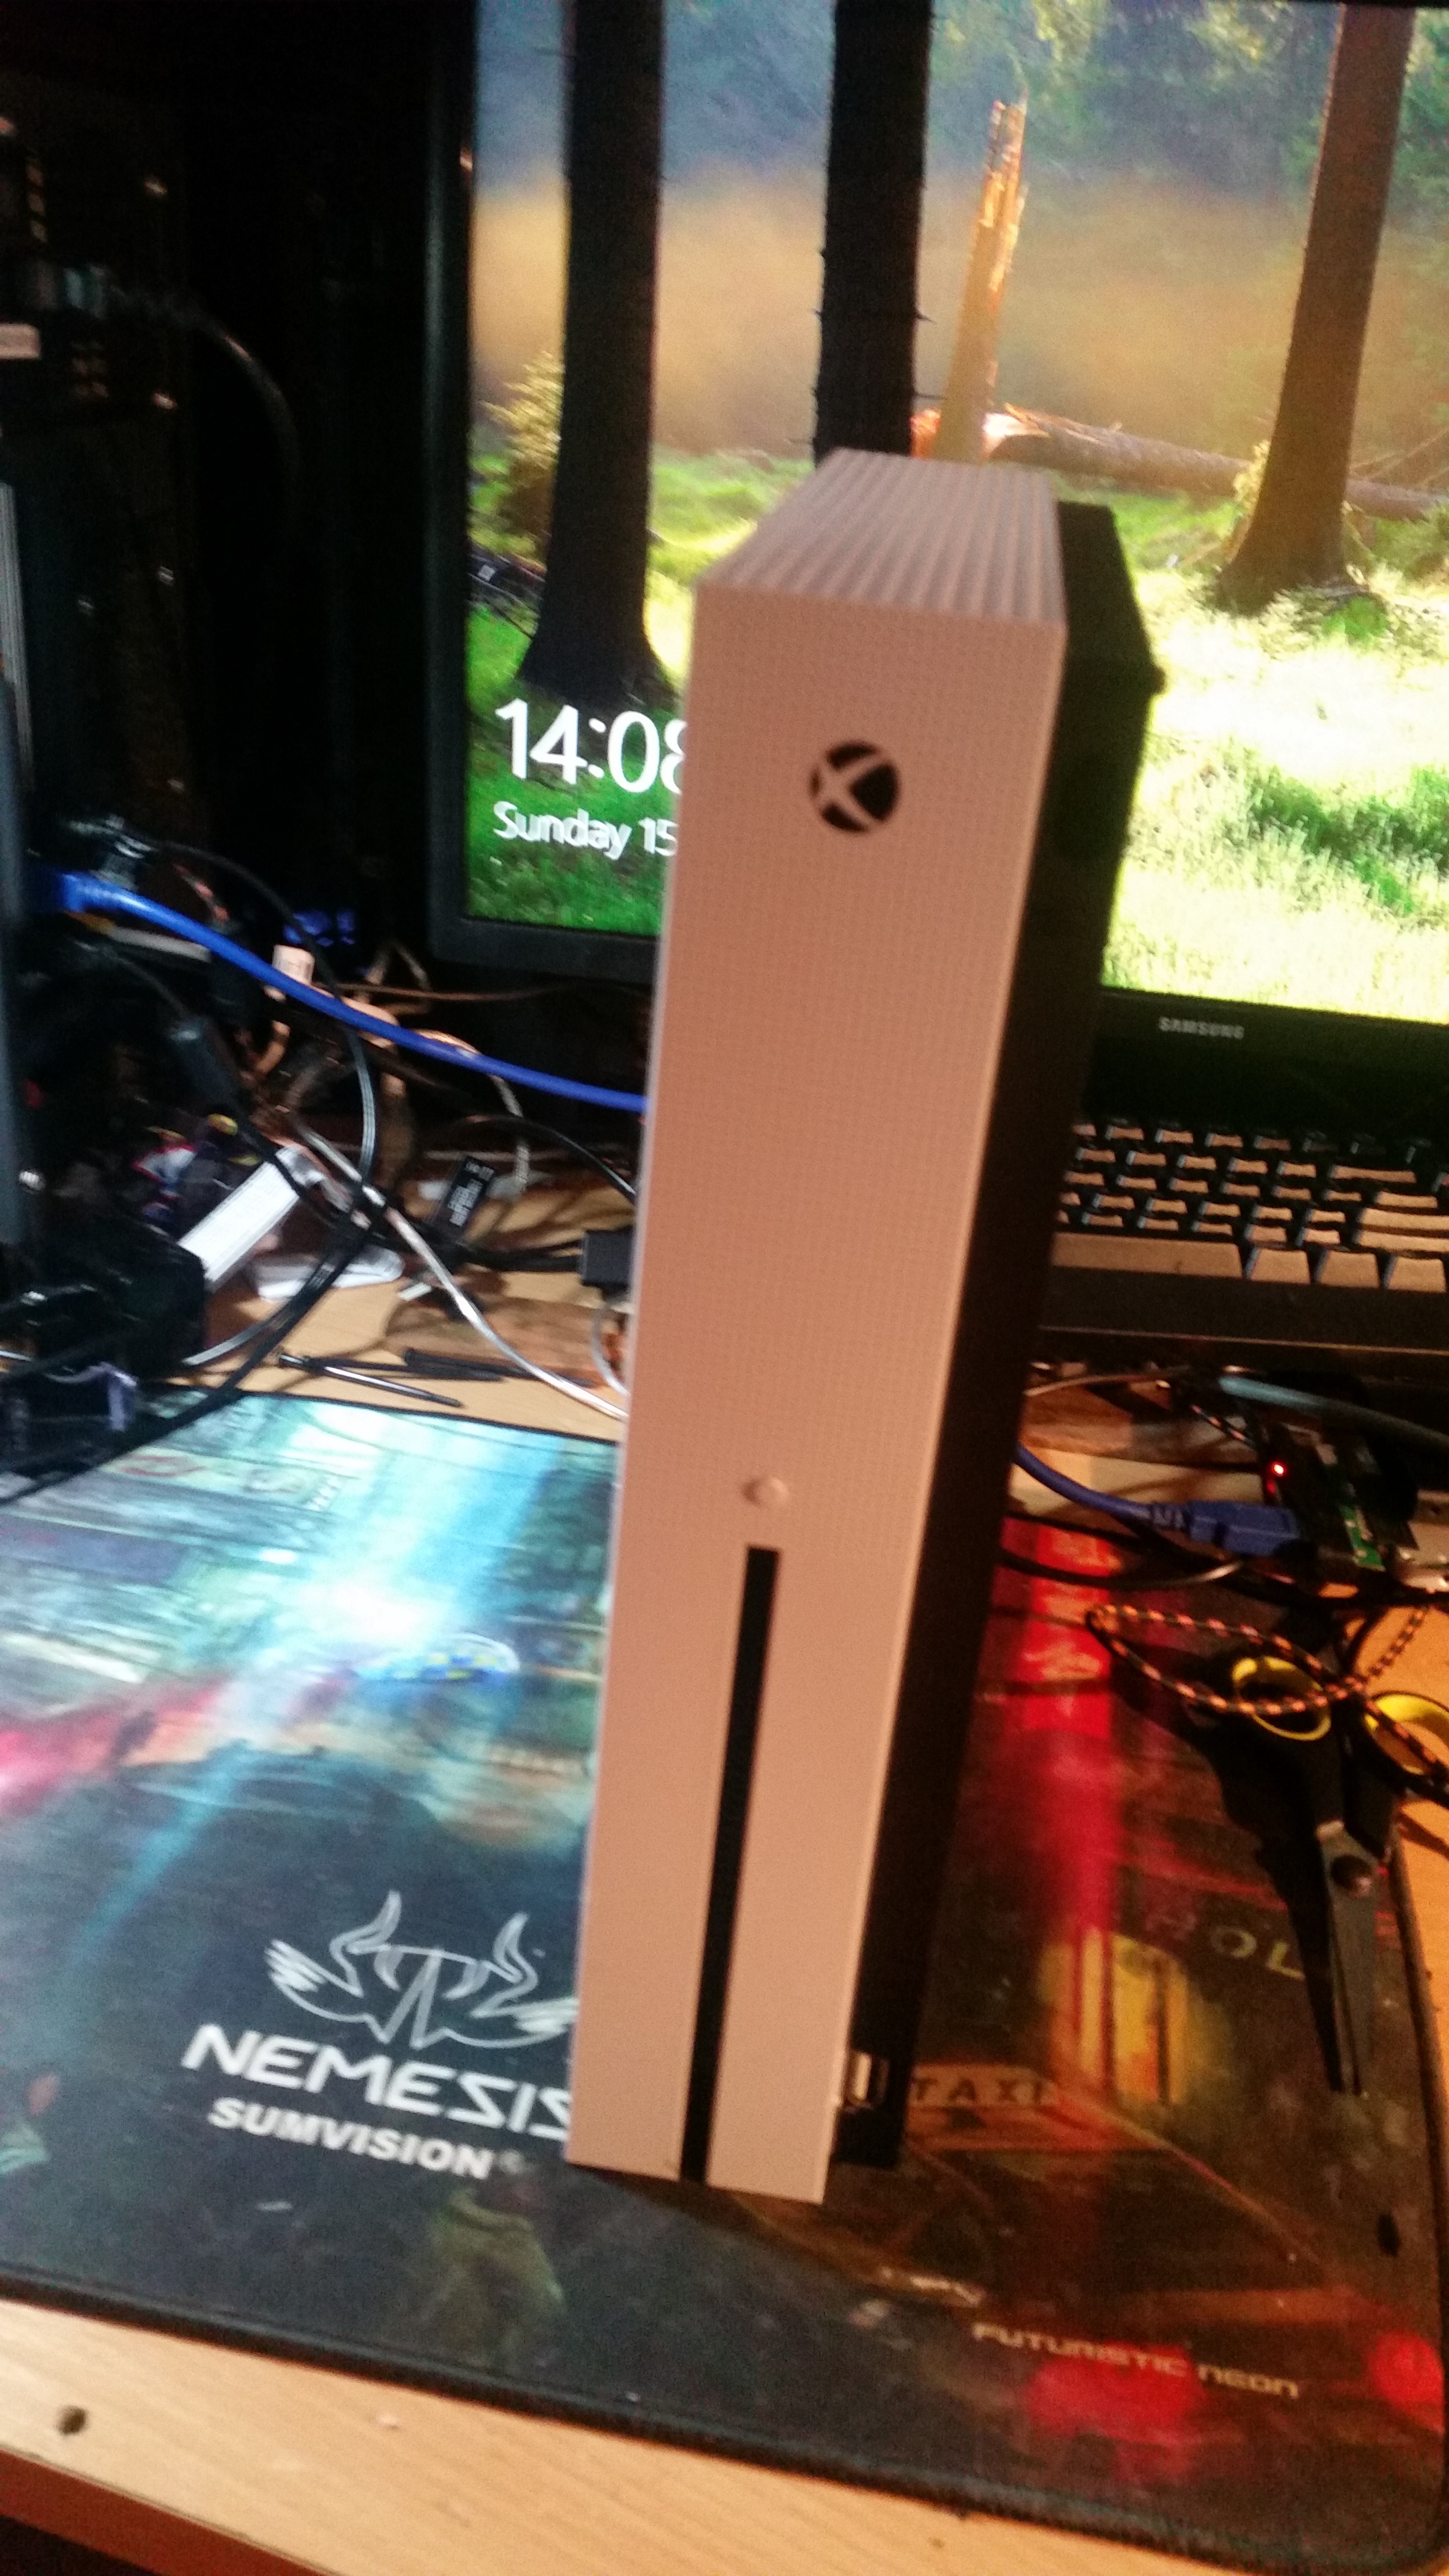
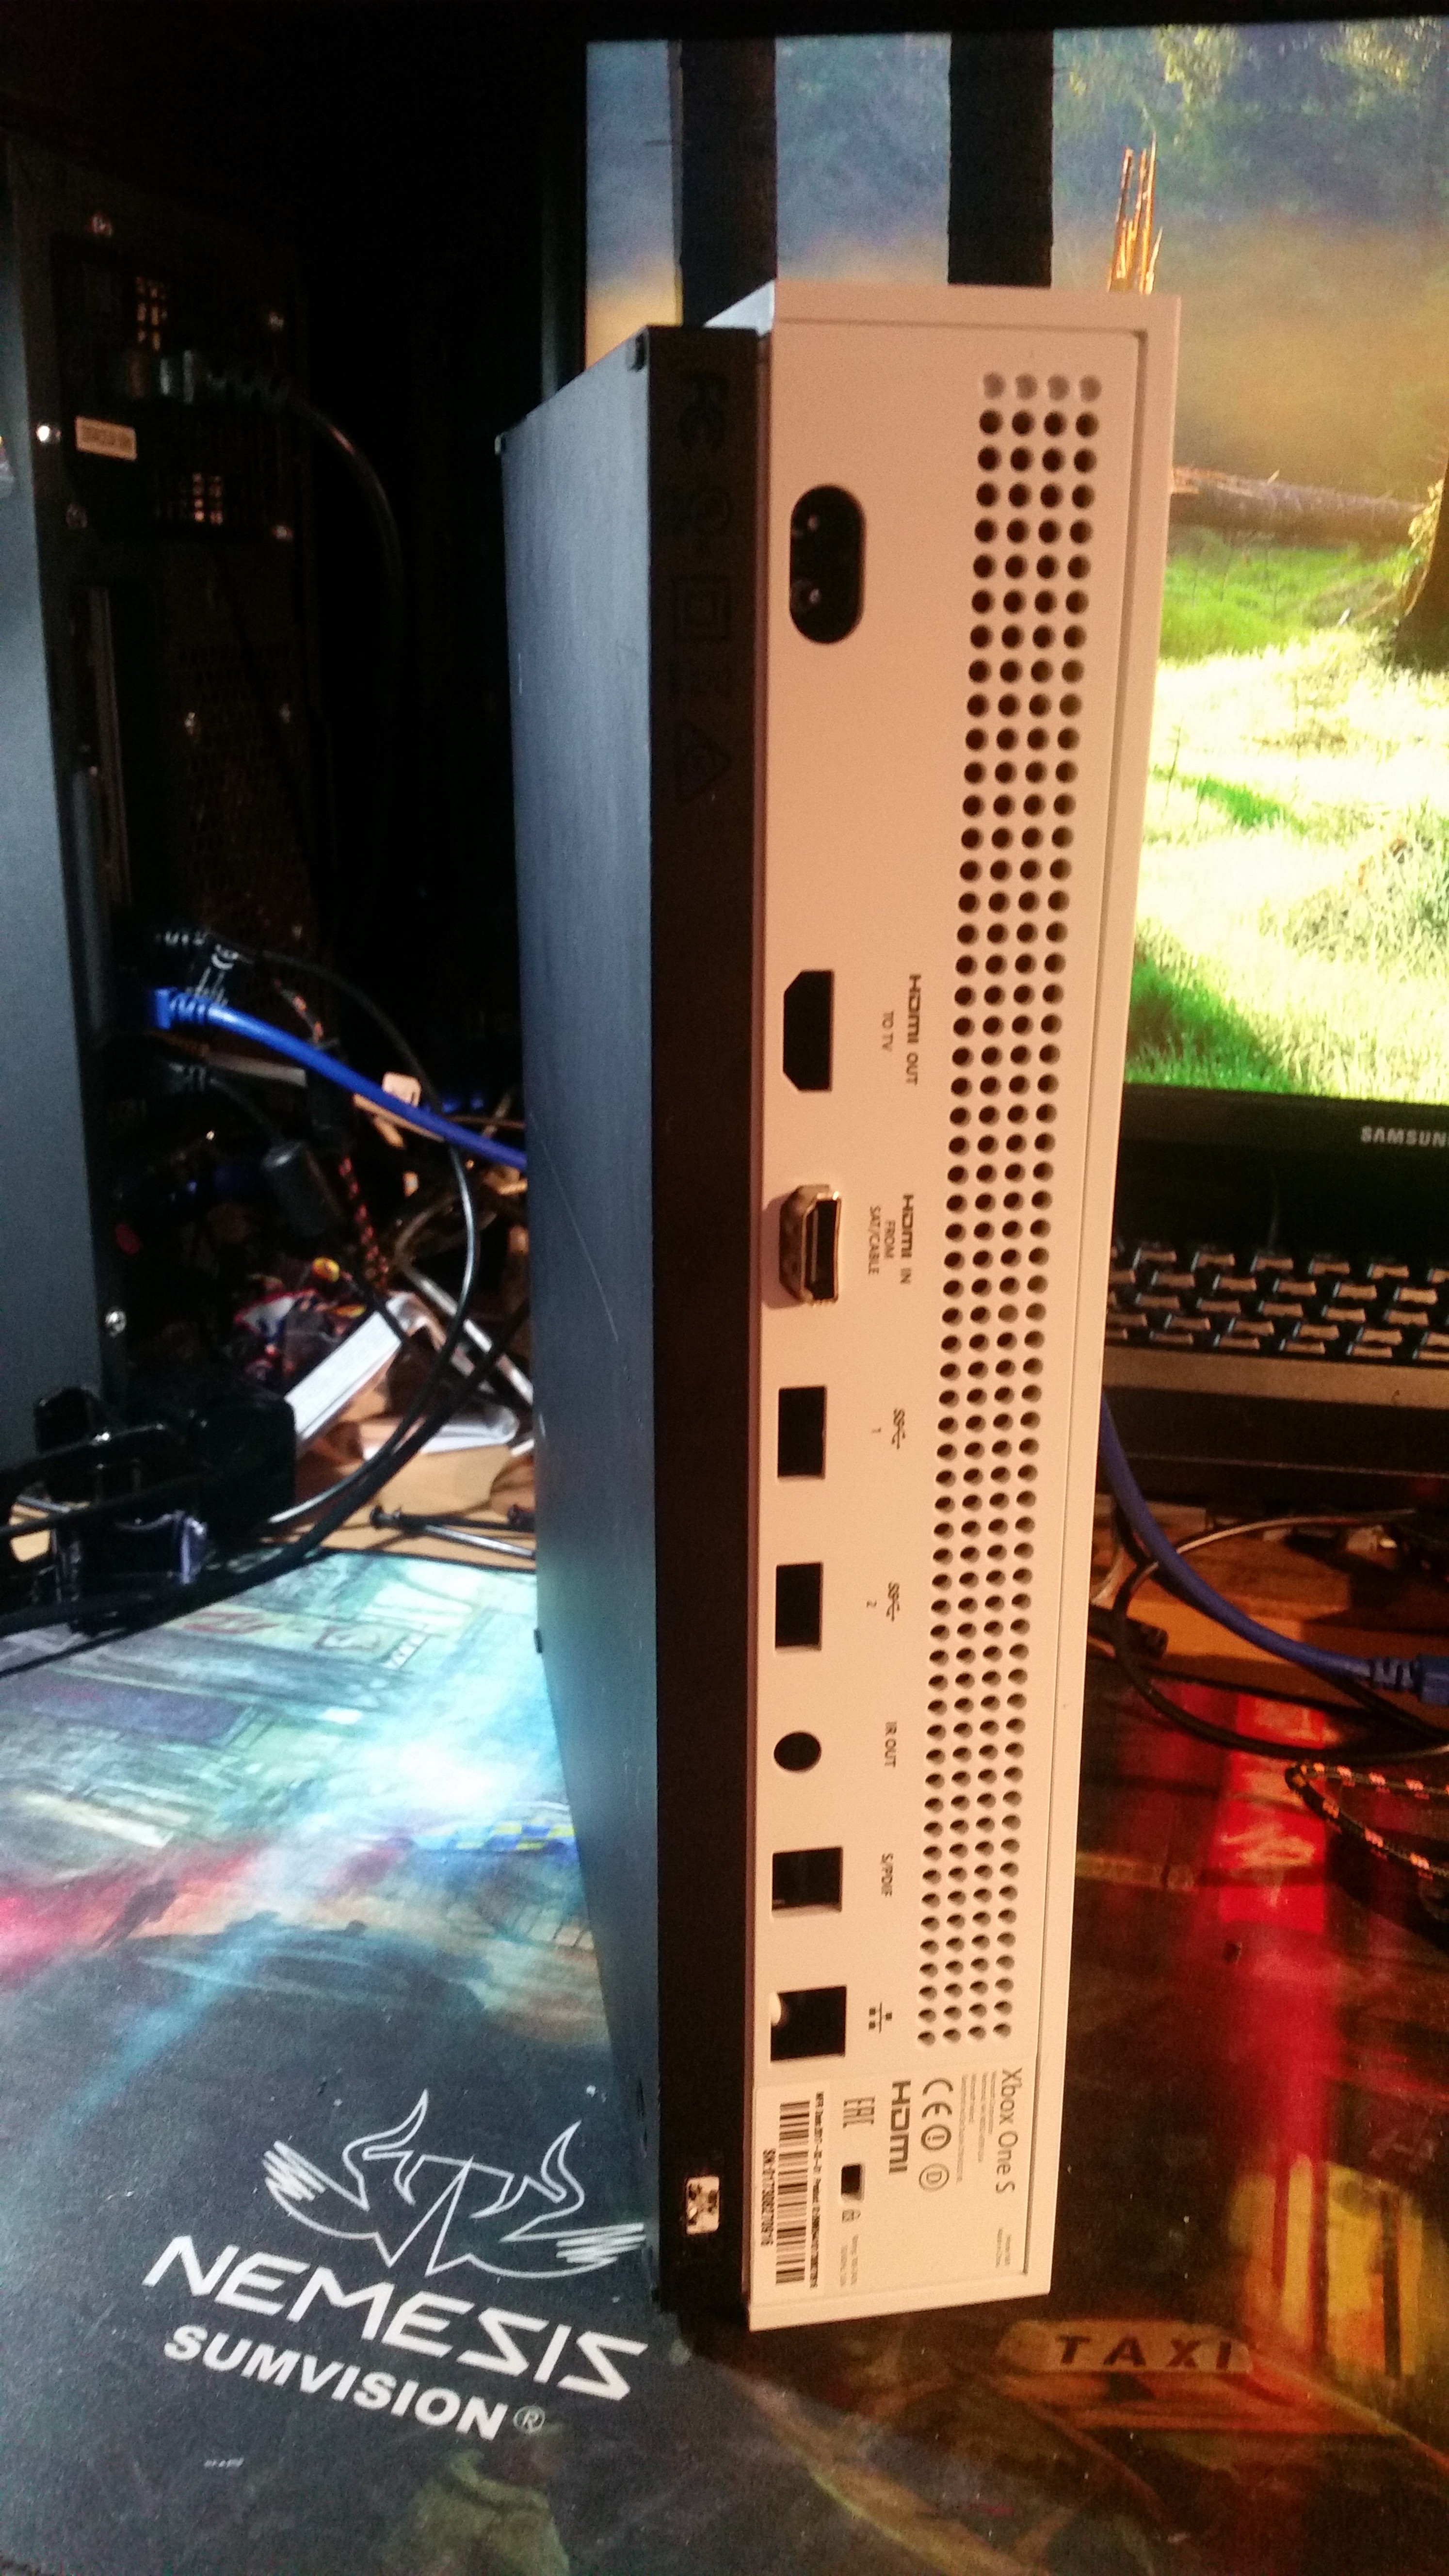
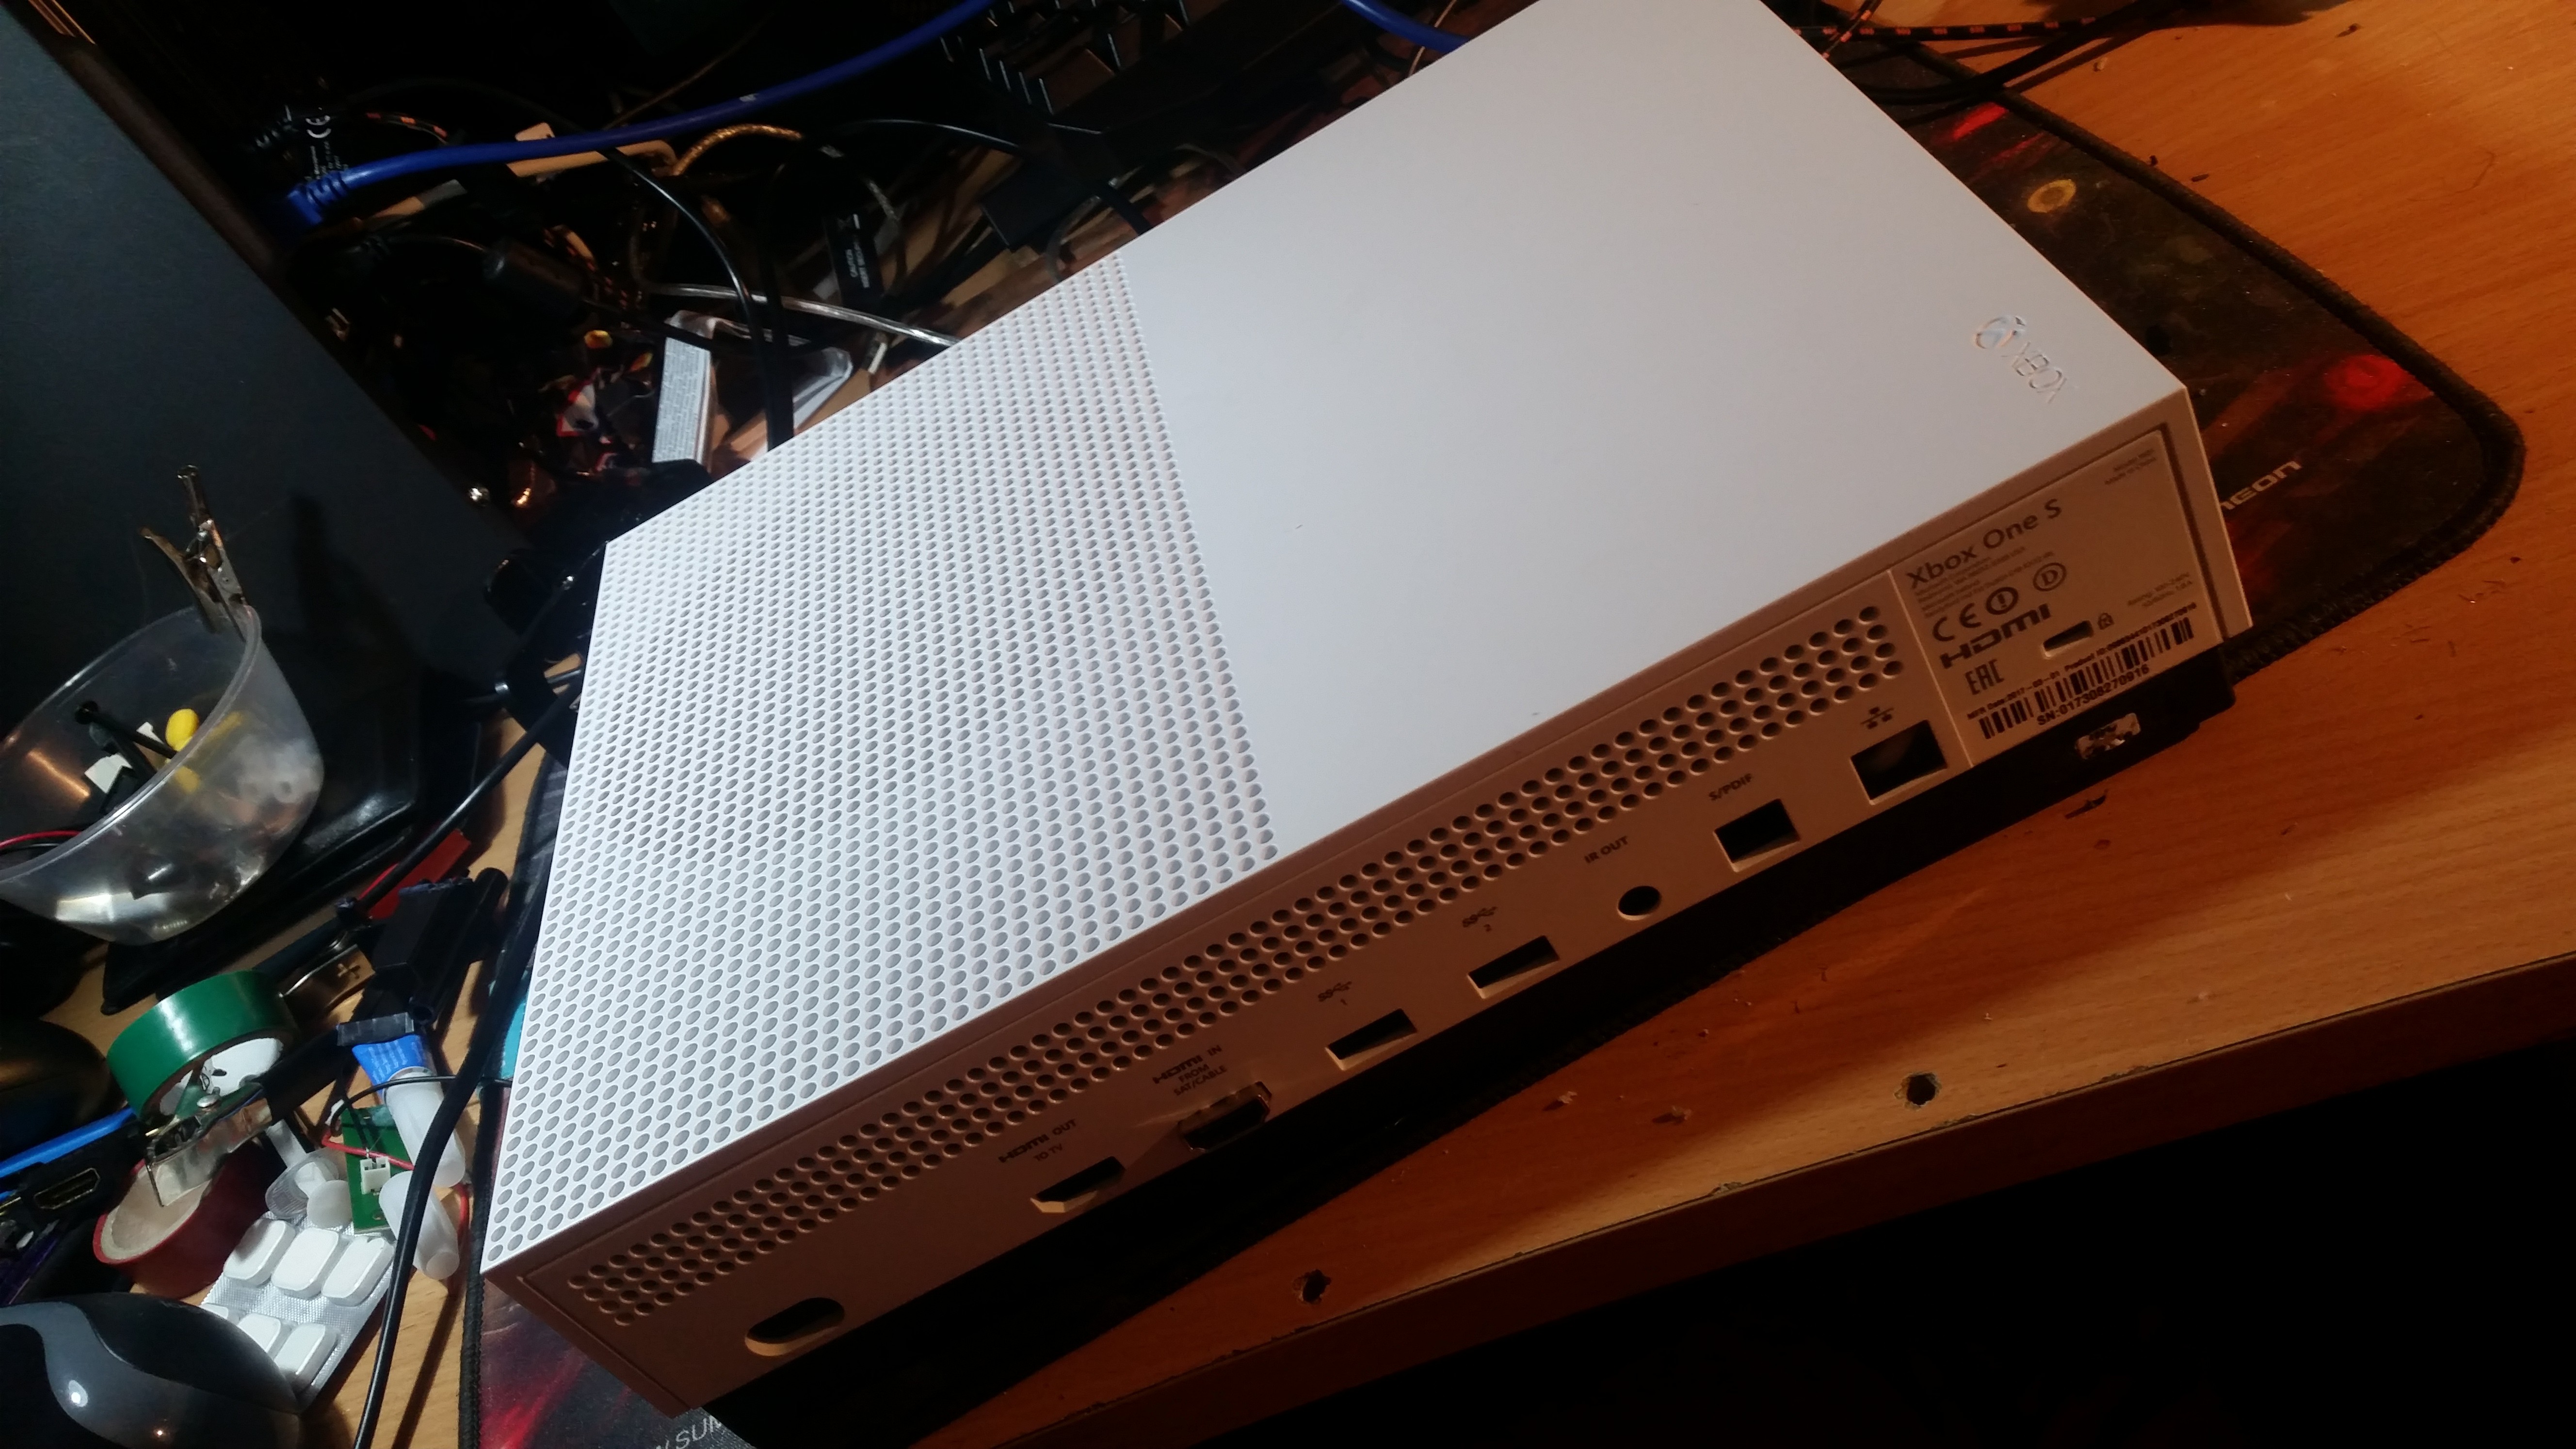
But even tho this worked fine, I had a problem with how and where was I going to mount it, since I wasn't able to fit it near the power button, So I looked online for a pin-out or spec for the Xbox one s front panel couldn't find anything so I got the multi meter out
Once I got the button trace found I tested it, it worked YAY, but now I felt like it was only half a job done, the light didn't work and I couldn't find a trace for it, the earth trace for it did't link up with the any trace near the pins, I just hoped in hell the light would take the power without a resister as I had none, we it's been working for a good few hrs no problems so that's a past, but have I did was wire the earth from the back of as I couldn't get the solder to stick to the front, I am no good at soldering. and soldered it to the earth of the power button so I only have one earth coming from the pi, also a note on this one you do have to enable serial in the retro pi options.
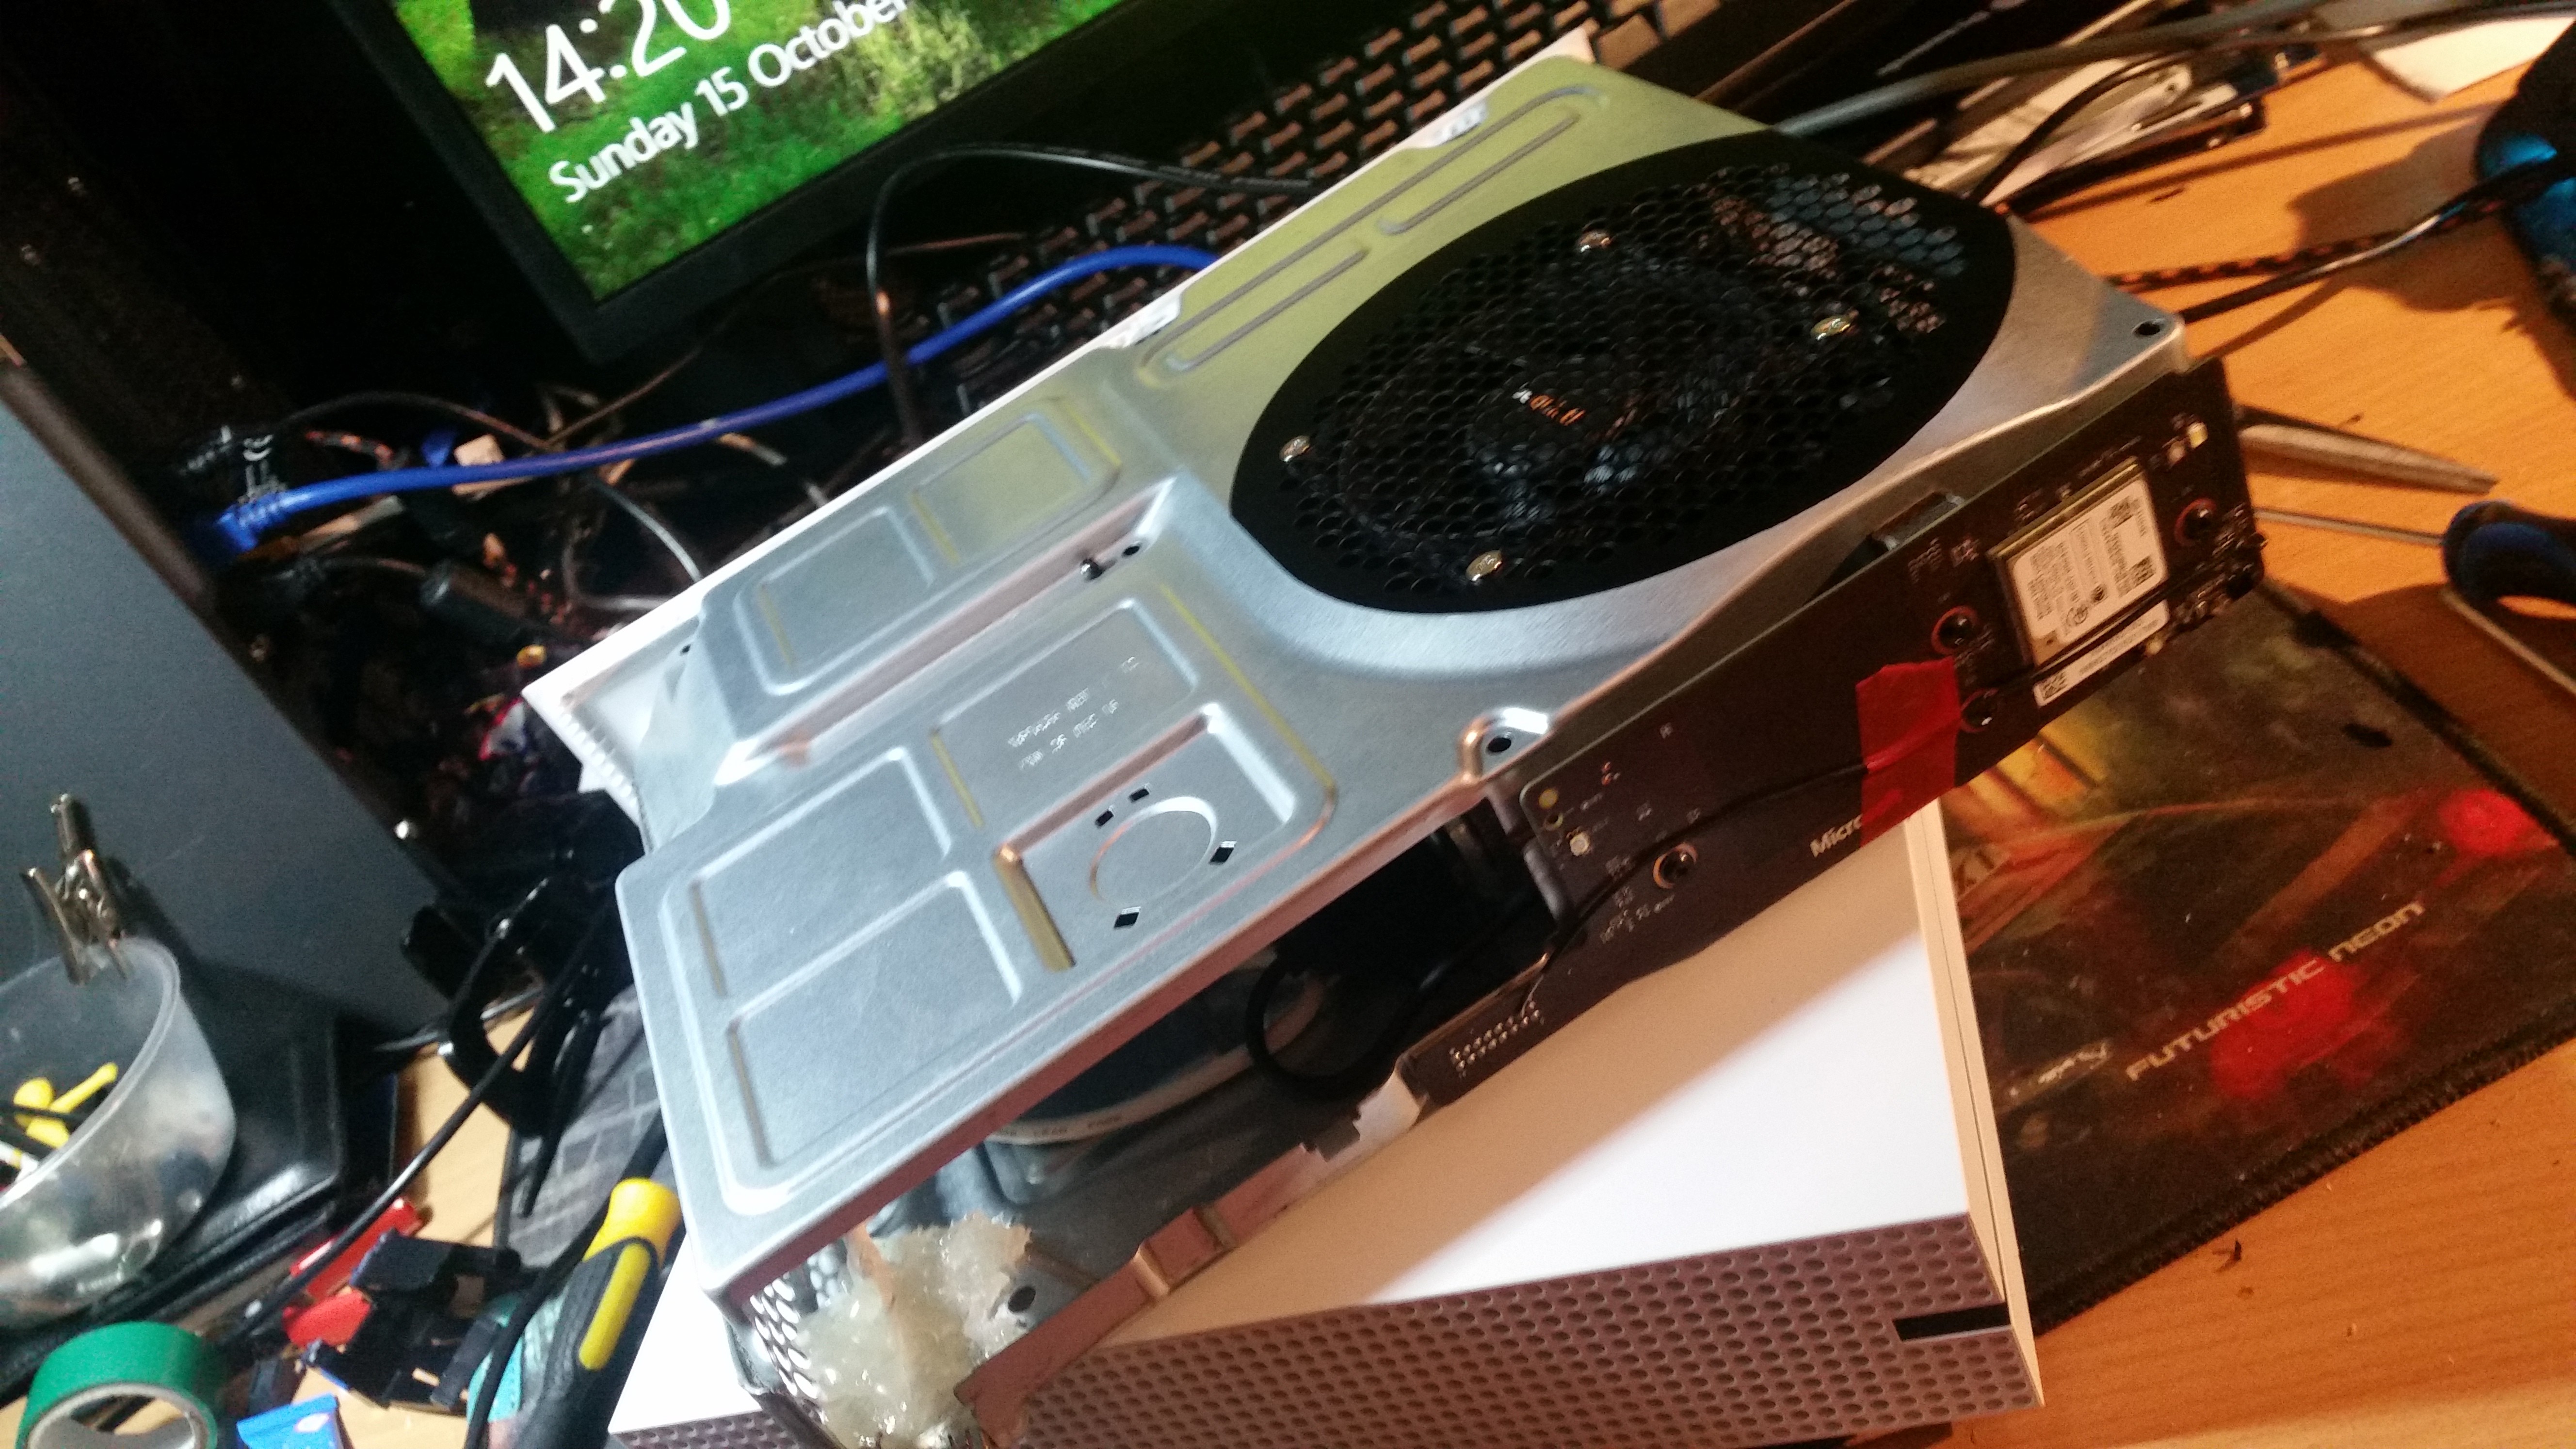
Then once all that was working it was time to put it back together, like I said before it already has room to support the USB HDD and it also has the power to run it, problem I was having with with the USB host script that is meant to build the new folders for the USB, it failed, it didn't bother me since I updated this from a 16 gig to a 32 gig for the wife so it wasn't needed anymore.
Thanks
Thank you so much for stopping by and looking at this project, the final images below was me finishing it off, I never thought about doing this as a step by step or even posting it somewhere like here, I was only taking images for my self and people asking what I was doing on discord about it, once I completed it I seemed I had almost every step so I felt this needed to be posted some where since I not see this done yet, I might of missed it and if I have please comment and show me :)
Sub note: this was NOT a broken Xbox One S, it was a spare/doner system, brand new to replace parts from my current system when needed, motherboard and drives have been stored for later use :)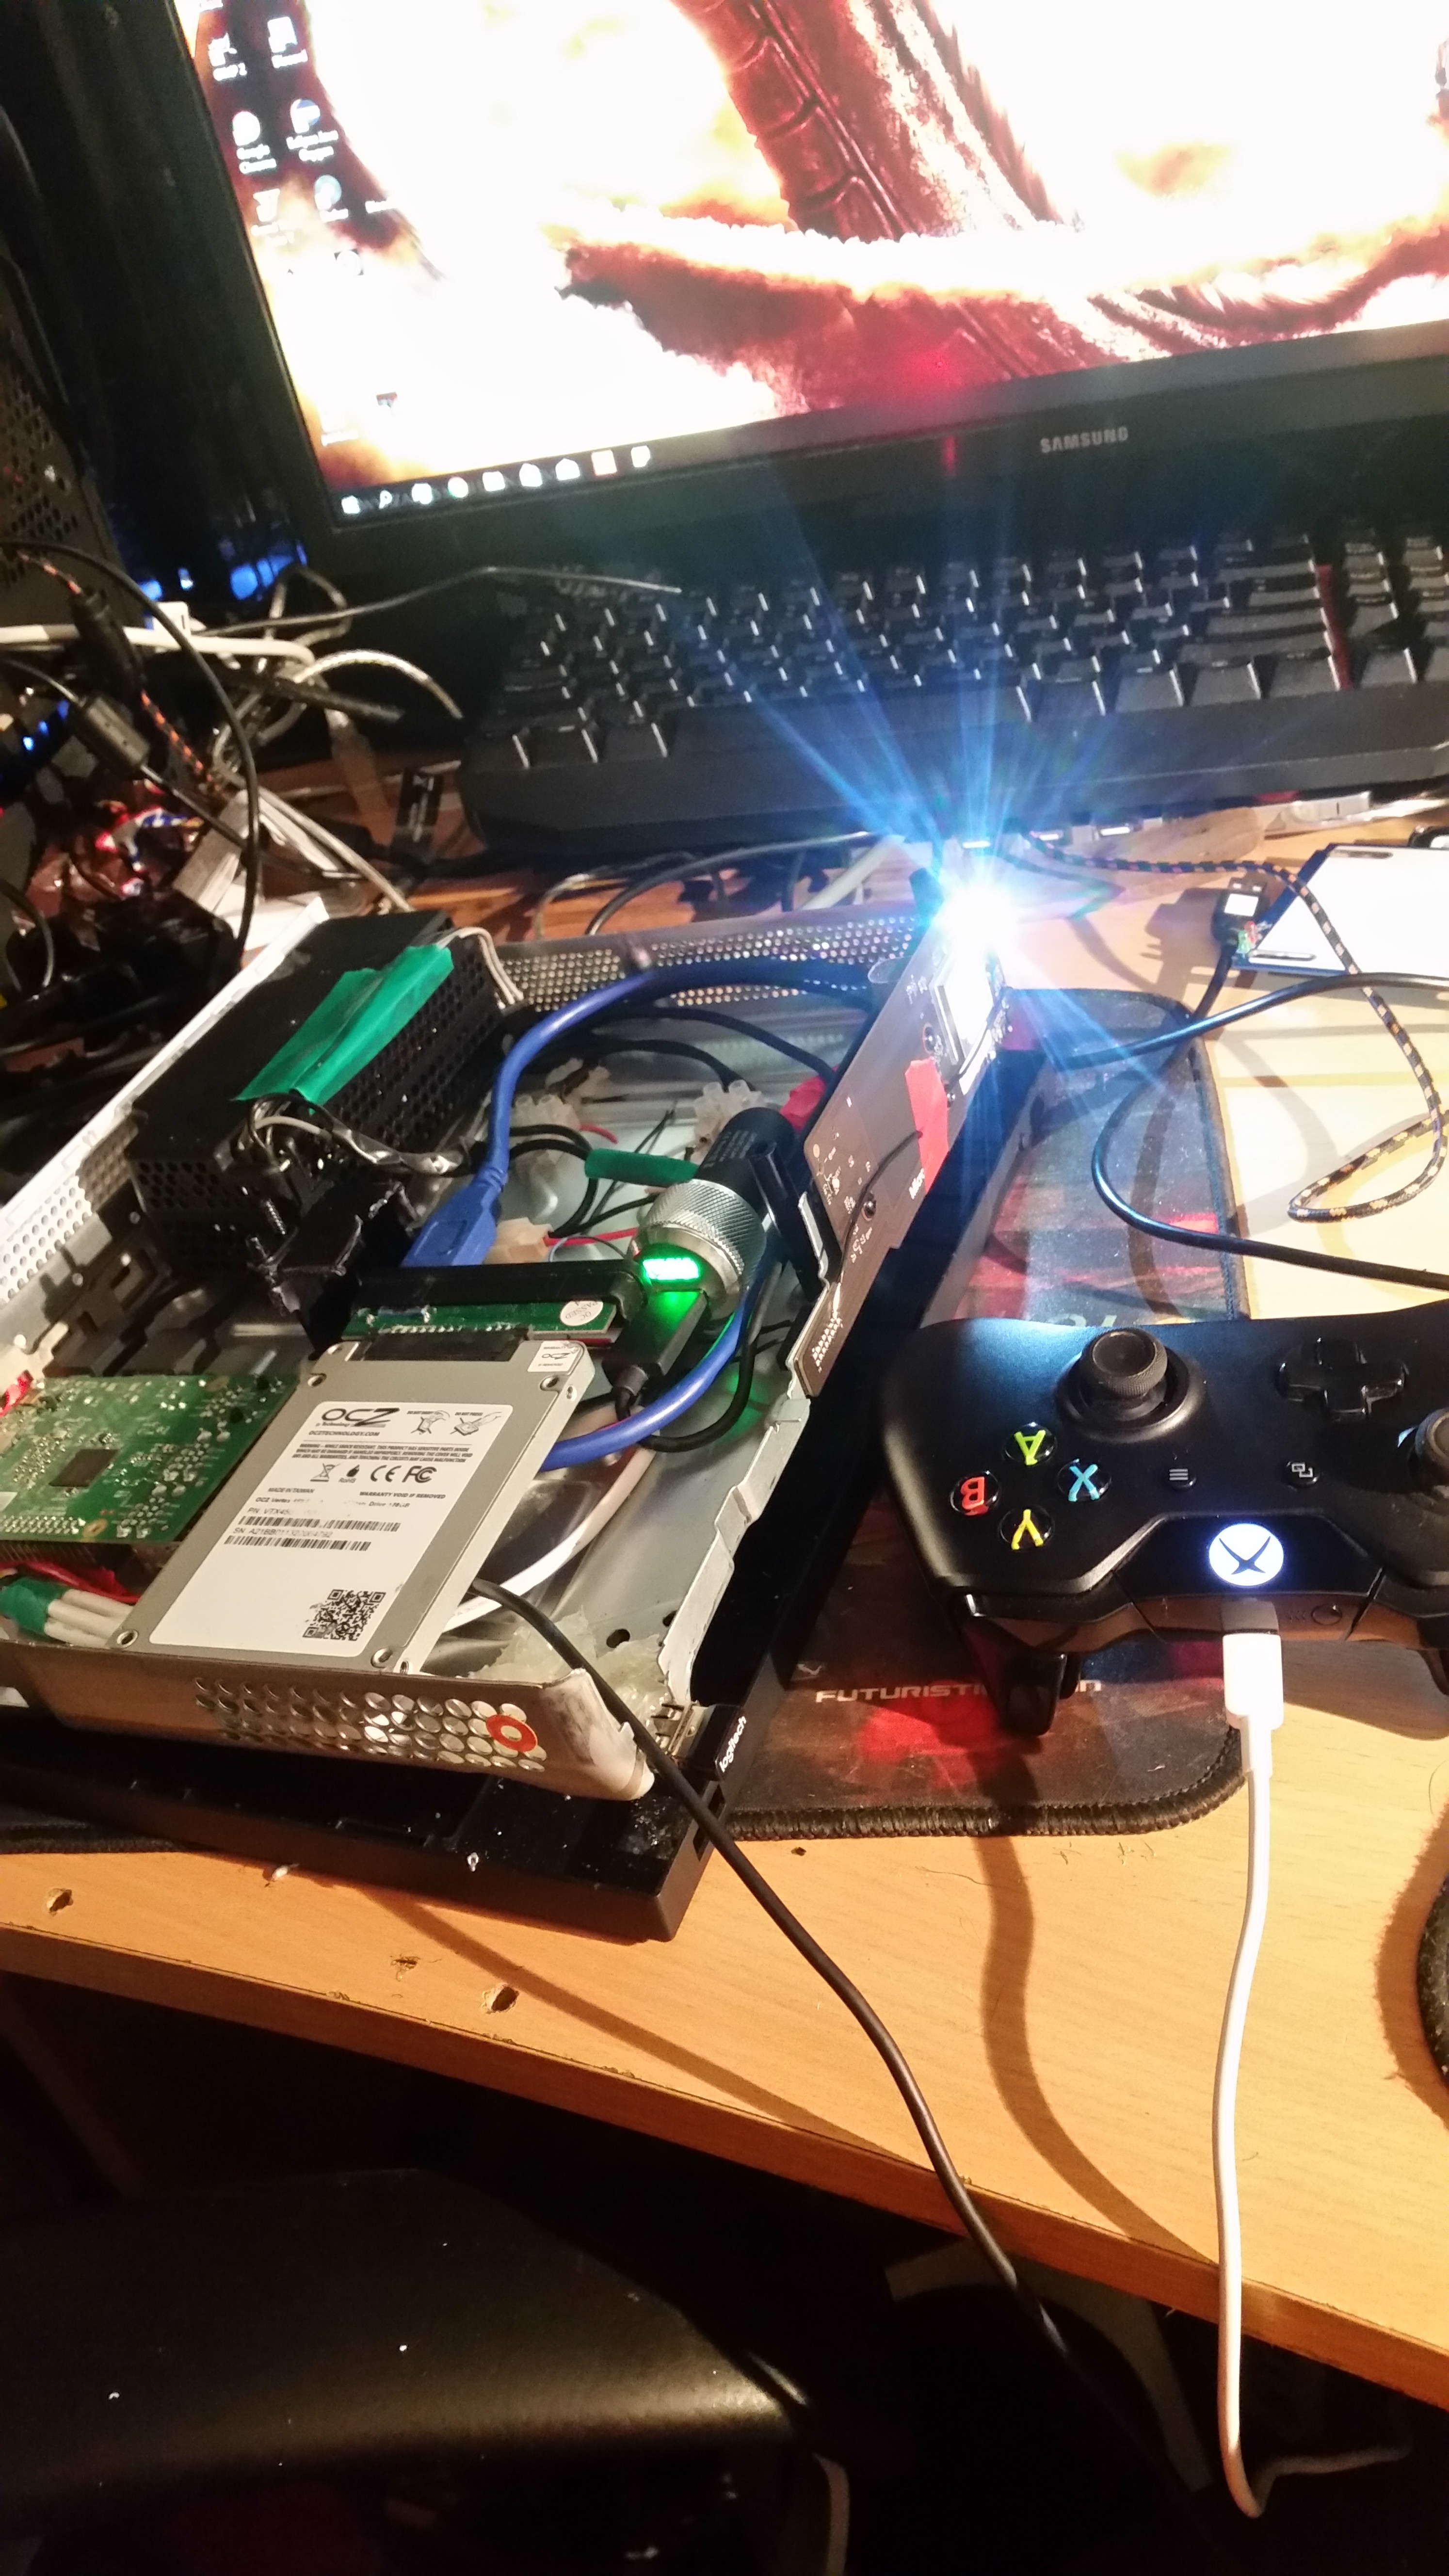

 Nicholas Hill
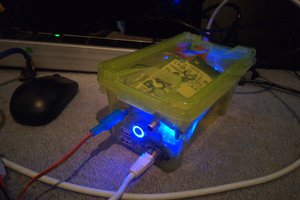

 Aaron
Aaron