Thomas Snow
-
Back to the Drawing Board
11/29/2017 at 20:11 • 0 commentsFaced with the prospect that Chromium could not render animation smoothly enough, I had to go back to the drawing board. I was worried that I would have to write this app as an X Windows application. I didn't have a development environment to easily develop one. Luckily, my research into how to get better animation performance in HTML5 led me to thinking about Java. That led to the discovery of JavaFX. It's a library of Java objects that can take advantage of the hardware acceleration of many graphics systems to perform animation. It's model was very HTML/XML-ish in nature, so it was easy to lay out things. Using Java also took advantage of all of the Java code I wrote to support the web page via JSP. So I whipped up a Proof of Concept that had everything but the clock (the clock was going to be tough). This gave me an app with two scrolling panels. Things were looking good!
New Software Motto: Be wary when things look good.
I loaded the code into the Pi and viola!, it couldn't find the JavaFX libraries in the Java 8 SDK. It turns out that Oracle stopped supporting JavaFX on ARM platforms in Java 1.8.33u and naturally, I had a newer version.
More research found this page (God bless Stackoverflow!). It describes a way to get a version of it. I could only get the second answer to work:
- Download armv6hf-sdk.zip and unzip it on the Pi
- Copy:
- armv6hf-sdk/rt/lib/ext/jfxrt.jar --> jre/lib/ext/
- armv6hf-sdk/rt/lib/arm/* --> jre/lib/arm/
- armv6hf-sdk/rt/lib/javafx.platform.properties --> jre/lib/
- armv6hf-sdk/rt/lib/javafx.properties --> jre/lib/
- armv6hf-sdk/rt/lib/jfxswt.jar --> jre/lib/
So things were looking good, right?
No, see New Software Motto above.
It turns out that JavaFX is all bare metal. It wants exclusive access to the video driver. Since X Windows is using it, you can't run a JavaFX app in Xwin. So I disabled X Windows and put the Pi into terminal only mode.
Still no Joy. JavaFX is picky about the driver settings. In the end I had to futz with the /boot/config.txt file. I eventually found this setting worked:
# turn off lightning boltavoid_warnings=1#dtoverlay=vc4-kms-v3d#dtoverlay=vc4-fkms-v3dgpu_mem=256 -
Software
11/27/2017 at 23:48 • 0 commentsFrom a software point of view, my approach was to "write as little of it as possible". It was why I chose the RPi3 platform since I knew of publicly available software for predicting tides in the form of XTide for Linux and most Linux stuff seems to be ported to the RPi. XTide has a command line interface for listing tide predictions, so figuring out the tides was sorted; that was a win.
XTide provides:
- Tide calculation Data for over 4,000 locations in the US and its territories
- GPS Coordinates for each location
- High and Low tides
- Sunrise and Sunsets
- Moon Phases
XTide relies on accurate time for its predictions, so I needed the RPi connected to the internet. Since I had the Internet as a requirement, I decided that weather should be available to my clock. To facilitate this I used the National Weather Service's SOAP Web Services. They can provide all sorts of useful and endless data on the weather predictions up to 10 days into the future, by GPS coordinates. So the good news was that once I established a location for XTide, XTide would give me the GPS coords.
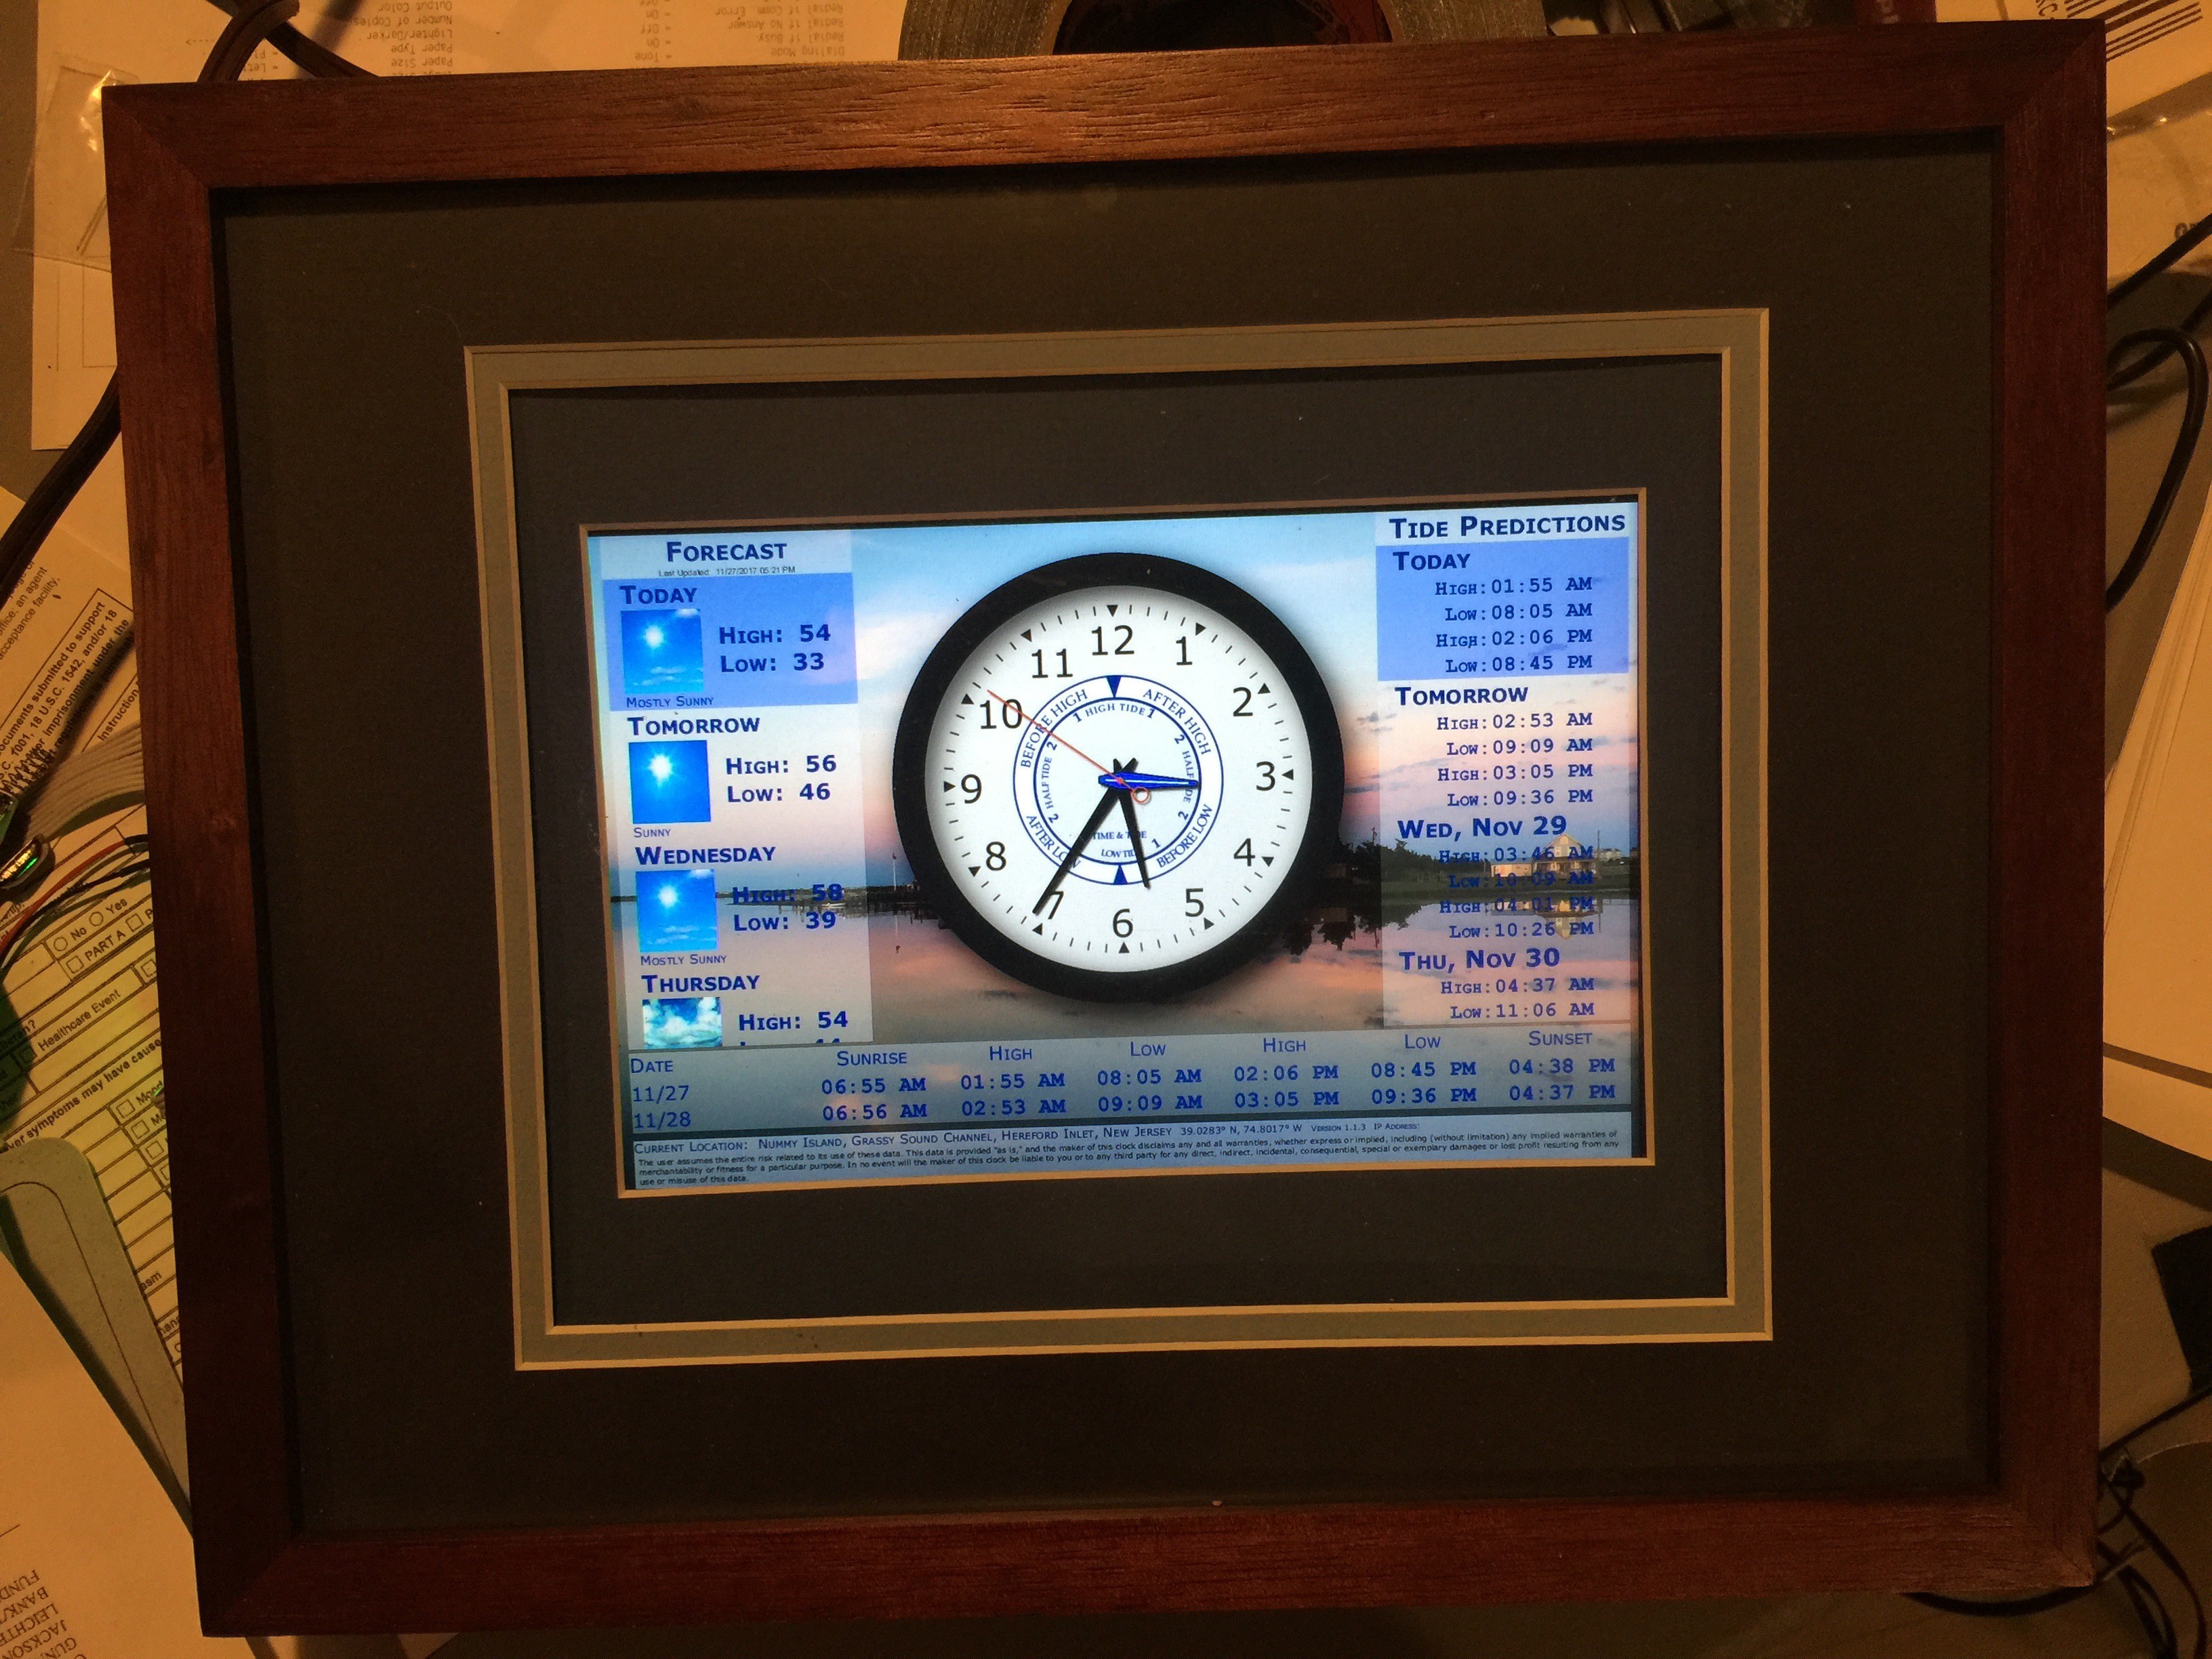
Next I needed a presentation layer. My challenge was that the display I chose, while high resolution, it was only 10.1" screen. It was meant to be mounted on the wall to allow you to glance at it to get the information you needed. That meant that I was limited to larger fonts and therefore less information available at once. The focal point would be the clock face and it would present the most useful information for glancing. This dictated that the clock face would consume most of the display with weather and future tide predictions scrolling on the sides of it for additional information. You can't glance at the additional information, but you can walk up to clock to read it.
I am not terribly creative. I wanted to create a clock based on the analog versions I had in the past. My first approach was to see what was available on the web as far as clocks were concerned. I found a wonderful site for this, "20 CSS Clocks". I settled on this one. So this dictated that I needed my presentation layer to be a Web Page. This implied I needed the following on the RPi:
- X Windows
- KDE
- Apache Tomcat
- Chromium (the public source distro for Chrome on Linux)
I developed my Web App using Eclipse. I had to do it on my Windows PC and then upload a WAR (web archive) file to the Pi's Tomcat instance to deploy it. All of the animation is done by Javascript using JQuery and Snap SVG (the clock face is done in SVG).
I set up the RPi to start up Chromium in "koisk" mode which plasters nothing but the web page on the screen without keyboard or mouse input (in fact, I had to hide the mouse).
It worked, but not satisfactorily. The problem is that the scrolling tiles and the clock all share 1 thread during animation. This is a limitation of the browser (all browsers, it turns out). I didn't notice it too much on my PC because of the horsepower, but on the Pi, everything stuttered.
In my next log, I will go into how I went back to the drawing board to seek another solution.
-
Preliminary Assembly
11/27/2017 at 22:56 • 0 commentsI started out by purchasing a Raspberry PI 3 and an HDMI screen with a controller. I put this into a hinged shadow box. I used some stock matting supplies that fit as close as I could to the HDMI panel (I actually lose about 1/4 inch on the left side). In the future, I'll have custom matting made for it.
![]()
The innards make liberal use of Gorilla Tape.
![]()
Tide Clock
Raspberry PI 3 and a 1280x800 HDMI Screen that will run a JavaFX application to display the Time, Tide and Weather forecast.