 Warren
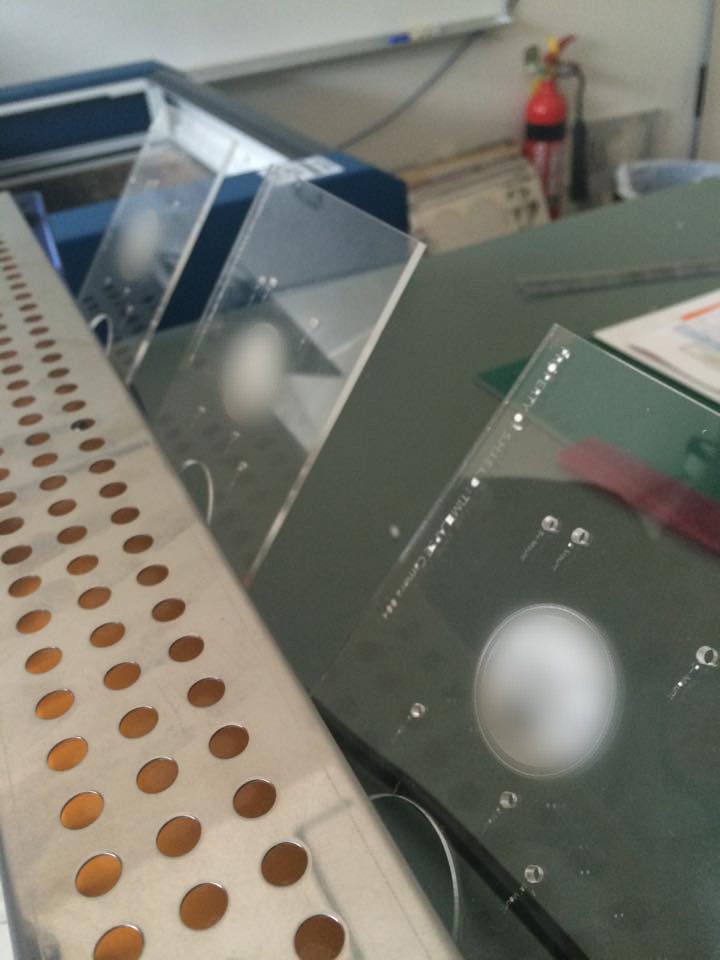
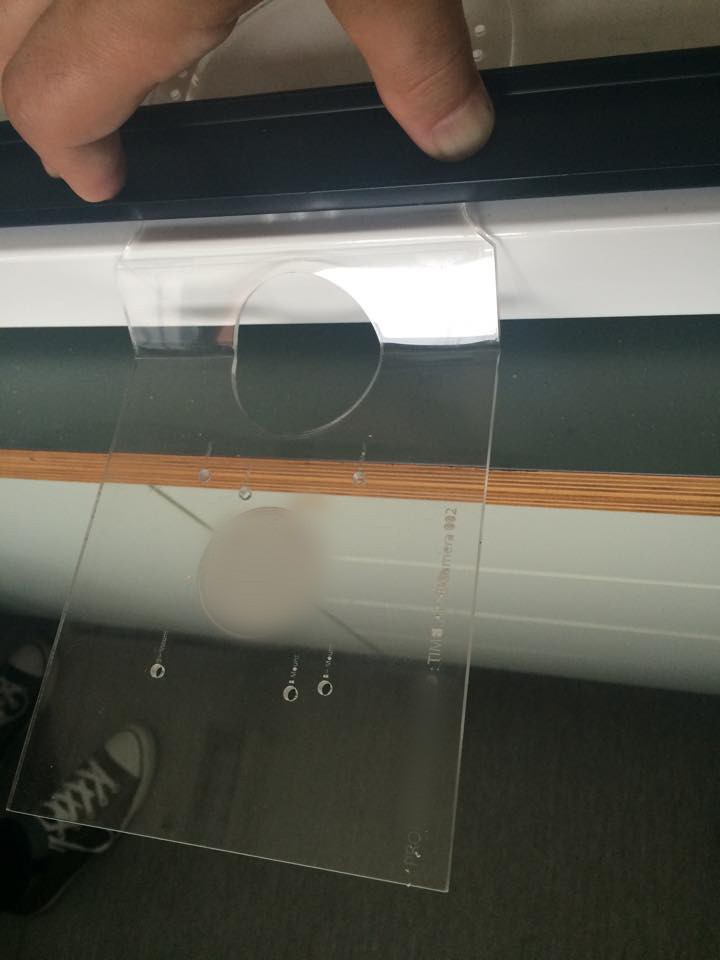
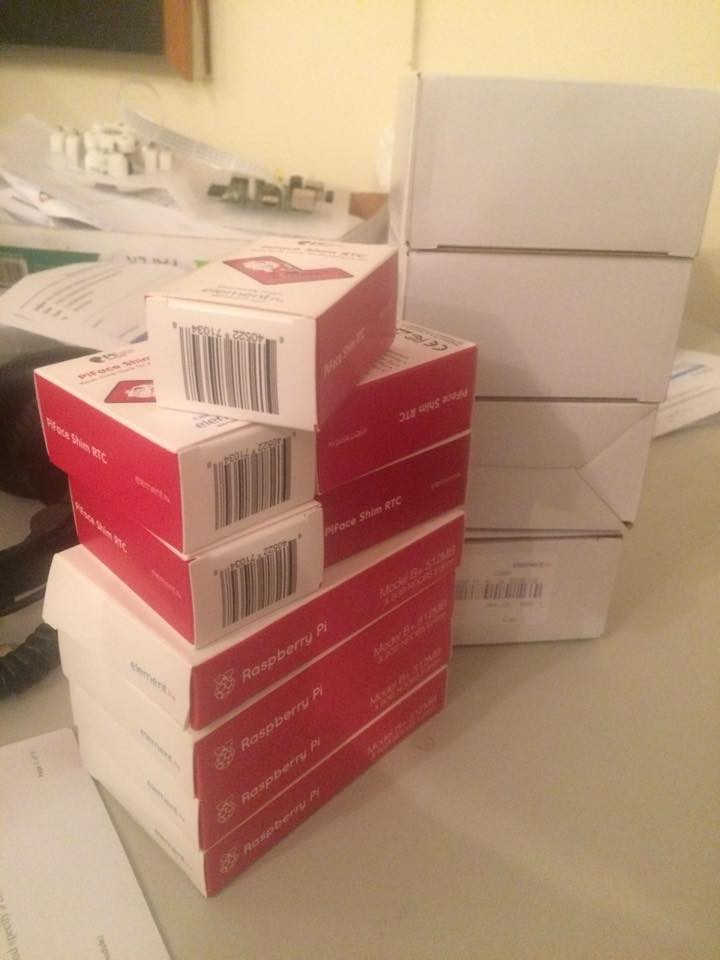
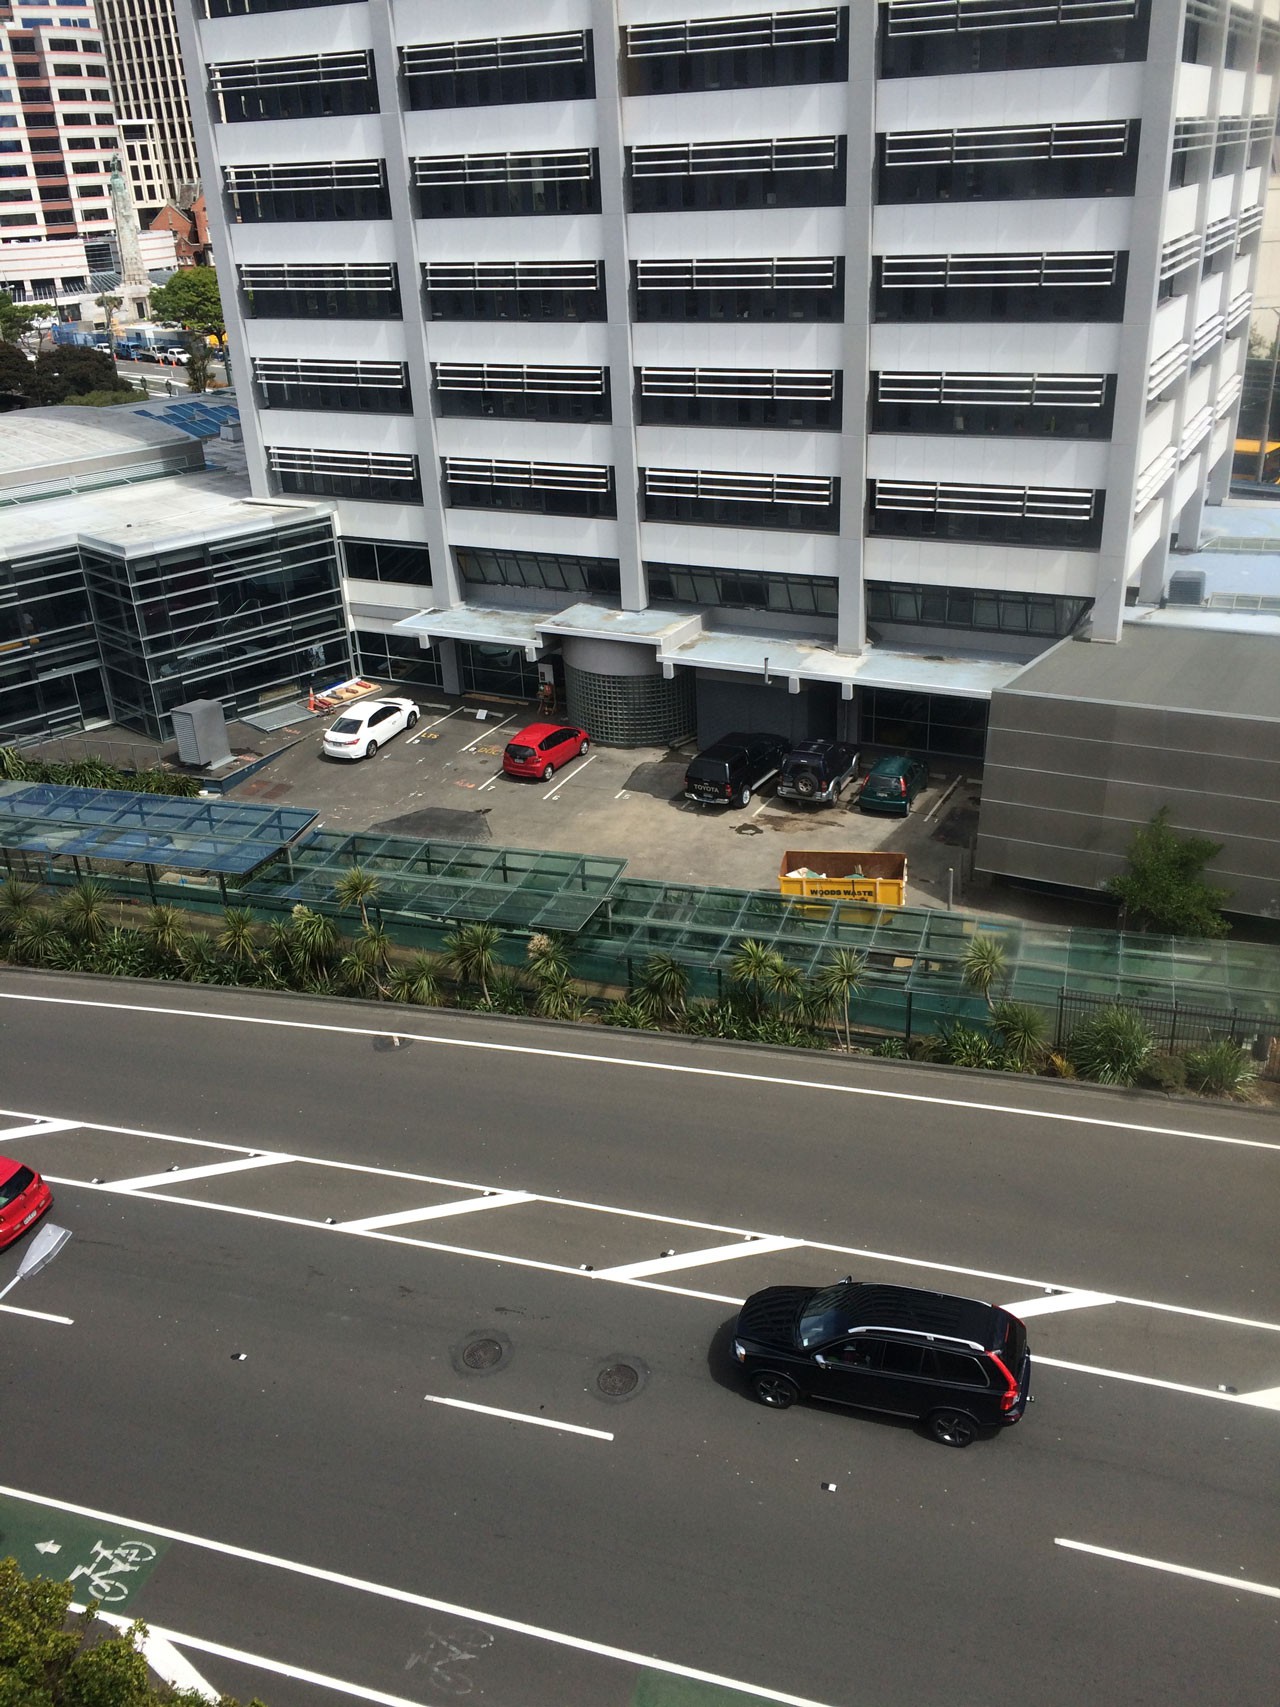
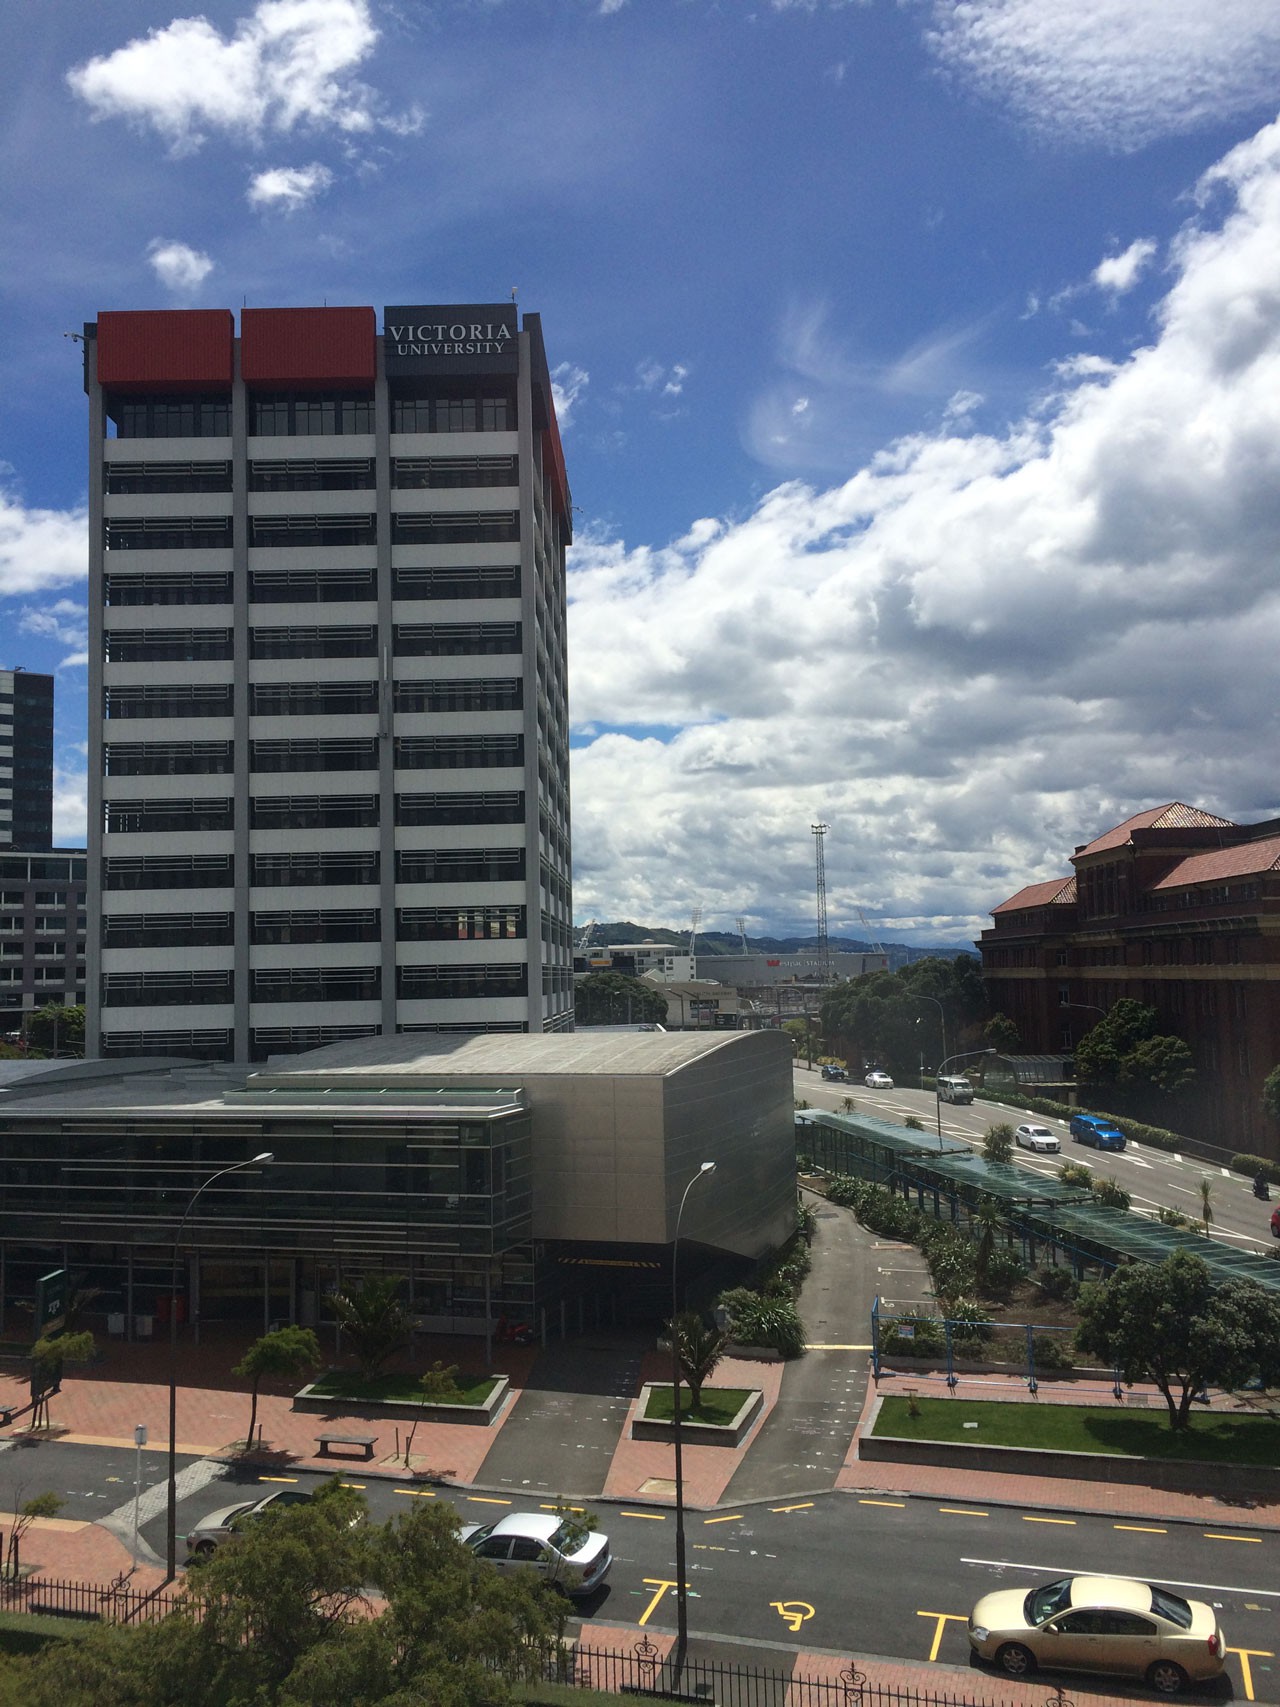
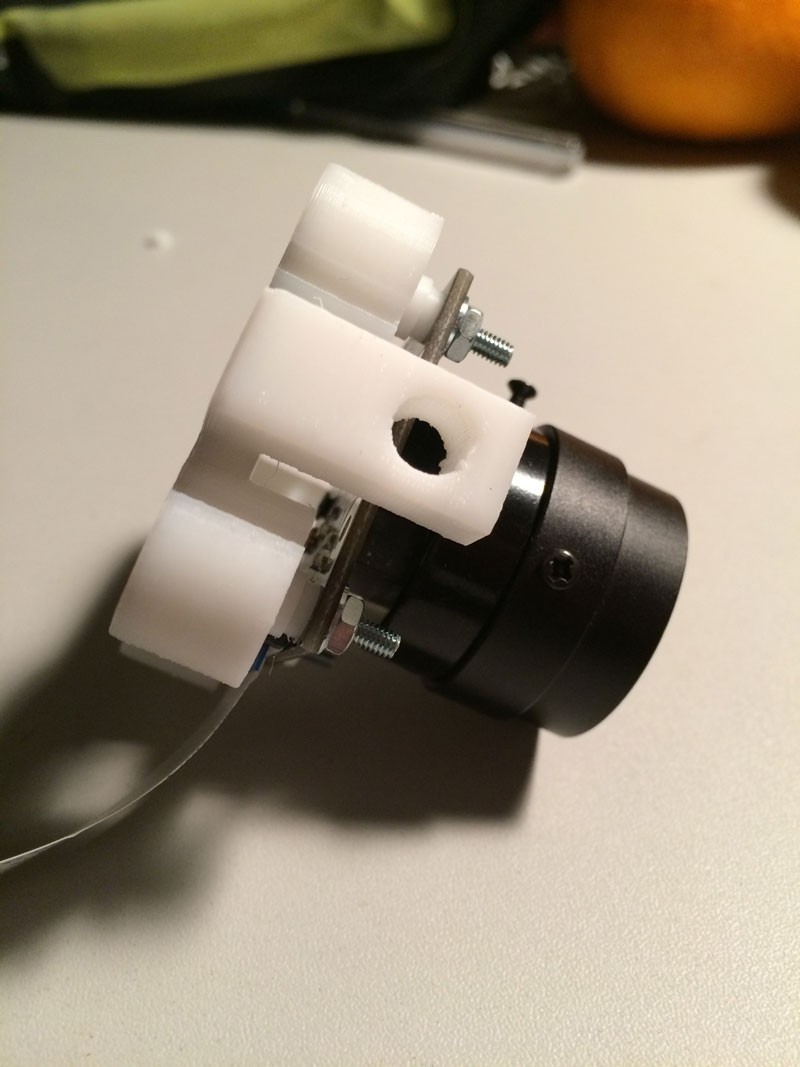
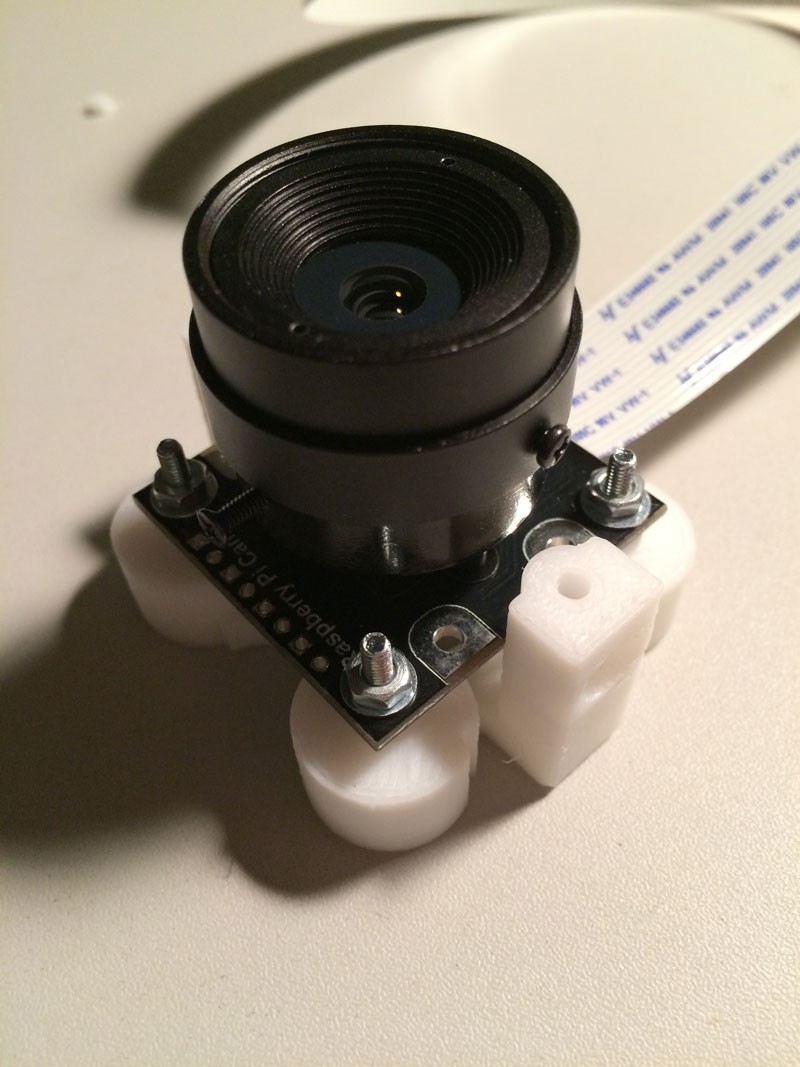
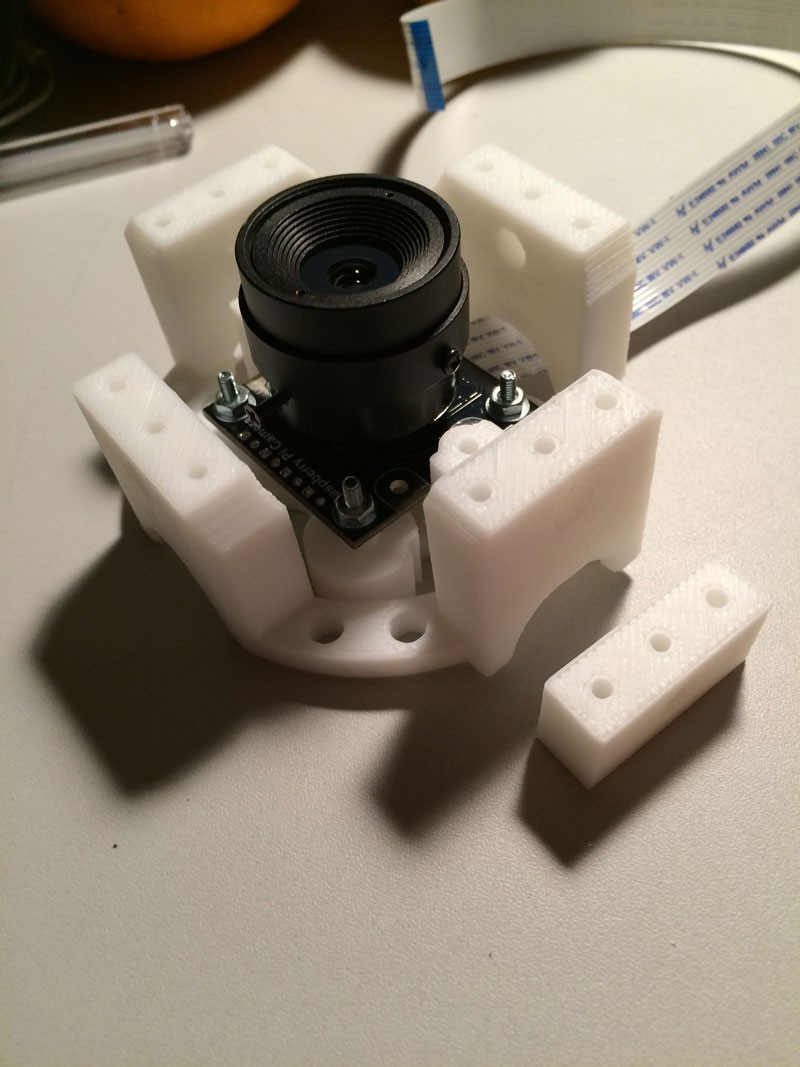
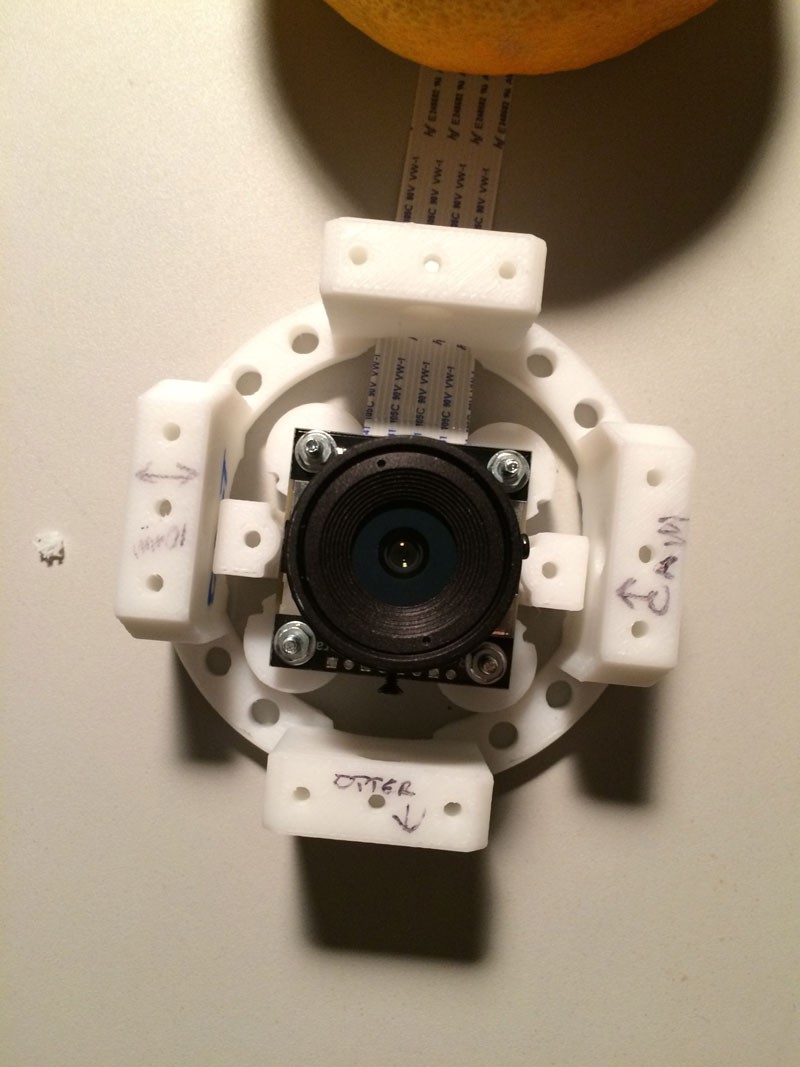
So I have 2 buildings that I am needing to take time-lapse shots over the next 2 years, currently I am aiming to have about 5 Raspberry pi camera's set up and building a "generic" custom rig to hold the camera's in place. as usual there is a limited budget and I am leaning on the help of friends to assist where they can with printing an laser cutting of the materials.
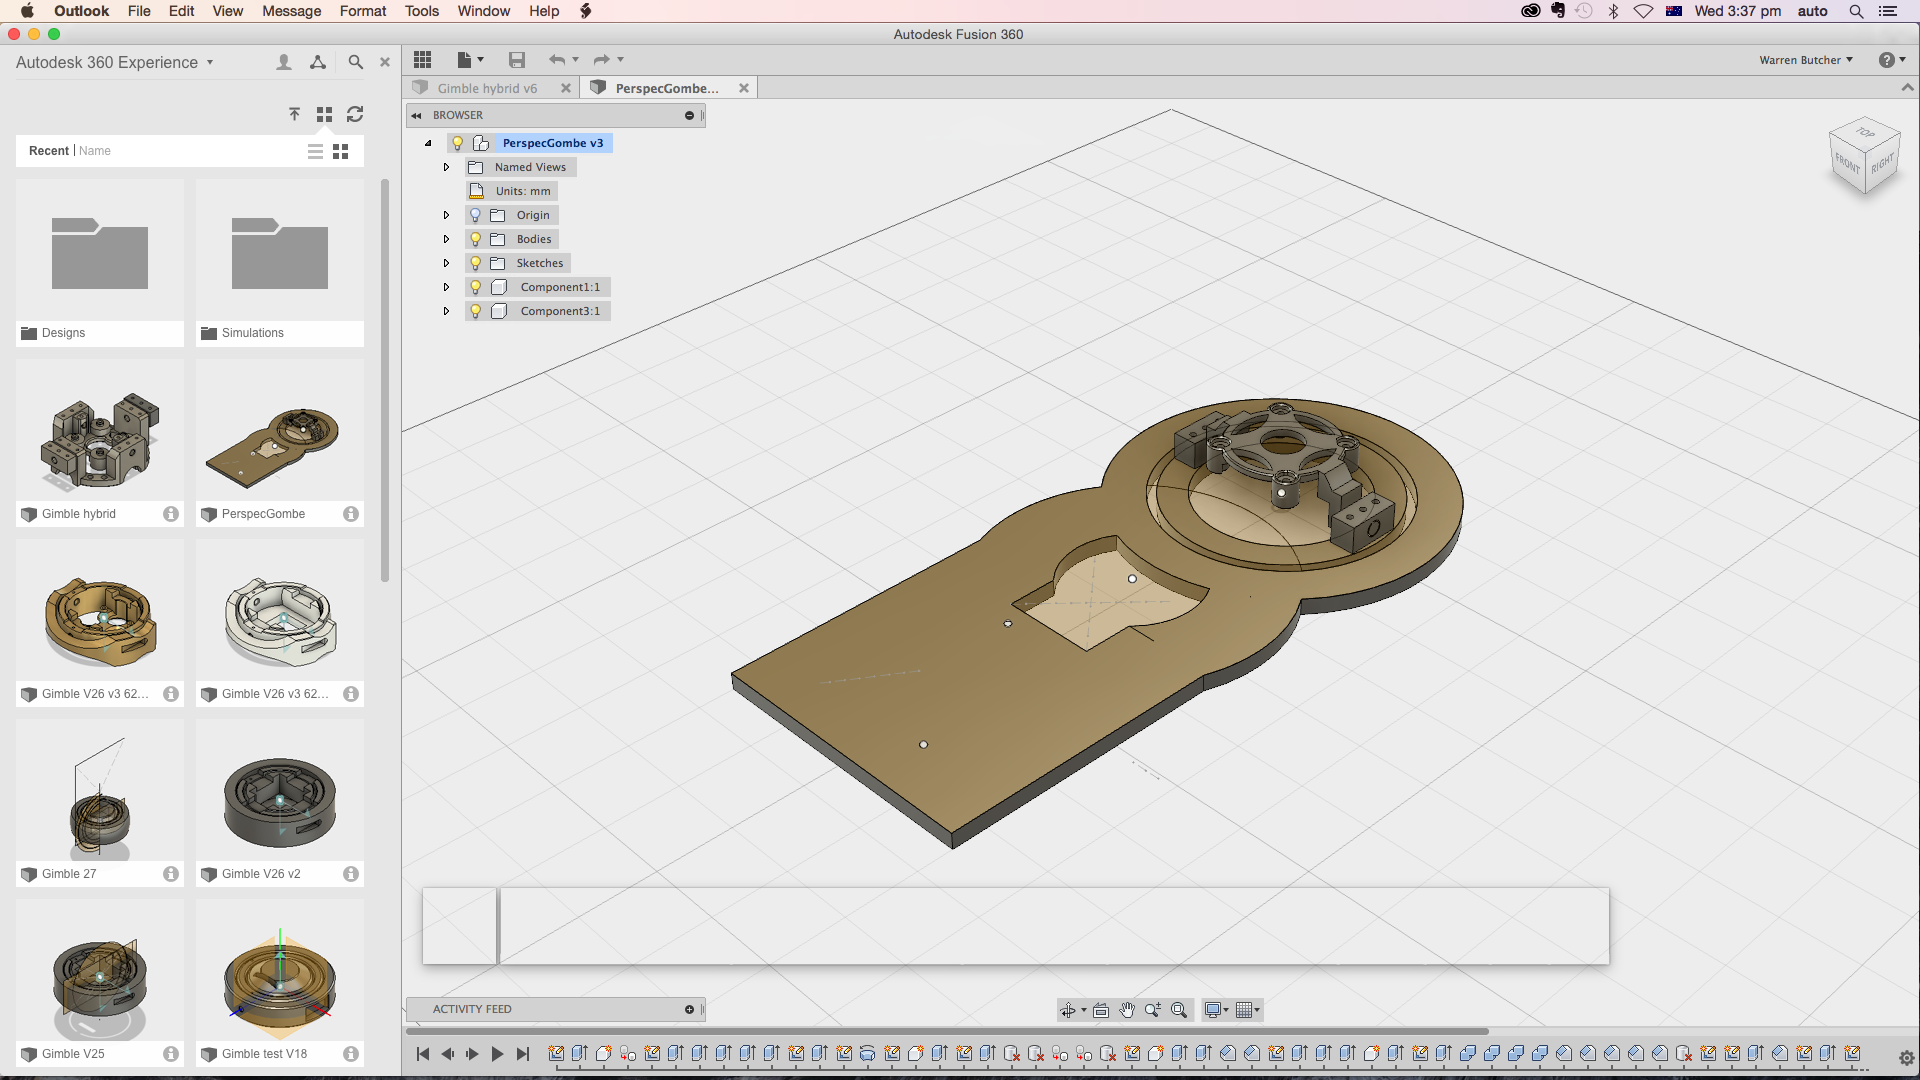
My main focus right now is using Autodesk fusion 360 as well as Adobe illustrator to create the rigs. So far I have gone thru about 30 iterations prior to printing anything (I will make the files avalaible somehow when they are done if anyone needs them.

 jdelbe
 Jacob David C Cunningham
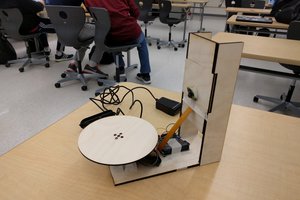
 Eric Link
 David Troetschel