 Kuro
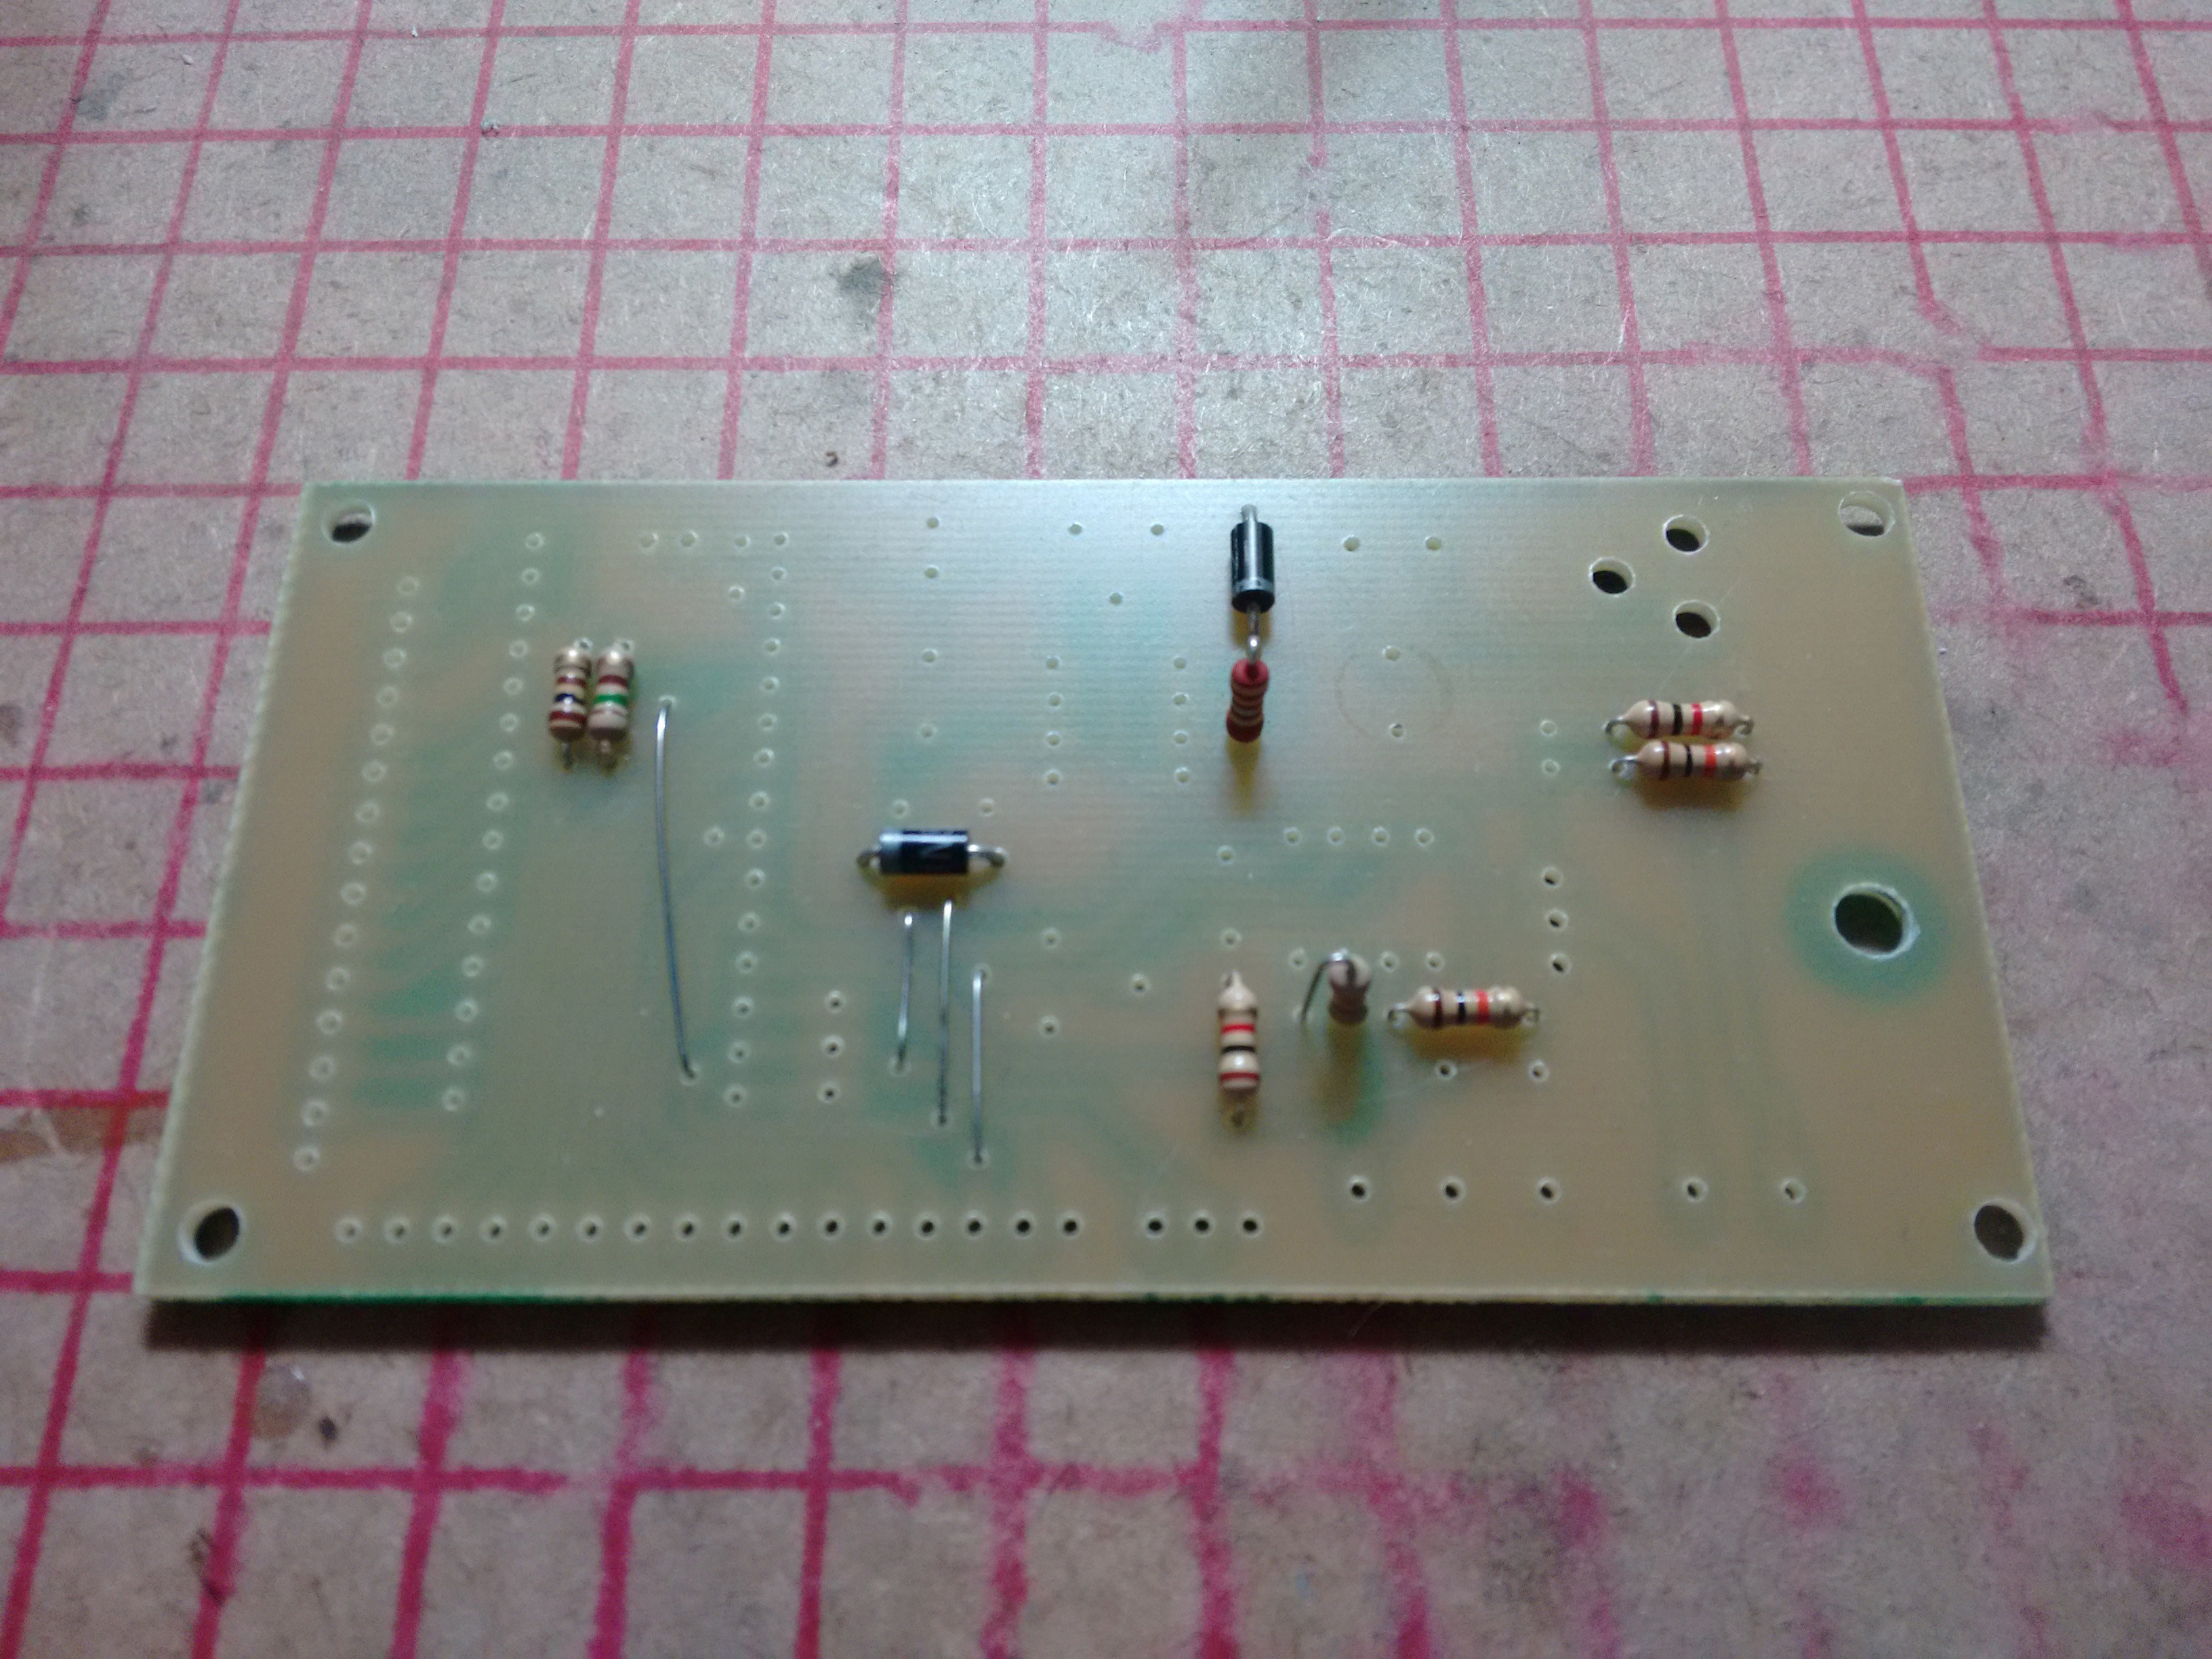
KuroI started the assembly with the jumpers, resistors and diodes first:
 Then, I went to finish the switching power supply. Power jack, power switch connections and capacitor.
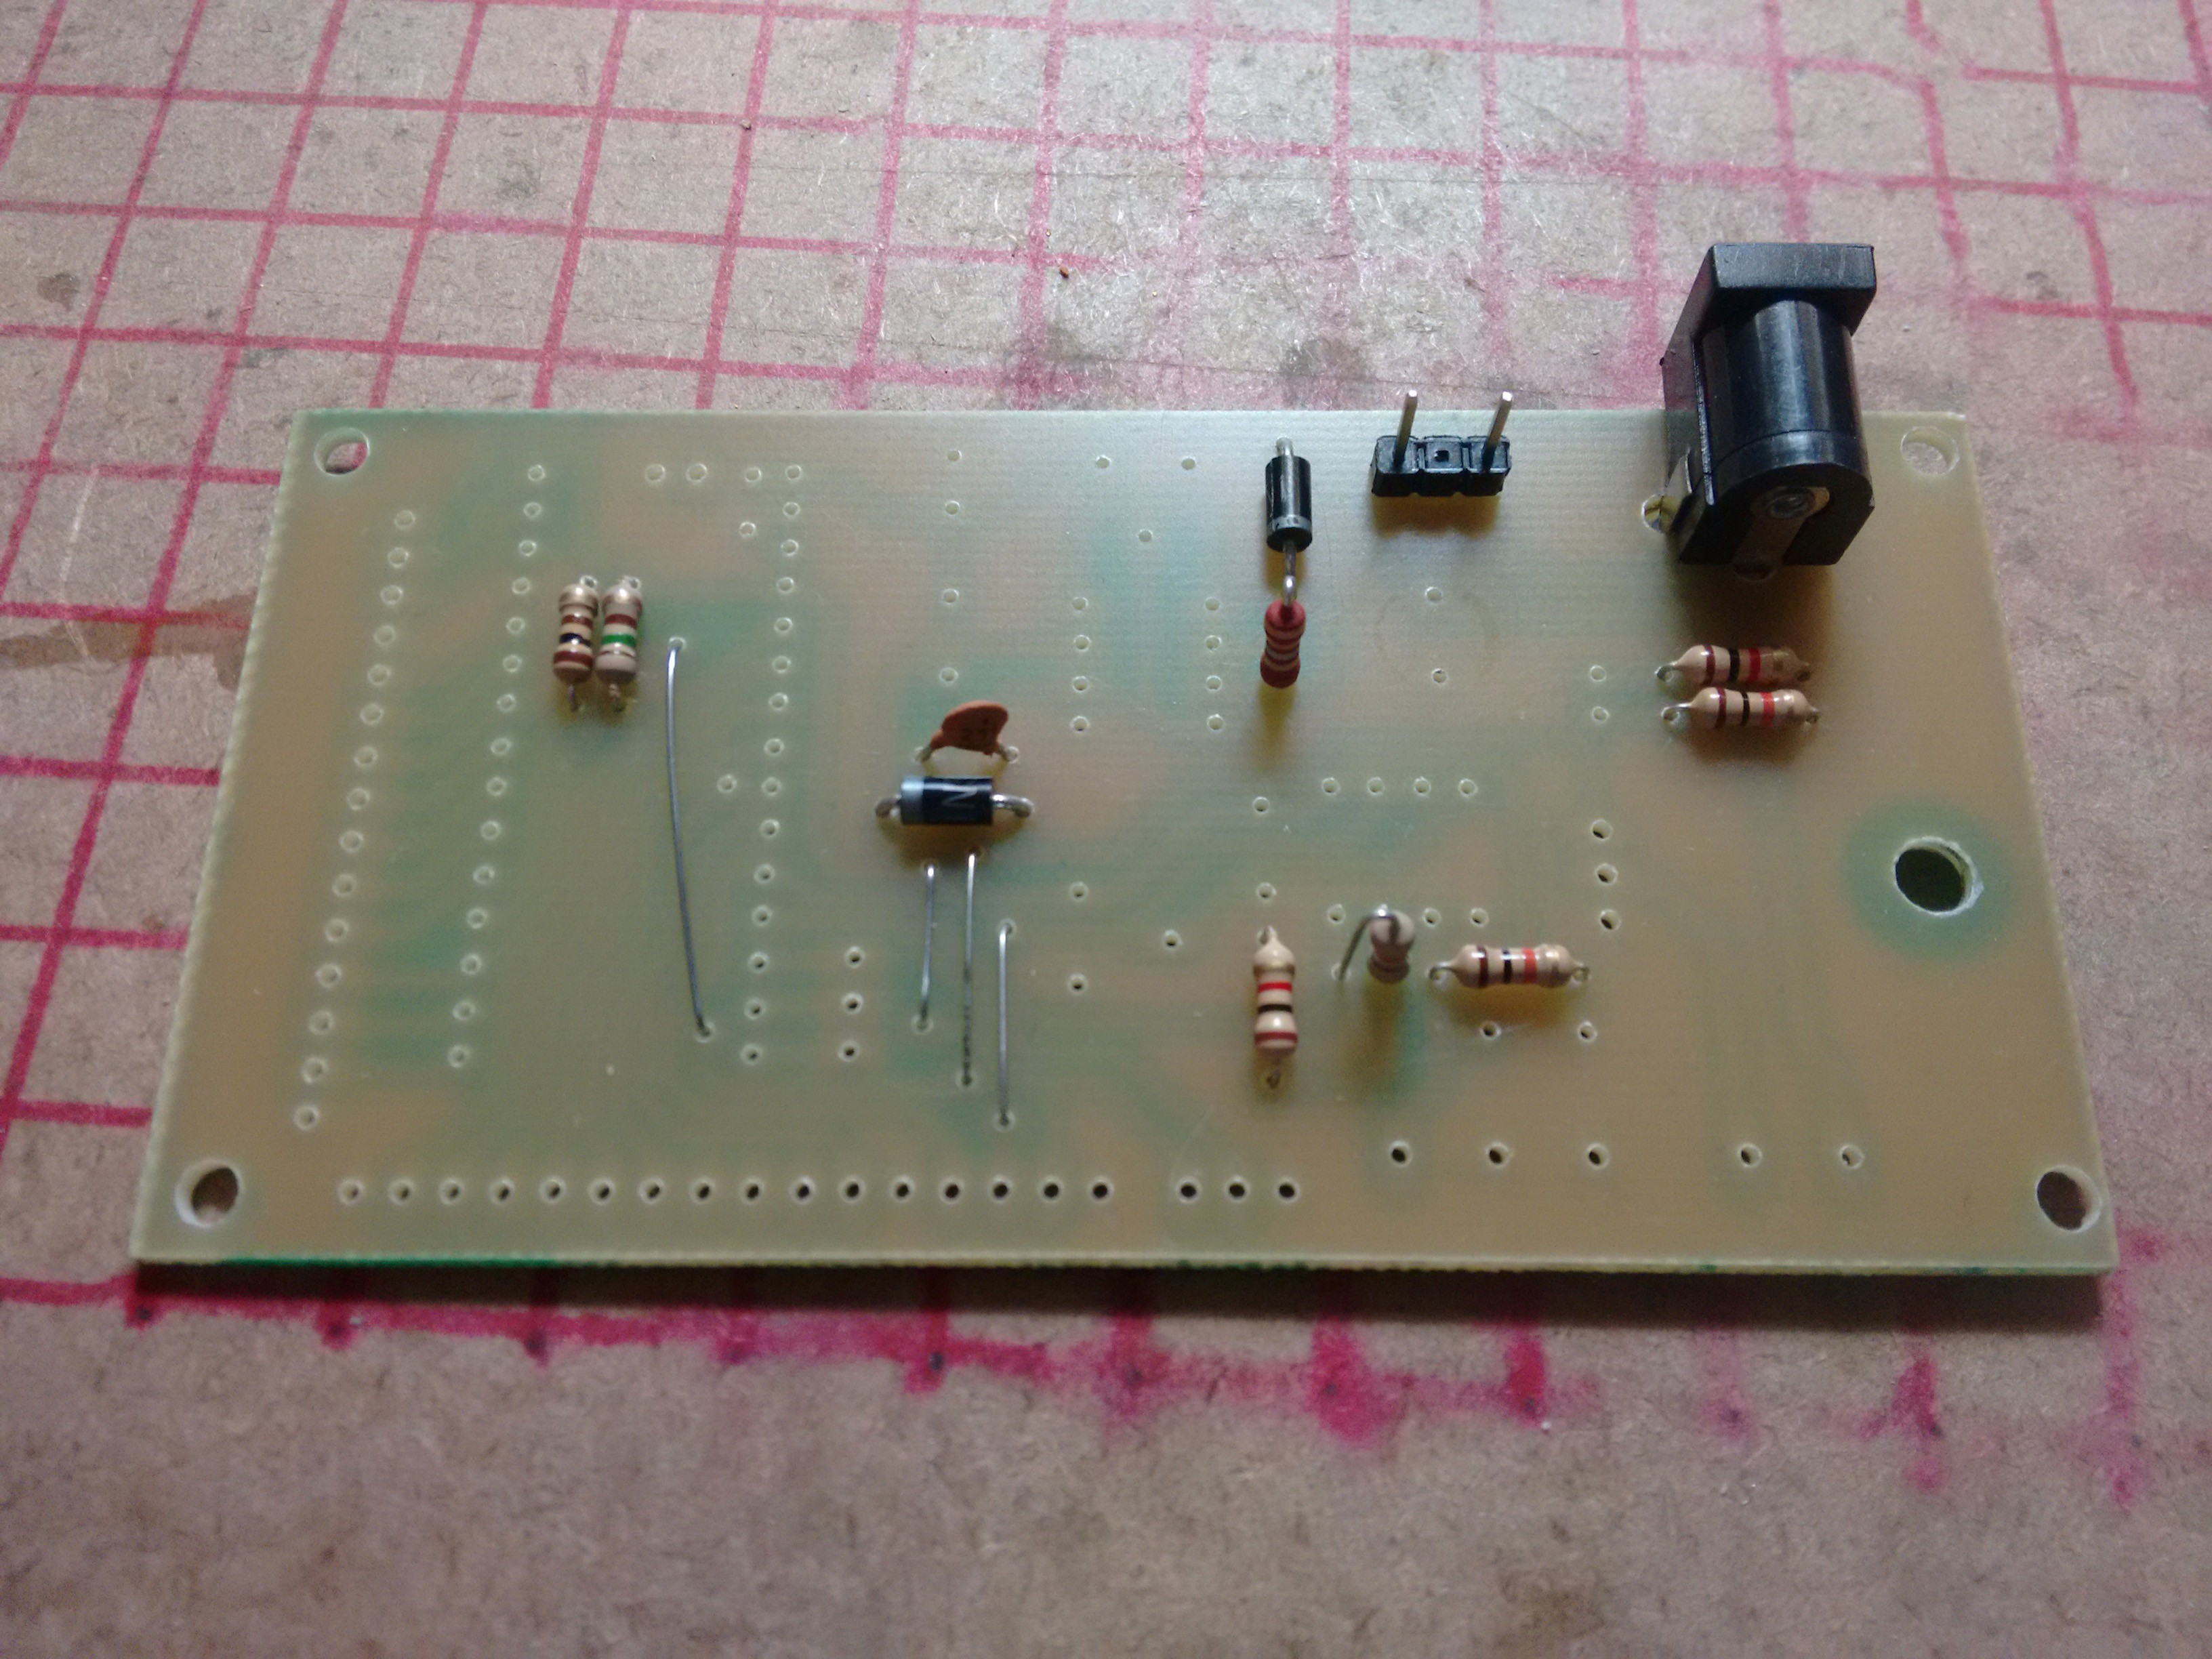
Notice that I soldered pins instead of the screw terminal to the power switch. Didn't want any wires going through the back of the board.
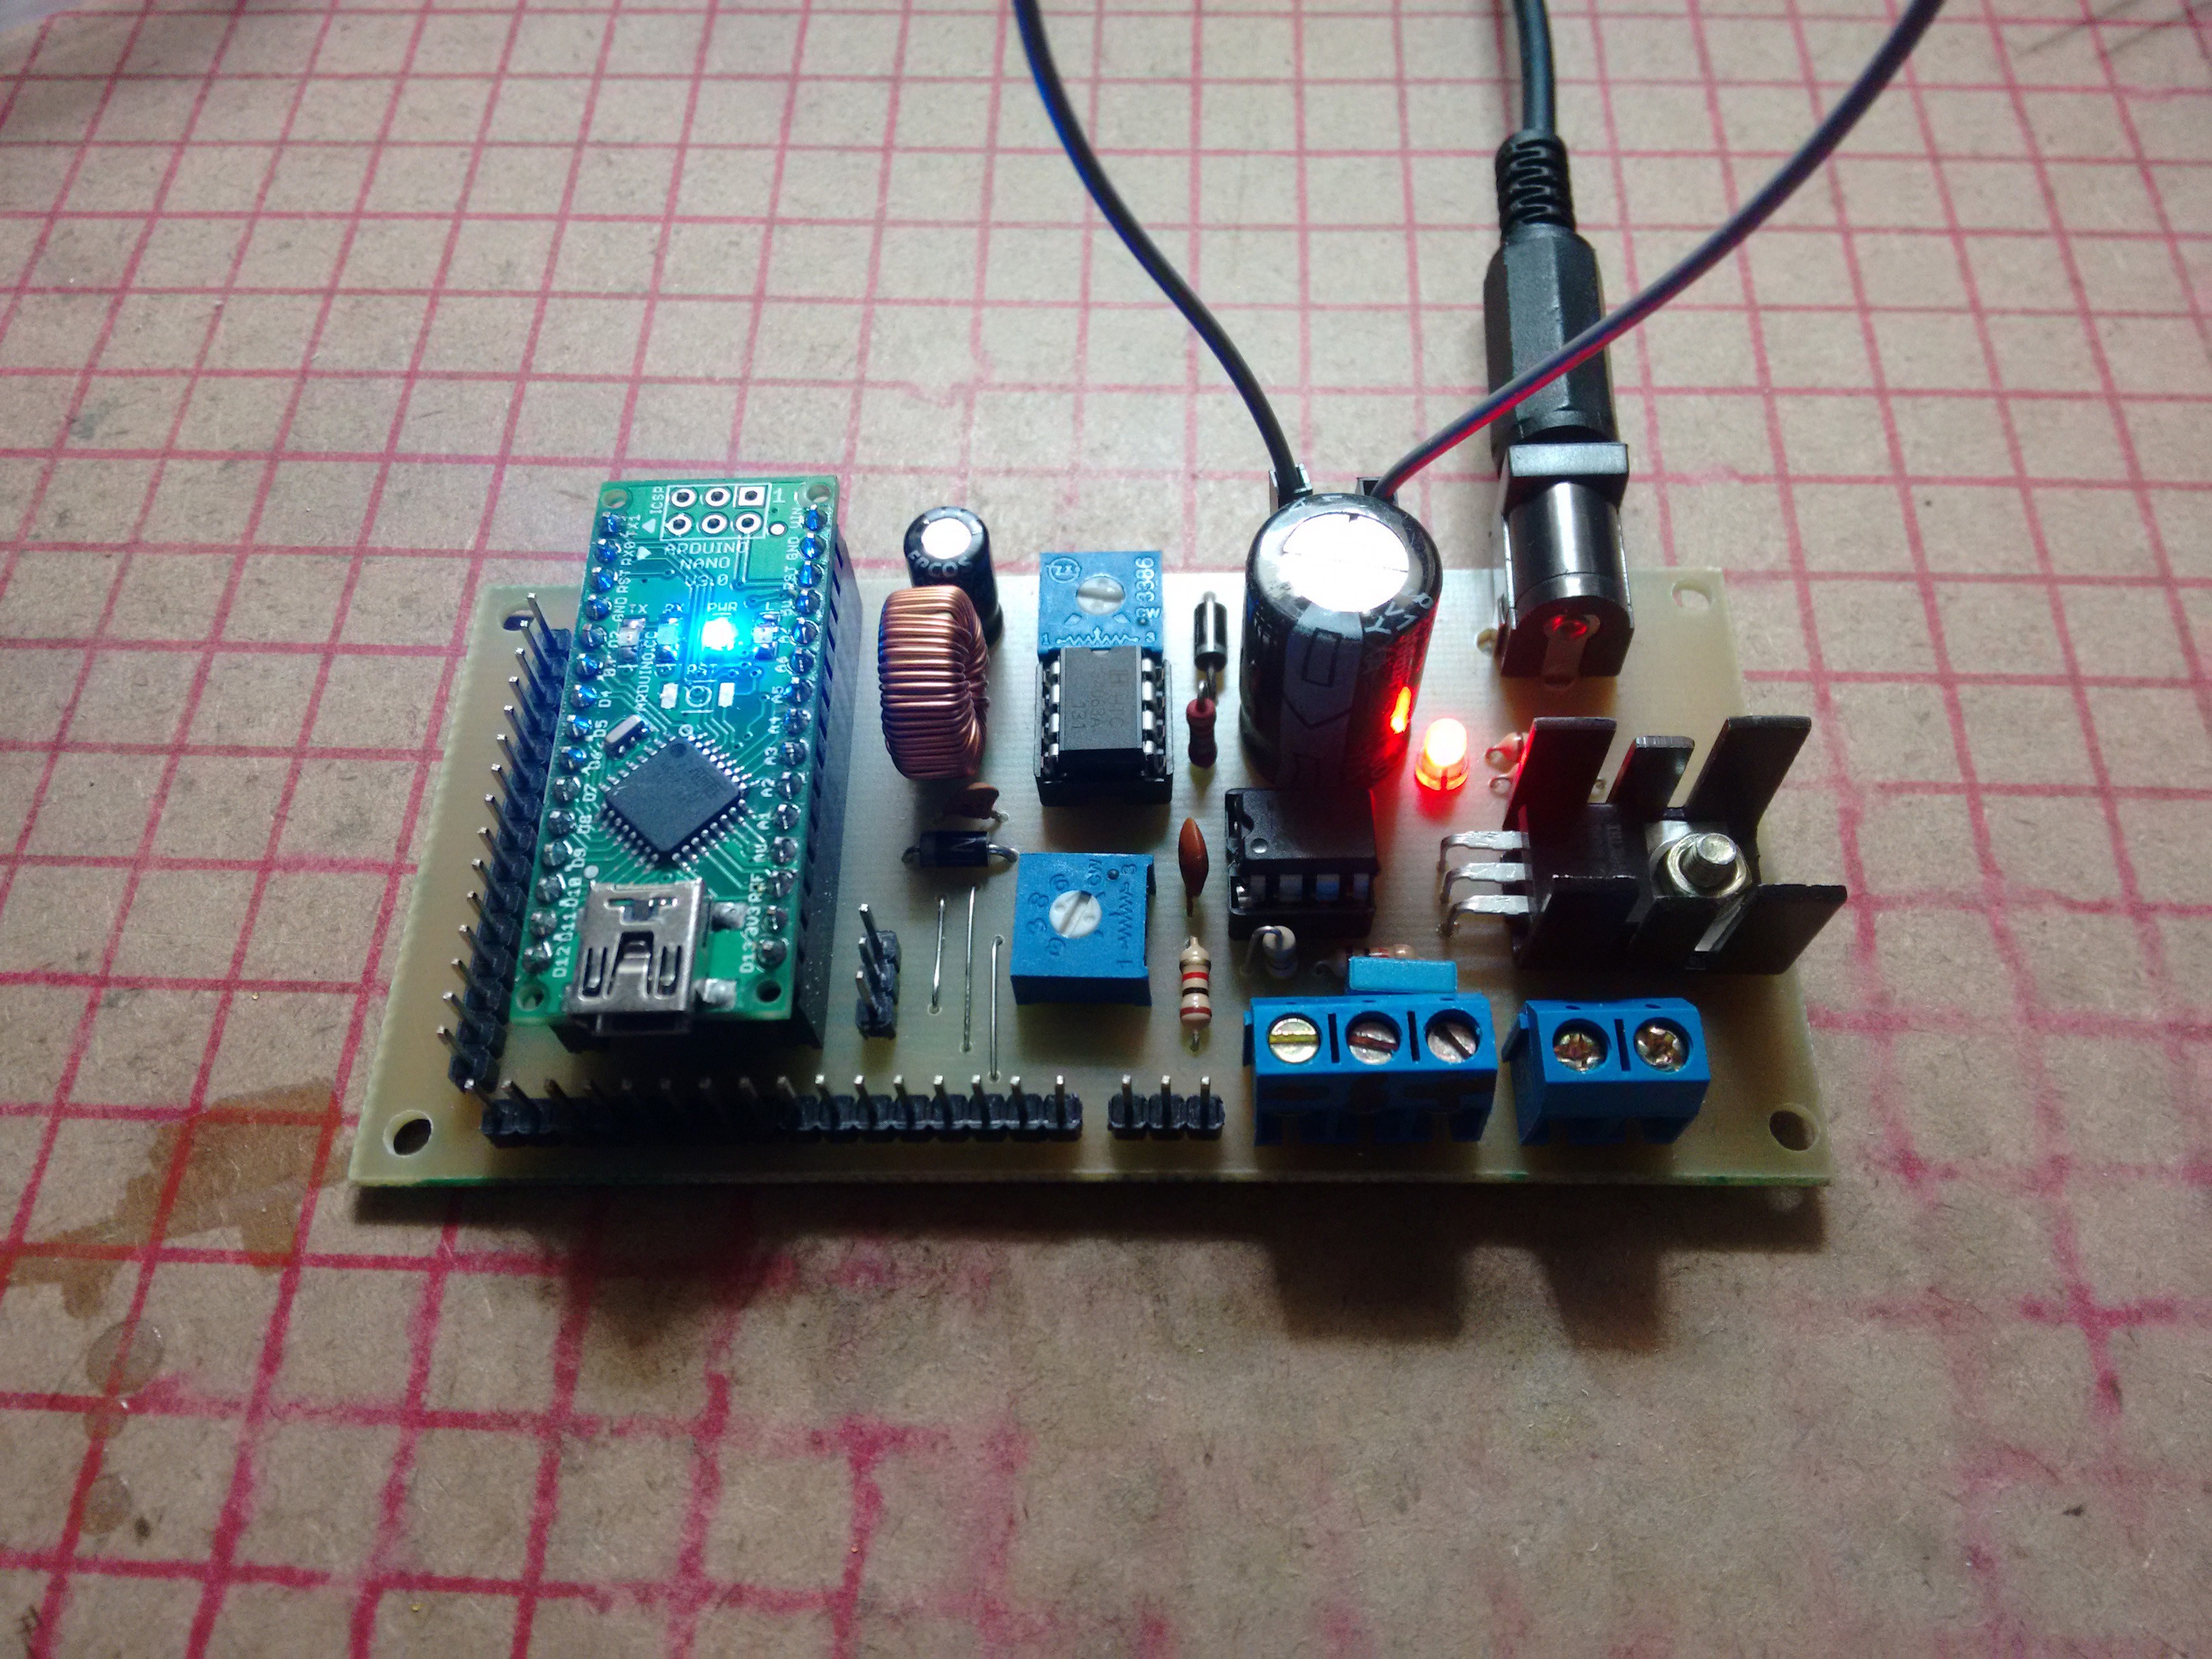
Continuing with the power supply, I soldered the rest of the components necessary, and tested it.
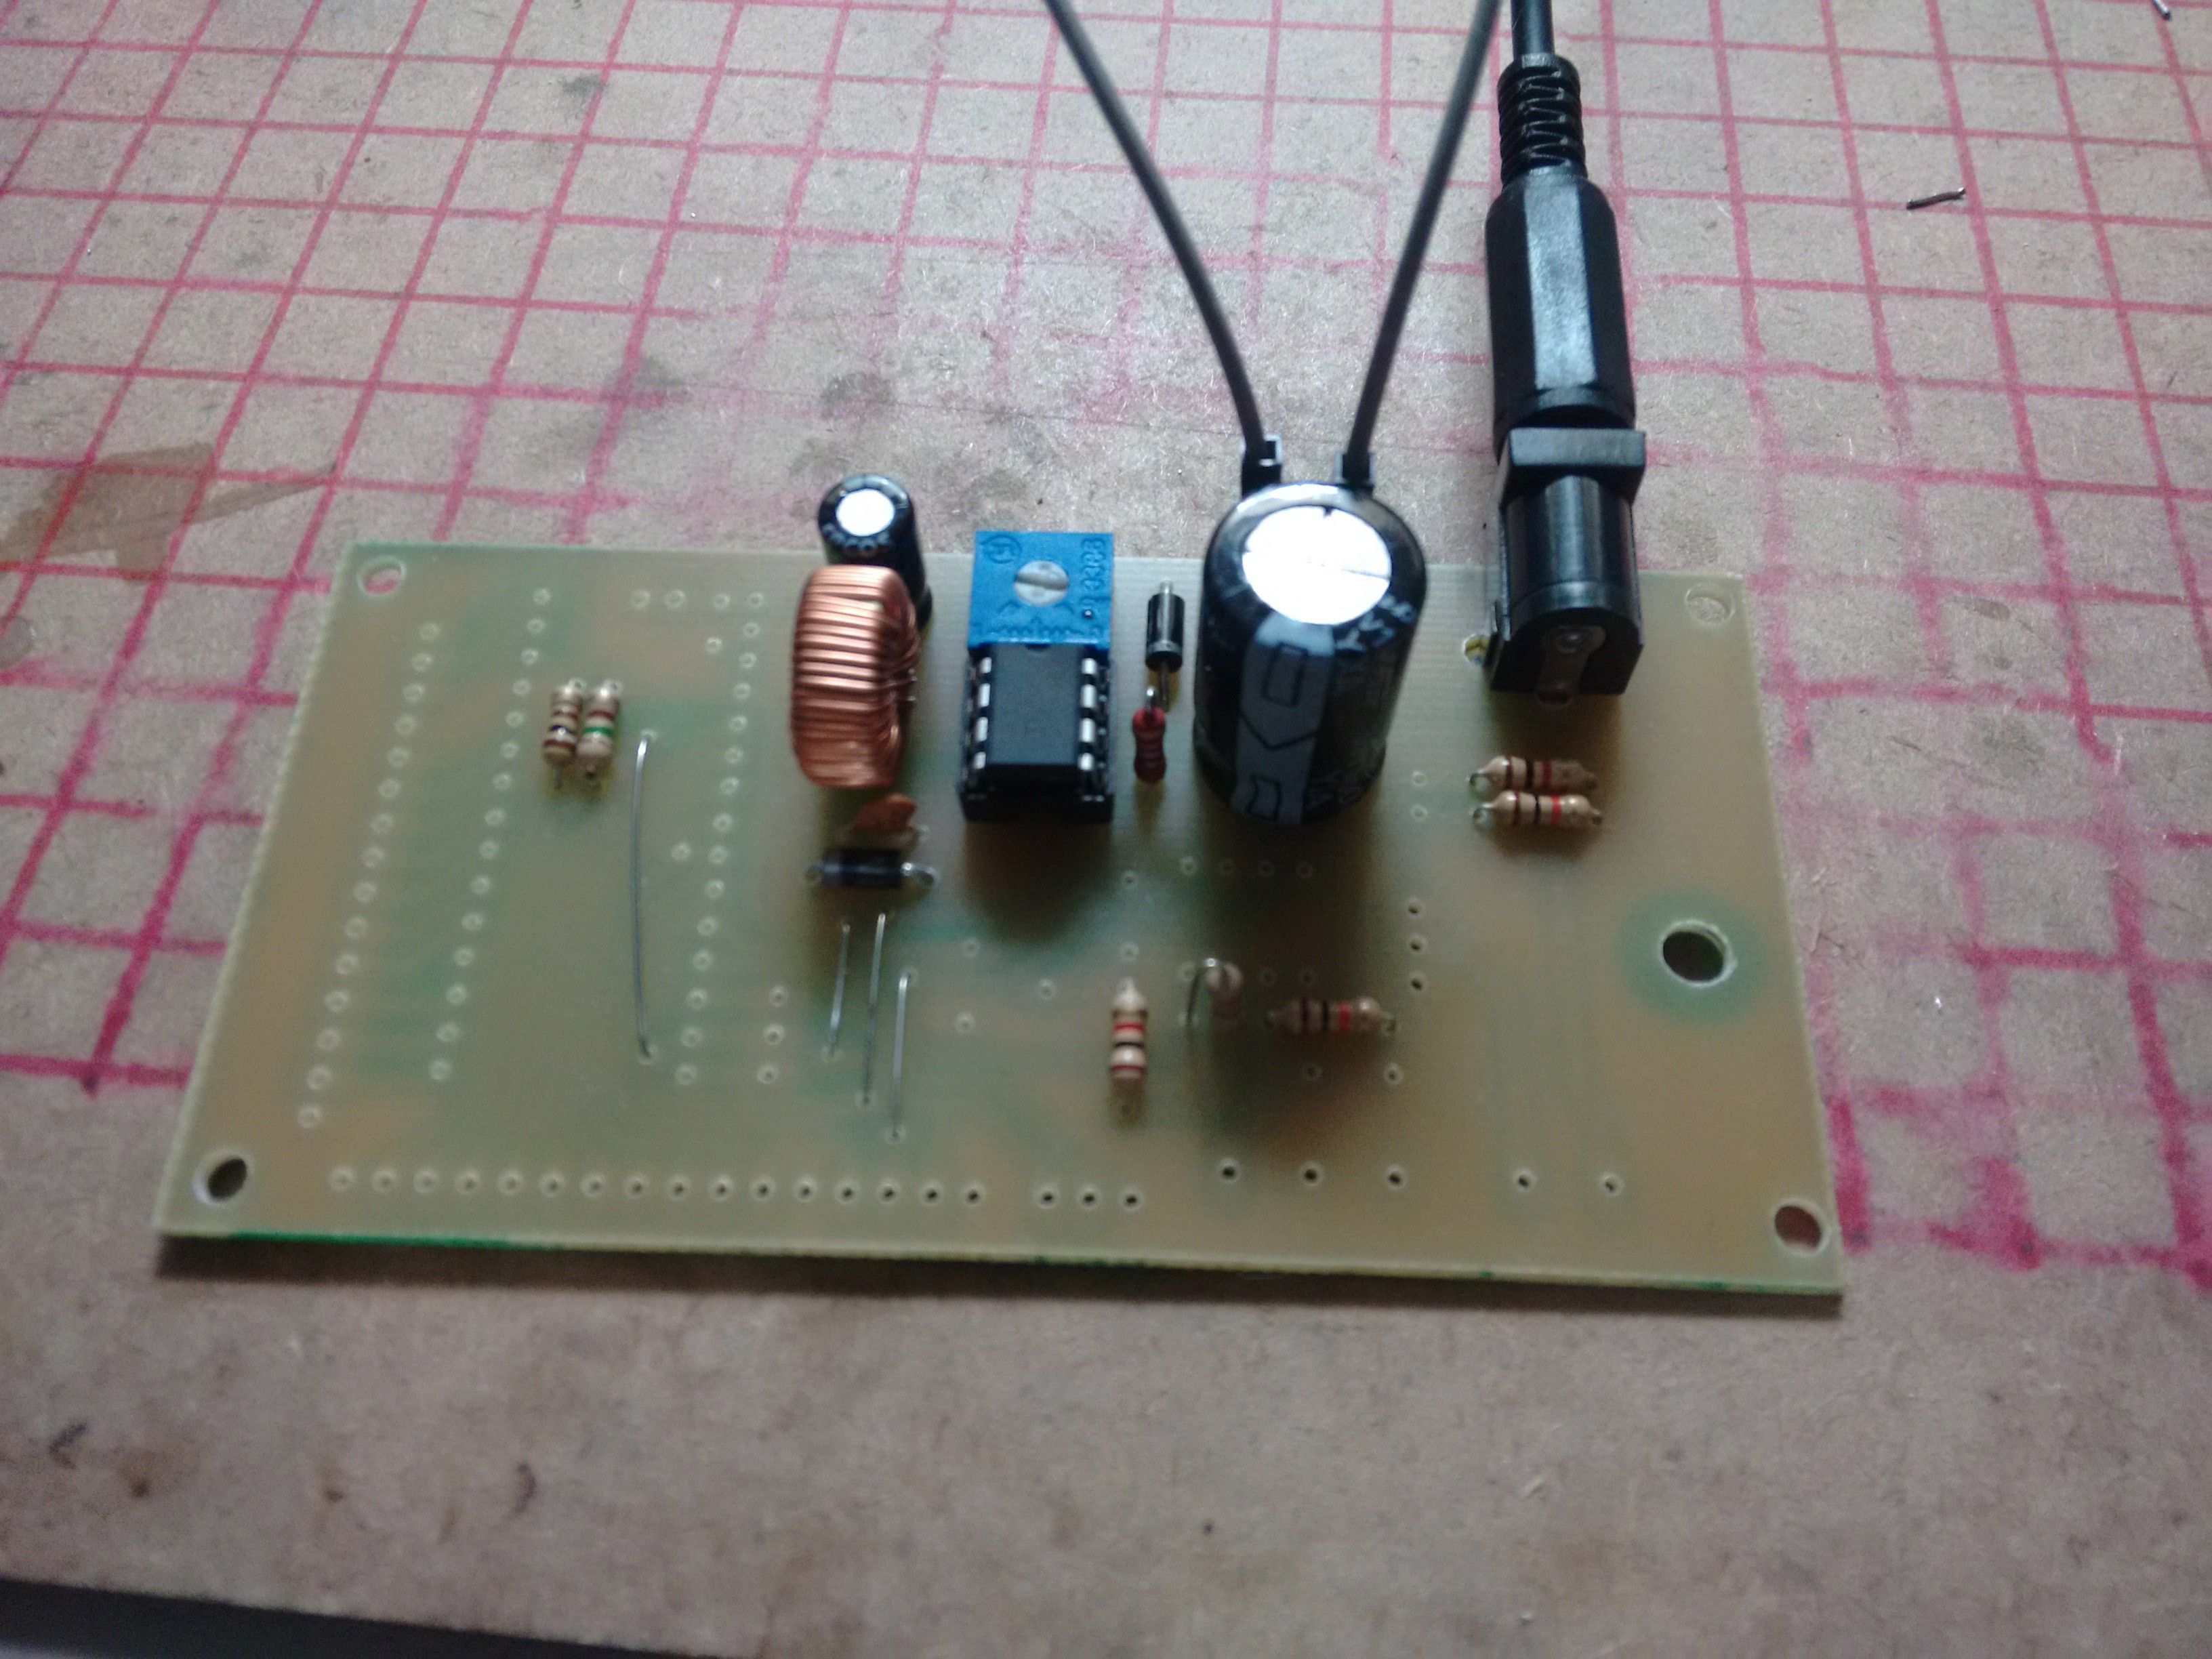 Everything working alright. I set the output voltage to 12V with the potentiometer. You want to set the output voltage now, because if you connect your Arduino without setting the voltage first, you could fry it.
With the power supply working, I soldered the rest of the parts.
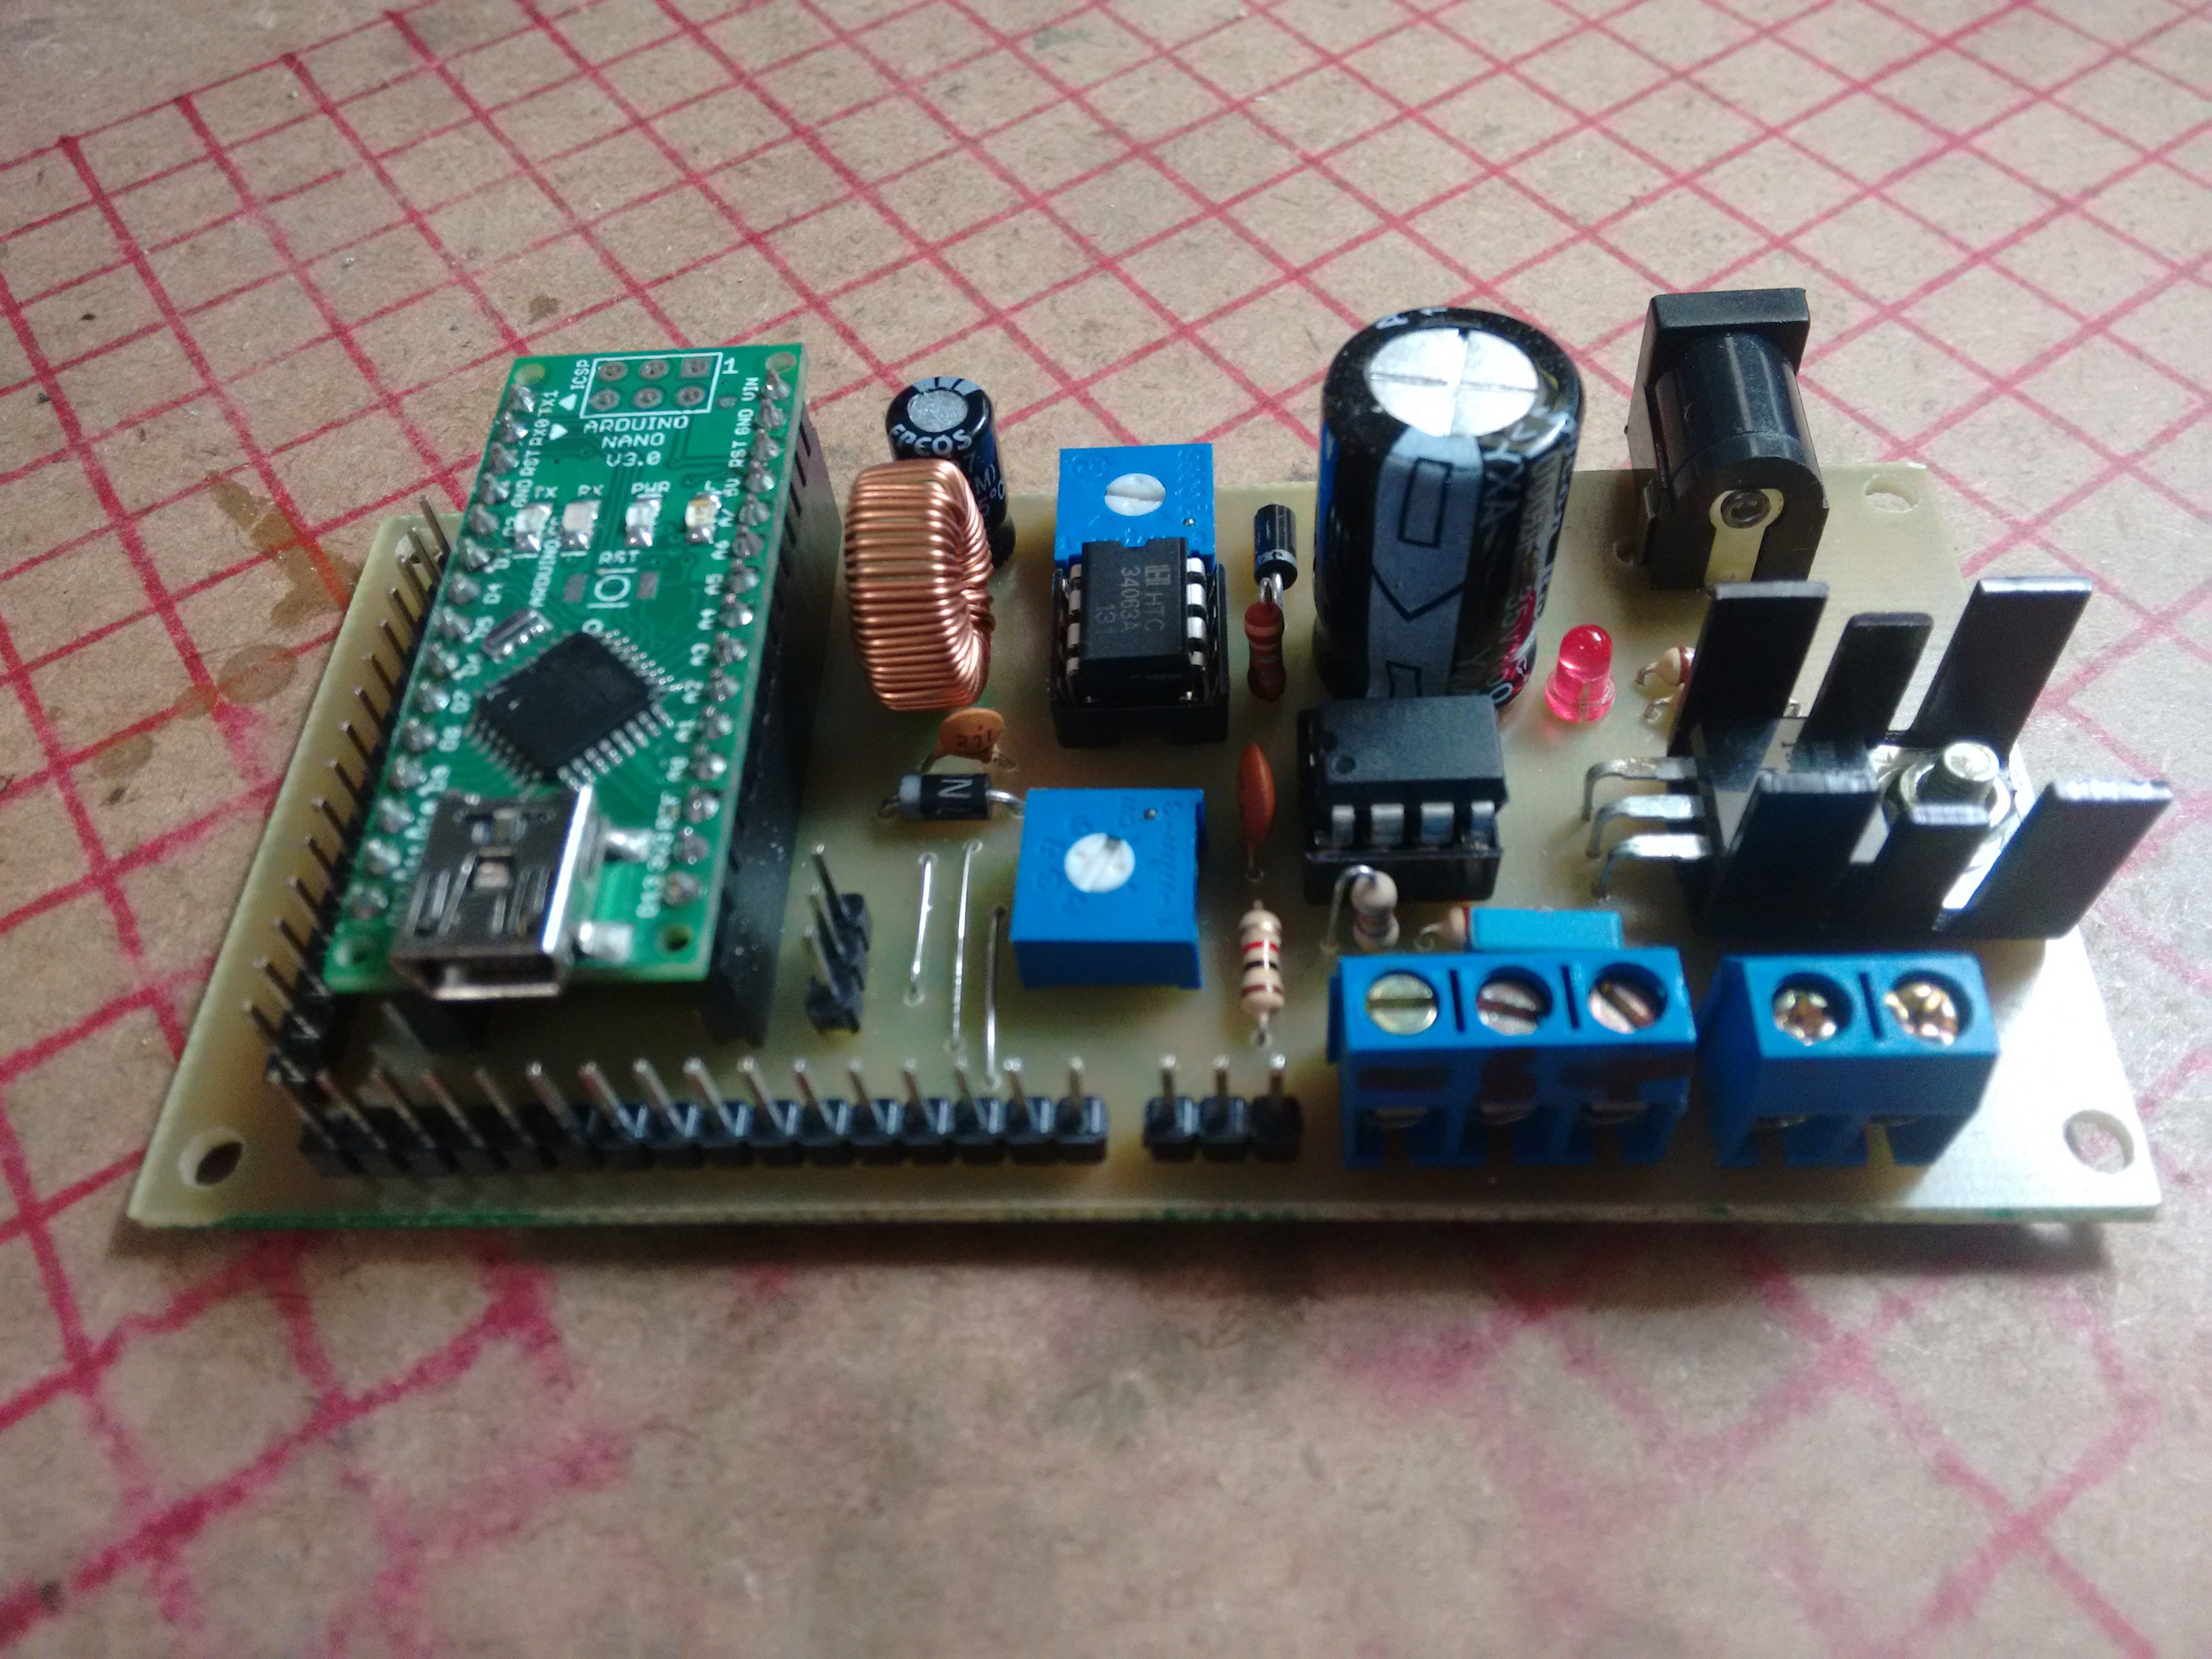
The USB connector is over the LCD pin header. I was going to use 90 degree pin headers, but I had none right now. I'll swap the pin header later.
With the power on:
 Everything seems to be working as expected. Next thing now is the program, but I'm rather tired after soldering the board.
I'll do it next time.
Discussions
Become a Hackaday.io Member
Create an account to leave a comment. Already have an account? Log In.