 conradcn
The system can be broken down into several large sections, which are detailed in the design document below:

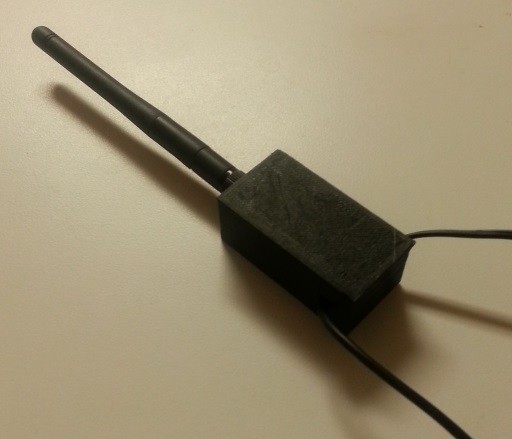
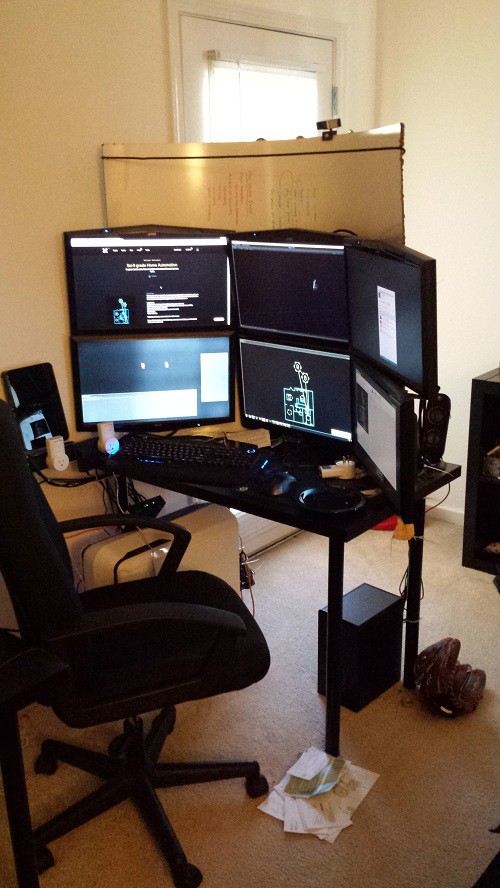
The central server talks with the nodes either over Wi-Fi or off-the-shelf RF interfaces. Most of the core software runs here. It contains:
A web interface and database (really an ASP.NET page with a static dictionary, but it works the same way)
A windows service that mediates all of the various communications
Speech recognition using SAPI and some microphones hidden behind the couch
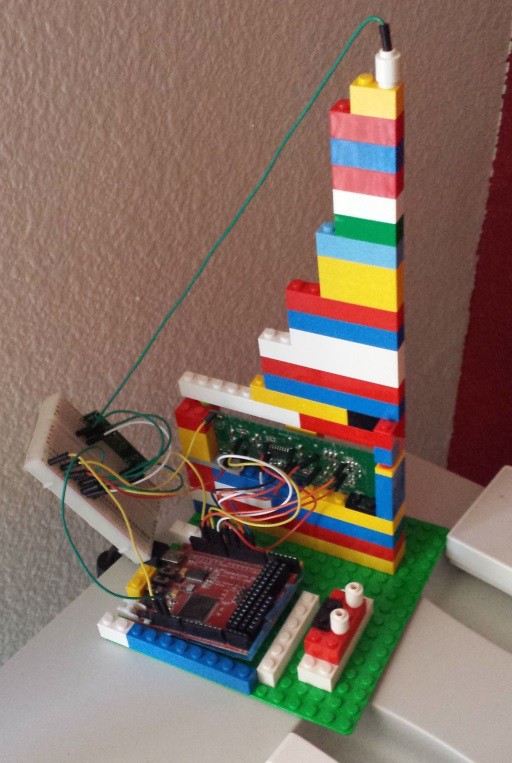
It talks to two Arduinos over USB. Those handle the outlet switches, RF, and living room blinds.
An AutoHotkey (I know, right?) script that triggers the morning and evening routines.
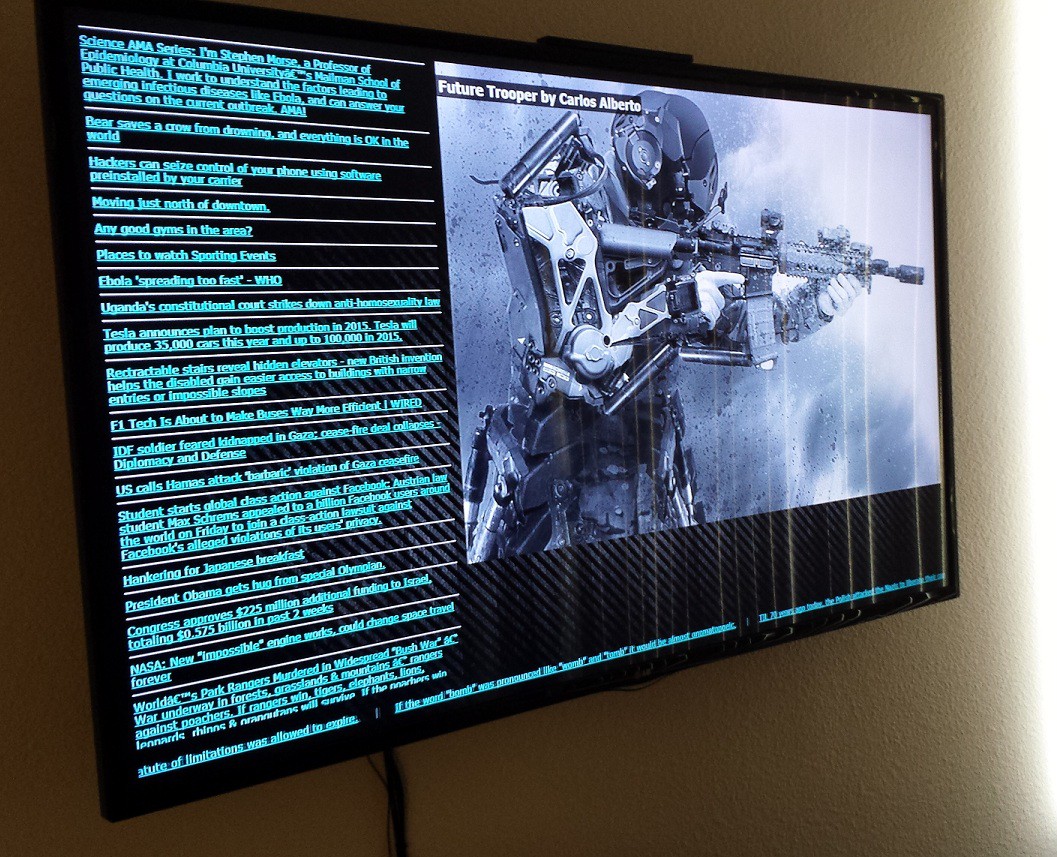
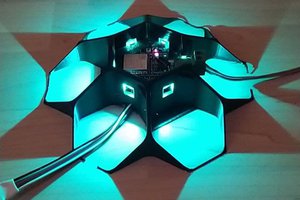
Other nodes are the TVs, a couple old androids running the unity app, and a spark core that deals with detecting the switch state.
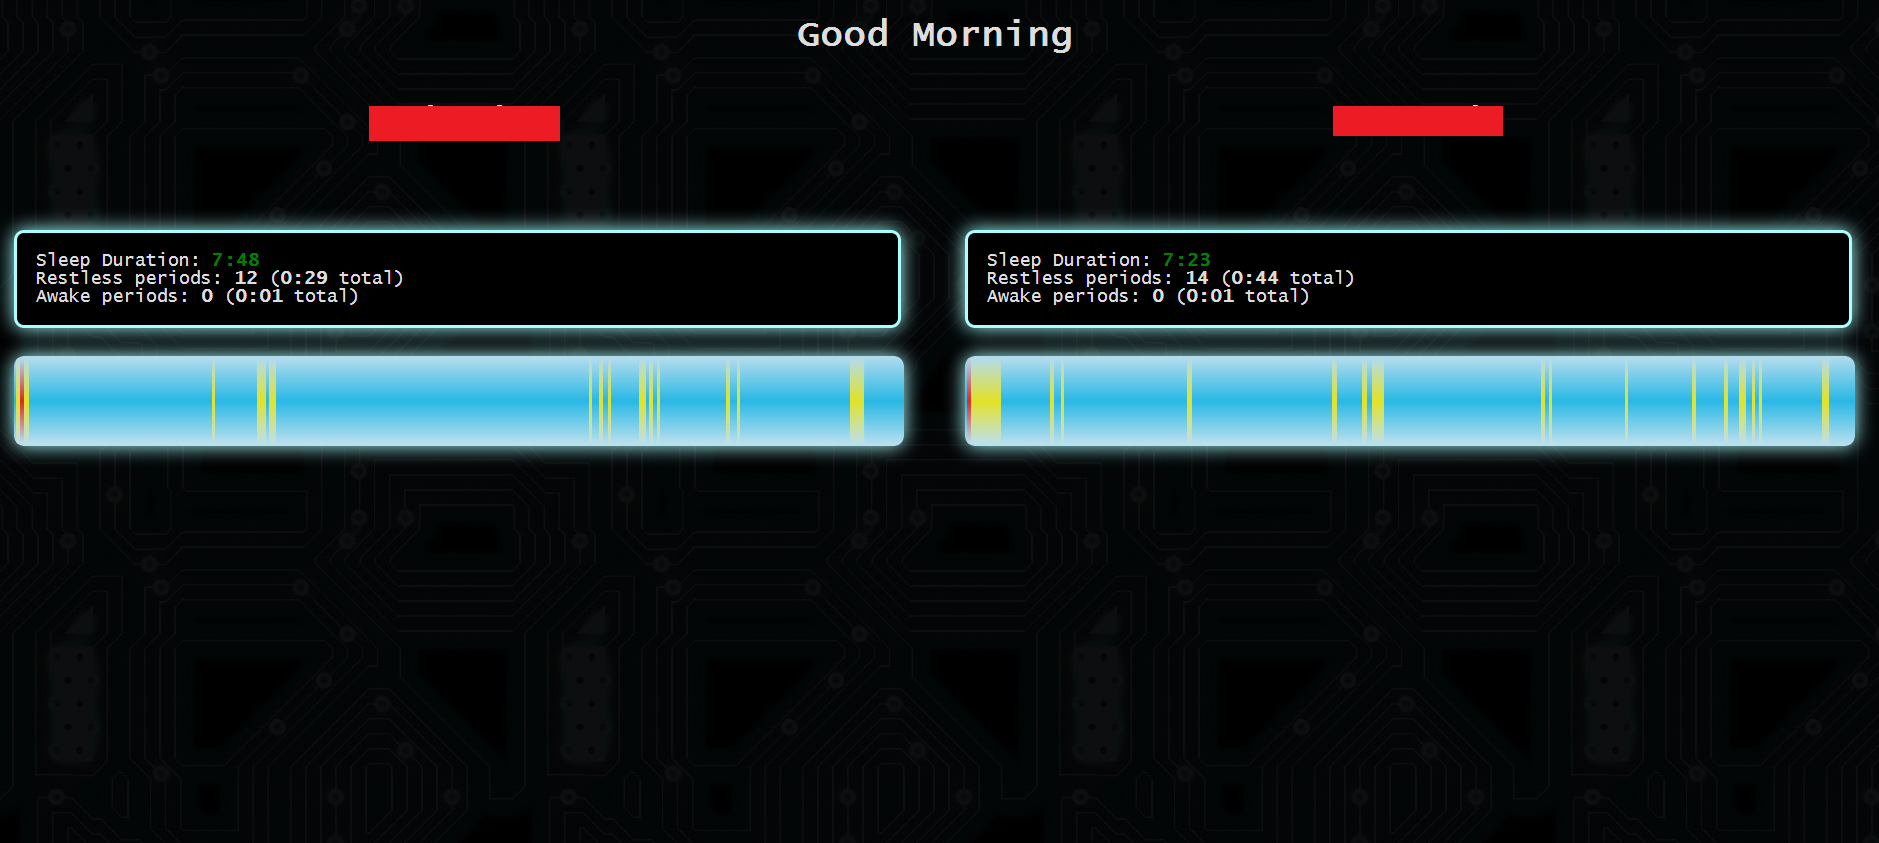
The system communicates with our Fitbits over the API (for getting sleep data, health data, and other user vitals).


 Xasin
Xasin
 Kenji Larsen
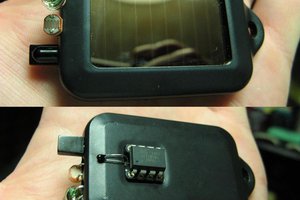
 shlonkin
The GitHub link on the left should work. I need to revamp the TCP connector (I switched it over to their cloud system because they removed the web interface, but it causes delay and occasional lost commands), but the rest of it should work (I haven't had too many problems with it).