 Gary
Gary-
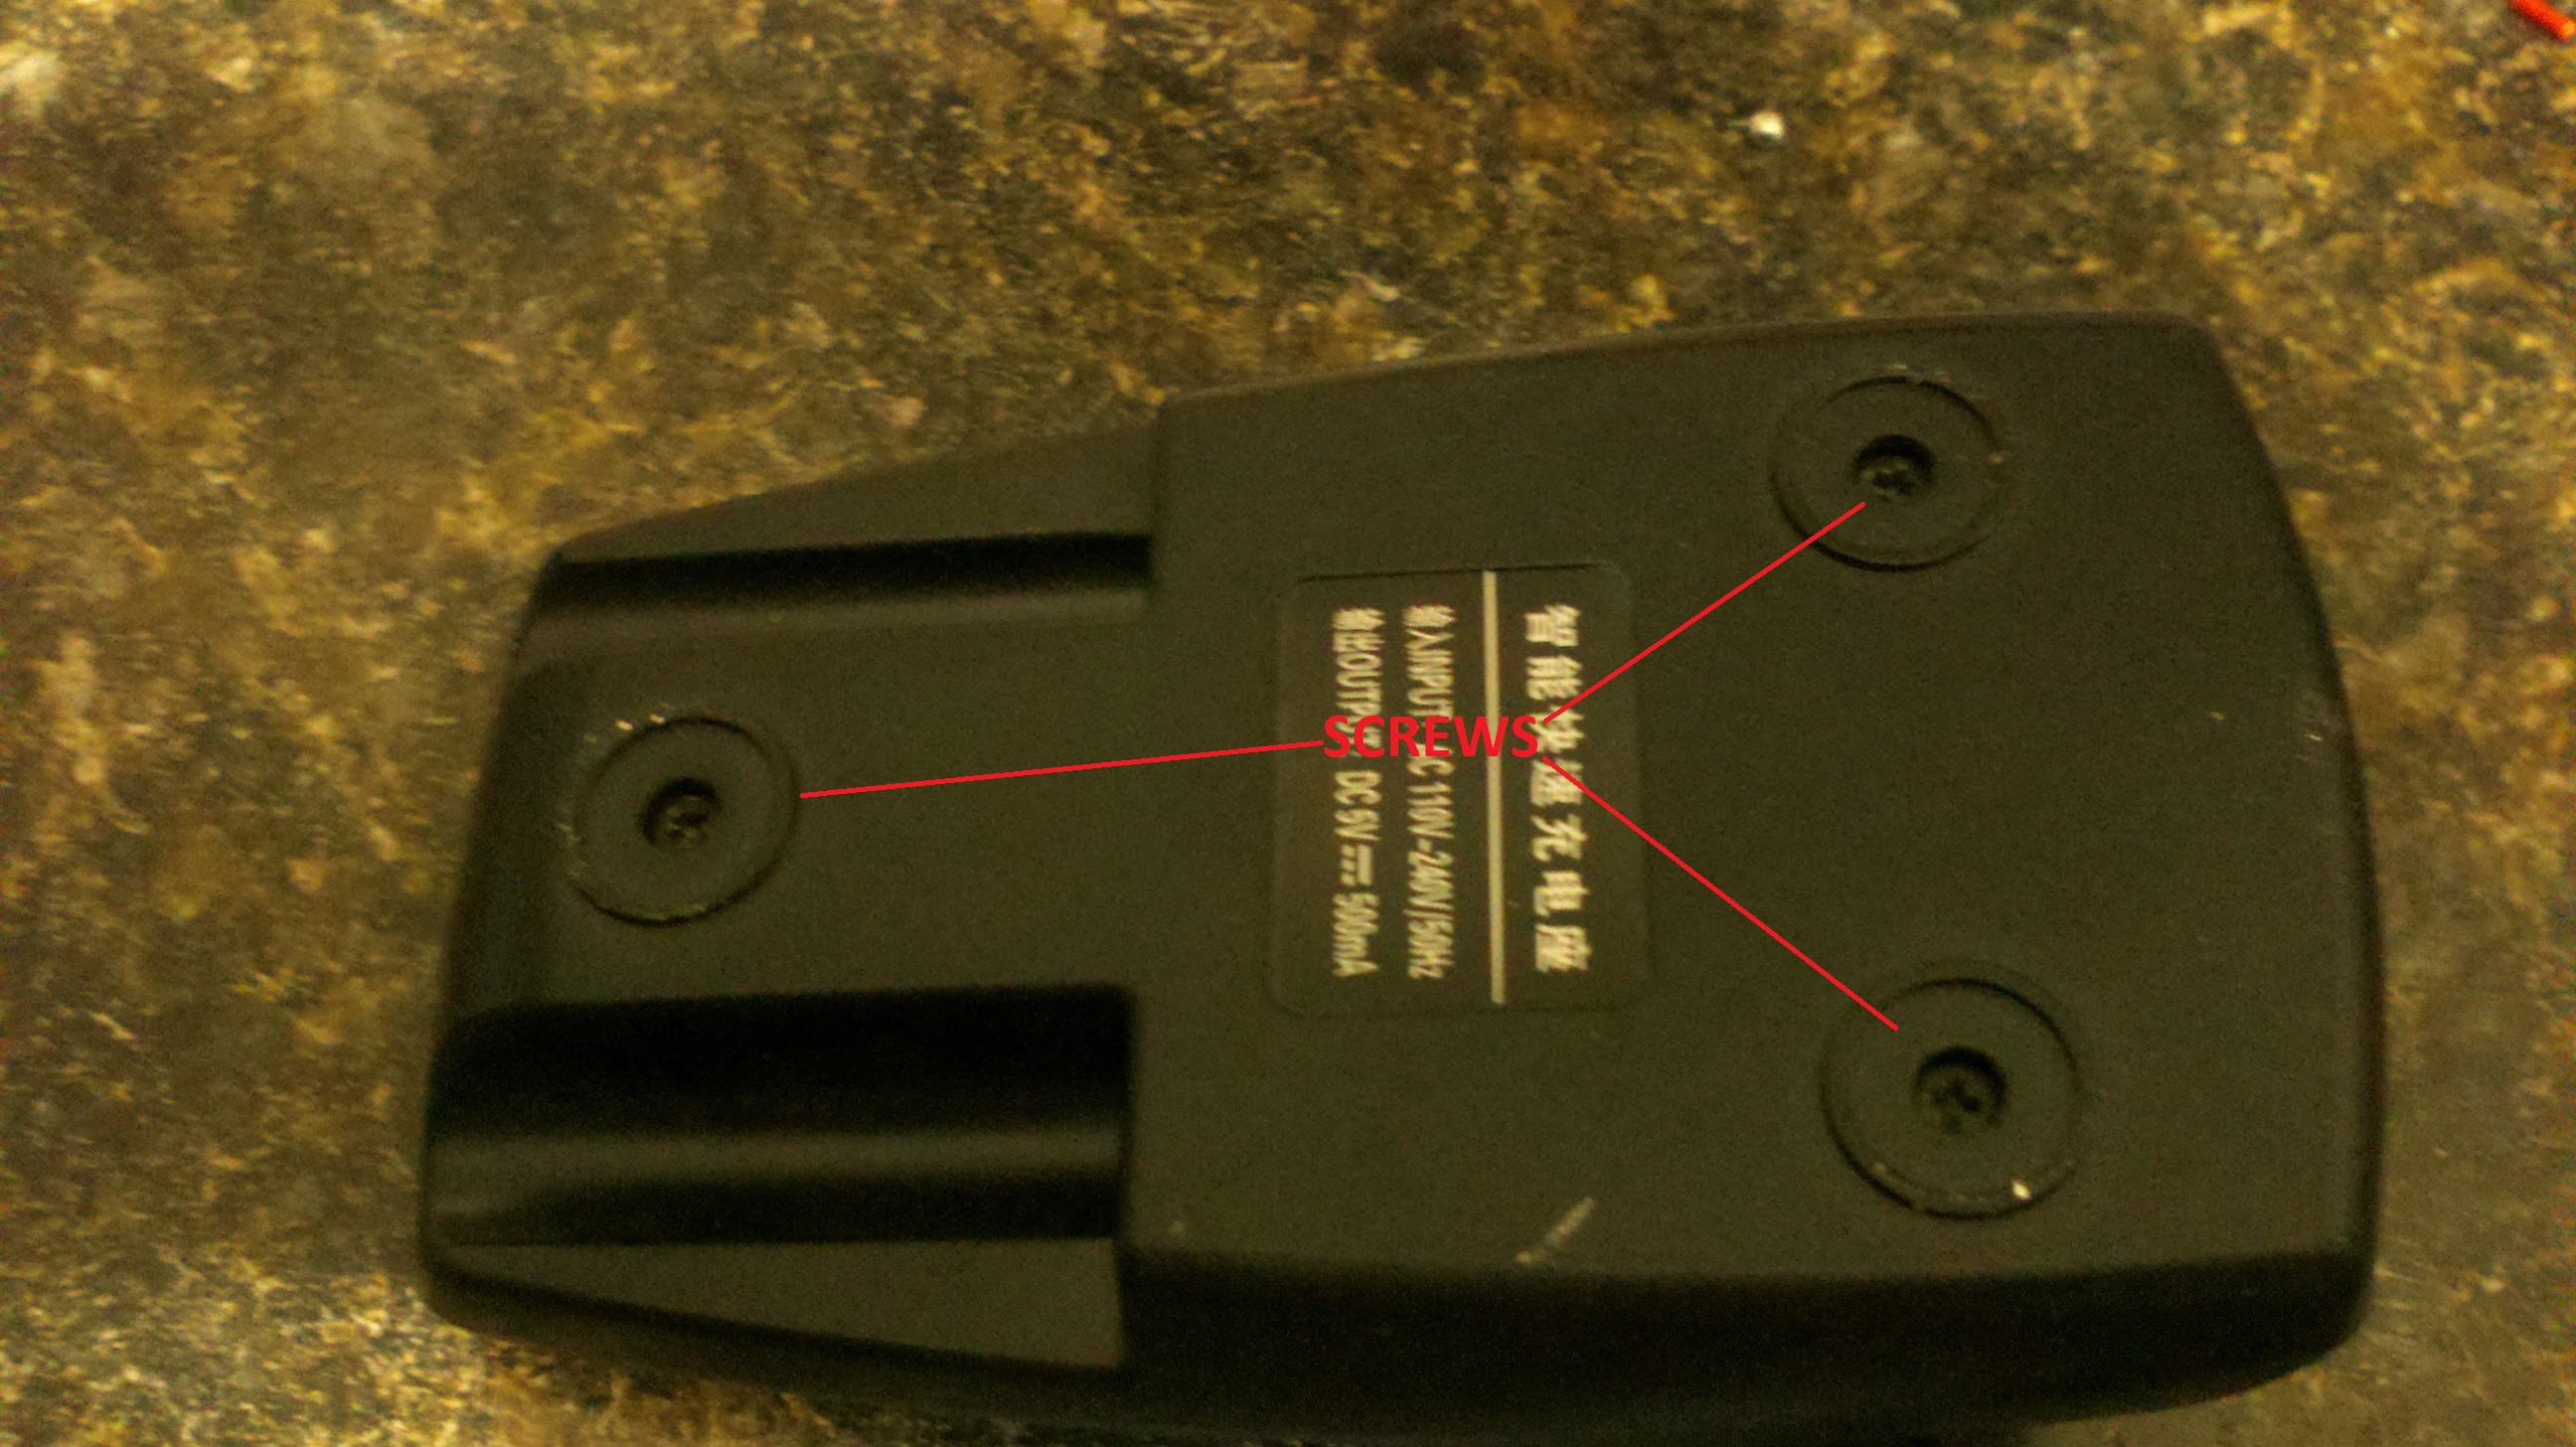
1Step 1
Remove the 3 screws from the bottom of the charger base. They might be covered with stickers or rubber feet.
![]()
-
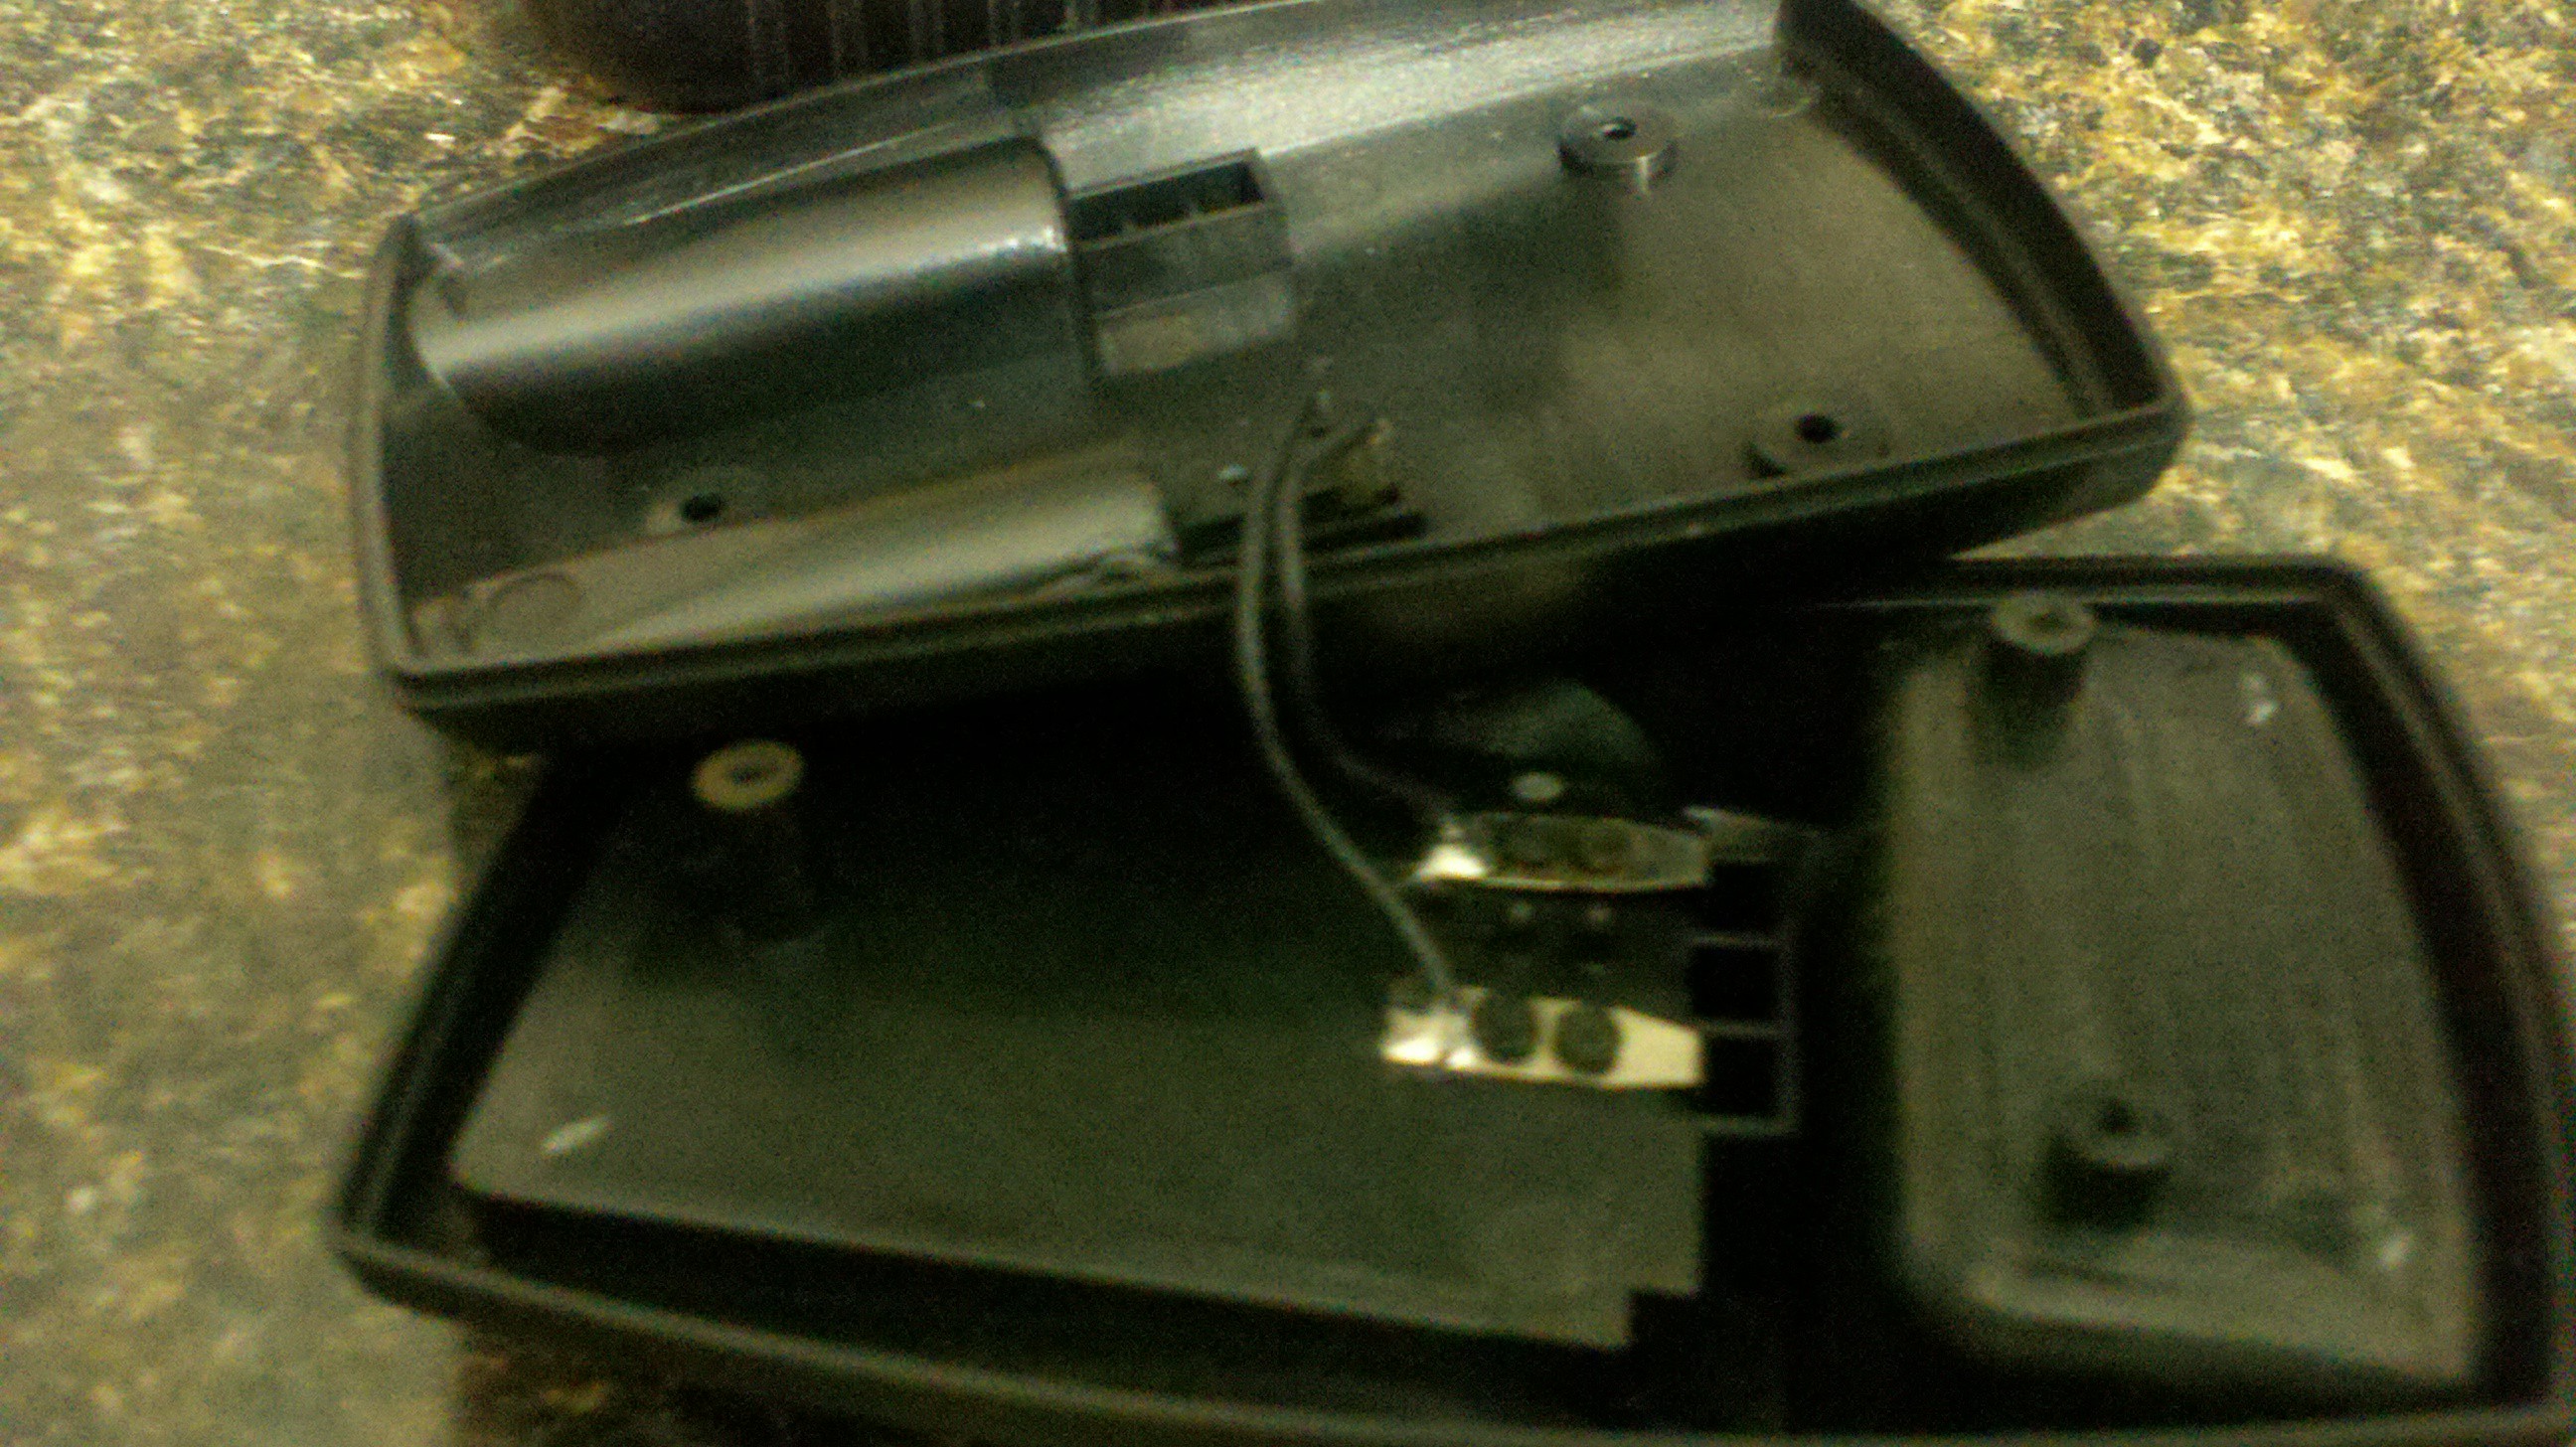
2Step 2
Open up case carfully as the wires inside are short. Your going to remove them but you need to know where they go to. Mark the positive and negative terminal. NOTE: The AC power connection uses center ground and shield positive.
![]()
-
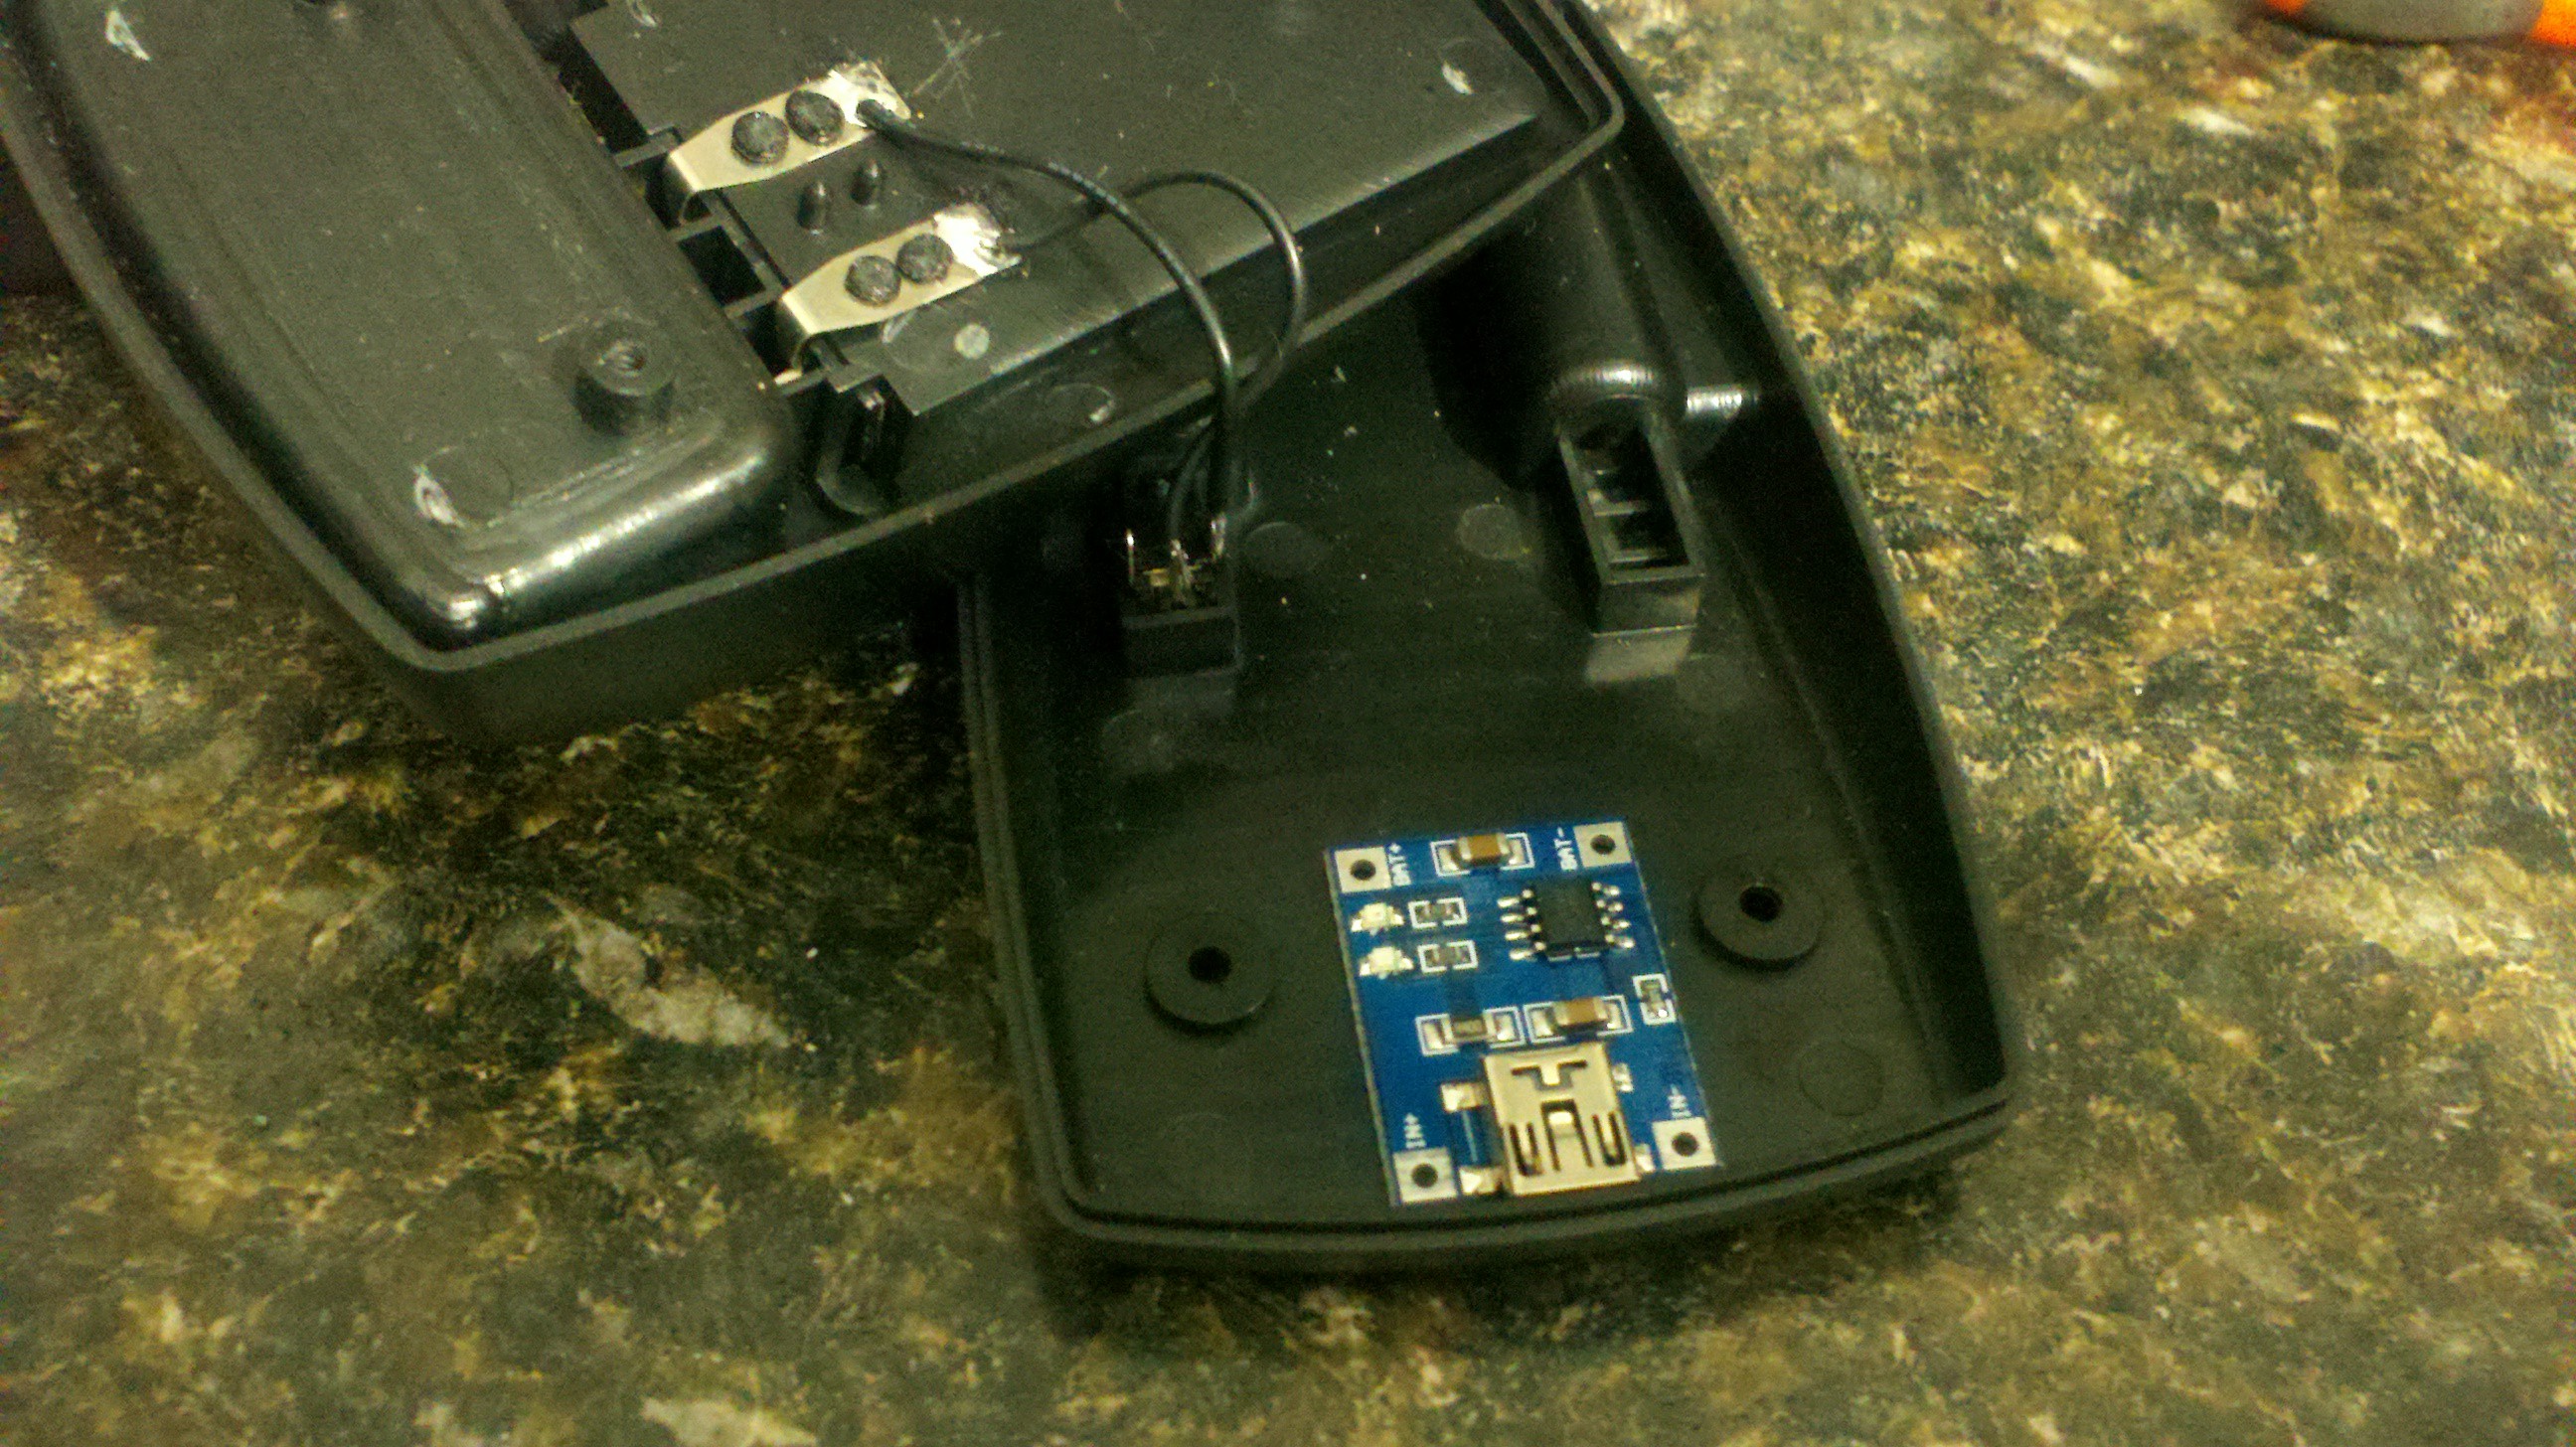
3Step 3
Determine where your charger board will fit. Make sure there is room for the connection when closed. For most boards you should be able to place it under the radio cup.
![]()
-
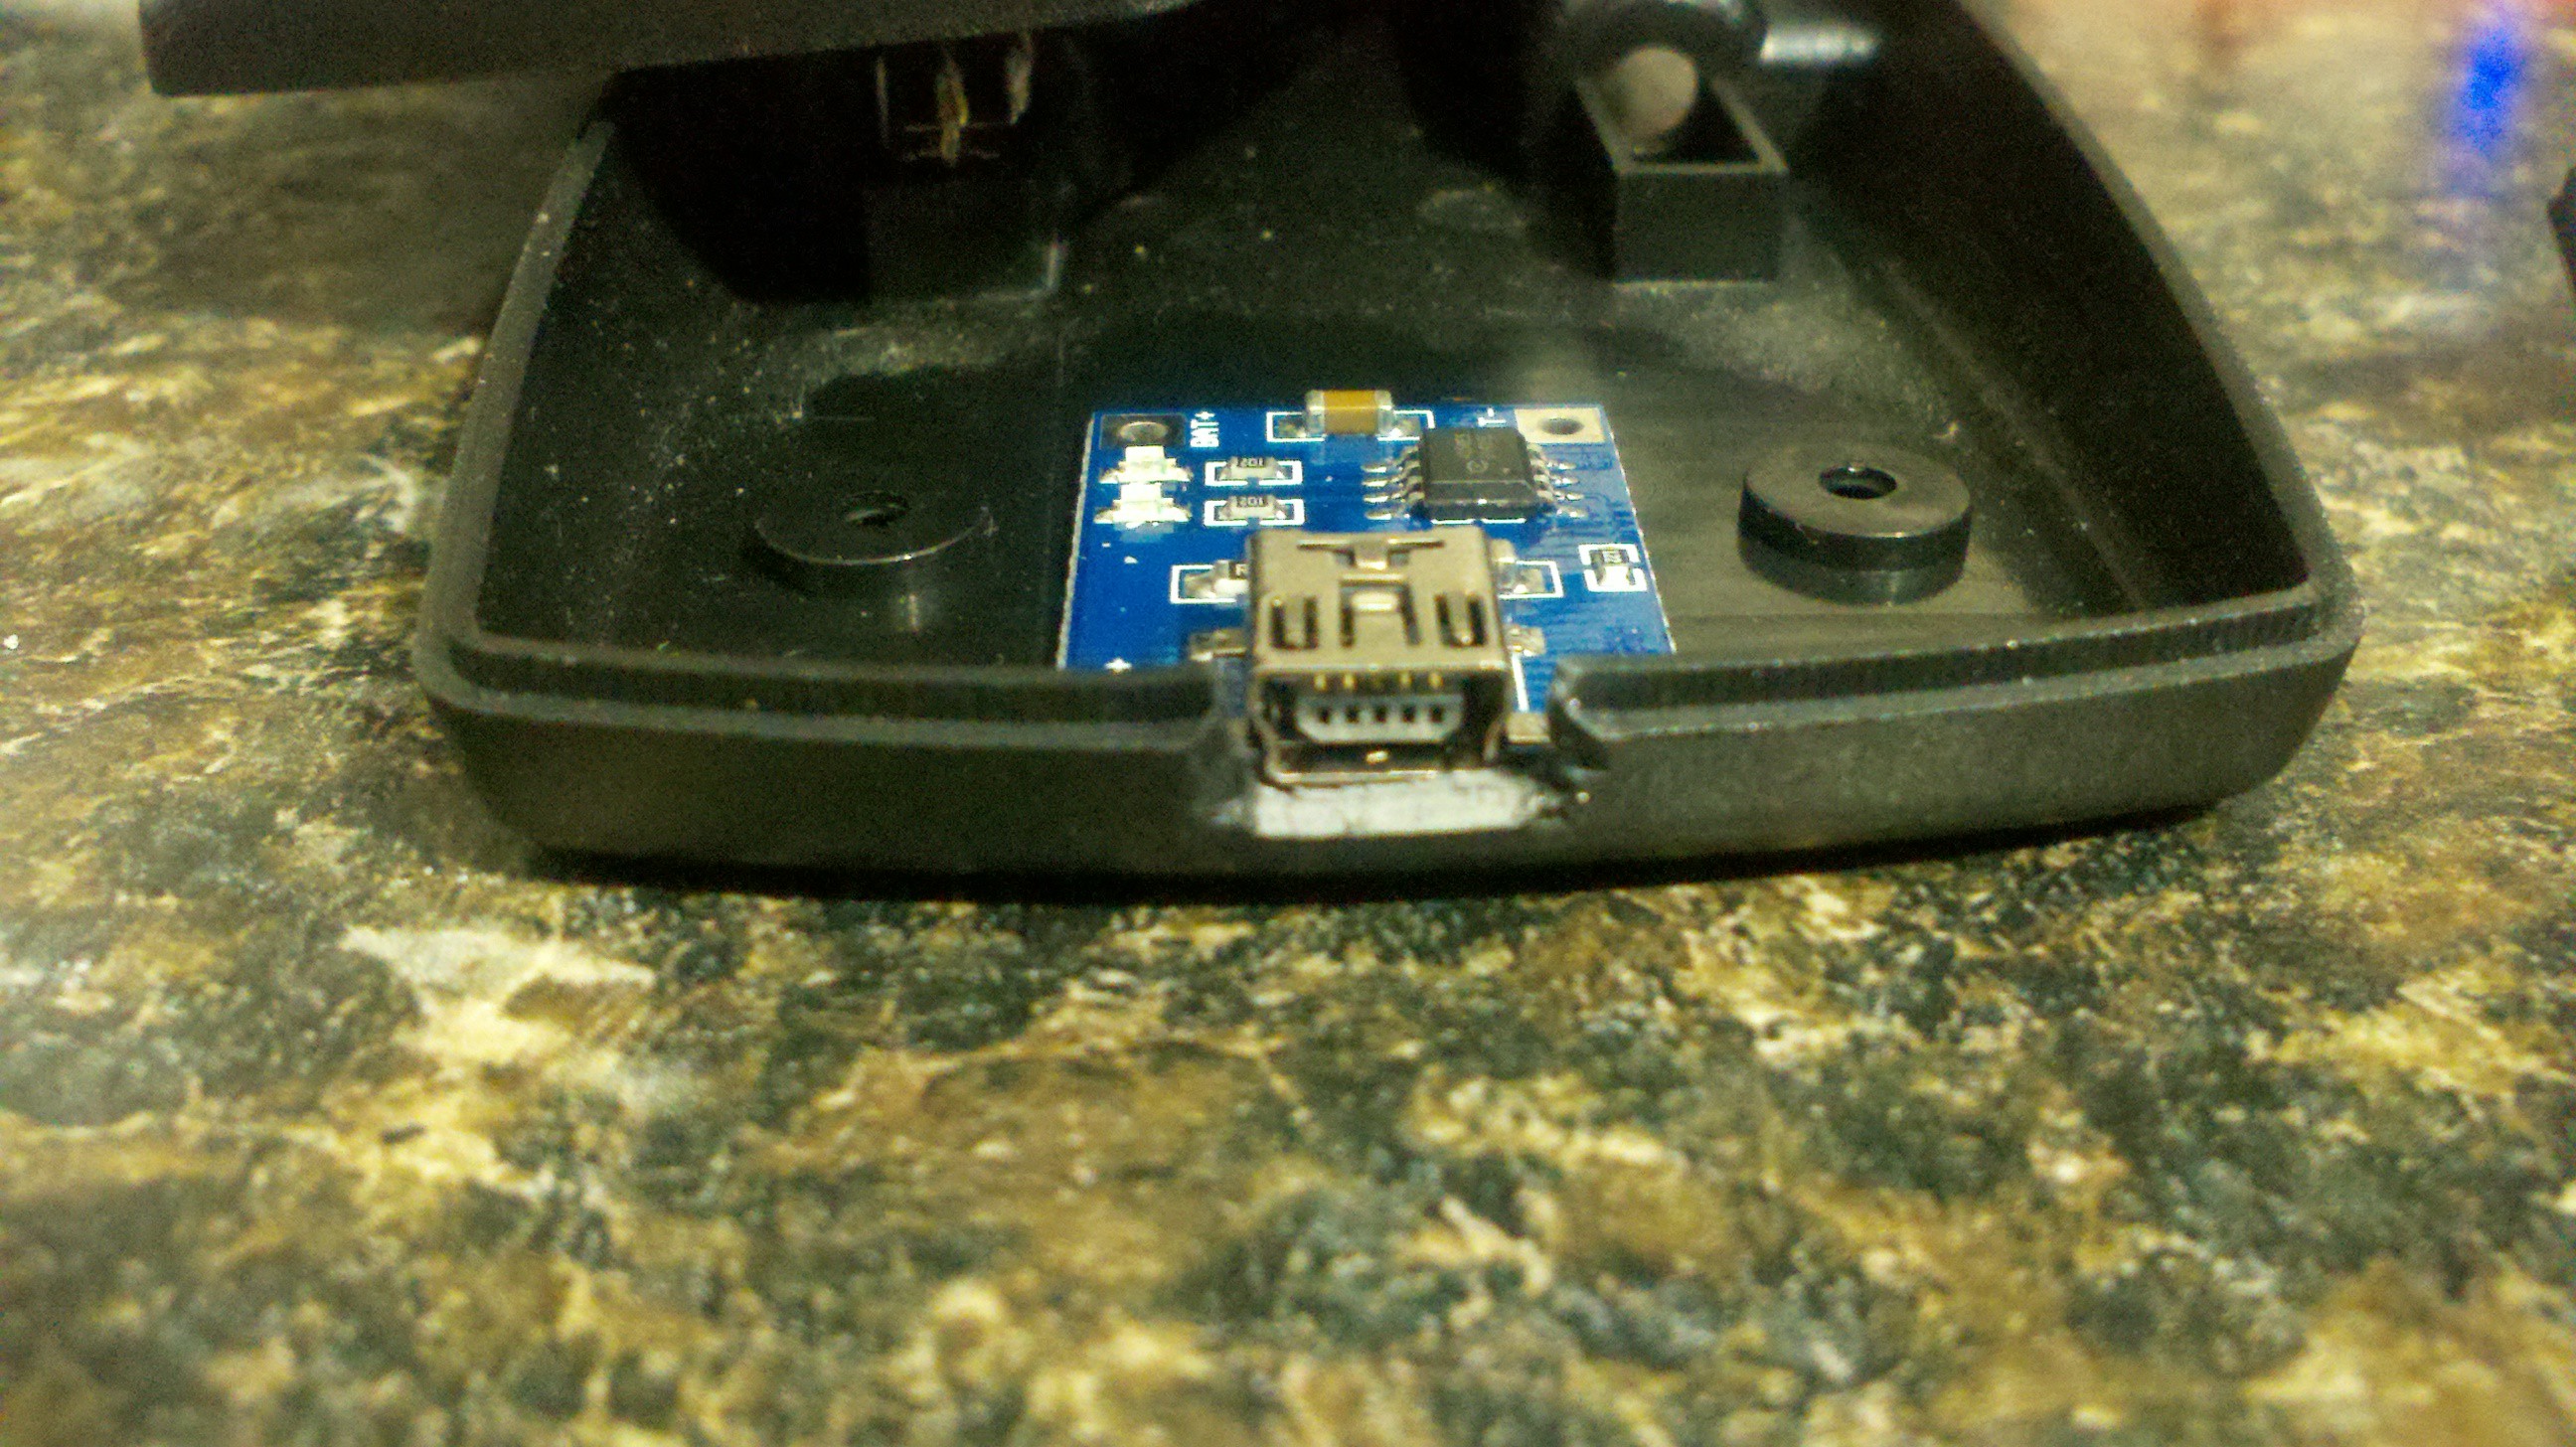
4Step 4
Cut the charger base so there is enough room for the USB charger port to stick through and your charge cable will make suffecient connections to the charger board.
![]()
-
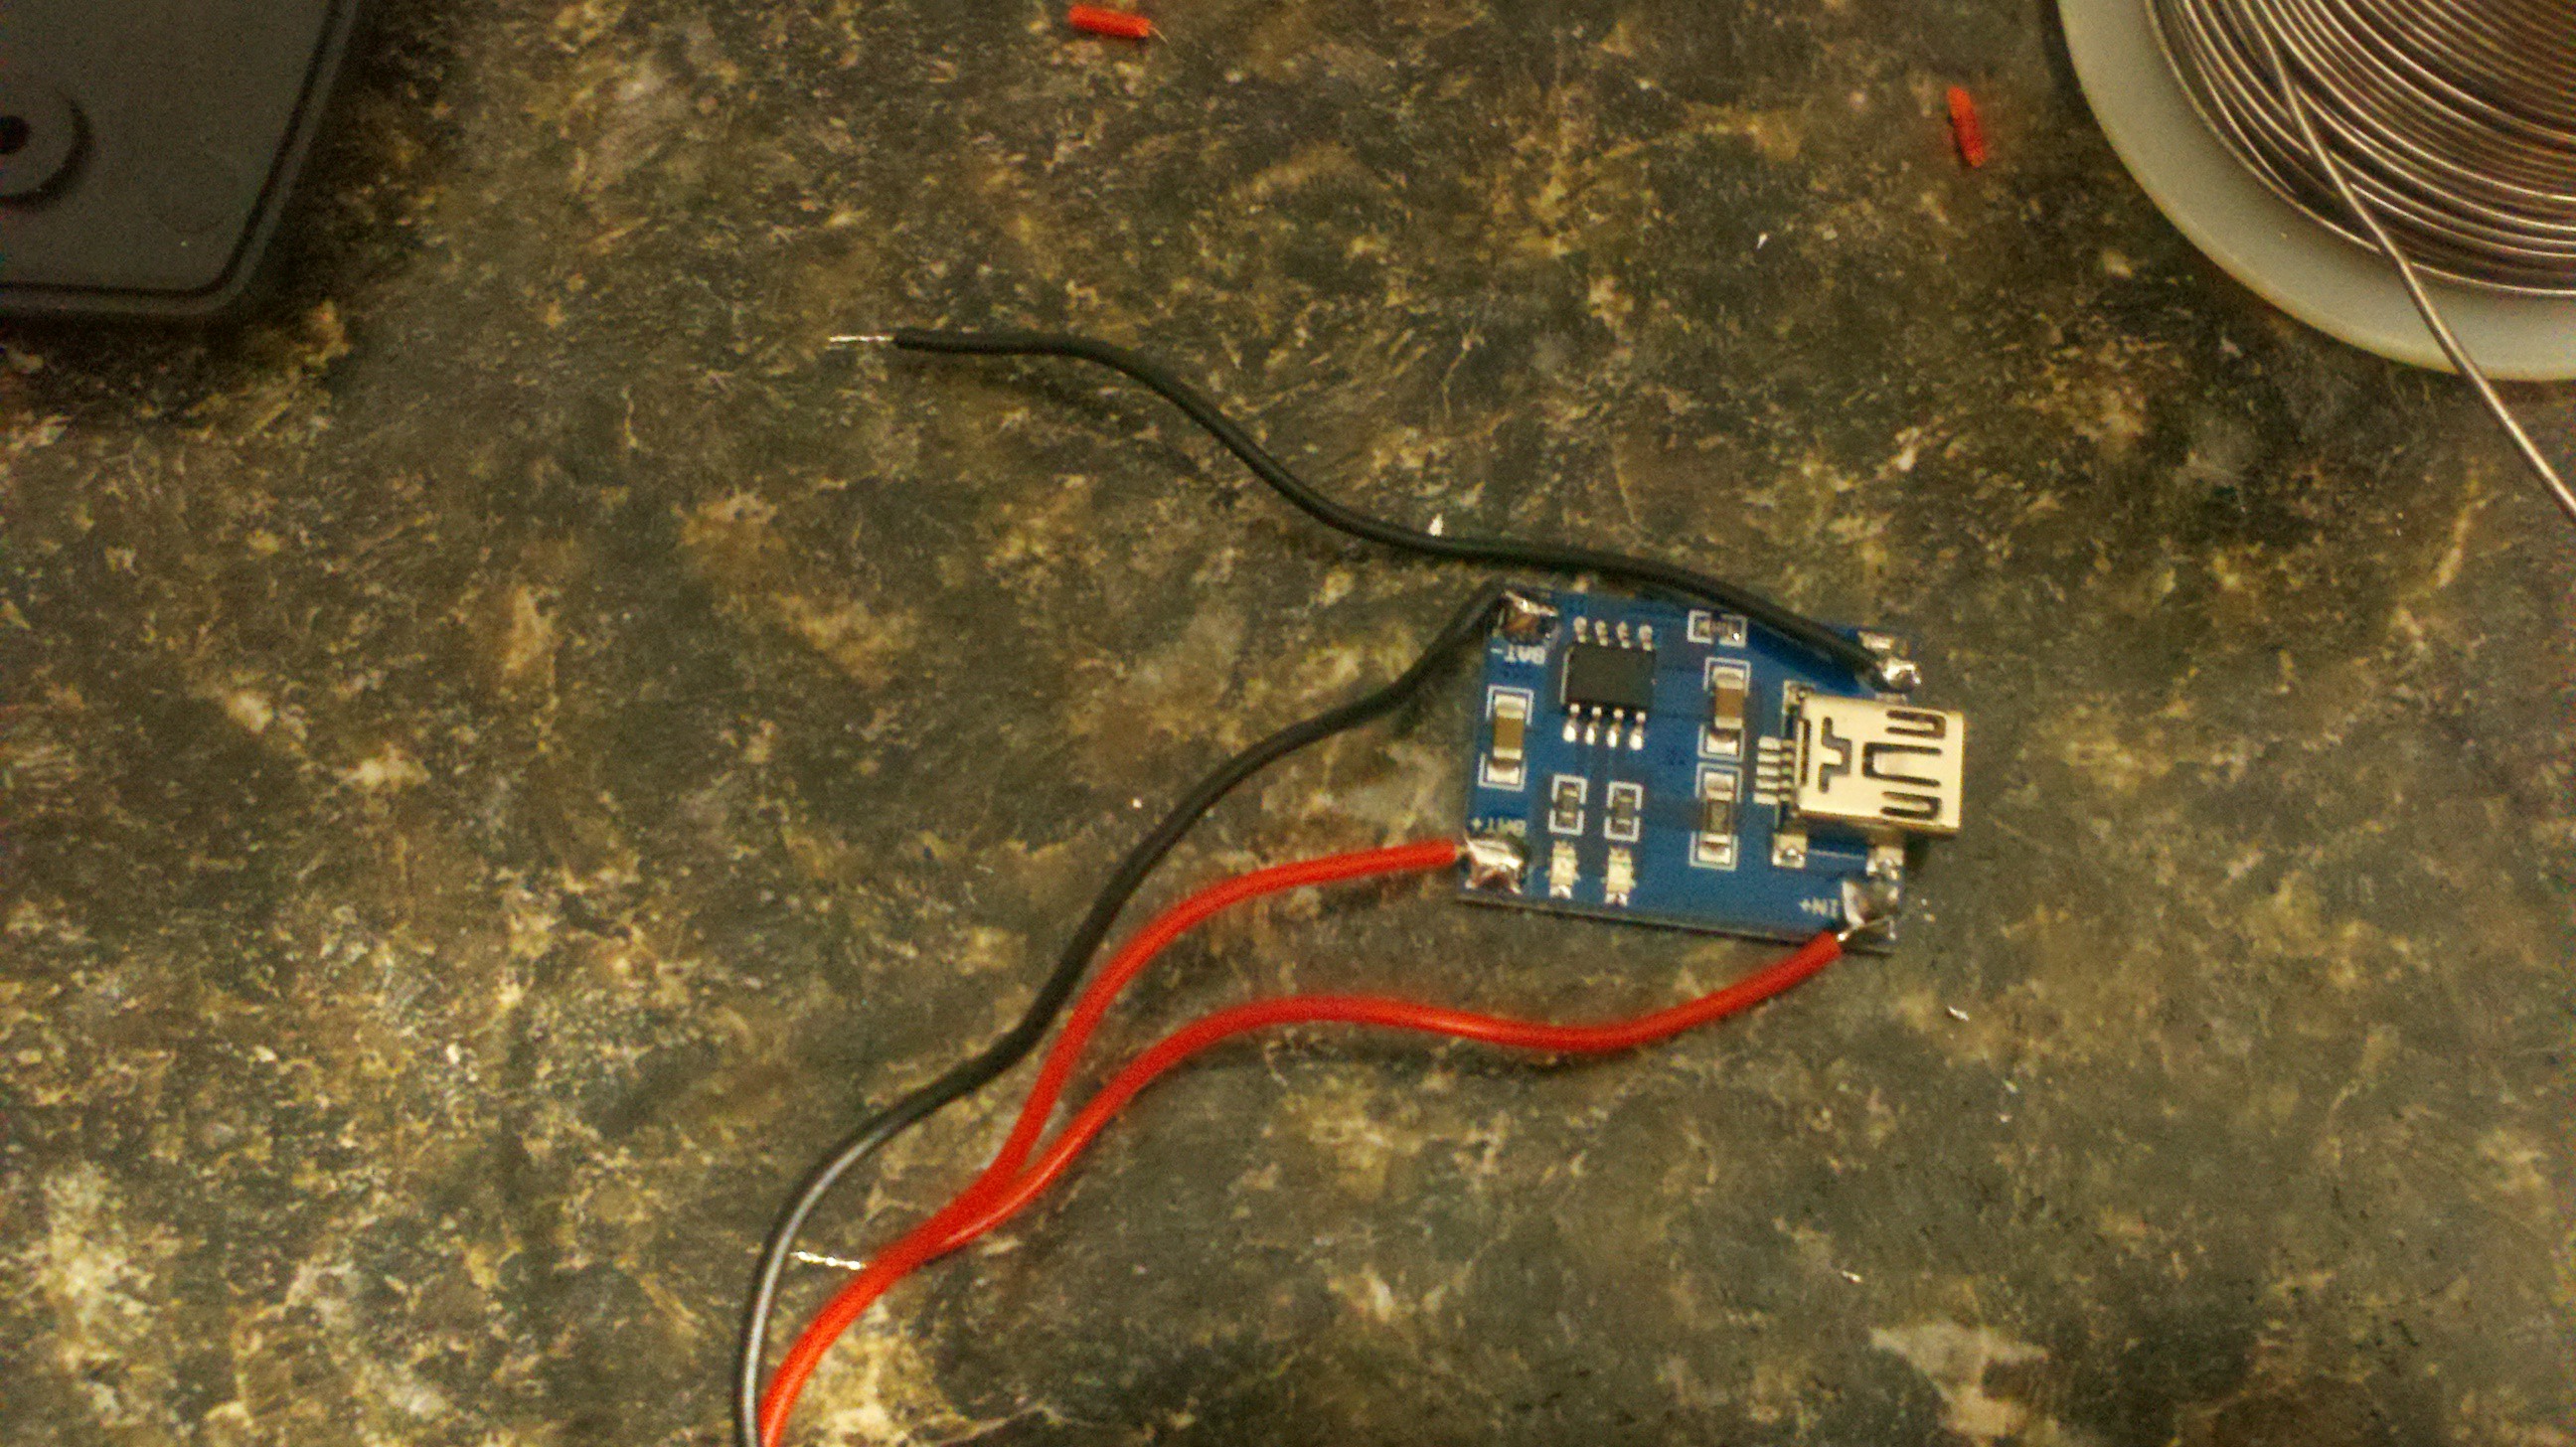
5Step 5
Now wire up the charger board. The is an input positive and negative terminal and a battery positive and negative terminal. The input connections allow you to use external 5v to power the batter charger. You can leave this disconnected or if you want to retain the use of the supplied 5v wall wart you can connect that to the input. The battery side will go to the charger connection on the charger base. Again pay attention to polarity.
![]()
-
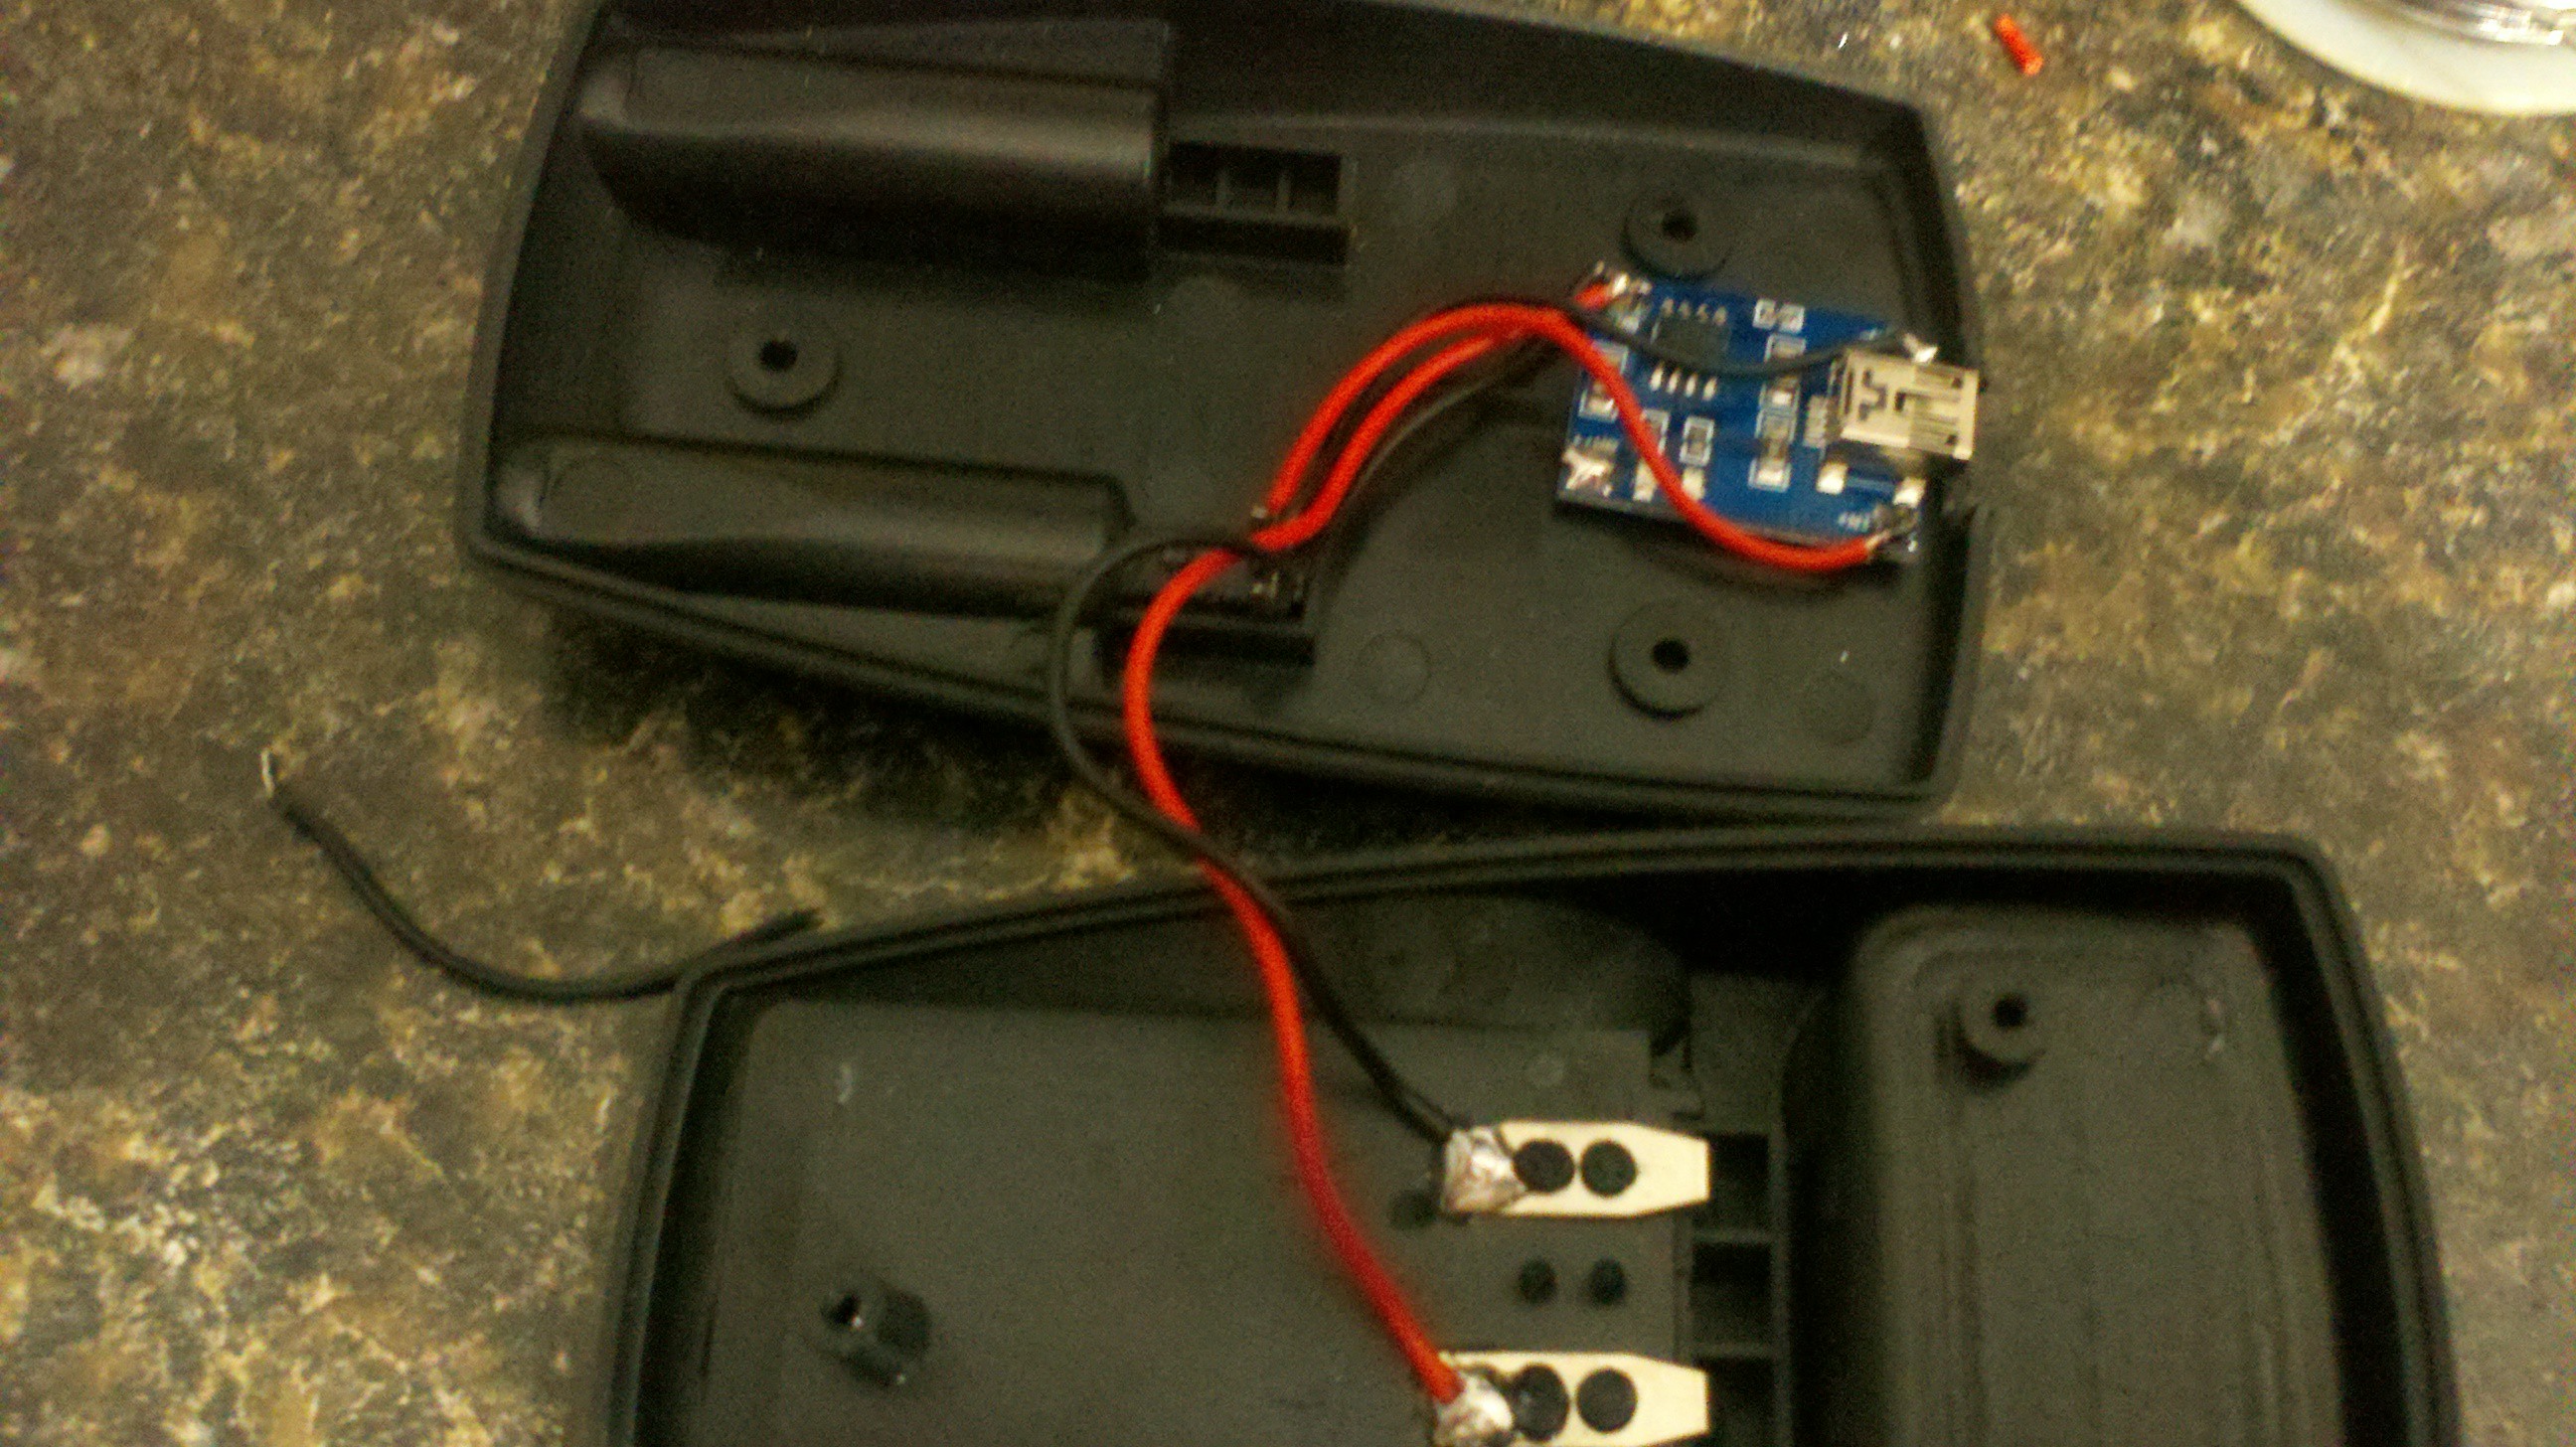
6Step 6
Wire the charger board to the battery connection on the charger.
![]()
-
7Step 7
If your going to use the wall wart for charging then wire the wall charger port to the input of the charger board.
![]()
-
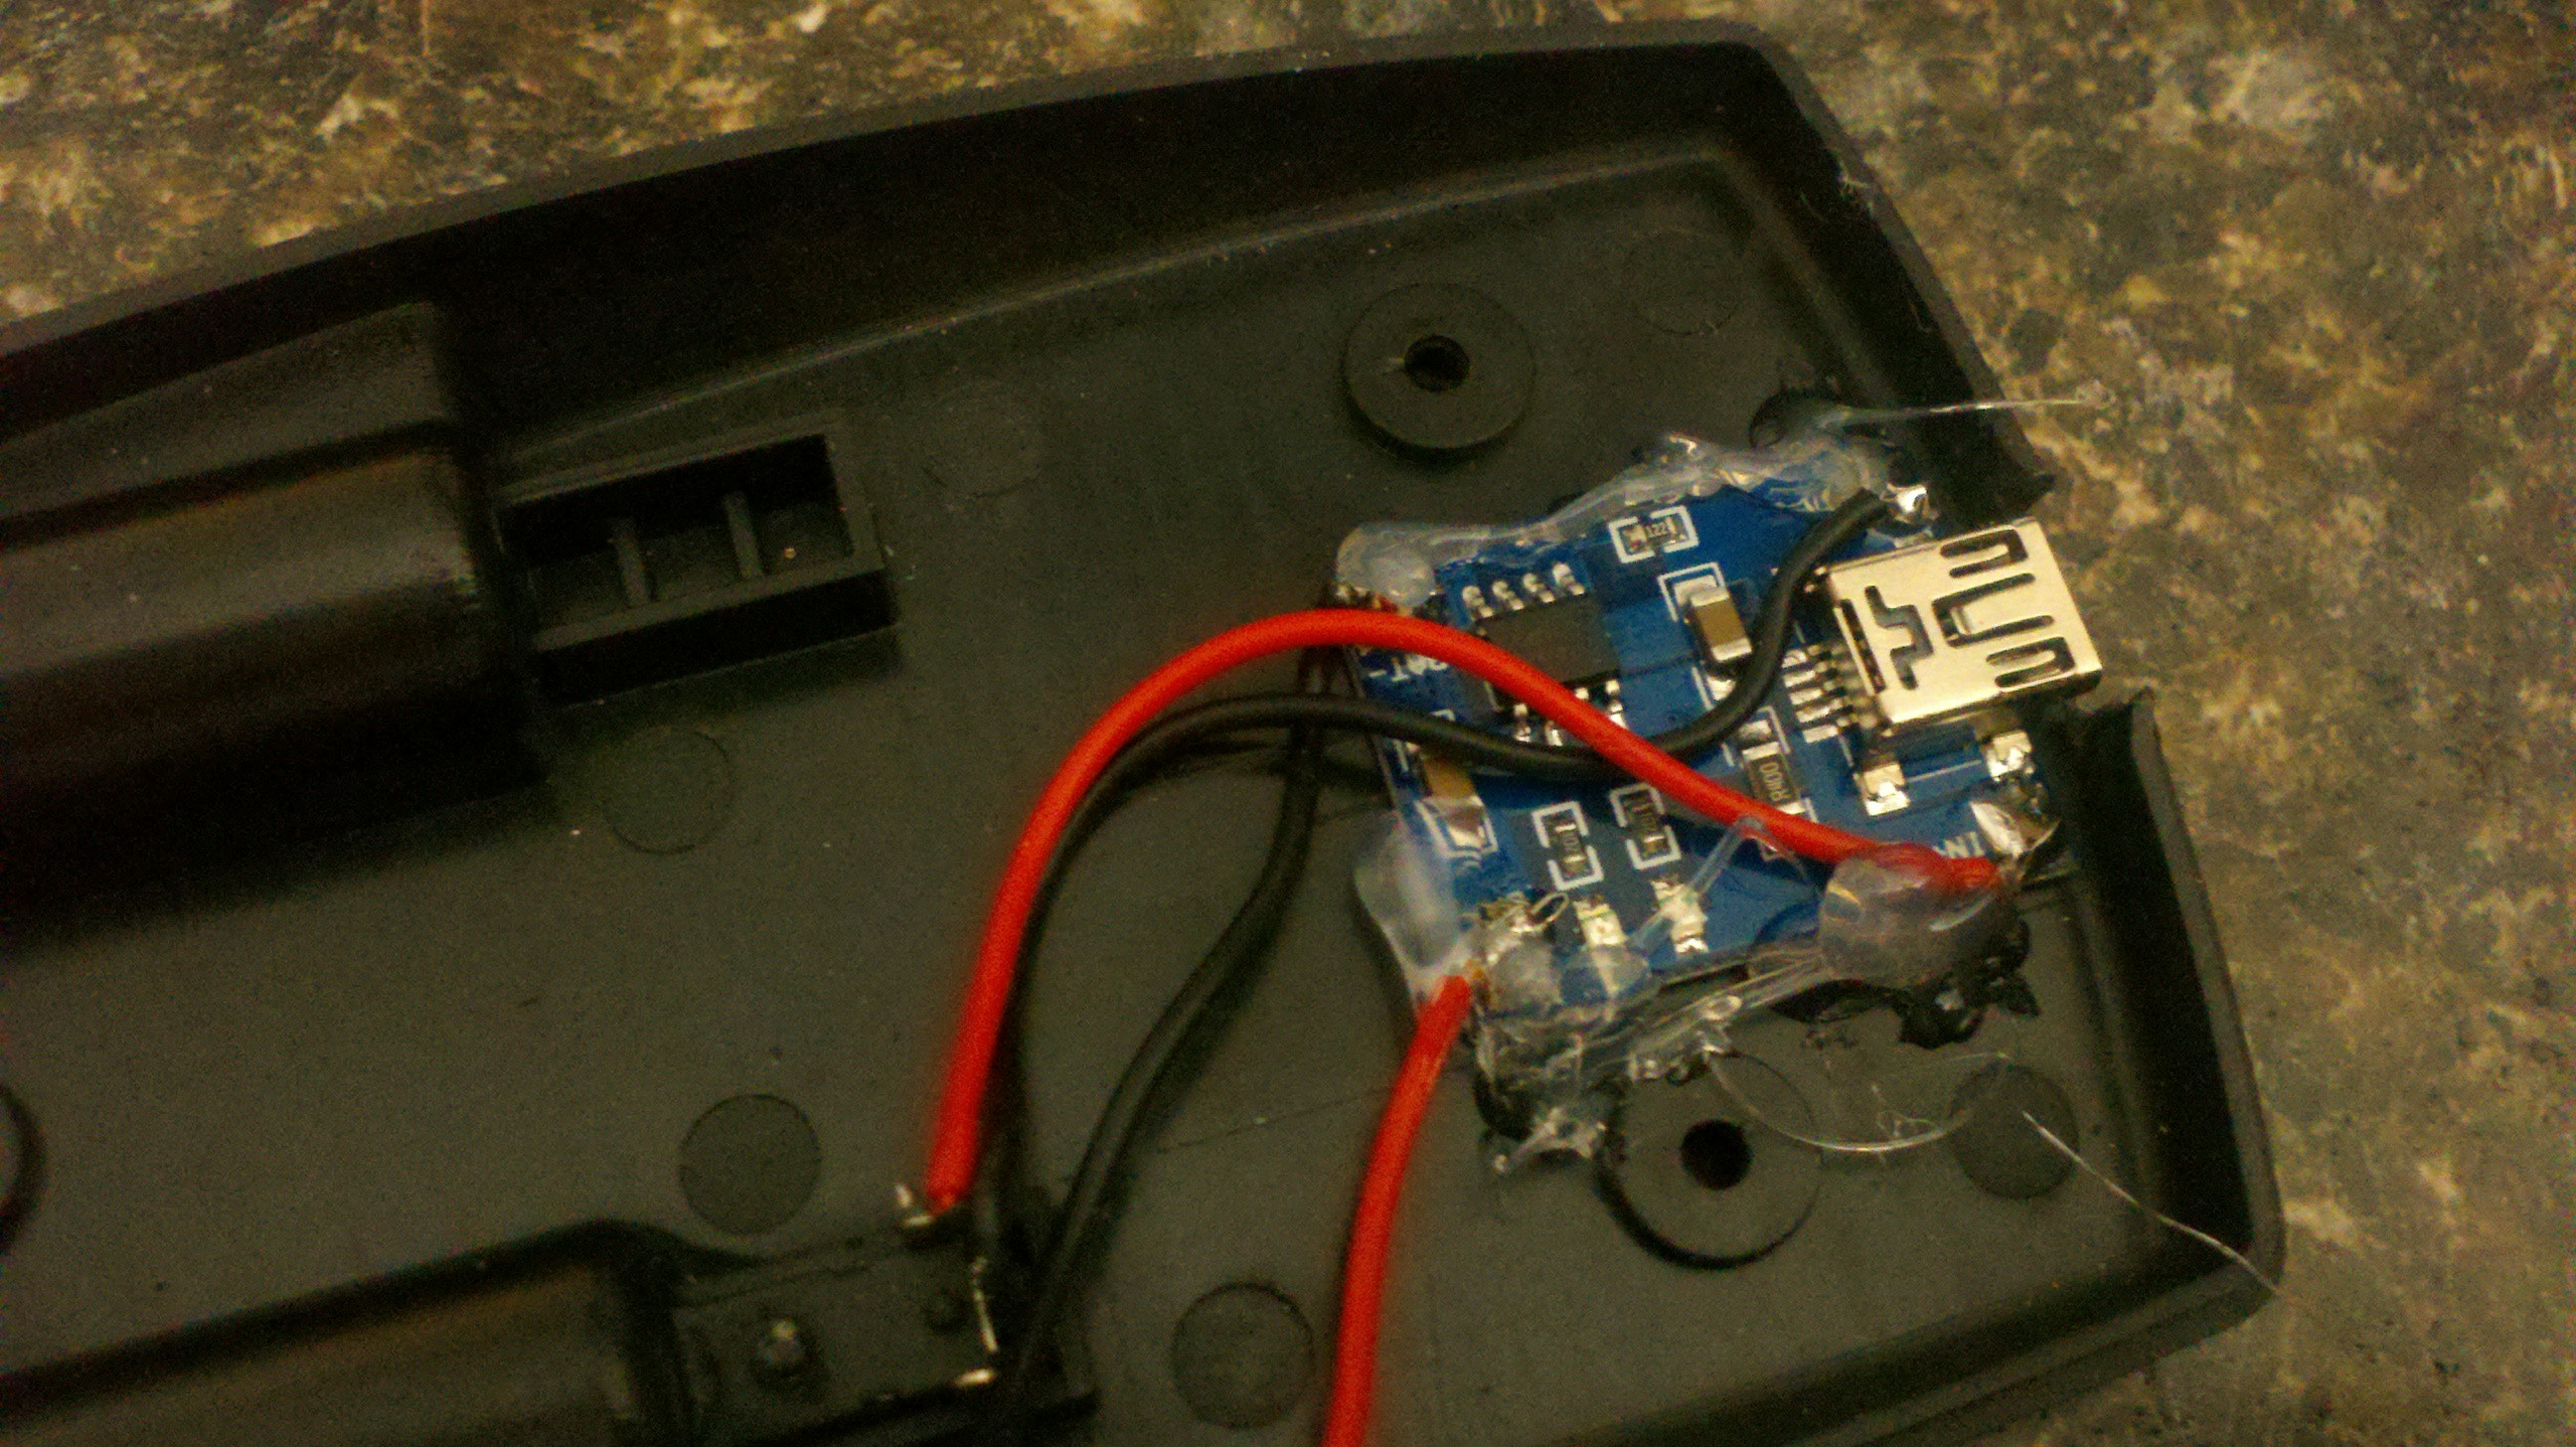
8Step 8
Make sure the battery has been removed from the charger. Now plug in your USB cable and check the voltages on the teminal of the chart port. Make sure the polarity is correct. If your using it unplug the USB and plug in the wall wart. make sure the charge voltage is correct. Now install the battery and charge it up. measure the volages.
Once this has been done secure the charger board to the charging box base. I chose to use a low tempature hot melt glue. I plugged in the USB cable and used it to make sure It would still plug into the charger board while I hot melted it into place.
![]()
-
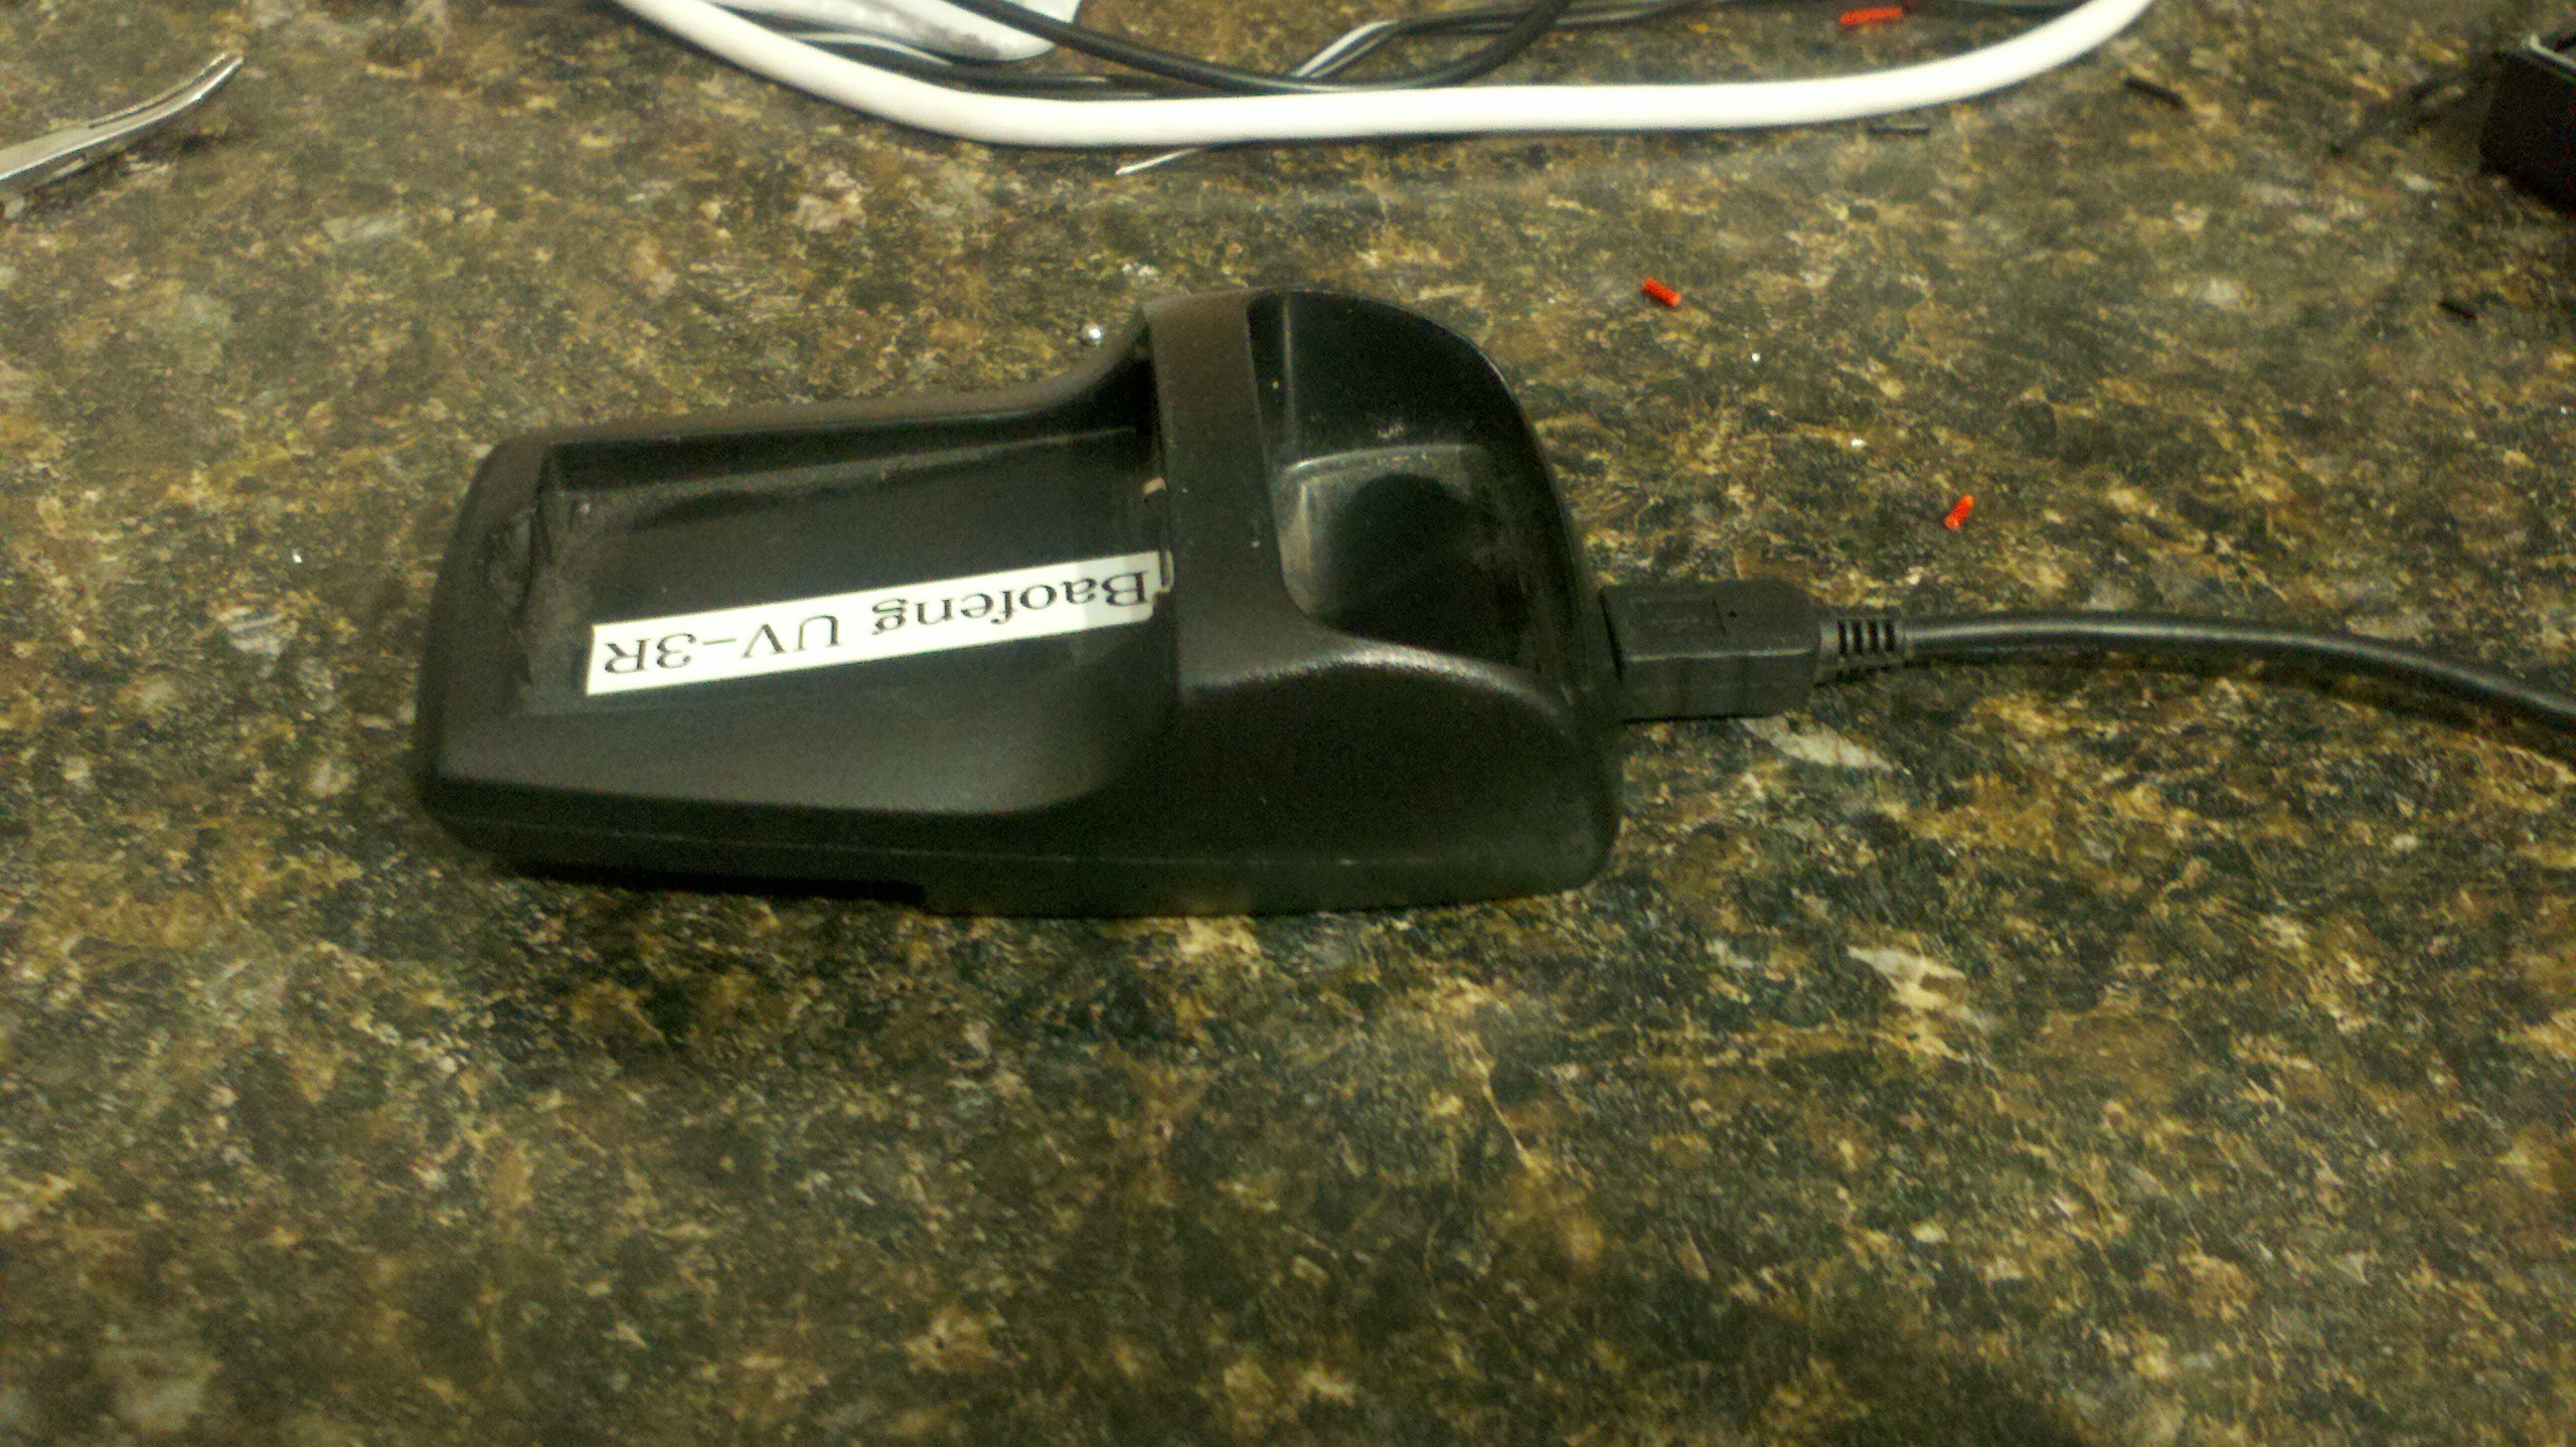
9Step 9
Close up the case carfully, retest the voltages with both the USB and wall wart connected and reinstall the thress screws.
![]()
-
10Step 10
Charge up your battery and have fun on the air....

Discussions
Become a Hackaday.io Member
Create an account to leave a comment. Already have an account? Log In.