 8bit-bunny
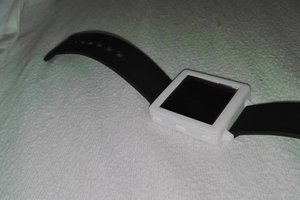
The Pix-Watch started off as a follow-up of the zerowatch from the Pix-Project.
The Pix-Watch uses an ST microcontroller, uses the Arduino IDE and has custom software written for it.
it's hardware specs are:
- up to 80mhz Cortex M4F MCU
- 128 kilobytes RAM
- 512 kilobytes system FLASH, hosting the firmware
- 1.44 inch high color tft screen (ili9163, 128*128px) with capacitive touch input
- extra flash (4mbyte)
- 3 axis accelerometer
- vibrating motor
some of the featureset:
- framebuffered
- fast drawing
- easy to extend api
- alpha blending
- open source software and hardware
currently the work that is done:
- set up a development platform
work that is in progress:
- inline app framework
- case design
- write initial test code
currently the work that is to be done:
- pcb design
- better graphical command set
- usage of the onboard RTC for the time
- external flash image/app loading support
- creating a SDK
- application eeprom storage (storing variables in the eeprom emulation)
- application syncing and flashing using USB


 Boz
Boz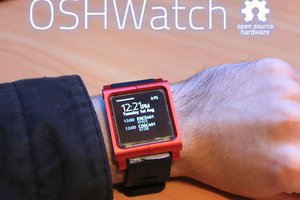
 Jared Sanson
 Matias N.
This looks really cool, do you have any idea of what the final cost will be?