 zakqwy
A few boxes arrived this week, so I got started on the thrust measurement frame this weekend. I watched a number of videos on safe CFRP working procedures (since I'm cutting simple shapes myself at home), including the one in the previous post. I spent the last few hours with nitrile gloves, safety goggles (not glasses), a P100-rated dust mask, and a HEPA-filter equipped vacuum directed at my work. If you work with this stuff, I highly suggest you do the same, and clean everything up before you shed your PPE.
First step was getting a few cutting tools. For the 6" plate cuts, I used a diamond-tipped jigsaw blade:

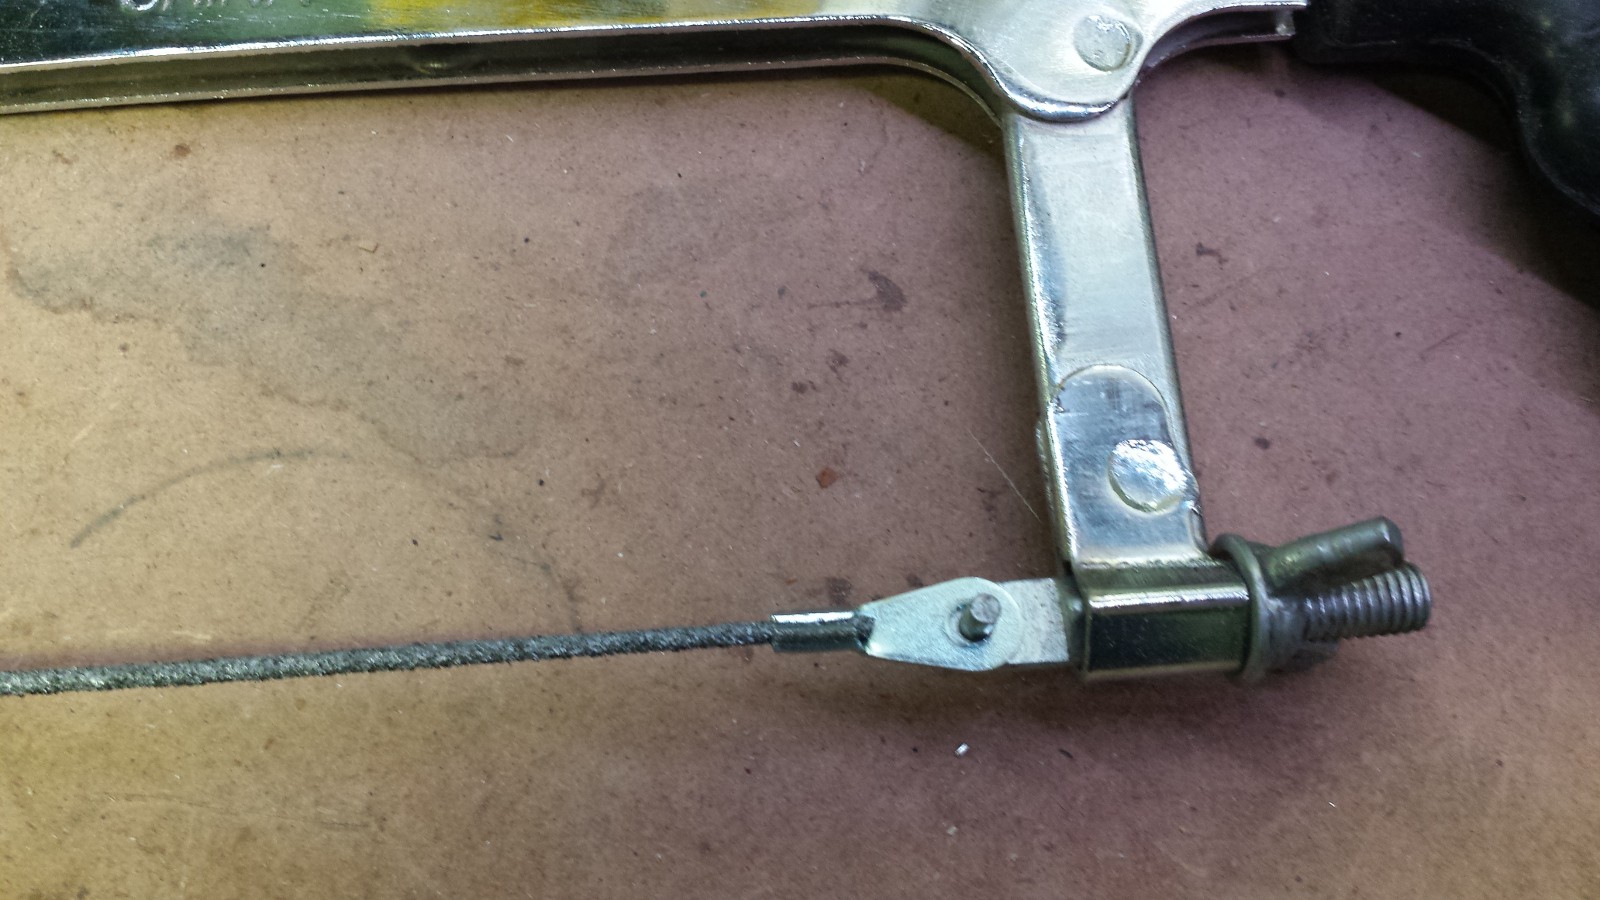
I cut the 3/4"x3/4"x1/16" angle stock using a carbide hacksaw blade:
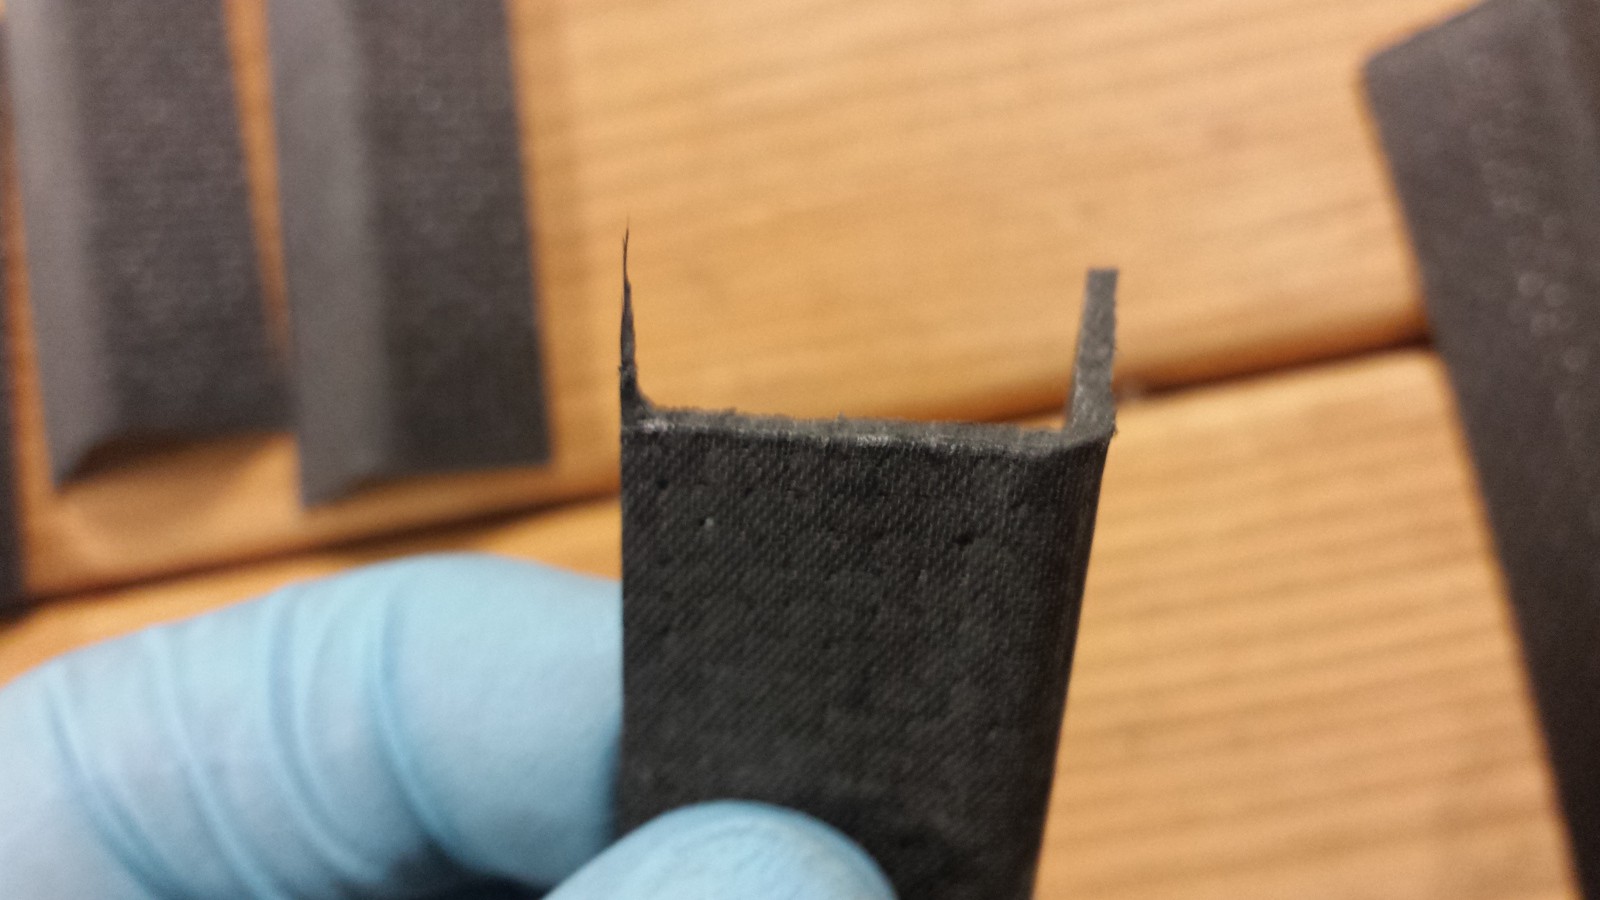
Both tools worked decently well (and were fast); the hacksaw blade tends to pull off a splinter at the end of the cut, which could probably be fixed by starting from the other side (but I just sanded it off):
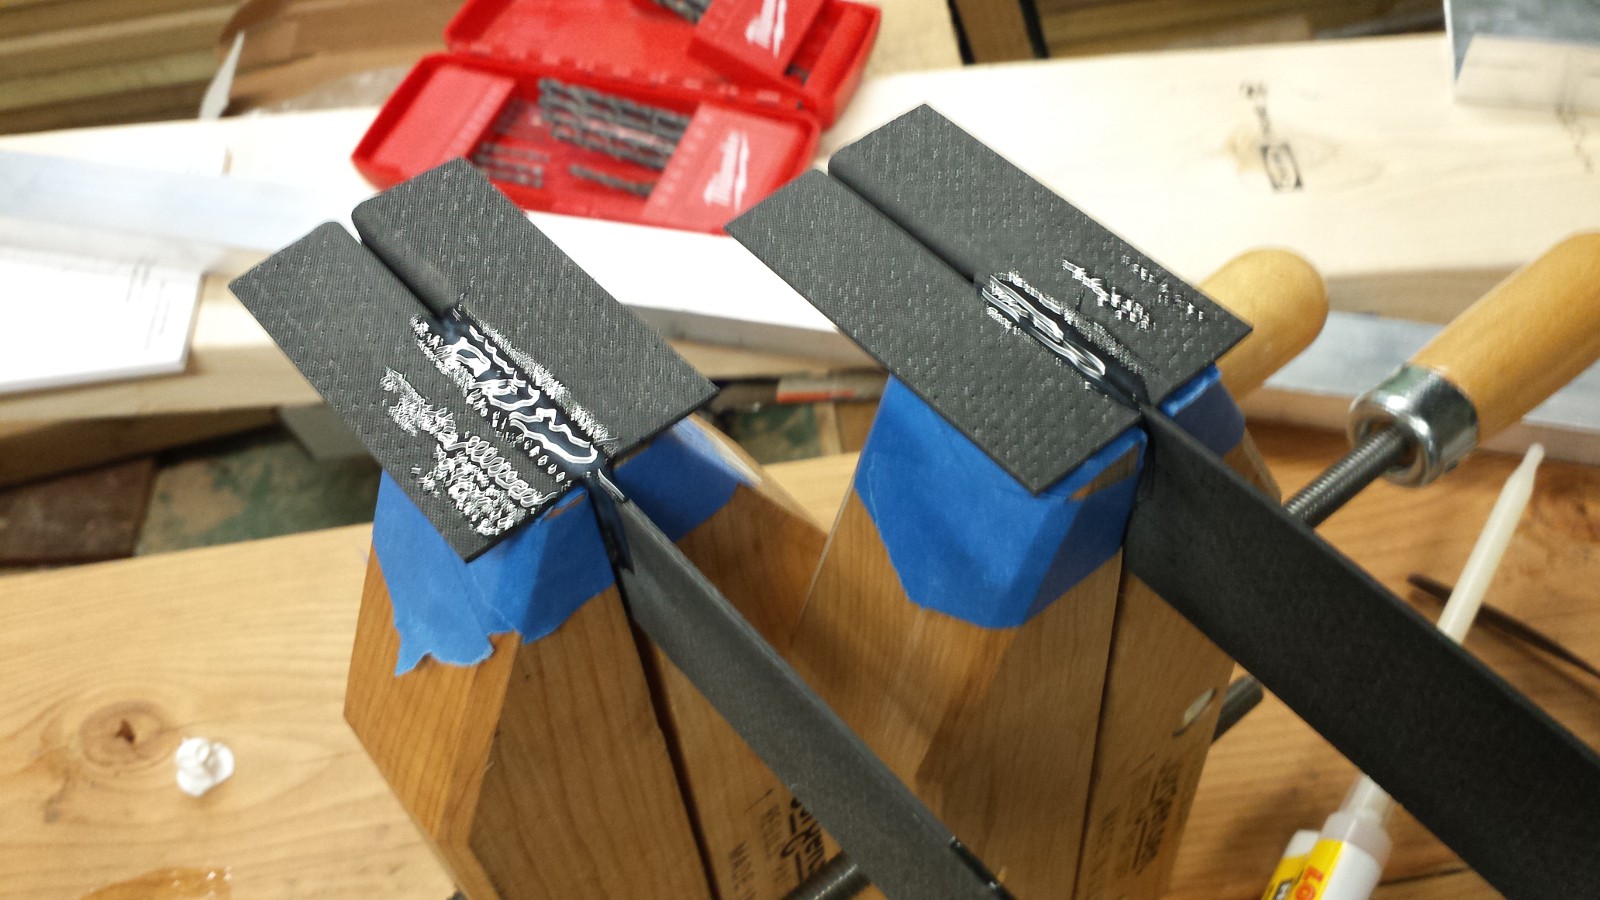
While I previously tested my Space Glue by adhering a few random screws together (they held really well), I didn't want to waste a mixing nozzle on scrap; just eyeballed the ratio like I usually do with epoxy. Now that I'm gluing real stuff, I got the whole setup going, fancy mixing nozzle and all. Super handy:

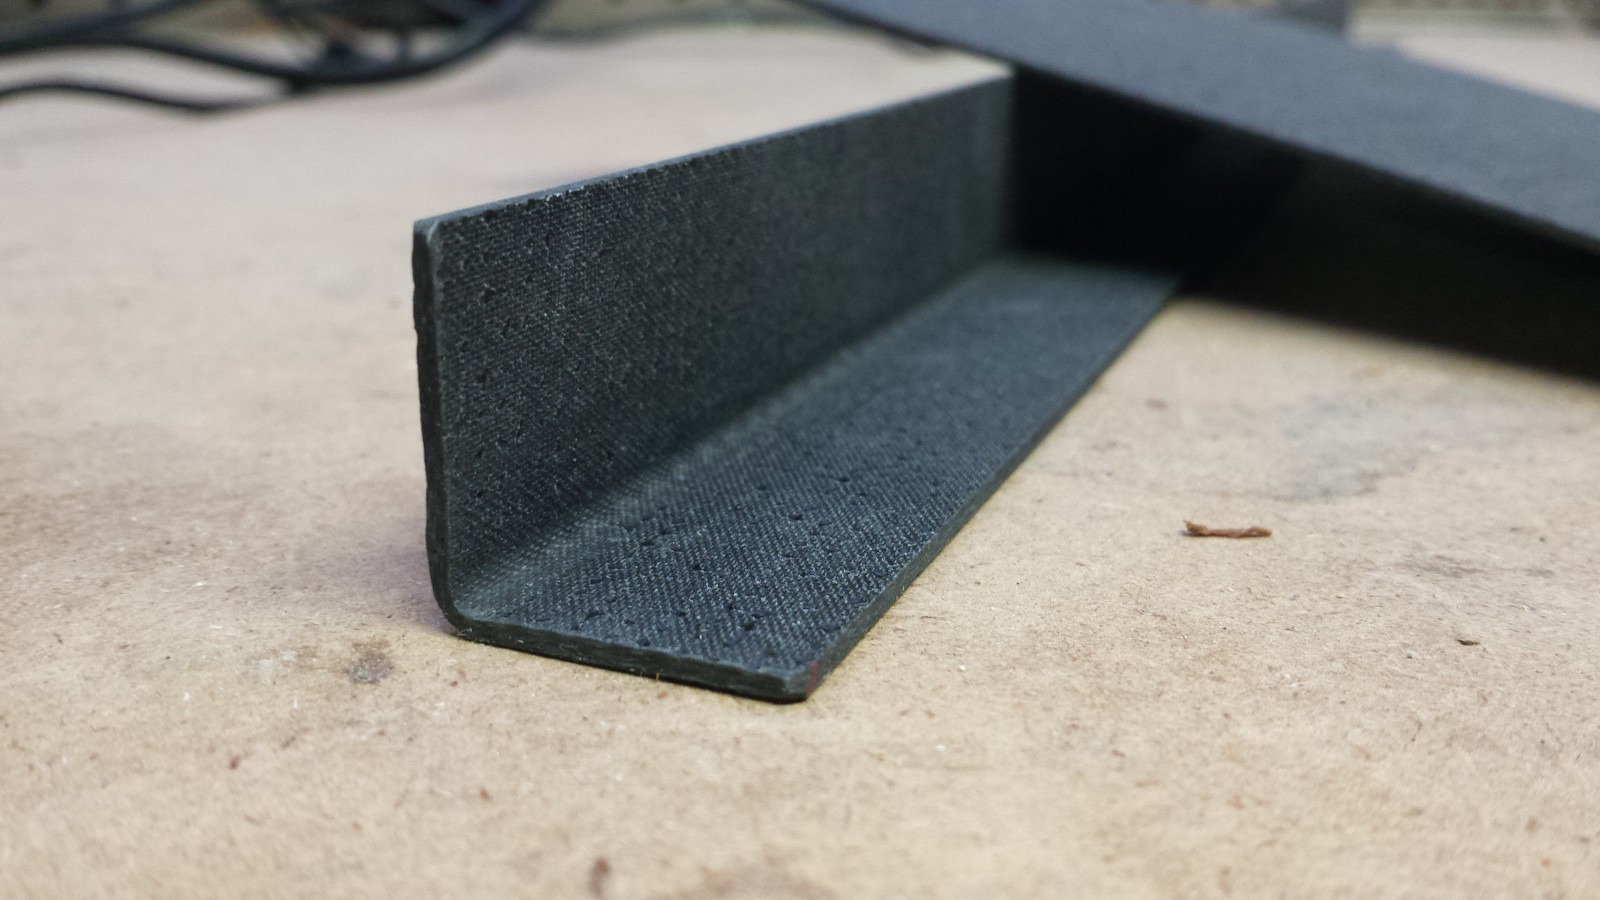
Since I'm constrained by the 6" CFRP plate (I actually have some longer stock that's a different weave, but I wanted to use the same stuff I'm building into the design), I ended up extending the angle stock a bit so that the plate would overlap the aluminum bracket a bit more. I'll likely take a slight thrust hit since I'm 'shadowing' more of the propeller cross section, but that doesn't concern me for testing:
Sorry about the blurry pictures, I was trying to operate a touchscreen phone with my gloves on (and yes, the screen is now covered in carbon smudges and space glue). More to come tomorrow, this stuff wants 3 hours to set so I'll probably let it go overnight before mounting up the motors.
Discussions
Become a Hackaday.io Member
Create an account to leave a comment. Already have an account? Log In.
Are you sure? yes | no
Are you sure? yes | no