 zakqwy
Today I cut, sanded, drilled, and glued up the parts for the motor mount and pitch ring. I tend to cut pieces a few millimeters long and sand 'em to fit; this is especially helpful on the mitered joints. Tools that would be useful here: a tiny chop saw with a carbide or diamond blade and a drill press.
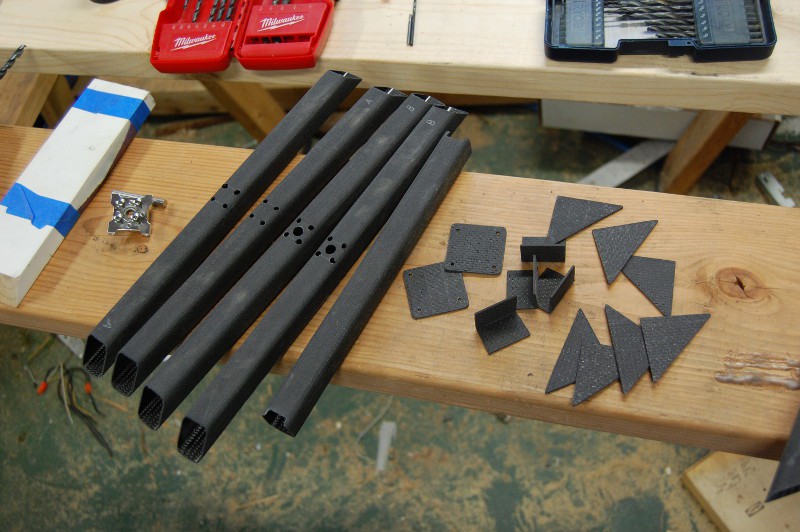
The first round of parts rough cut for v09. Not the nicest looking holes I've drilled (and subsequently enlarged a few times), but they will work:
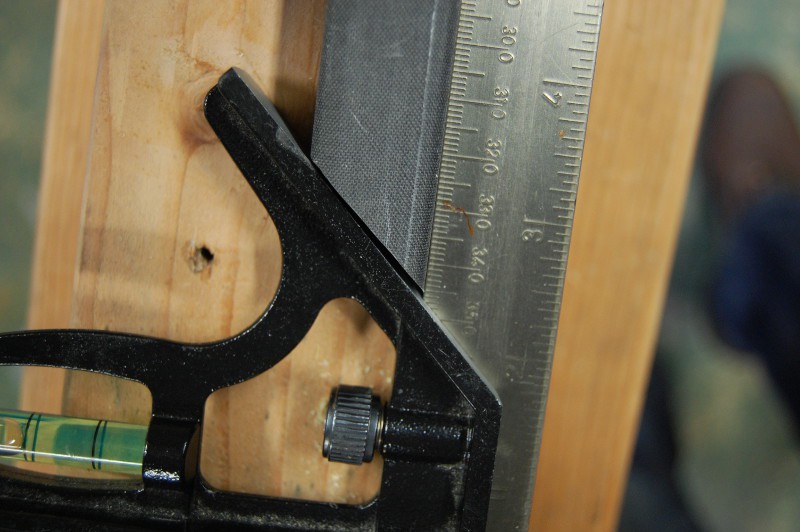
Jigsaw cuts can be a bit rough:
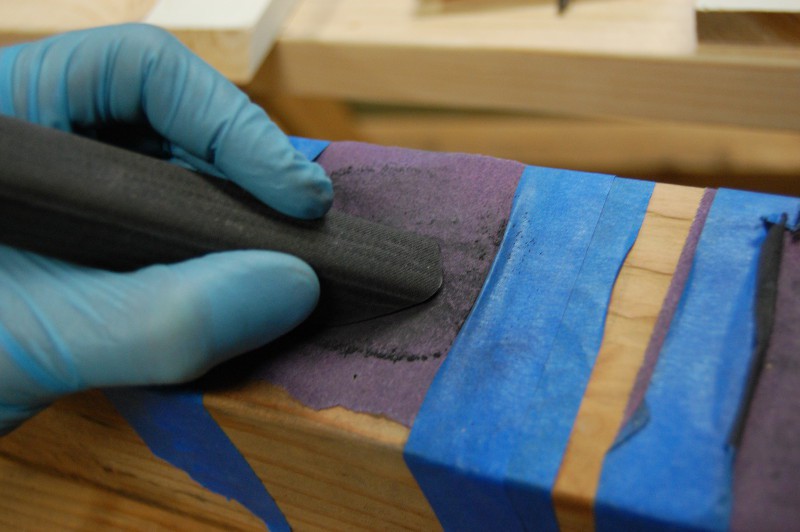
Lots of sanding. PPE reminder, wear a dust mask and use a HEPA vacuum to clean up:
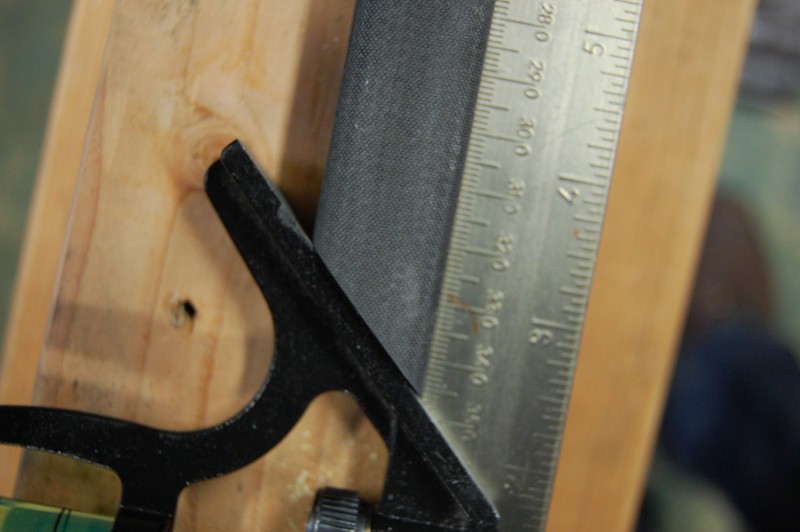
Ten minutes of sanding later, the angle is a bit better and the piece is the right length:
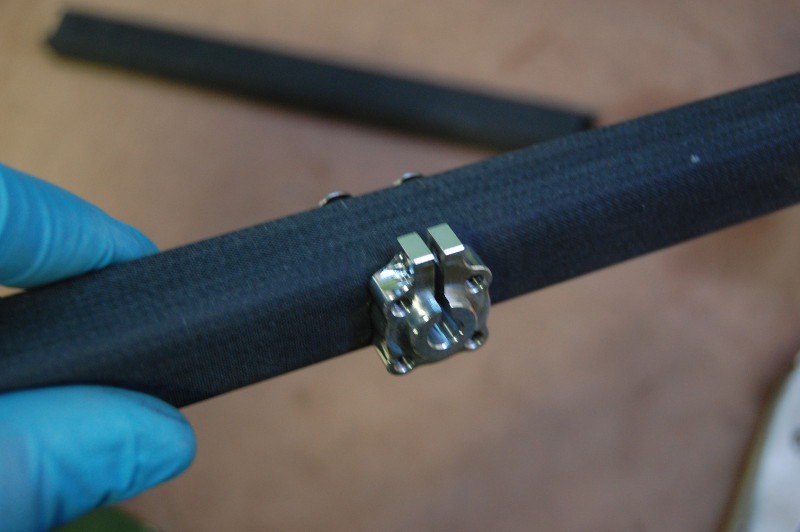
Shaft clamps fit, but will need longer screws:
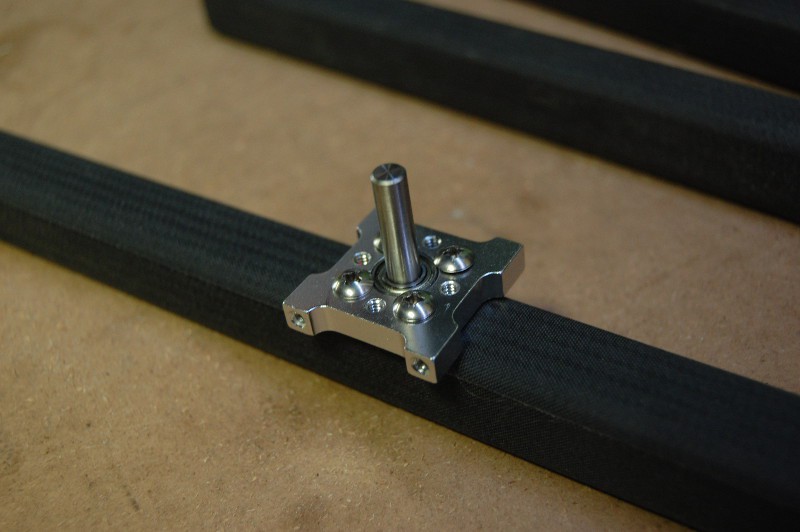
Bearing mocked up:
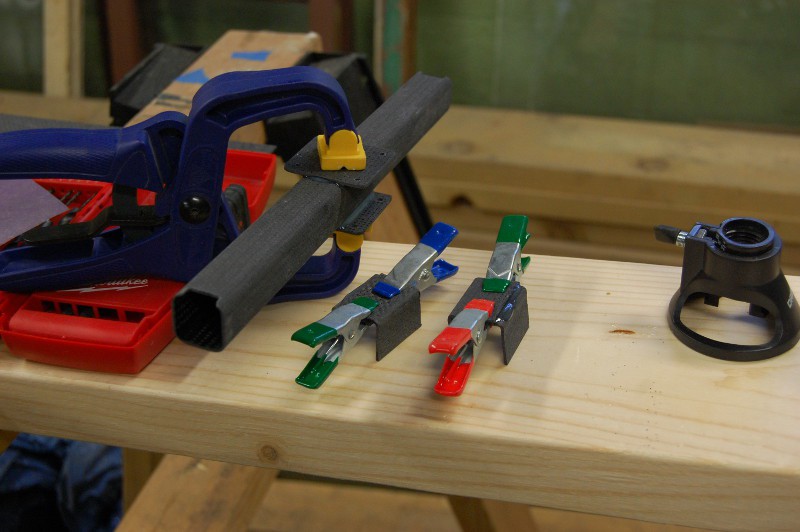
First gluing step for the motor mount:
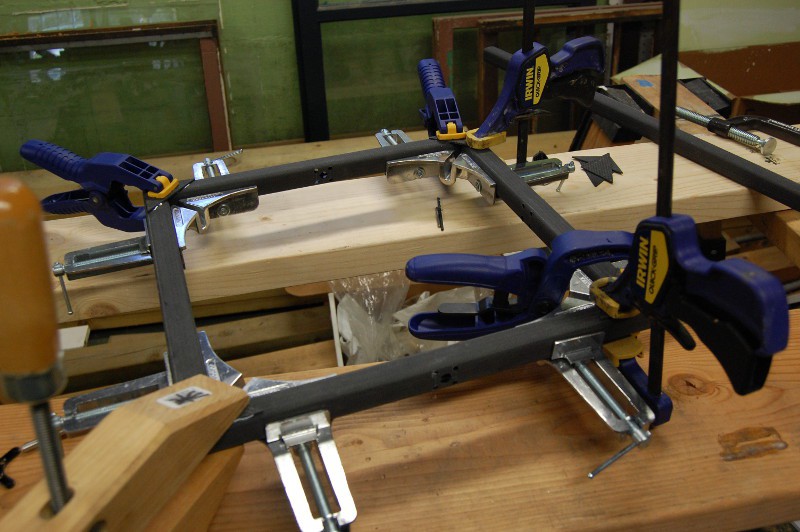
One can't ever have enough clamps:
Stay tuned, more to come!
- Zach
Discussions
Become a Hackaday.io Member
Create an account to leave a comment. Already have an account? Log In.
Are you sure? yes | no
You're still ahead on project logs. I hope to close that gap a bit in the next week..
Are you sure? yes | no