 zakqwy
I snagged a few hours after dinner tonight to work on GimbalBot a bit more. Another 2 foot length of CFRP square tube is on the way, along with various bolts and shaft collars. Addtionally, the order with the battery, silicone wire, low battery alarm, and other miscellaneous goodies should be here soon. Some pictures of tonight's work:
Work continued on the motor mount; the two chunks of CFRP angle stock I bonded together this weekend are ready for a bit more attention. Here, I've marked drilling locations for the four mounting holes and single shaft hole for one of these brackets:
I drilled the shaft hole small on purpose and enlarged it using a rotary tool; I'm not a fan of this design in general because the CFRP webbing between the holes is fairly thin, but it's a tradeoff that lets me easily shim the shaft collar into alignment if necessary. Best I can do is make the holes as accurate as possible:

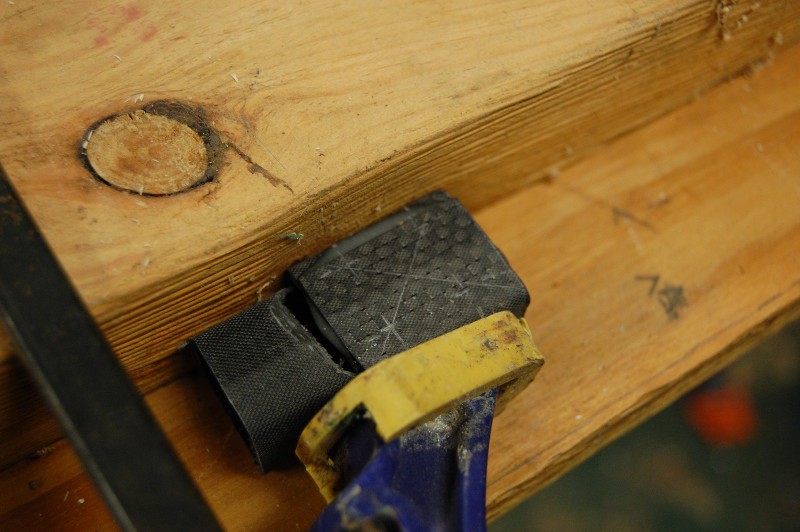
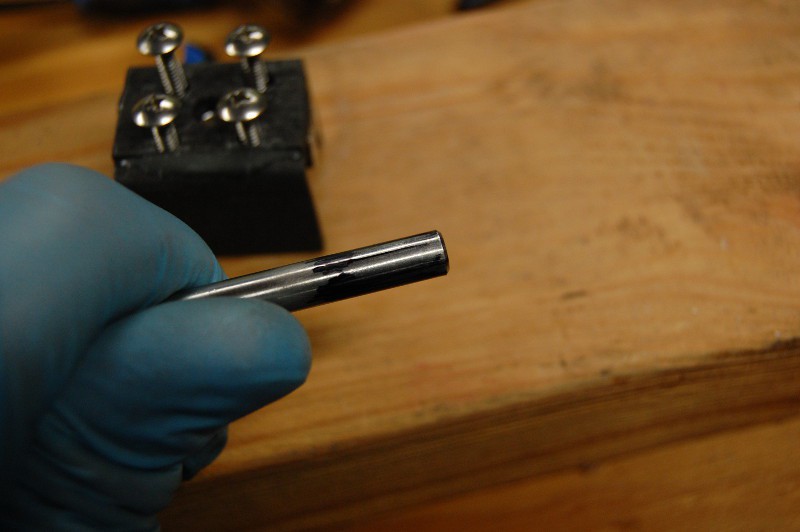
I really should pick up a bottle of Dykem; in the meantime, I used a marker to color the shaft, then checked for rubbed marks to figure out high spots in the hole:
The mounting holes are a bit wide, but they're mostly wide on the edges furthest away from the other holes:
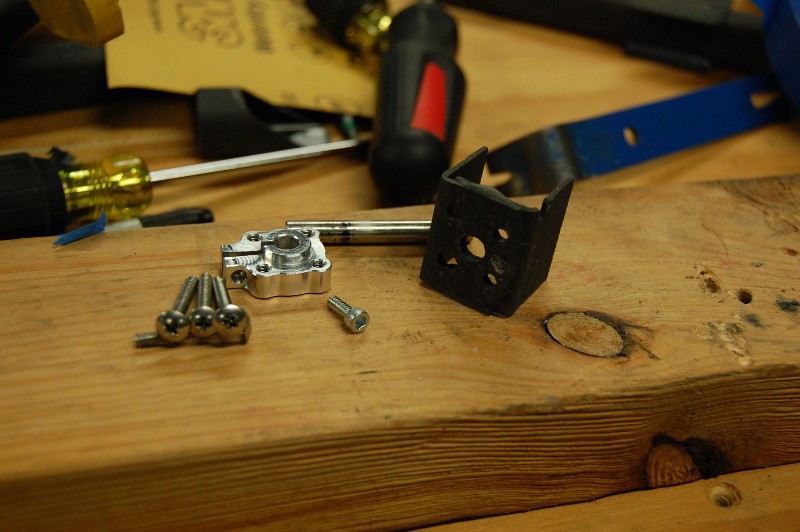
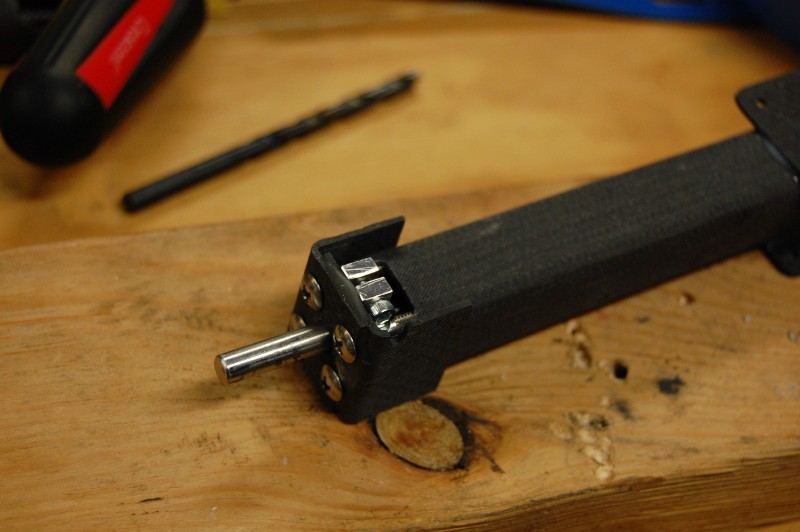
Everything fit together well after quite a bit of filing and checking. I got most of the way through the other bracket but had to stop because I'd worn my HSS grinding tools down to useless stubs; time to pick up some diamond bits. Either way, I decided to hold off on gluing this to the motor mount until I can line it up with the rest of the frame:
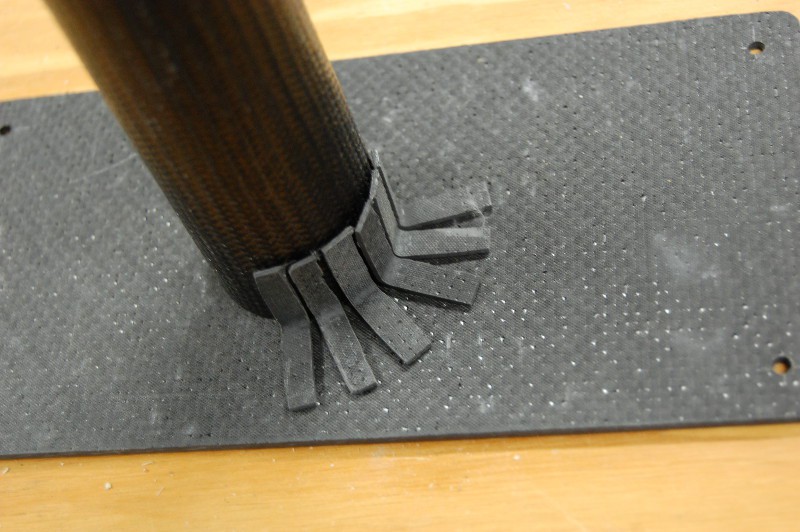
Forgot to mention this previously--I made an on-the-fly design change (always dangerous) and increased the battery plate size to 100x200mm. That will give me more room to mount various electrical goodies, and should only increases the weight by a dozen grams or so (and it's top weight). This also lets me run reinforcing brackets all the way around the center tube which should make that joint quite strong. But man--cutting those angle brackets sure is tedious. They kept getting sucked into the vacuum cleaner:
I also cut out the two trapezoidal center tube gussets:
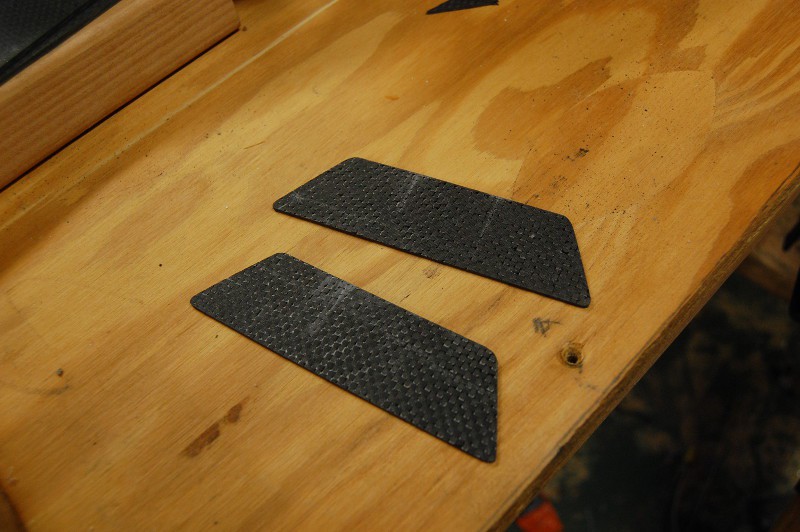
I had to resist the urge to glue them into place since I didn't have anything else to epoxy. Space Glue has a relatively high fixed cost per application due to the 6" mixing nozzle, so I try to use it in batches when possible. Either way, it was satisfying to fit this joint together:

More to come!
- Zach
Discussions
Become a Hackaday.io Member
Create an account to leave a comment. Already have an account? Log In.