• B·Day Bot's first test!

    Julio Vazquez10/23/2016 at 22:57 0 comments

    B·Day Bot is almost ready! And today, I recorded a little demonstration video.

    As you can see, some parts haven't been closed, because I want to improve some of the inner circuits before sealing them.

  • Modelling phase: Complete!

    Julio Vazquez10/20/2016 at 22:41 0 comments

    Today, I have finished 3D modelling all of B·Day Bot's parts! This is how they look in SolidWorks:


  • Turning a potentiometer into a strawberry topping

    Julio Vazquez09/29/2016 at 16:23 0 comments

    Today, I want to show you the process behind B·Day Bot's external parts:

    You'll see, one of the goals of this project was to make a robot that could look aesthetically pleasing, instead of focusing purely on its functionality; and that every part of it would follow a "theme". In this case, a birthday cake.

    For this reason, a lot of its parts (such as switches, pushbuttons and knobs) are disguised as cake toppings, candies or other kind of decorations.

    In this case, I am turning a potentiometer (that will be used to control the volume of the music) into a cherry topping.

    After designing the model in SolidWorks, the part is 3D printed and then tested to see if it fits properly over the part that is going to disguise.

    If everything works as expected, the parts are then hand painted to give them their final appearance. This time, I'm using a couple of spare potentiometers to aid me with the painting job. This way, it's easier to apply the paint evenly.

    This is the power button, which has been disguised in a similar way. When finished, the volume knob will have a similar appearance.

  • Module enclosures now available at Thingiverse

    Julio Vazquez09/28/2016 at 15:39 0 comments

    During my project's development, I felt that it would be a good idea to make enclosures for some of the modules. To be more specific, the LiPo battery charger and the step-up booster.

    Why? Because using these modules in their "bare PCB" form makes them vulnerable to be shorted if they are handled in a conductive surface, and there's a chance that they will be damaged if they fall (or something else falls over them).

    So, I designed these enclosures with the aim of protecting them while allowing the user to access the boards' features.

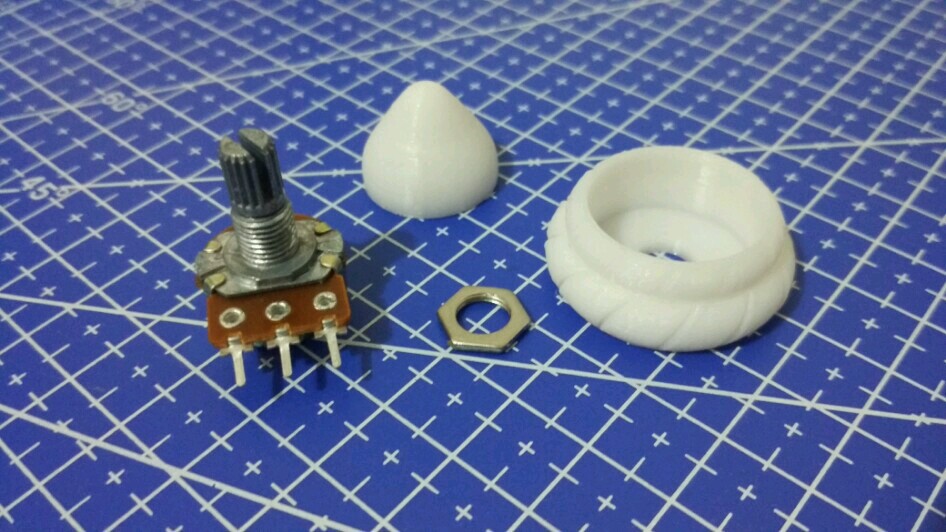
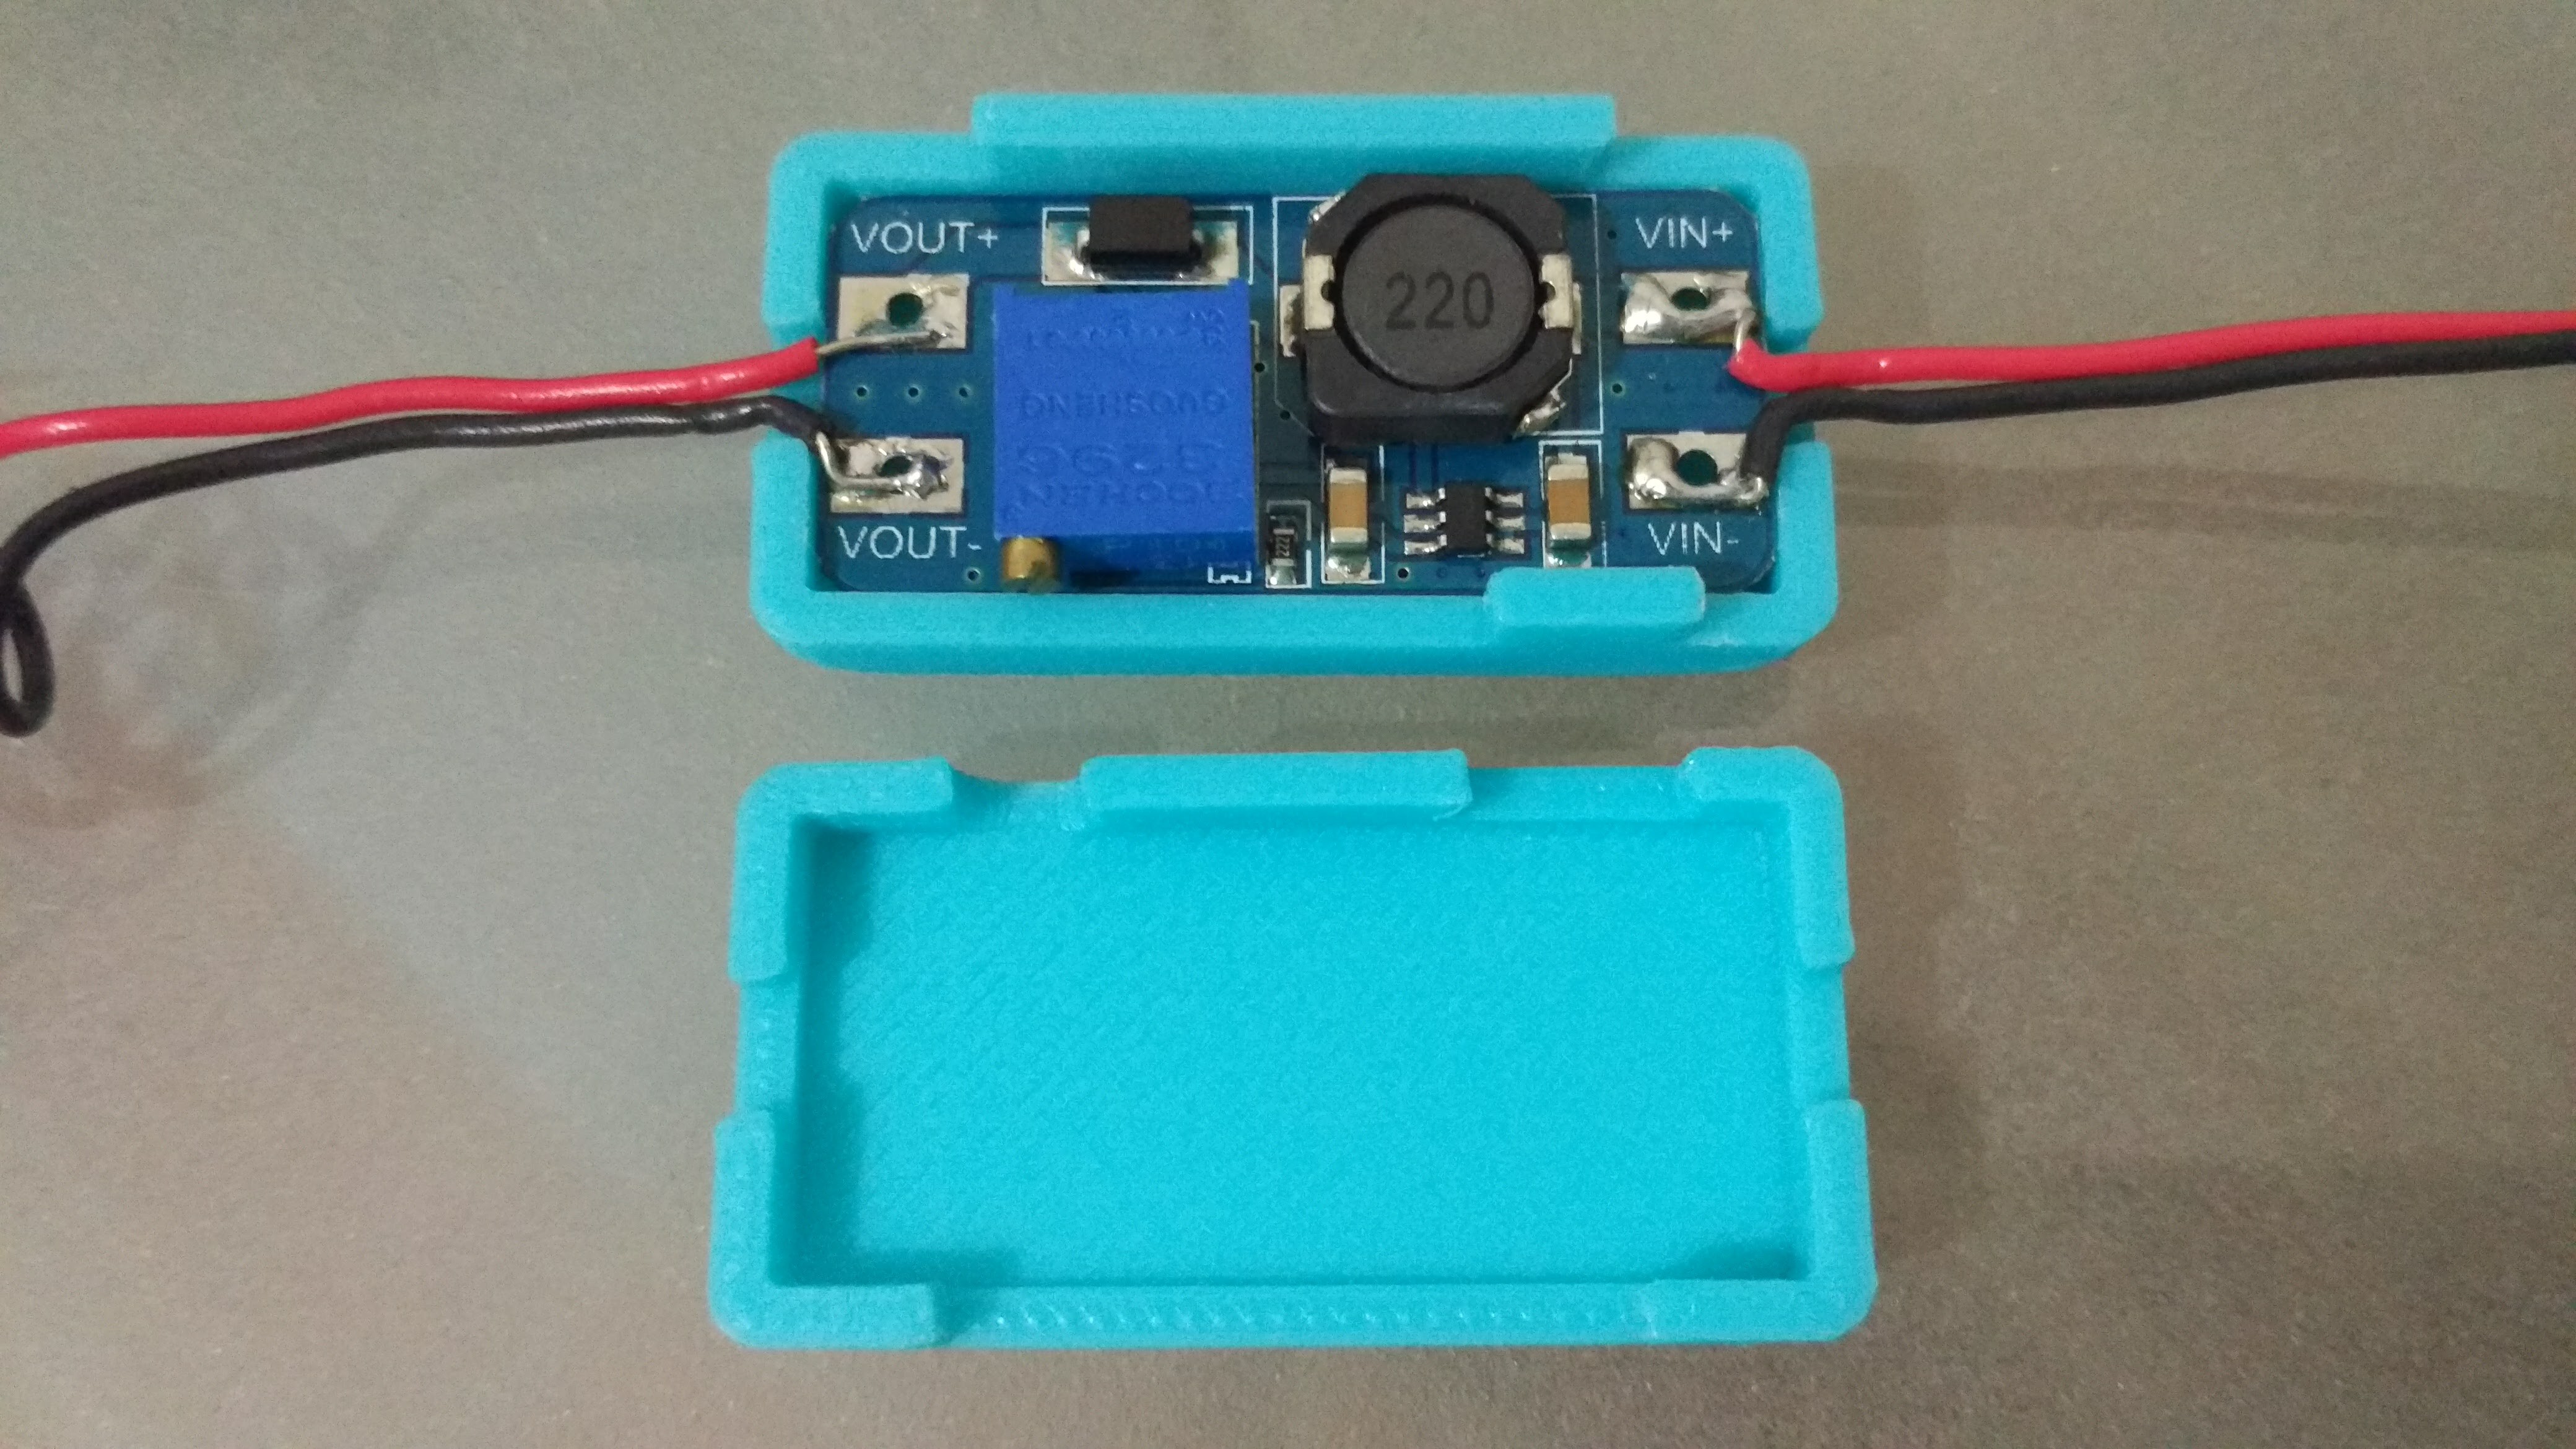
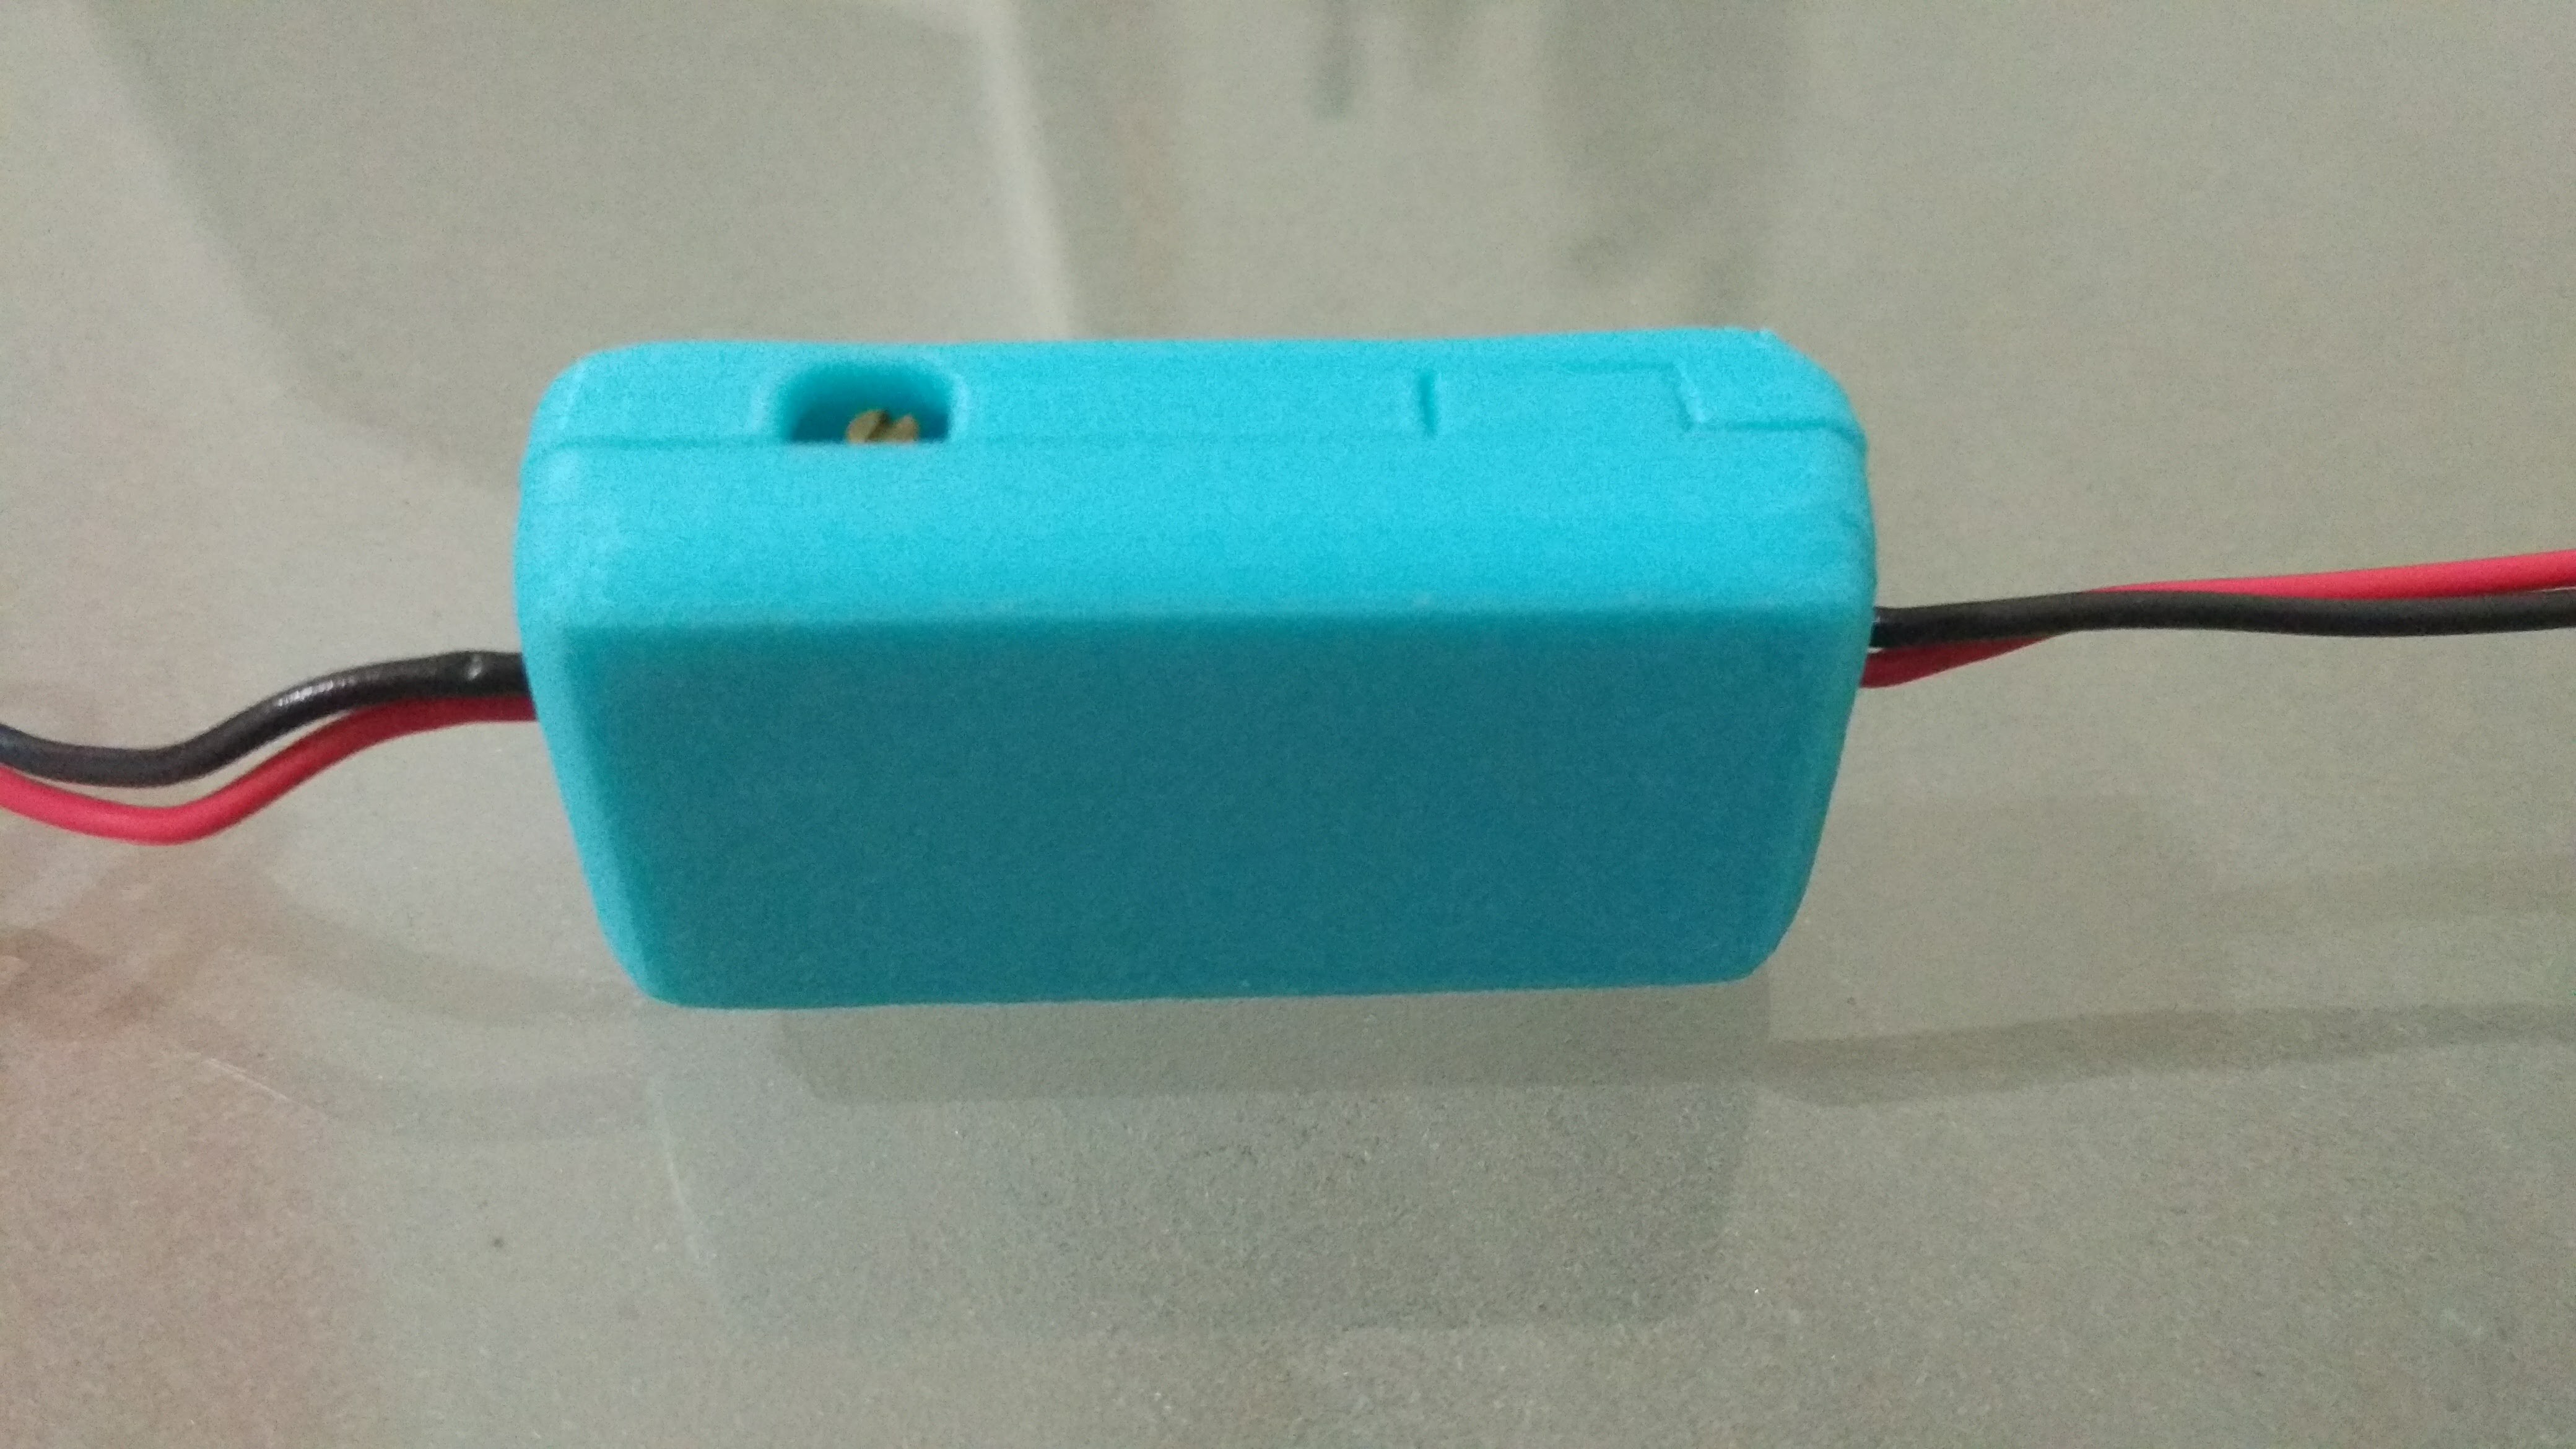
    In the case of the step-up booster, the case allows the user to adjust the potentiometer that sets up the voltage output.

    Meanwhile, the enclosure for the LiPo charger has two holes that let the user see the status led clearly.

    I think that these enclosures can be helpful to anyone who uses these modules, so I decided to upload them on Thingiverse:

    http://www.thingiverse.com/thing:1785731

    http://www.thingiverse.com/thing:1785693

  • Testing the remote control

    Julio Vazquez09/27/2016 at 22:30 0 comments

    I decided to focus on finishing the remote control before making the final "body" of the robot. That way, I would be able to practice my painting skills without fear that I would damage the robot's appearance.

    Following the theme of the robot, this control is shaped like a small frosted pancake, with the buttons disguised as different kinds of toppings: Jellybeans, M&M's, a cherry and a small marshmallow.

    In this video, you can see a small test featuring the different control modes and how to access and exit the configuration mode.