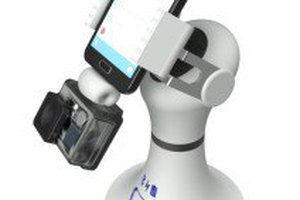
 Guillermo Herrera-Arcos
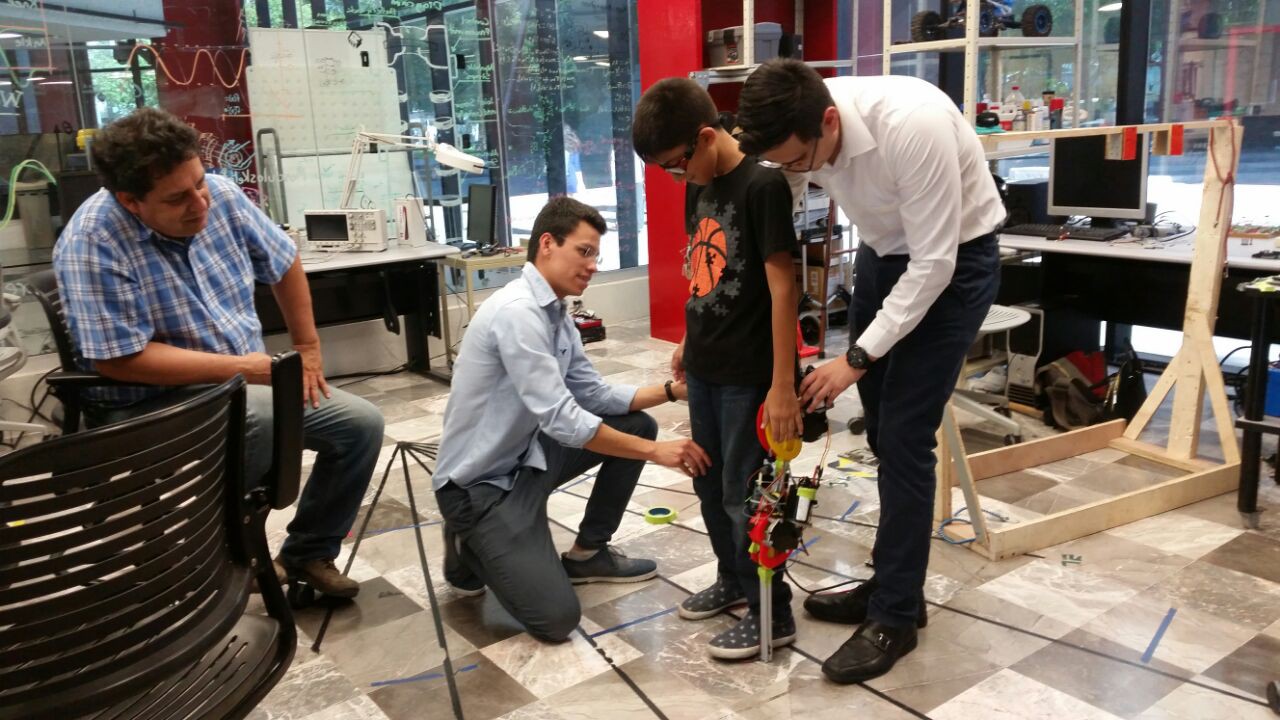
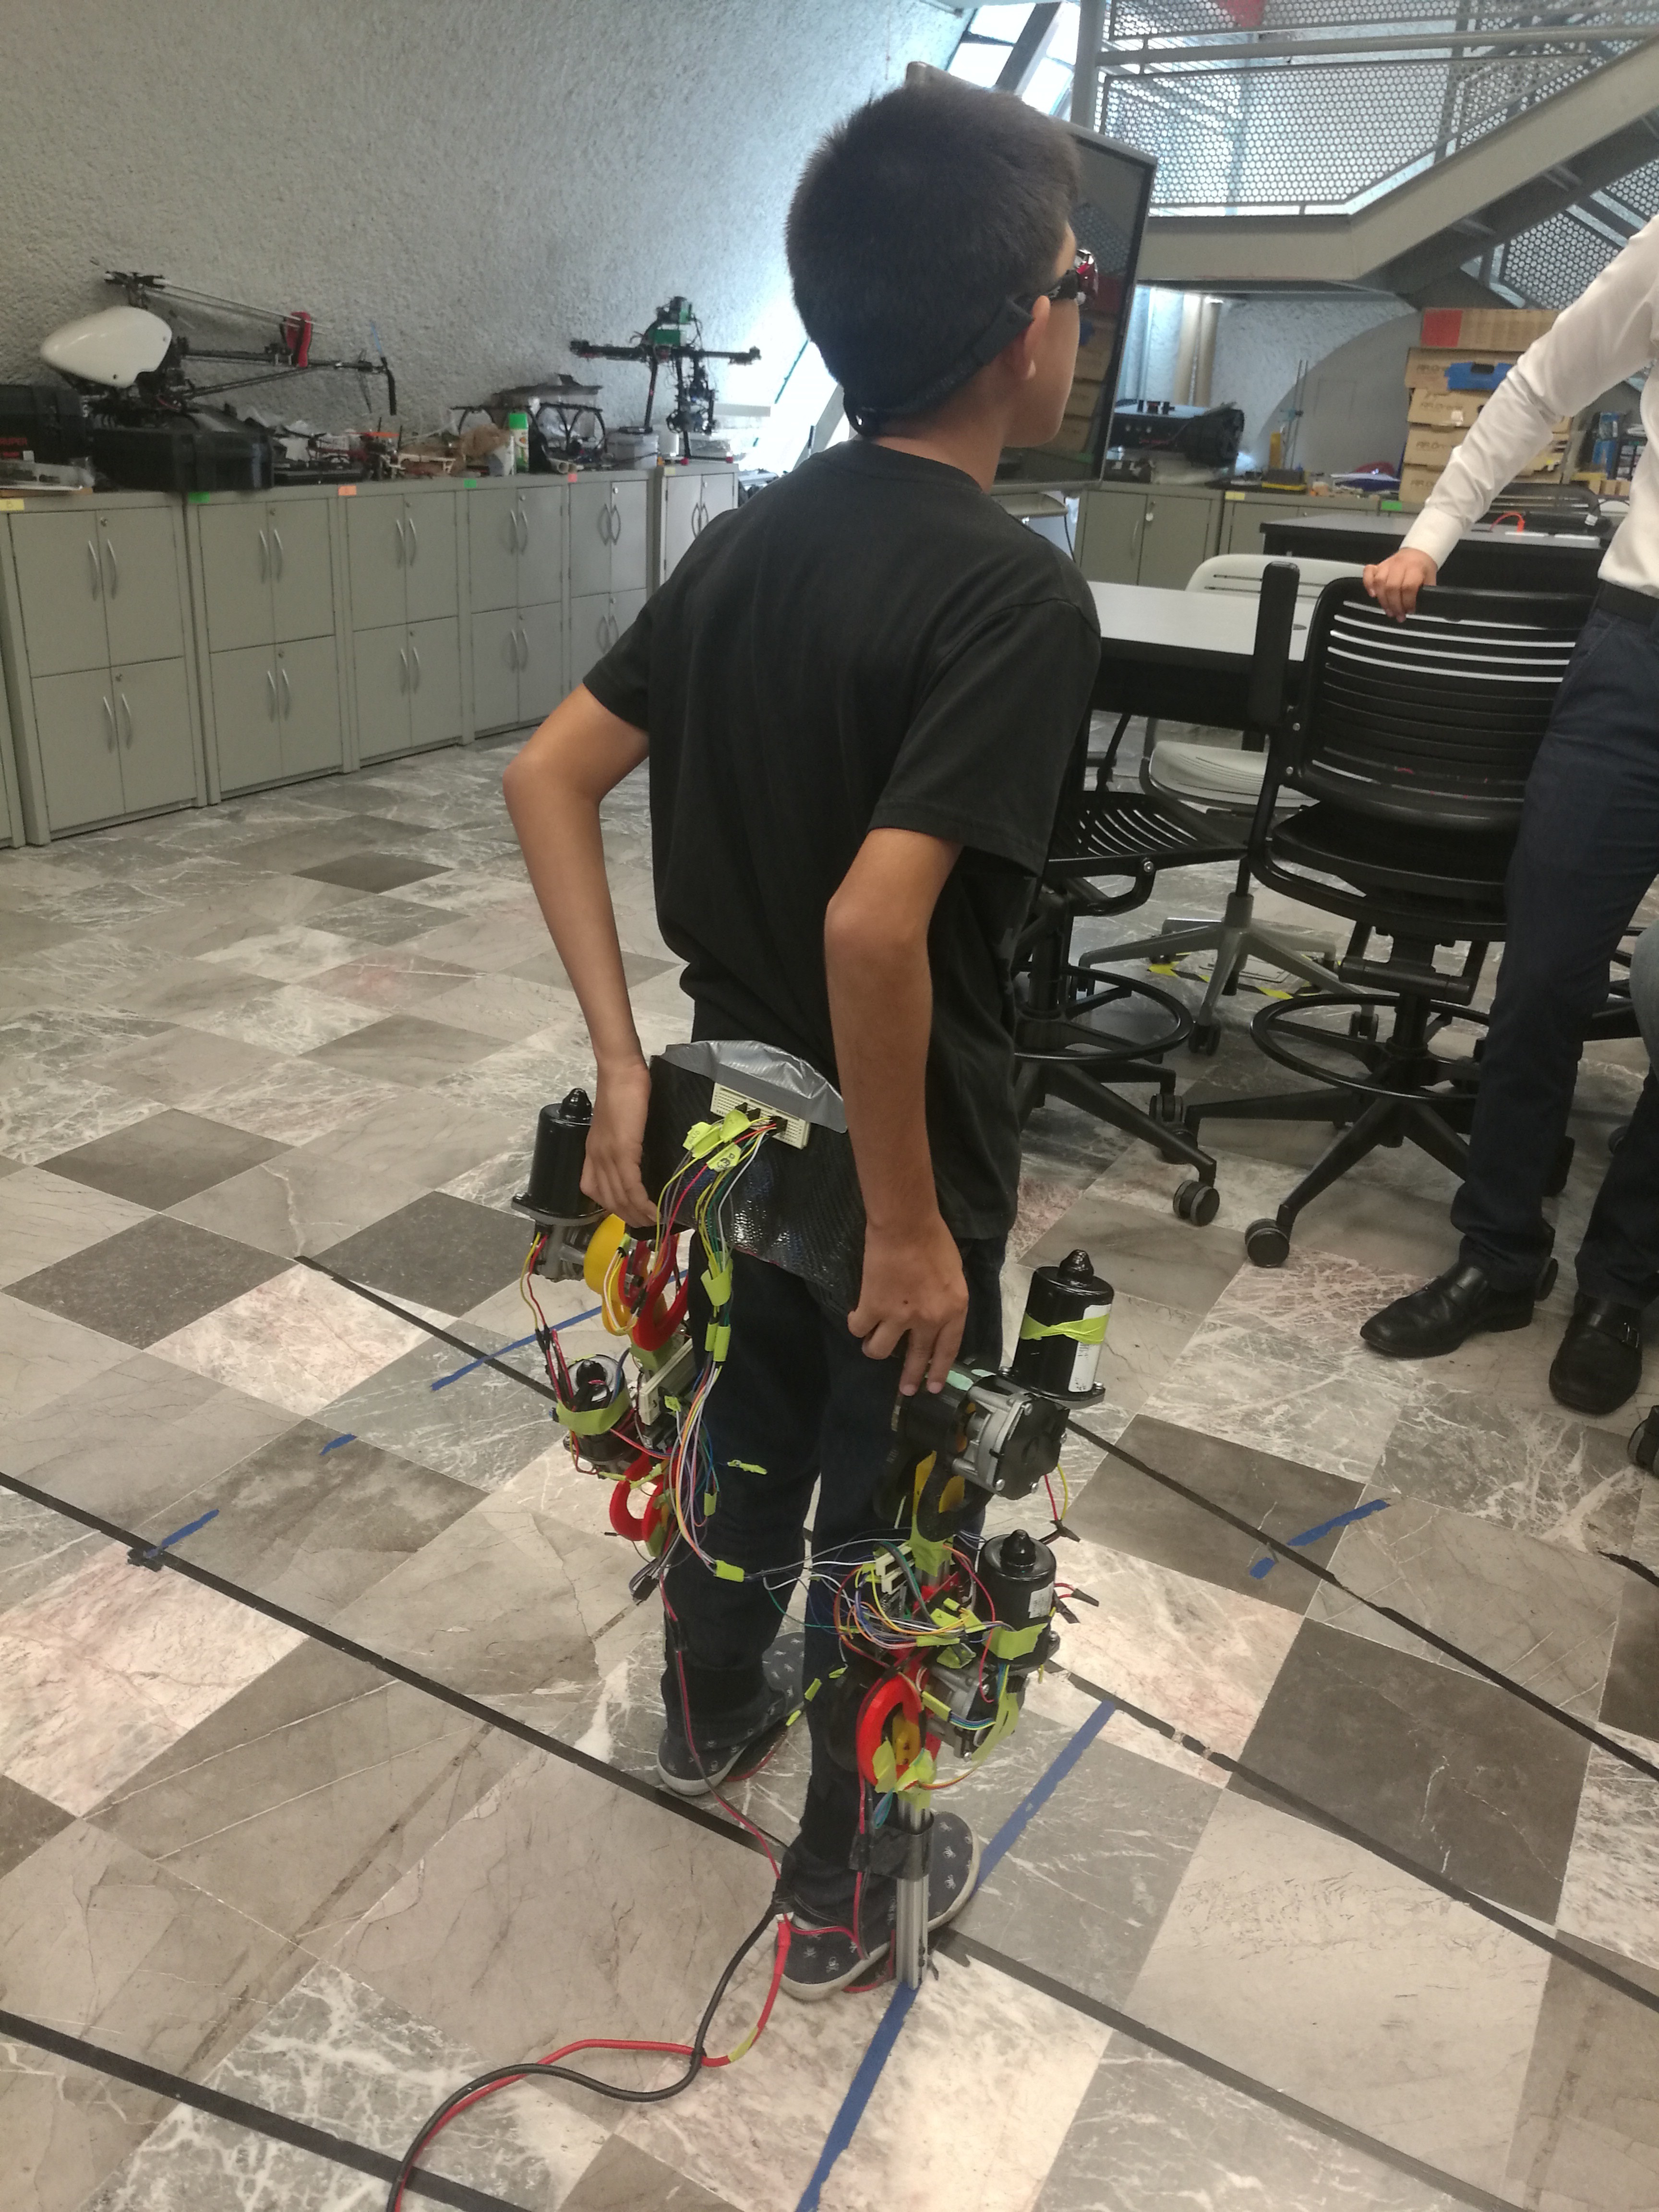
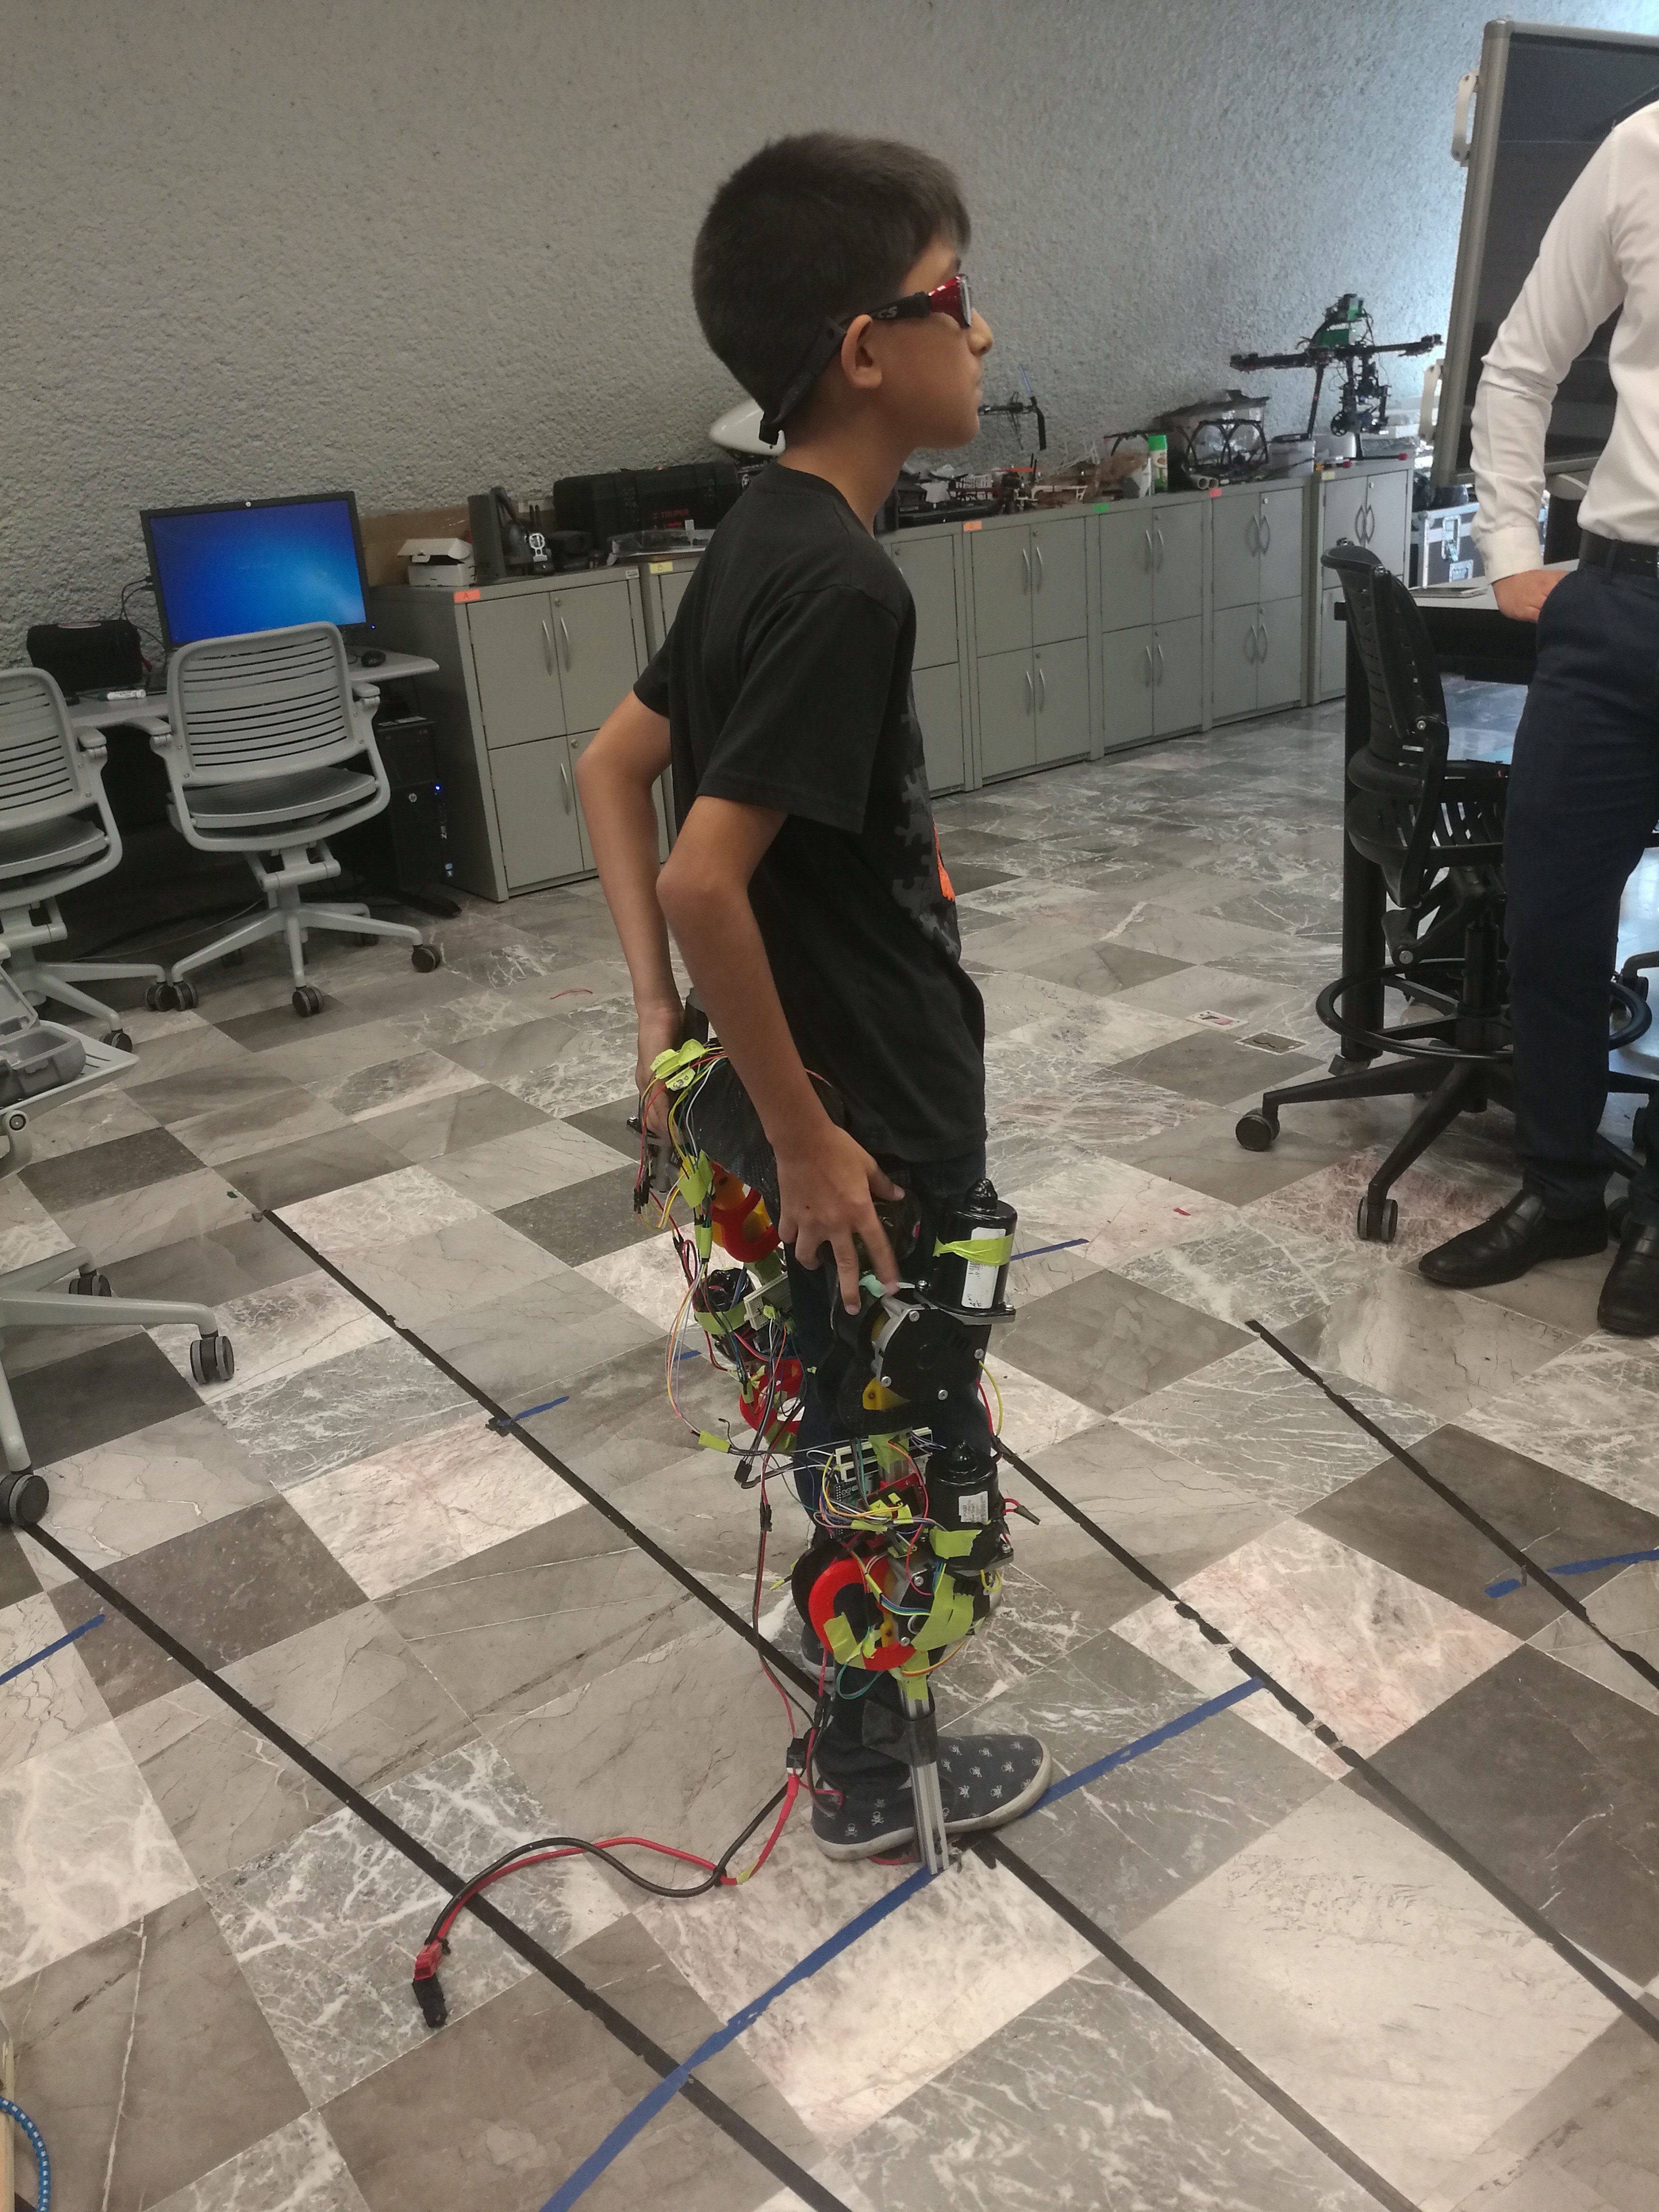
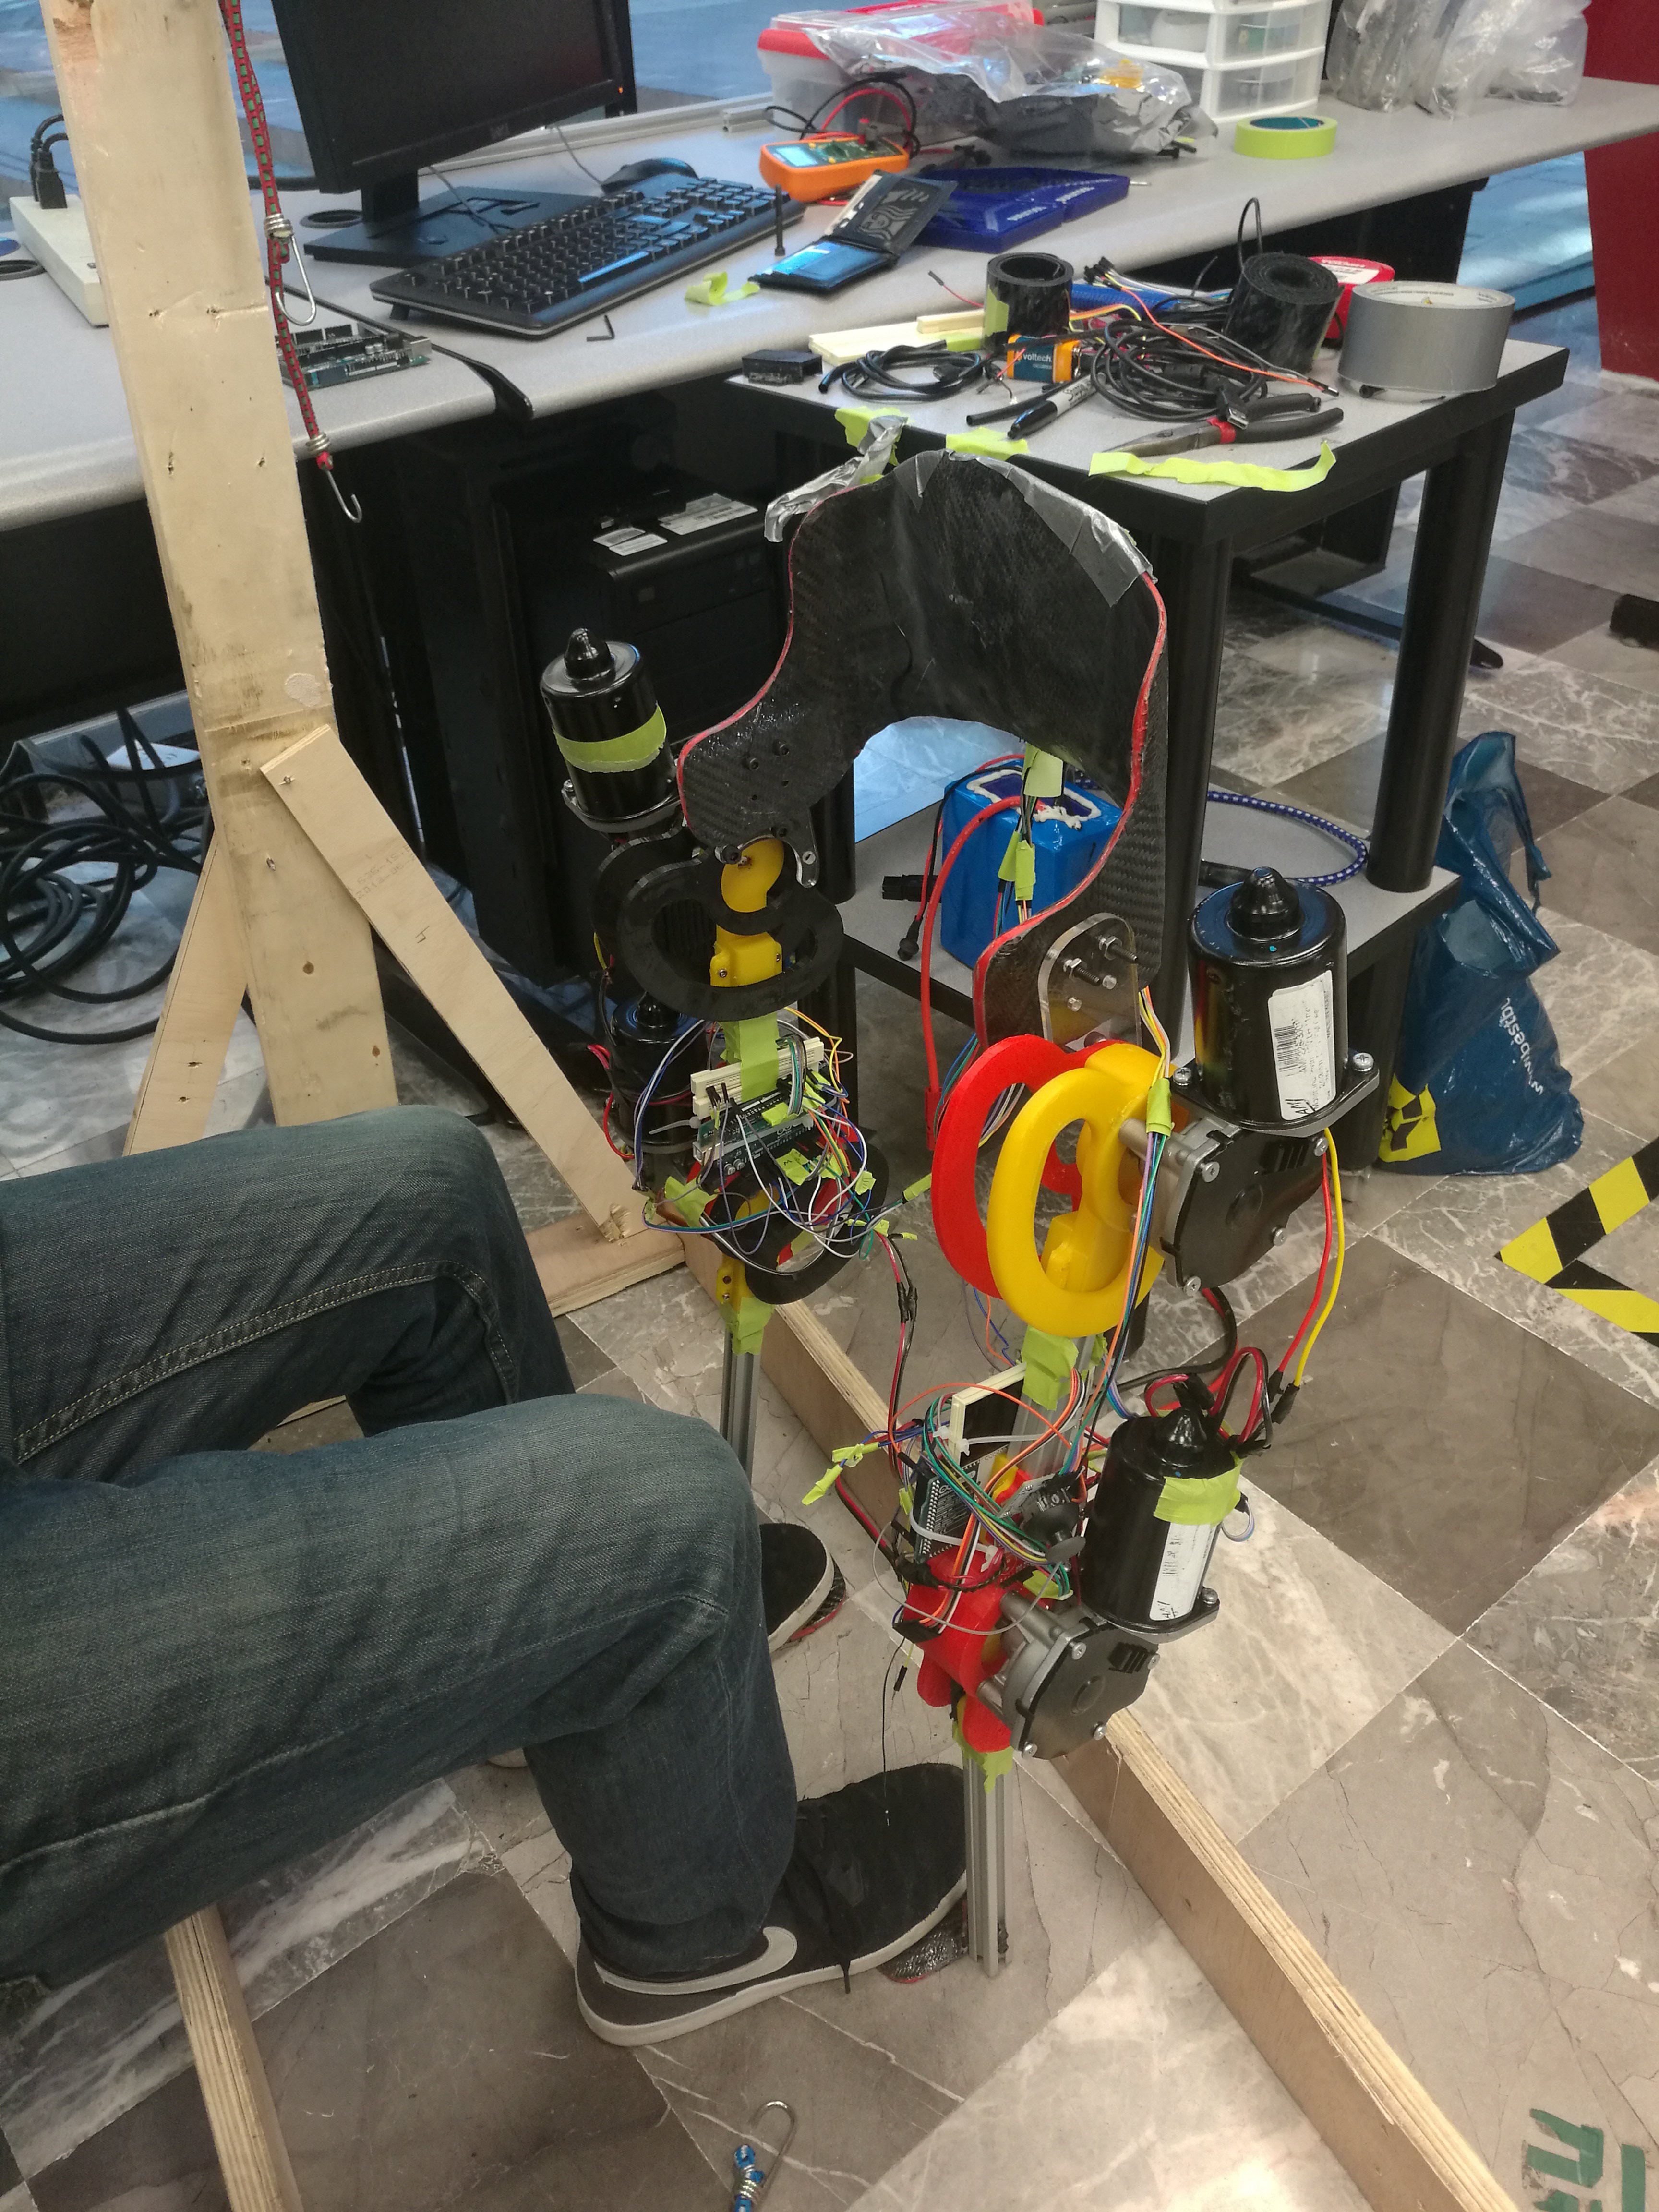
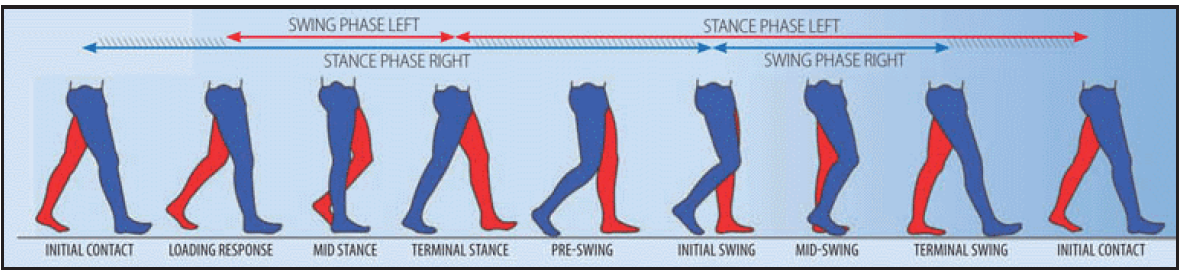
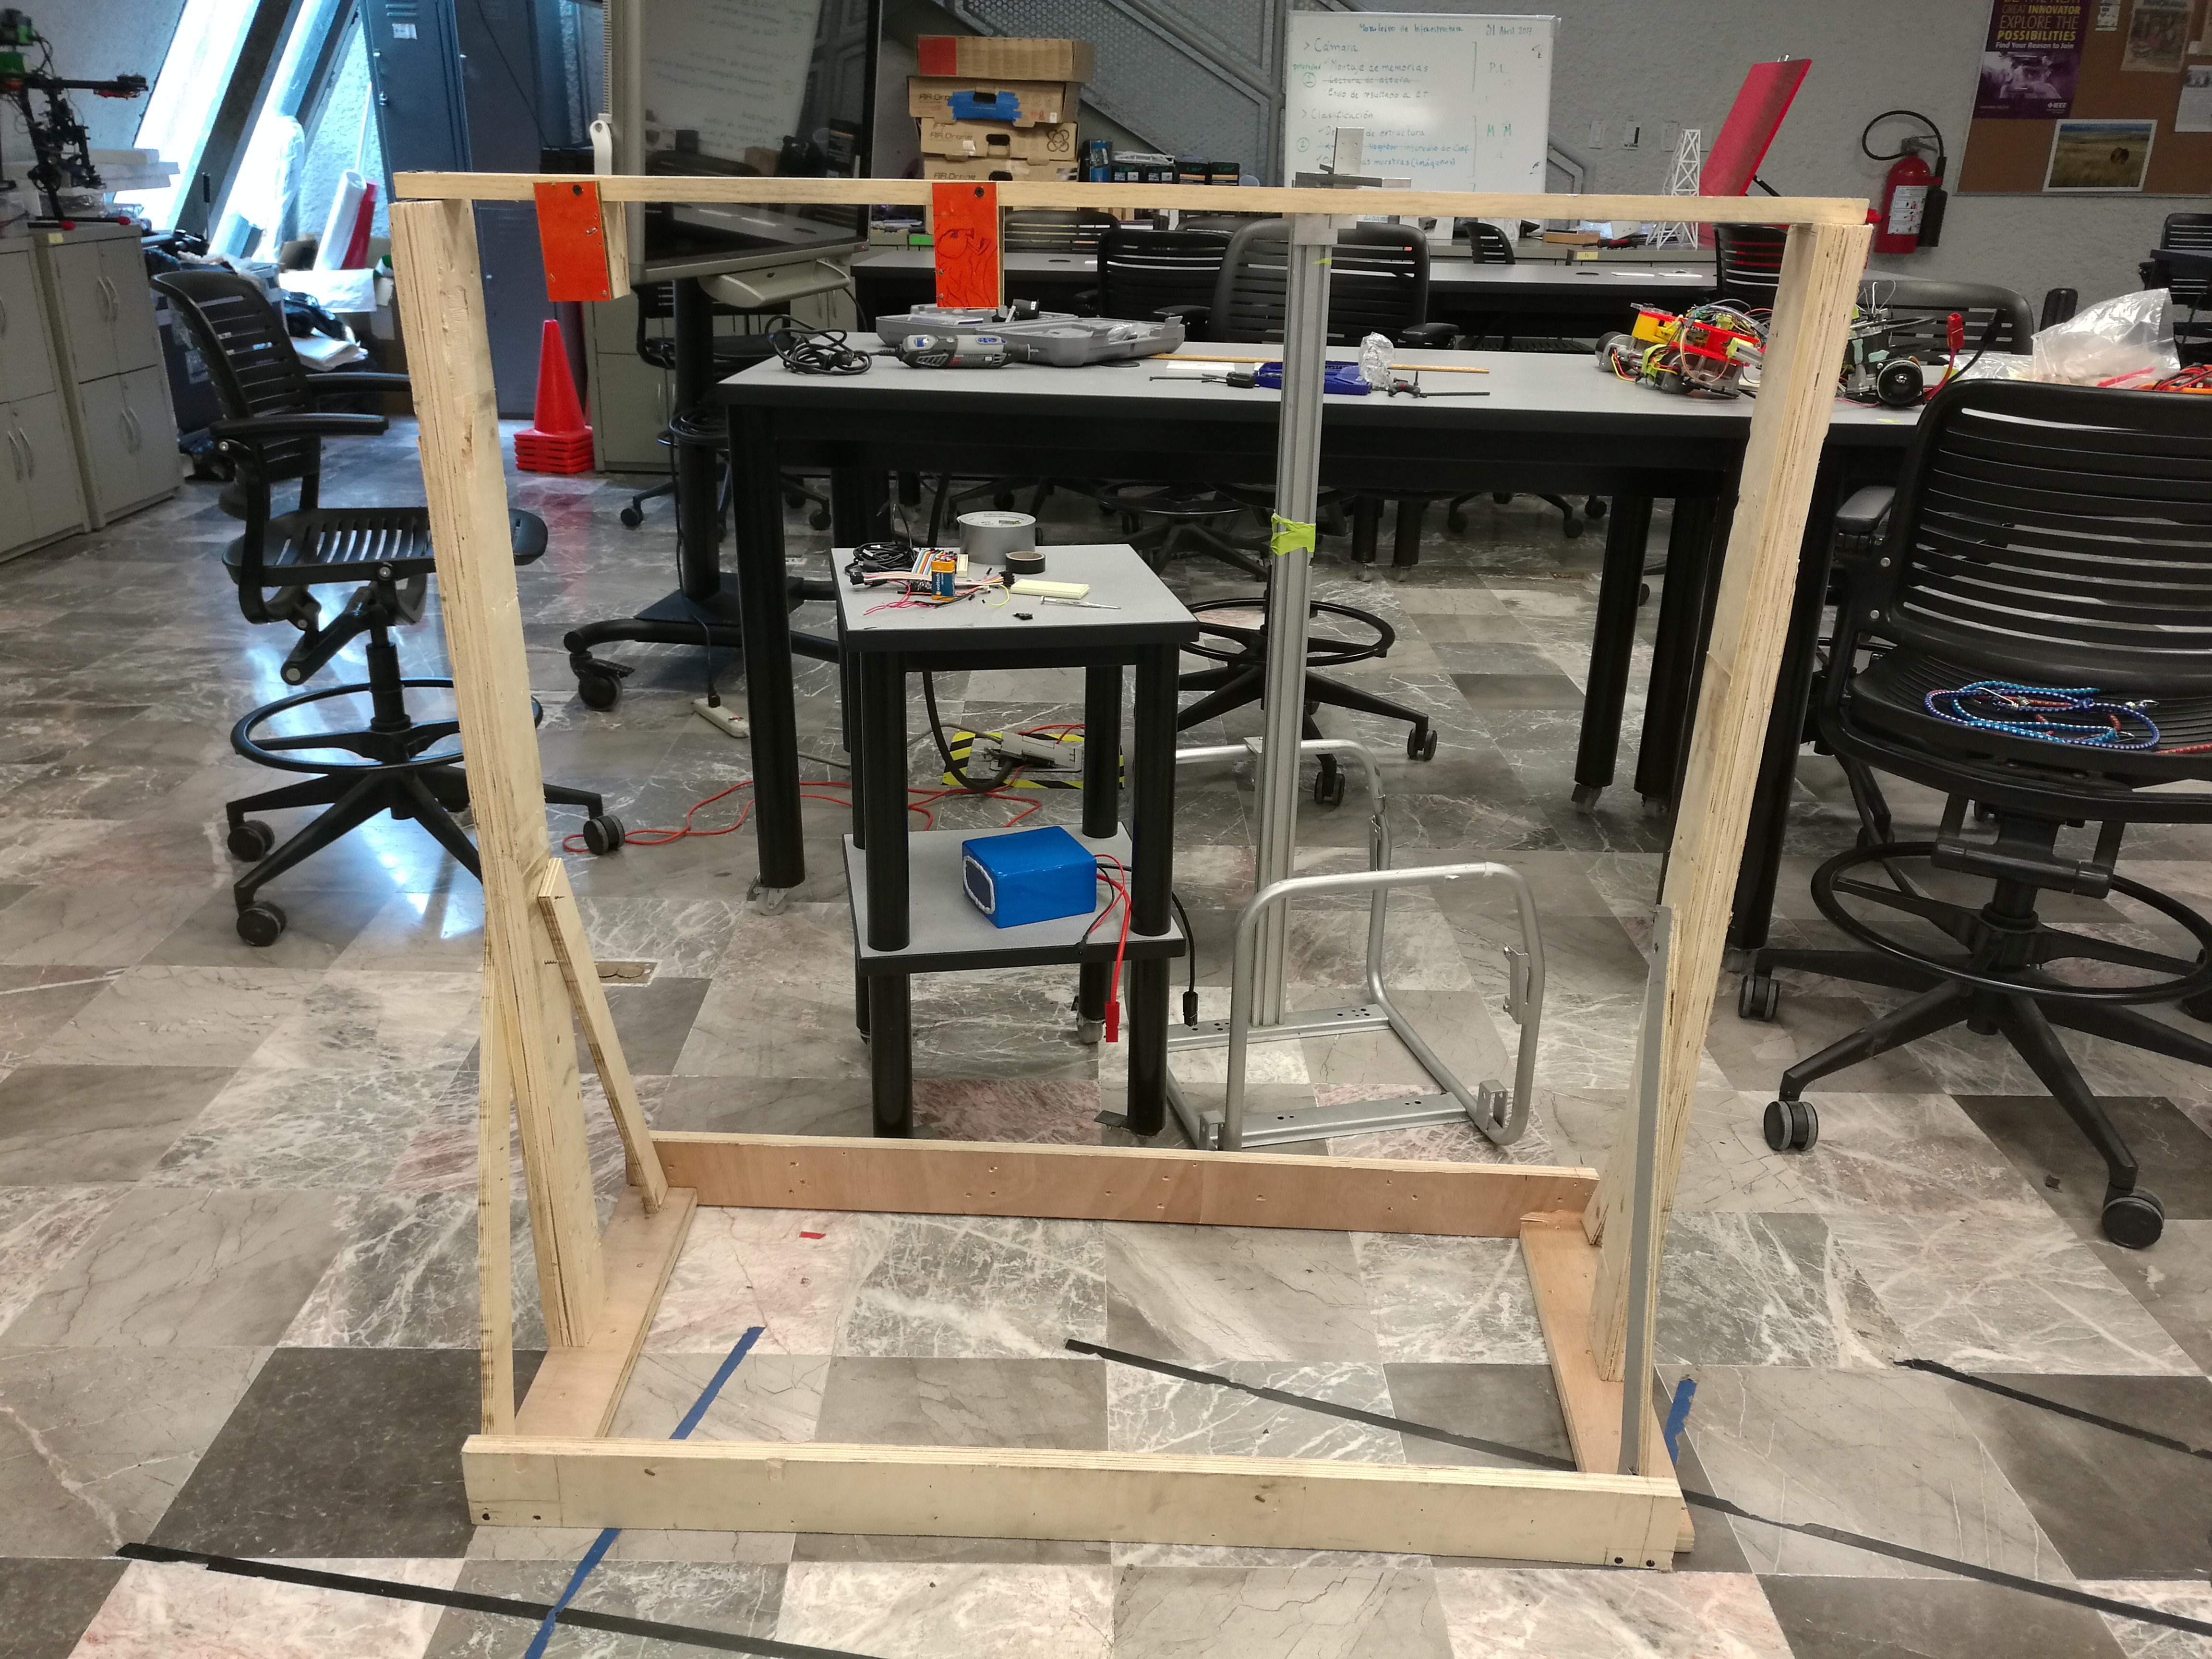
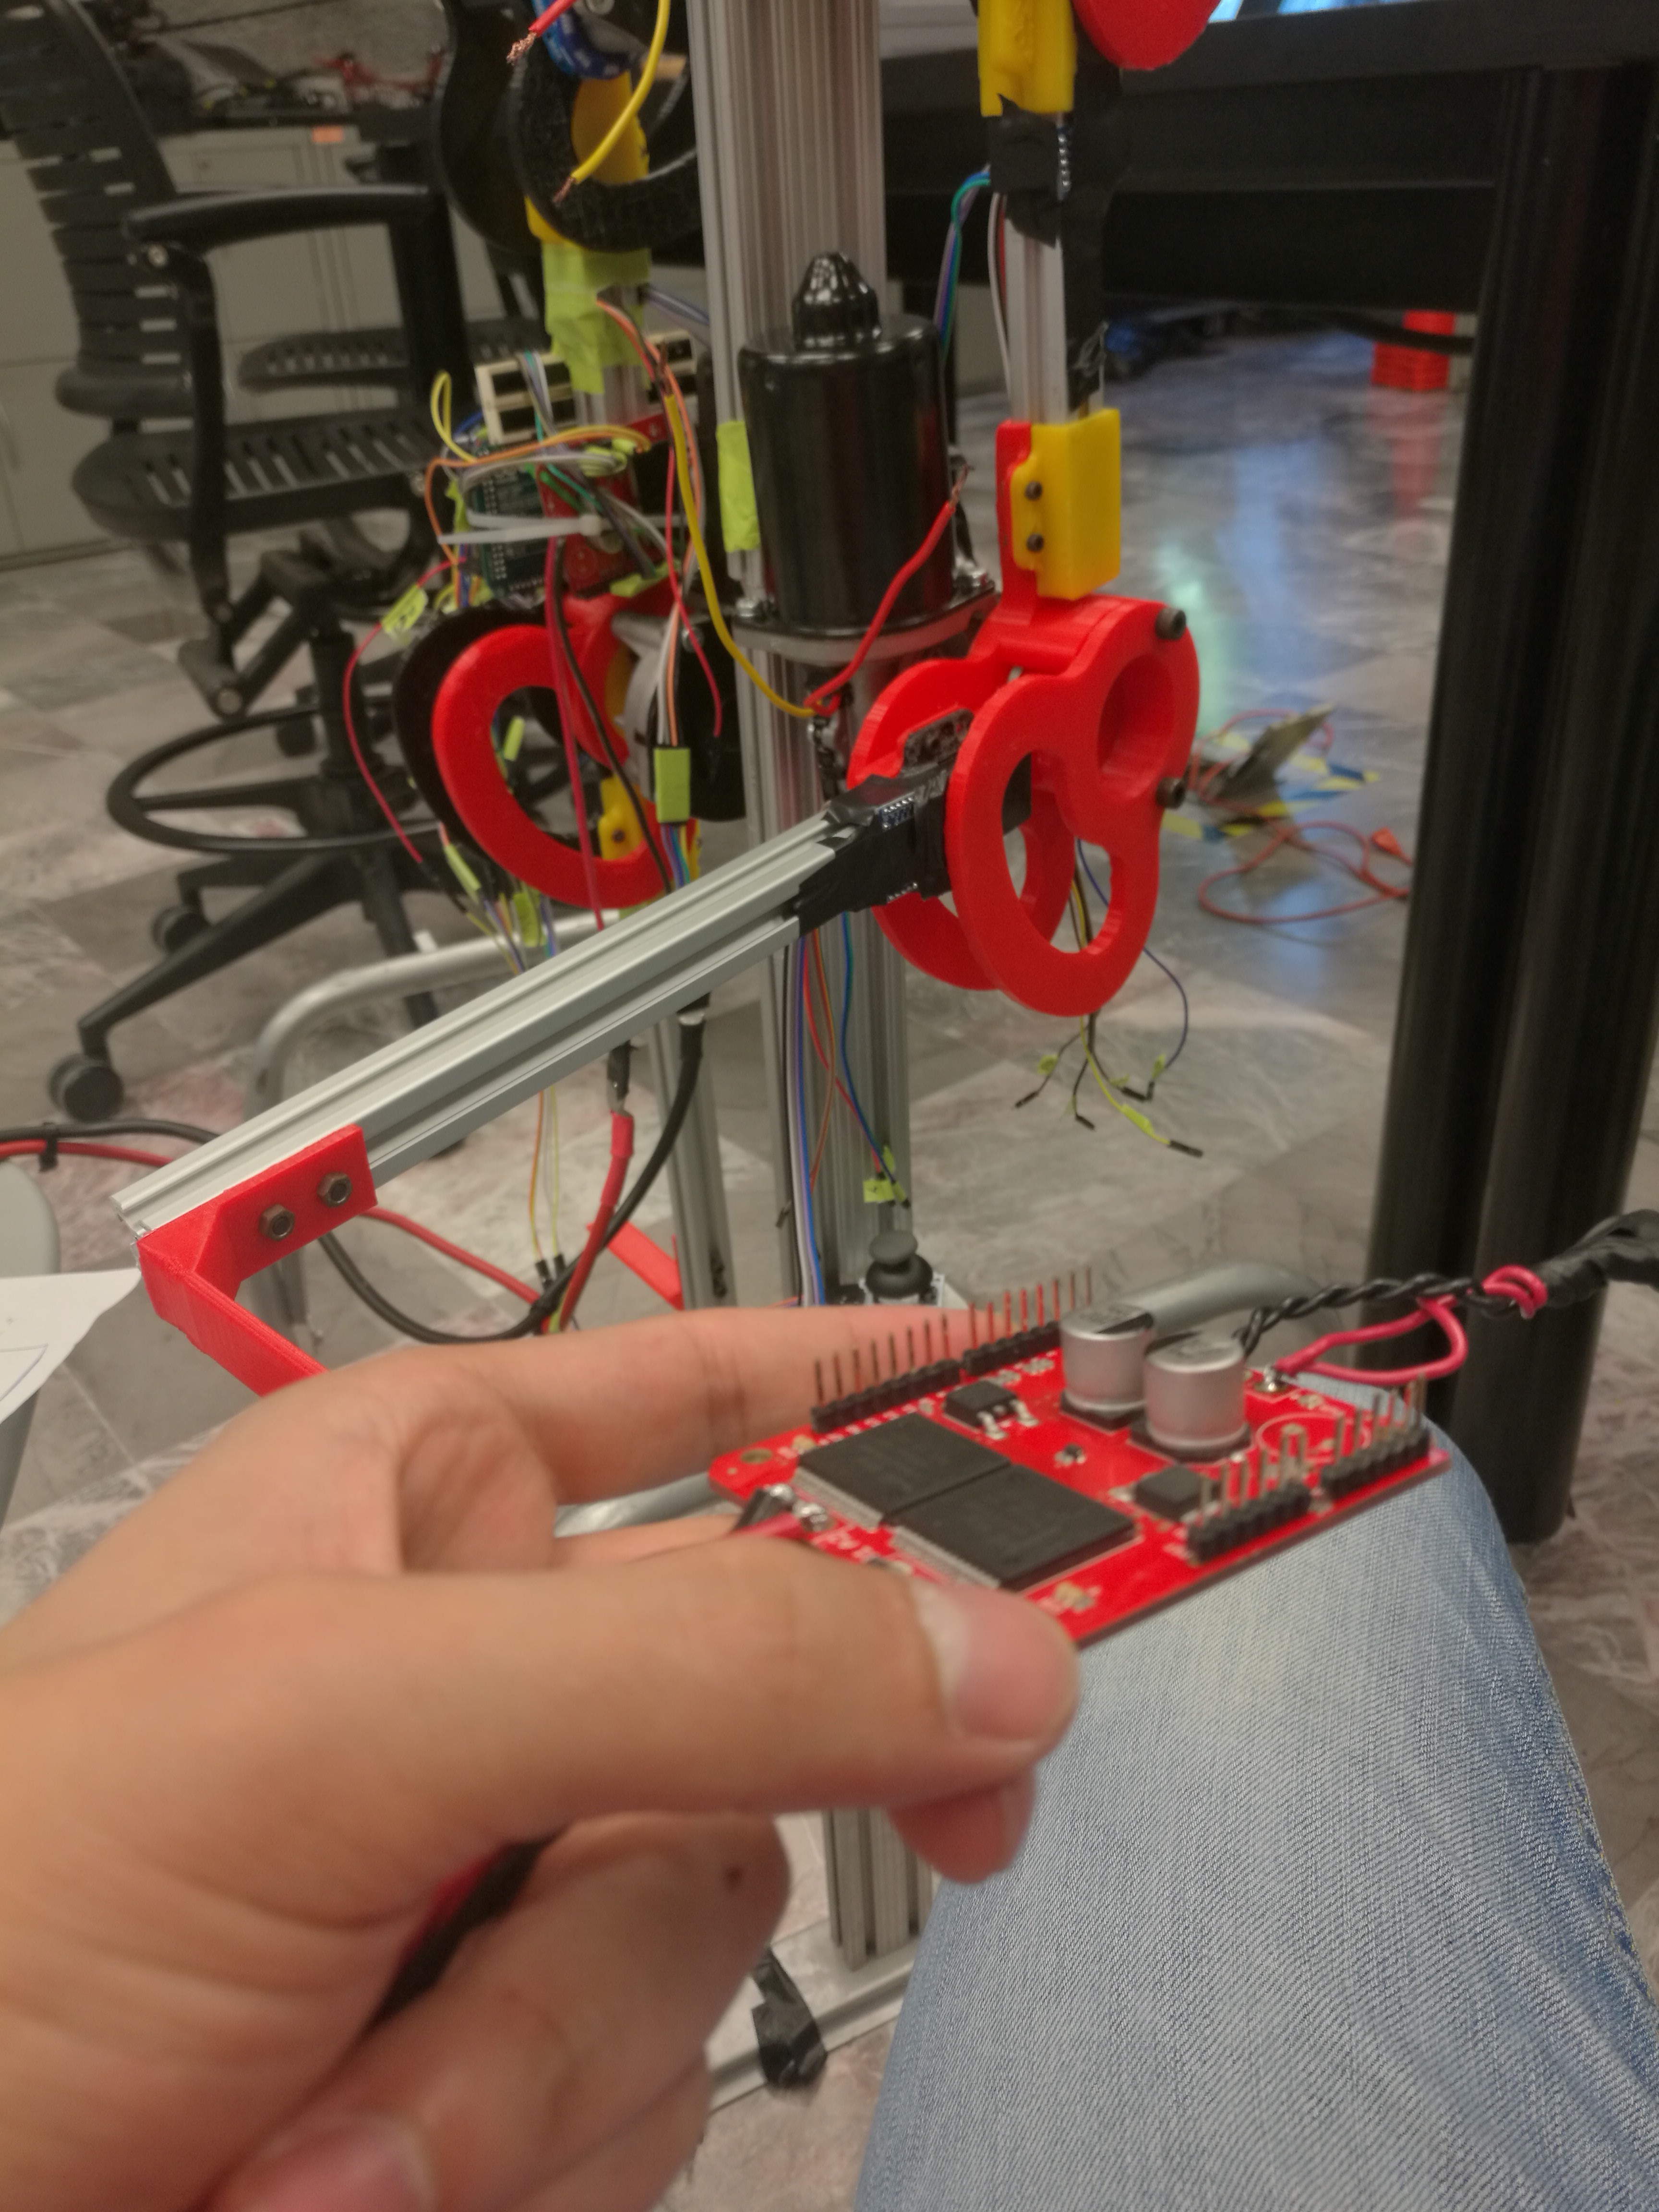
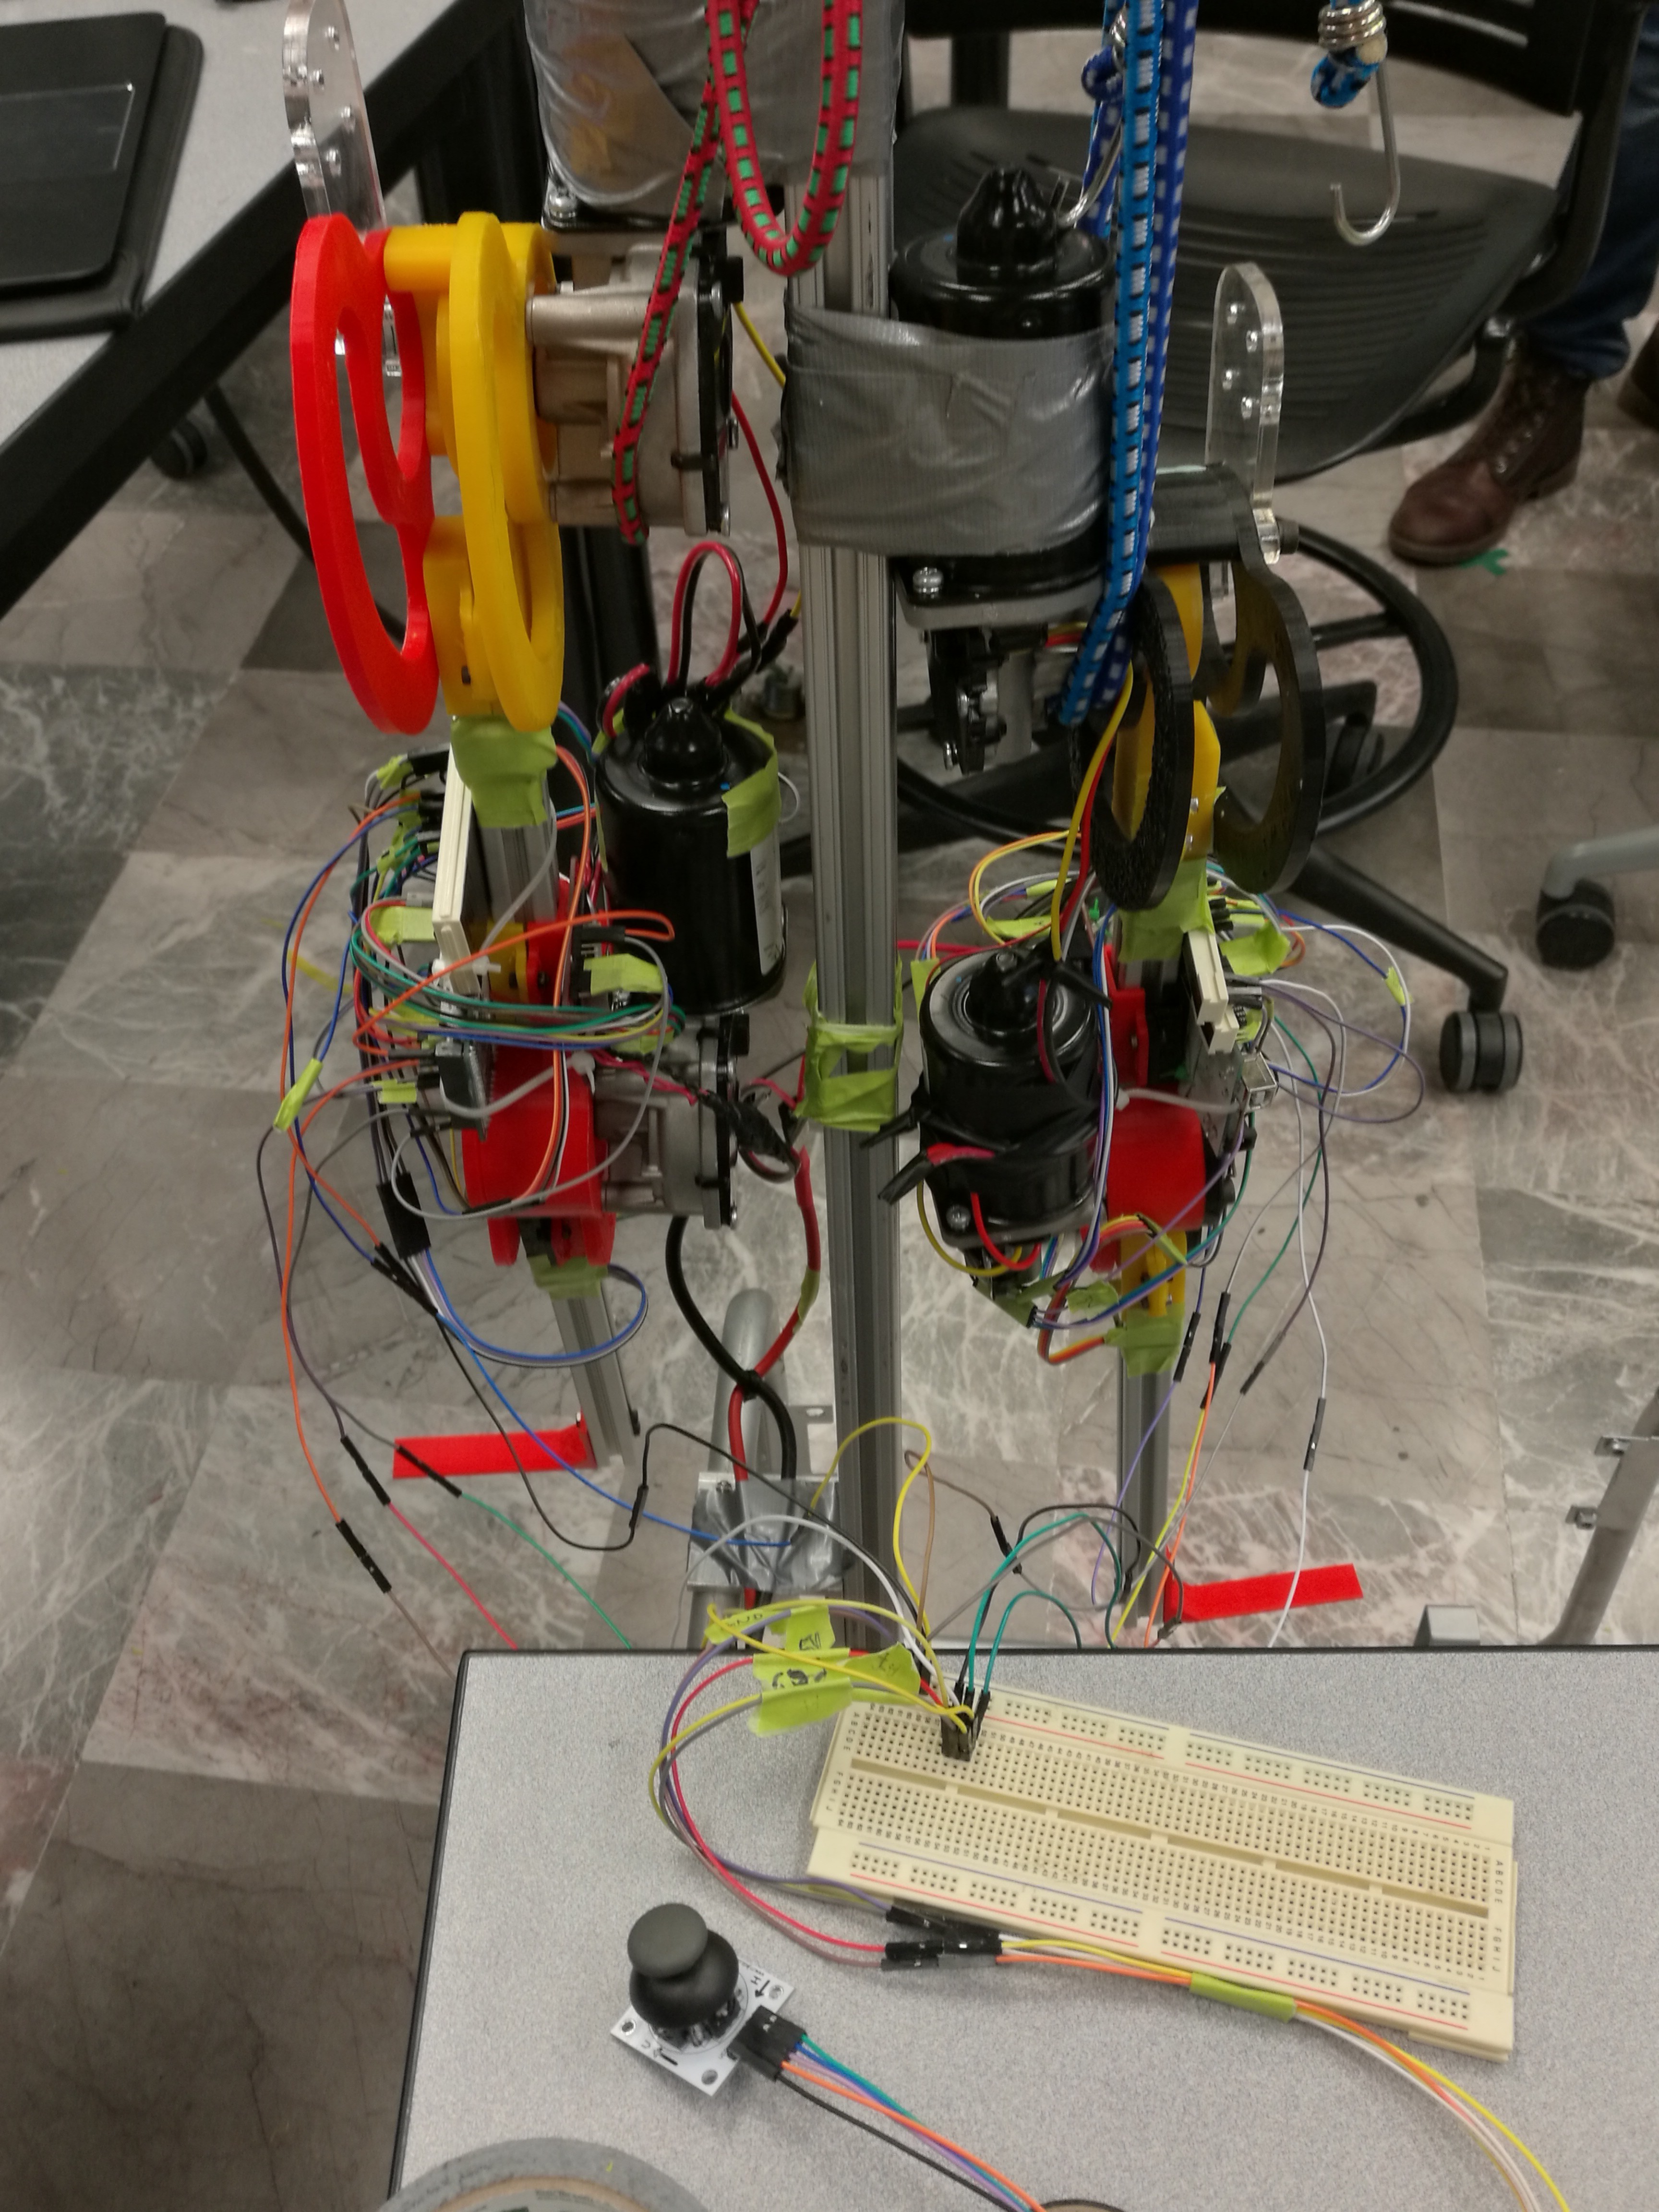
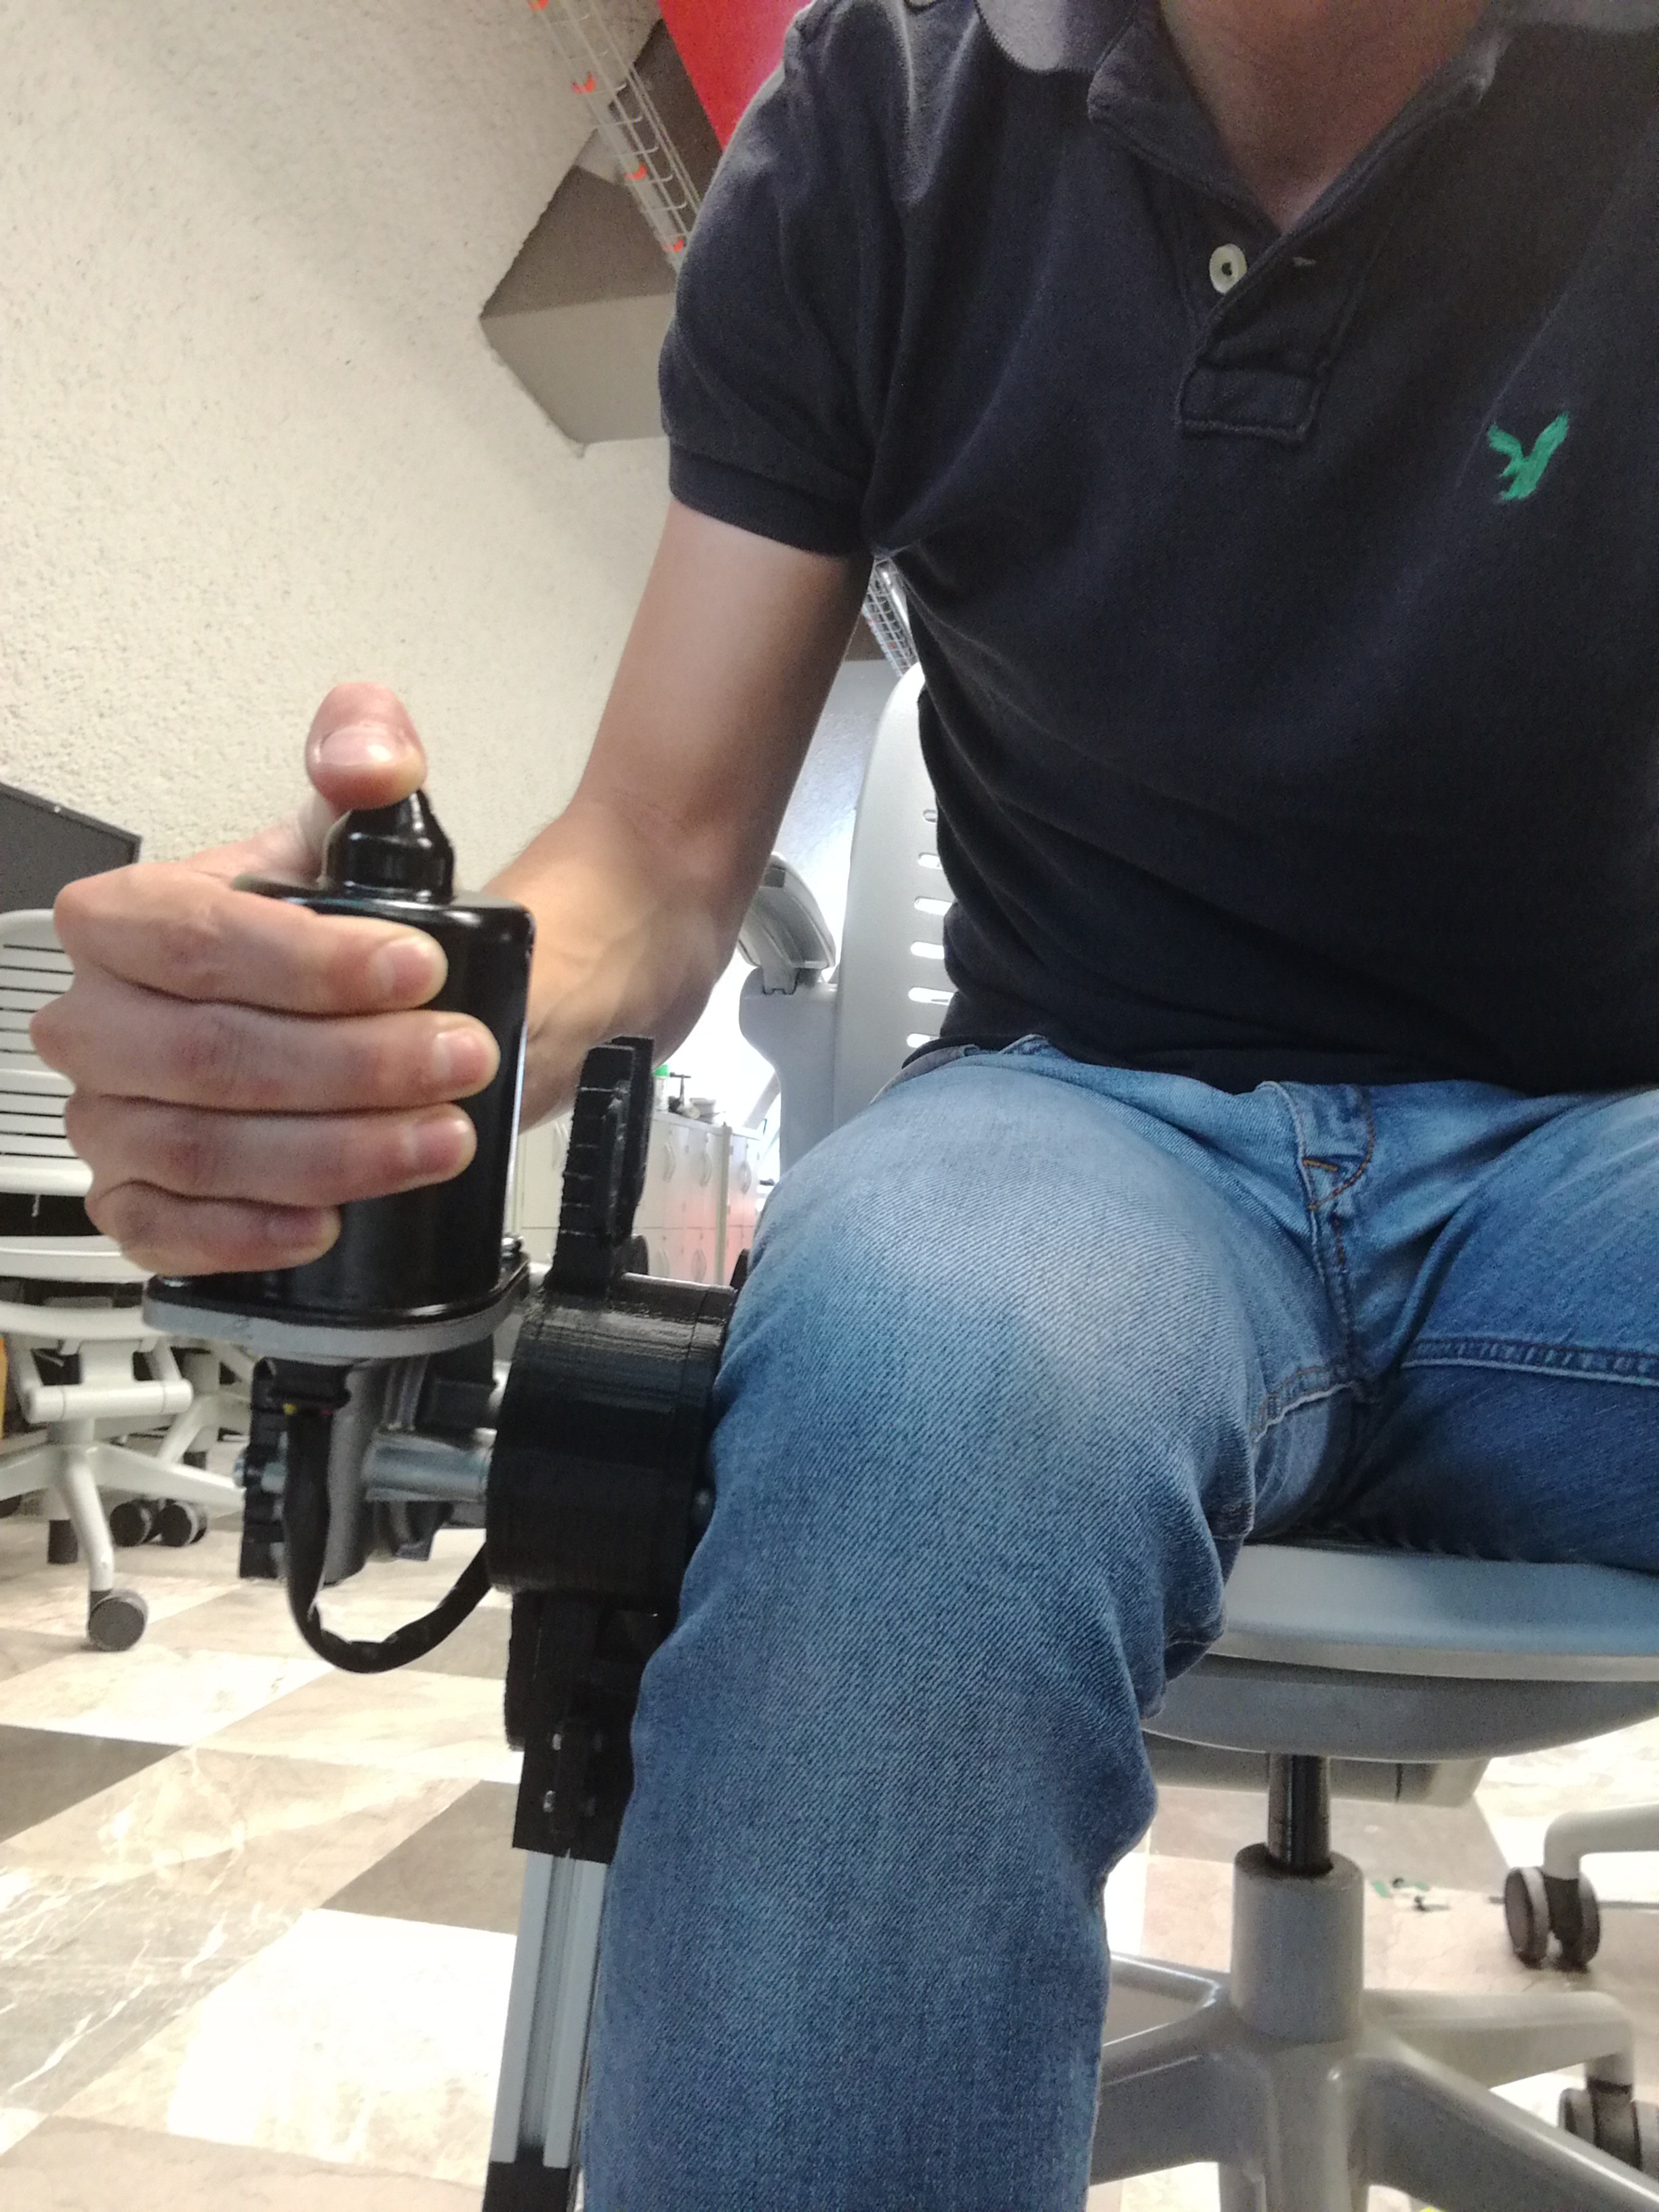
Exo ALICE is a lower-limb robotic exoskeleton. It has four motors, that actuates hip and knee joints for each of the legs. Motors are managed by the Monster Moto Shield(one per two motors) and a microcontroller(Arduino Mega) controls the locomotion algorithm. The control algorithm is a closed loop system, based on the leg position (gait phase) determined by accelerometers embedded in the leg effectors. Our implemented gait model is based on the Perry gait model, but simplified for a total stage number of three. The user controls the device with a joystick that activates each leg in the moment the user indicates so.
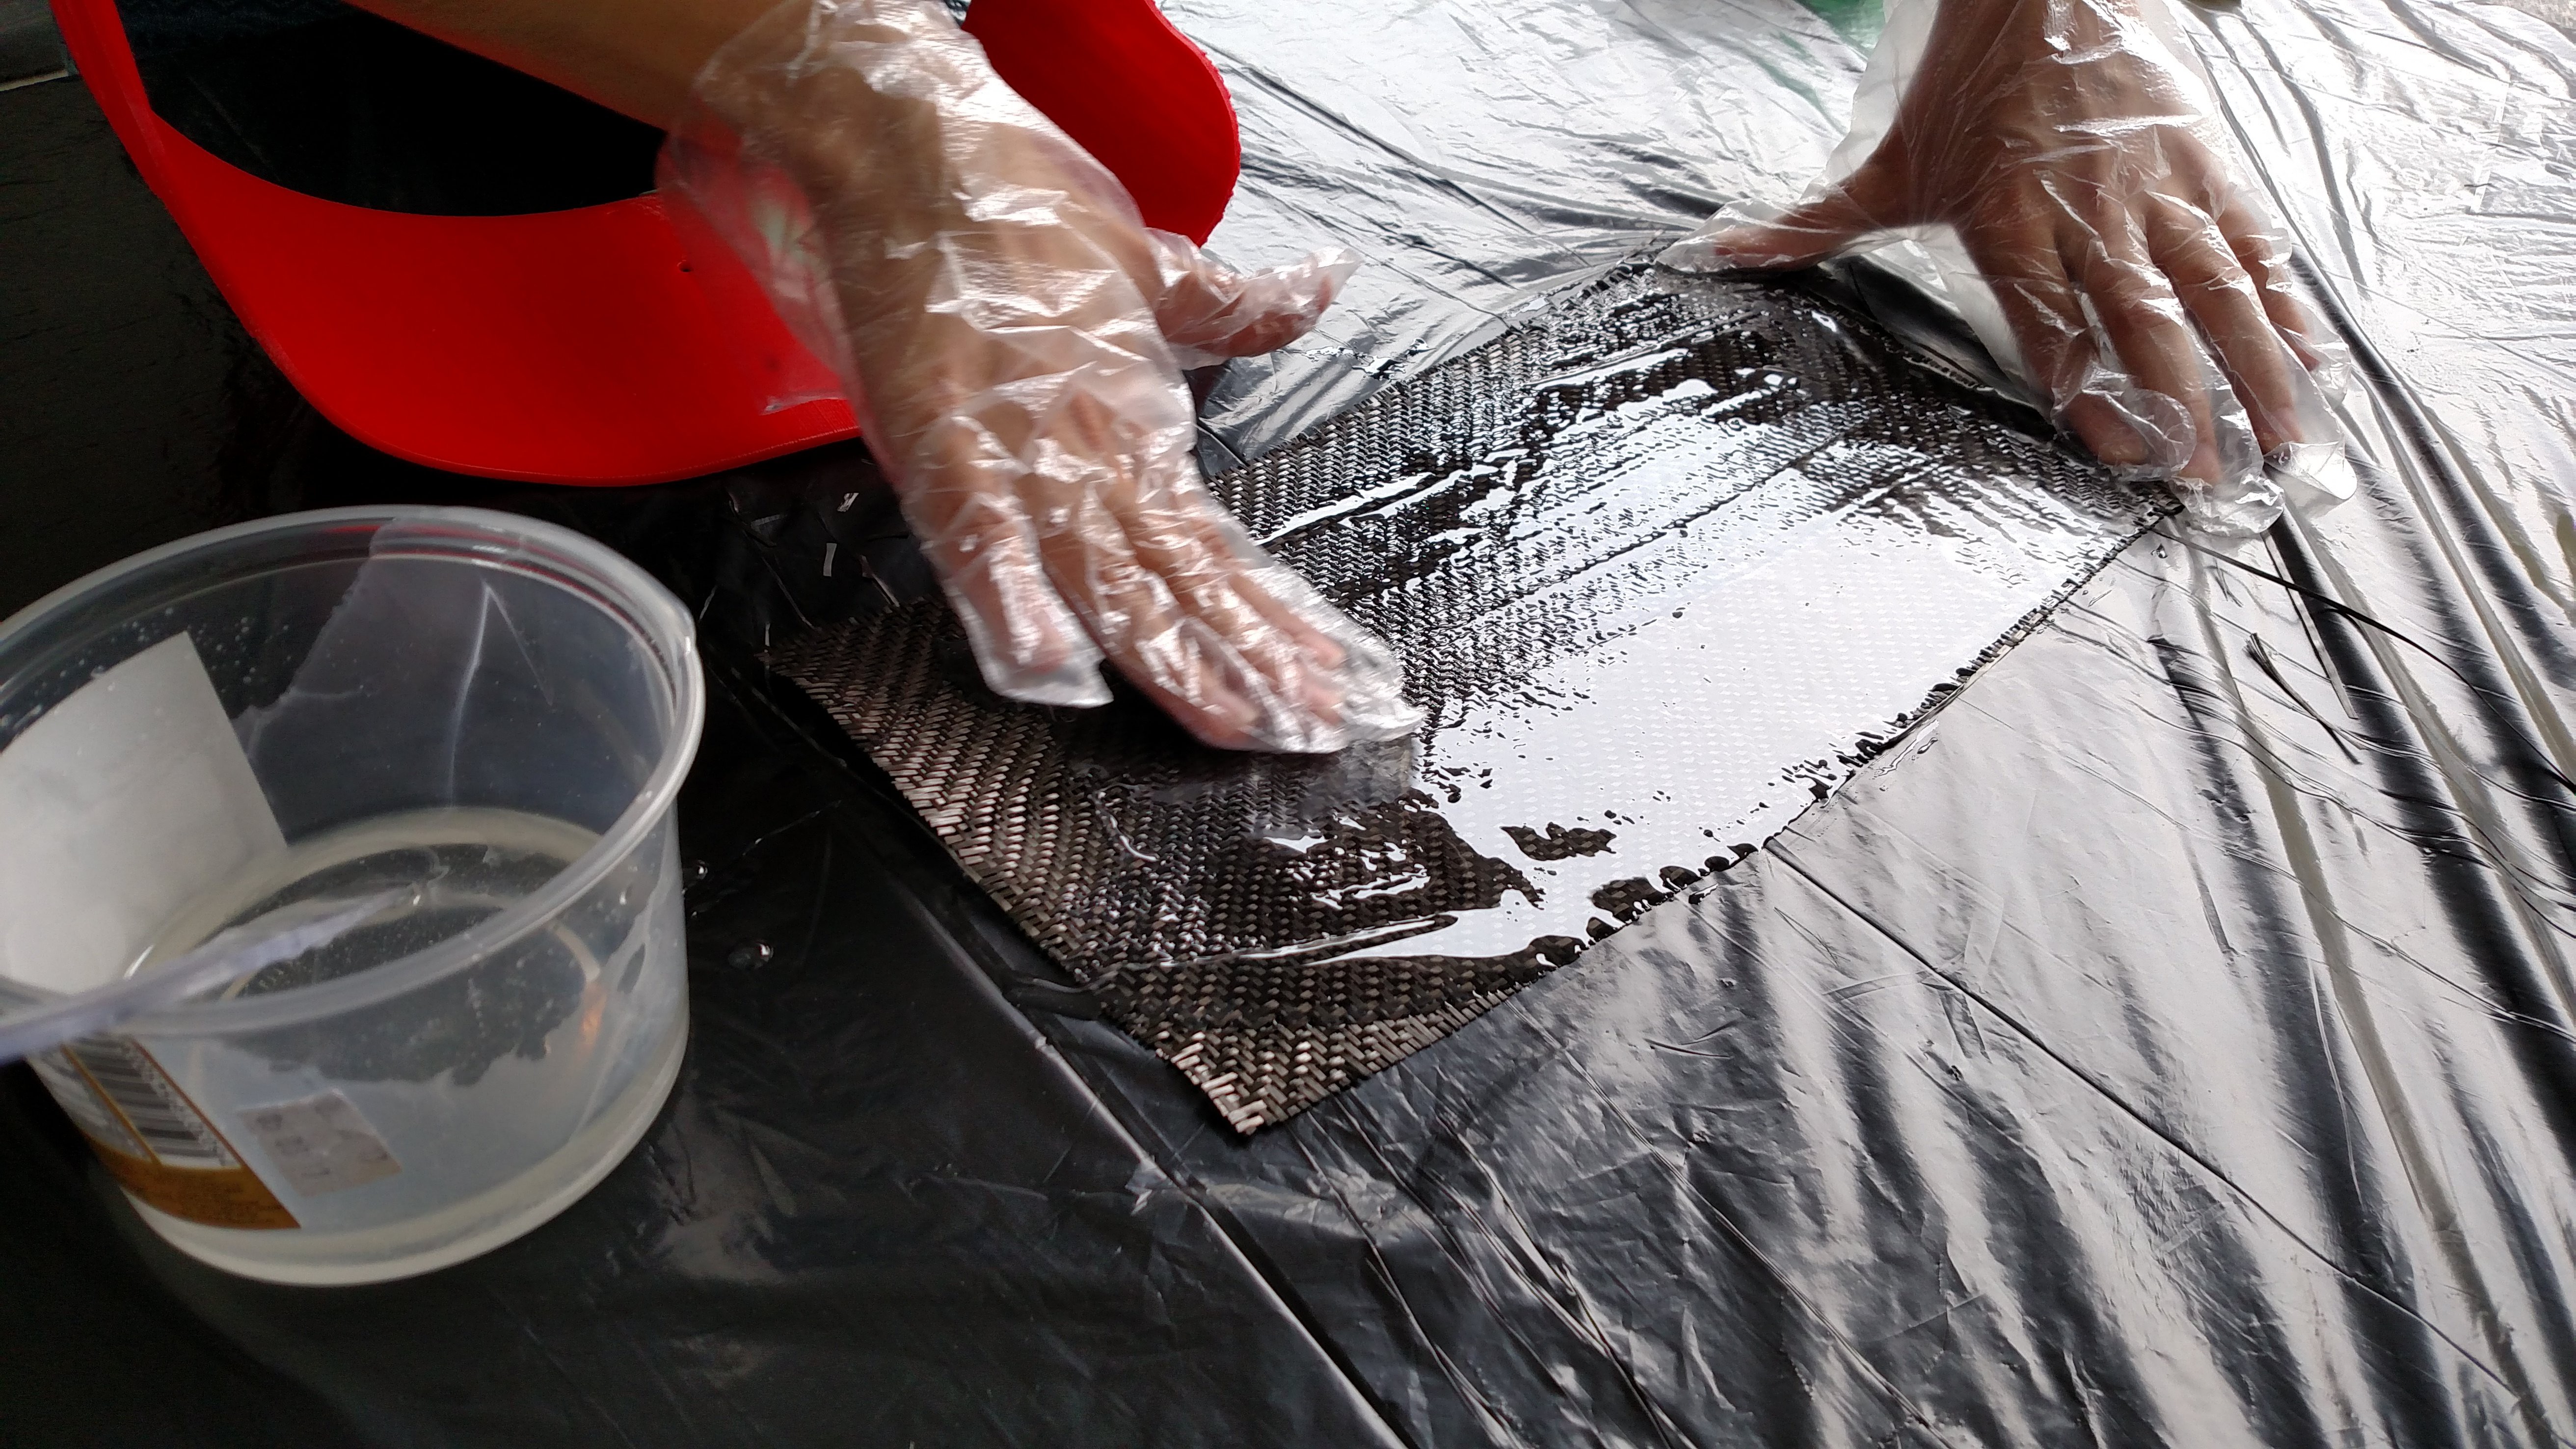
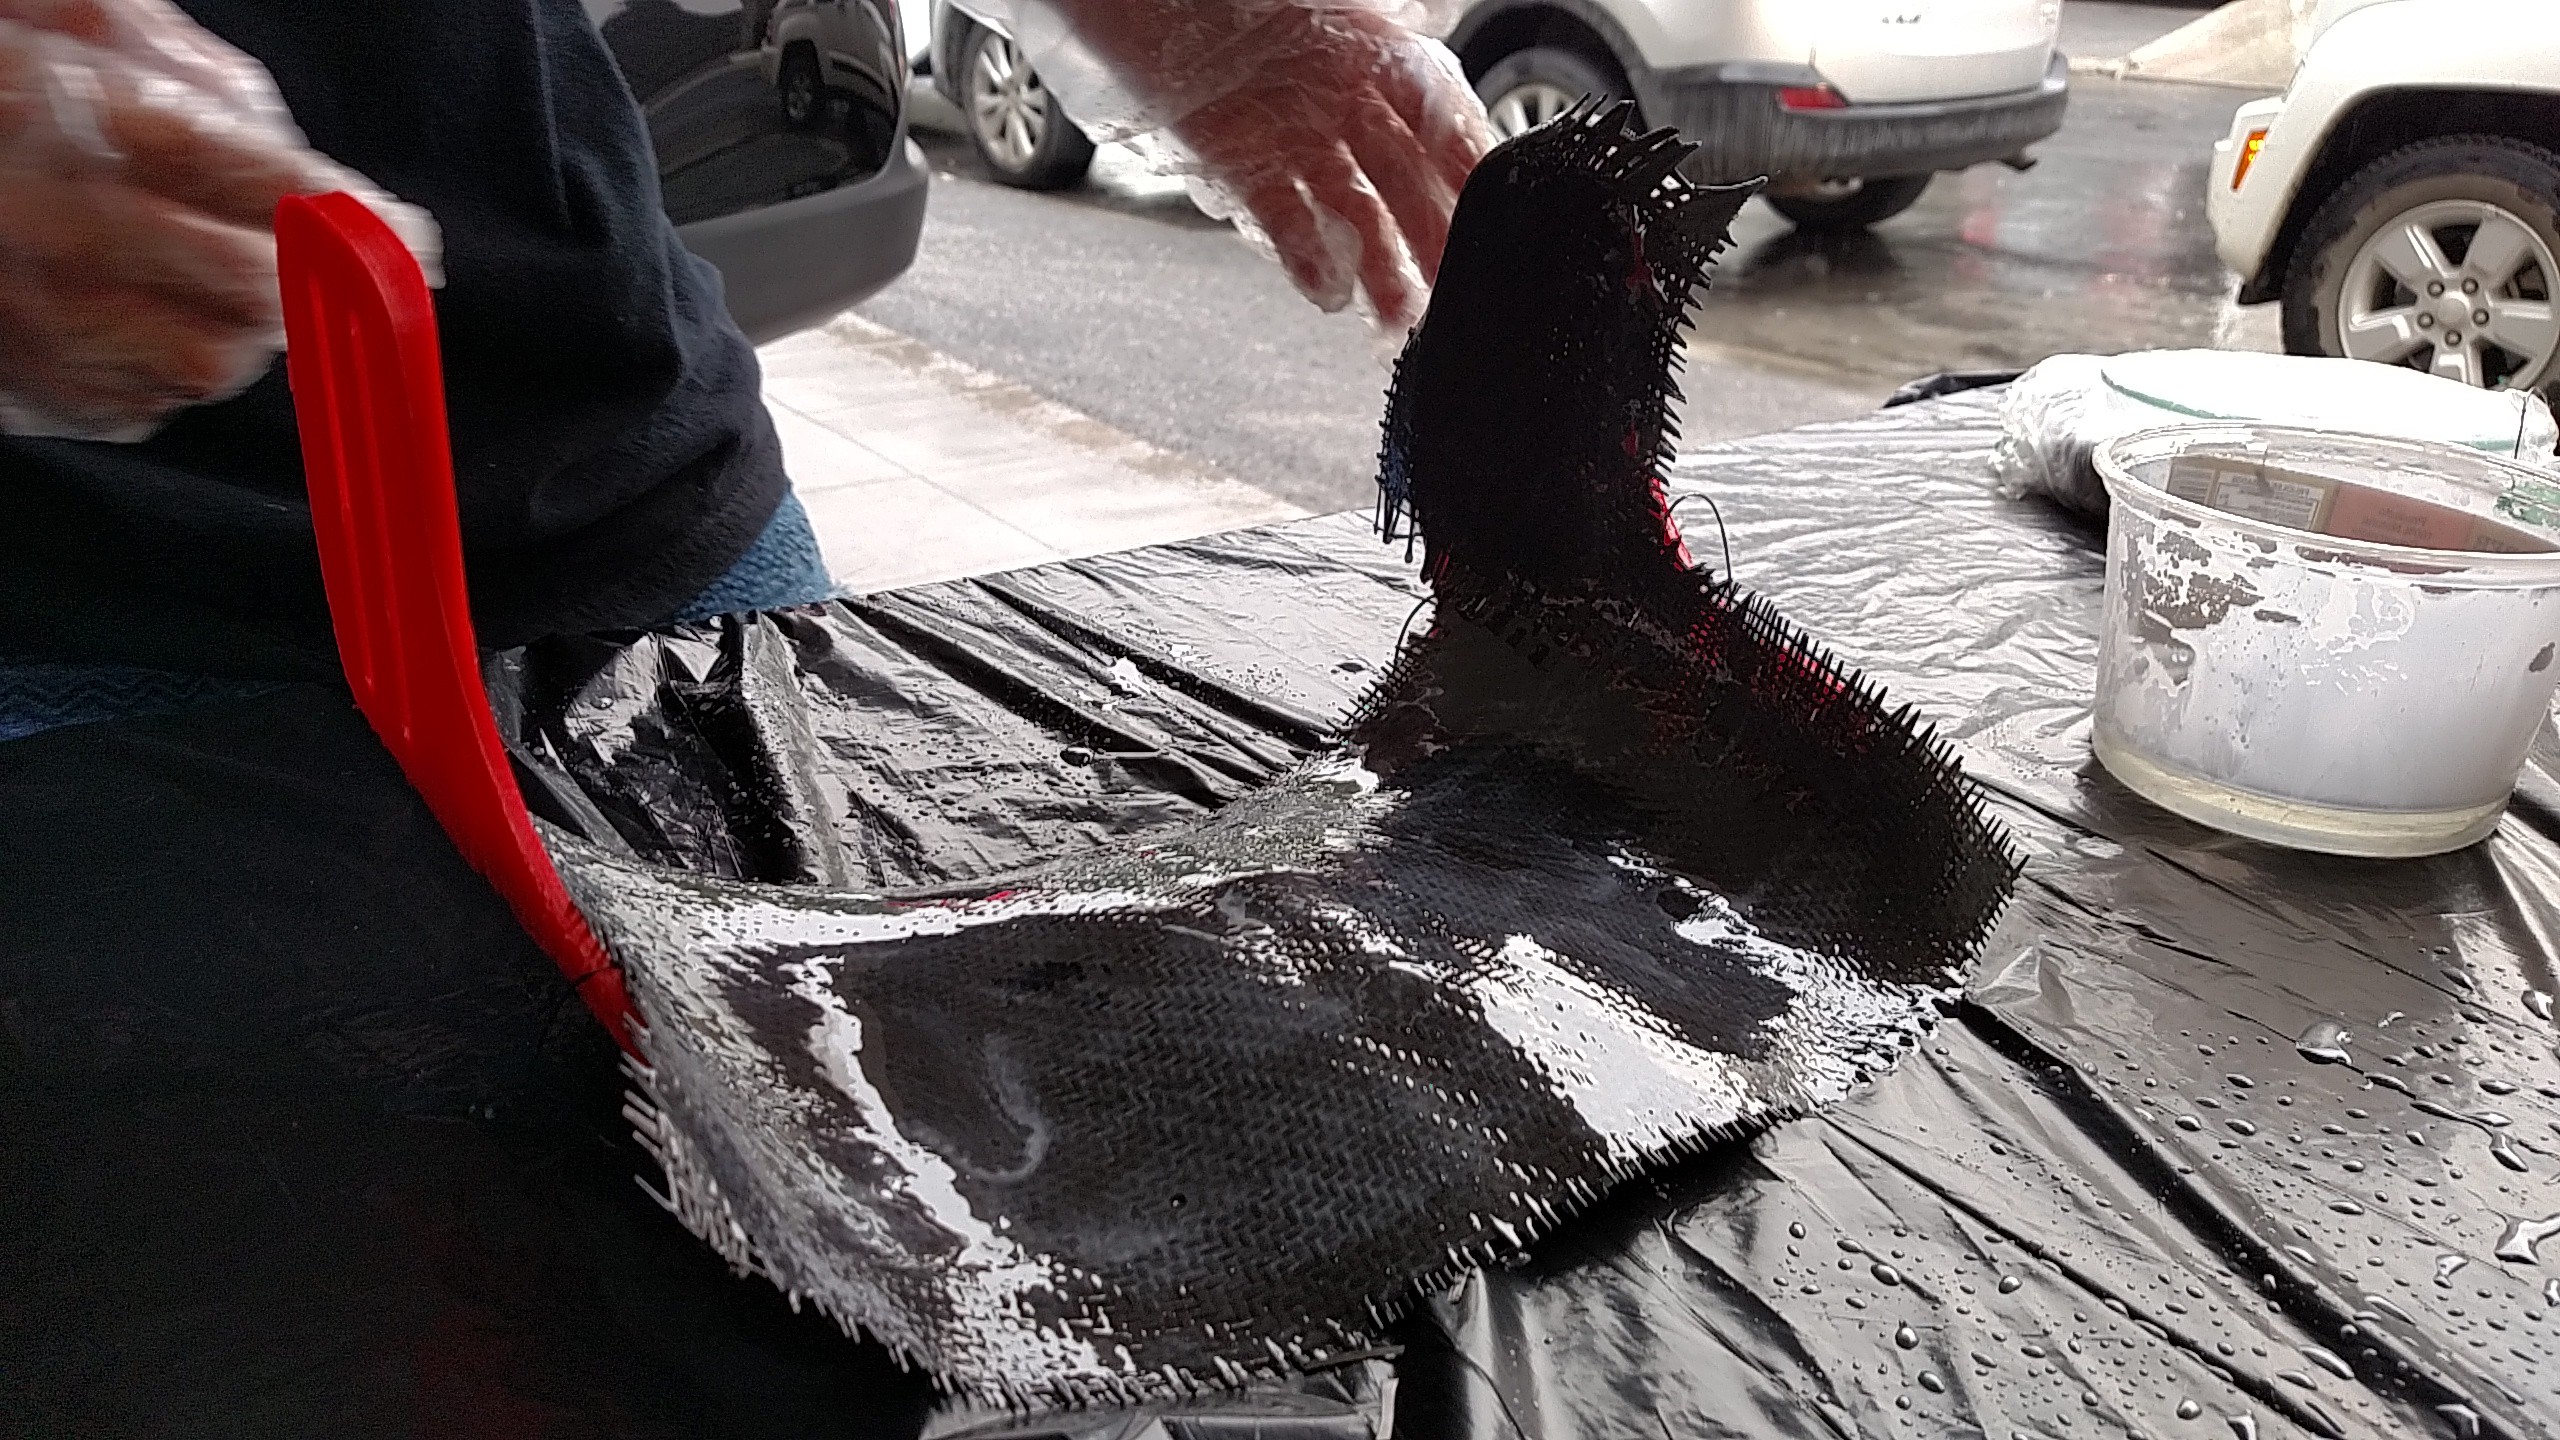
This robotic exoskeleton implements 3D Printing Technology and novel manufacturing processes.
The device is functional and was tested with a healthy child.
This is an ongoing project, next steps are: 1)Implementation of a robust control algorithm and 2)Enhanced ergonomy with confortable braces and covers for the electronics and boards.


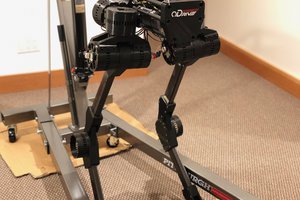
 Lingkang Zhang
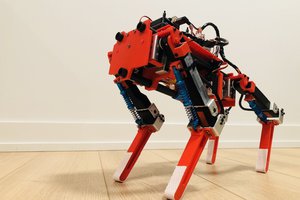
 Antonio Regueira
is this project abandoned? cant find anything about it