 kristina panos
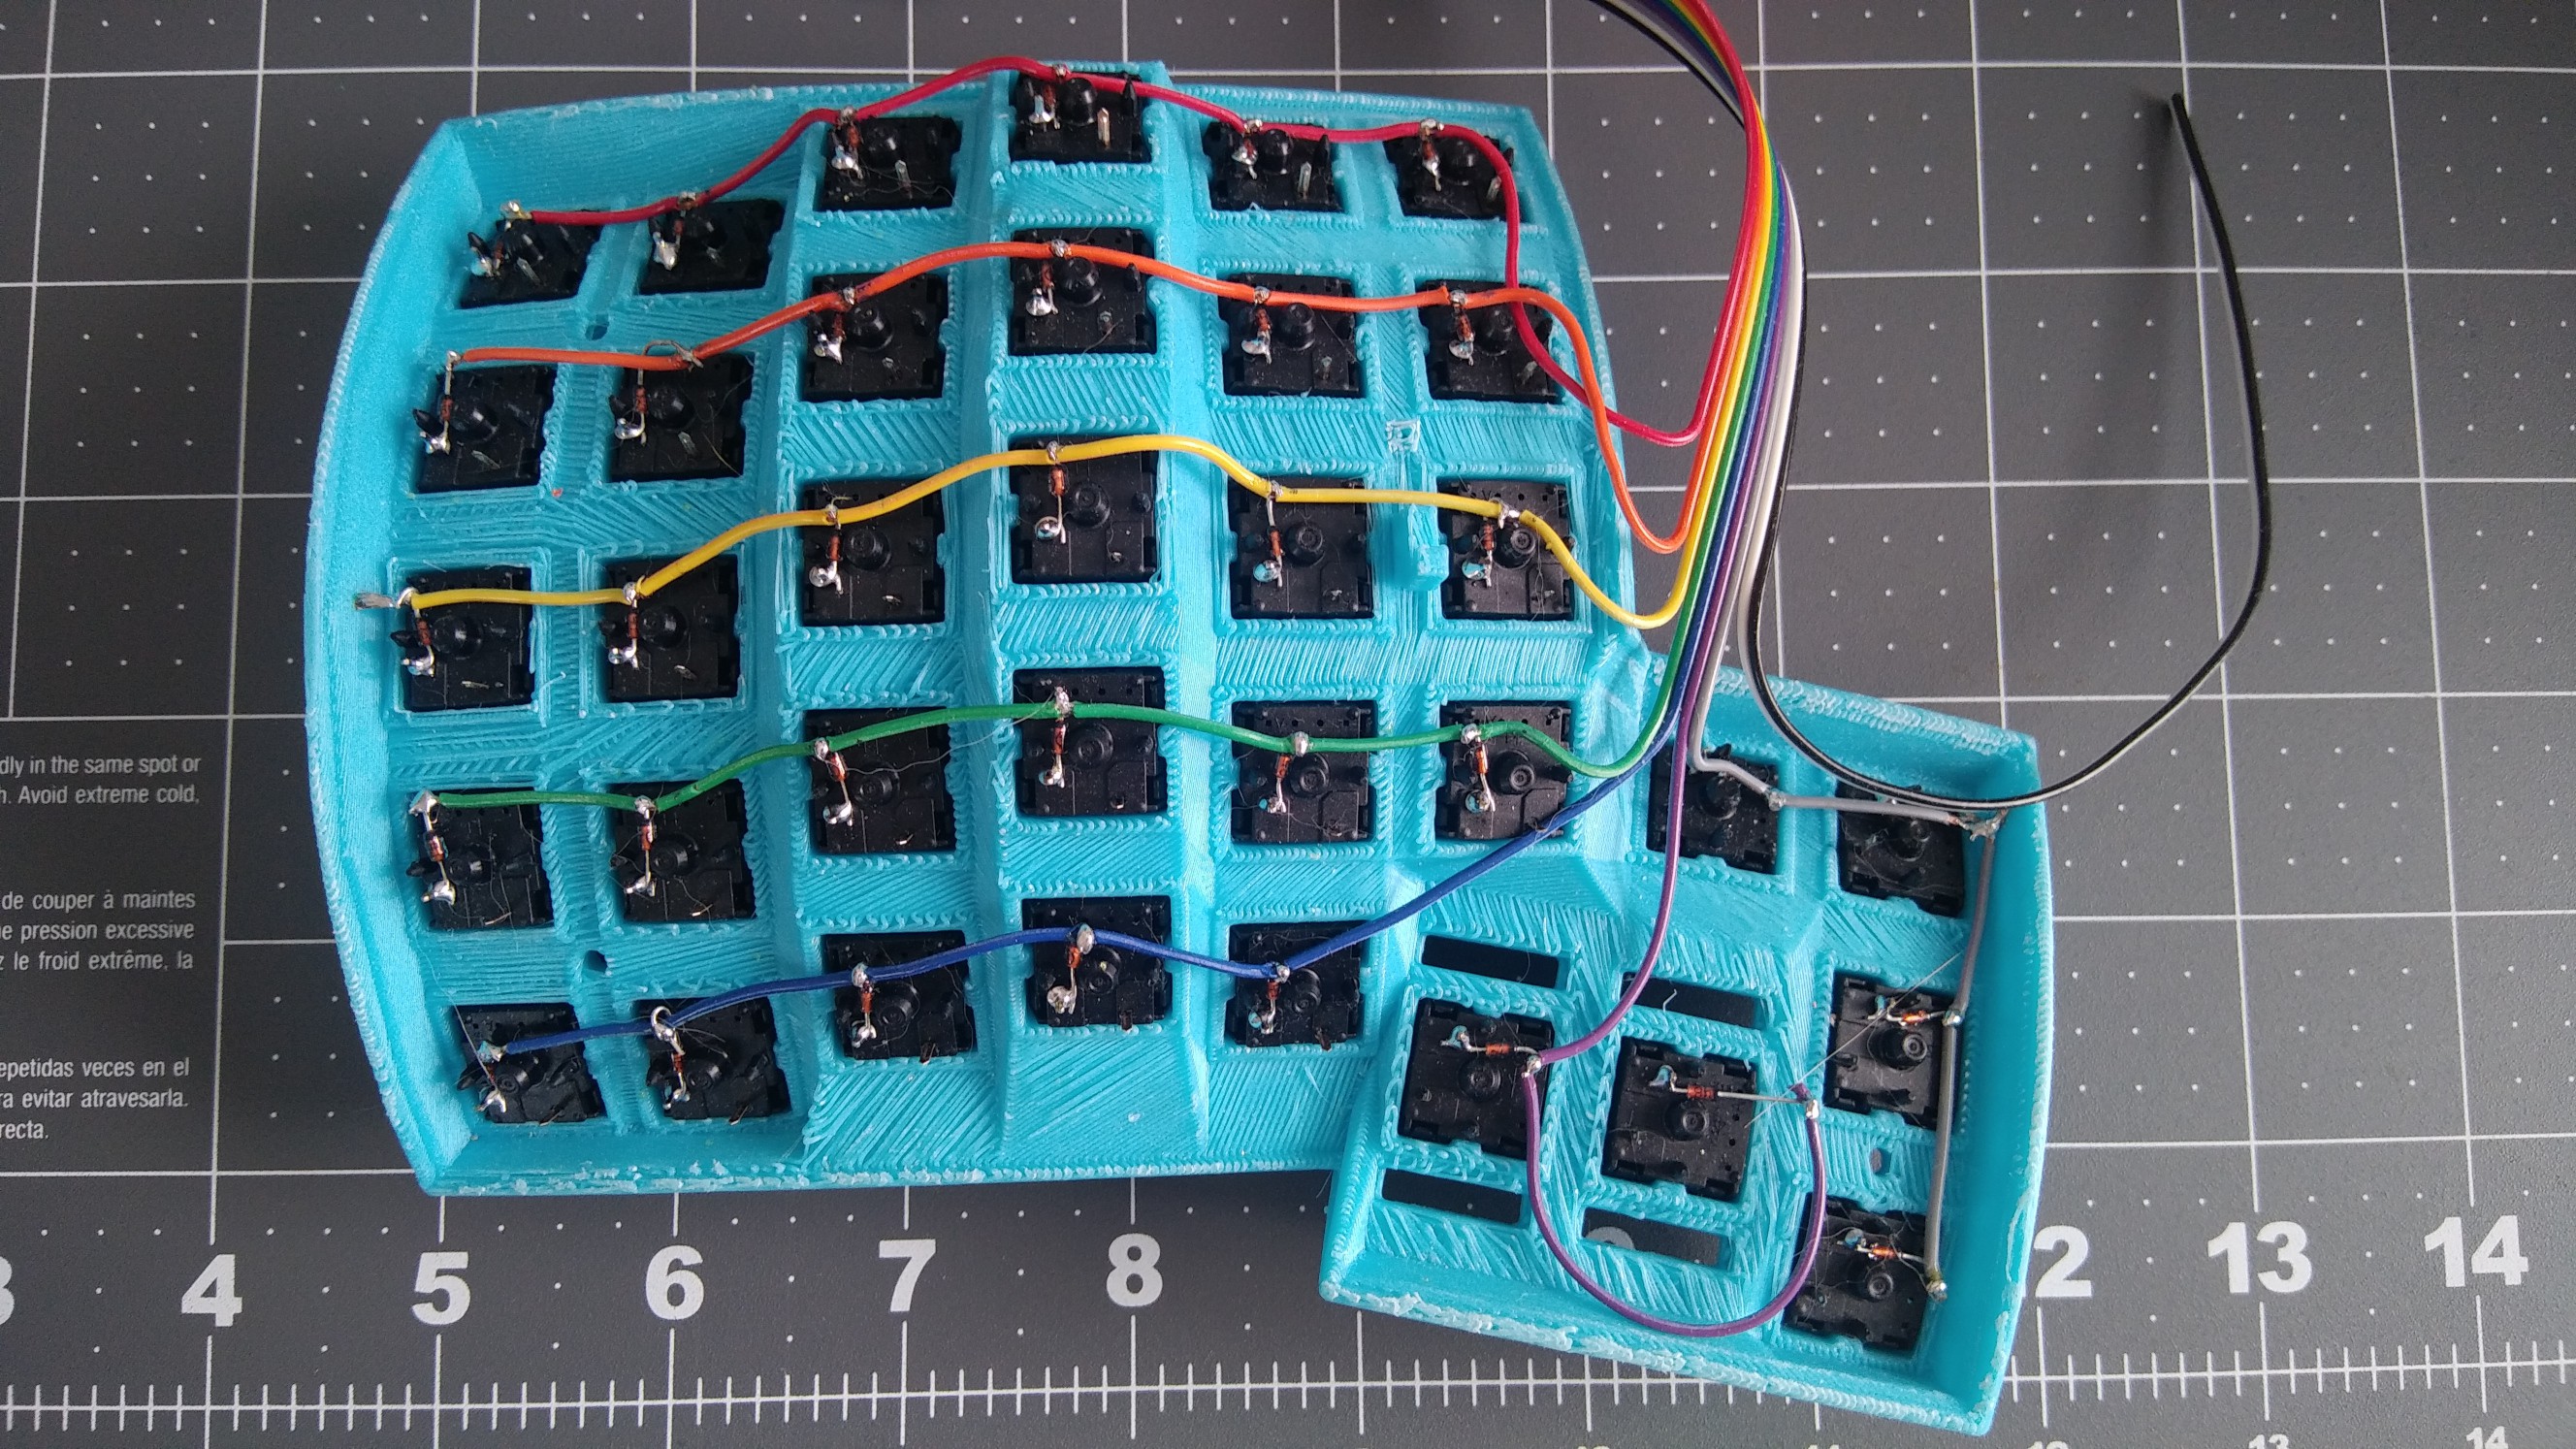
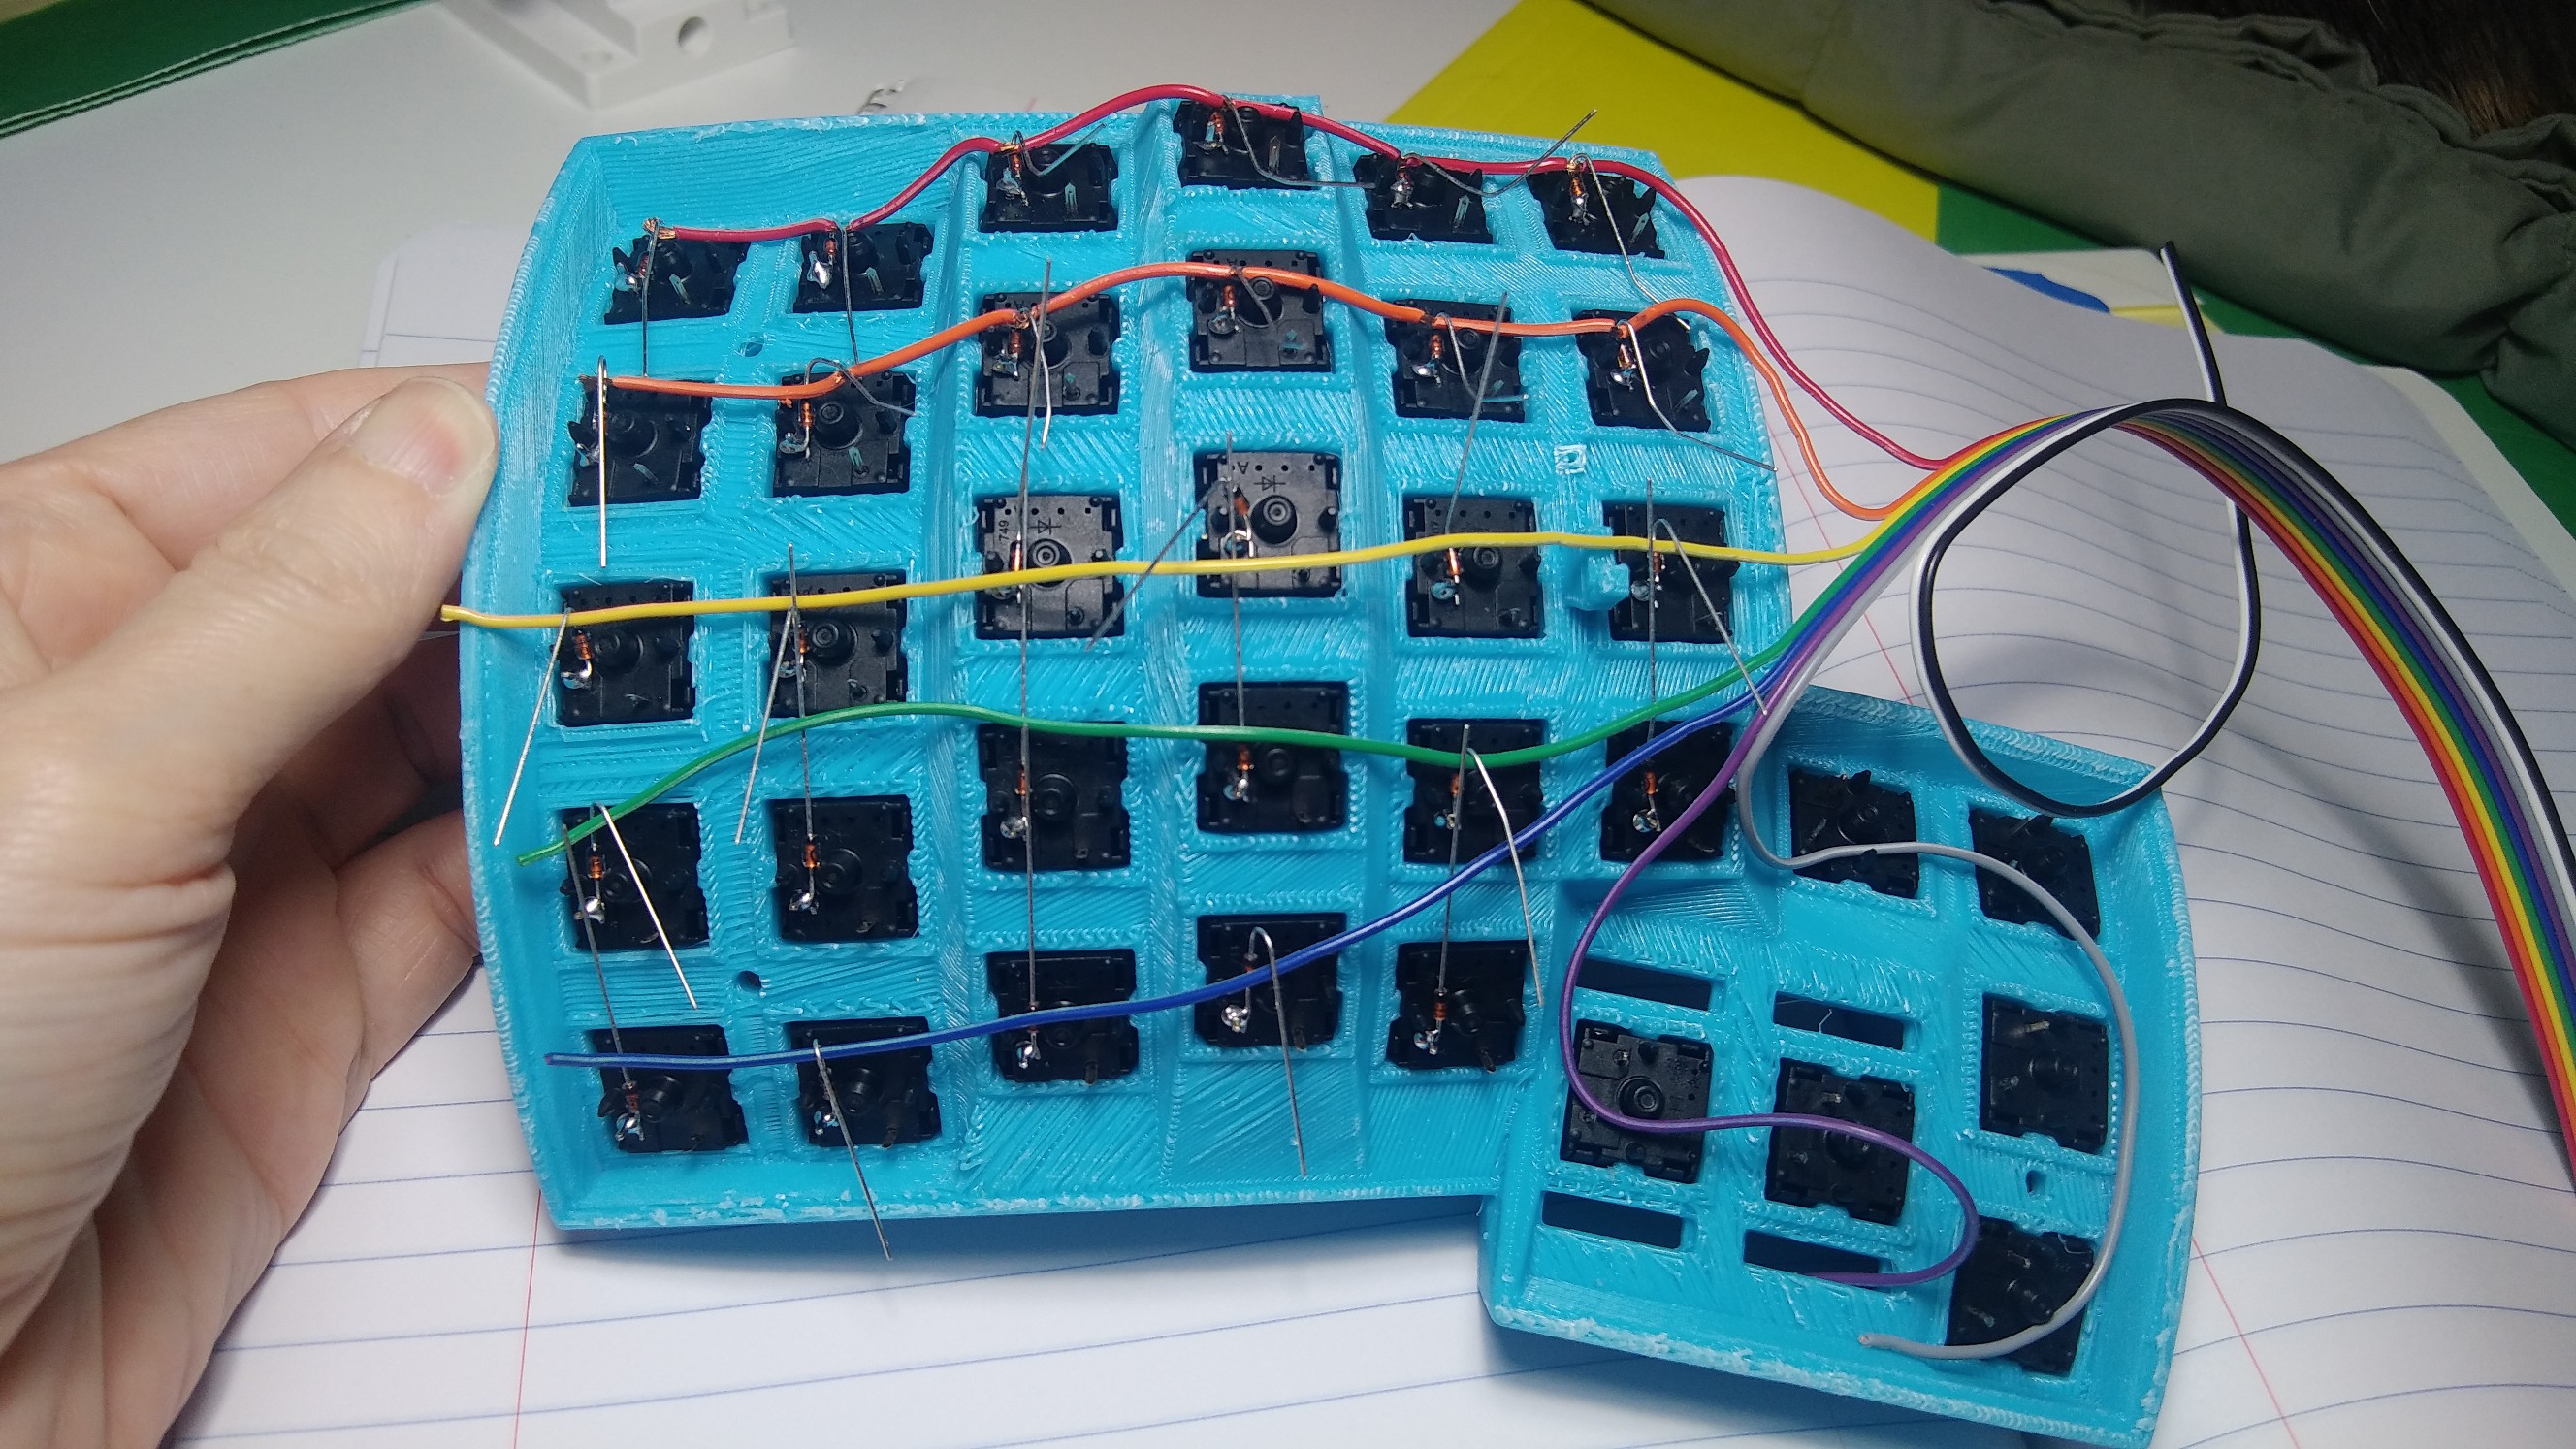
Only 90s kids will appreciate the case's color scheme, which was everywhere from Wildberry Pop-Tarts to disposable Solo cups to the very awesome pair of roller blades I got in 1992.
0%
0%
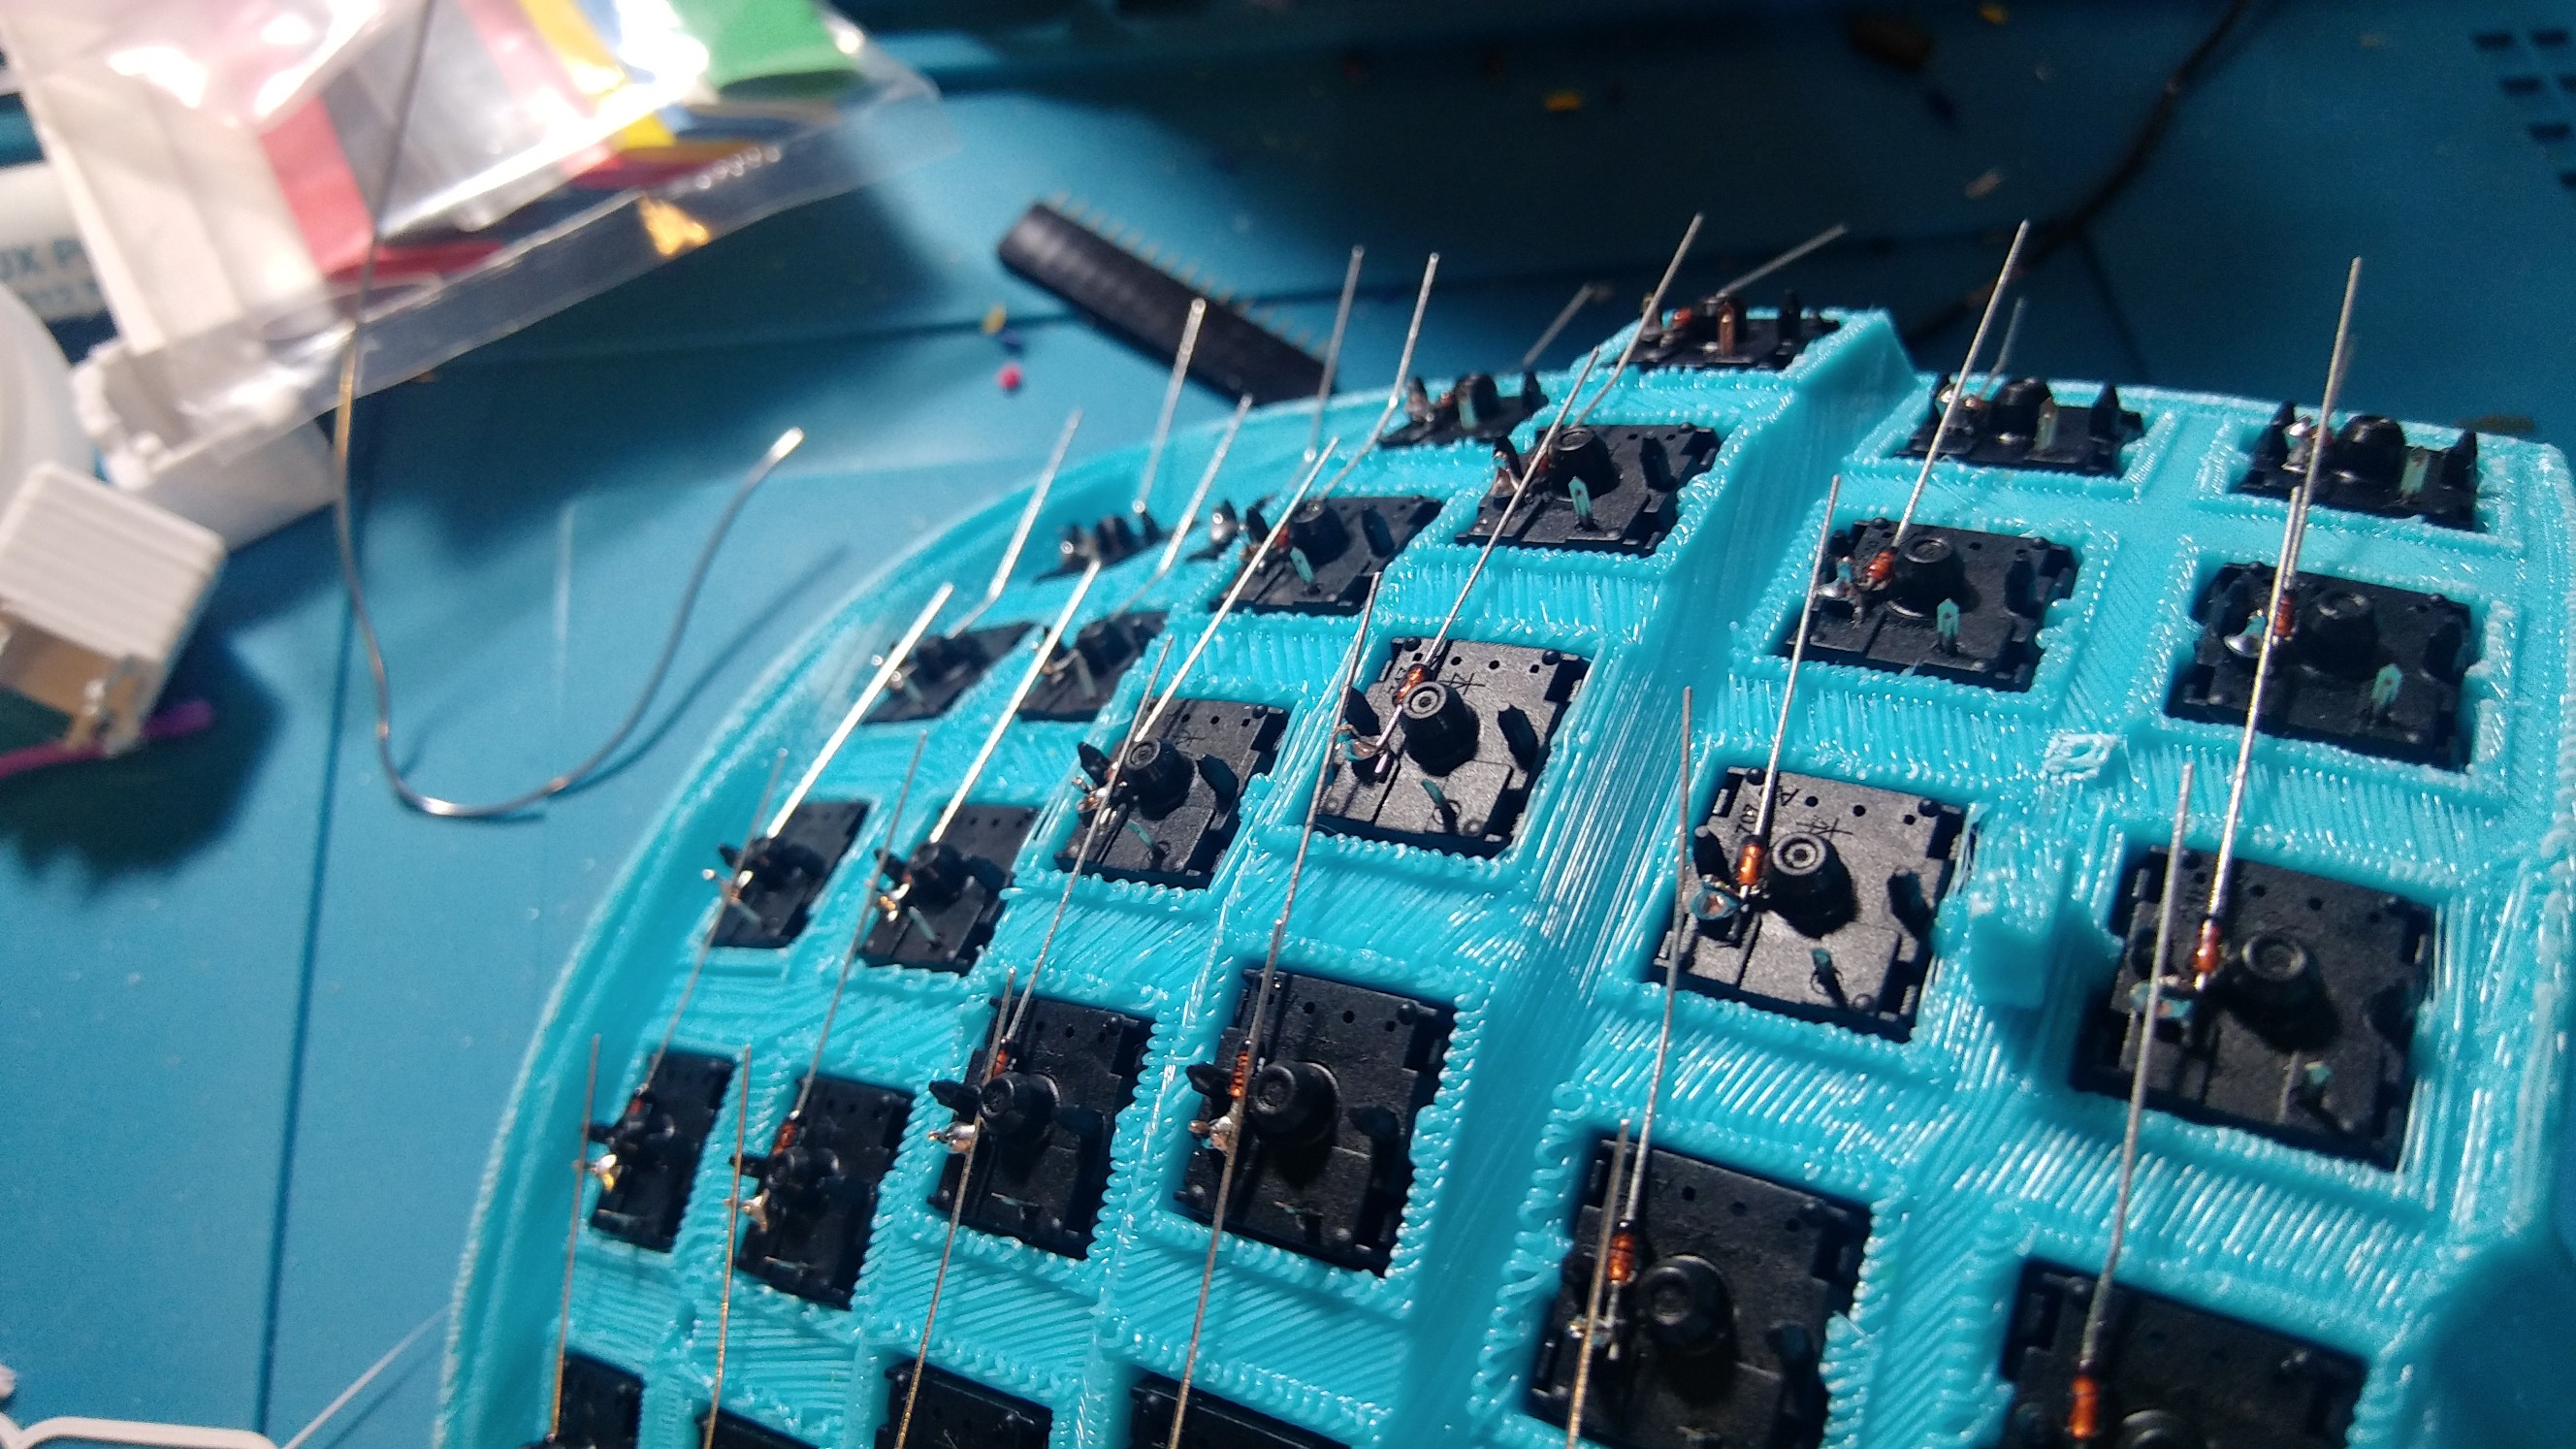
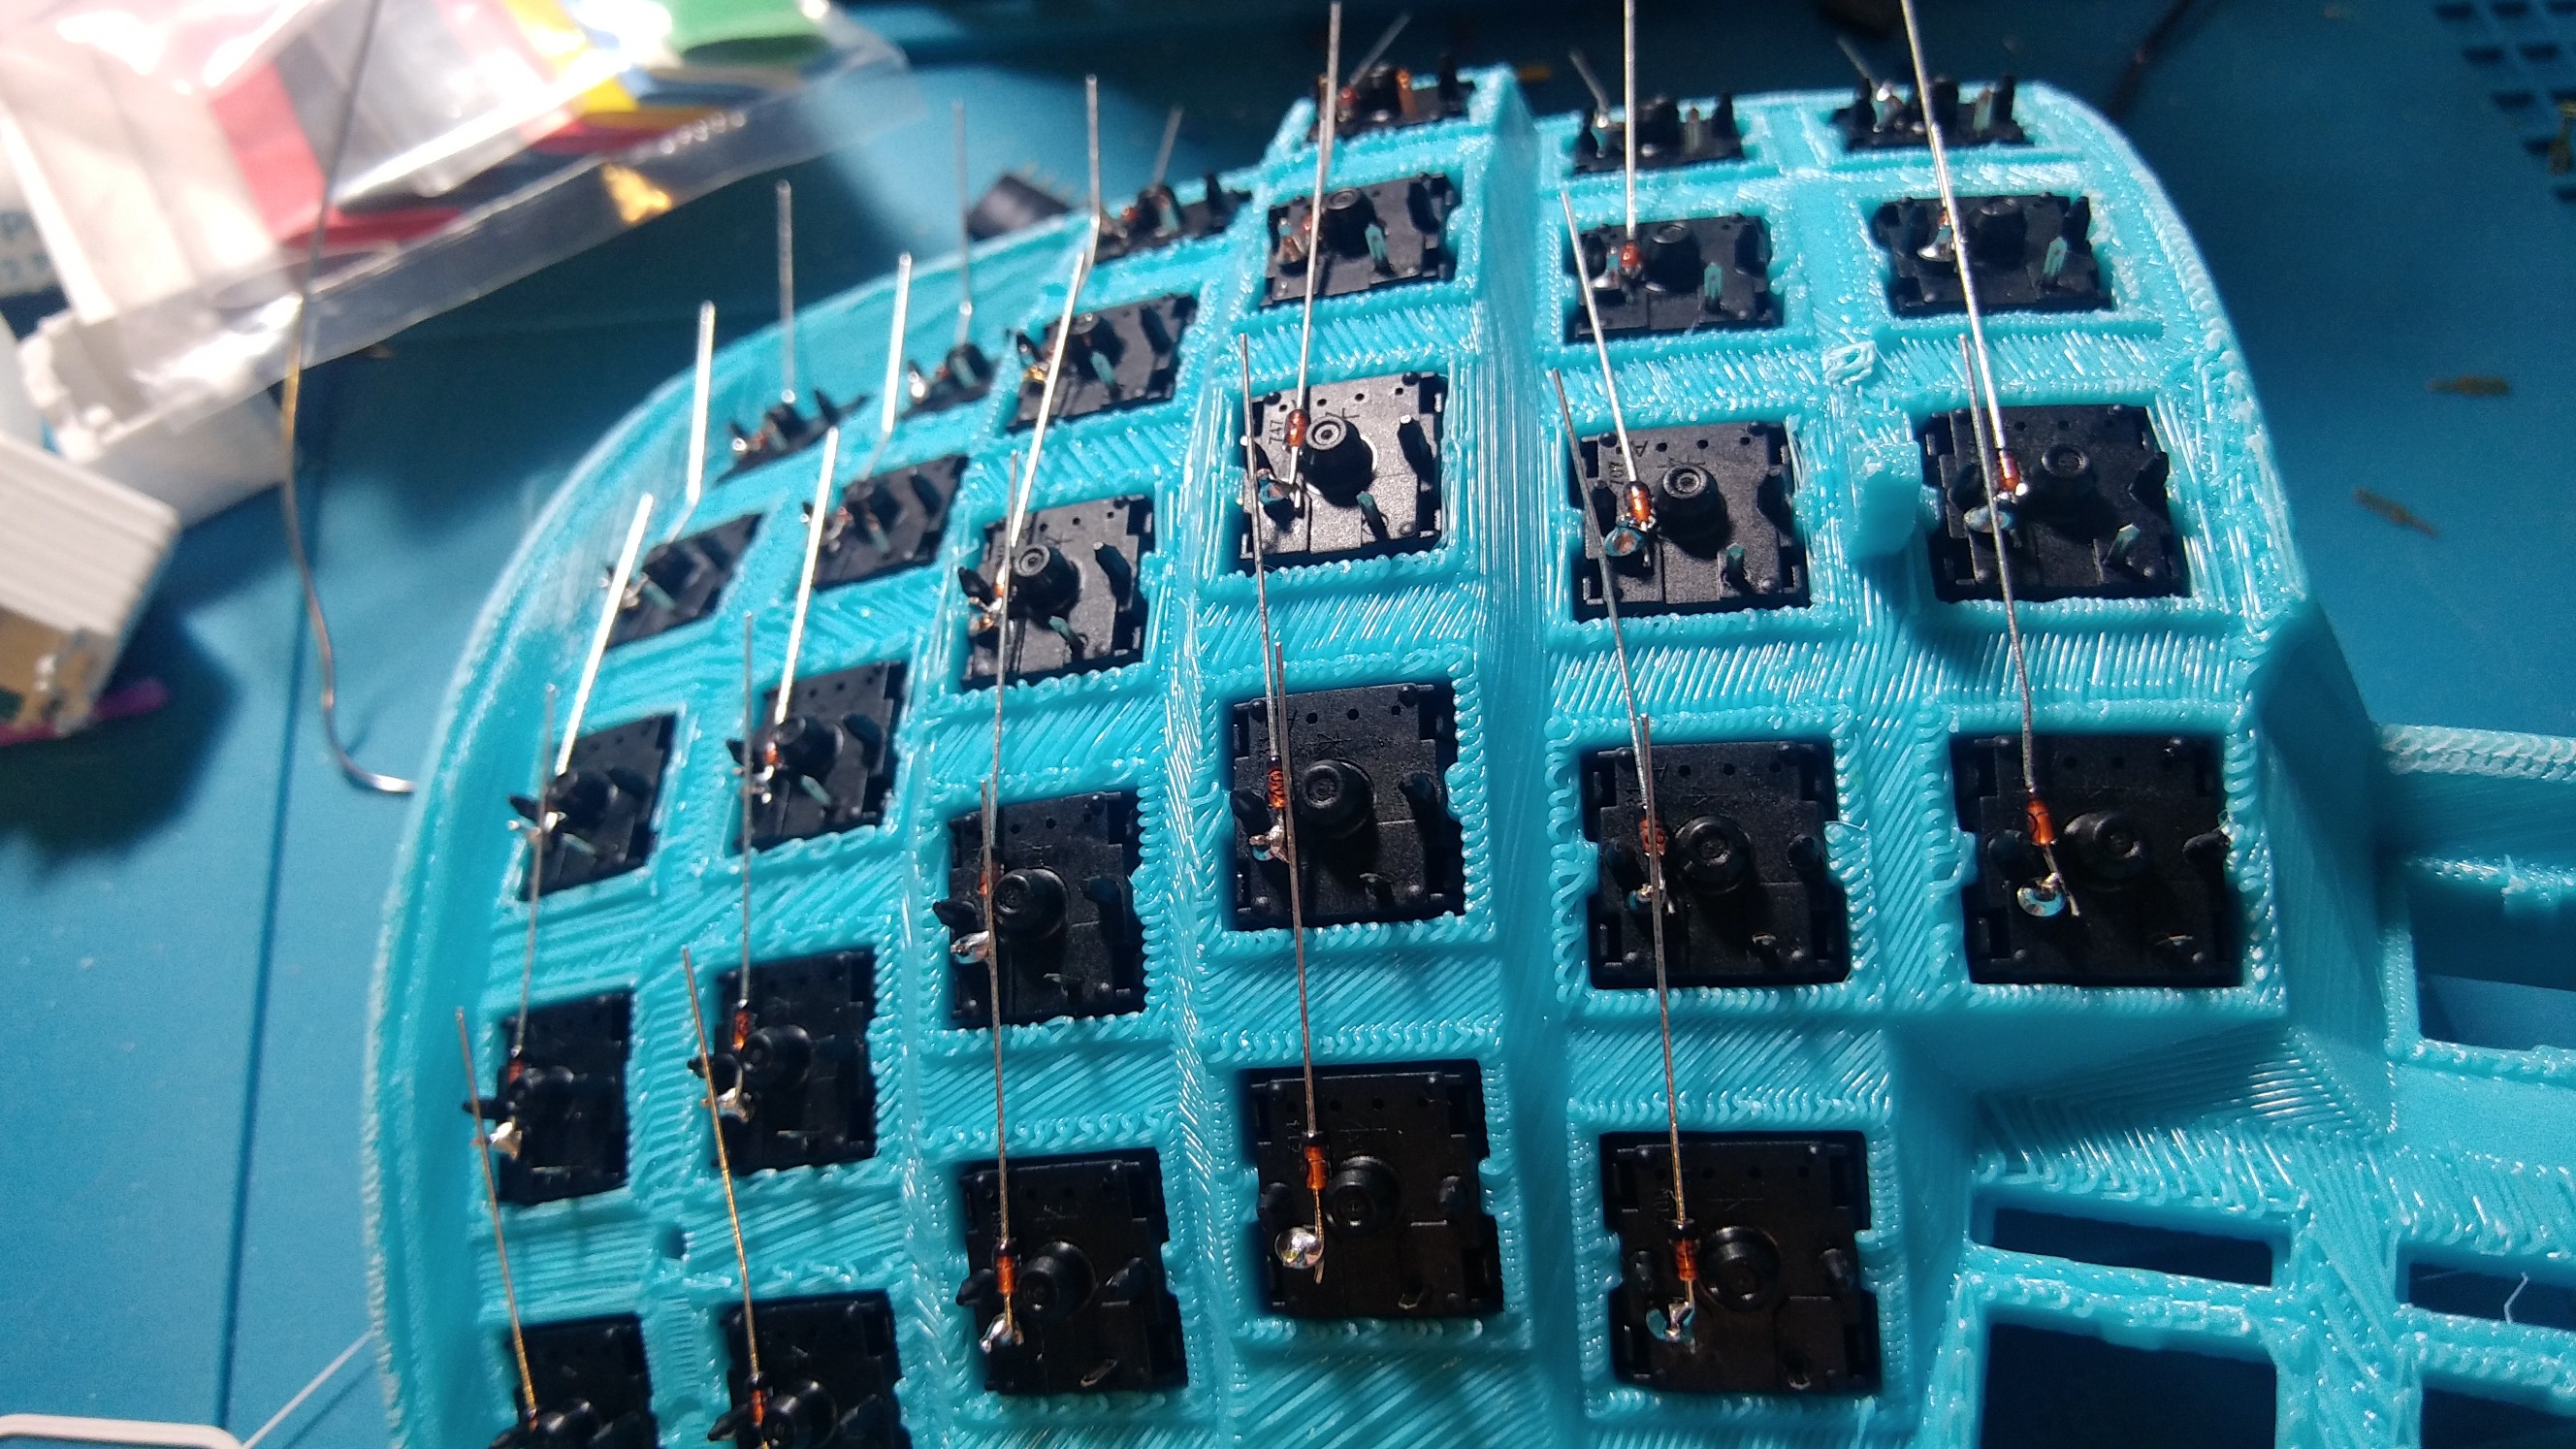
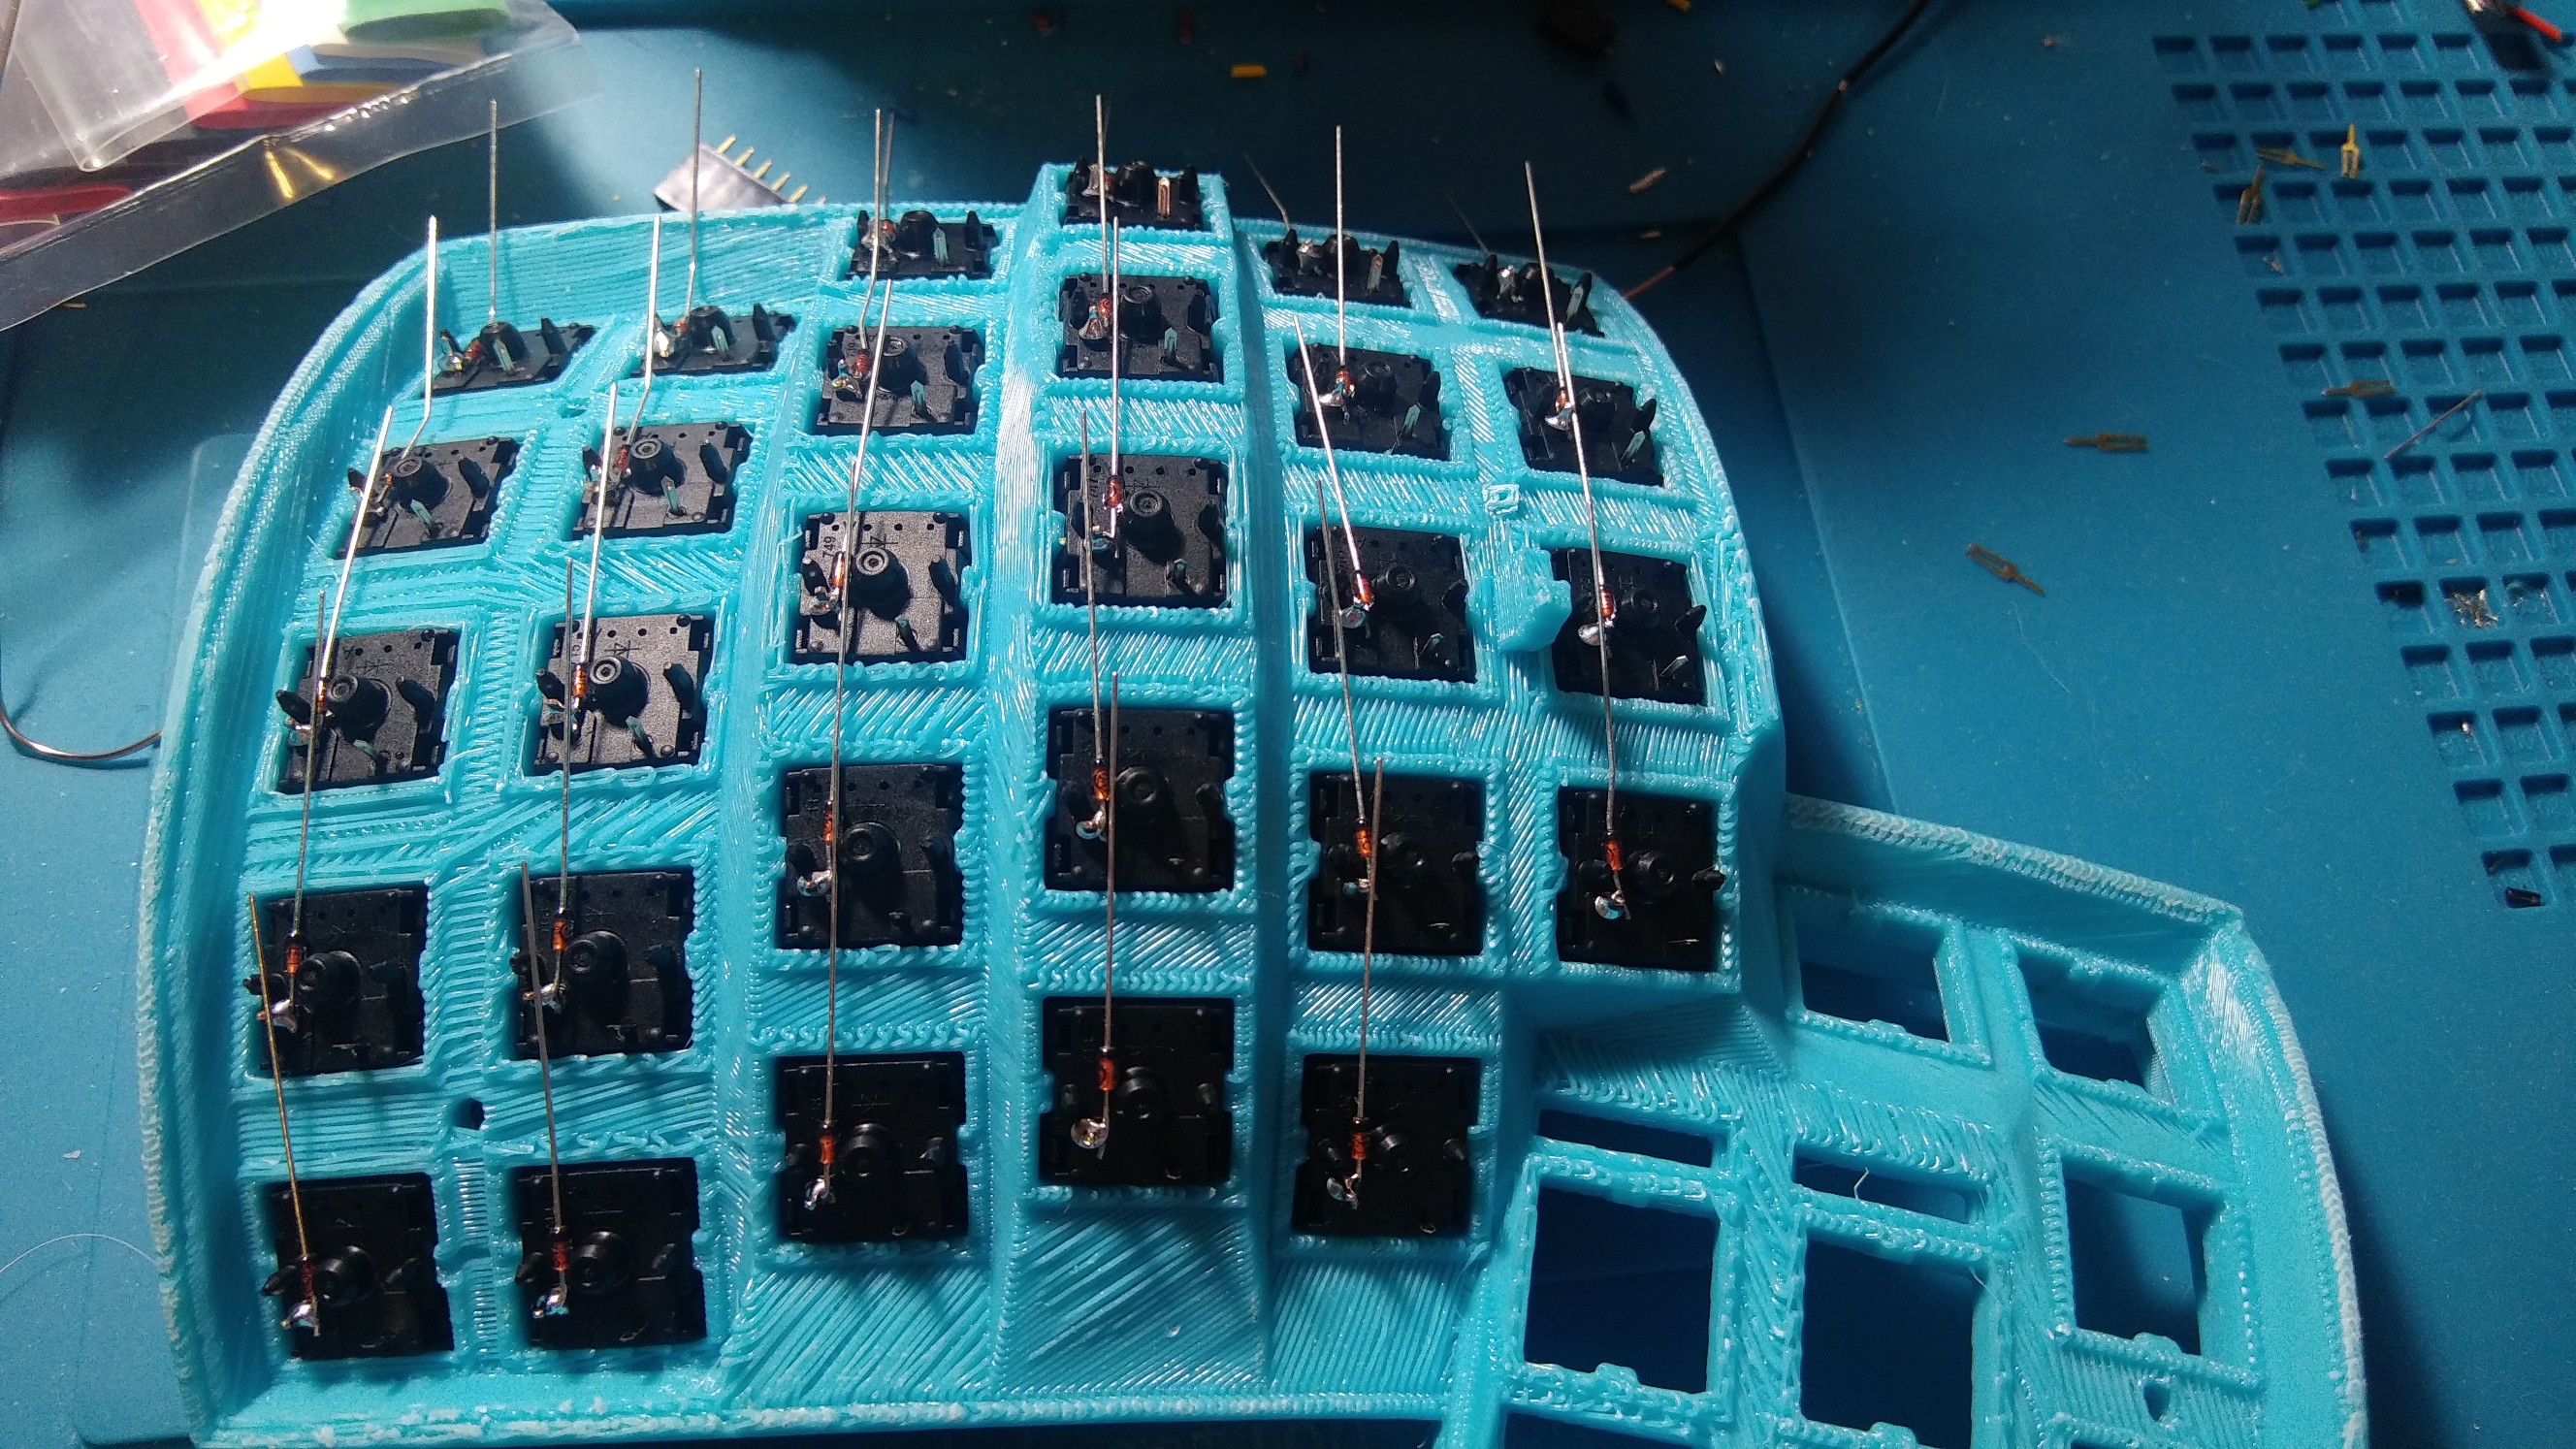
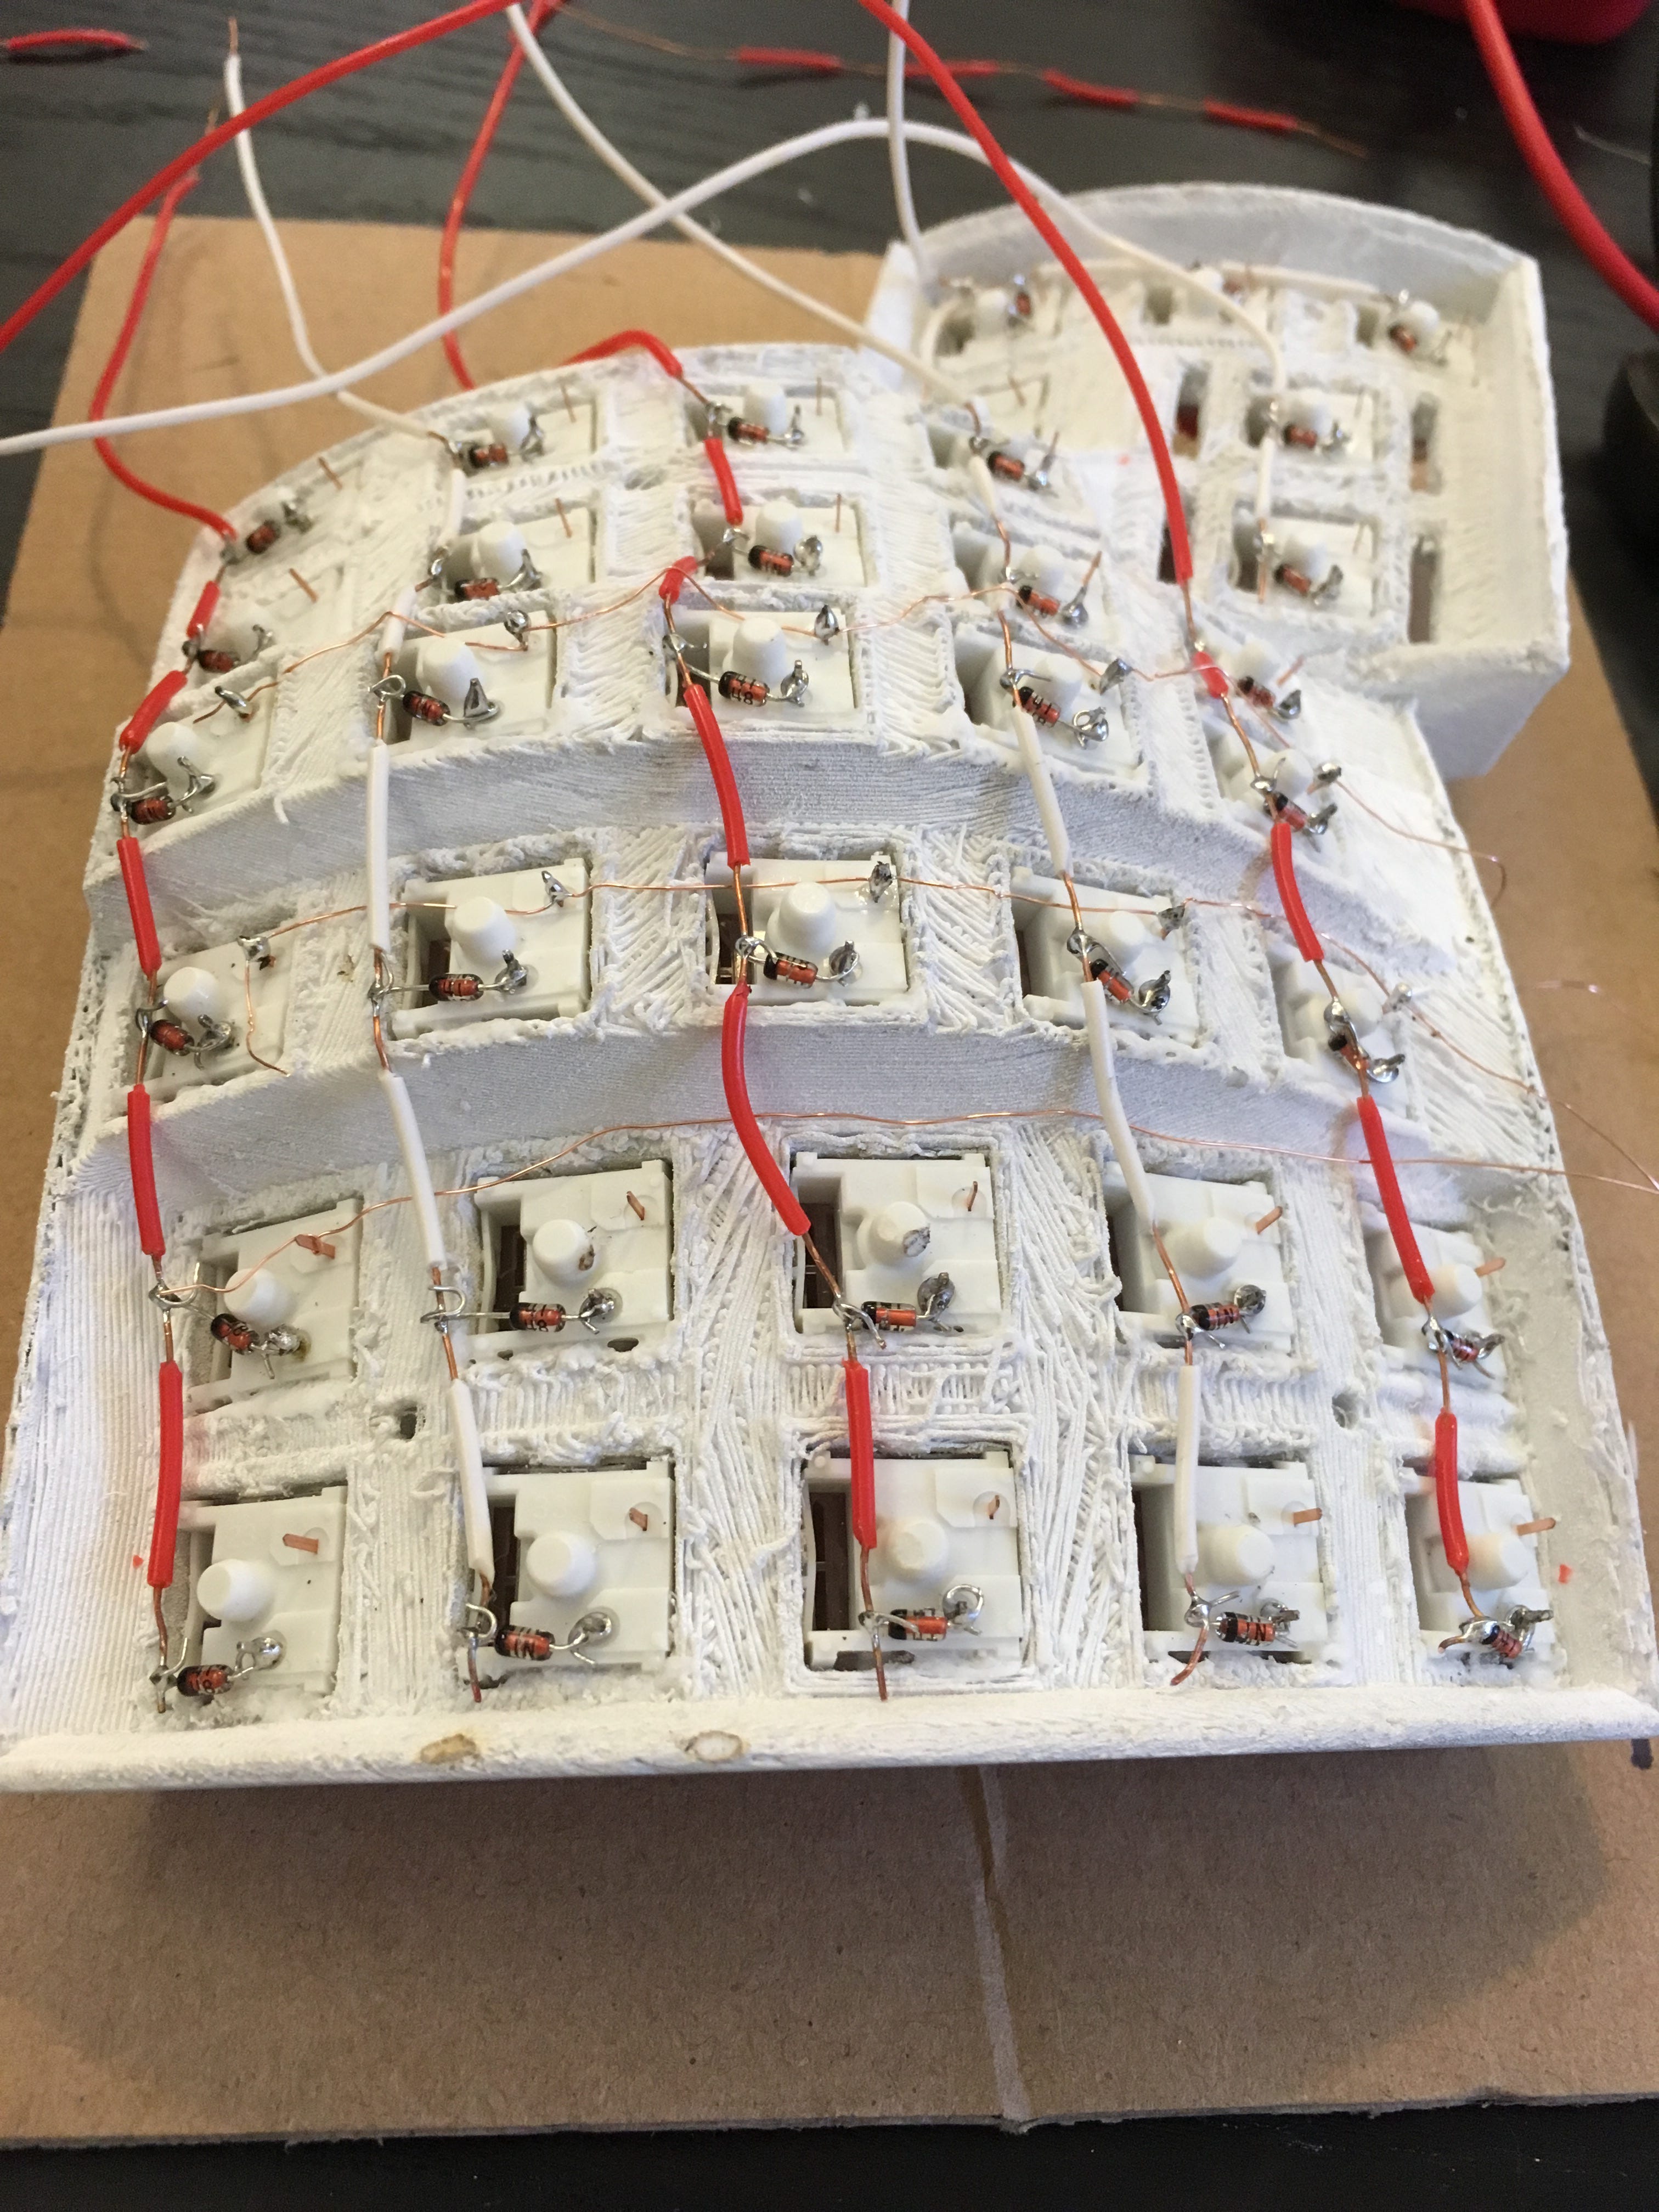
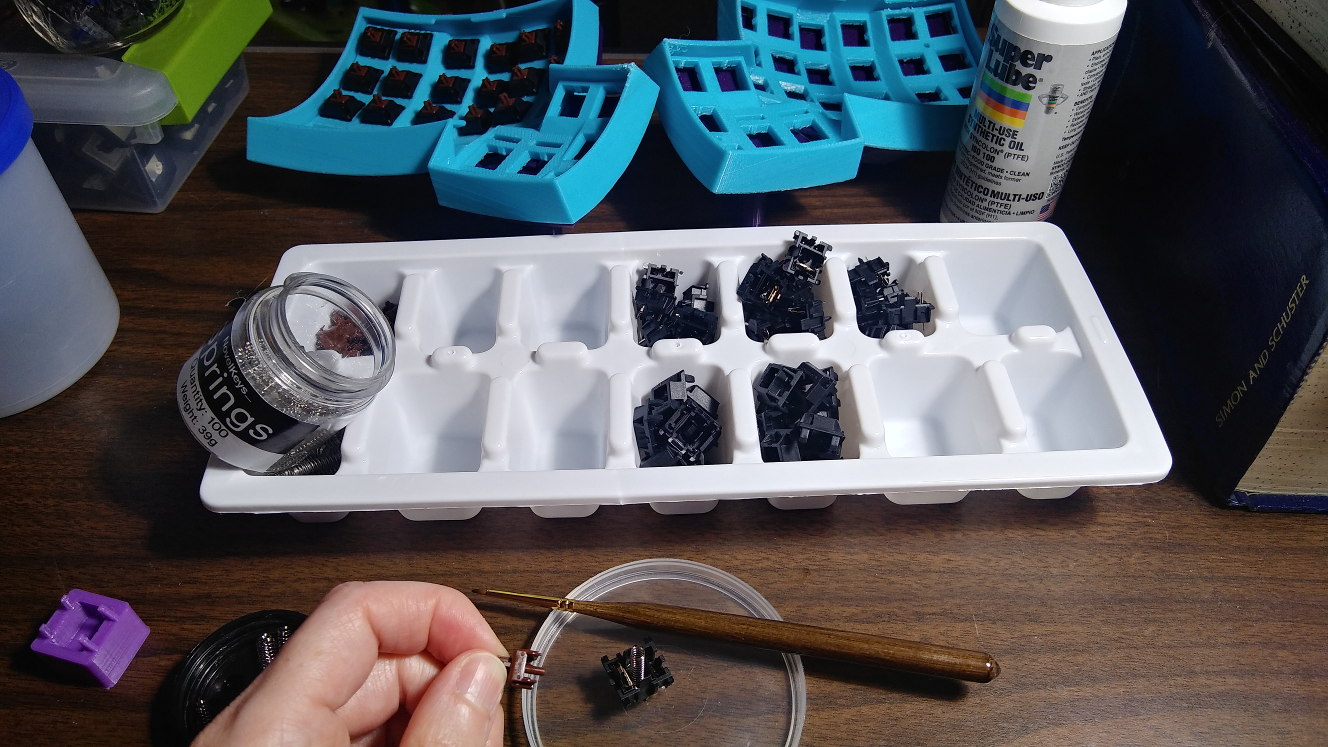
yet another dactyl build
Because key wells are swell.
Become a Hackaday.io member
Already have an account? Log in.
Just one more thing
To make the experience fit your profile, pick a username and tell us what interests you.
Pick an awesome username
hackaday.io/
Your profile's URL: hackaday.io/username. Max 25 alphanumeric characters.
Pick a few interests
Projects that share your interests
People that share your interests


 Douglas Miller
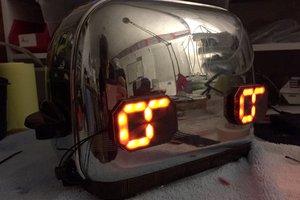
 Sarah Petkus
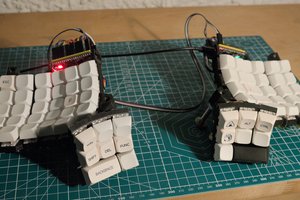
 David H. Bronke
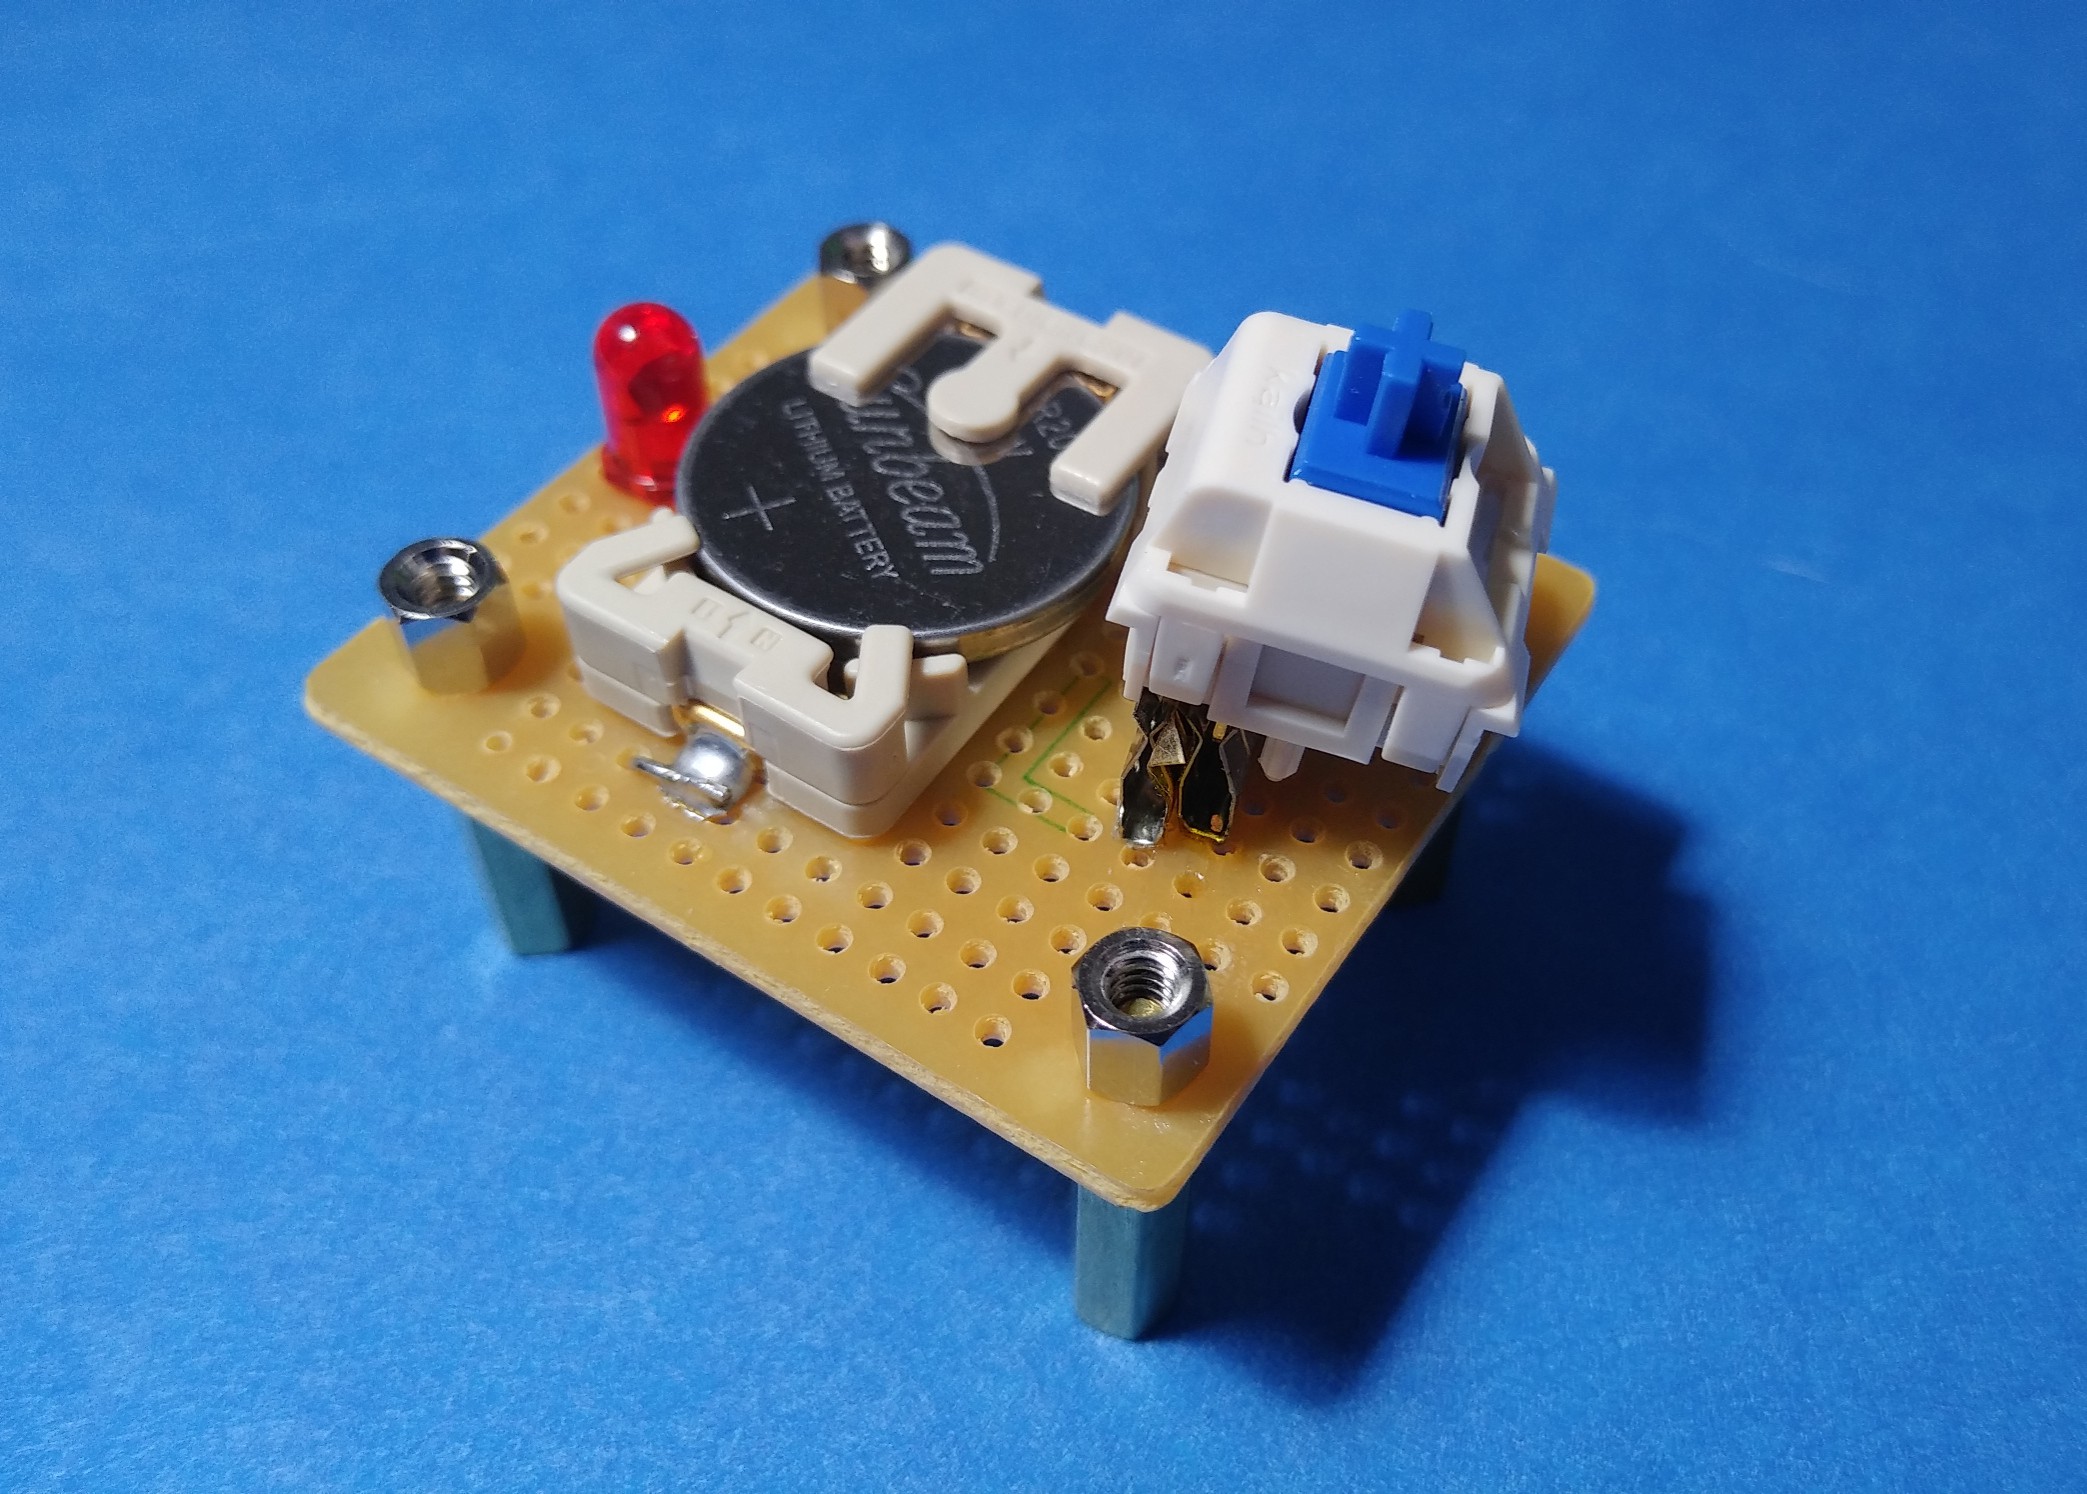
I've been watching this project with great interest, and I just ordered the switches. You got some great feedback on printing the cases that I'll be reviewing. I think the only difference is that I'm going to see what it will take to make a flexible PCB for this layout of the Dactyl.