 Paul McClay
Lots of catch-up logging... this was ~10 months ago...
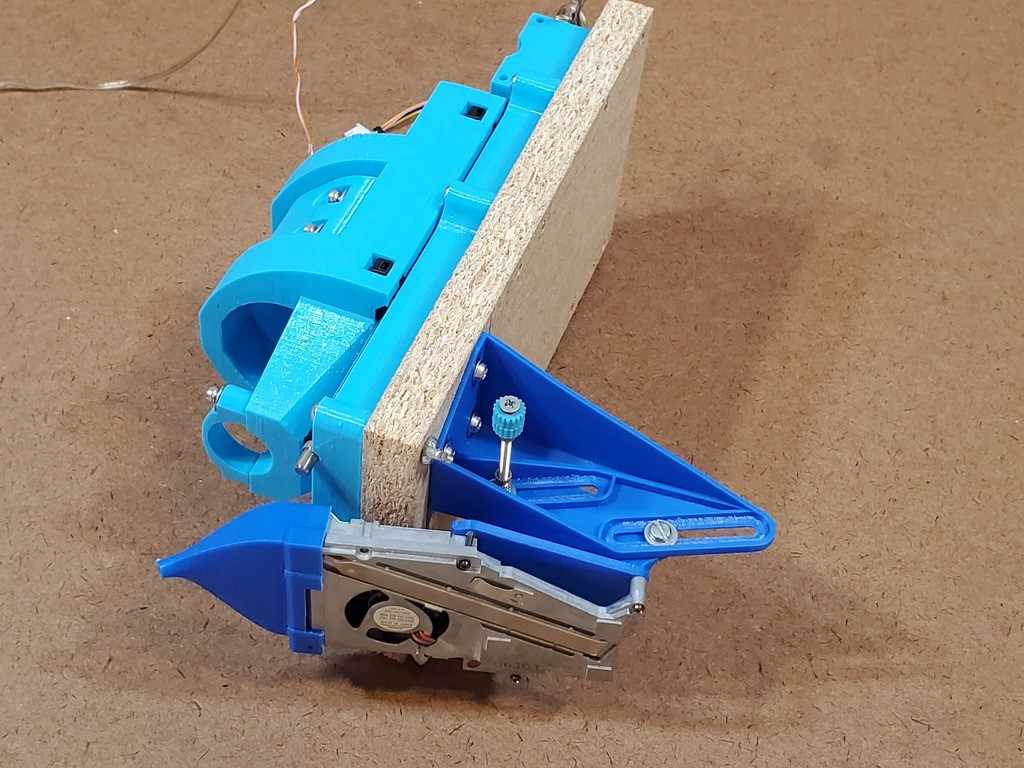
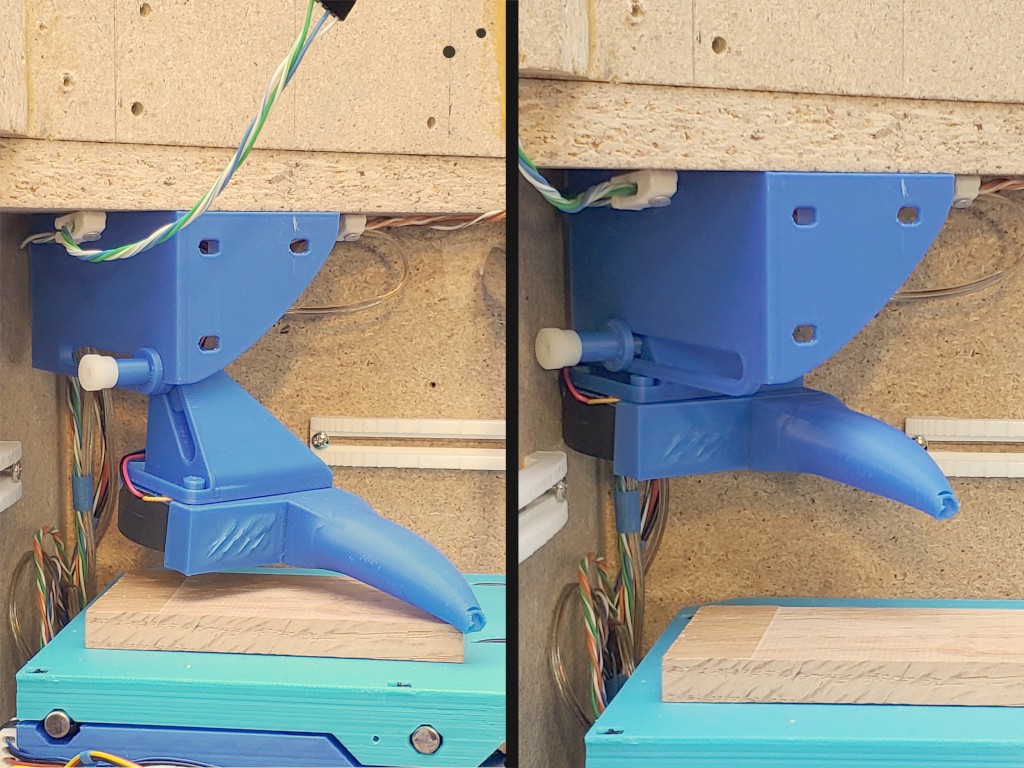
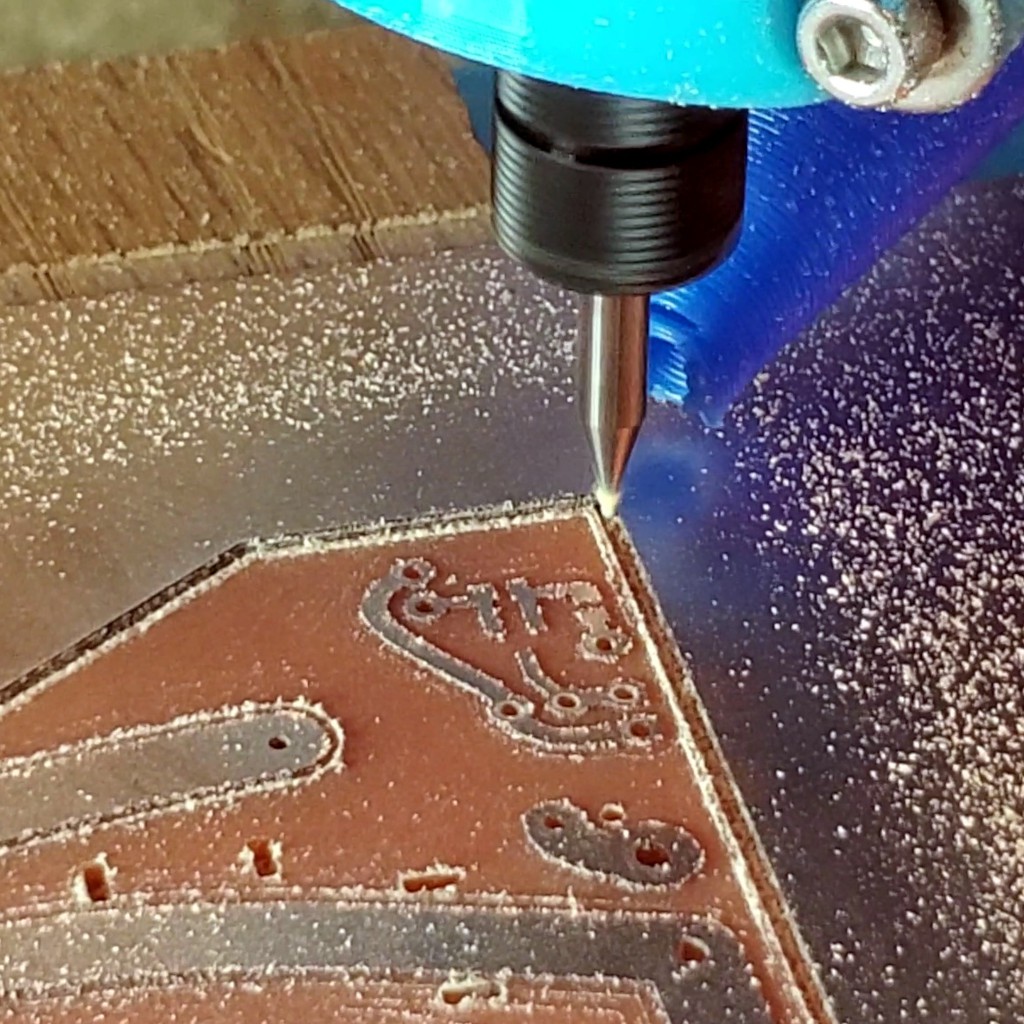
Earlier iterations got useful results from directing meager airflow through a tight nozzle right up close to the work, so this iteration started with that premise. The blower nozzle is adjustable to get right up to the tool and top surface of the material, or far out of the way.

This blower blows enough air that it doesn't have to be quite so tight to the work, so maybe the next rev will lose the wraparoundiness from the nozzle tip. That didn't print very well in this instance anyhow.
This version steps up from a scrapped laptop exhaust blower (centrifugal fan) to a "5010" blower. I splurged a few $ to buy one from a reputable source with datasheets so I could select for high static pressure over free air flow, supposing (based on no real information) that would get the most blow through the constricted nozzle.
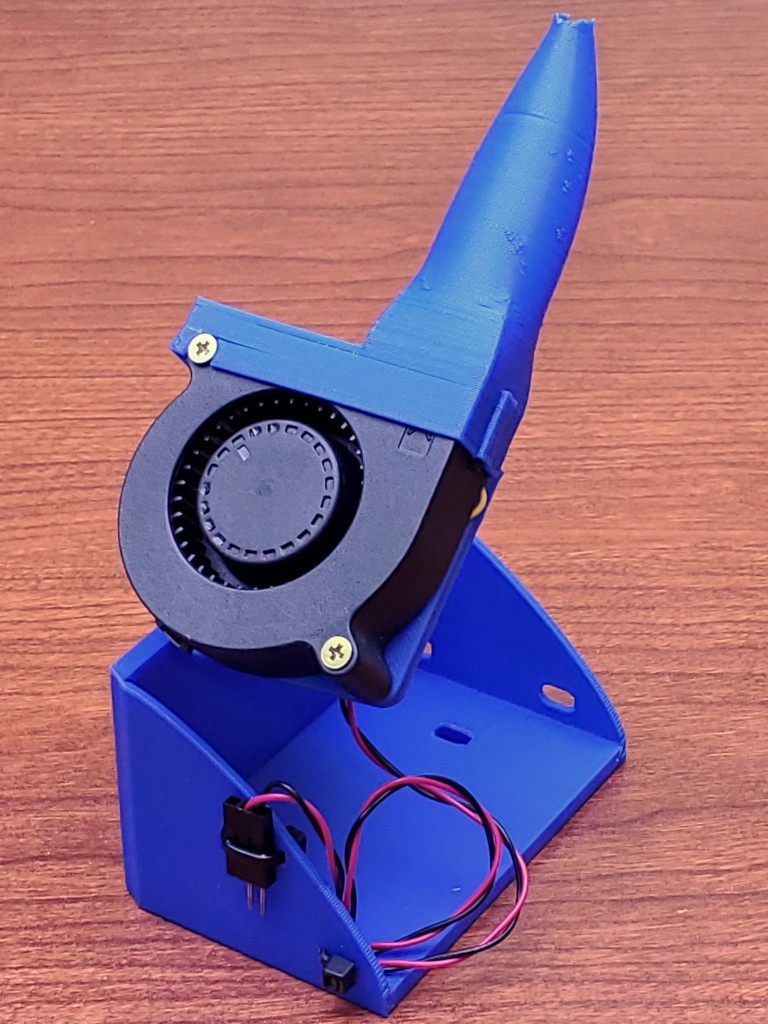
The nozzle starts with a ~constant-area transition from the rectangular fan outlet to an ellipse of the same height, then follows a curving taper to the circular exit. The rectangle-ellipse transition looks unlike constant area from the outside because wall thickness thins in the same span.
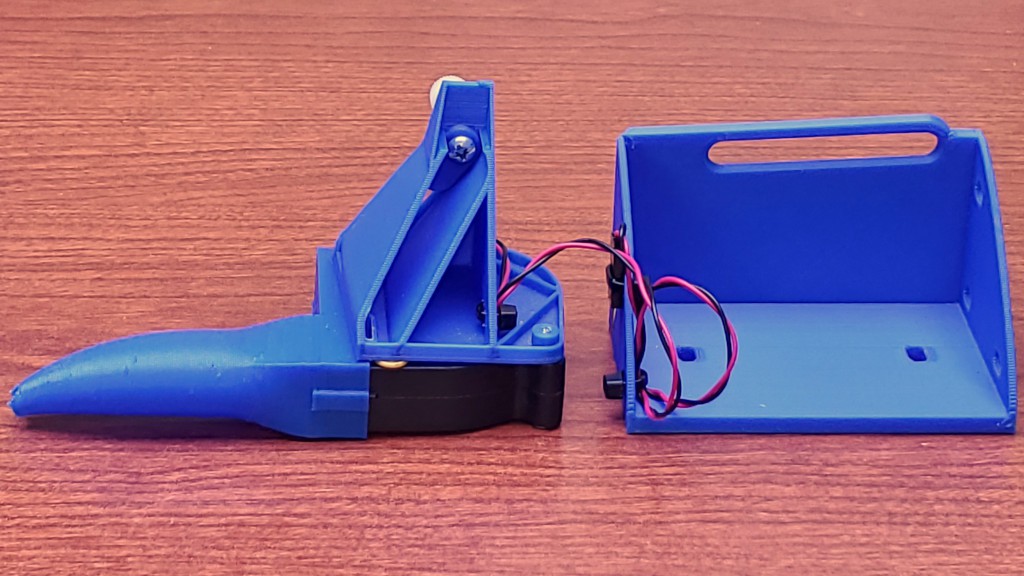
The single point screw clamp through two crossing slots easily holds the very light fan+nozzle with light fingertip torque on the thumb nut. A spacer holds the nut out where it's easier to reach behind the Z axis.
The fixed bracket has mounting holes (short L-R adjustment slots) on two surfaces. The front surface mounting holes are a legacy of earlier iterations on this theme which were screwed to the back of the Z axis because I thought that would be easier than trying to get a screwdriver under the bottom of the top part of the frame. From experience handling that, I figured making the detached Z axis less awkward to handle be worth another think about how to attach the blower to the frame instead. This time a couple of screws down through the frame gusset from above make studs projecting down from the bottom of the top part of the frame and thumb nuts fix the fixed bracket in place.
Power for the blower is switched through a transistor by the SPINdle ENable signal so it runs together with the spindle, unless prevented by a manual blower defeat switch.
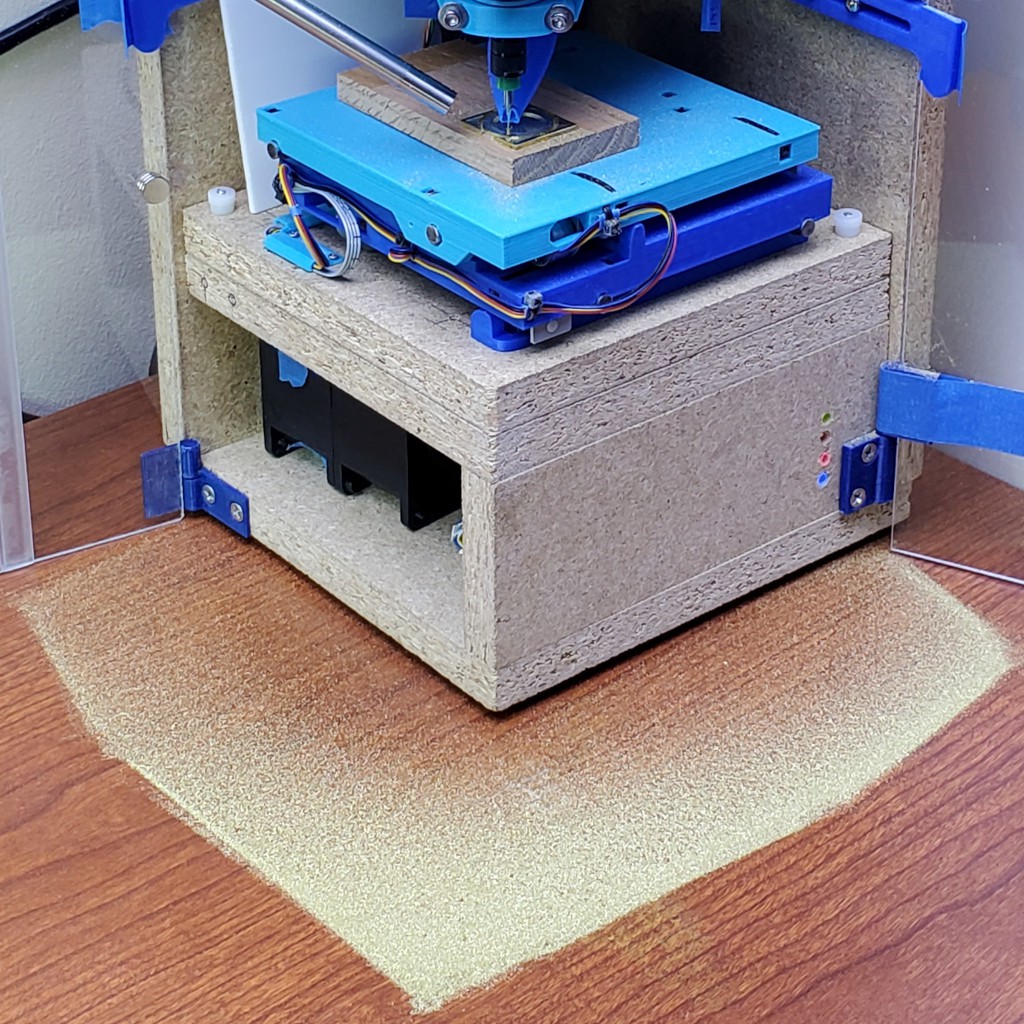
The blower works well.
It blows chips out the open corner of the frame to be captured by the surrounding enclosure where they can be vacuumed up after a job finishes.
Discussions
Become a Hackaday.io Member
Create an account to leave a comment. Already have an account? Log In.