 Brian Whitsett
-
1Wiring Instructions
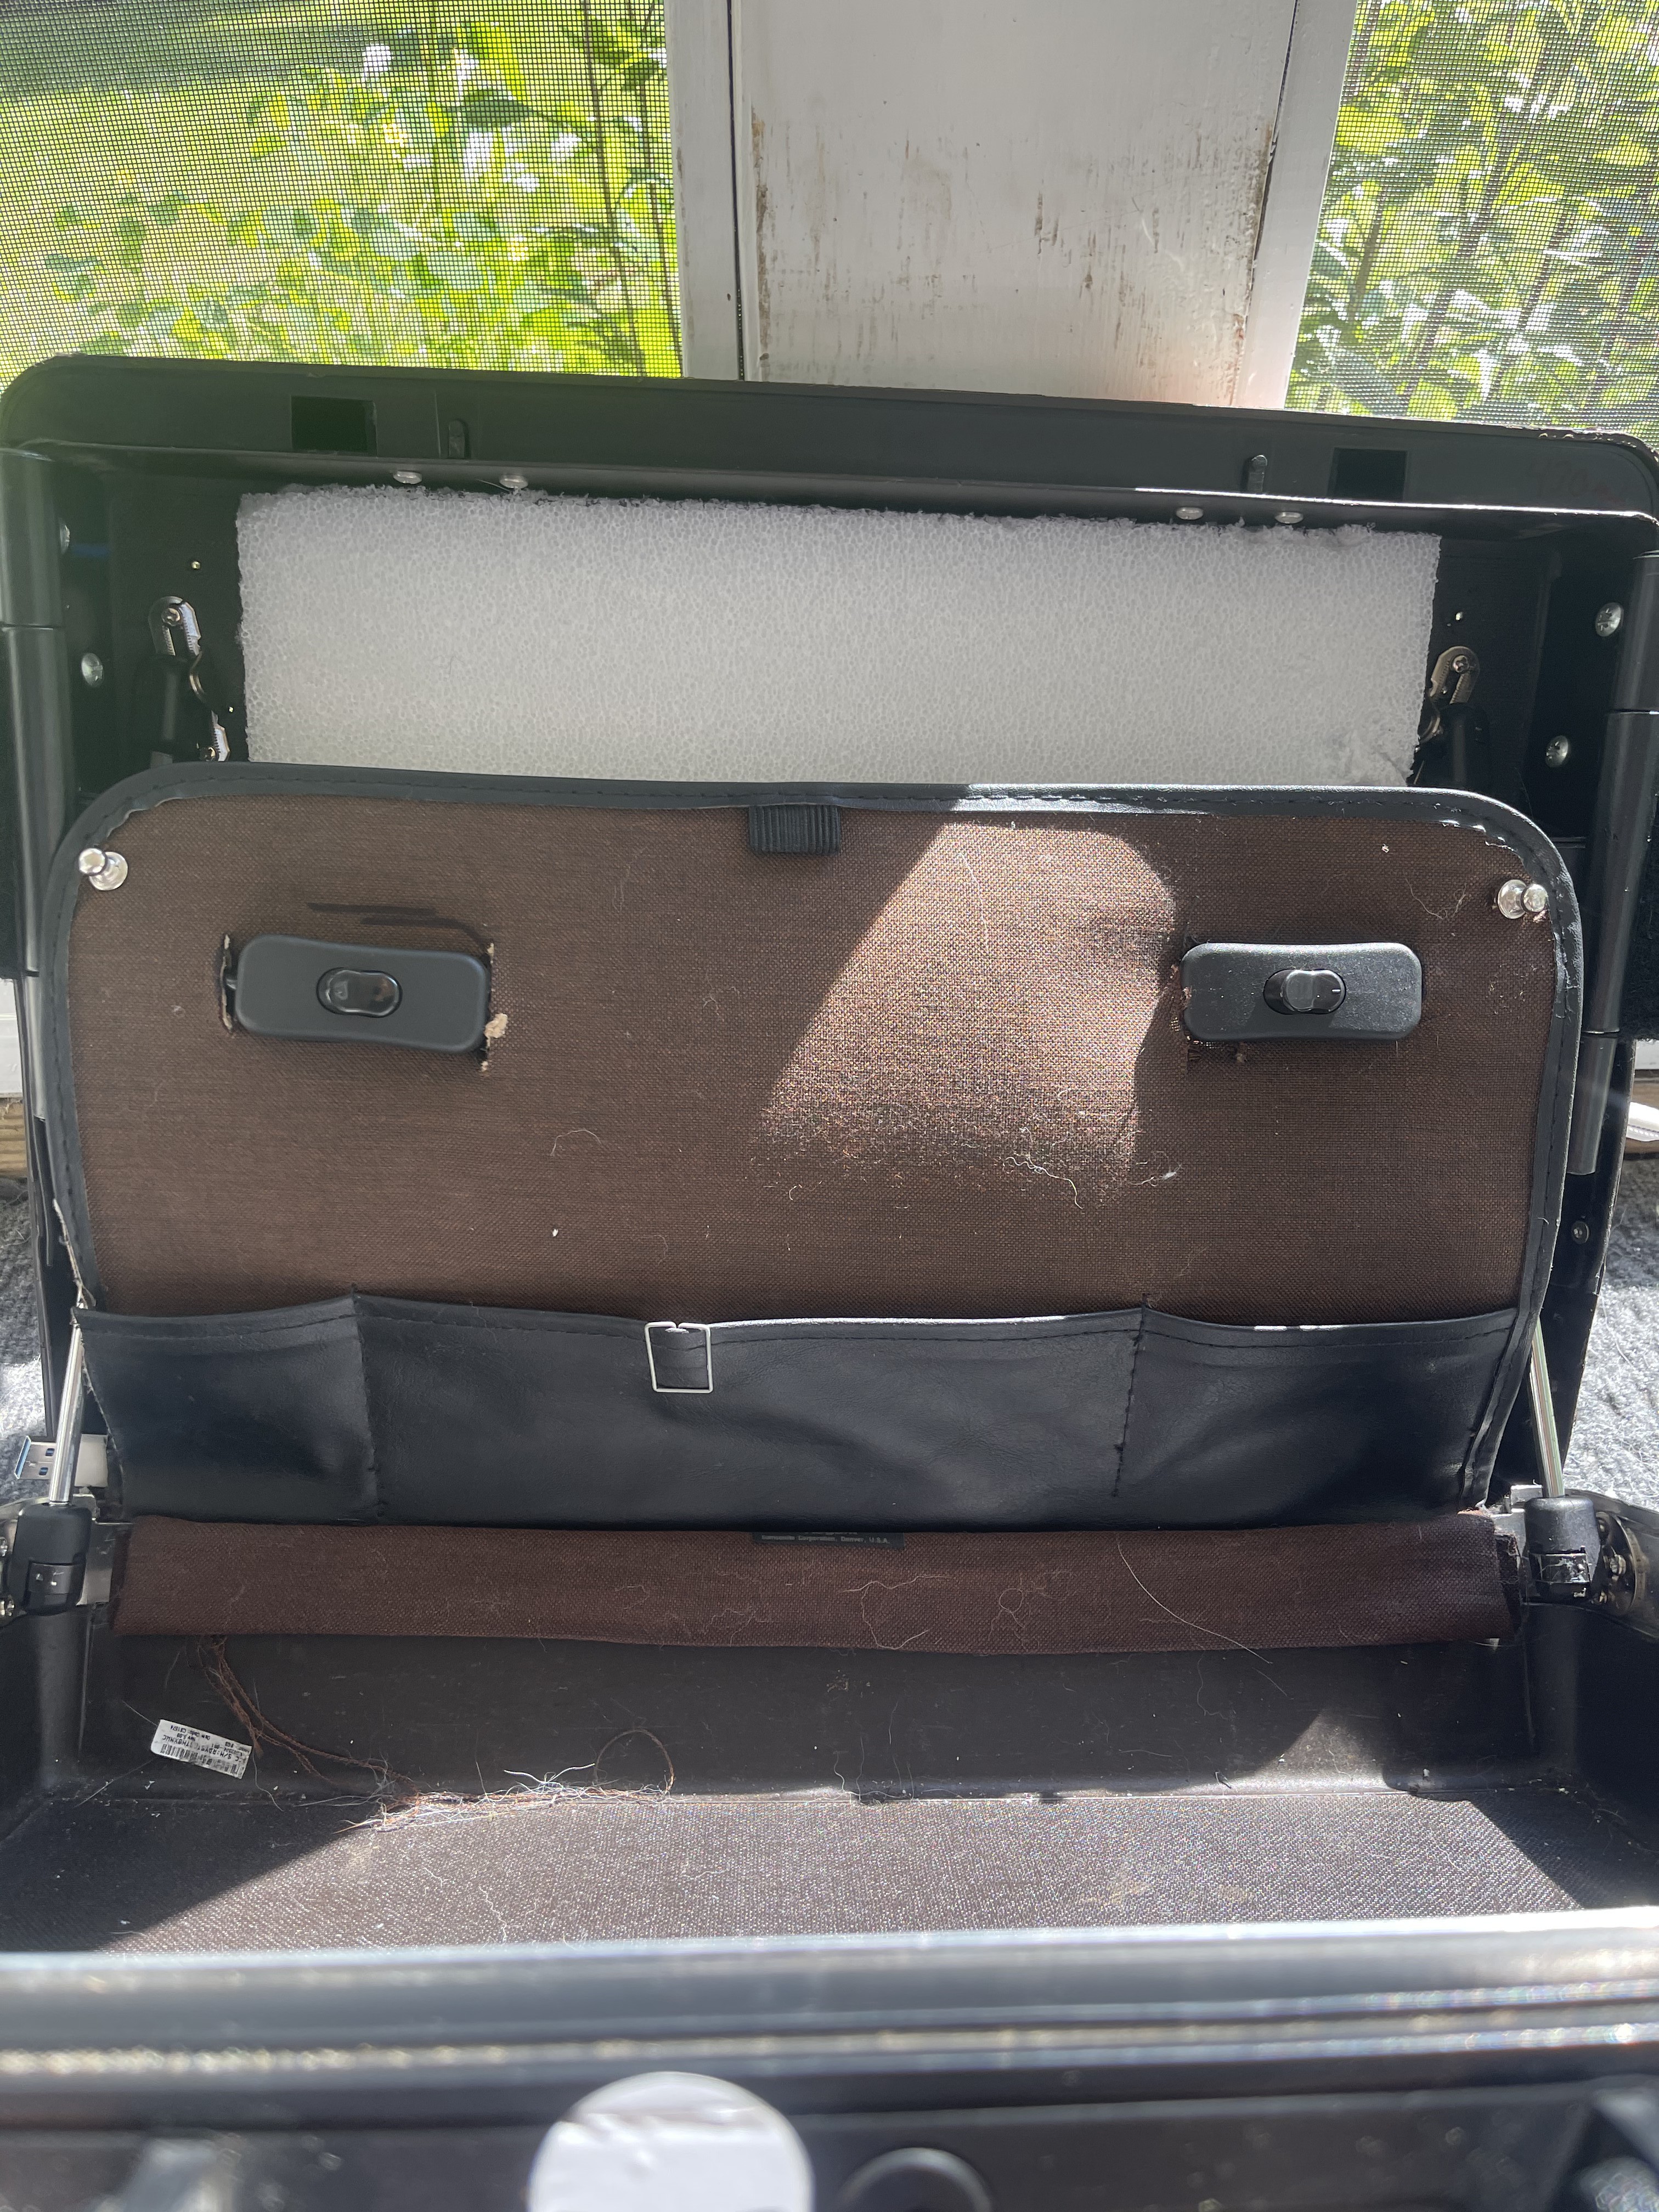
After mounting the monitors and hinges in the desired location (which will vary on your personal preference and case), the next step is wiring. Wiring is relatively simple, but wiring in a manner that is neat and organized is difficult.
![]()
-
2Planning
The first step to wiring this project is planning. Plan where your monitors and source devices are located and measure the length of cable needed to make the runs. Leave a little extra to reduce strain on the cables and to account to discrepancies in measurement. Be sure to take note of any obstacles in the way of the cable run, this includes the hinges or the supports used in the build or in some cases, the case itself.
-
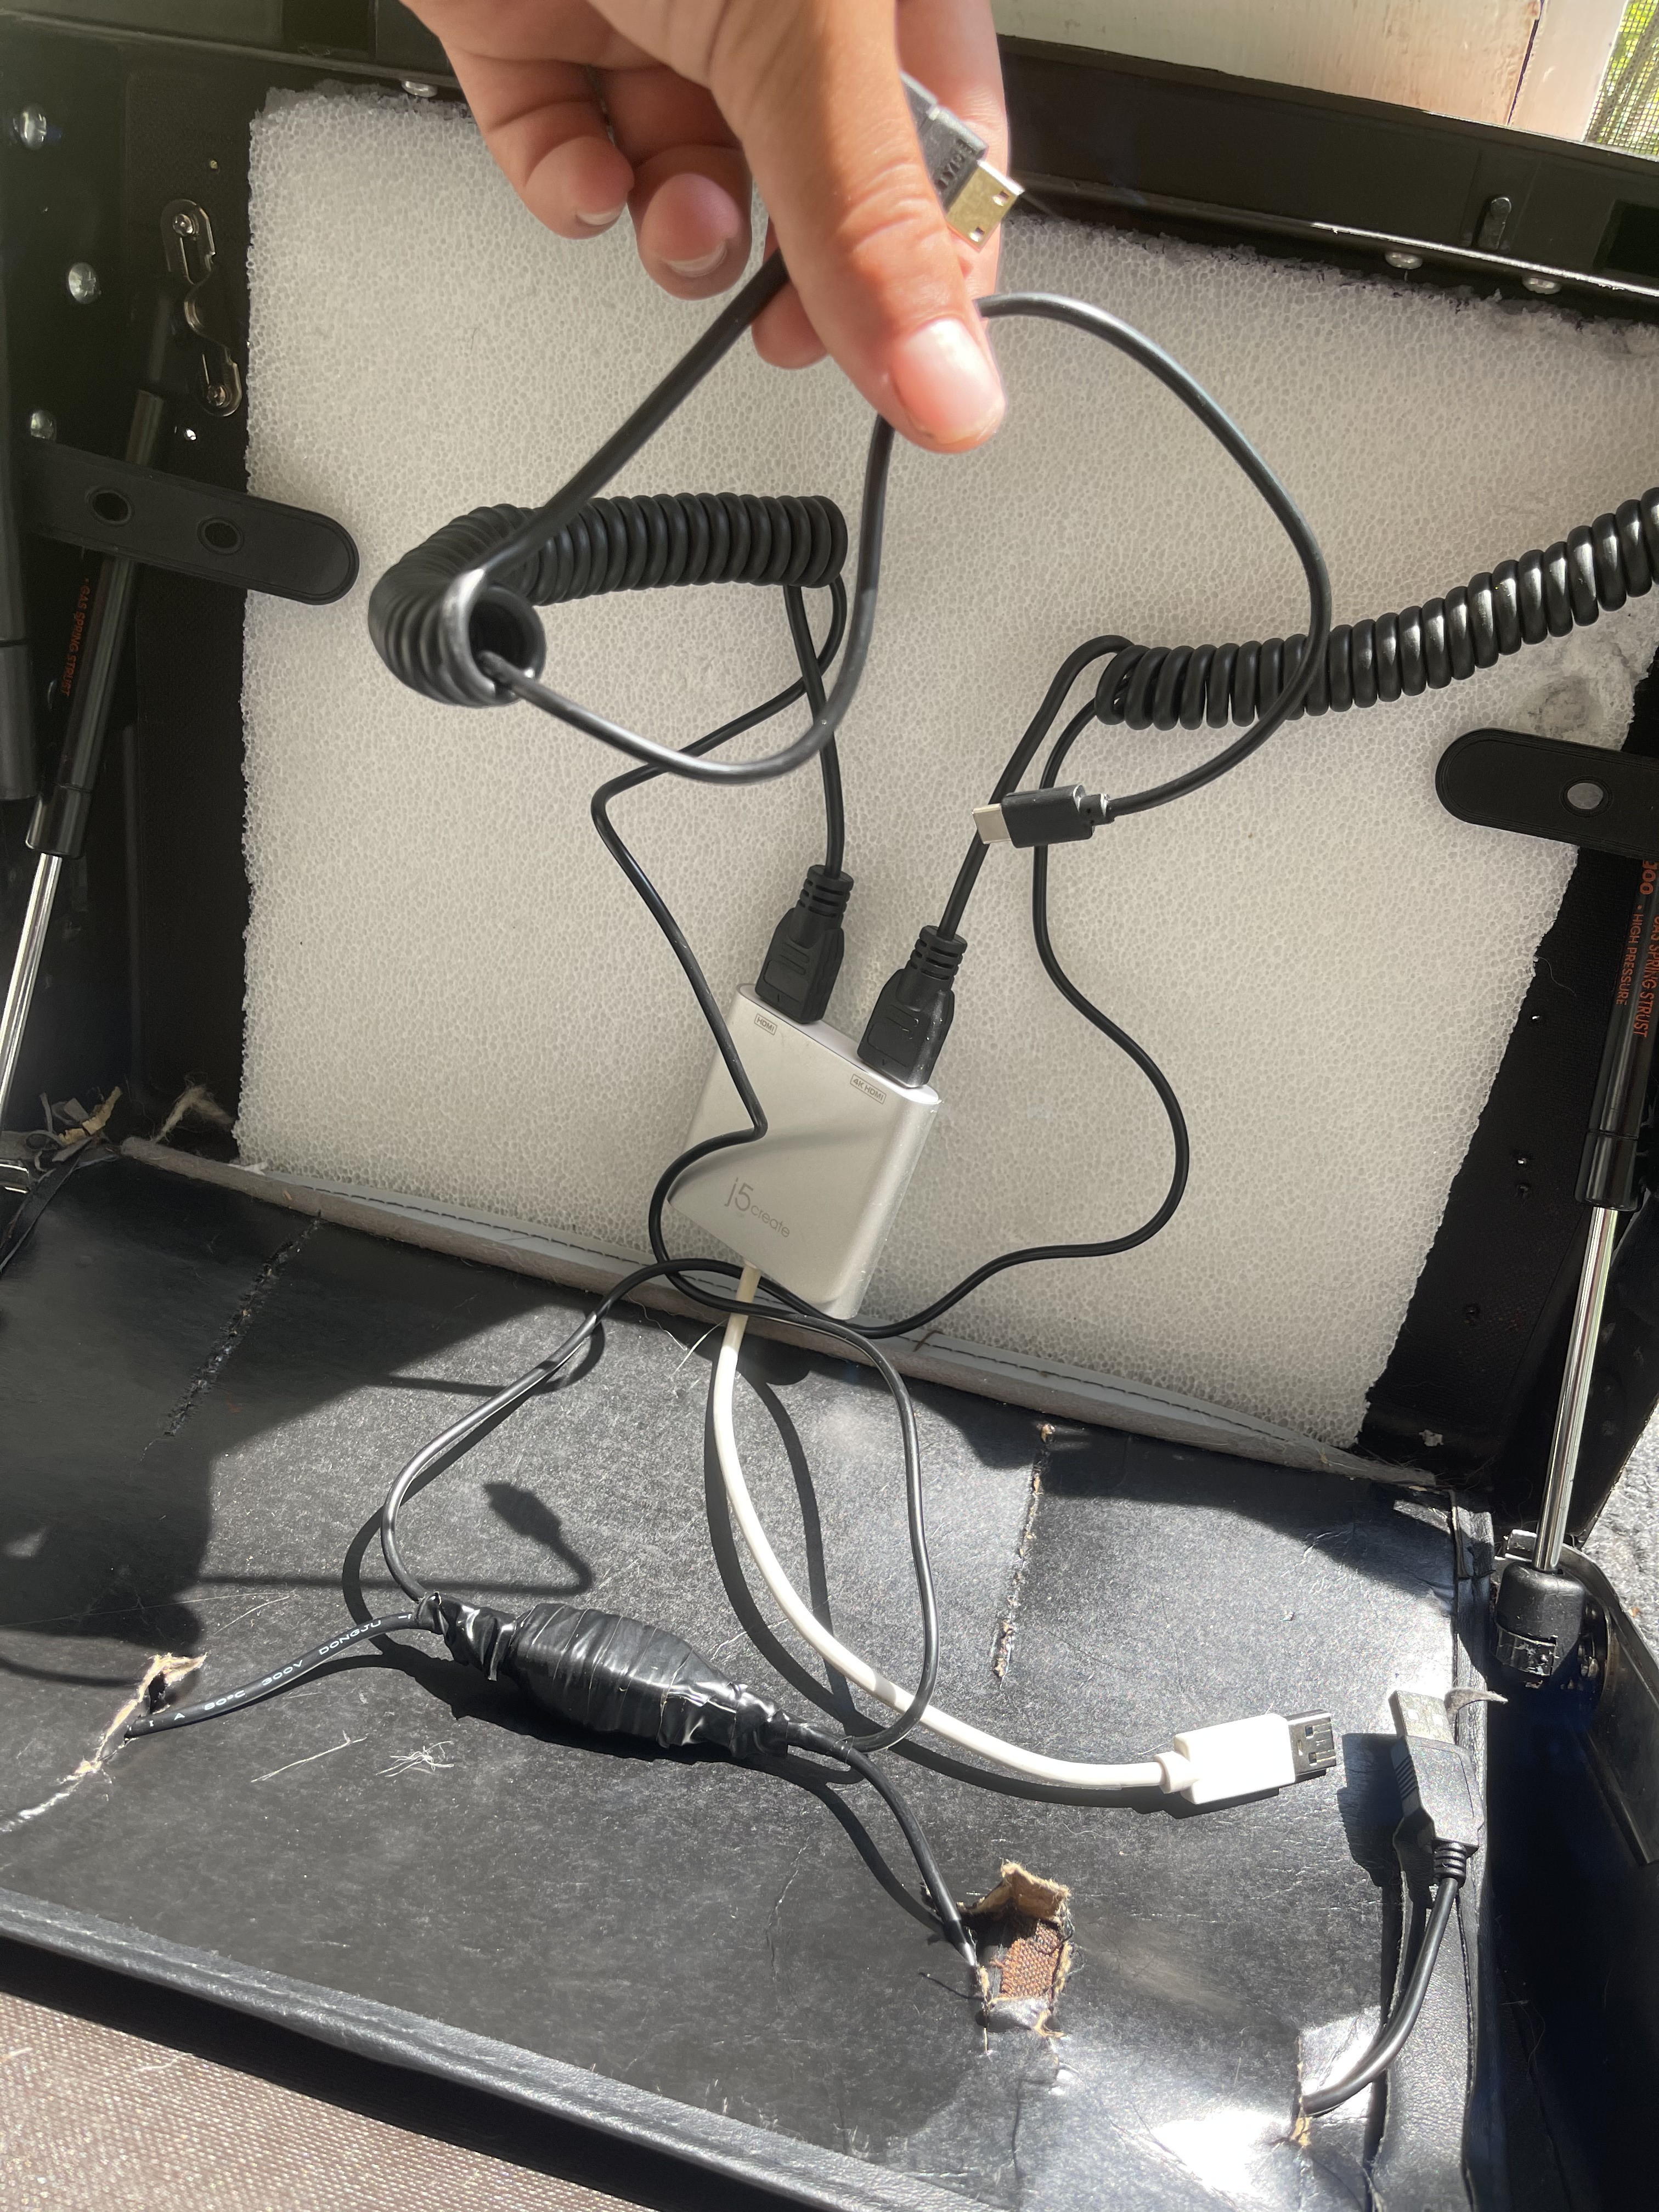
3Choosing Your Materials
The next step is choosing your cables. Some important questions to consider is if you need straight or coiled cable, what connectors you need, if you need any converters or switches for your displays or source(s), what type of metal is used for the connectors and wires etc. I decided to use straight cables for power and a coiled display cable. I then ran the power cable through the middle or the coiled display cable to keep the wiring neat. At this low of voltage, I am not worried about the power interfering with the display cable, but for higher voltage applications that is an issue to consider as well and may require the use of a conduit. I also decided to use a dual HDMI to USB converter to make the design as universal as possible since not all laptops have two HDMI ports but most will have at least one USB port.
![]()
-
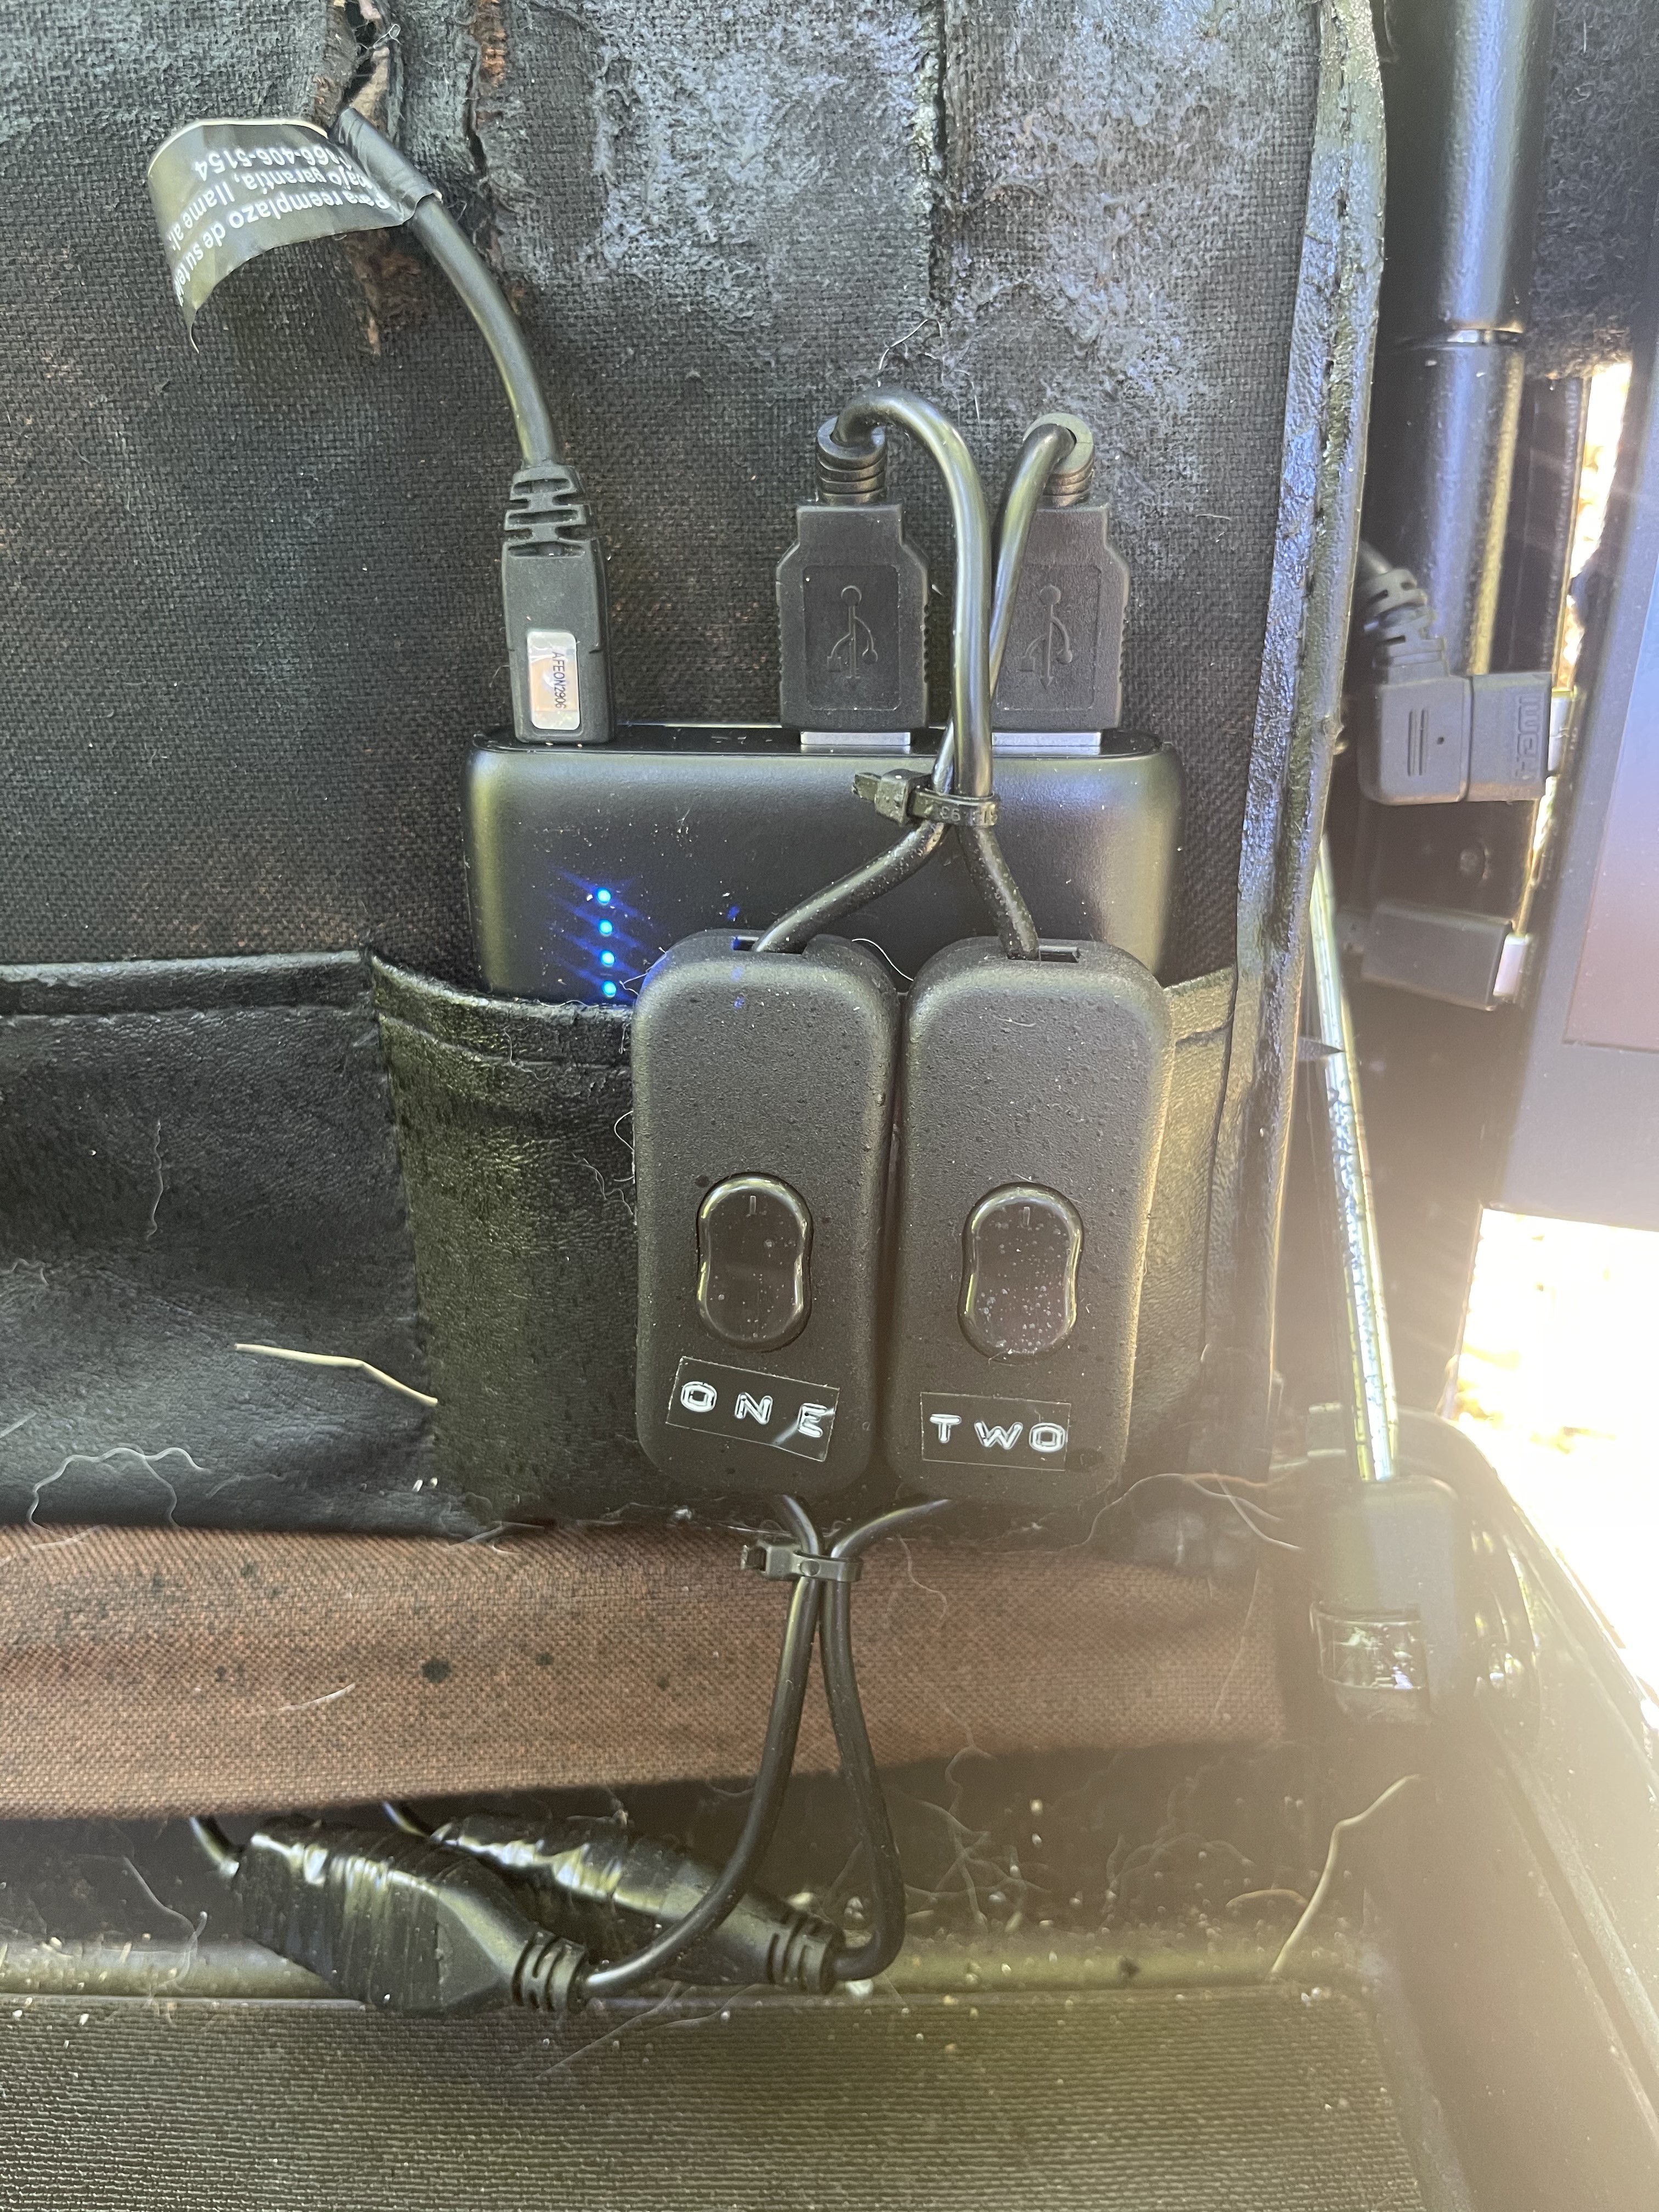
4Organize and Secure
Finally, organize and secure your cables. The mark of a good cable job is to leave as little wire showing as possible while maintaining functionality.
![]()
While I only needed to expose the switches and the connection to the source, in the end I decided to expose the switches, source connector, and solar power connector to make maintenance and troubleshooting easy and accessible. This design also enabled the user to monitor battery levels too.
![]()
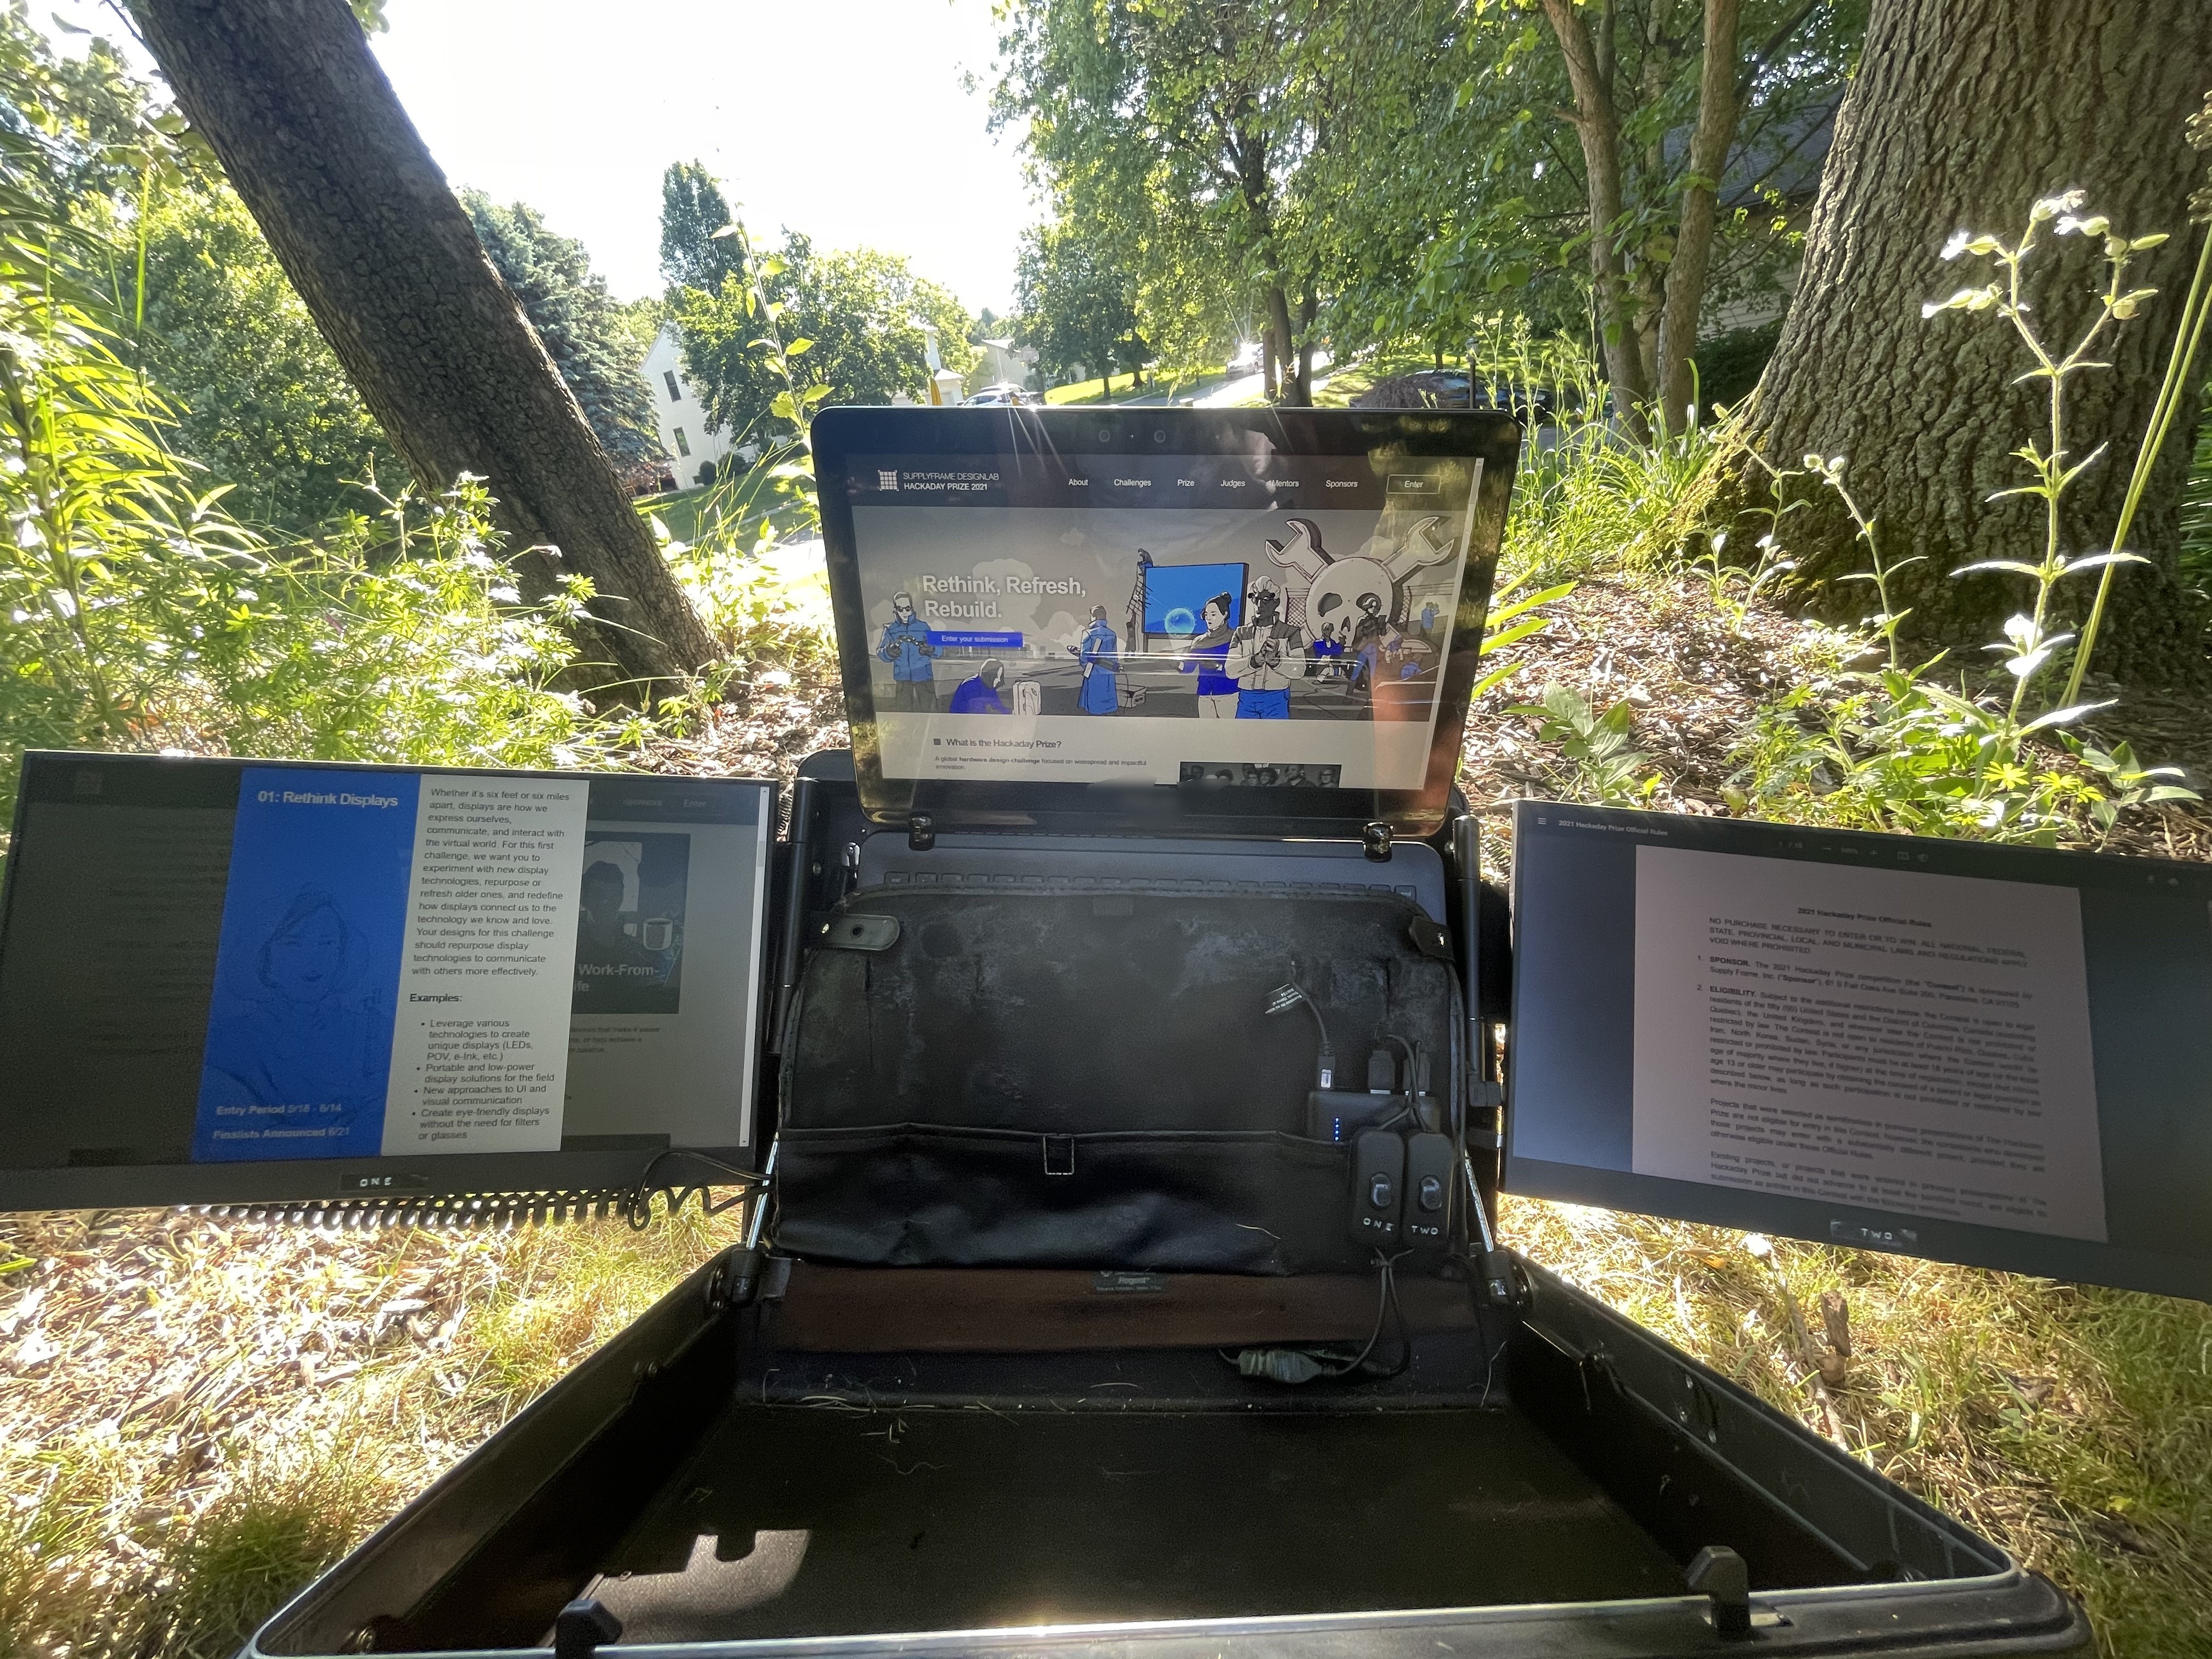
Solar Display Case
Three portable low-power 17 inch monitors stored in a rolling briefcase with five 20 watt solar panels for power anywhere
Discussions
Become a Hackaday.io Member
Create an account to leave a comment. Already have an account? Log In.