 mihai.cuciuc
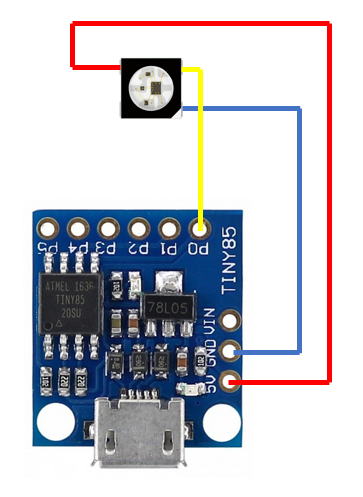
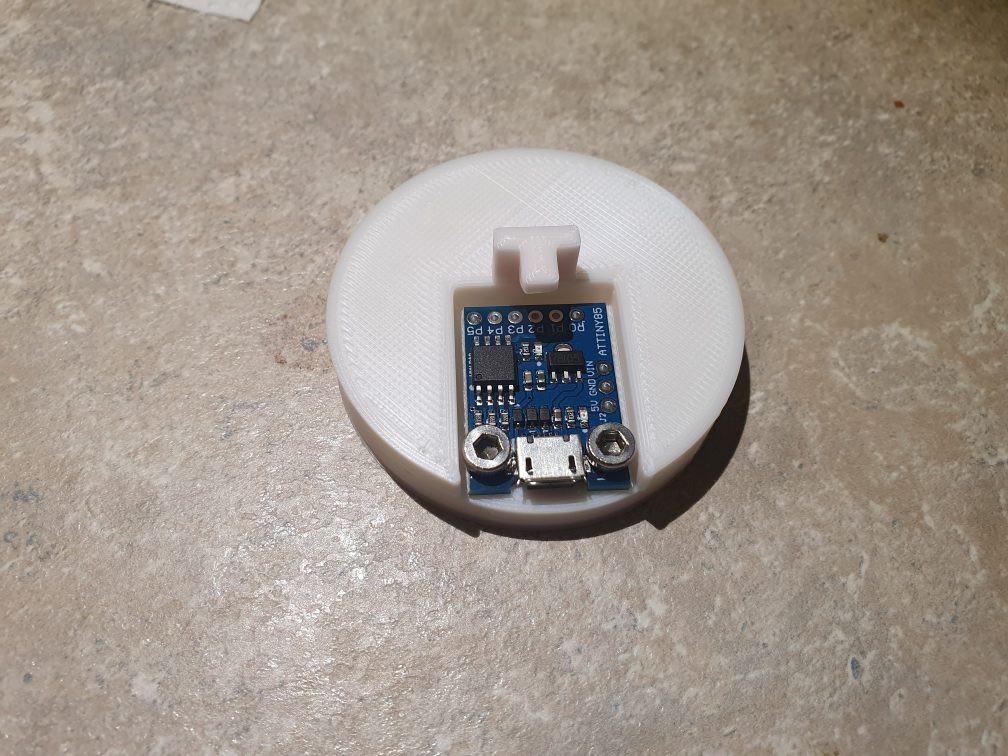
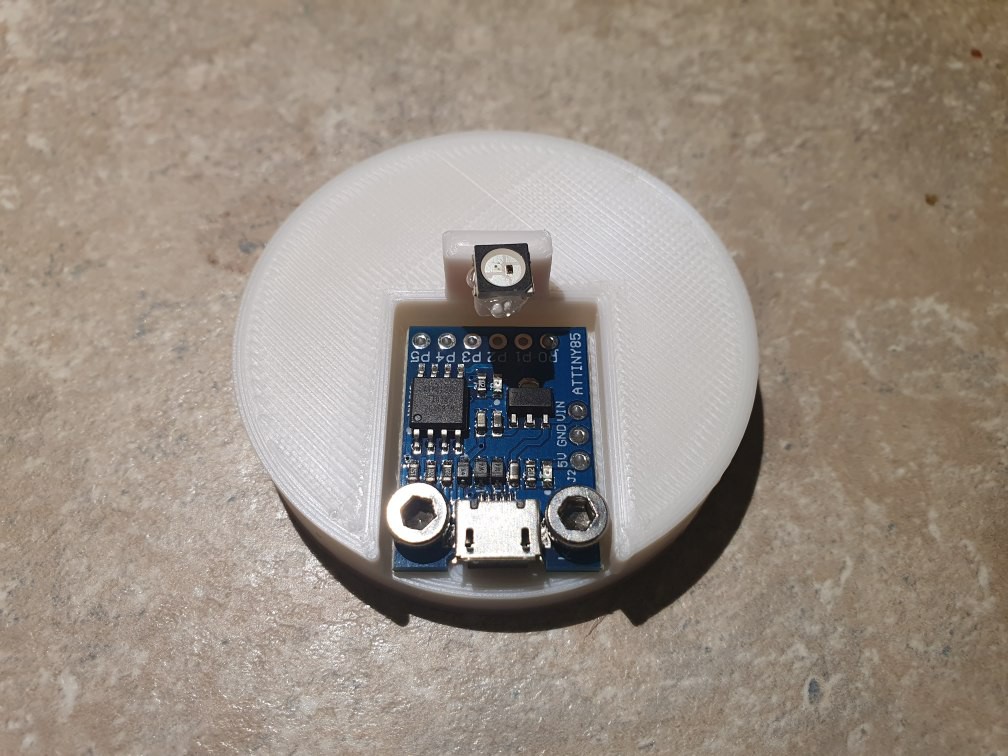
Hardware
Arduino sketch - Crystal
#include <Adafruit_NeoPixel.h>

#ifdef __AVR__
 #include <avr/power.h> // Required for 16 MHz Adafruit Trinket
#endif

#define PIXELPIN          0

Adafruit_NeoPixel strip = Adafruit_NeoPixel(1, PIXELPIN, NEO_GRB + NEO_KHZ800);

void setup() {
  // put your setup code here, to run once:

  strip.begin();
  strip.clear();
  strip.show();

}

void loop() {
  // put your main code here, to run repeatedly:
  static uint8_t i = 0;

  strip.setPixelColor(0, Wheel(i));
  strip.show();
  delay(20);
  i++;
}


uint32_t Wheel(byte WheelPos) {
  WheelPos = 255 - WheelPos;
  if(WheelPos < 85) {
    return strip.Color(255 - WheelPos * 3, 0, WheelPos * 3);
  }
  if(WheelPos < 170) {
    WheelPos -= 85;
    return strip.Color(0, WheelPos * 3, 255 - WheelPos * 3);
  }
  WheelPos -= 170;
  return strip.Color(WheelPos * 3, 255 - WheelPos * 3, 0);
}
Alternate Arduino sketch - Minerals
#include <Adafruit_NeoPixel.h>

#ifdef __AVR__
 #include <avr/power.h> // Required for 16 MHz Adafruit Trinket
#endif

#define PIXELPIN          0


#define R   30
#define G   80
#define B   220

Adafruit_NeoPixel strip = Adafruit_NeoPixel(1, PIXELPIN, NEO_GRB + NEO_KHZ800);

void setup() {
  // put your setup code here, to run once:

  strip.begin();
  strip.clear();
  strip.show();

}

void loop() {
  // put your main code here, to run repeatedly:
  static uint8_t i = 0;
  static uint8_t dir = 0;
  uint16_t r, g, b;

  r = R * cos(i * DEG_TO_RAD);
  g = G * cos(i * DEG_TO_RAD);
  b = B * cos(i * DEG_TO_RAD);

  strip.setPixelColor(0, r, g, b);
  strip.show();
  delay(20);

  if (i == 60) dir = 1;
  if (i == 0) dir = 0;

  if (dir == 0) i++;
  else i--;
}
Credits
Thanks to https://www.thingiverse.com/JustinSDK3d.

 jlbrian7
 Hari Wiguna
 davedarko
 tehaxor69
Fun and very clean, the next thing I would probably do would be some fancy variations based on some random type of sensor maybe (like changing frequency based on barometric pressure?)