Close
0%
0%

The BPI-PicoW-S3, A New Player in Town

Dive into the world of CircuitPython with the new BPI-PicoW, a new ESP32S3 board released by Banana Pi.

Similar projects worth following
This is an introduction to the BPI-PicoW and the basic how-to guides to get it up and running.

BPI-Pico-S3%20CircuitPython

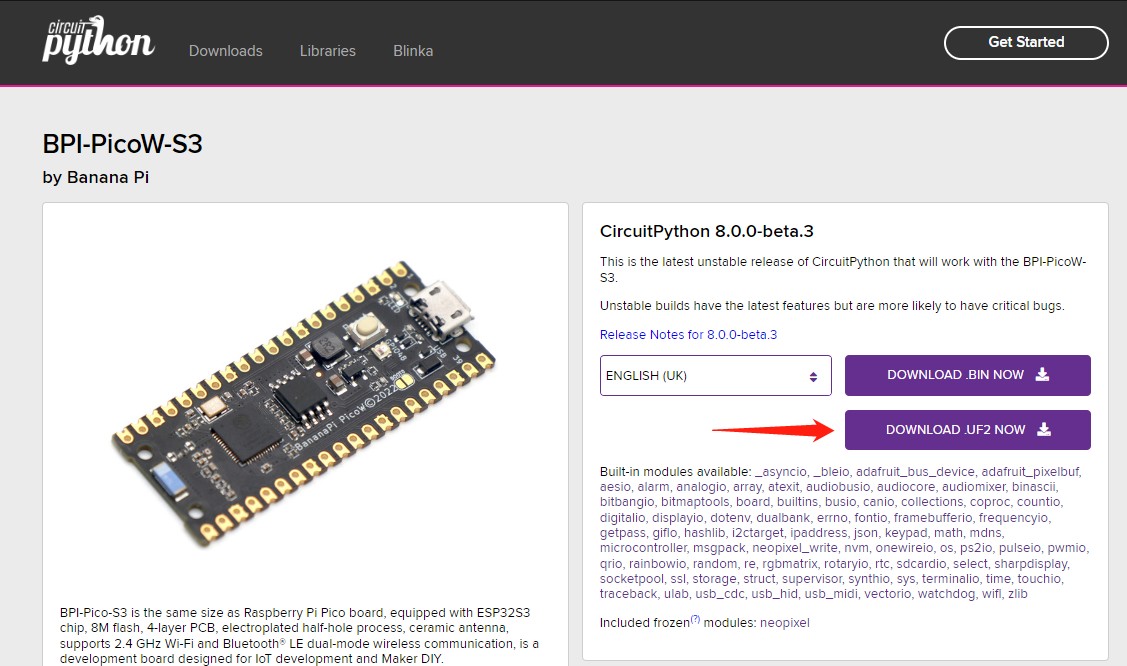
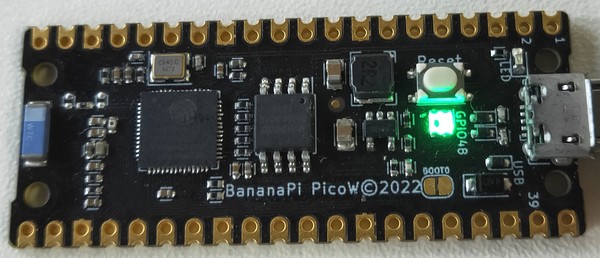
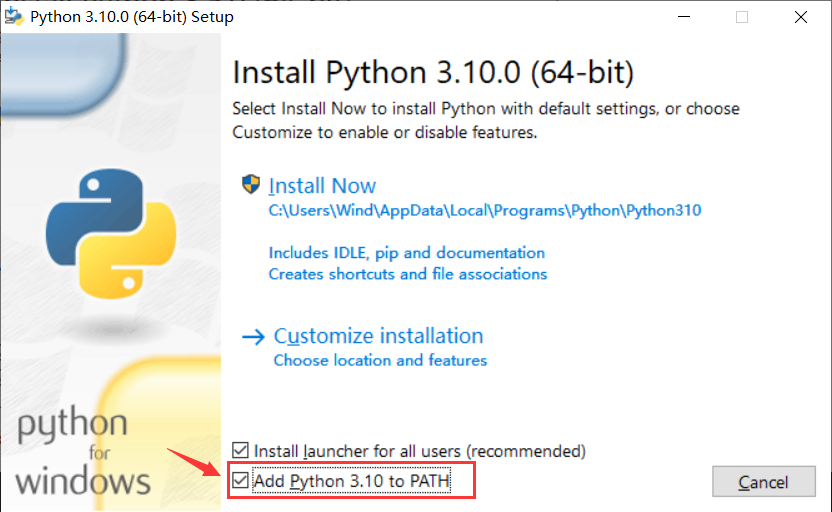
The BPI-Pico-S3 is an ESP32S3 development board that has been fully adapted to CircuitPython, and the TinyUF2 + CircuitPython firmware is installed by default.

No need to install any drivers in Windows 10, Windows 11, Ubuntu Desktop, or Mac OS operating system, it can be used by connecting to the PC out of the box, The system will recognize this device as a USB disk, edit the code.py file in it to control the peripherals of the development board.

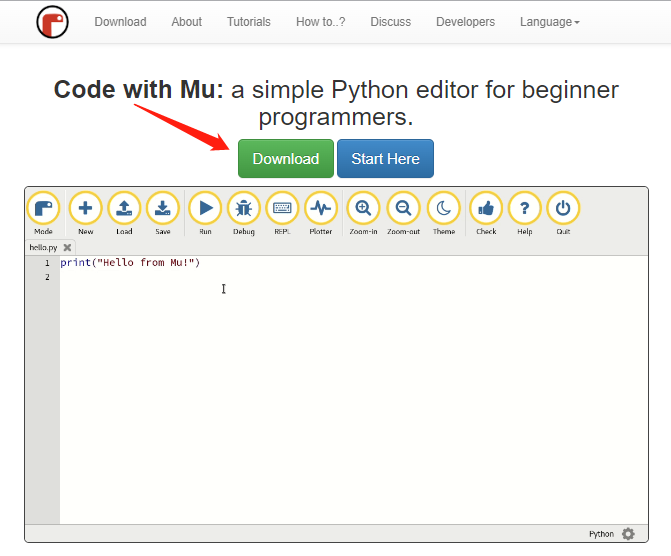
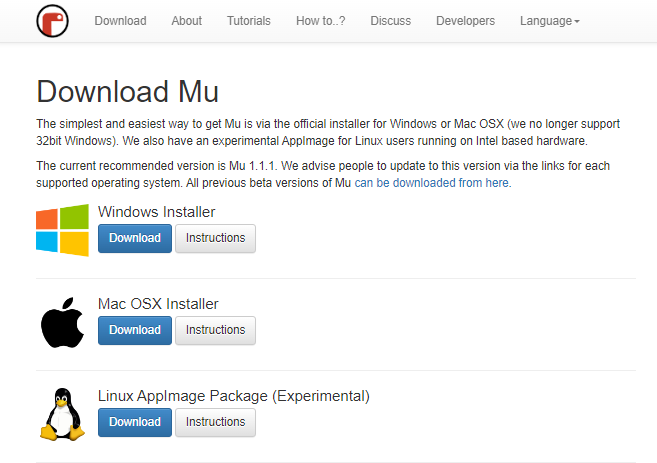
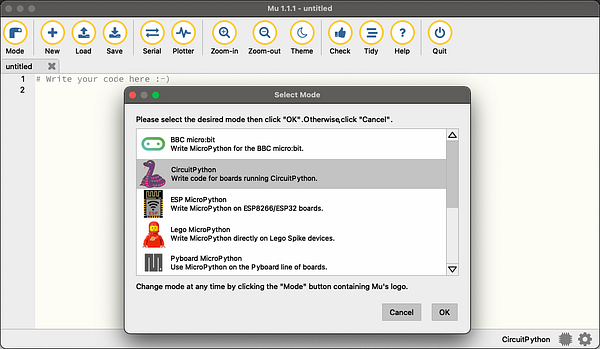
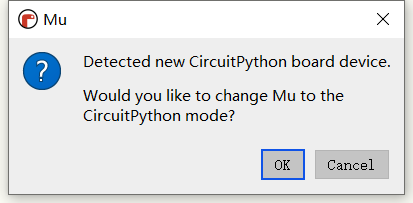
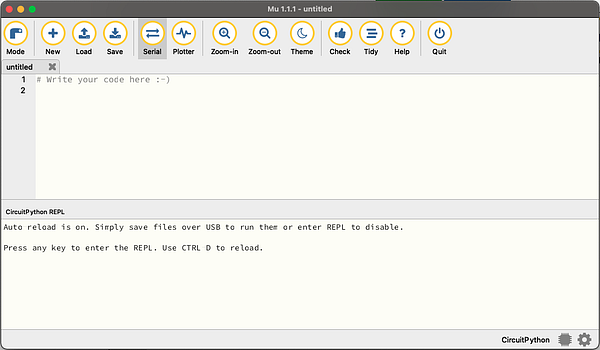
It is recommended to use Mu Editor to get started with CircuitPython.


YouTube

- Banana Pi BPI-PicoW-S3 Install and use Mu editor[CircuitPython]

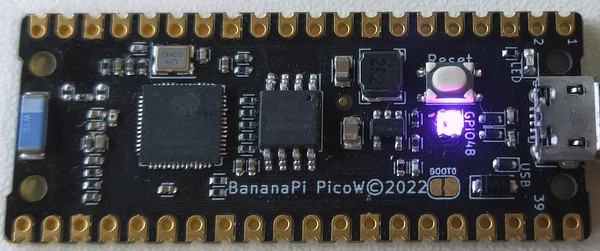
- Banana Pi BPI-PicoW-S3 Control Neopixel[CircuitPython]

  • Install CircuitPython and TinyUF2 Firmware

    Joey Shyu11/06/2022 at 11:55 0 comments

    YouTube

    How to update CircuitPython firmware

    This method is suitable for the BPI-PicoW-S3 board that already has tinyUF2 firmware. If the flash of the board is erased or the failure to enter the UF2 mode occurs, you need to refer to the method of burning TinyUF2 firmware below.
    1. Go to the BPI-PicoW-S3 CircuitPython download page.

      picow_s3_circuitpython_download

    2. Click the DOWNLOAD UF2 NOW button to download the latest released .uf2 firmware.
    3. Connect the development board to the computer via USB, and a disk named CIRCUITPY will appear on the file management page of this computer, which is the disk in CircuitPython mode. Double-click the Reset button on the development board to change it to a disk in UF2 mode. The following are the specific steps.
      1. Quickly press the Reset button once.

      picow_s3_circuitpython_download_2

      1. Quickly press the Reset button again when the purple light is on.

      picow_s3_circuitpython_download_3

      1. The sign of a successful trigger is that the colored light turns red after a moment to a long green light. If you don’t get this result, you can retry the first two steps.

      picow_s3_circuitpython_download_4

    4. The disk name in UF2 mode is UF2BOOT, copy the .uf2 firmware downloaded in step 1 to this disk, the colored lights will flash orange during the process, do not disconnect or do anything with the board during this process.
    5. After the CircuitPython firmware update is completed, it will automatically reset, and a CIRCUITPY disk will reappear on the file management page of this computer. You can view the specific firmware version through the REPL.

    How to install tinyUF2 firmware

    Download tinyUF2 firmware

    1. Go to the BPI-PicoW-S3 CircuitPython download page.
    2. Find the Install, Repair, or Update UF2 Bootloader the section at the bottom of the page, and click the DOWNLOAD BOOTLOADER ZIP button at the bottom to download the zip file.
    3. Unzip the zip file locally, the combined.bin file is the firmware we need.

    Put the board in bootloader mode

    picow_s3_circuitpython_download_2

    1. Connect the development board to the computer via USB.
    2. Use any conductor (like metal pins or tweezers) to short the BOOT0 contact to put the EPS32S3 chip into bootloader mode.
    3. Press the Reset button once.
    4. Release the BOOT0 contact.

    Burn the firmware in the browser

    Support Chrome, Edge browser, the kernel version must be higher than 89.
    1. Open the ESP Web Flasher or Adafruit Web Flasher.
    2. Click the Connect button, an options bar will pop up, select the serial port where the board is located.

      picow_s3_tinyuf2_download_1

      picow_s3_tinyuf2_download_2

    3. After normal connection, click the Erase button to erase the flash content of the development board. This process is irreversible.

      picow_s3_tinyuf2_download_3

    4. Click the Choose a file... button to jump to the directory where the combined.bin file is located in the pop-up file selection window, select the file, and click OK.
    5. Click the Program button to start burning the firmware, and wait about five minutes to complete.
    6. After completion, manually press the Reset button once, and the symbol of successful programming is a solid green light, if you do not get this result, you can retry the first five steps, or try the next programming method.

    esptool burn firmware locally

    1. Open Python's official website.

      For Windows systems, the most convenient way to download the installation package is to click the icon shown in the following figure on the homepage of the official website to download.

      Micropython_operating_env_1

      Other operating systems or other distributions can be selected in the Downloads tab.

      It is recommended to use python 3.7 or later.

    2. Remember to check Add Python 3.x to PATH when starting the installation, so you can avoid adding it to the PATH manually.

      Micropython_operating_env_2

      Follow the installation instructions step by step to complete the installation smoothly.

    3. Taking the specific operation steps of Windows PowerShell as an example, use the following command to install esptool:
    pip install esptool
    
    If needed in the future, you can upgrade esptool with the following command:
    
    pip install -U esptool
    ...
    Read more »

  • BPI-PicoW-S3 Getting Started, Code CircuitPython with Mu Editor

    Joey Shyu11/03/2022 at 22:44 0 comments

    BPI-Pico-S3-800

    BPI-Pico-S3 has the same dimension as the Raspberry Pi Pico board, equipped with an ESP32S3 chip, an 8MB flash, 4-layer PCB, electroplated half-hole process, ceramic antenna, supports 2.4 GHz Wi-Fi and Bluetooth® LE dual-mode wireless communication, it's a development board perfect for IoT development and Maker DIY Projects.

    Hardware interface

    4-IO

    CircuitPython with Mu Editor

    CircuitPython_Repo_header_logo

    CircuitPython is a programming language designed to simplify experimenting and learning to code on low-cost microcontroller boards.

    CircuitPython programming with Mu editor is the easiest way to get started. Install the software and connect the device to start using it.

    Hardware Preparation

    1. Mu editor supports Windows x64, Mac OSX, and Linux operating systems.  Prepare a computer running one of these operating systems.

    2. A development board that supports CircuitPython, such as BPI-PicoW-S3.

    3. A USB cable that can connect the development board to the computer.

    Download and install Mu Editor

    1. Navigate to Mu Editor download page, and click the Download button to choose the operating system.

    Download_mu_1

    2. Select the operating system currently used by your computer, and click the Download button of the corresponding operating system to start downloading the installation package.

    Download_mu_2

    3. Click the Instructions button of the corresponding operating system to view the detailed installation steps, and install according to the instructions.

    Establishing Connection

    1. Start the Mu editor and change the mode to CircuitPython, if you have connected the CircuitPython development board correctly, you will be prompted to switch to this mode directly.

    Download_mu_3

    Download_mu_4

    2. Click the Serial button and press any key to enter the CircuitPython REPL.

    Download_mu_5

    Edit code.py to Make the LED Blink

    1. Click the Load button, select the code.py file on the CircuitPython development board, and click Open to start editing code.py.

    2. Enter the following code in the editor:

    import time
    import board
    import neopixel
    
    pixels = neopixel.NeoPixel(board.NEOPIXEL, 1, brightness=0.1)
    
    while 1:
        pixels[0] = (255,0,0)
        pixels.show()
        time.sleep(0.5)
        pixels[0] = (0,255,0)
        pixels.show()
        time.sleep(0.5)
        pixels[0] = (0,0,255)
        pixels.show()
        time.sleep(0.5)
        pixels[0] = (255,255,255)
        pixels.show()
        time.sleep(0.5)
    3. Click the Save button, and the edited content will be saved to the CircuitPython development board.

    Reference Resources

    video demo on youtube:

View all 2 project logs

Enjoy this project?

Share

Discussions

Similar Projects

Does this project spark your interest?

Become a member to follow this project and never miss any updates