-
1Build Process(board)
We first CADed a 3' x 2', 0.5'' rectangle (the depth was 4" because it was easier to do lining)
Then we cut up the big box into 12 little boxes using the line tool. Each box is 8 in x 9 in
Next, we hollowed out the inside so we can fit all the equipment (speakers, wires, etc.) inside. we hollowed it out until 1 inch; the thickness of the walls is 1 inch.
Next, we imported and put all 12 pictures with labels in the top left corner of each square.
All of this is just the design of what we want the board to look like. But now is the real thing. We first got to Silhouette Studio and traced the picture, the words, and the braille.
Then, on Easel Inventables, we made a board that was 3' x 2' x 0.5'. We then imported the sns files our teacher gave us after giving him the final tracings from silhouette studio. After that, we aligned everything on the board. Then we cut out holes using the shape feature for the metal touch activation and the wire.
Then we carved braille onto easel inventables. I used the national sizes for each word so it will be readable for people with blindness.
-
2Build Process(Arduino Machinery)
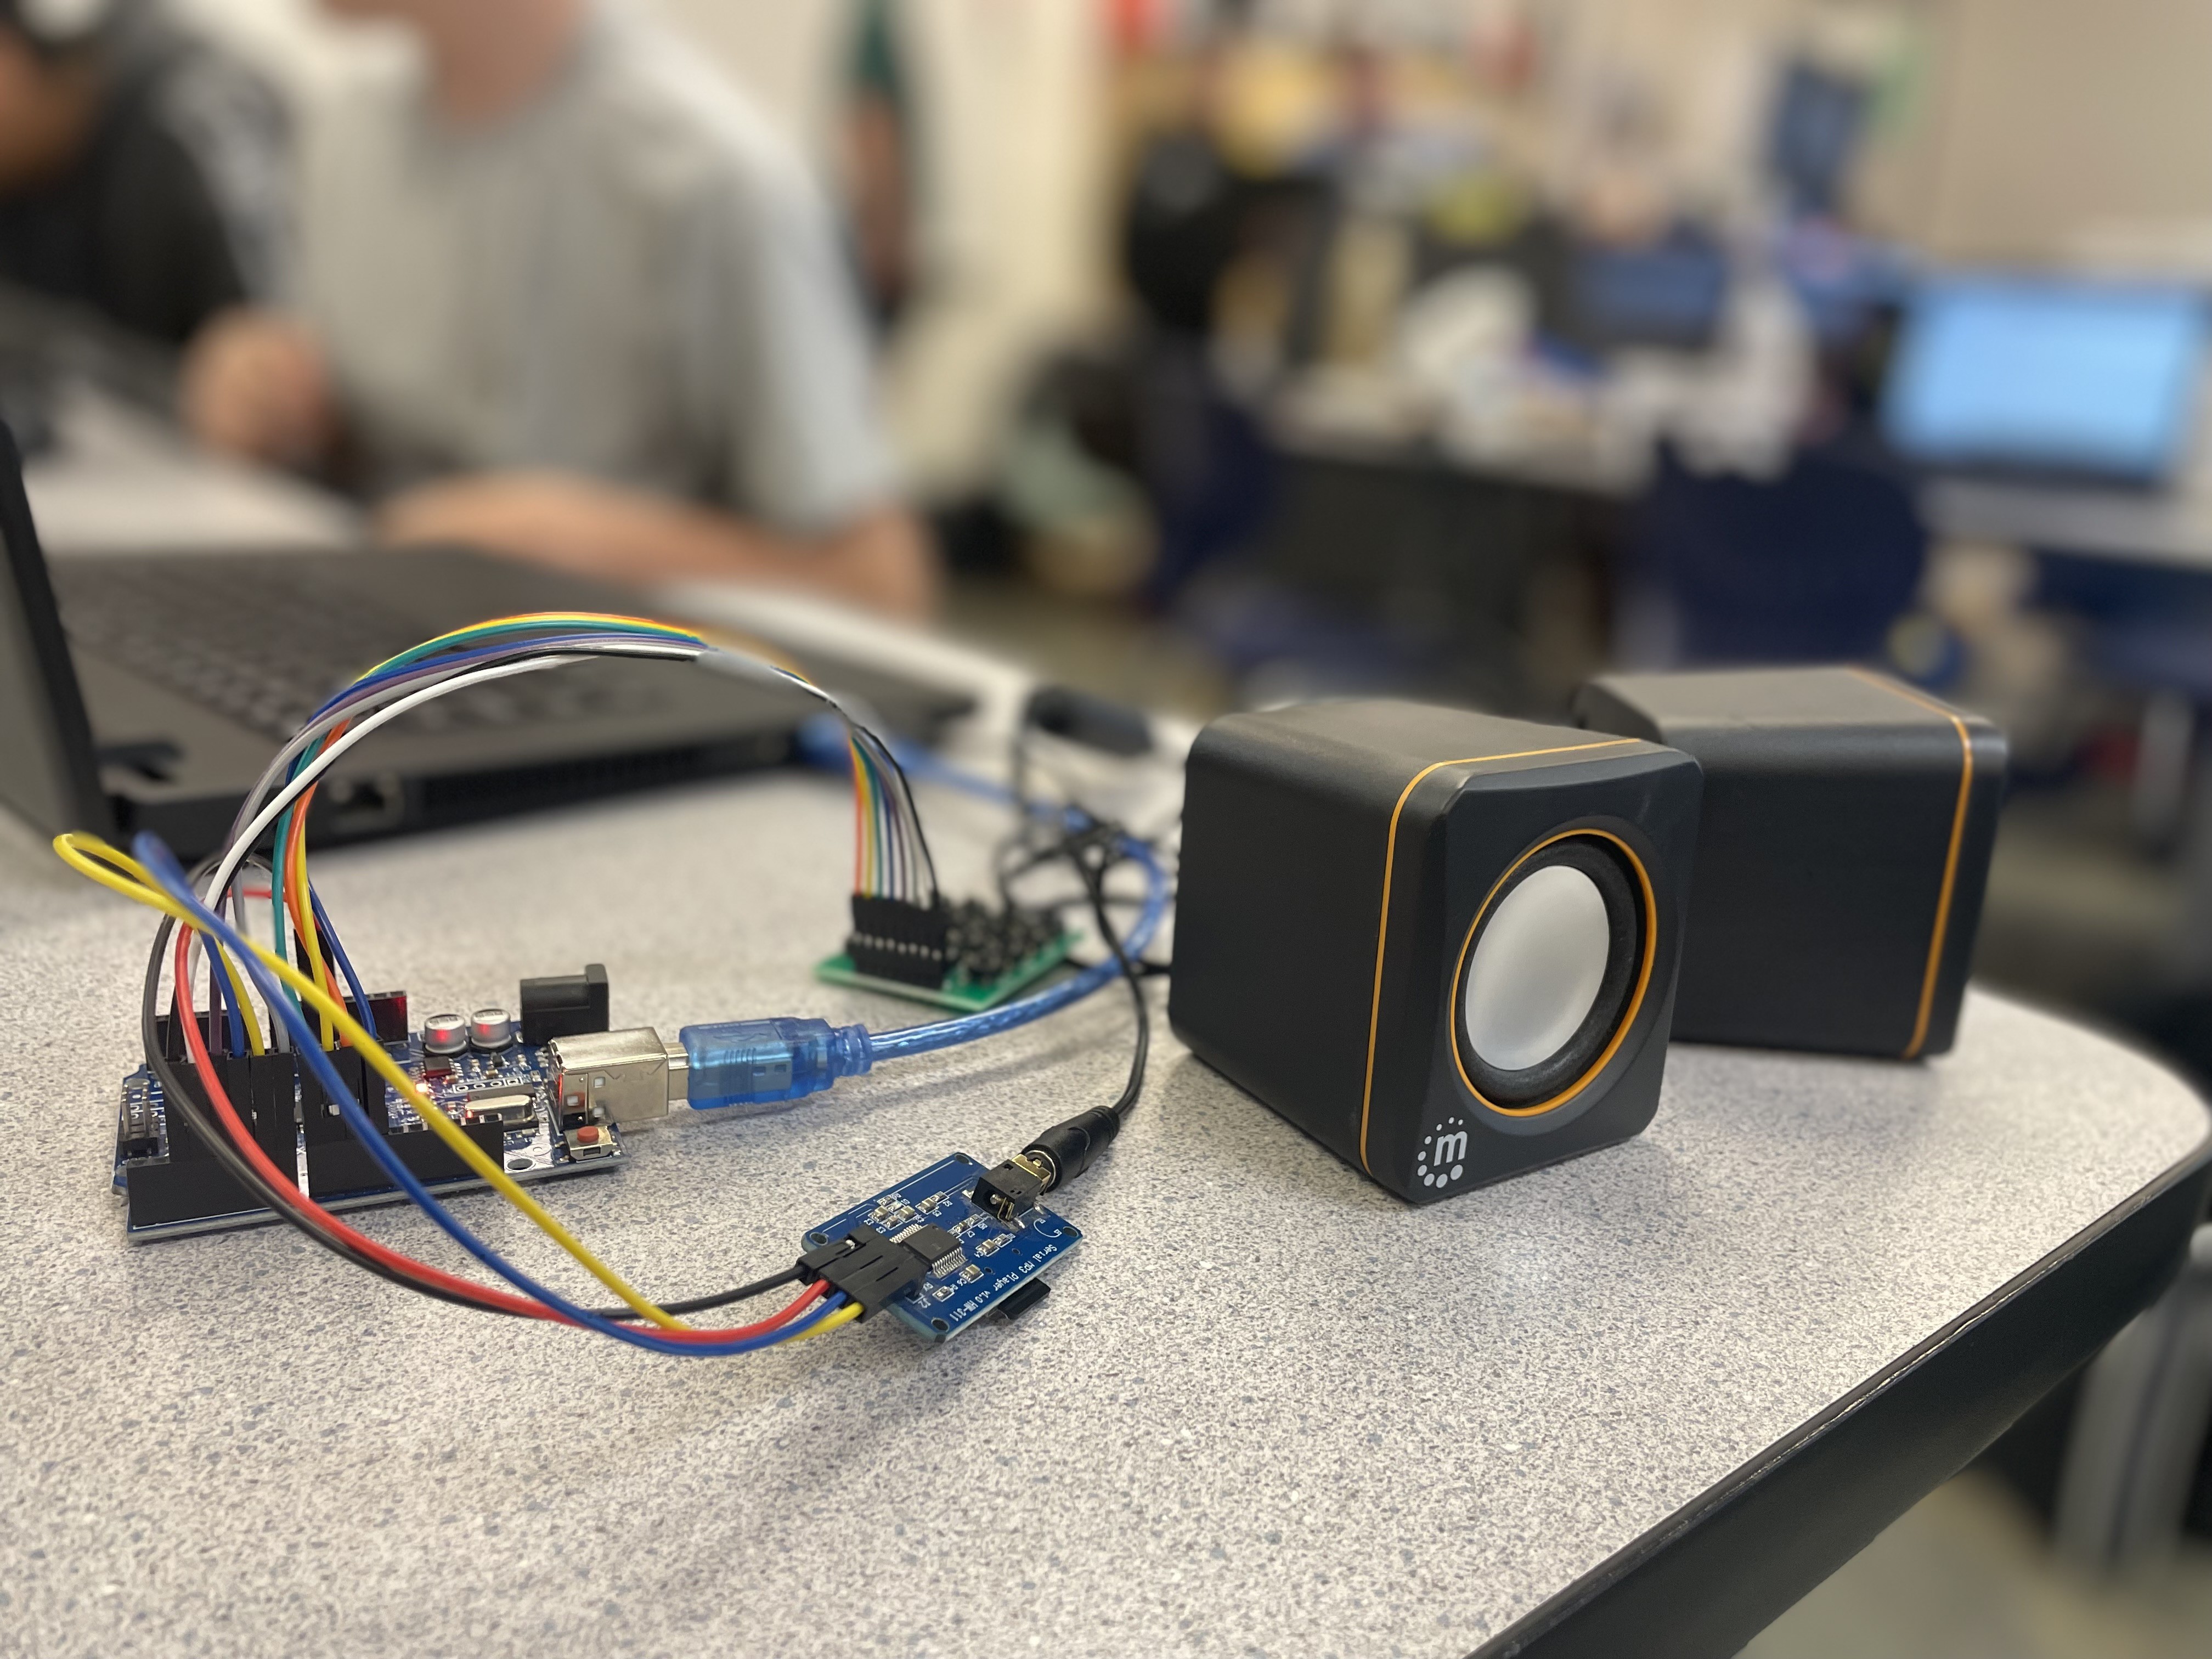
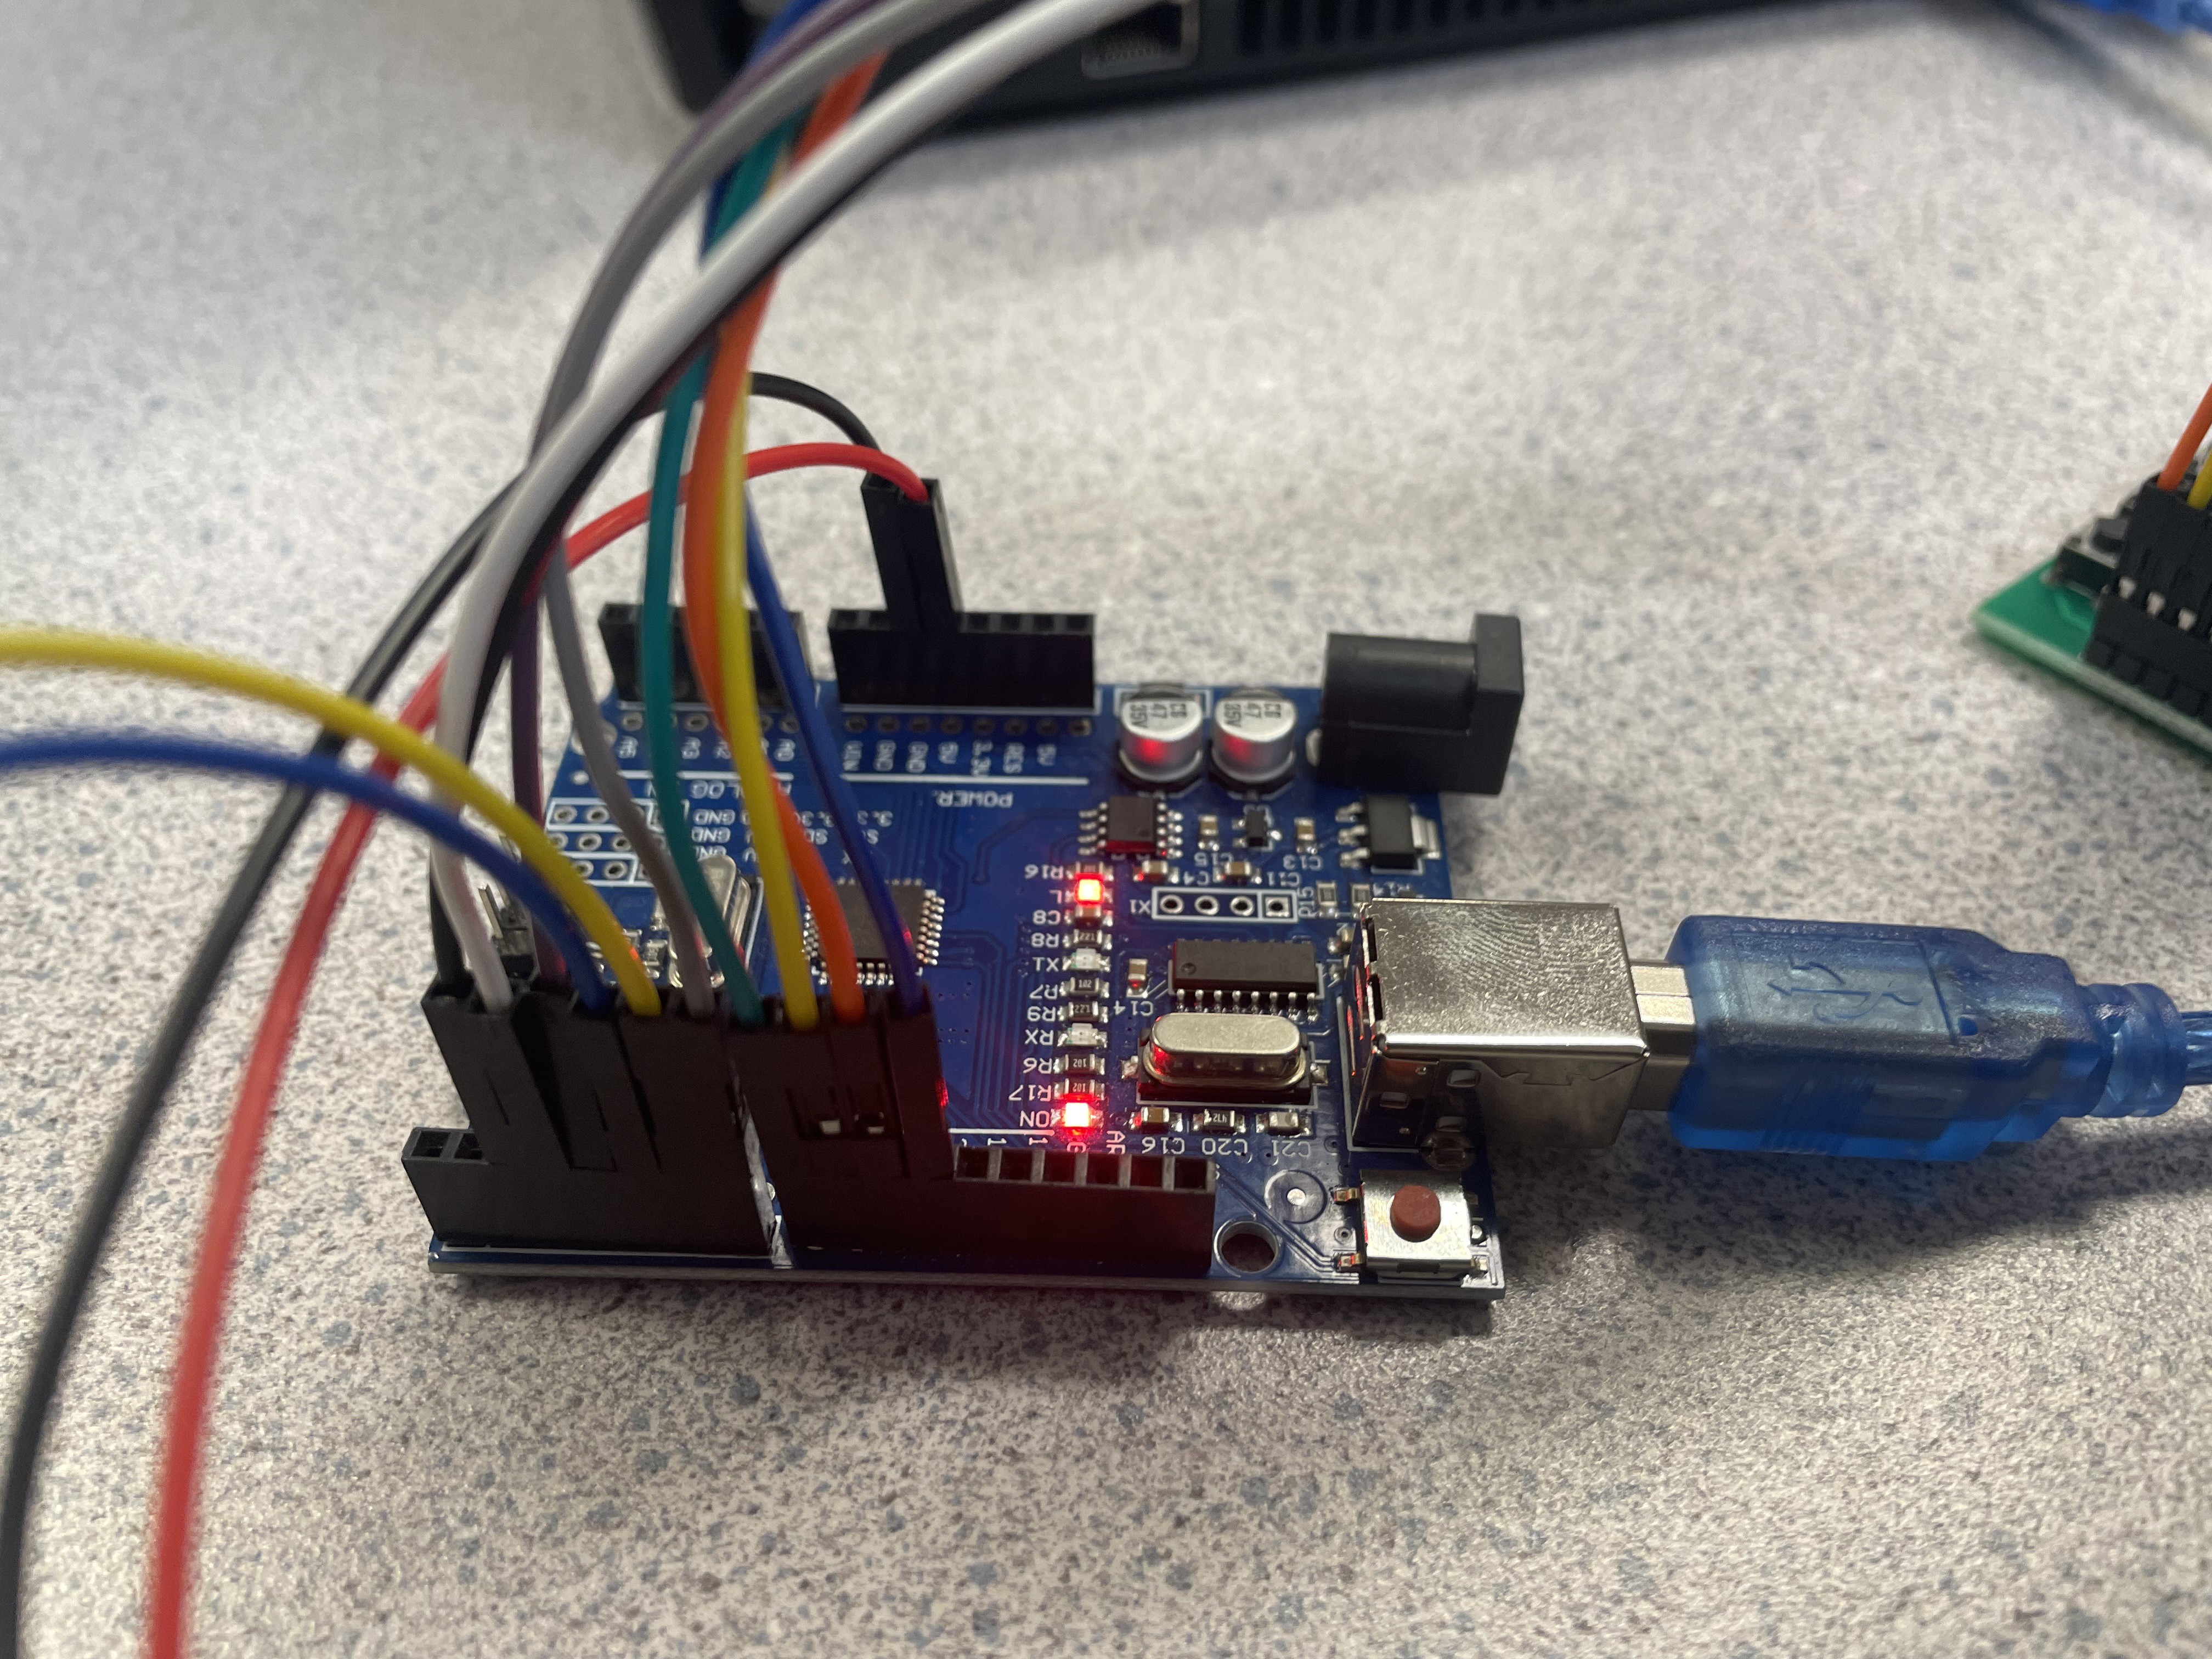
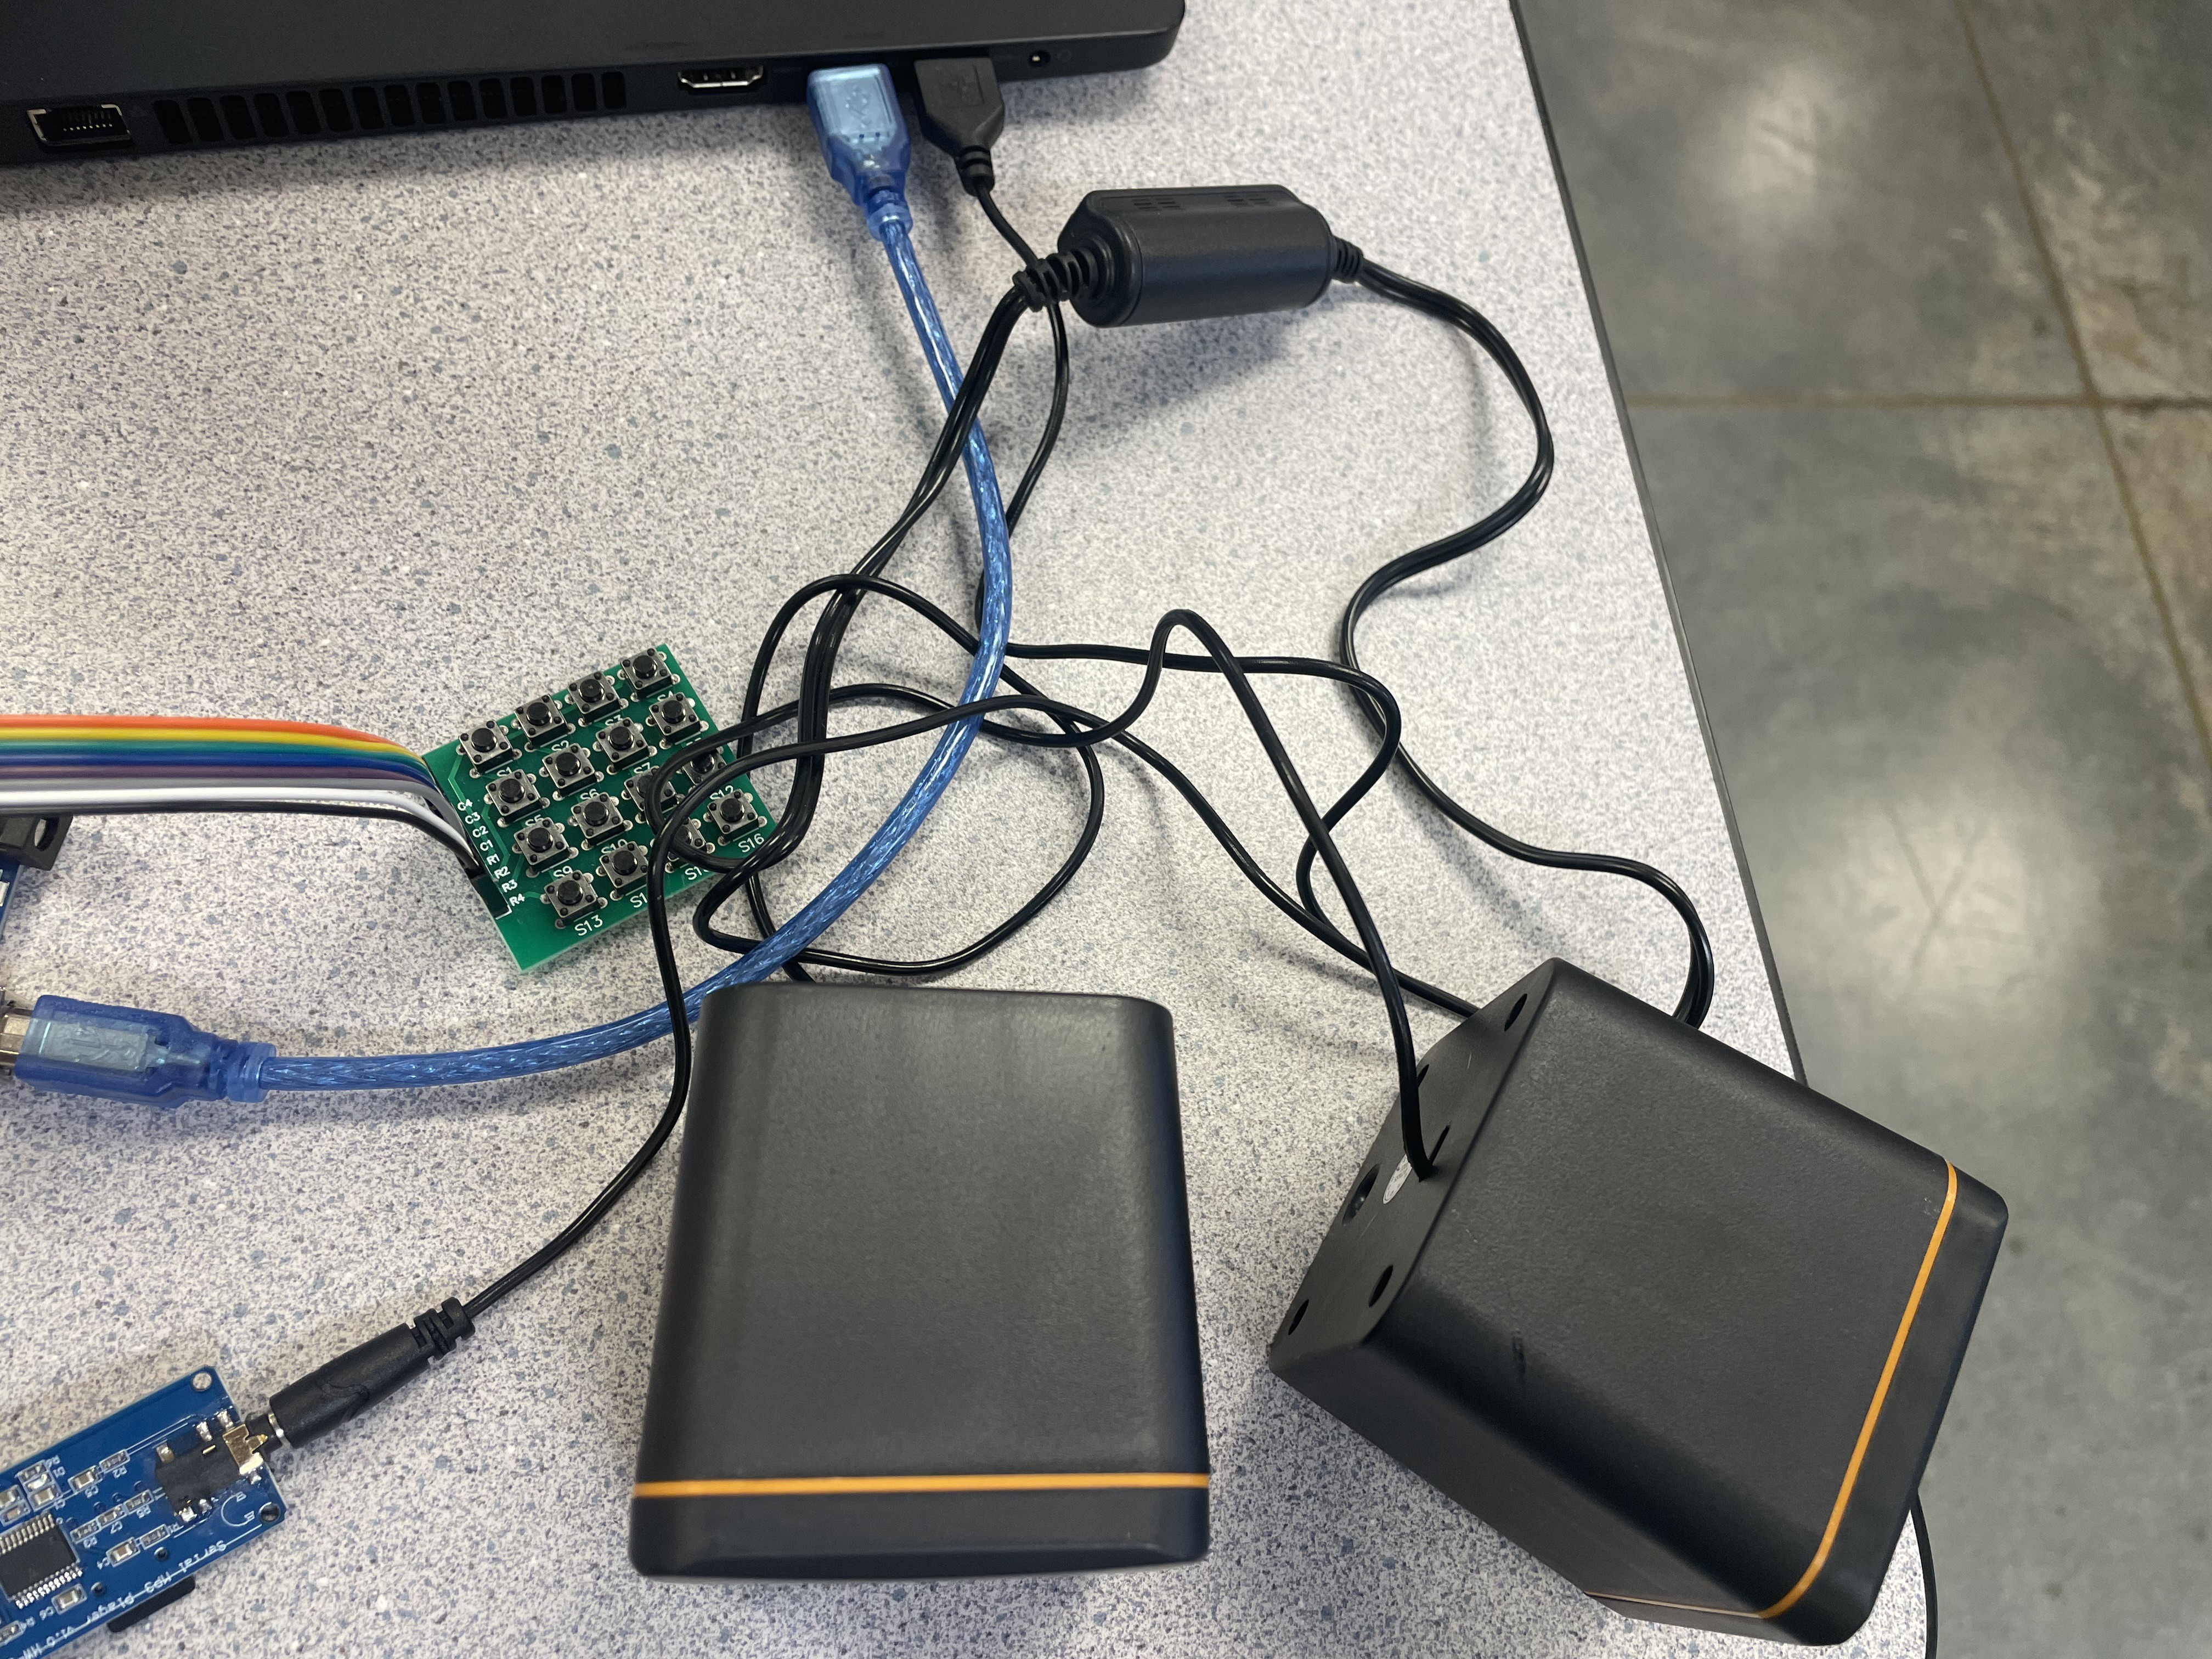
This is how you should put together your Arduino machinery.
1. Insert your SD card into your serial mp3 player.
2. Insert your 3.5 mm headphone jack into the correct port onto the mp3 player.
3. Next connect four wires to the other side of the serial mp3 player.
a. Important Wiring information: Make sure that the VCC on the serial mp3 player is connected to 5V on the Arduino Uno. And the GND on the serial mp3 player is connected to the nearest GND right next to the 5V on the Arduino Uno. The wires for the button matrix can be plugged into any key except 0 and 1(they just need to be calibrated in the program).
4. Now that all of the tough wiring is done. Plug the blue Arduino power cable into the grey metal box on the Arduino and plug it into any port on the computer.
5. Plug the speaker power cable into the computer as well.
Now you are all set up with the machinery. For further instructions on the code please go to our log made specifically for the code in the log section of our project.
![]()
![]()
![]()
![]()
-
3Recording your commands
Here are the instructions on how to record your commands:
1. First you will need to record your voice as an mp3 file. This can be done with free software which I will link right here. https://online-voice-recorder.com/2. Next you will save your audio and then drag it from your files section to paste it onto your dashboard.
3. Take out your sd card from your serial mp3 player and place it in the sd card adapter.
4. Plug the adapter into your computer and you should see the adapter pop up in your files.
5. At this point rename your files to 001.mp3, 002.mp3, 003.mp3, etc. This will make it much easier for organization purposes.
6. Drag the files from the dashboard into the sd card file.
7. After you have all the files in your sd card, you can eject the sd card.
8. Take out the adapter and the sd card that is in it.
9. Plug the sd card back into the serial mp3 player.
Now you should be ready to go with all of your files installed into the sd card.
Communication Board For People With Disabilities
we are making a playground communication board to help people with disabilities


Discussions
Become a Hackaday.io Member
Create an account to leave a comment. Already have an account? Log In.