 Brent w
-
1position and install Pi and Pi case
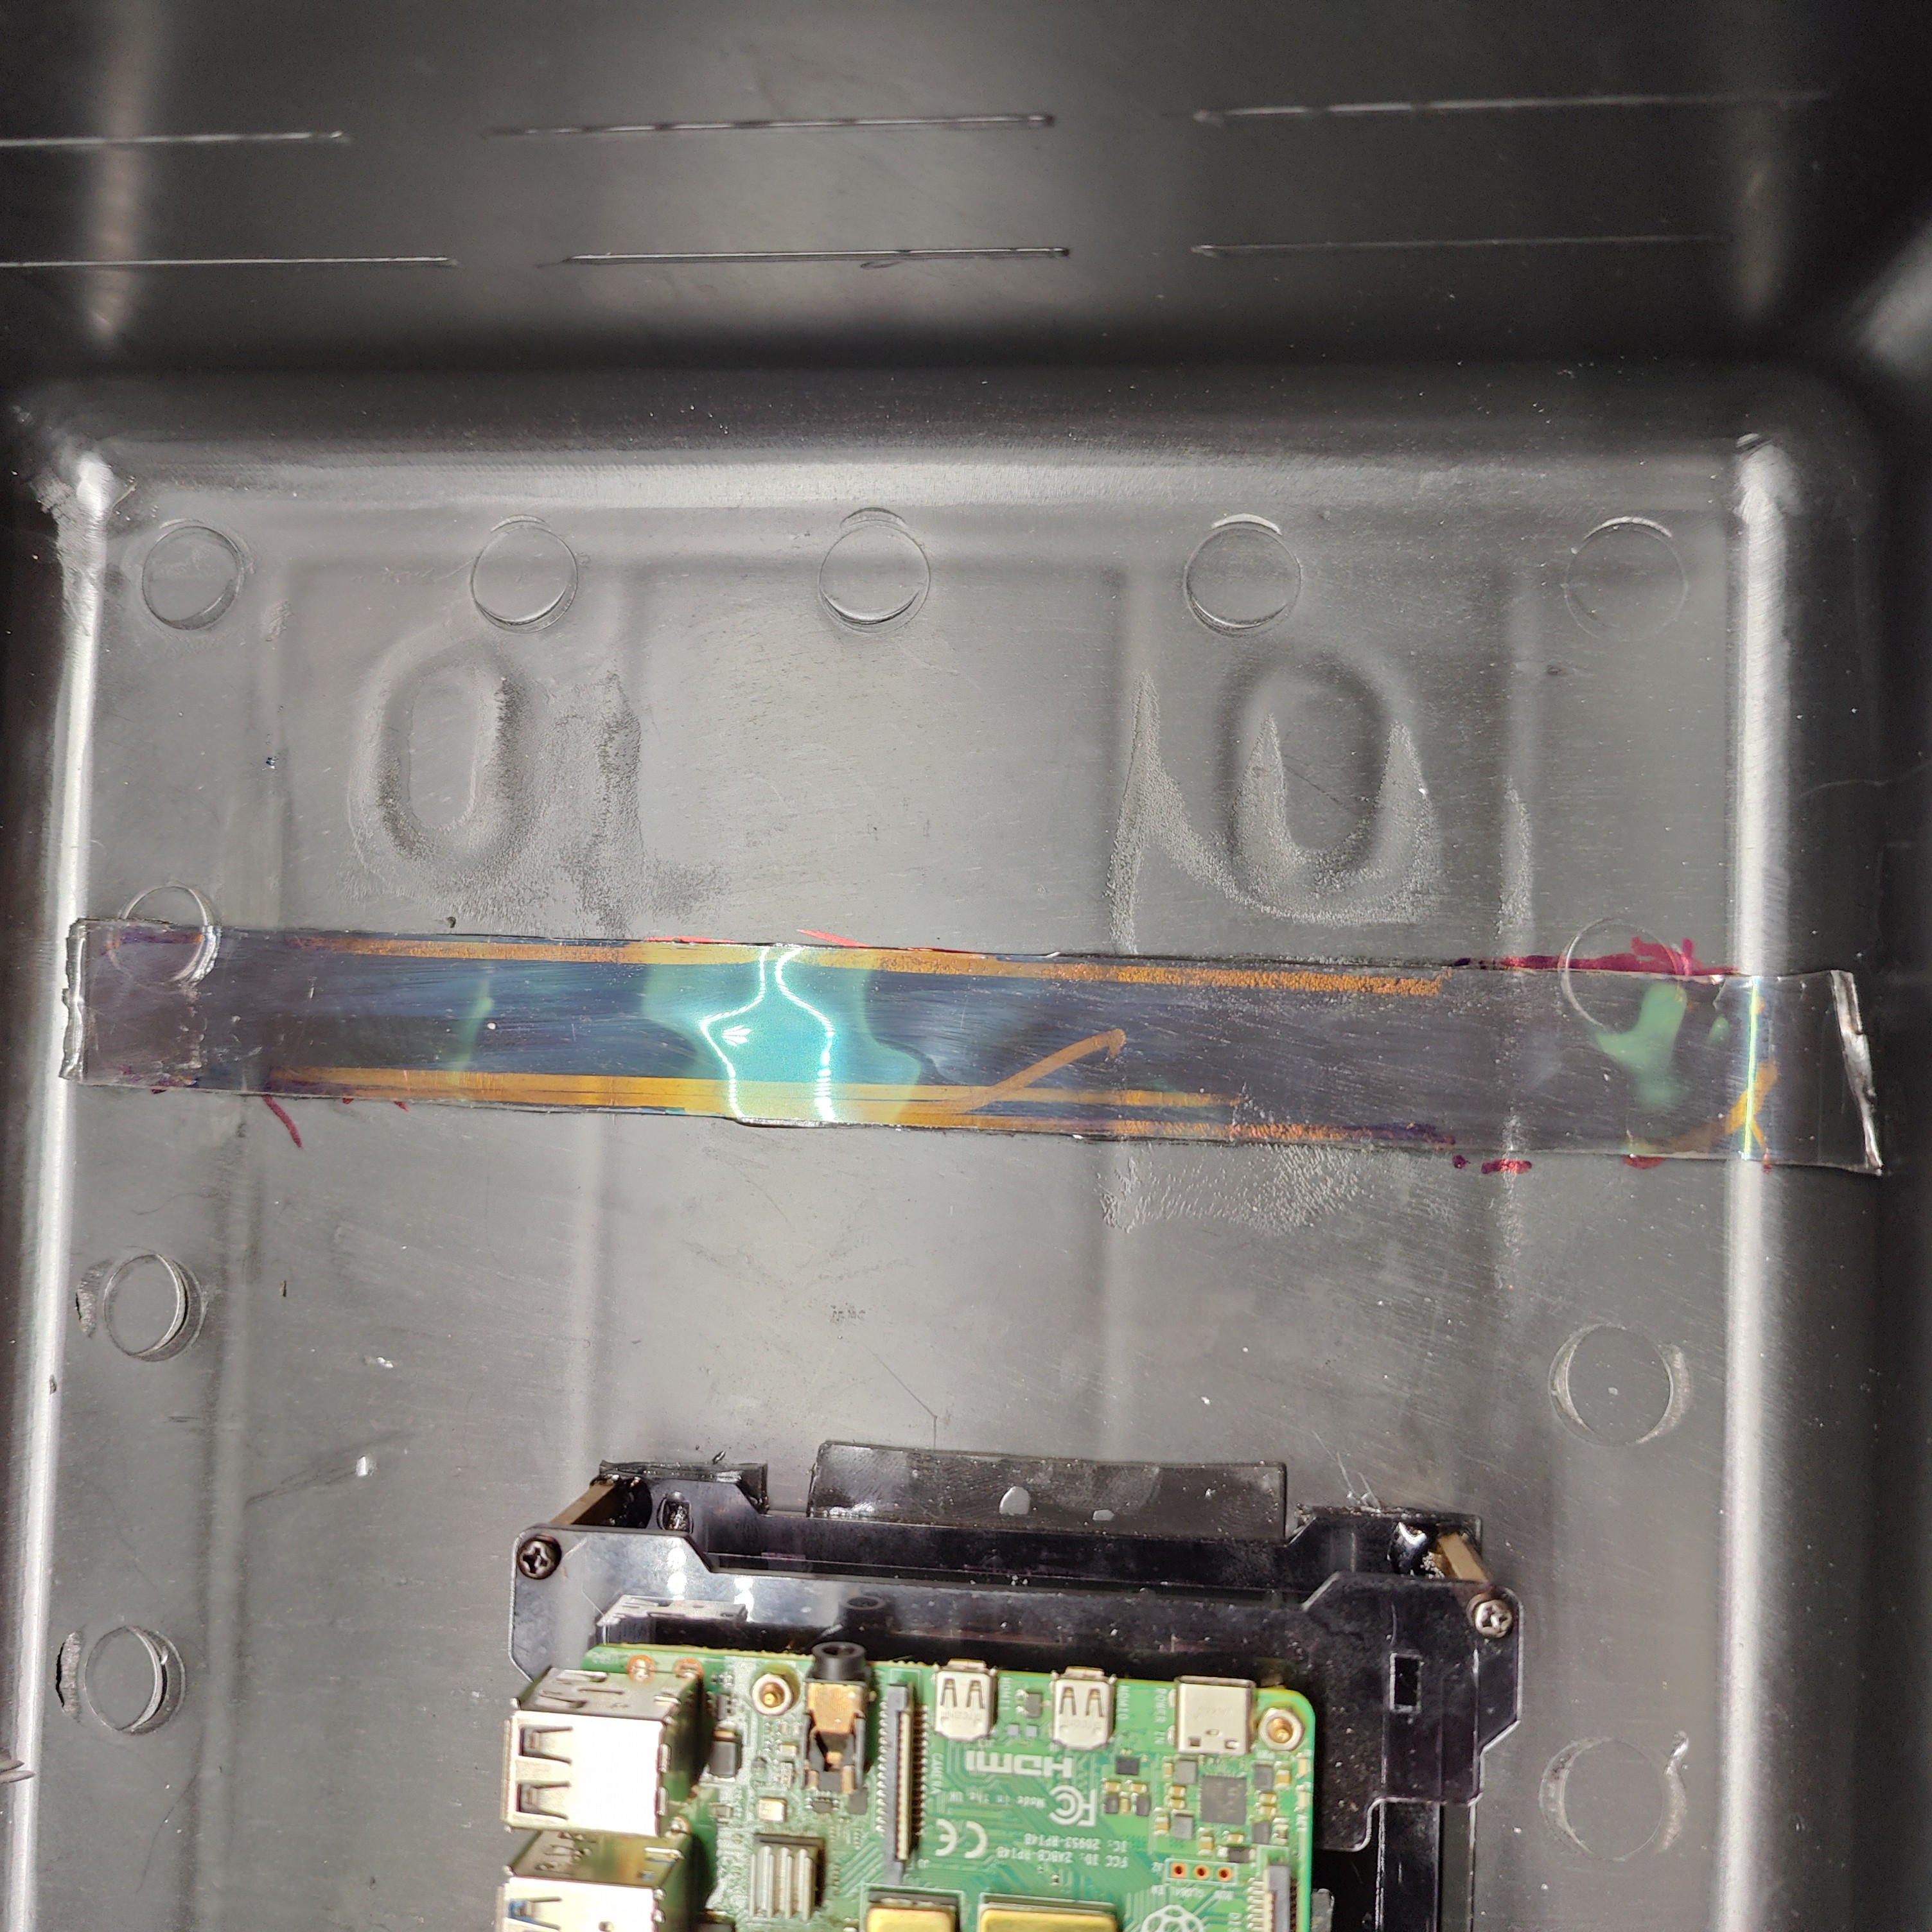
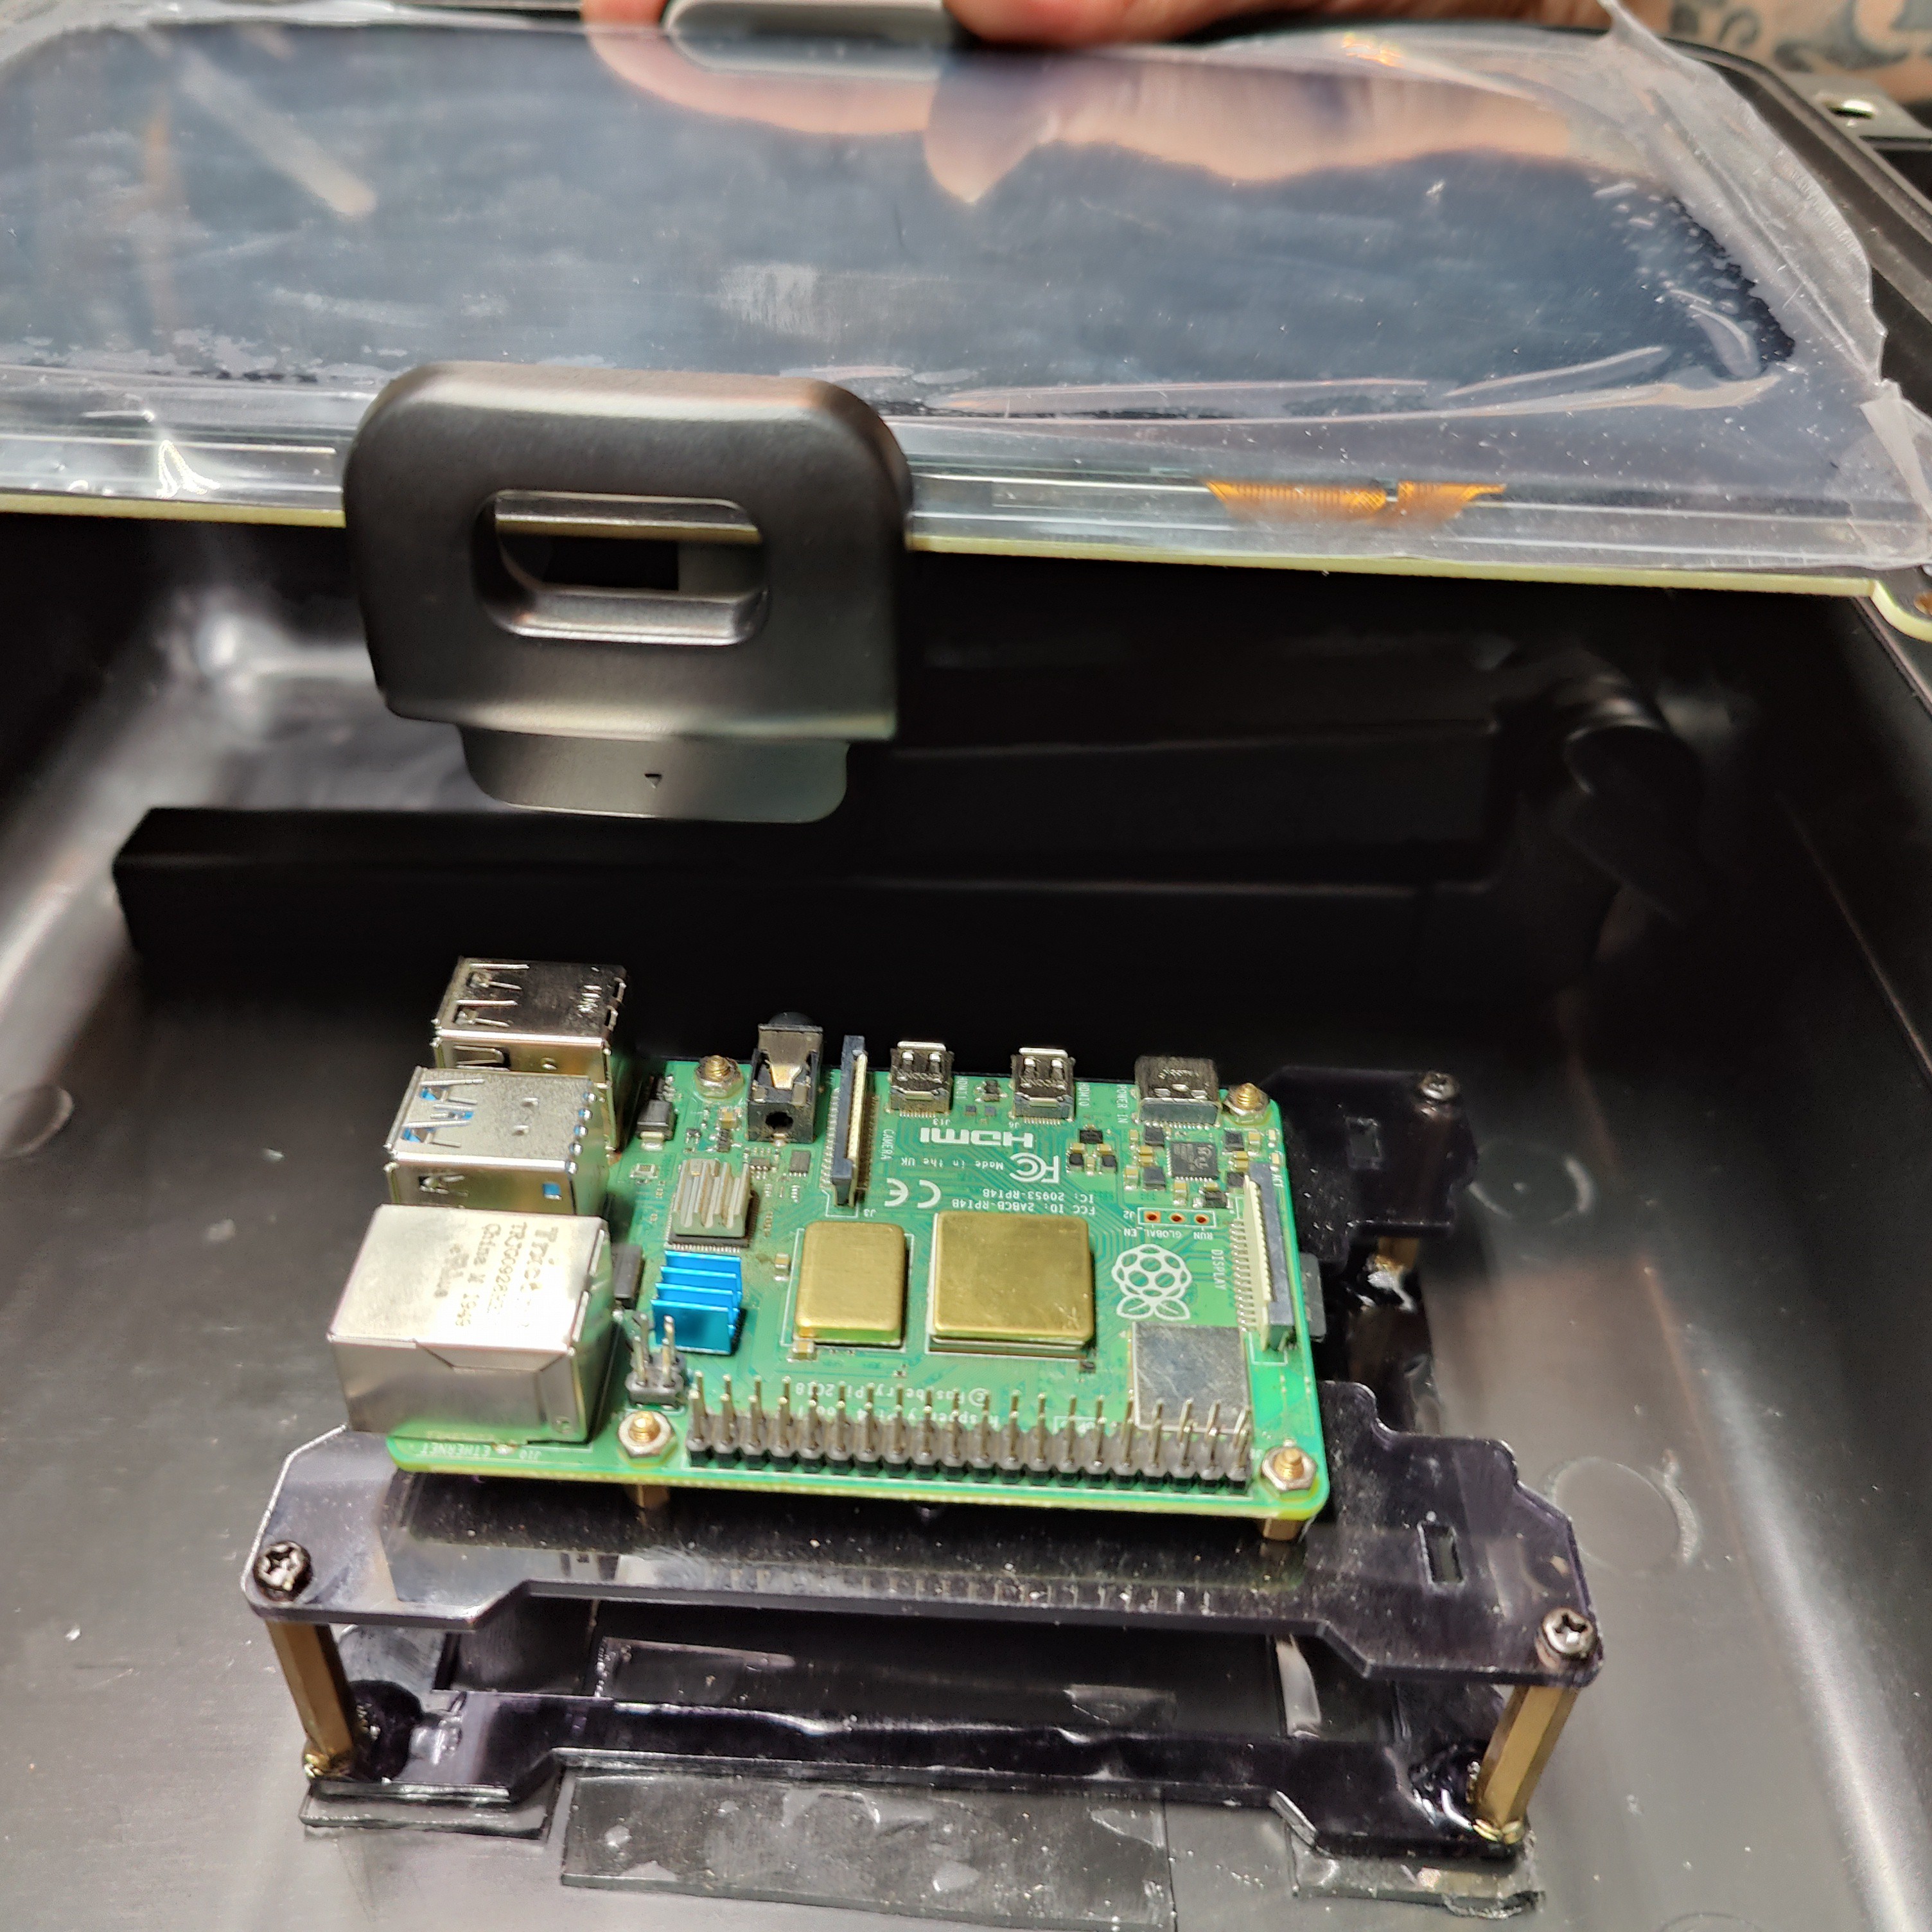
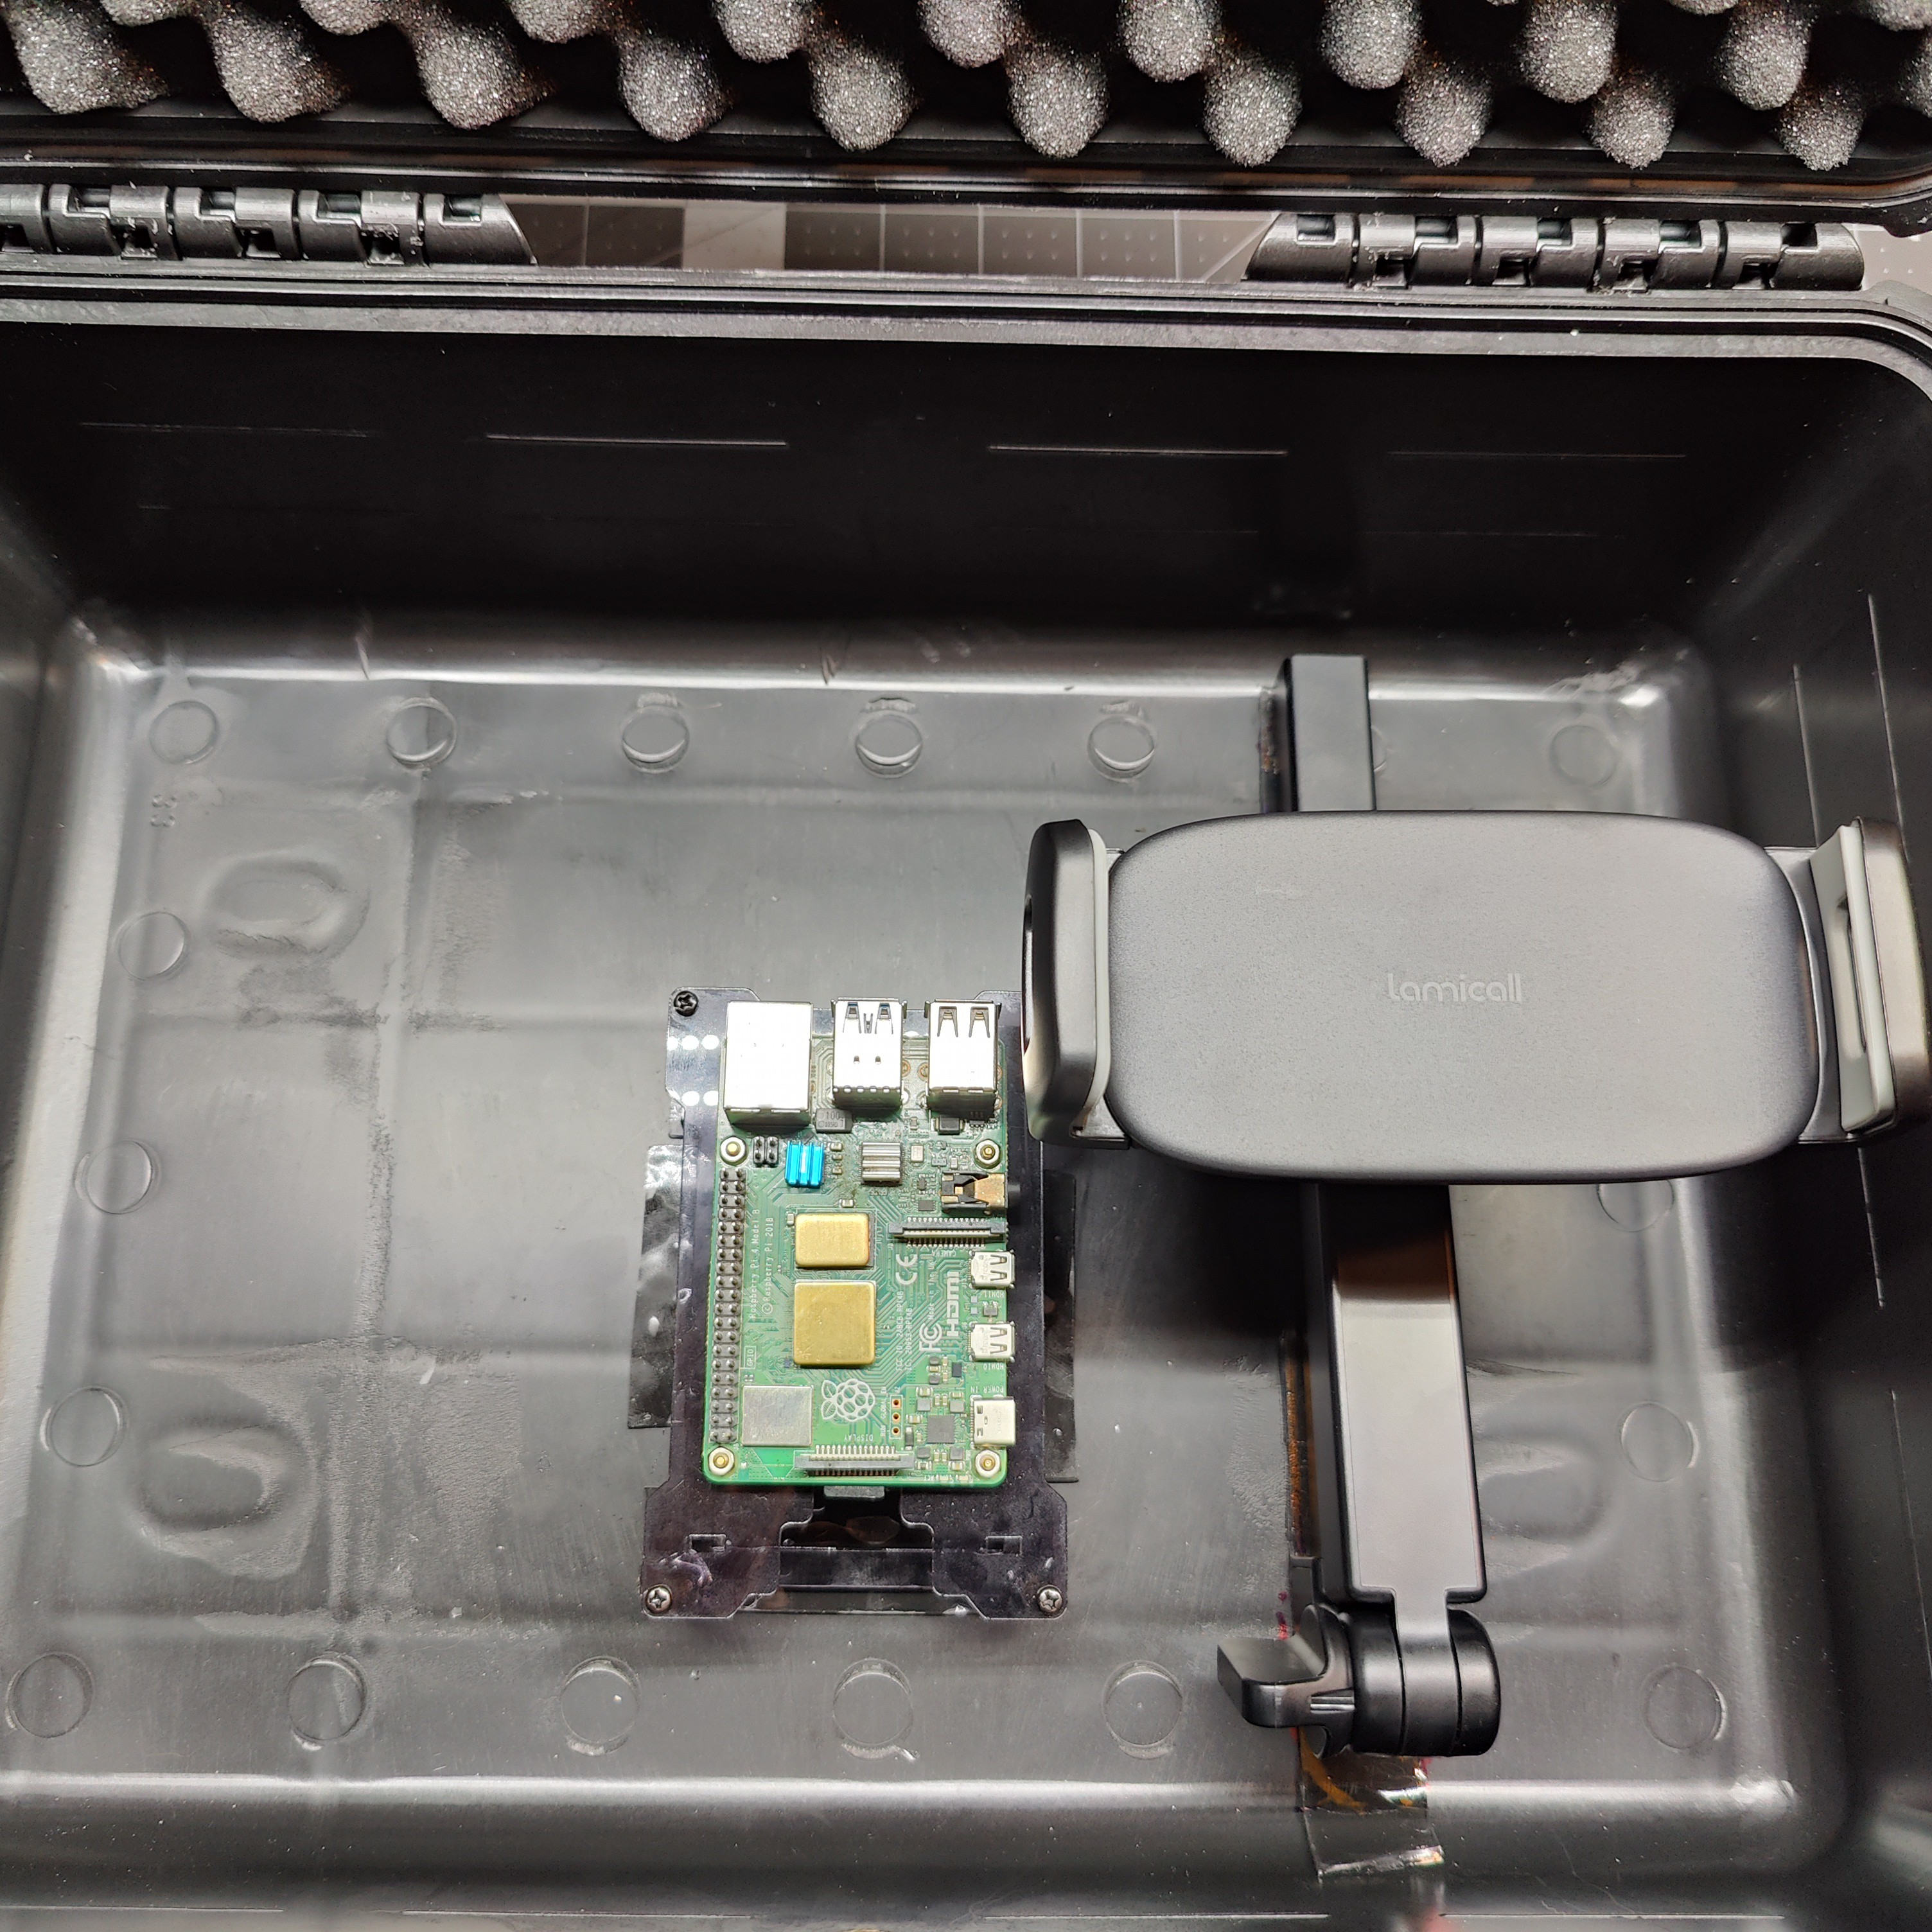
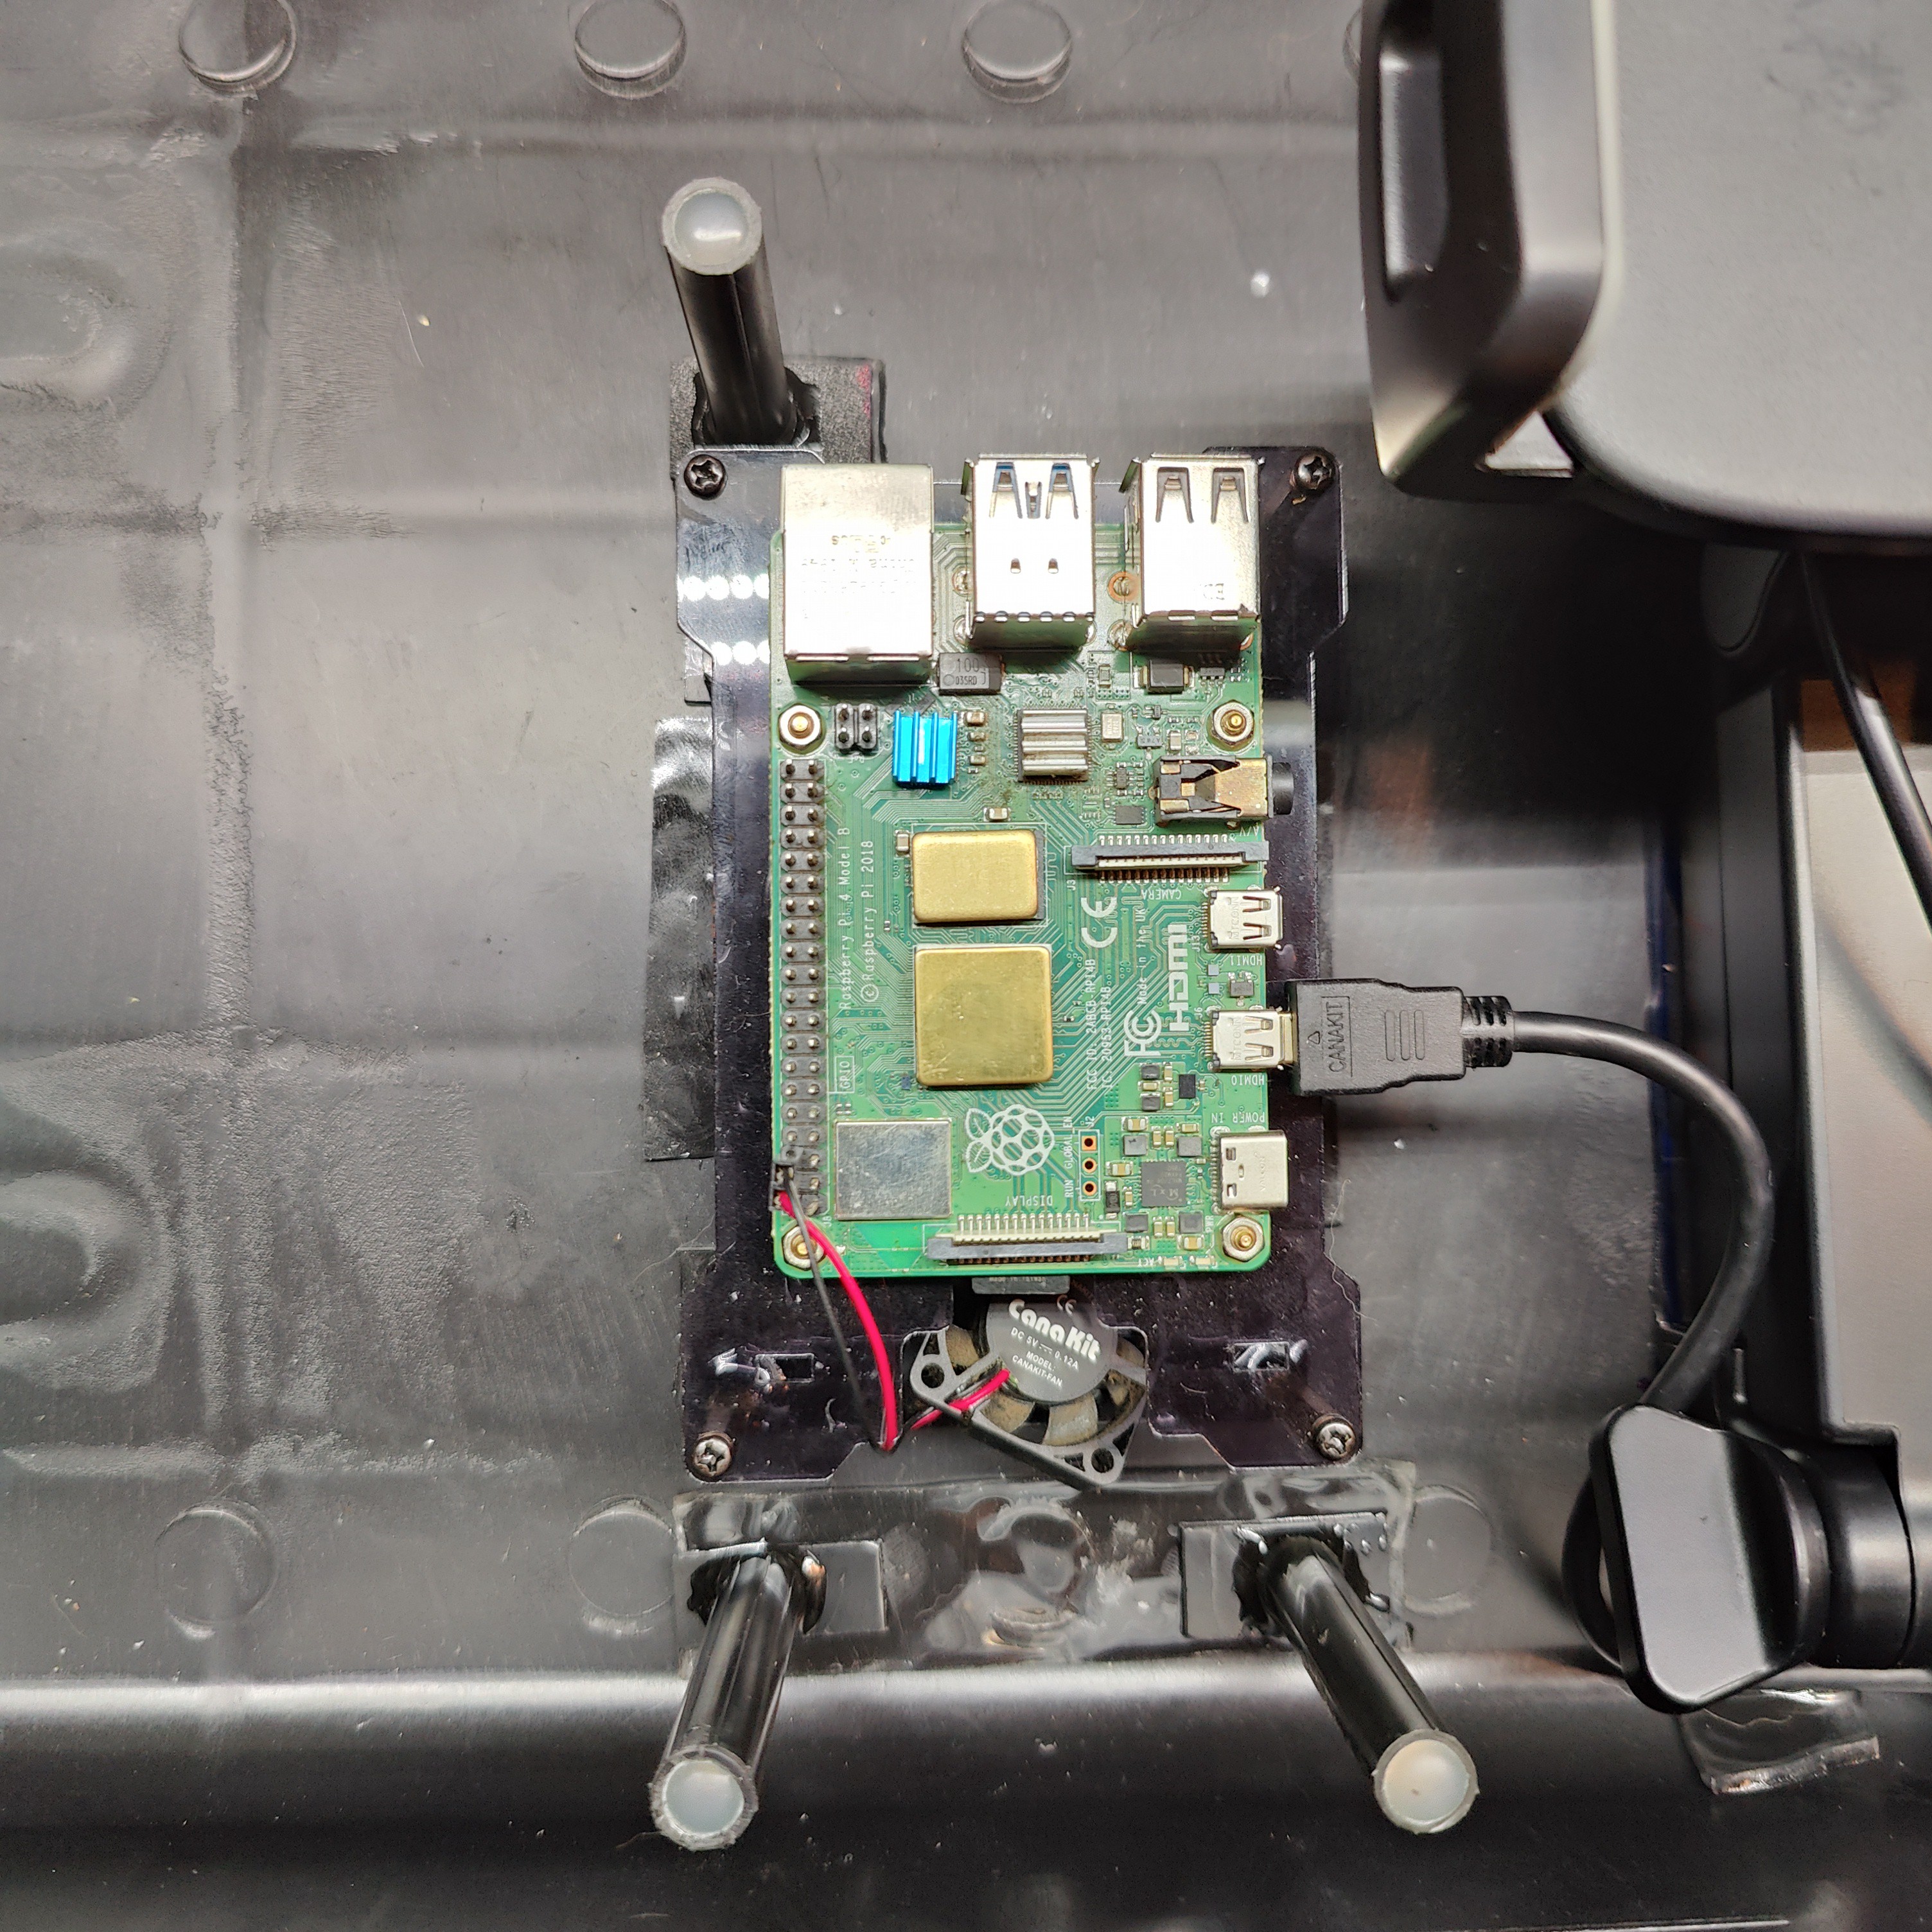
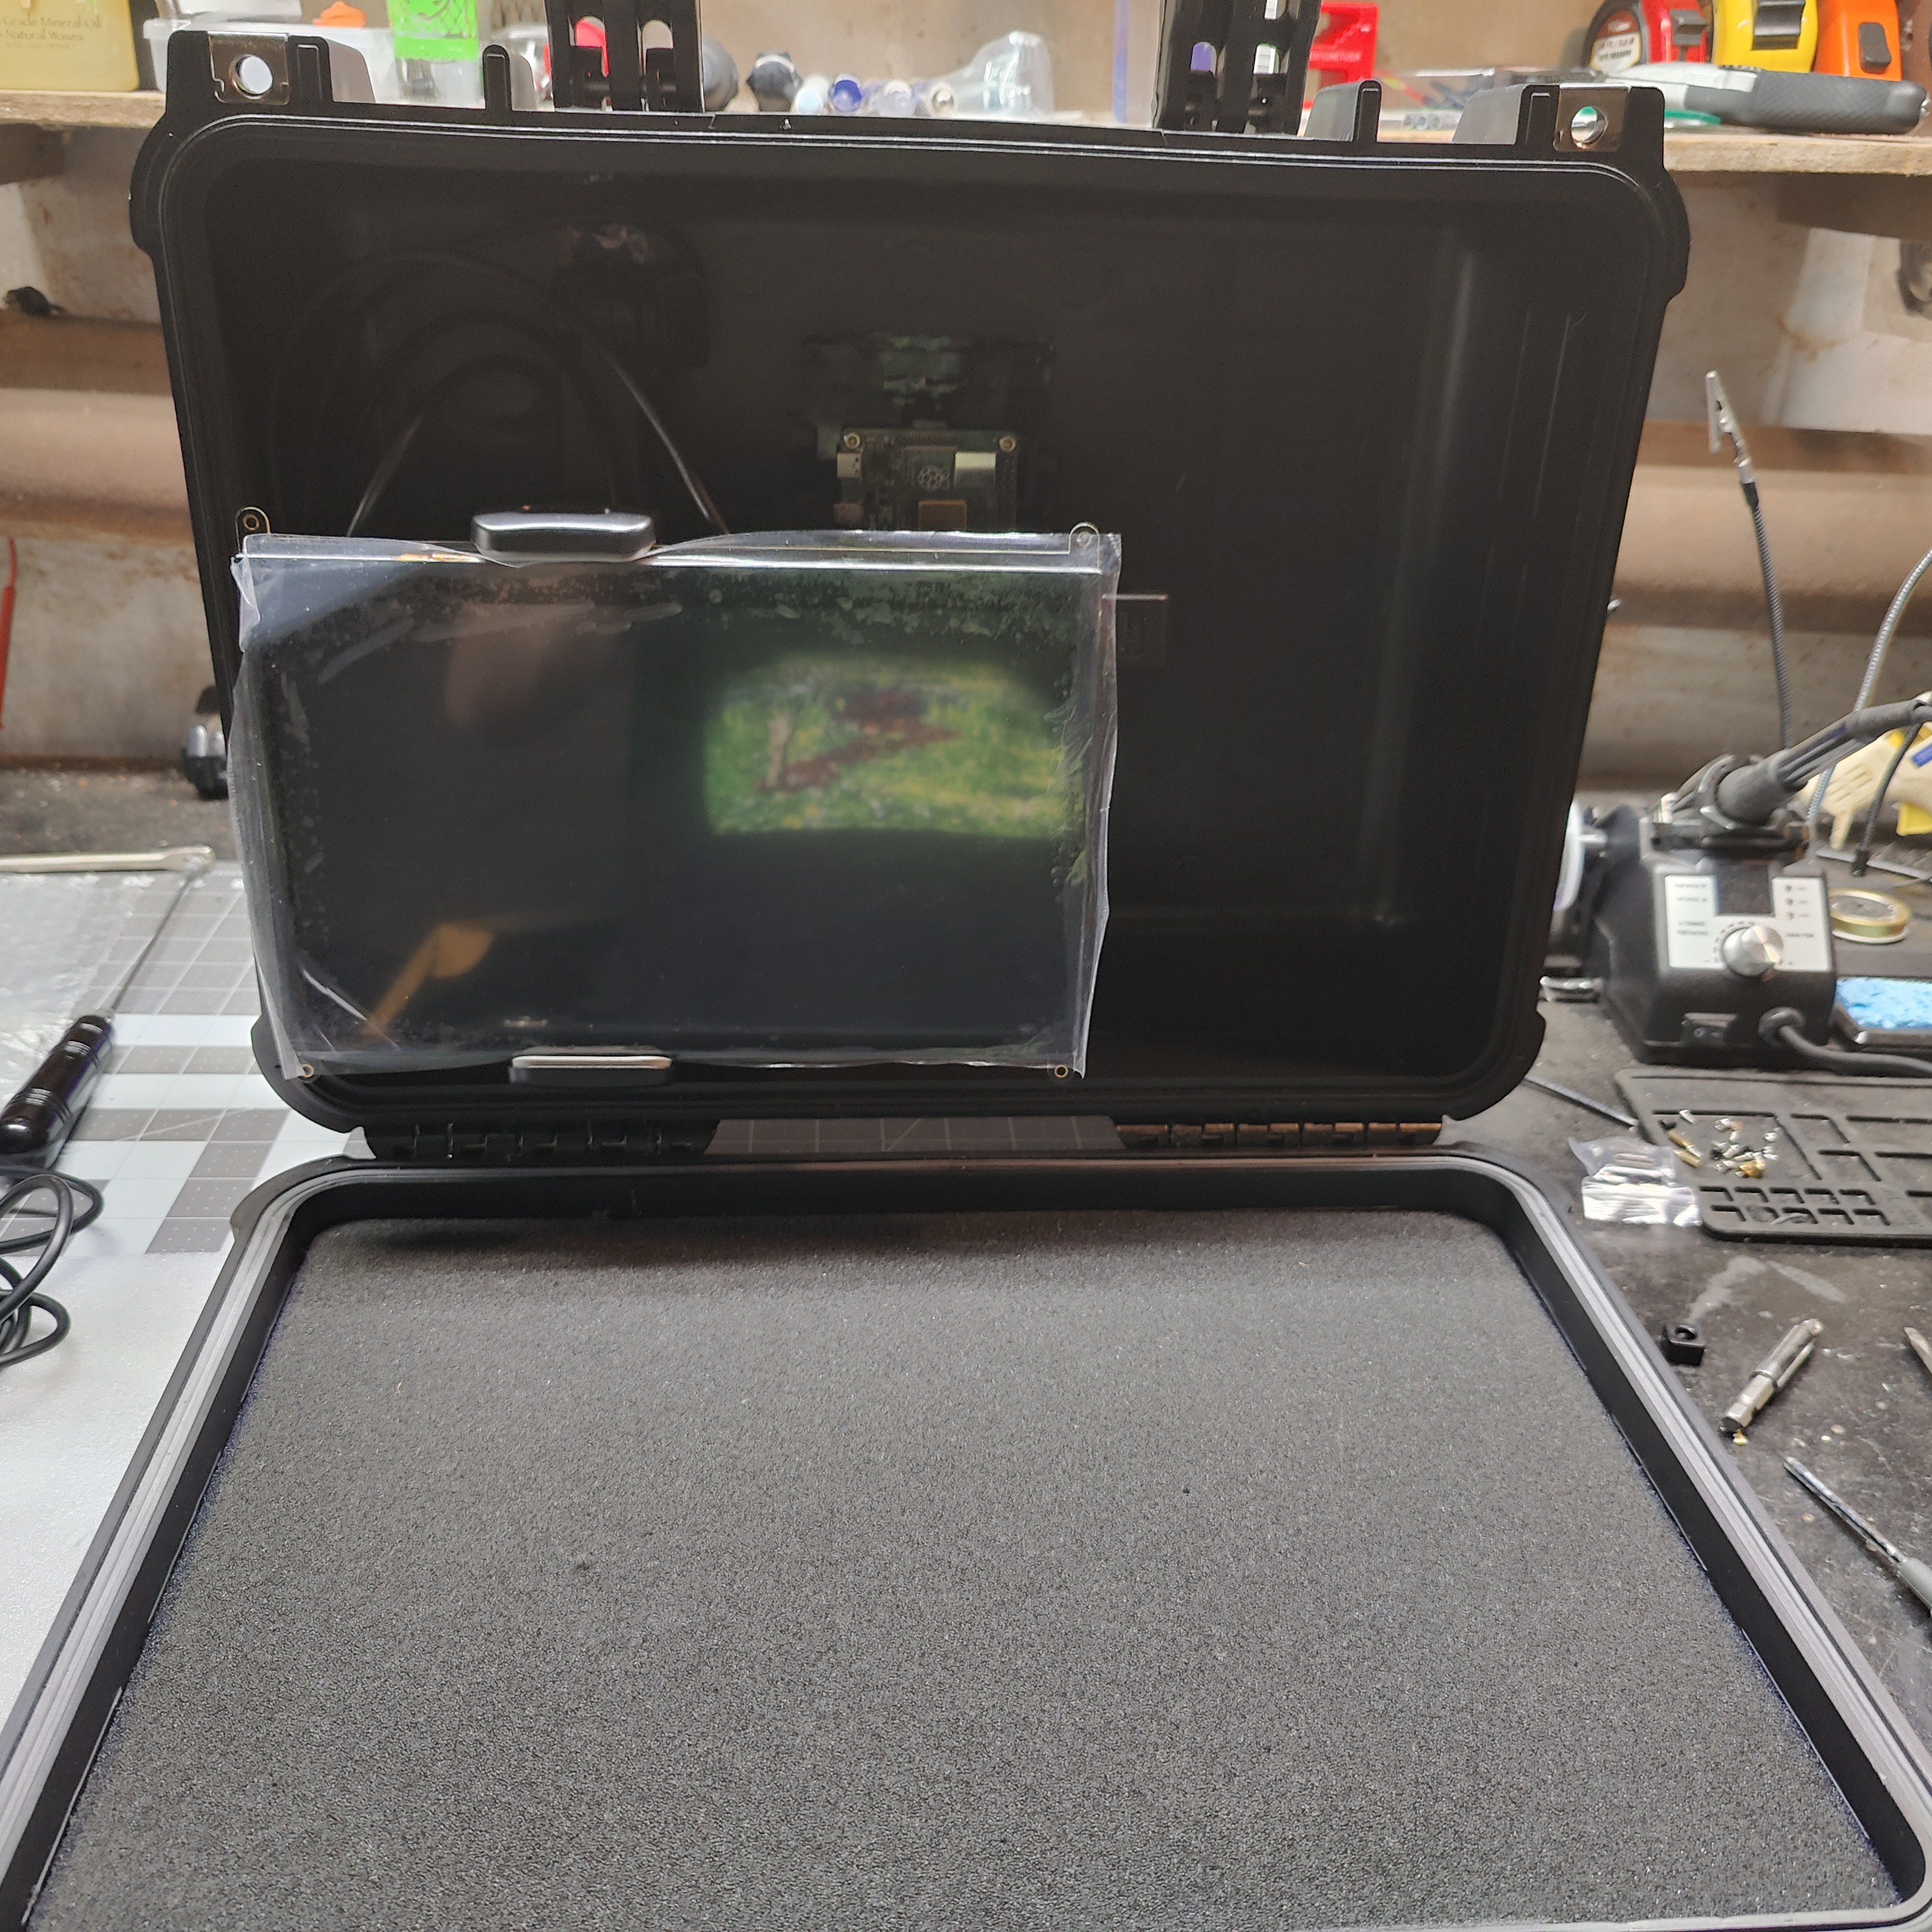
Find the middle of the case, I divided the upper portion of the case ( the portion where the screens reside) into three sections or columns. Here you will mount the Pi towards the top of the middle column. I used an old case and build the case backwards to raise the Pi leaving room behind it for wiring. I used nano grab tape to secure the case
-
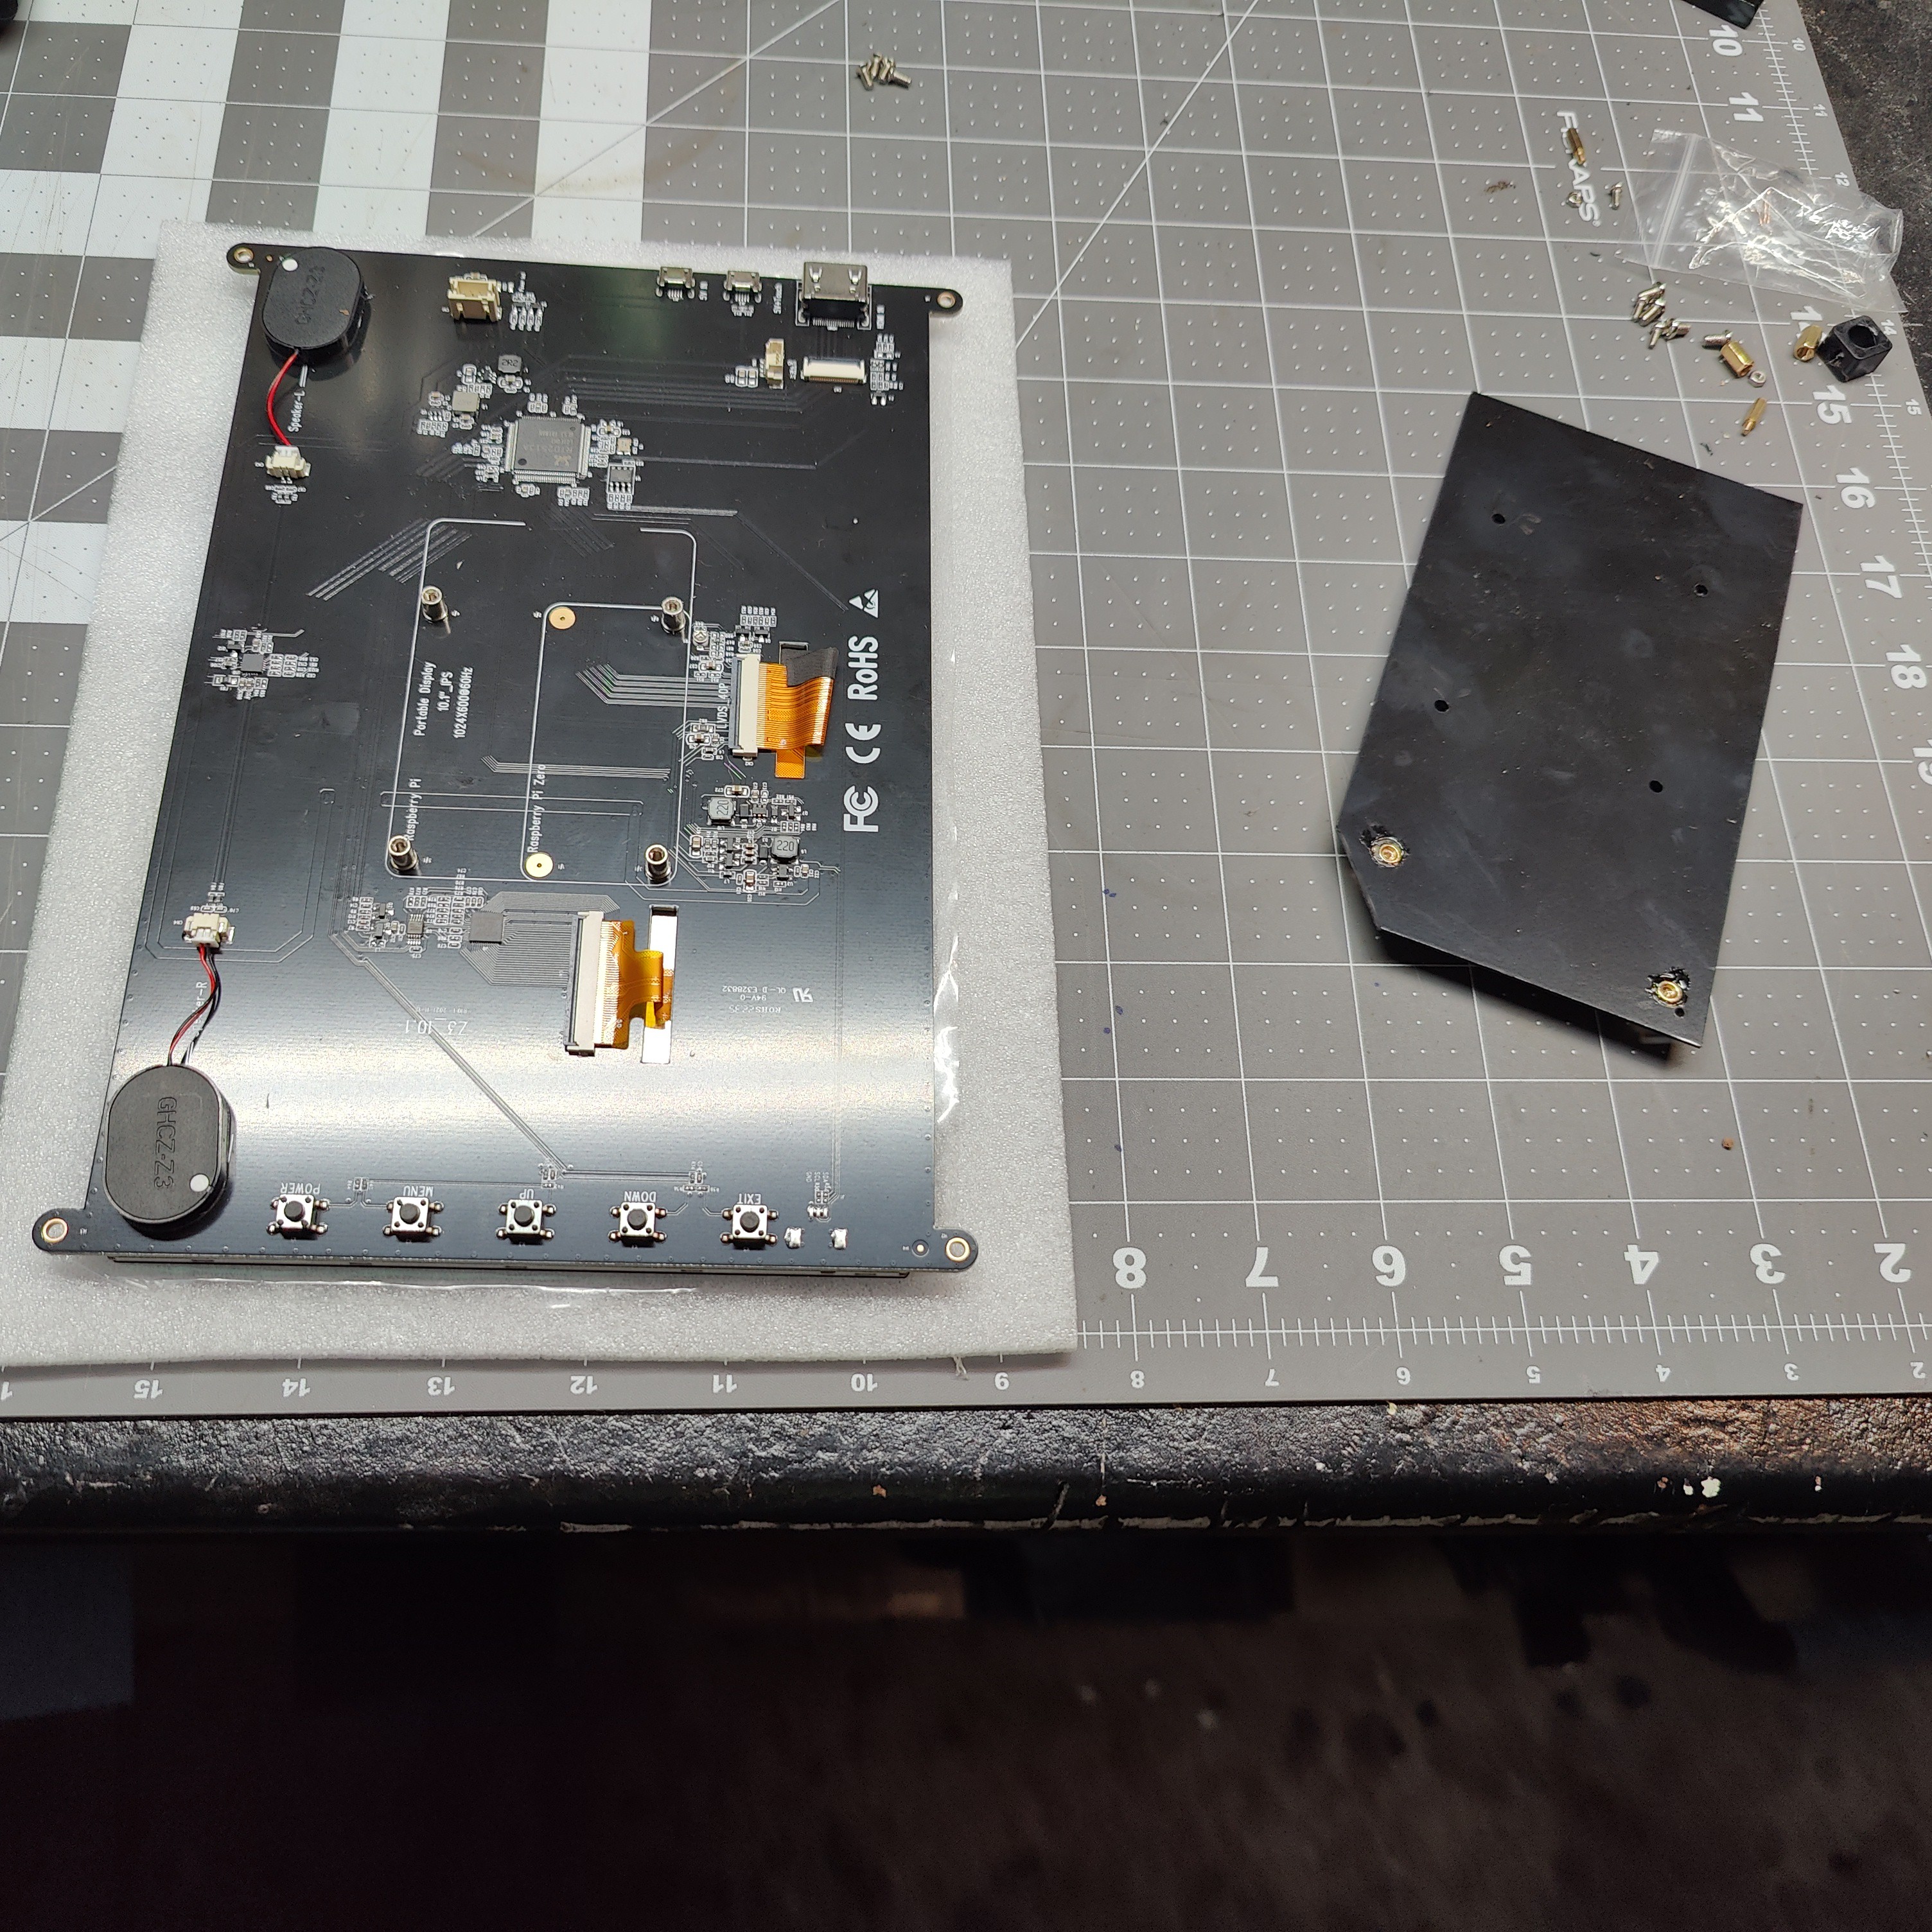
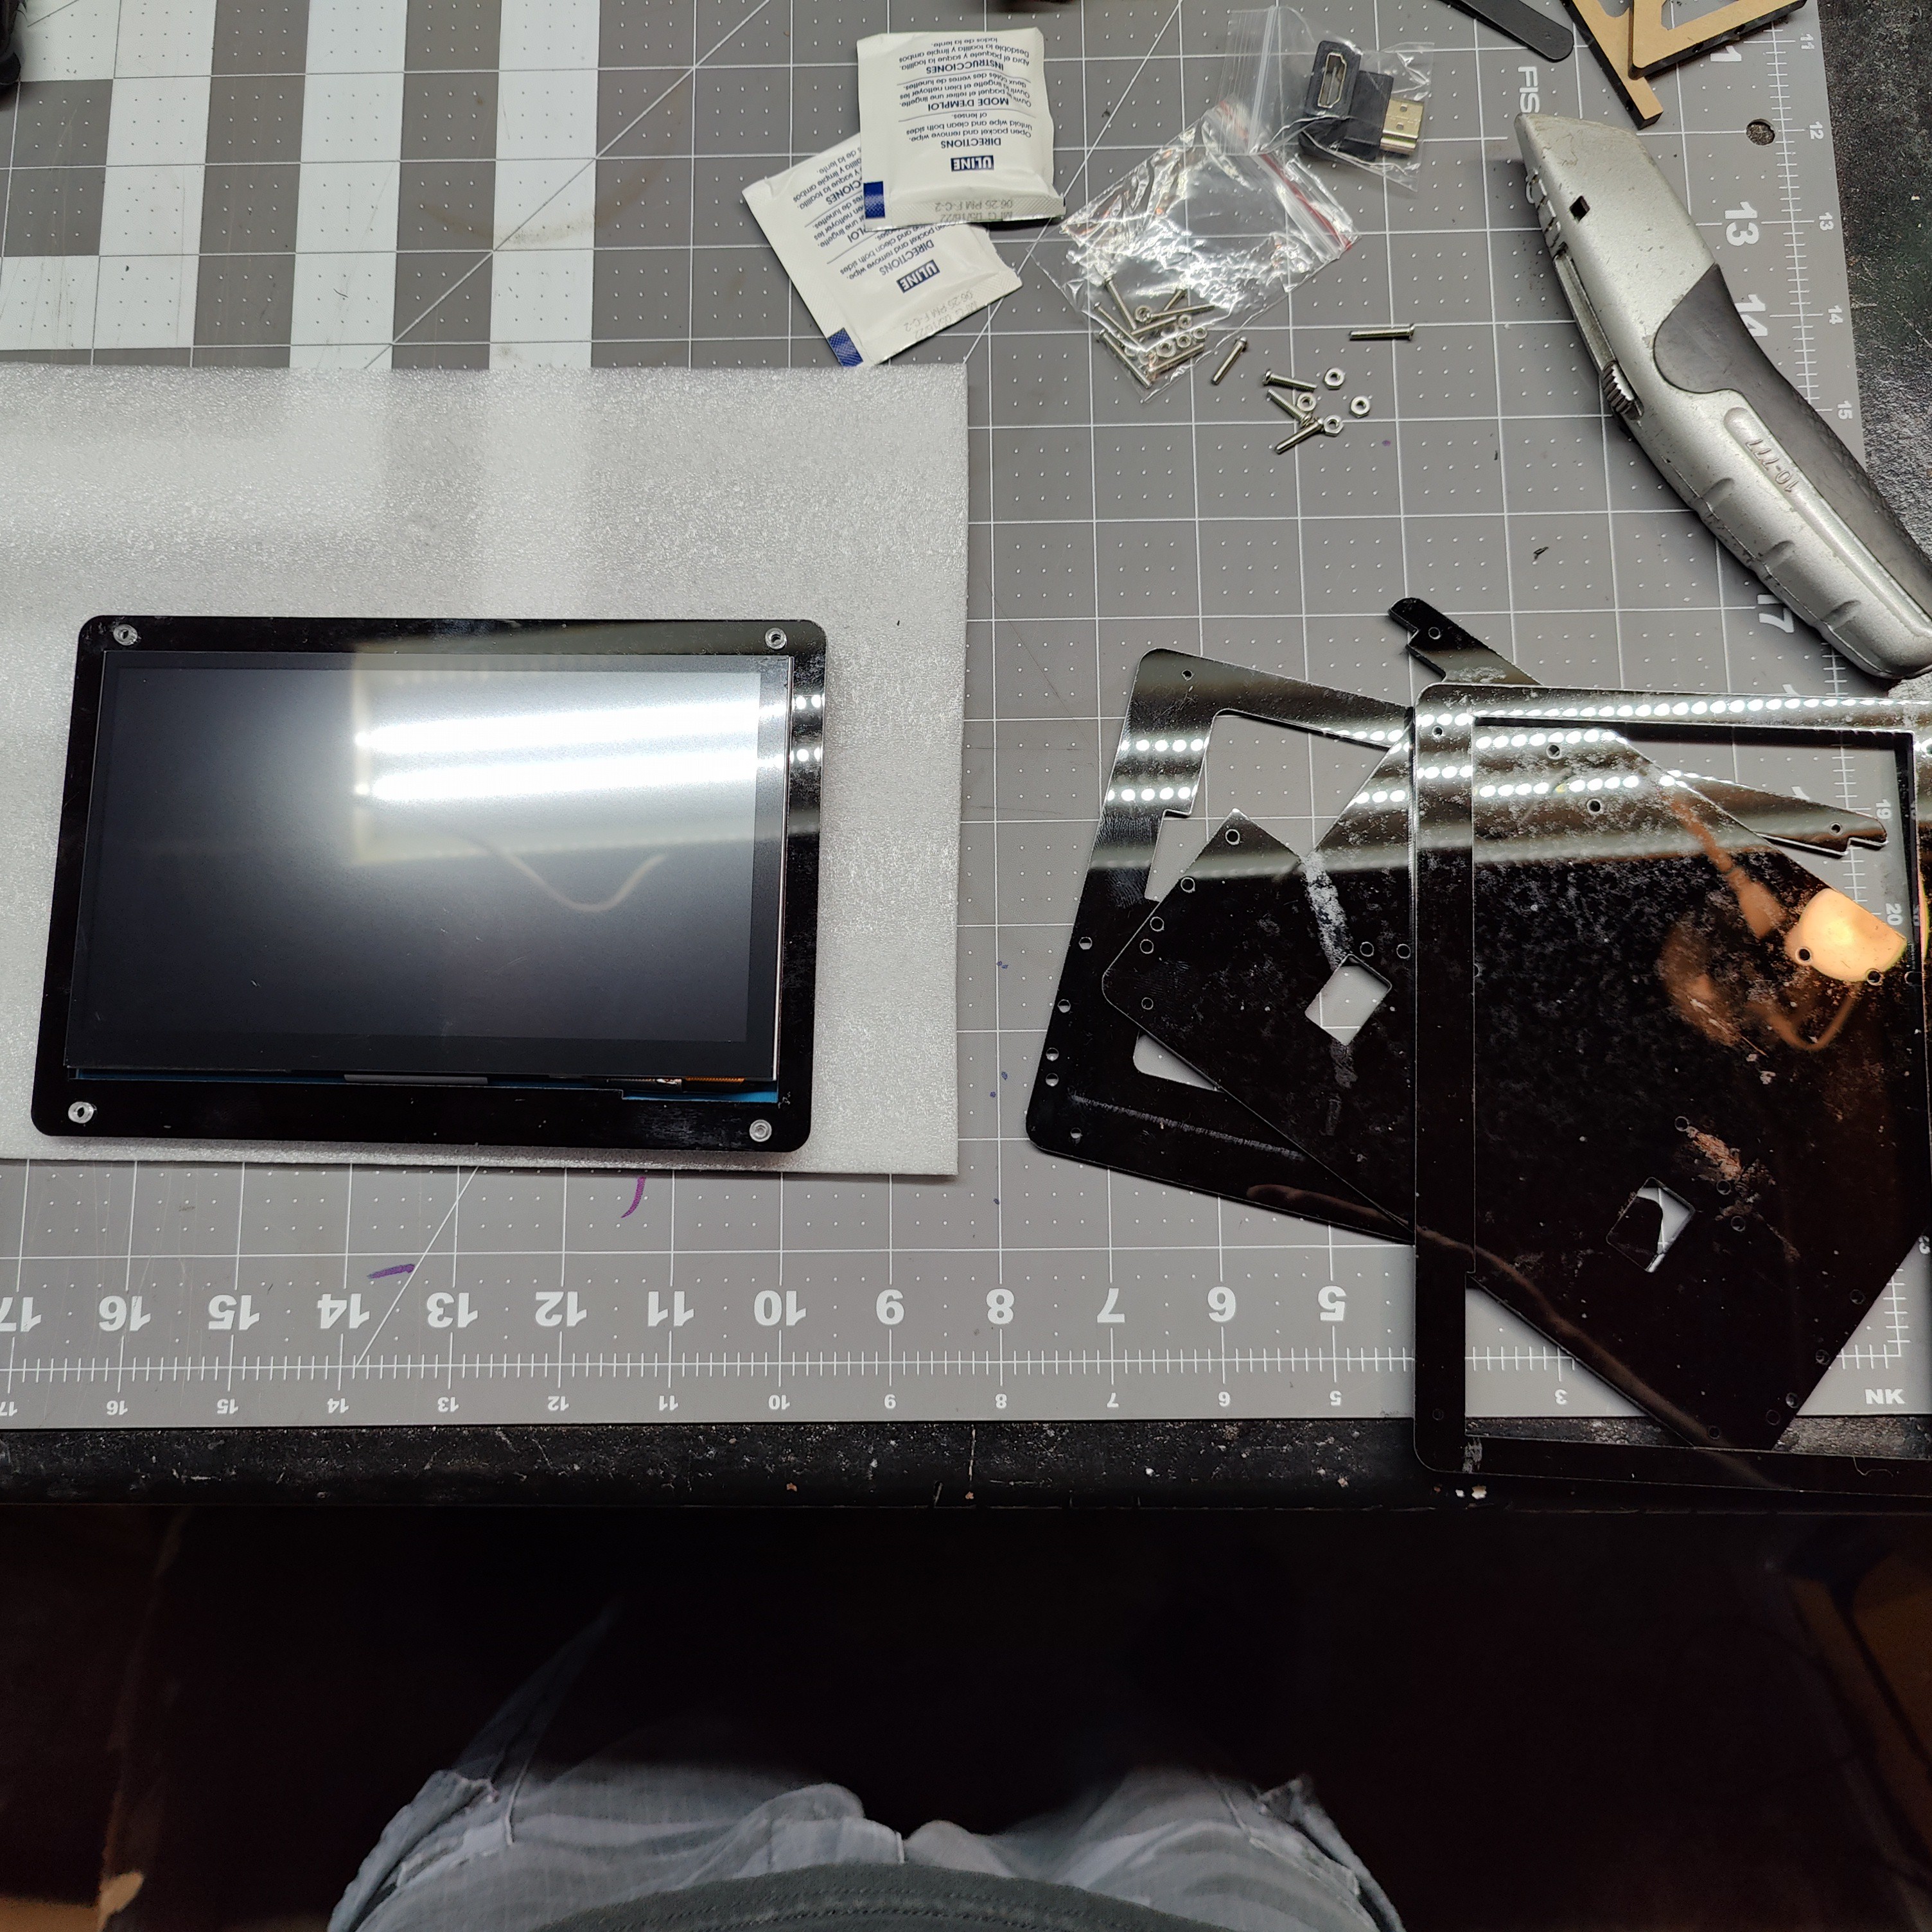
2Position and secure screen mount one.
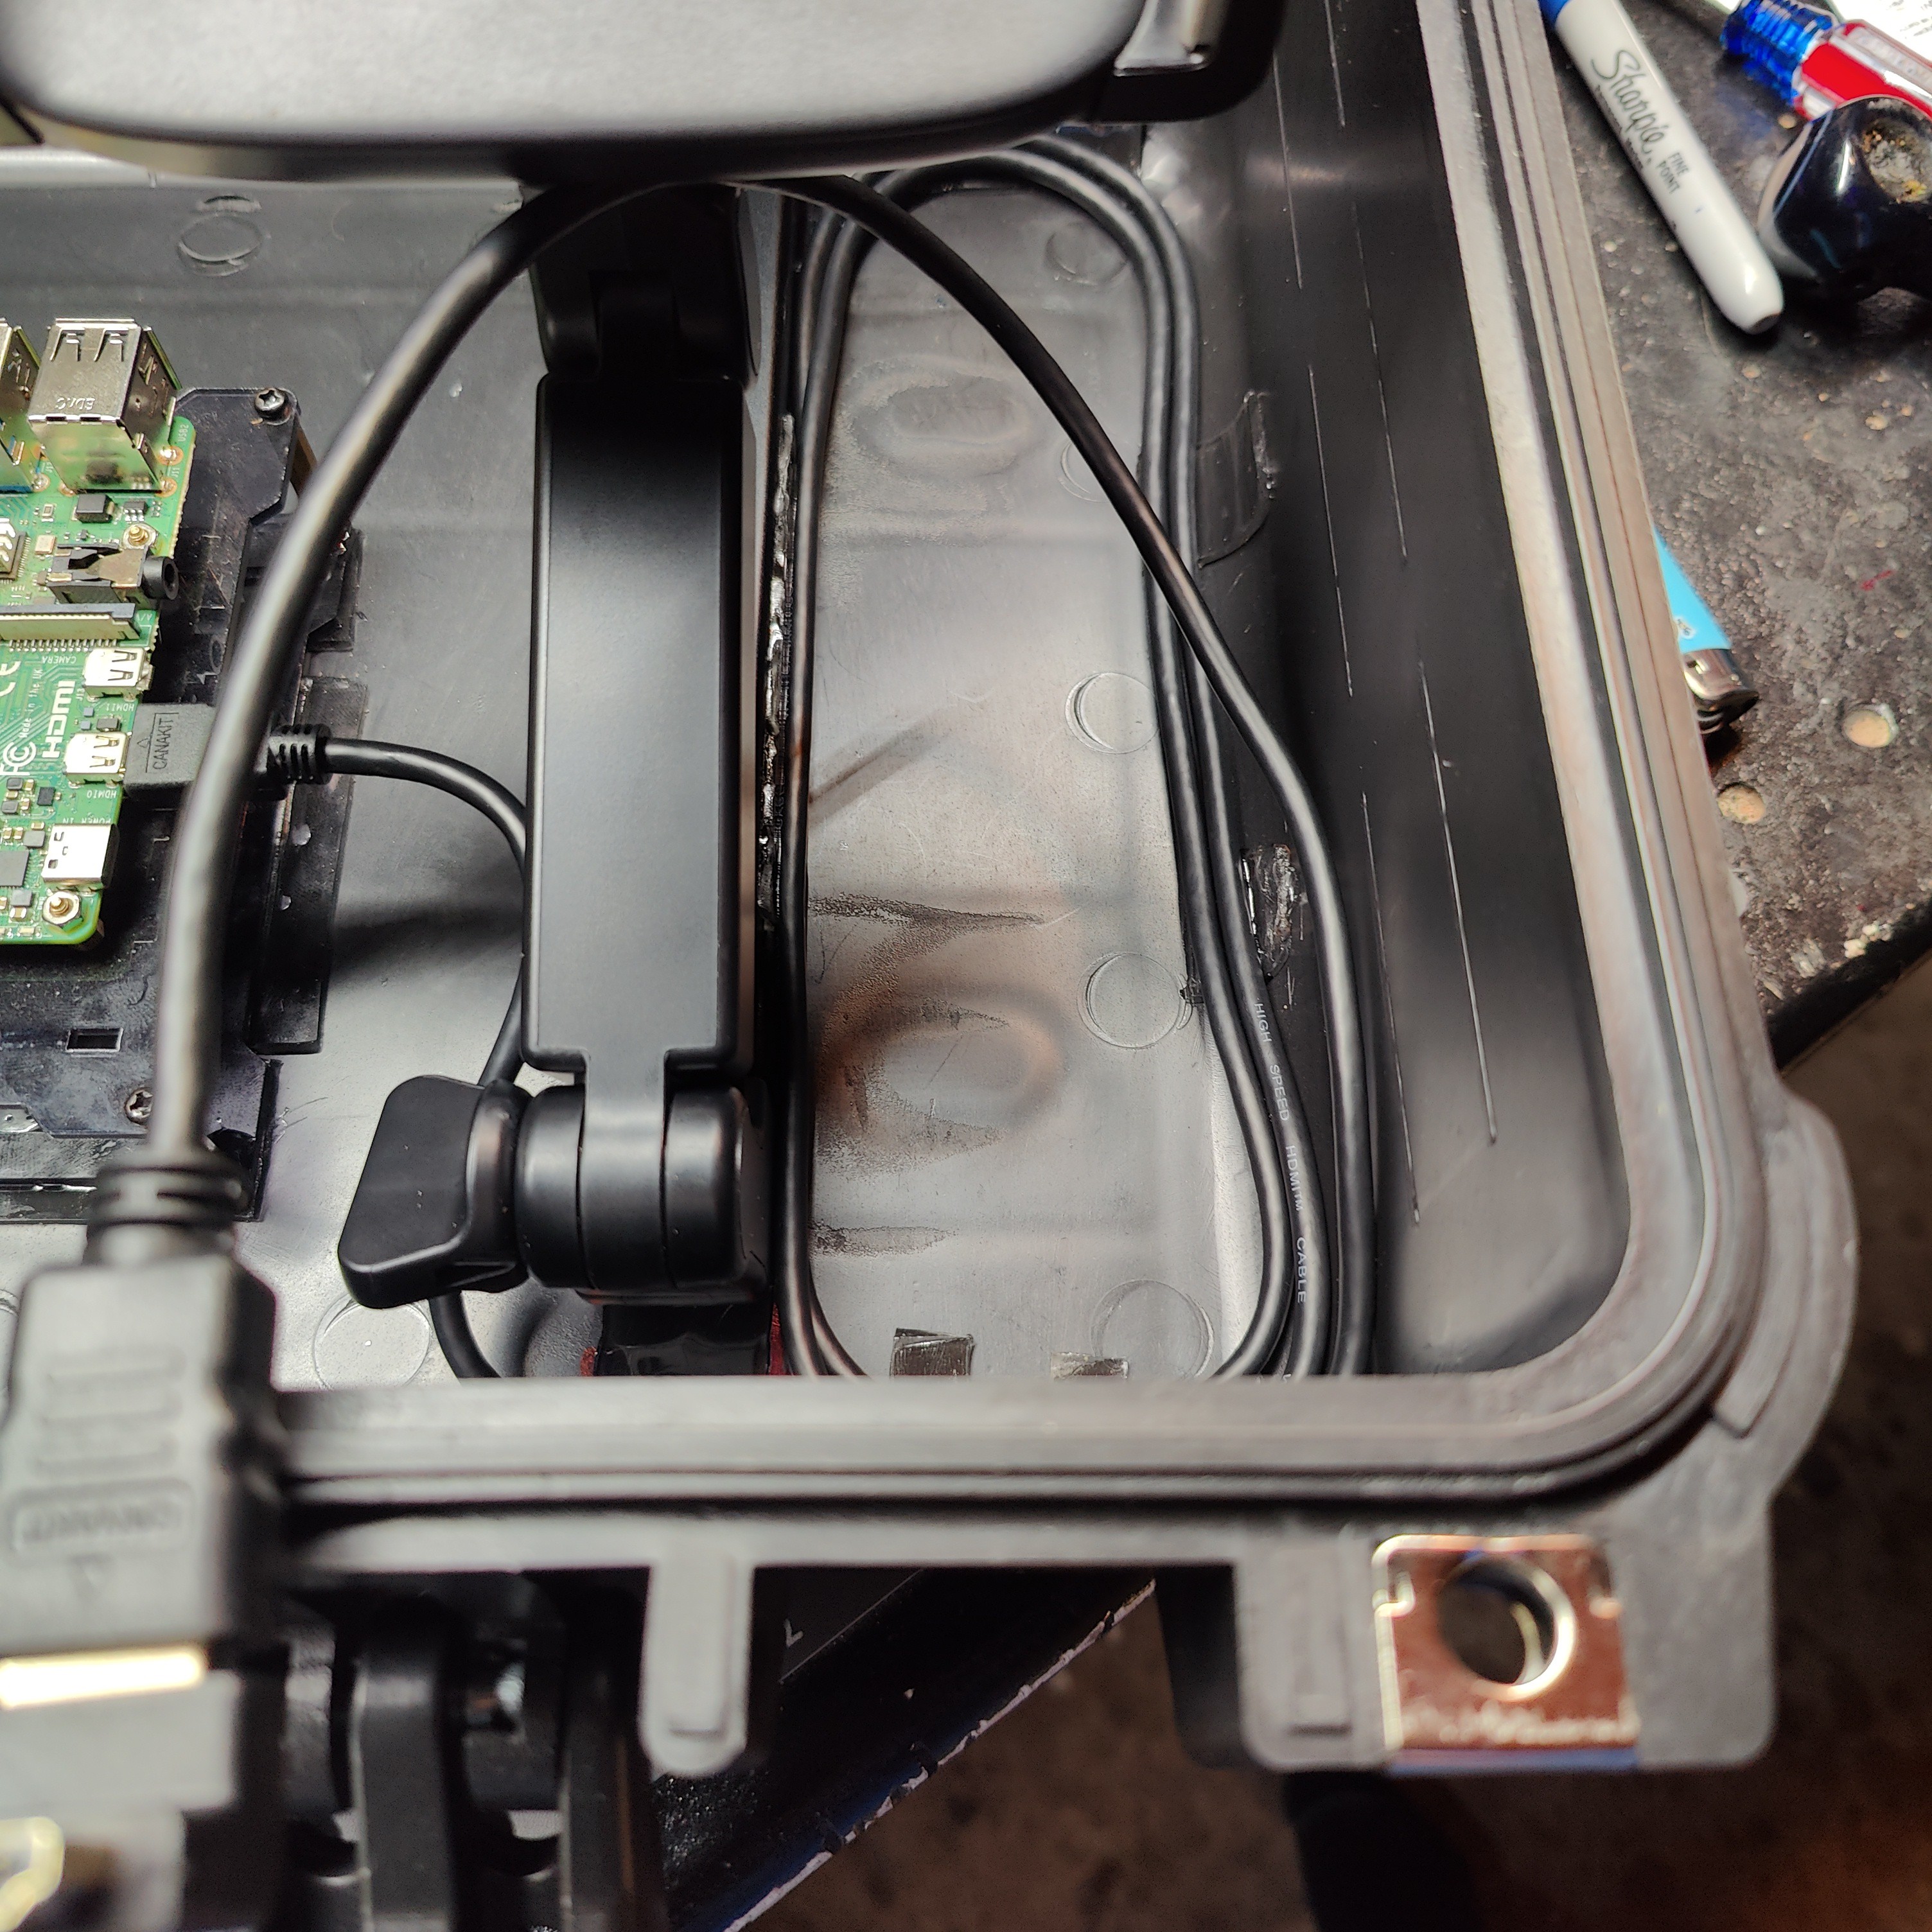
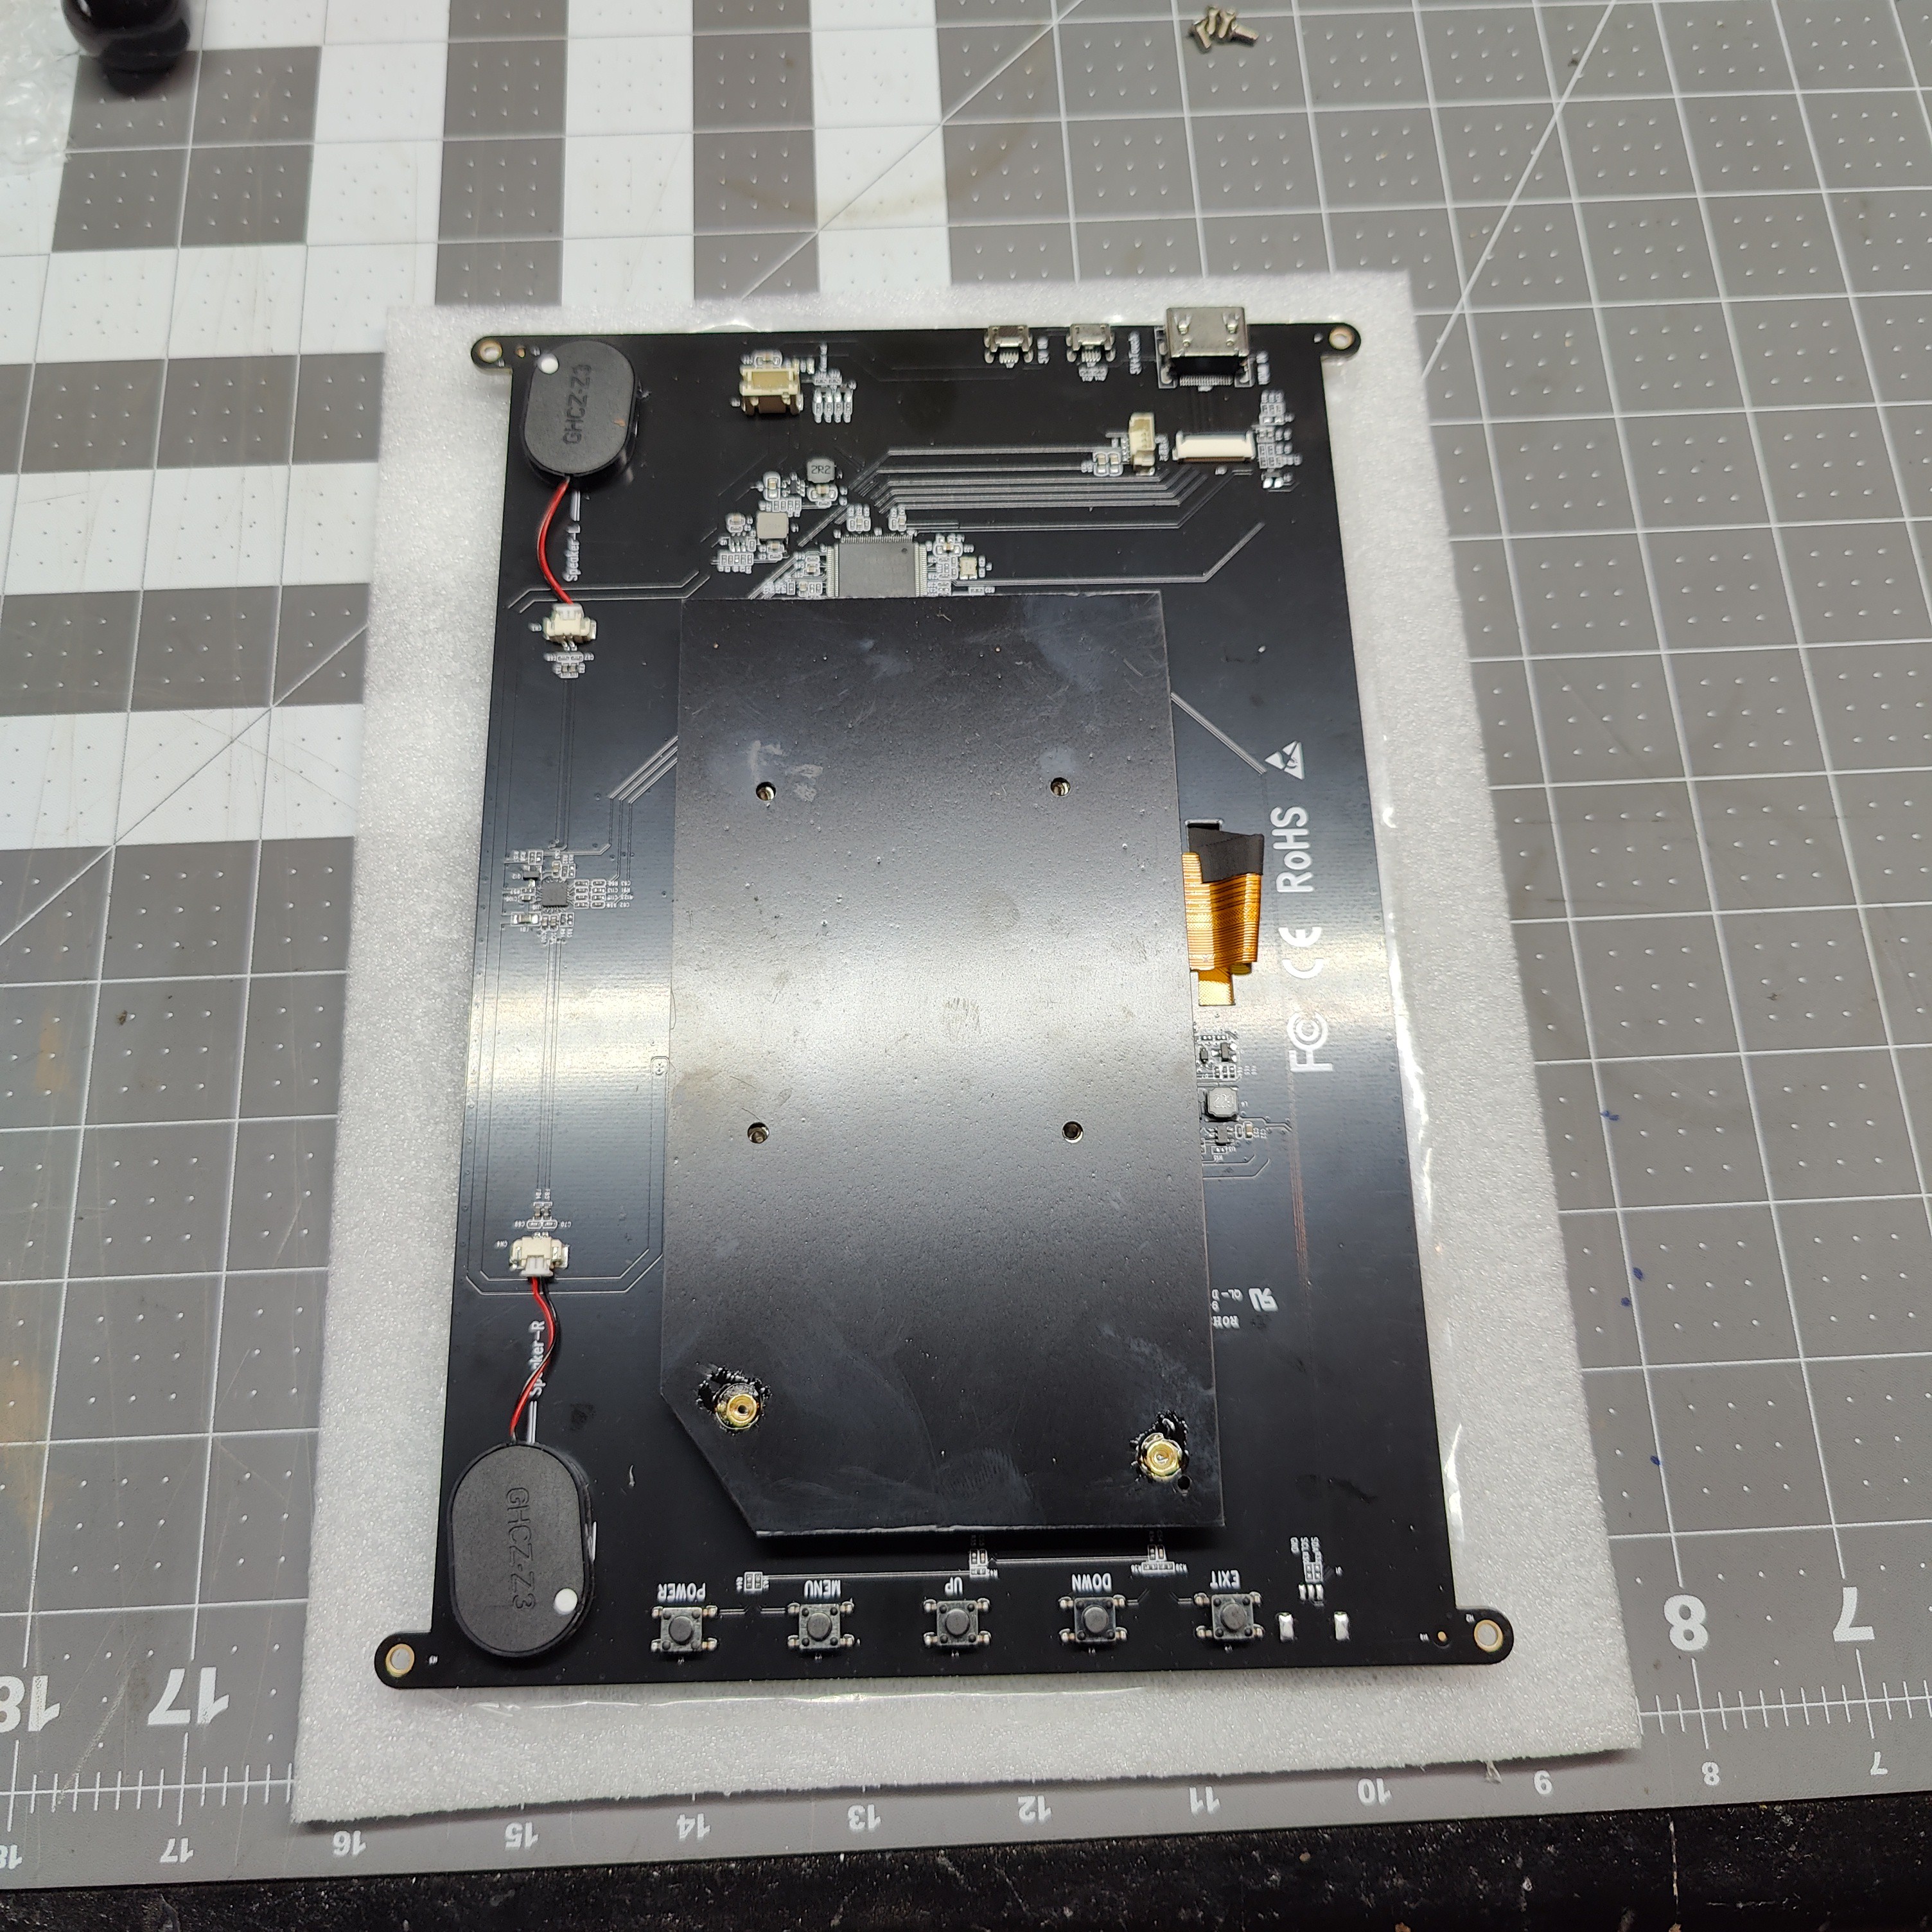
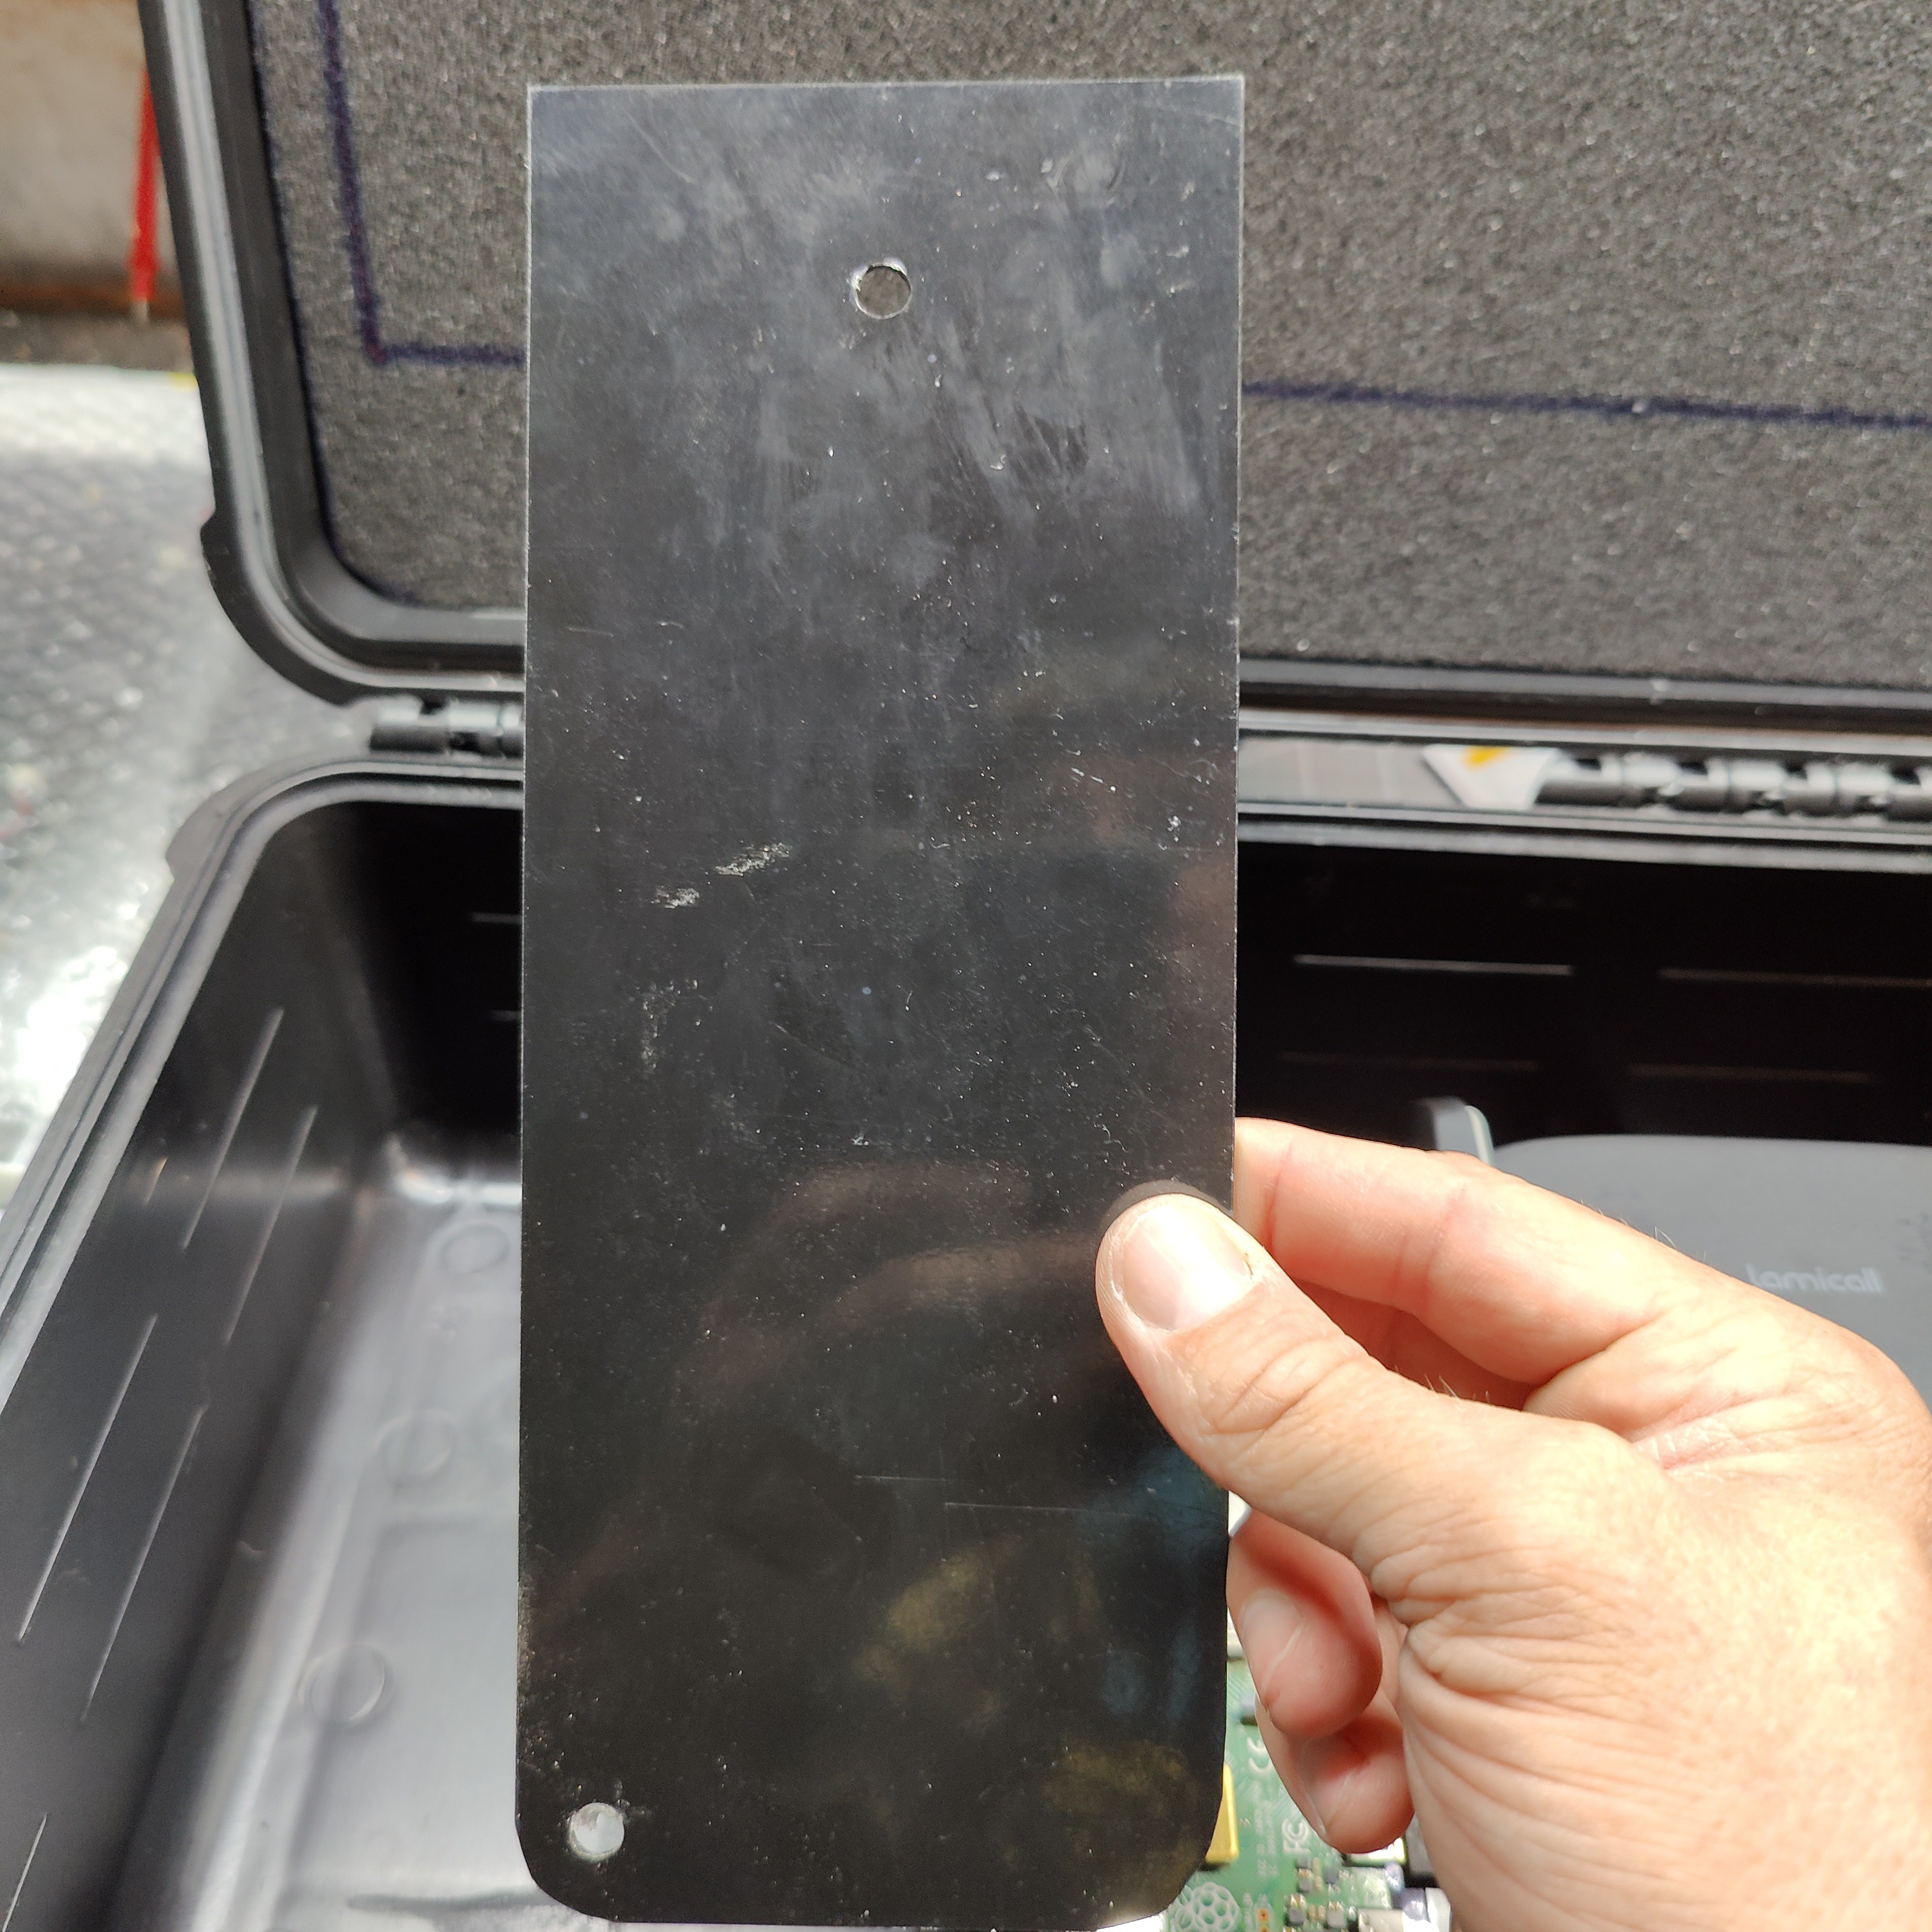
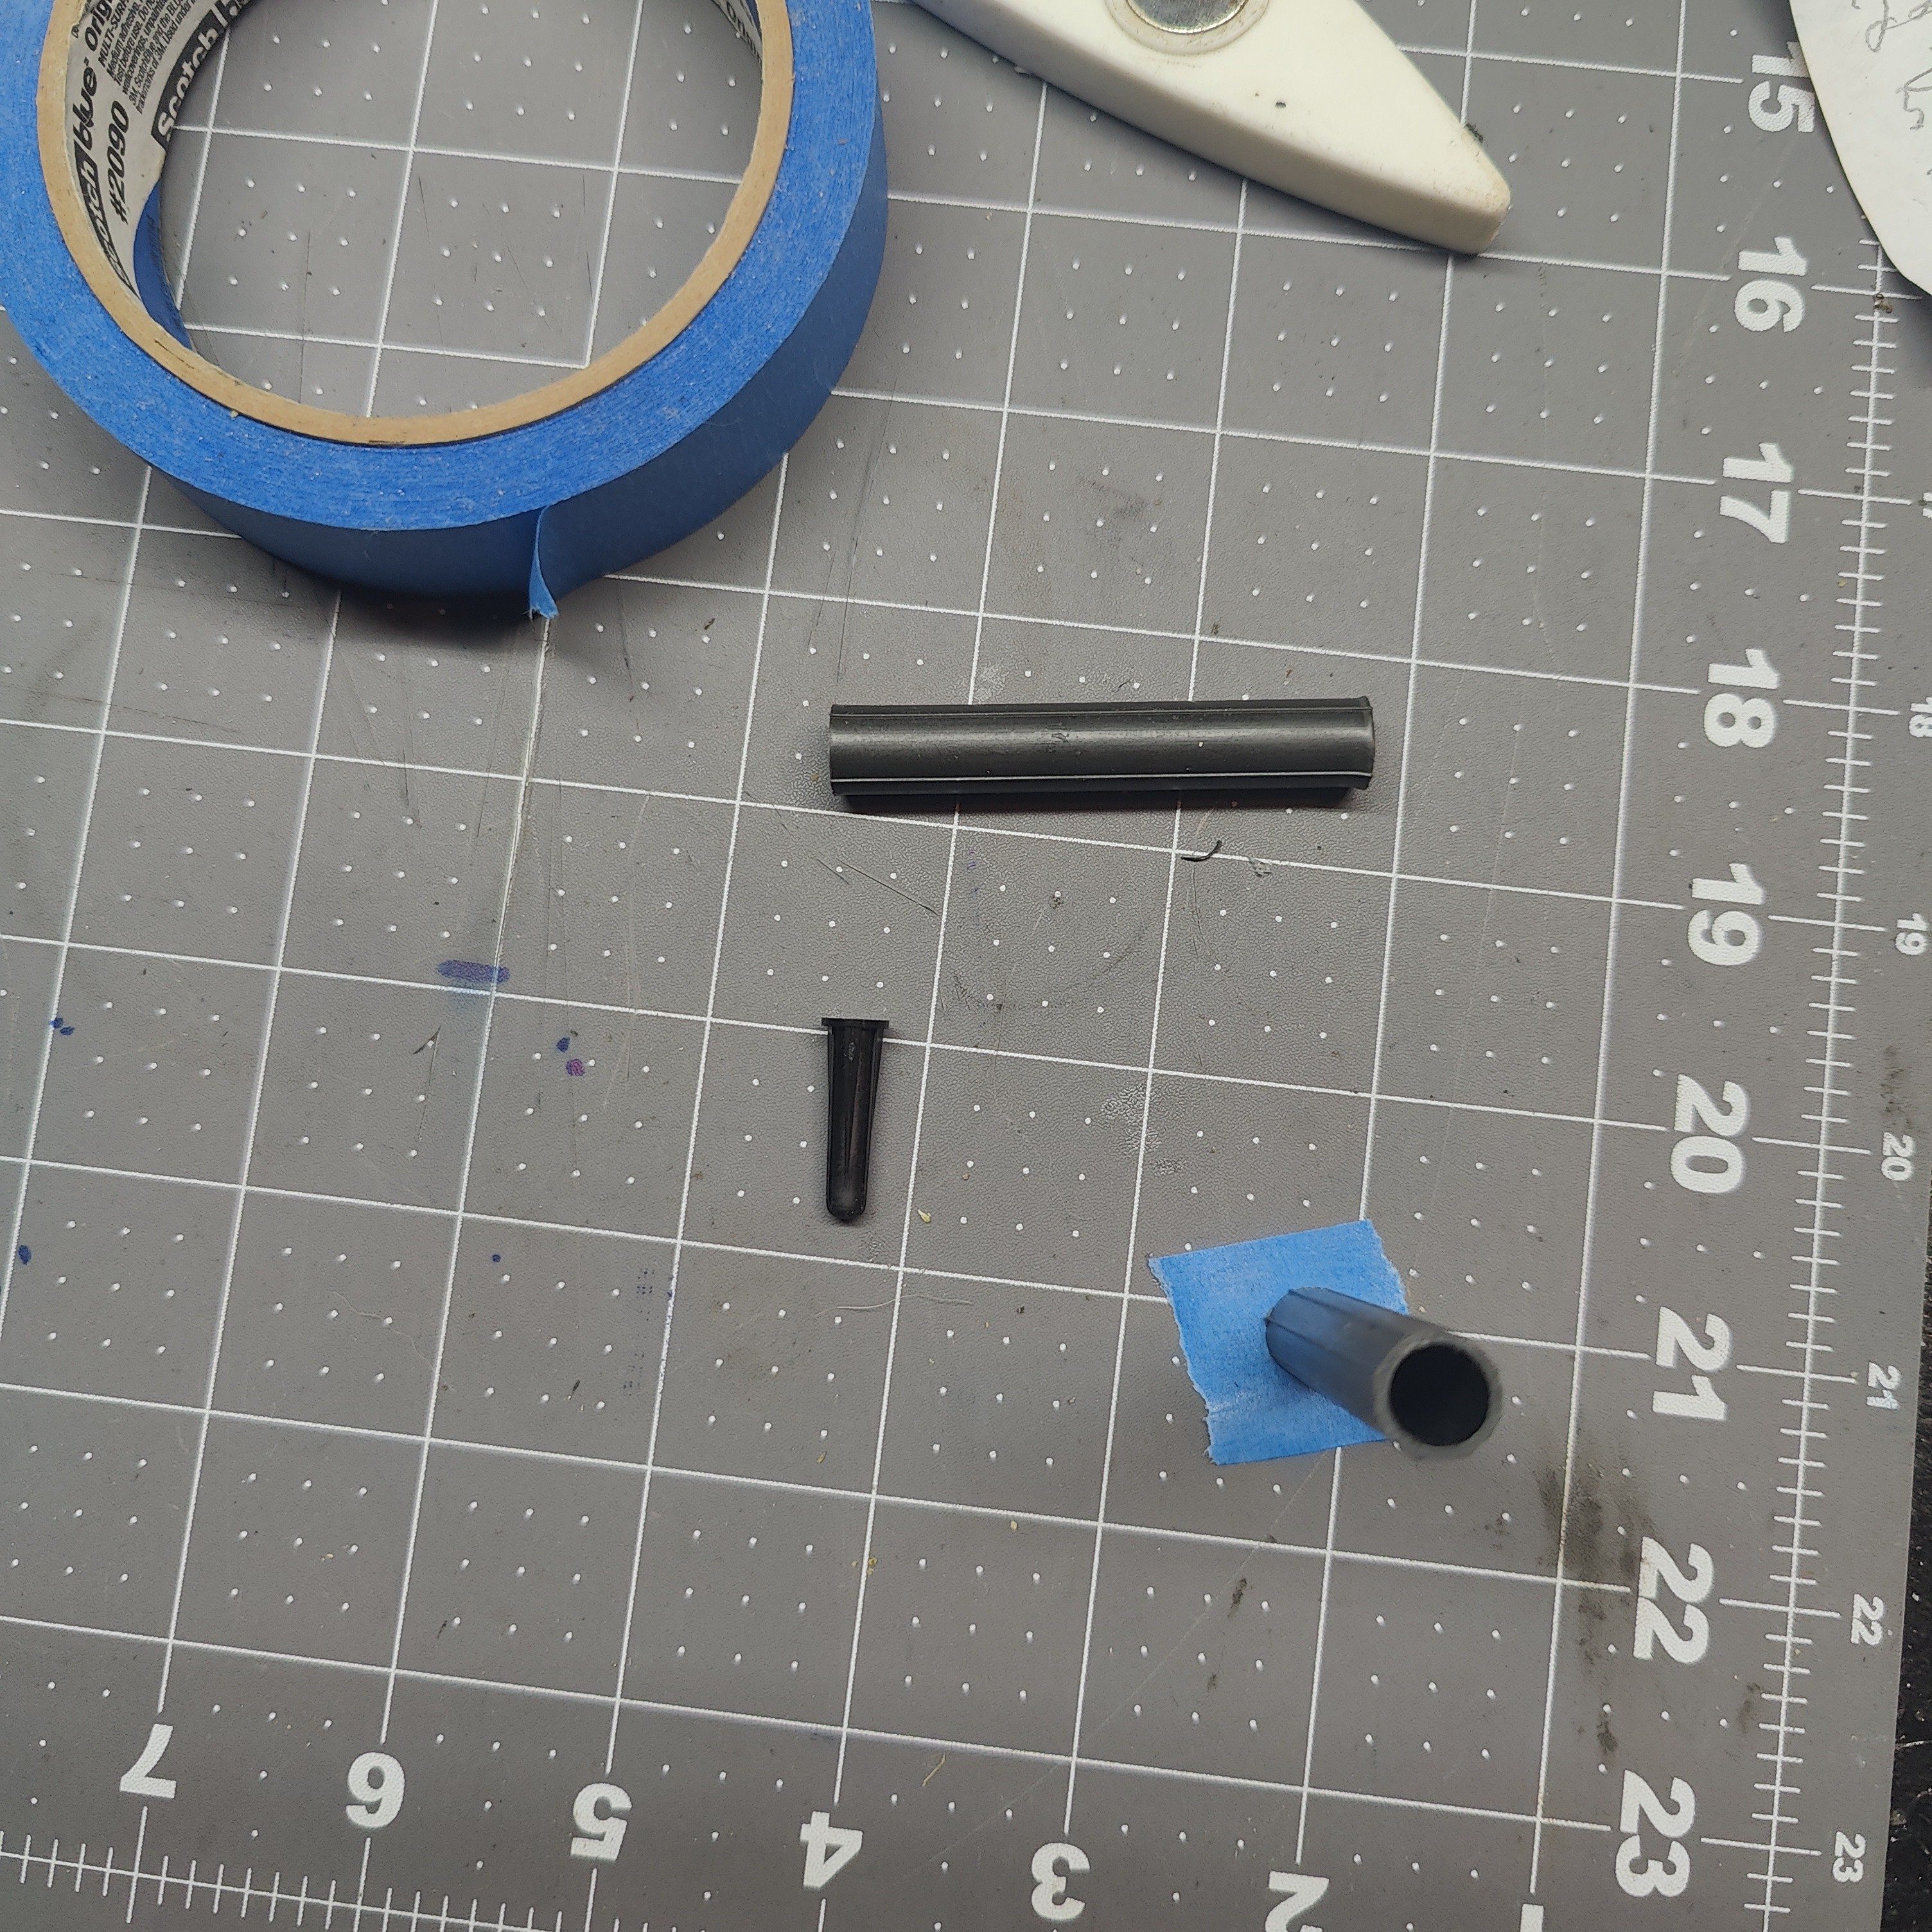
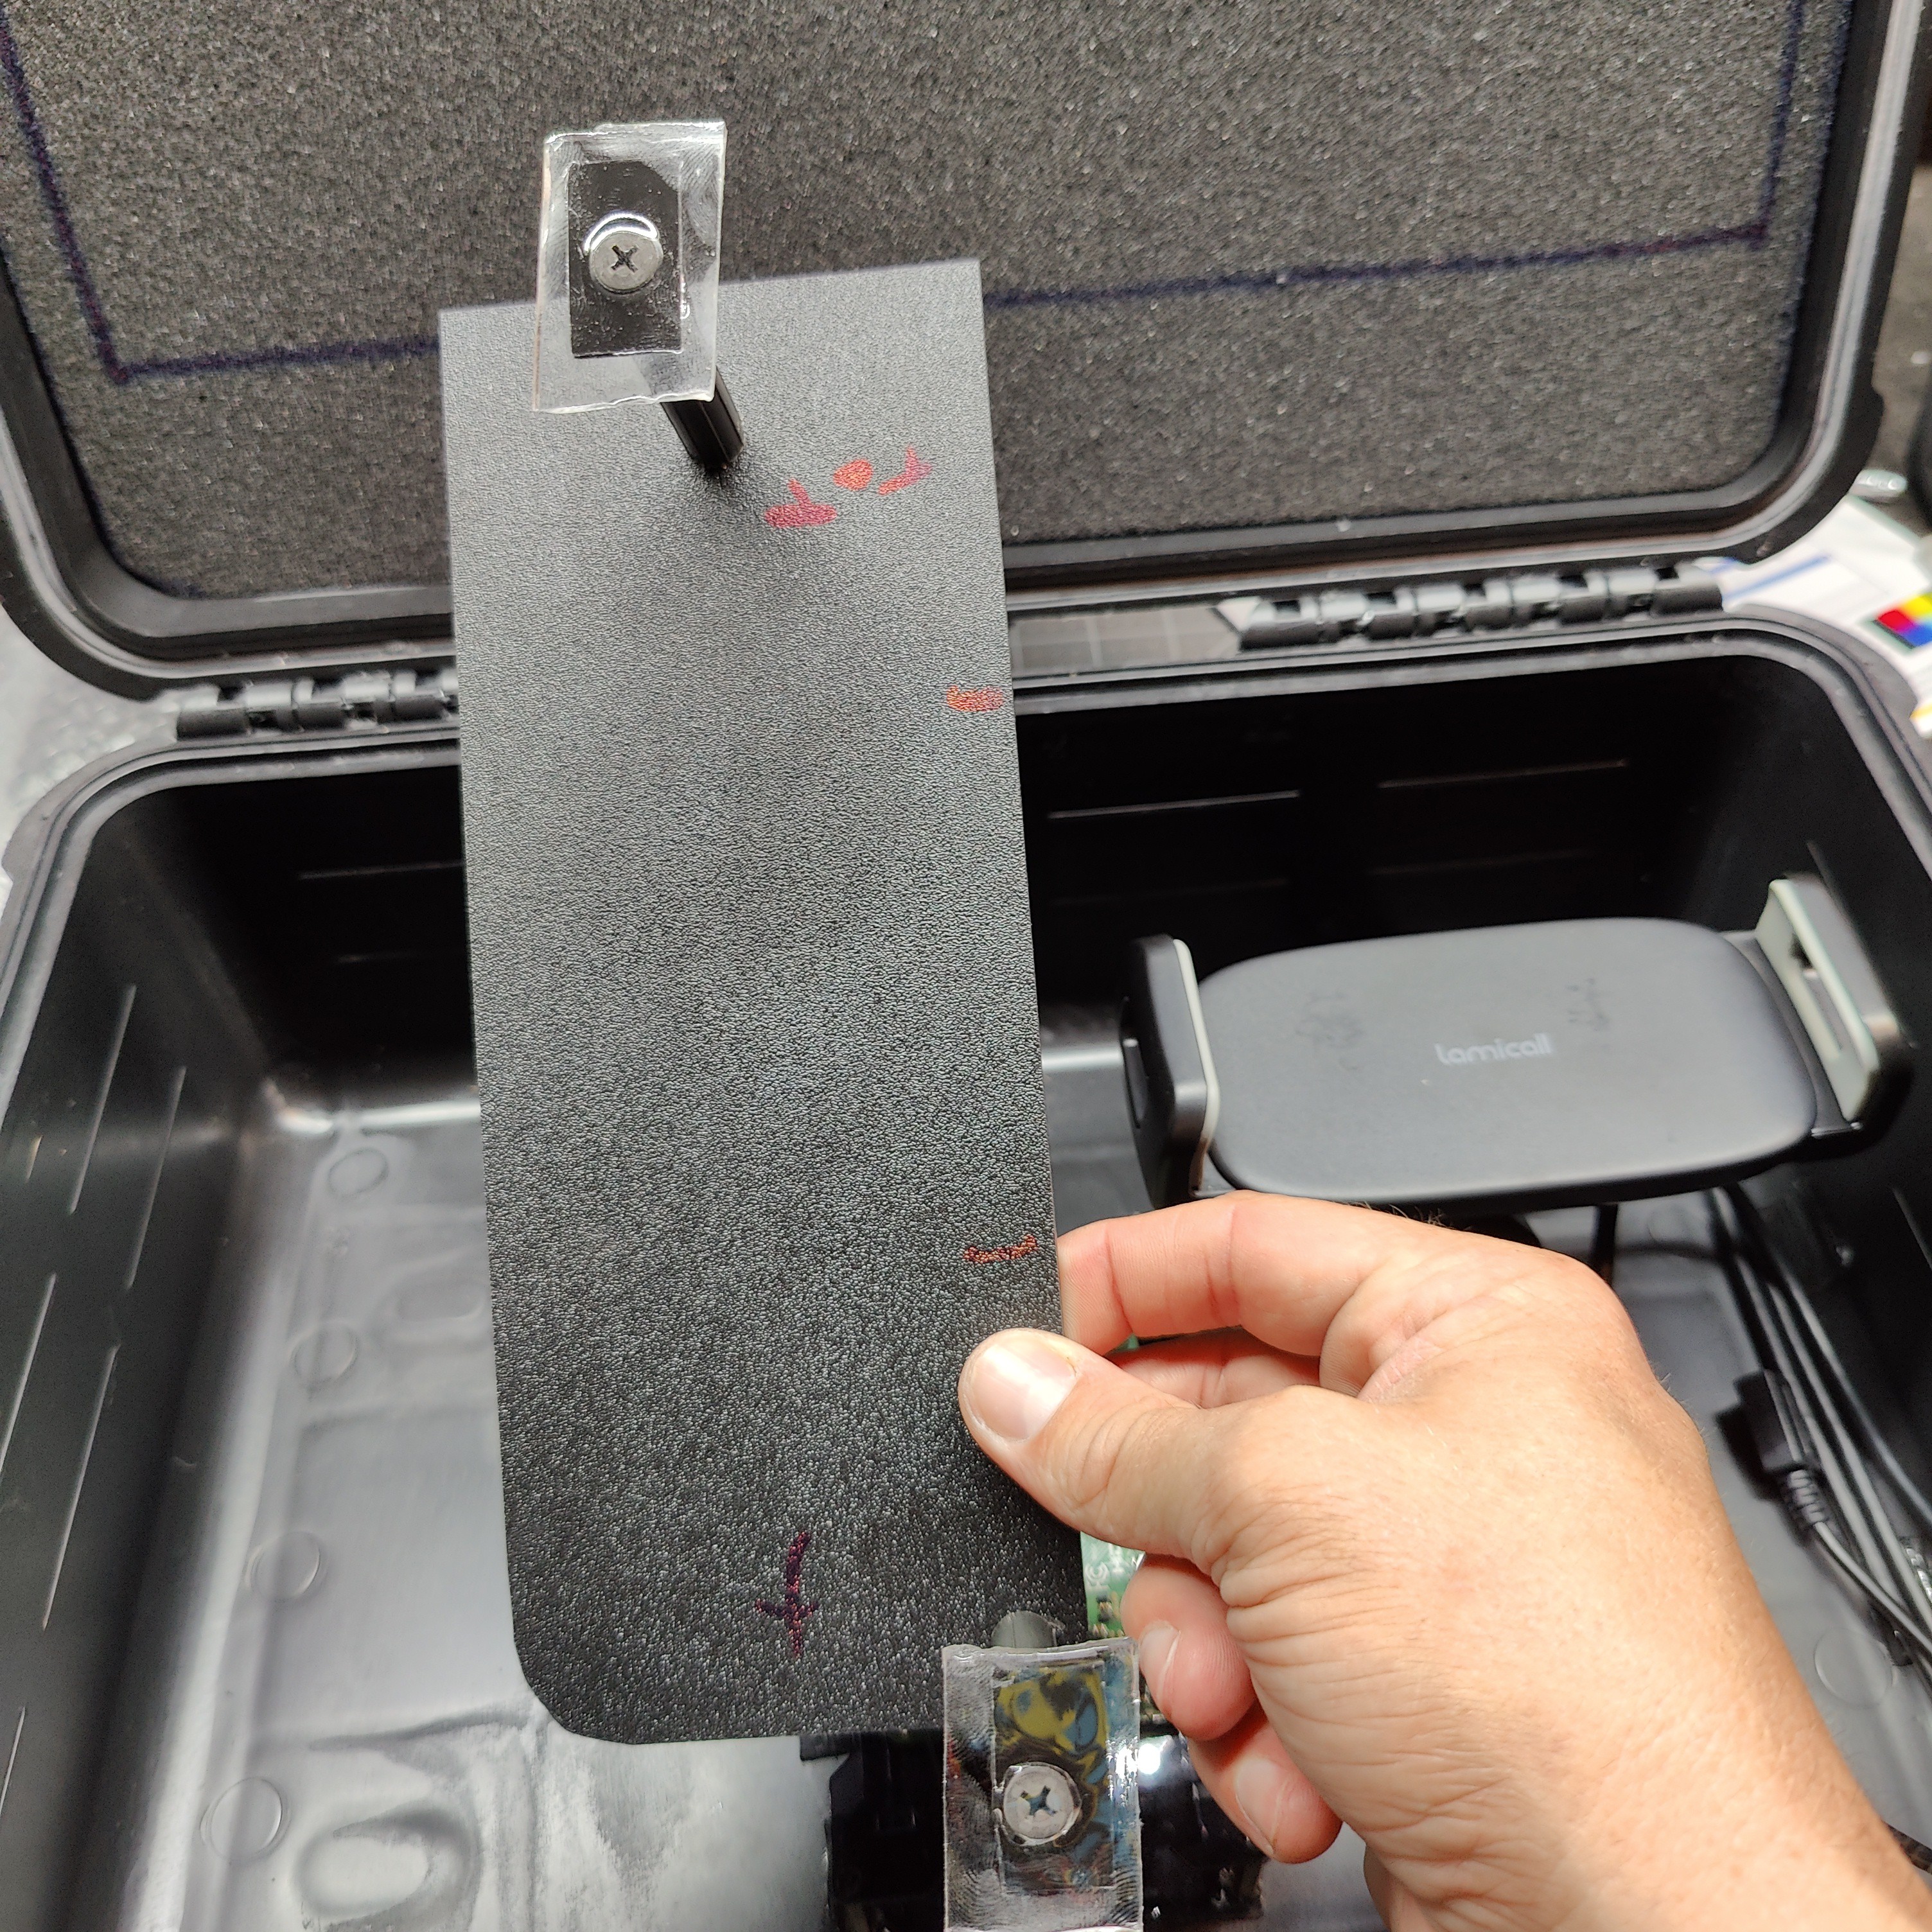
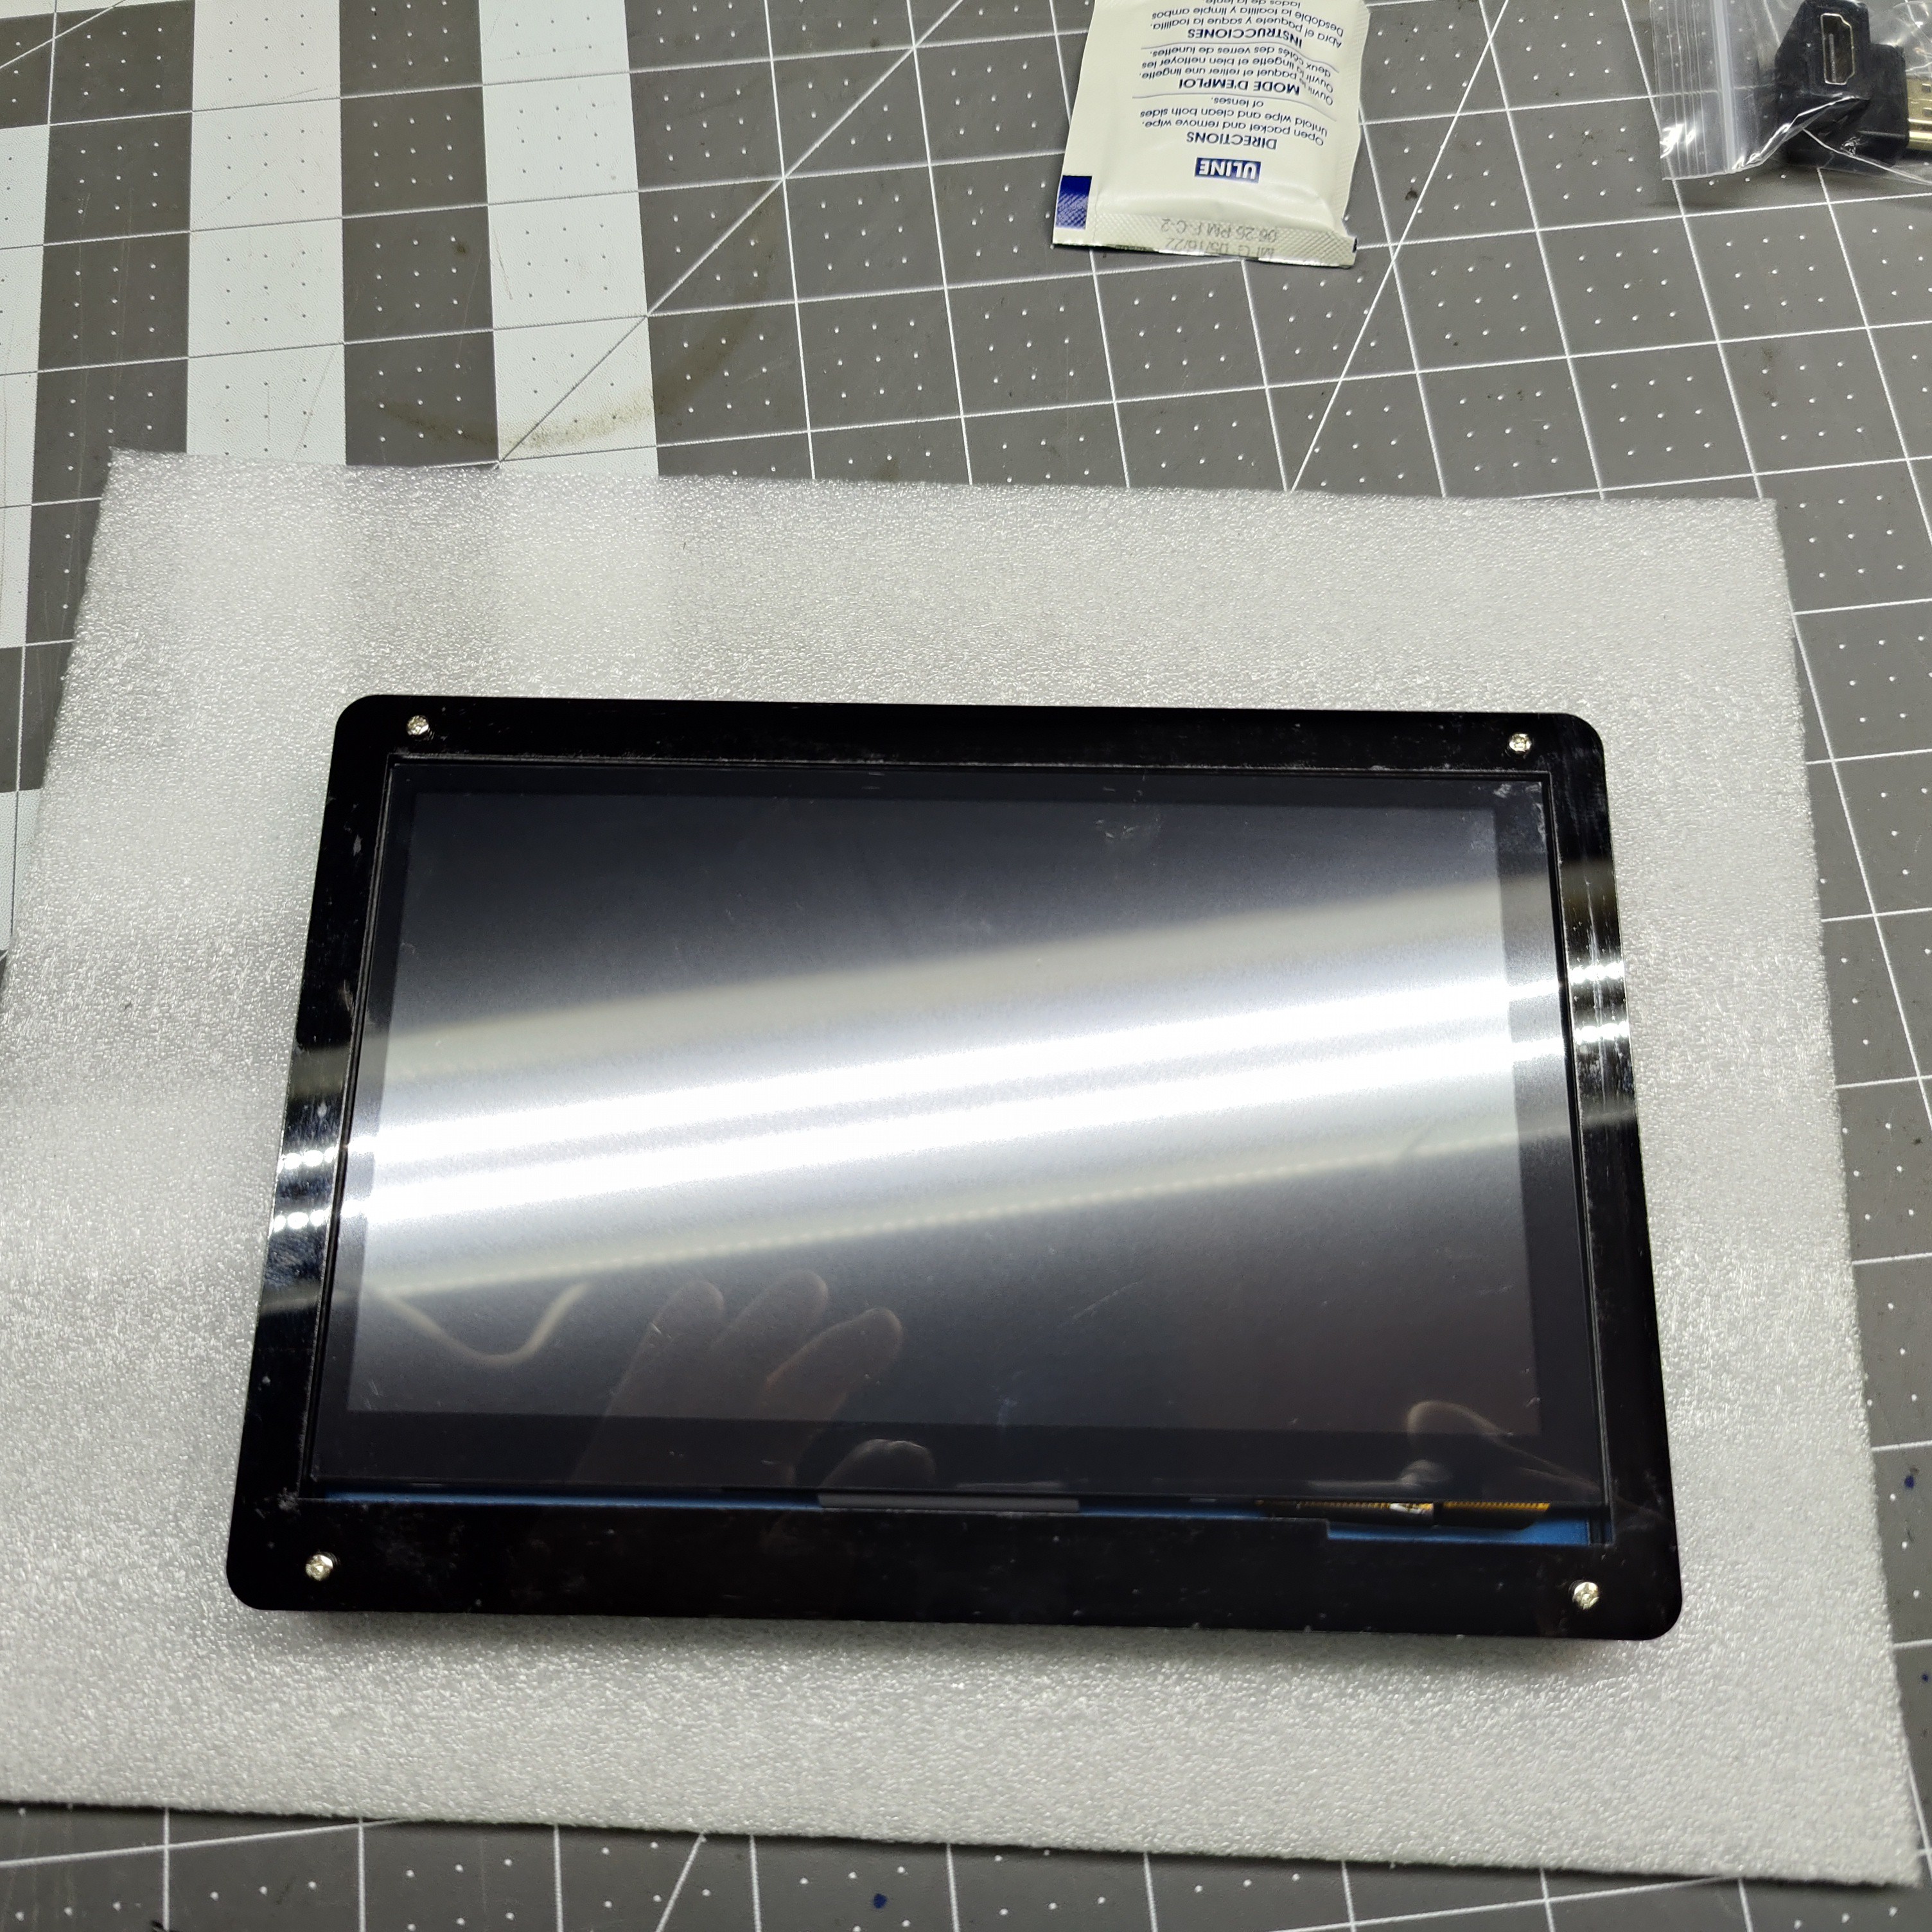
Start by cutting off the two hooks on the mount that would be pushing against a cars headrest. Now assemble the screen mount completely. Next take the 10.1 inch screen and put it in the mount. Now place the mount next to the Pi , make sure the mount unfolds up not down. Now make sure the mount is straight in that column. Take a marker and mark a lay line. Now cut a piece of nano tape to length and lay it on the line. Next lay the mount. From here I had to fabricate a back panel for the 10.1 inch since I could not find an enclosure for a 10.1 inch screen. I did this with a plastic sheet and hardware I had lying around. I just measured my dimensions and cut out with scissors, drilled the screw holes. After mounting the back panel I put the screen in the screen mount and attach the 90 degree HDMI mount and HDMI to mini HDMI cable. Now run the cable, when you find a nice path lay some nano tape to secure the the wire in place.
![]()
![]()
![]()
![]()
![]()
![]()
![]()
![]()
![]()
![]()
-
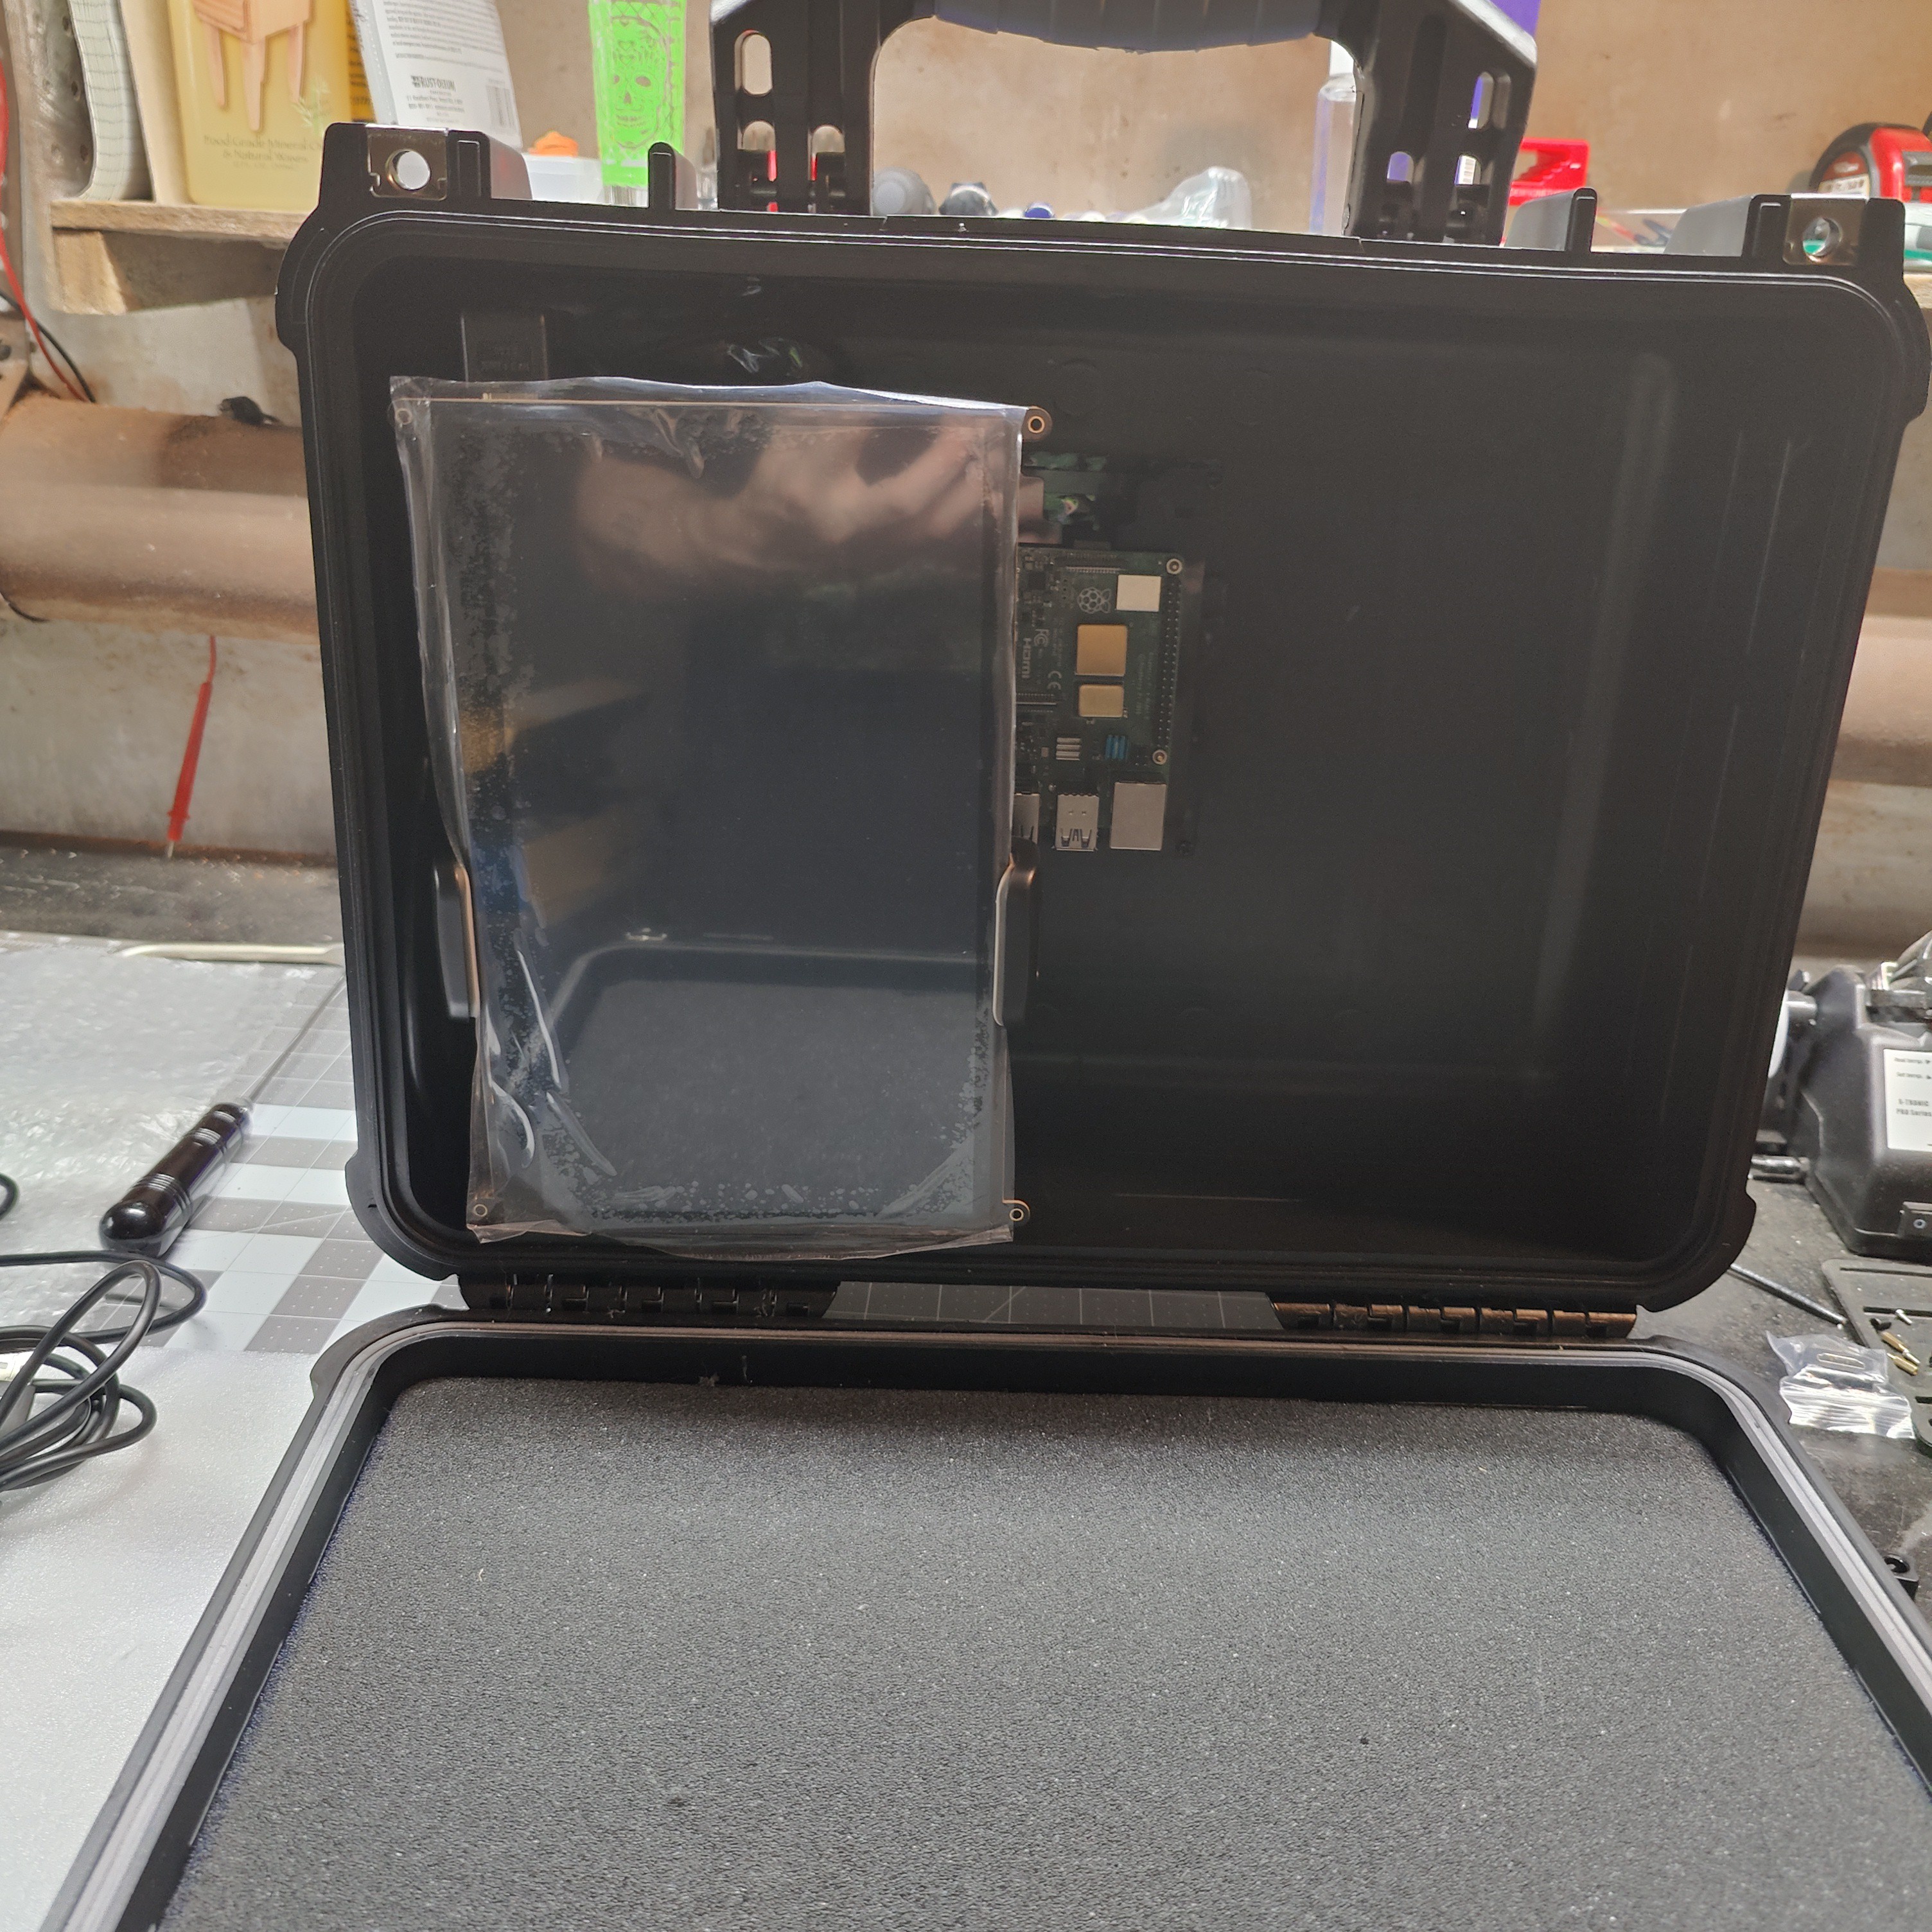
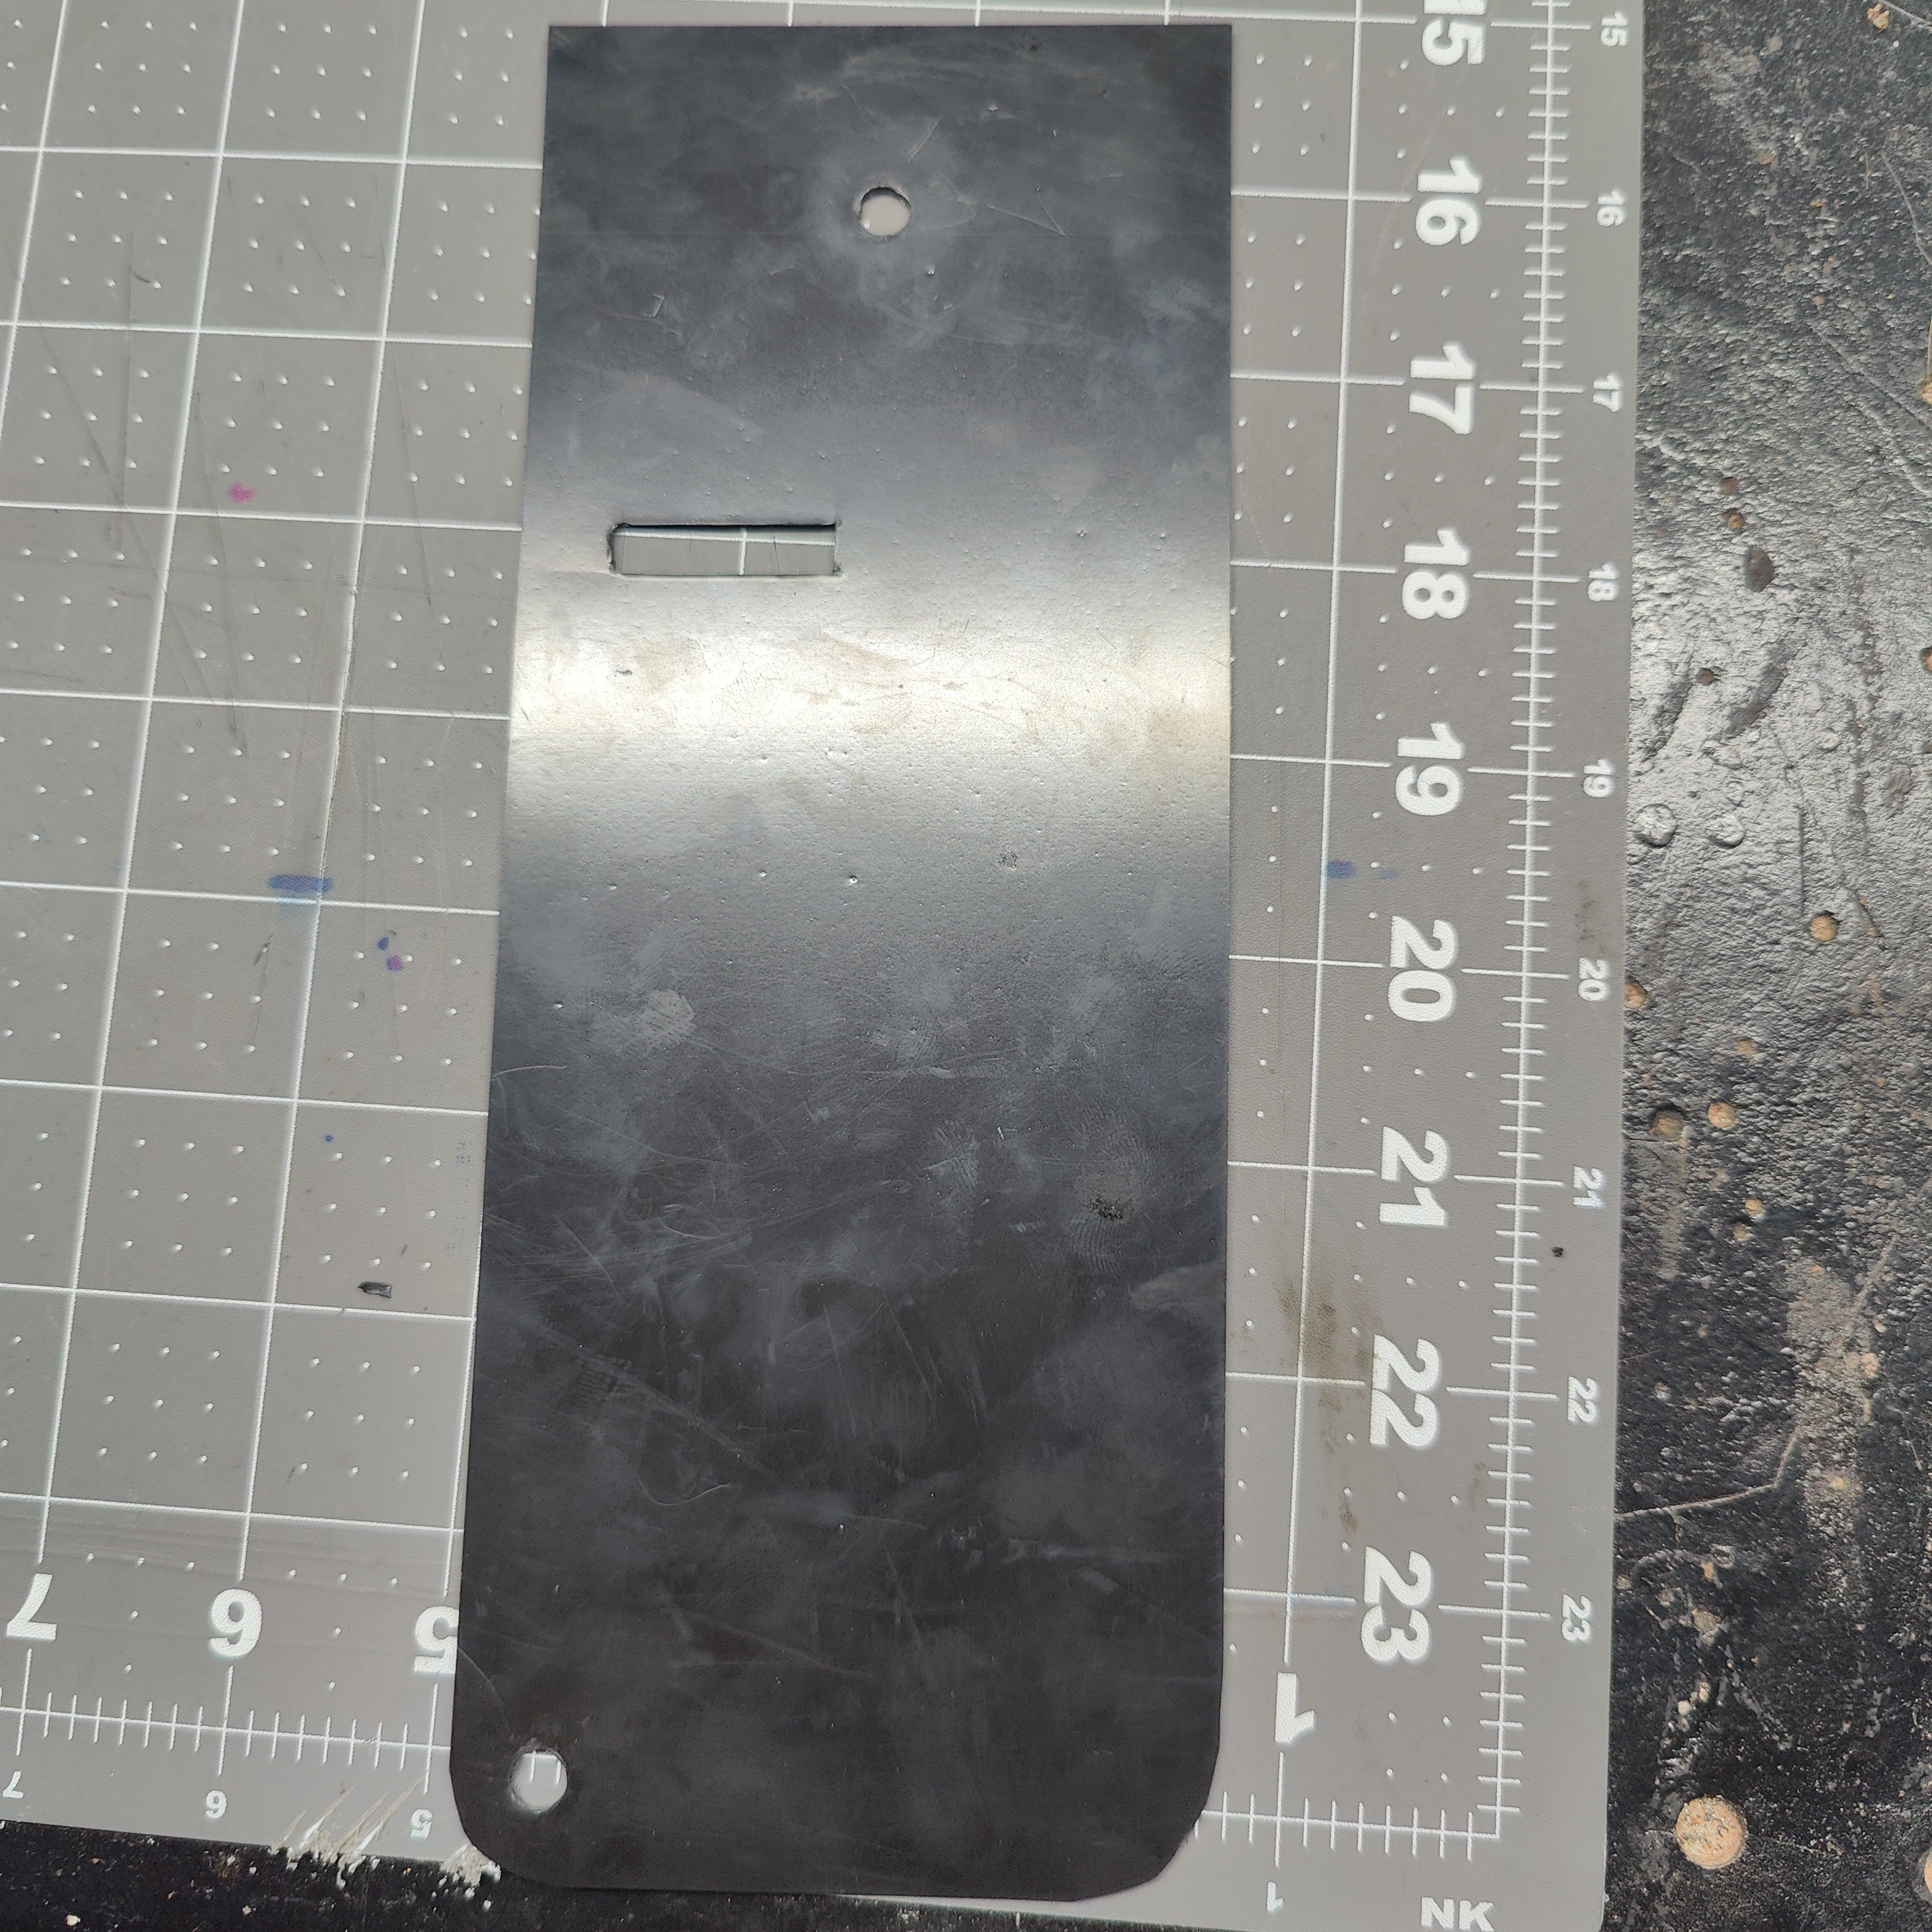
3Build cover panel for the Pi case and wires and mount it
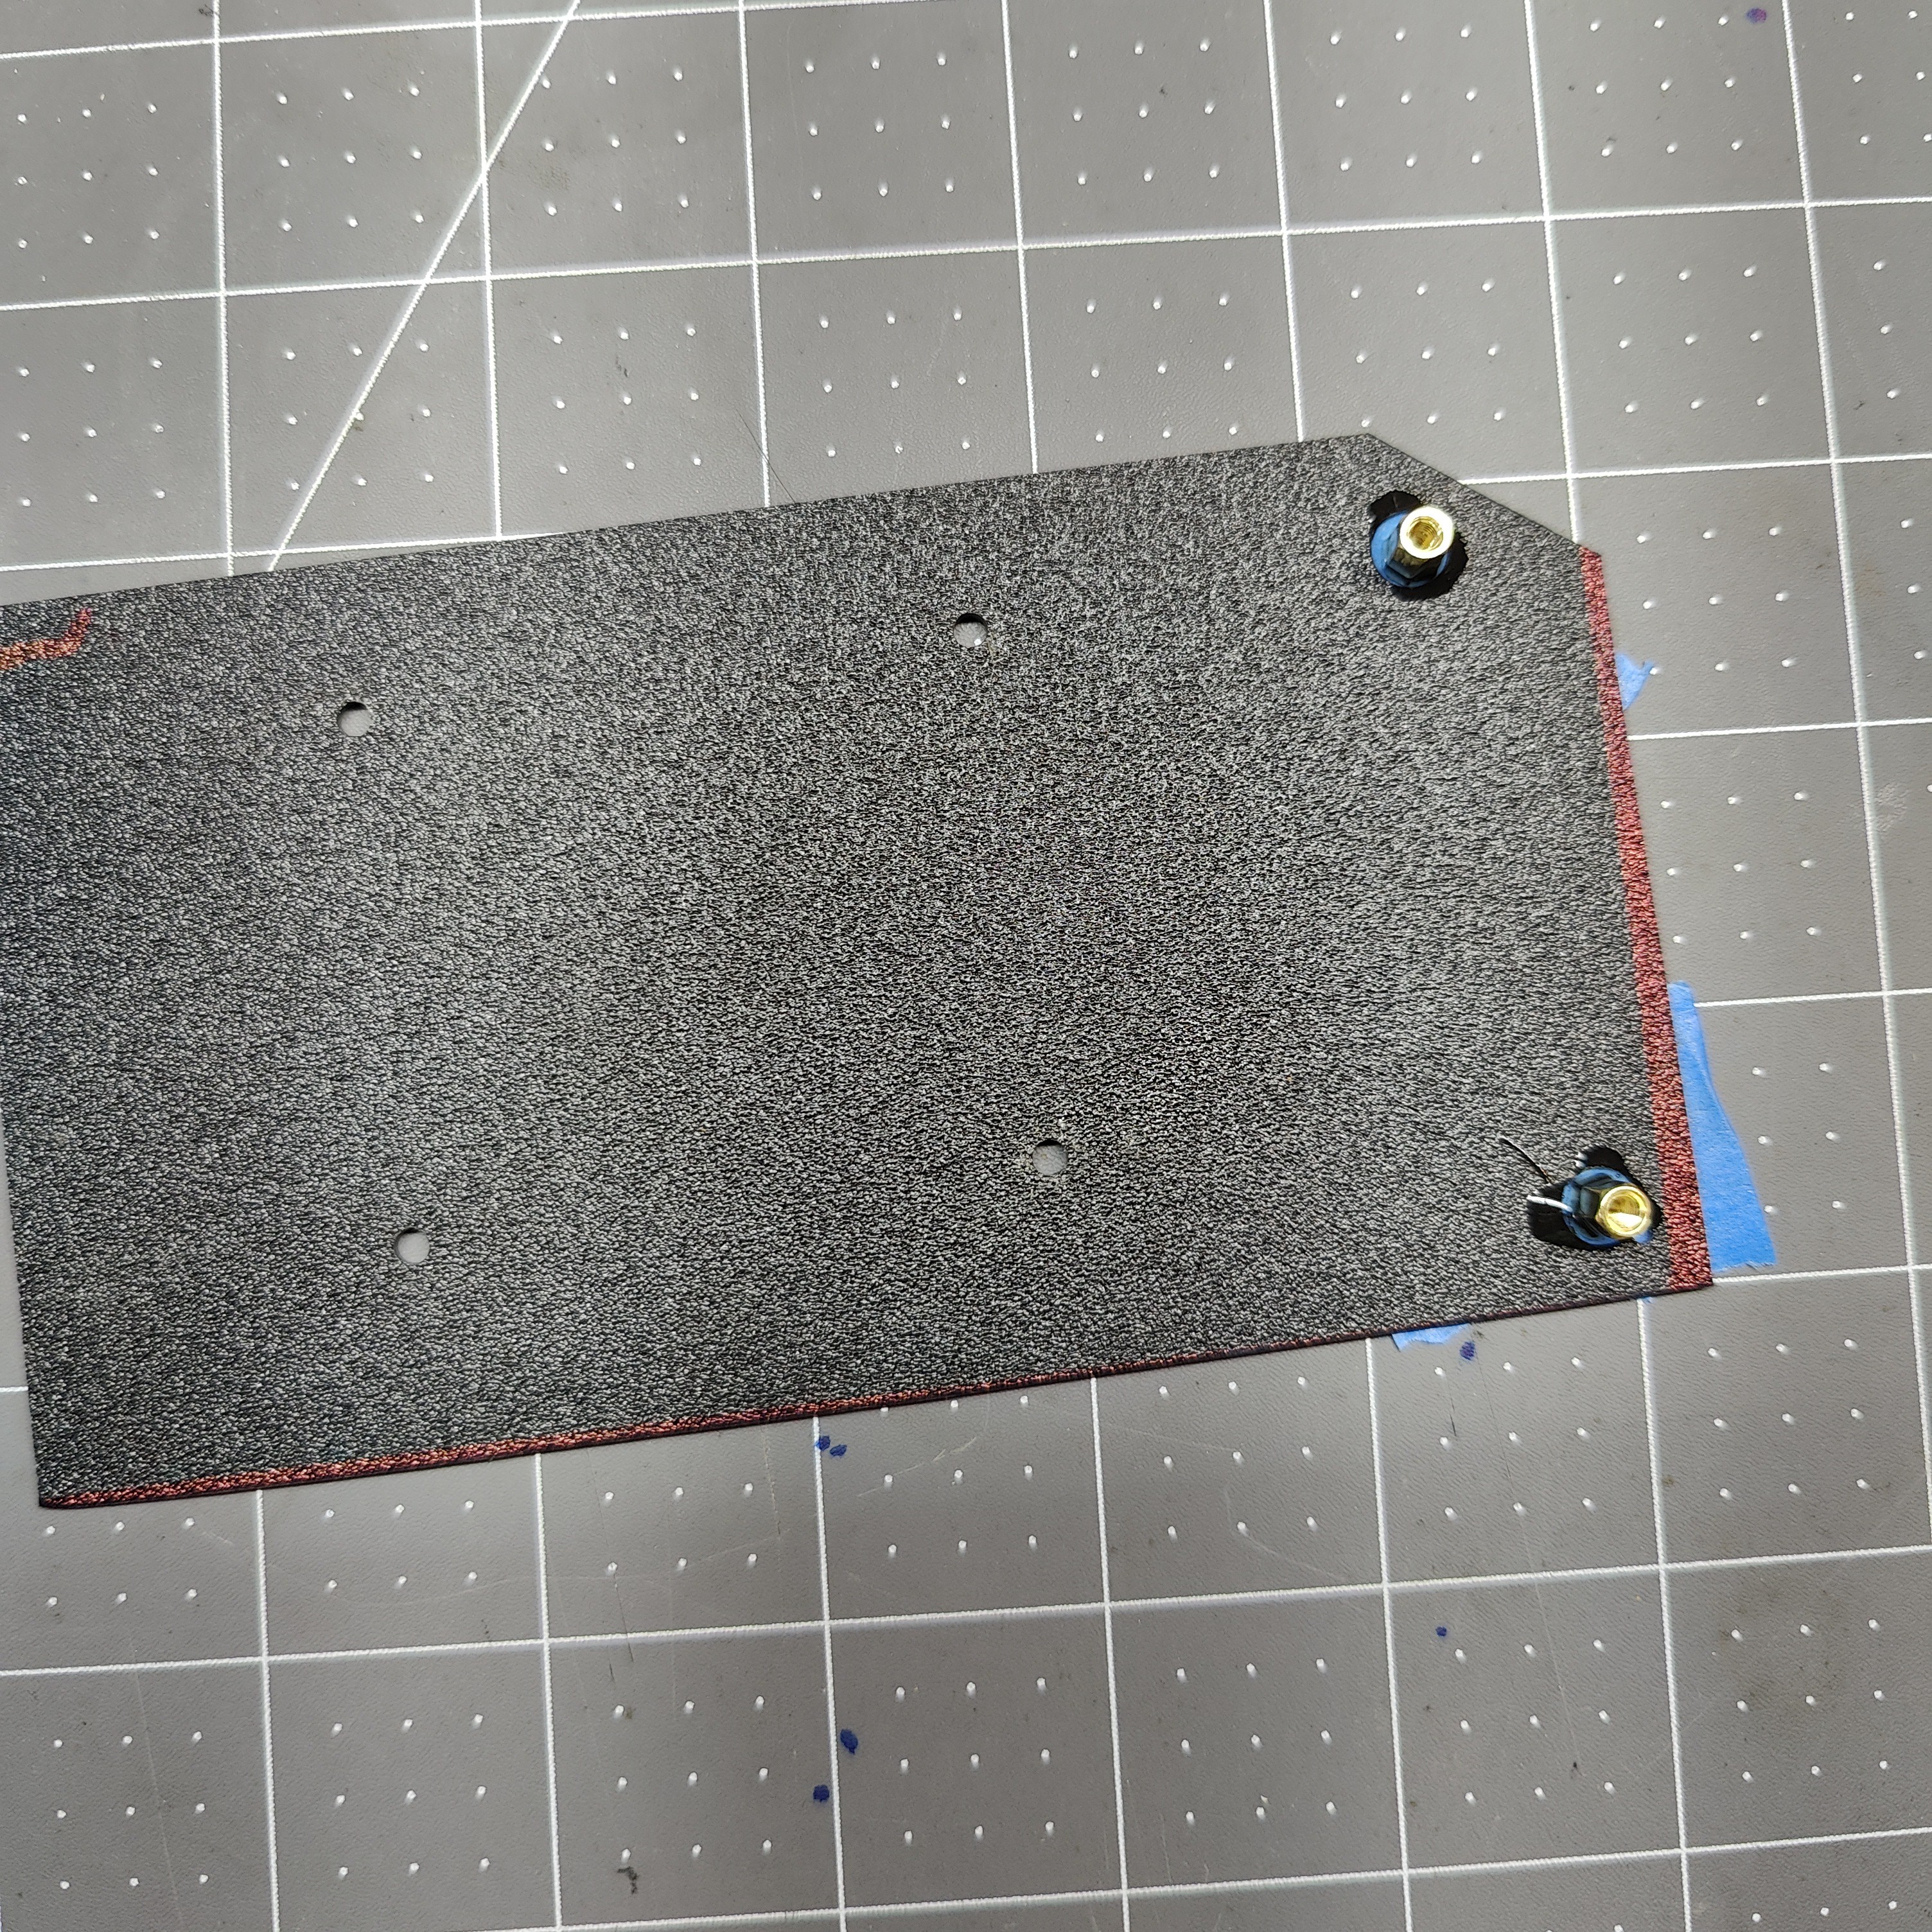
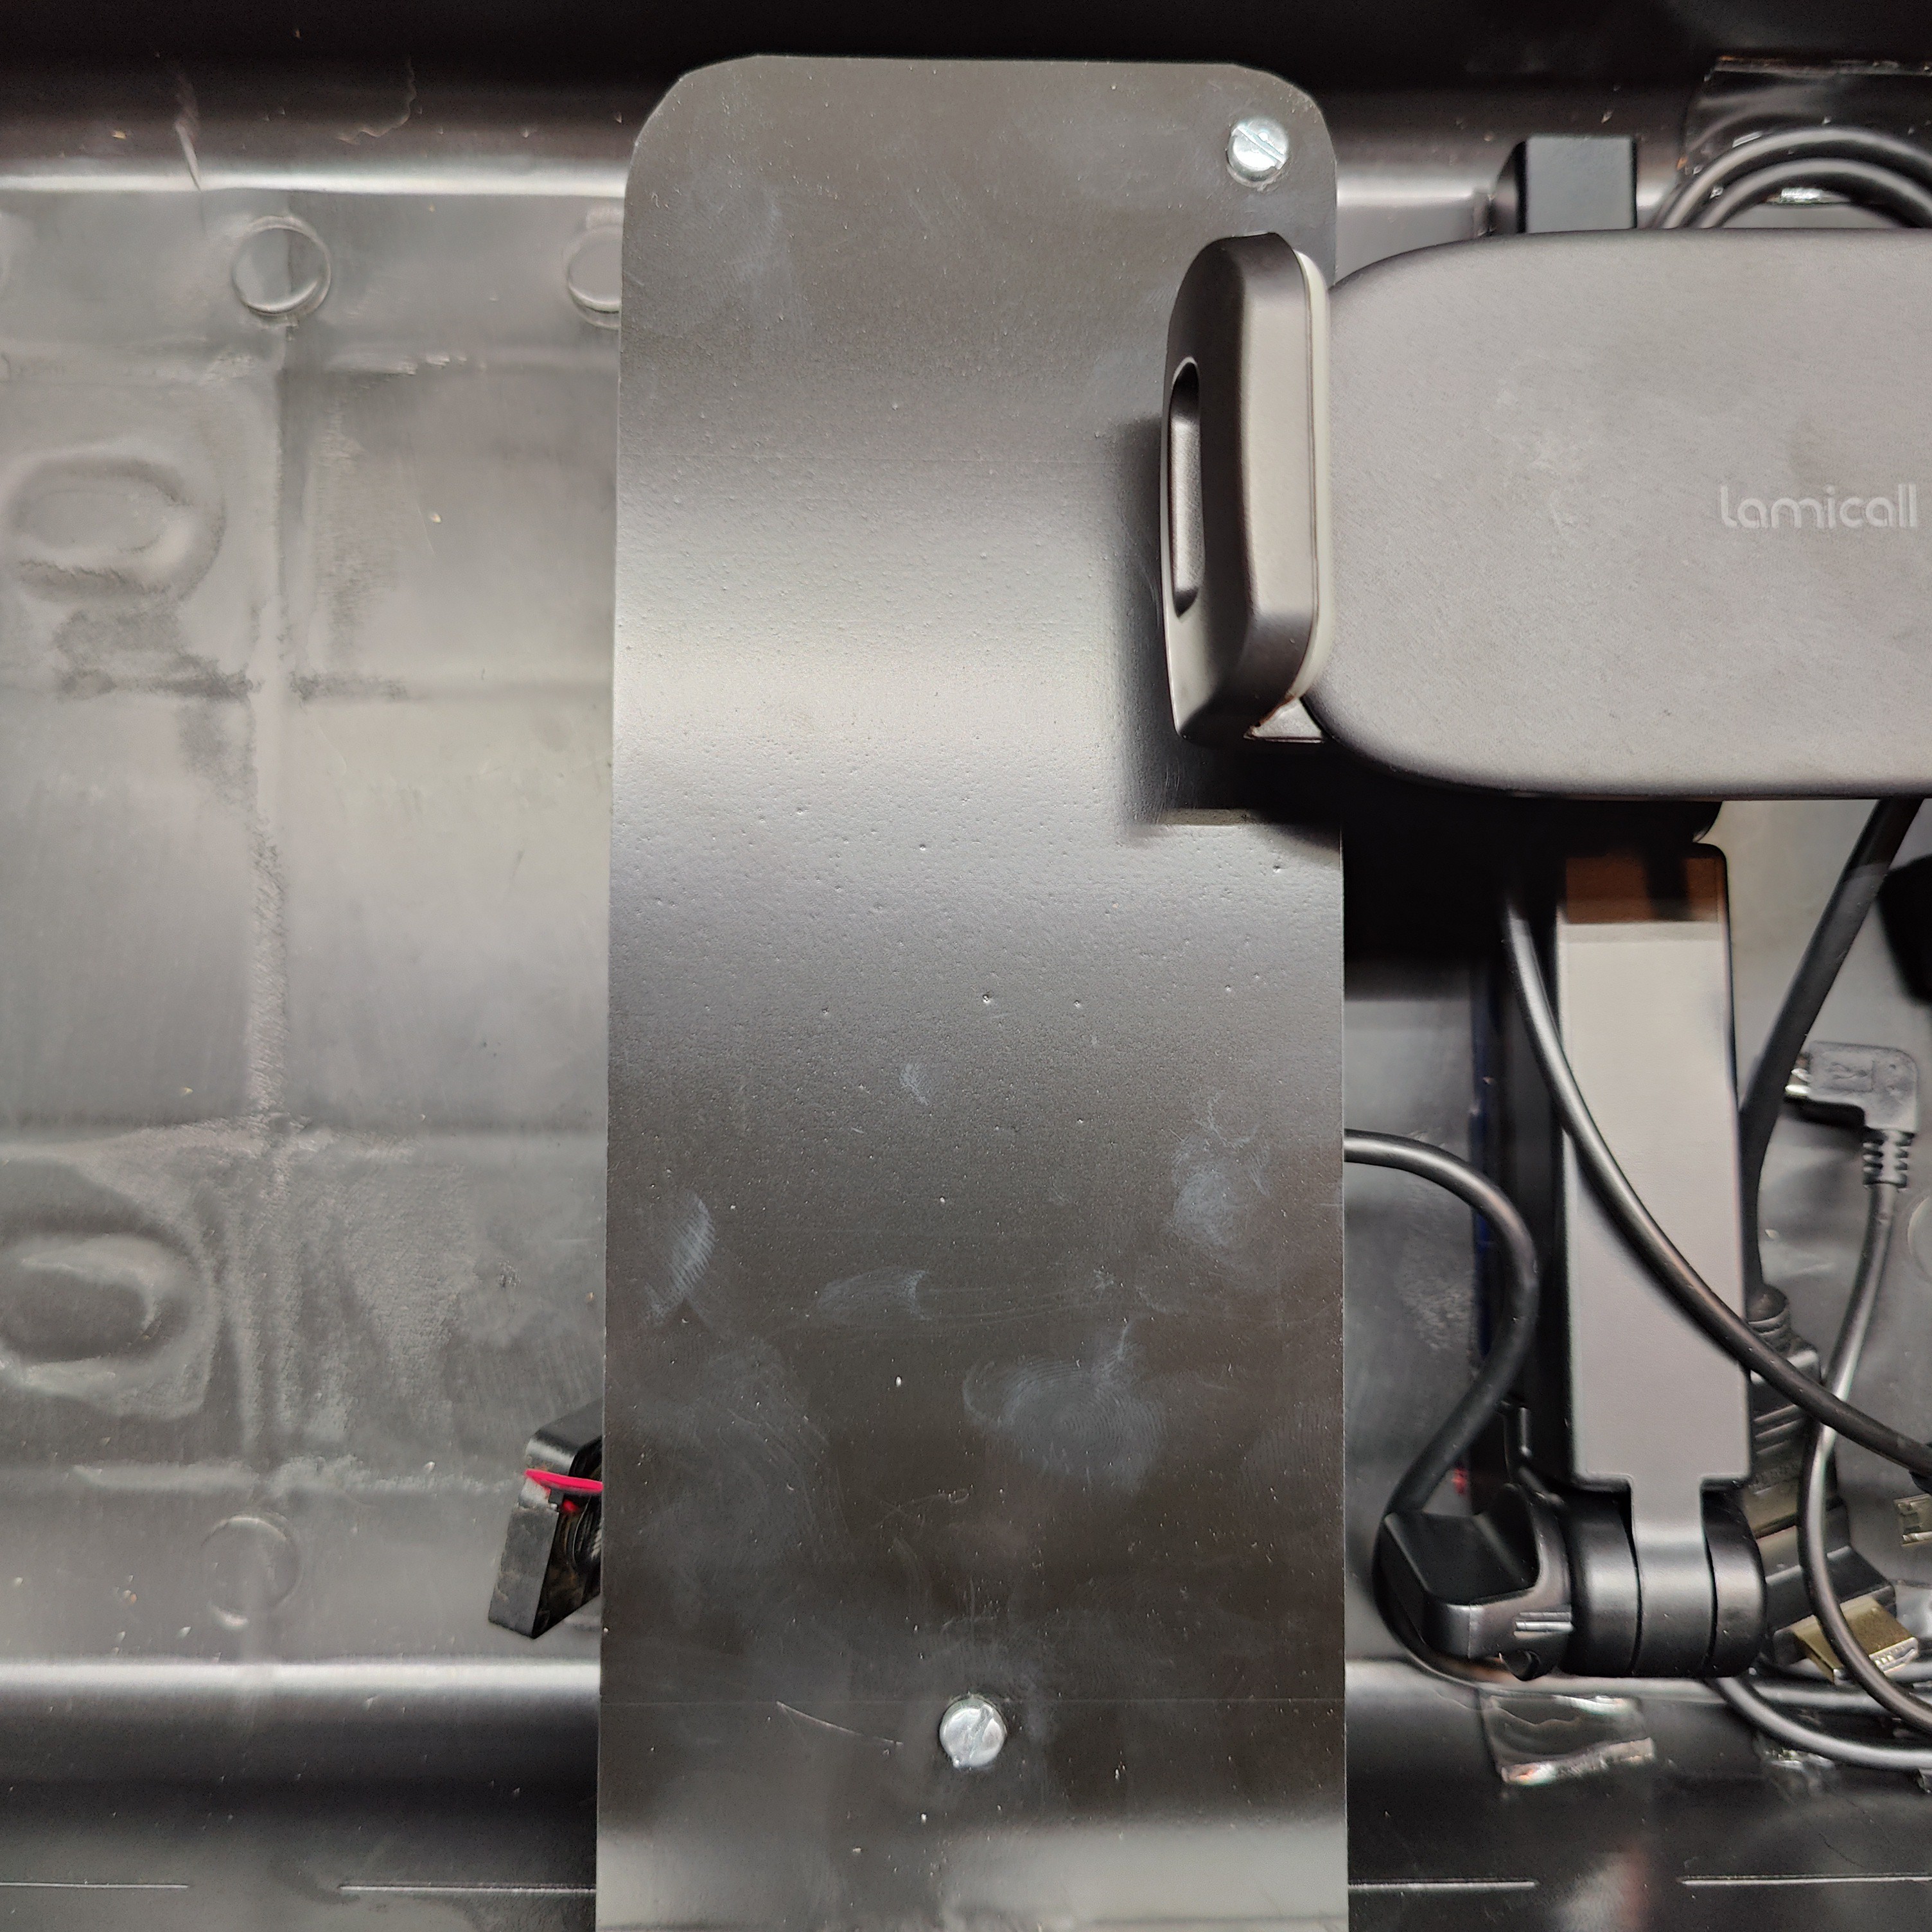
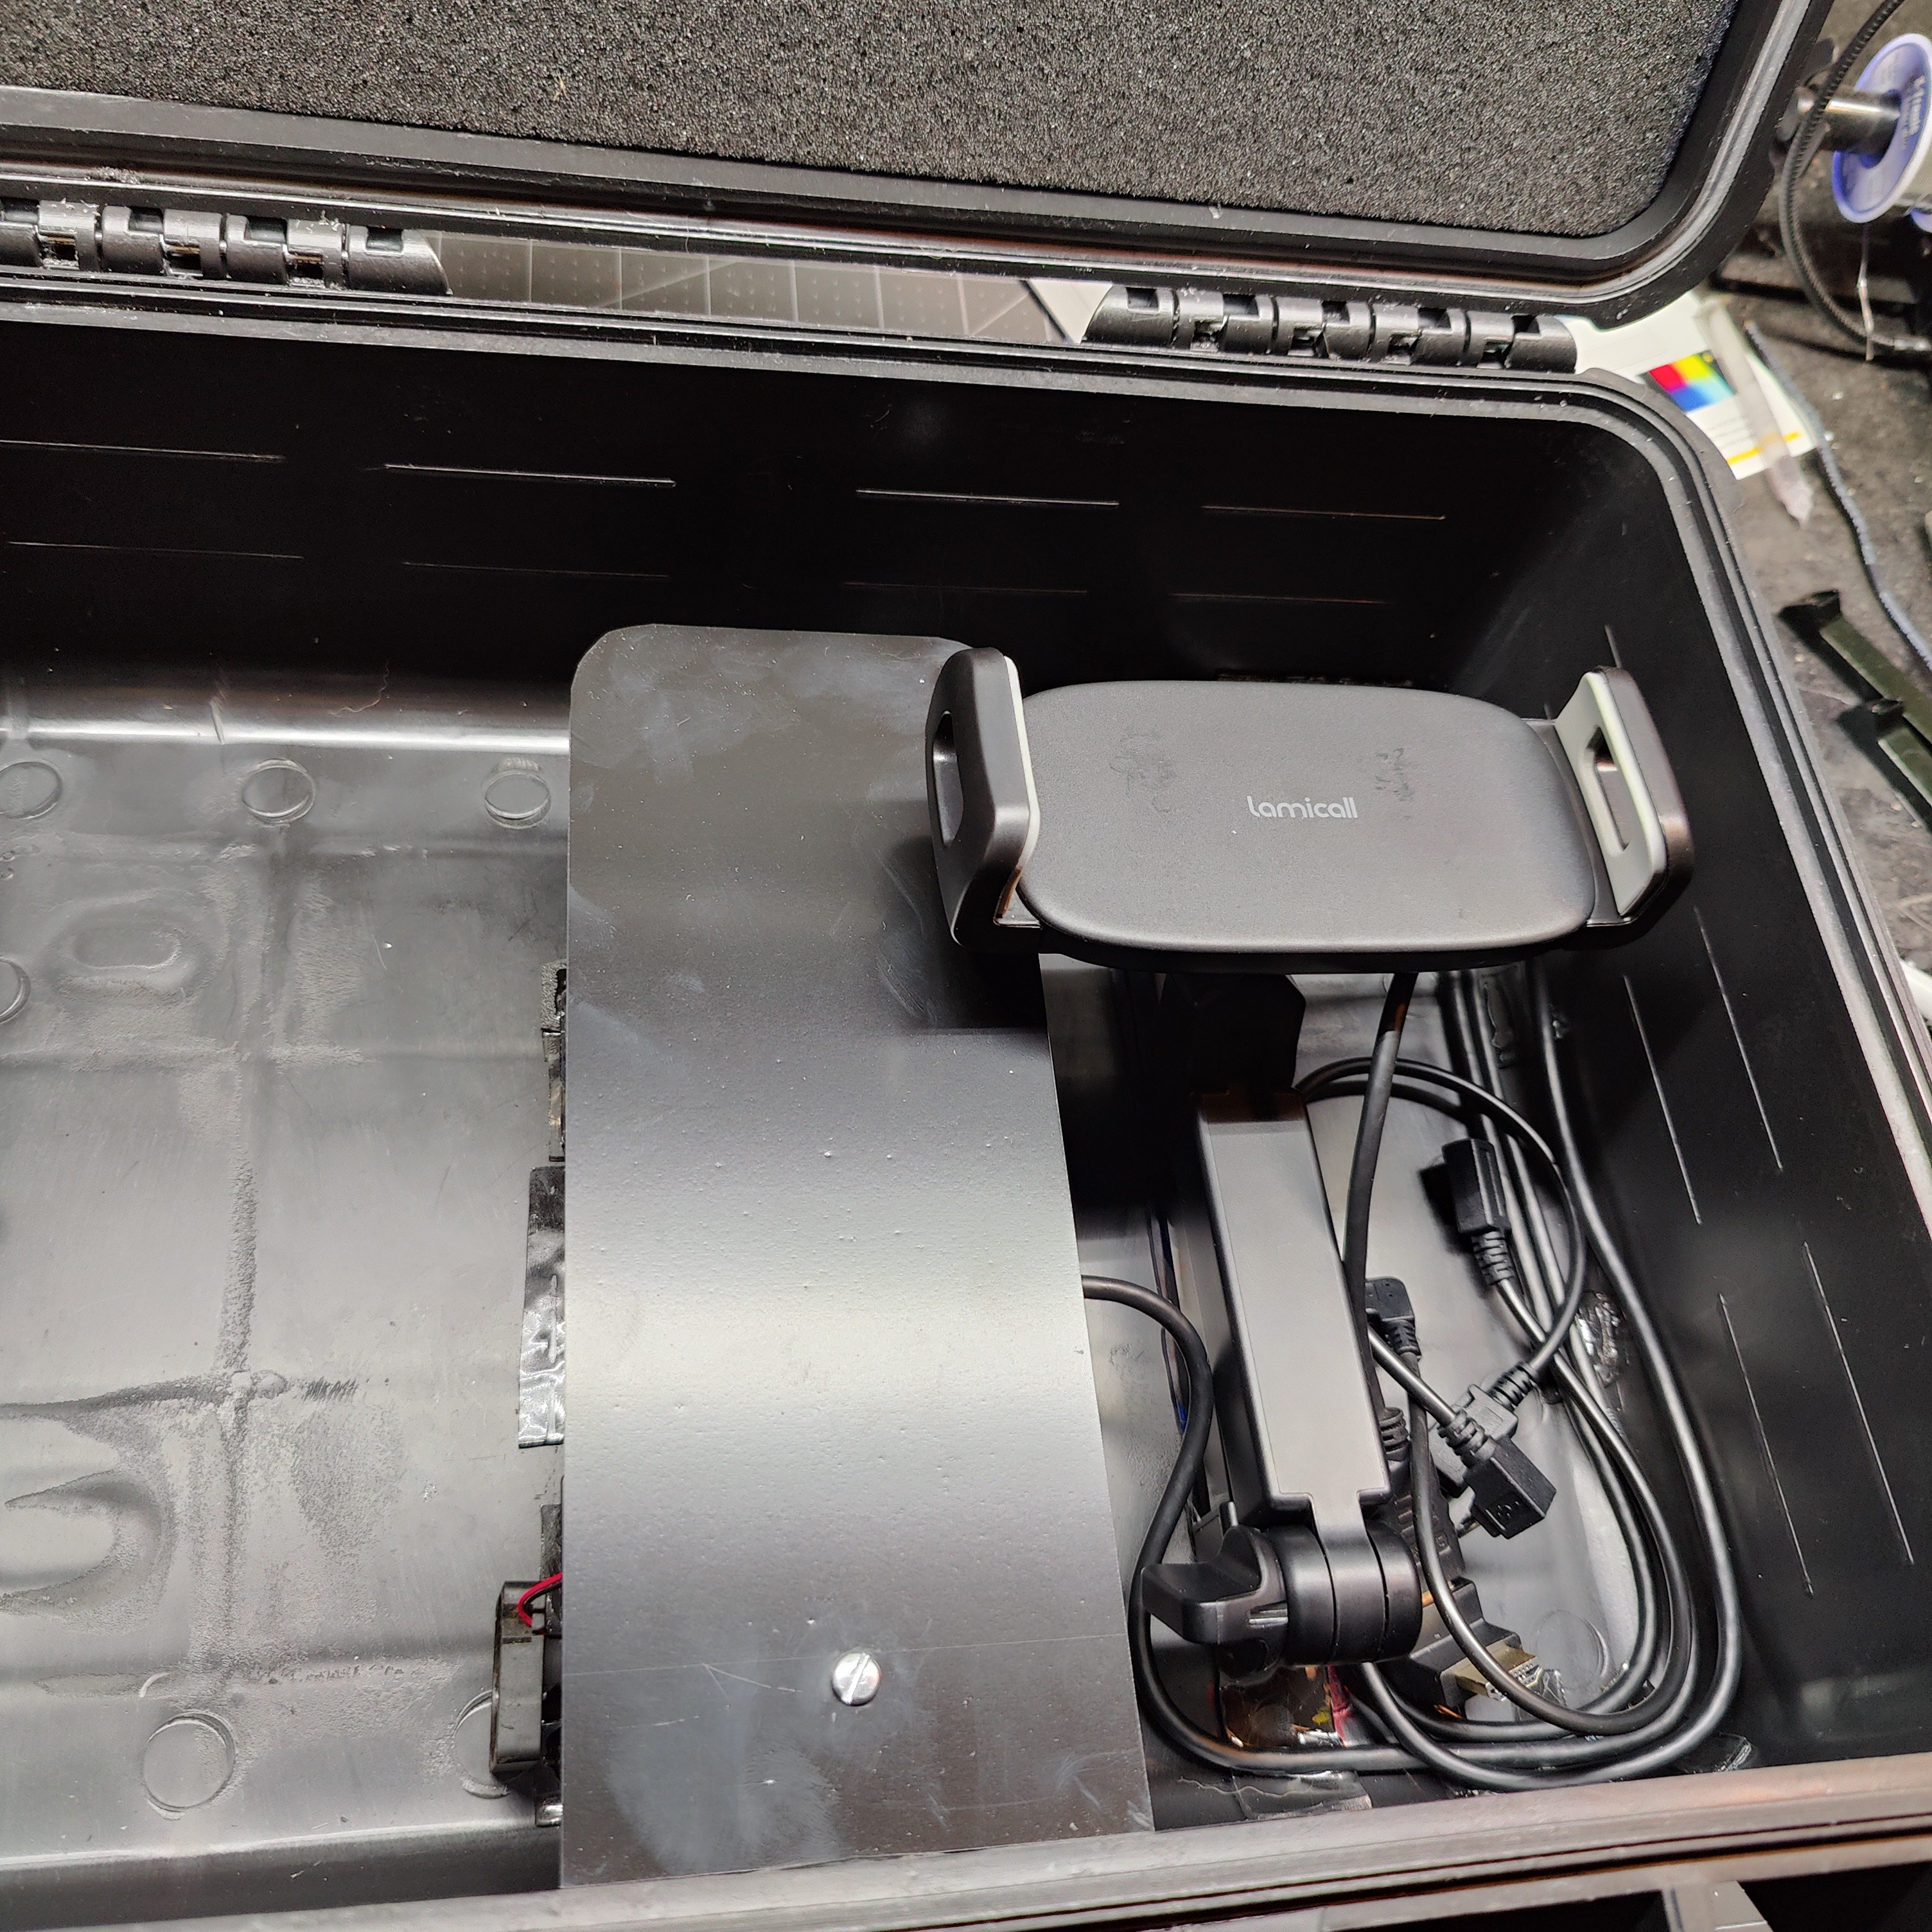
You can use wire spacers, I used the centers of dog poop bag rolls. To begin take 5 spacers, 2 plastic mounts that are with screws and cut 5 rectangles with sheet plastic. place the mounts inside the spacers, tape them in and flip them. Fill the spacers with hot glue securing the mounts. Now with UV resin attach all rectangles to the bottom of those spacers. the spacers with no mounts get filled with glue now . let all 5 mounts cool and dry for a few minutes. From here measure the dimensions of the center column panel needed, measure from the very top to two inches from the bottom and leave about a quarter of an inch over hang on both sides of the Pi. Cut the panel and round the edges on the bottom. place two mounts at the top and one at the bottom (none have screw mounts) . Secure the mounts with nano tape. Use screws to secure the last two triangles by screwing them into the panel, place nano tape under those two and press the panel into place. Make sure the panel is not to high and does not hit the screen mount.
![]()
![]()
![]()
![]()
![]()
-
4place screen mount and screen two
For this step we want to repeat step 2 but instead of making sure the mount unfolds up, this mount needs to unfold down. I was able to find a 7 inch screen enclosure, that gets built now. A pair of legs came with the enclosure, those get put aside for now and will get used later.
![]()
![]()
![]()
![]()
-
5Mount power supply
About midway back in the case behind the 10.1 inch screen all the way to the left I placed the battery. This left enough room for the screen mount to be able to function properly and not be blocked, it also left room behind the battery to run // hide wires. To mount the battery I simply ran a strip of nano tape down the side of the battery and slapped it to the side of the case like Phil Swift. Only difference here is nano tape works. If you want to get really technical based off the info on the box you can do a simple math equation to understand how much tape supports how much weight.
![]()
![]()
-
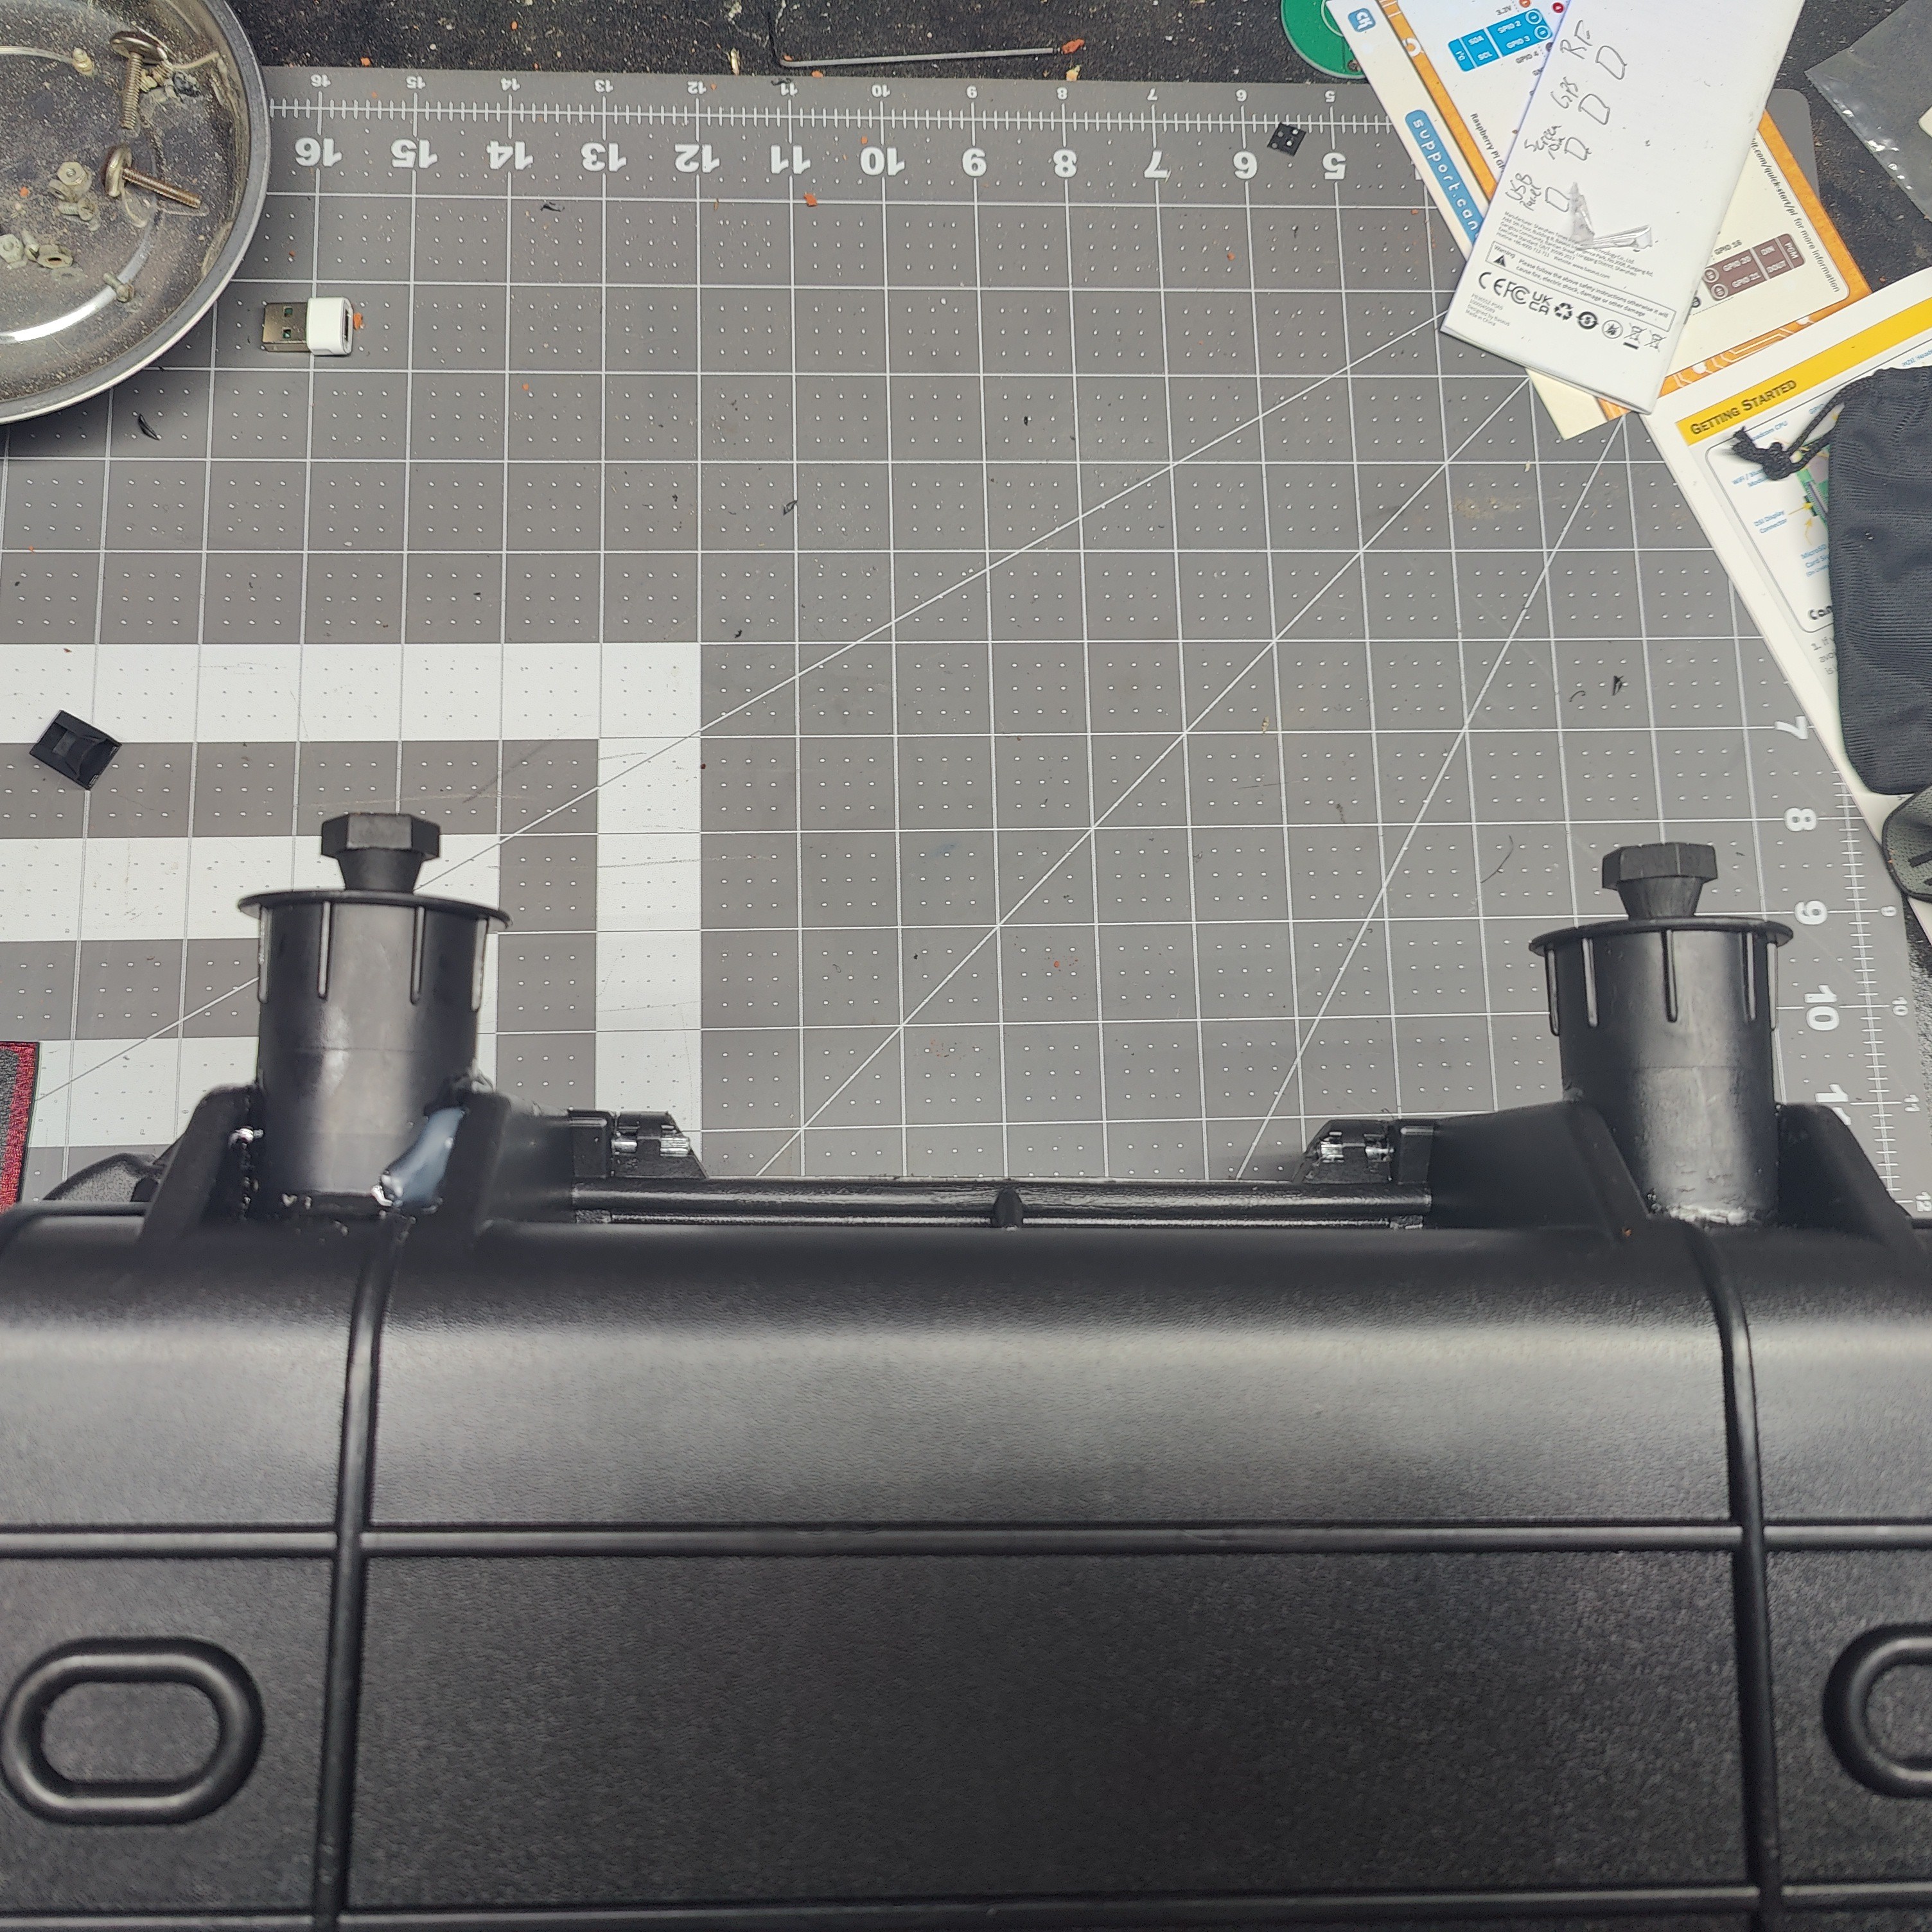
6Fabricate and attach legs to outside of case (top portion under screens)
For this step I used stuff I had lying around my workshop. I saved some shelve ends that resembled blasting caps , I took two of these and modified them by drilling holes in the center and placing another set of shelve ends inside of them. When I went to do the measurements on the bottom of the case I lucked out as the diameter of the caps was the exact length of the expanse I needed to fill. I made a small cut to each cap to ensure a perfect fit and secured them in place with UV resin and hot glue.
![]()
-
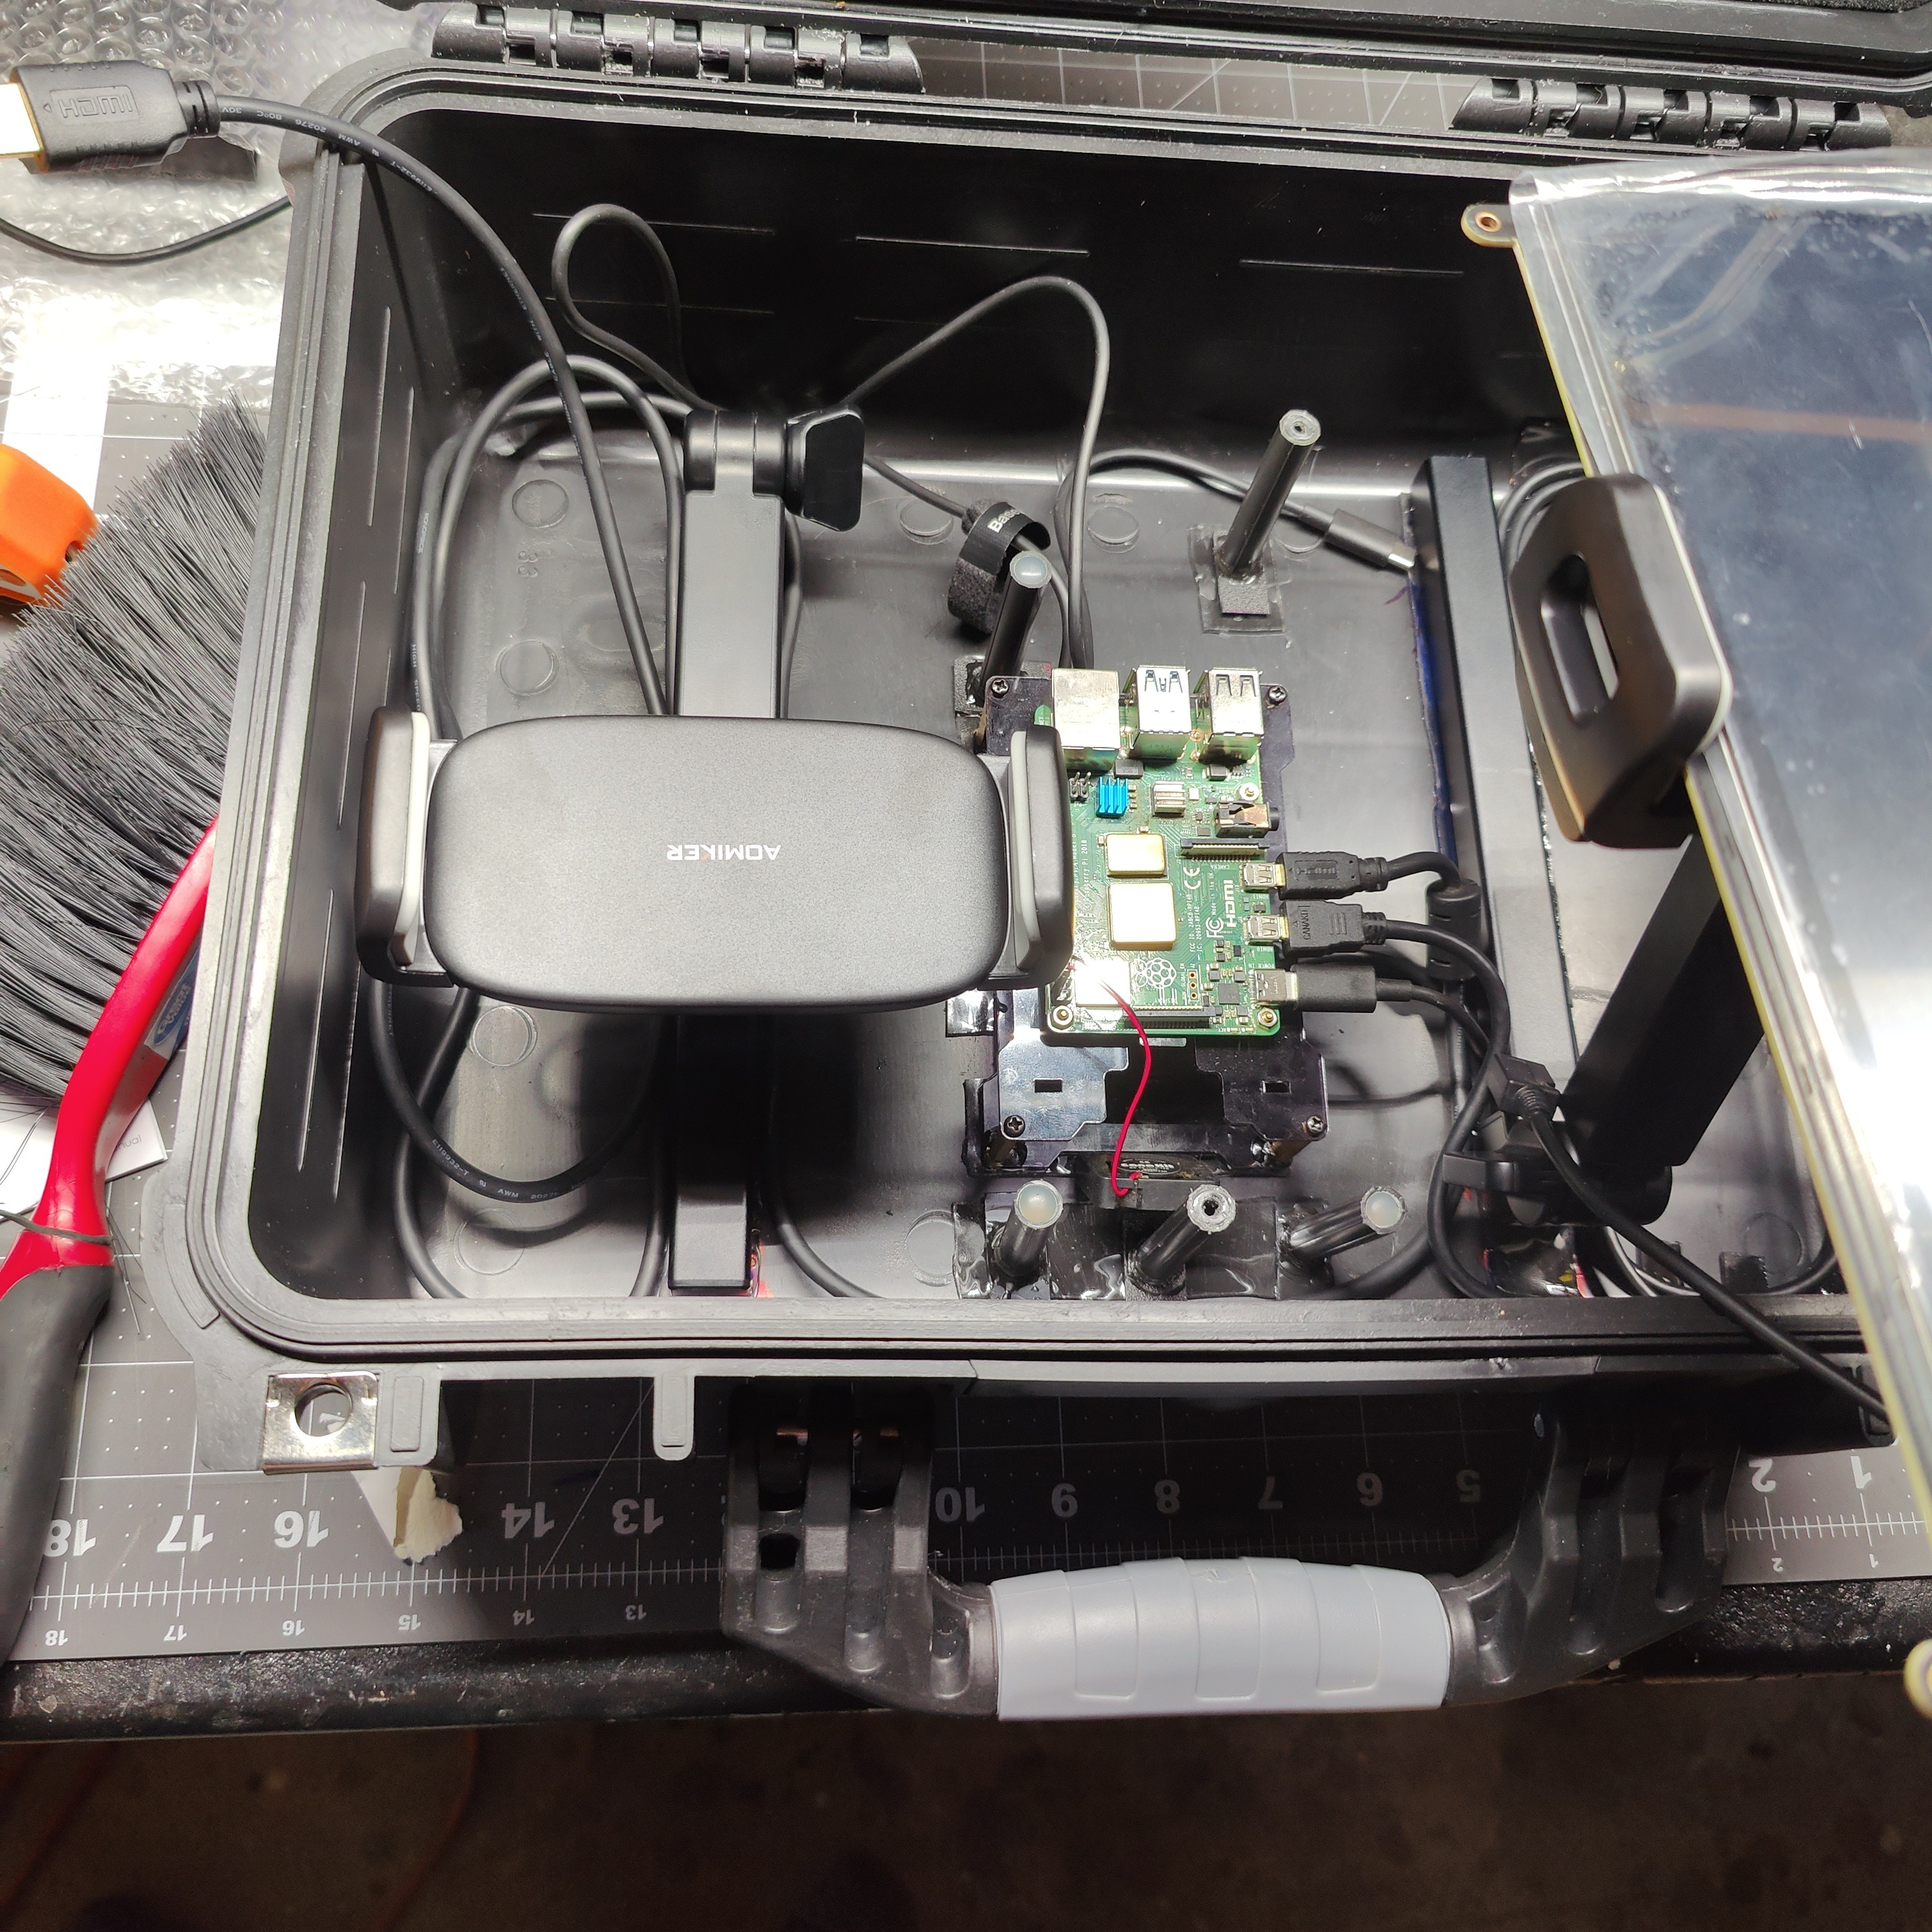
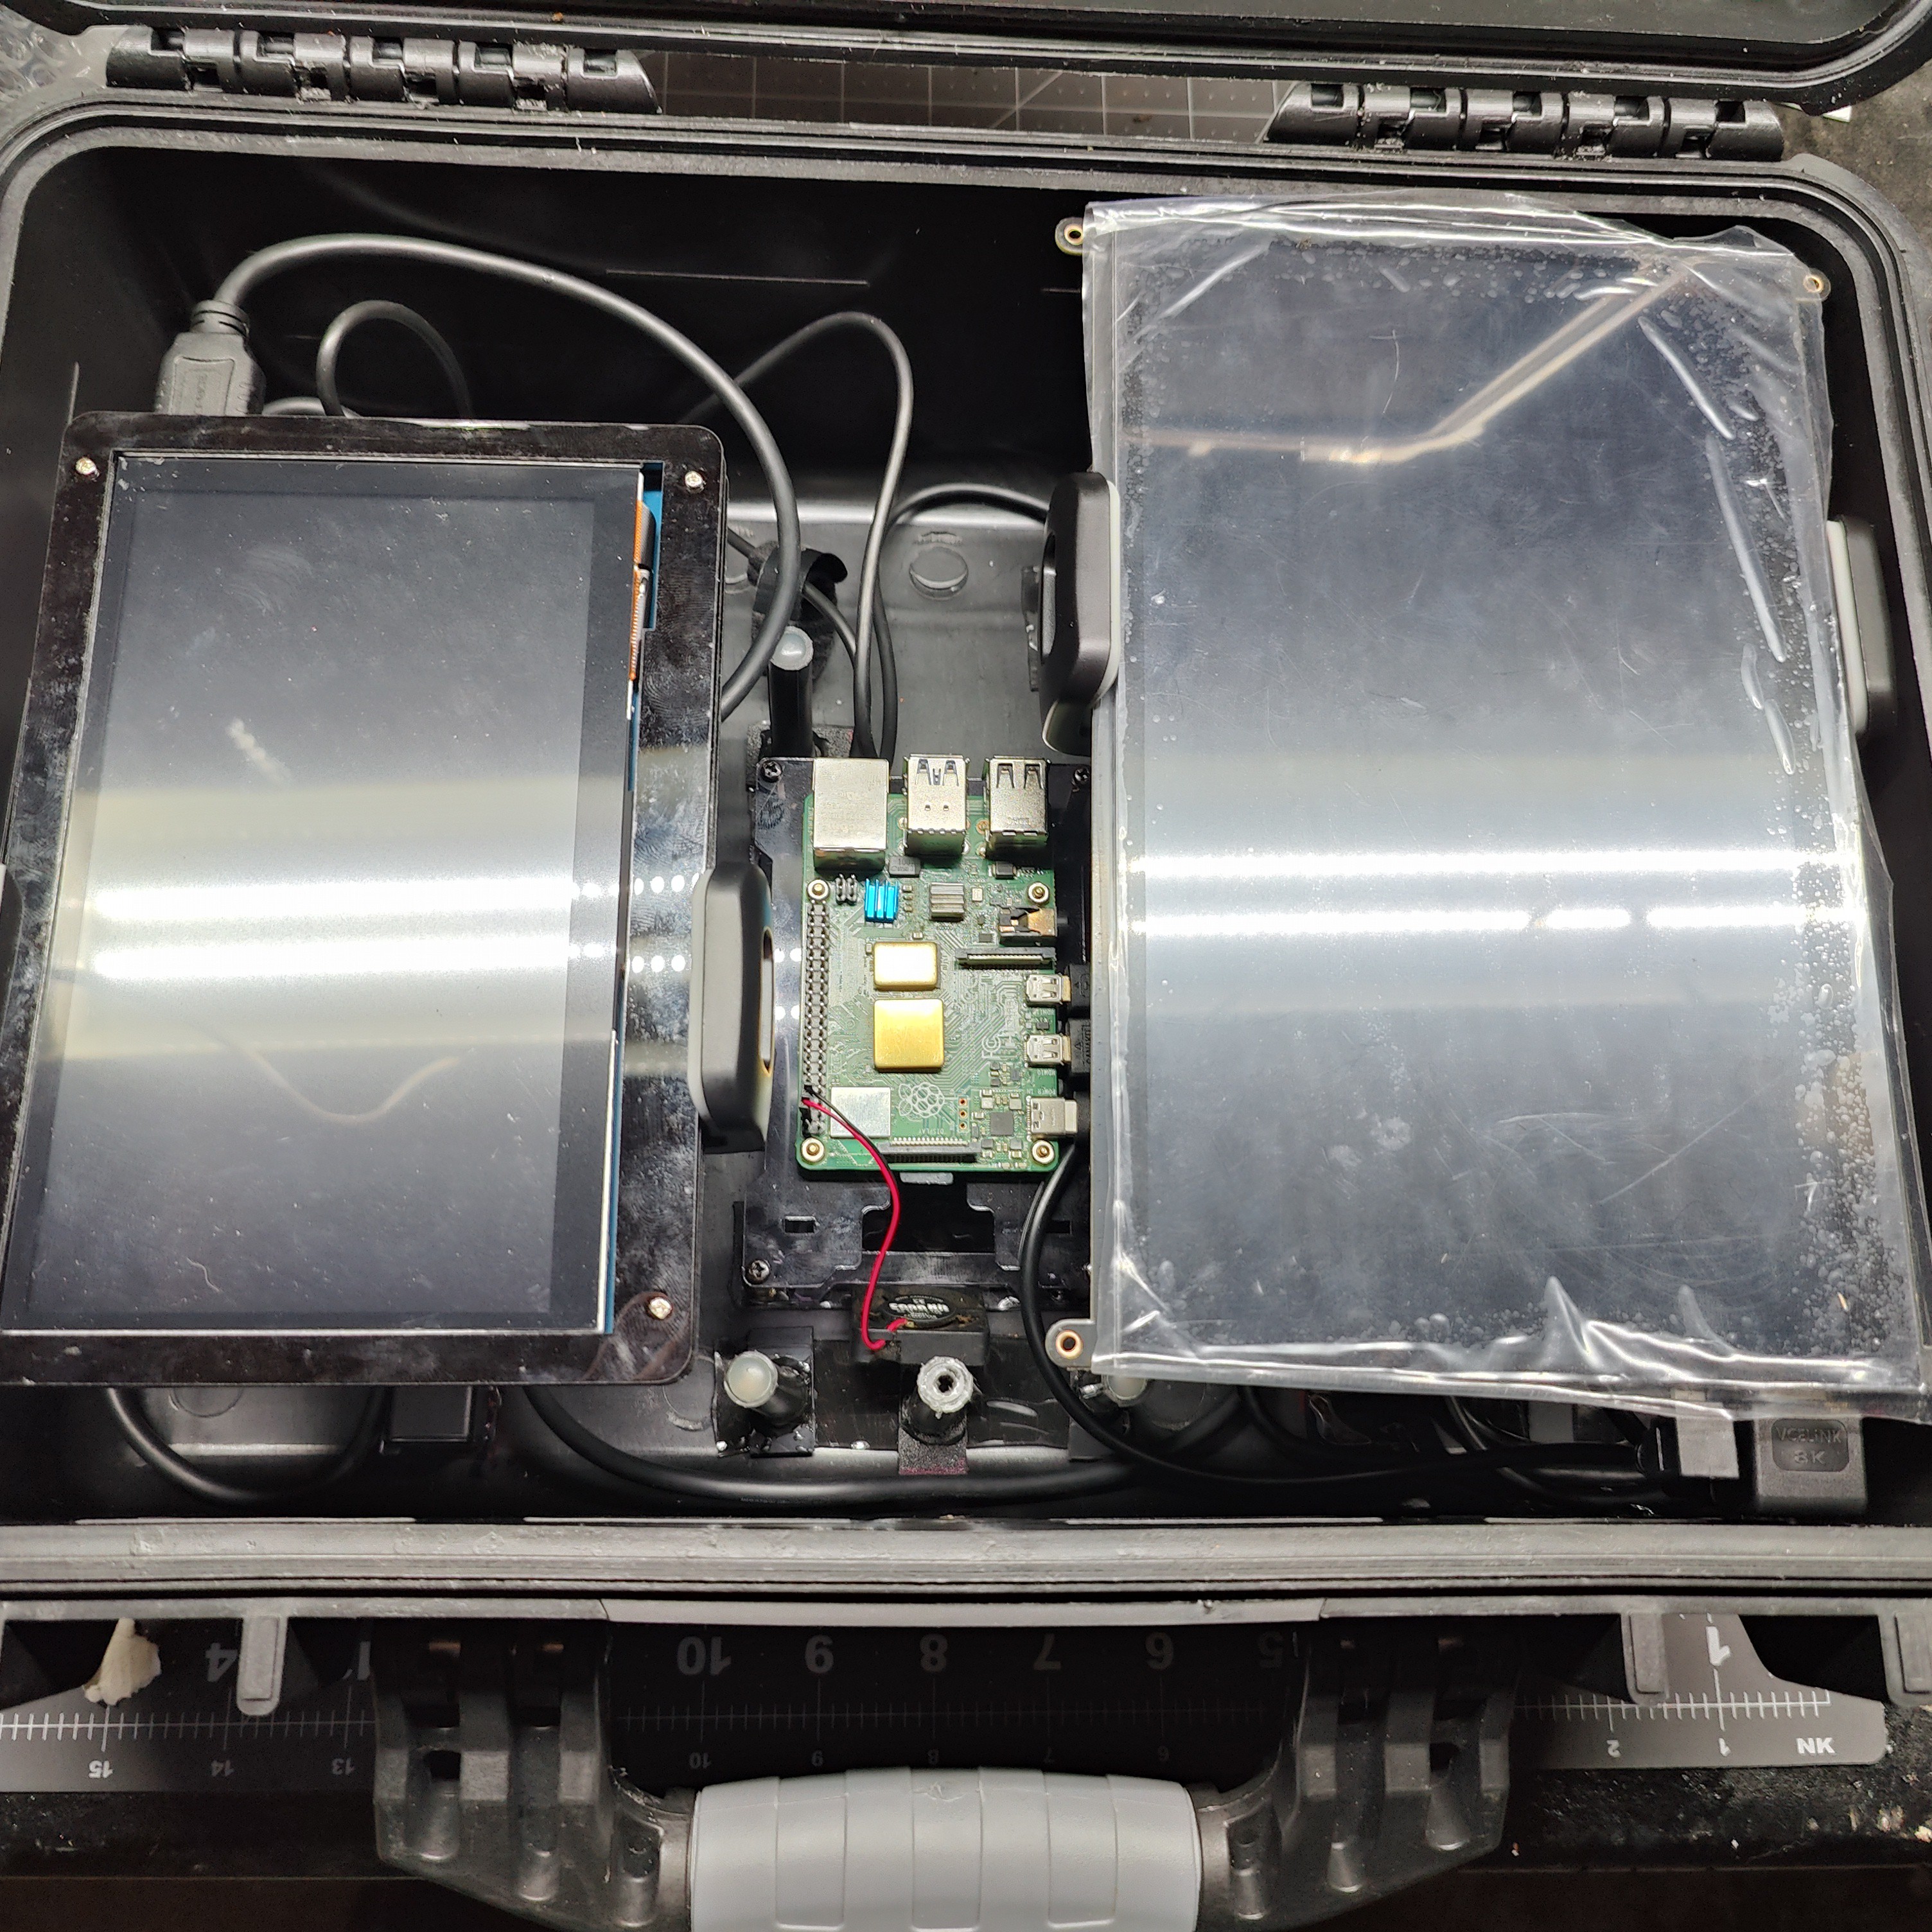
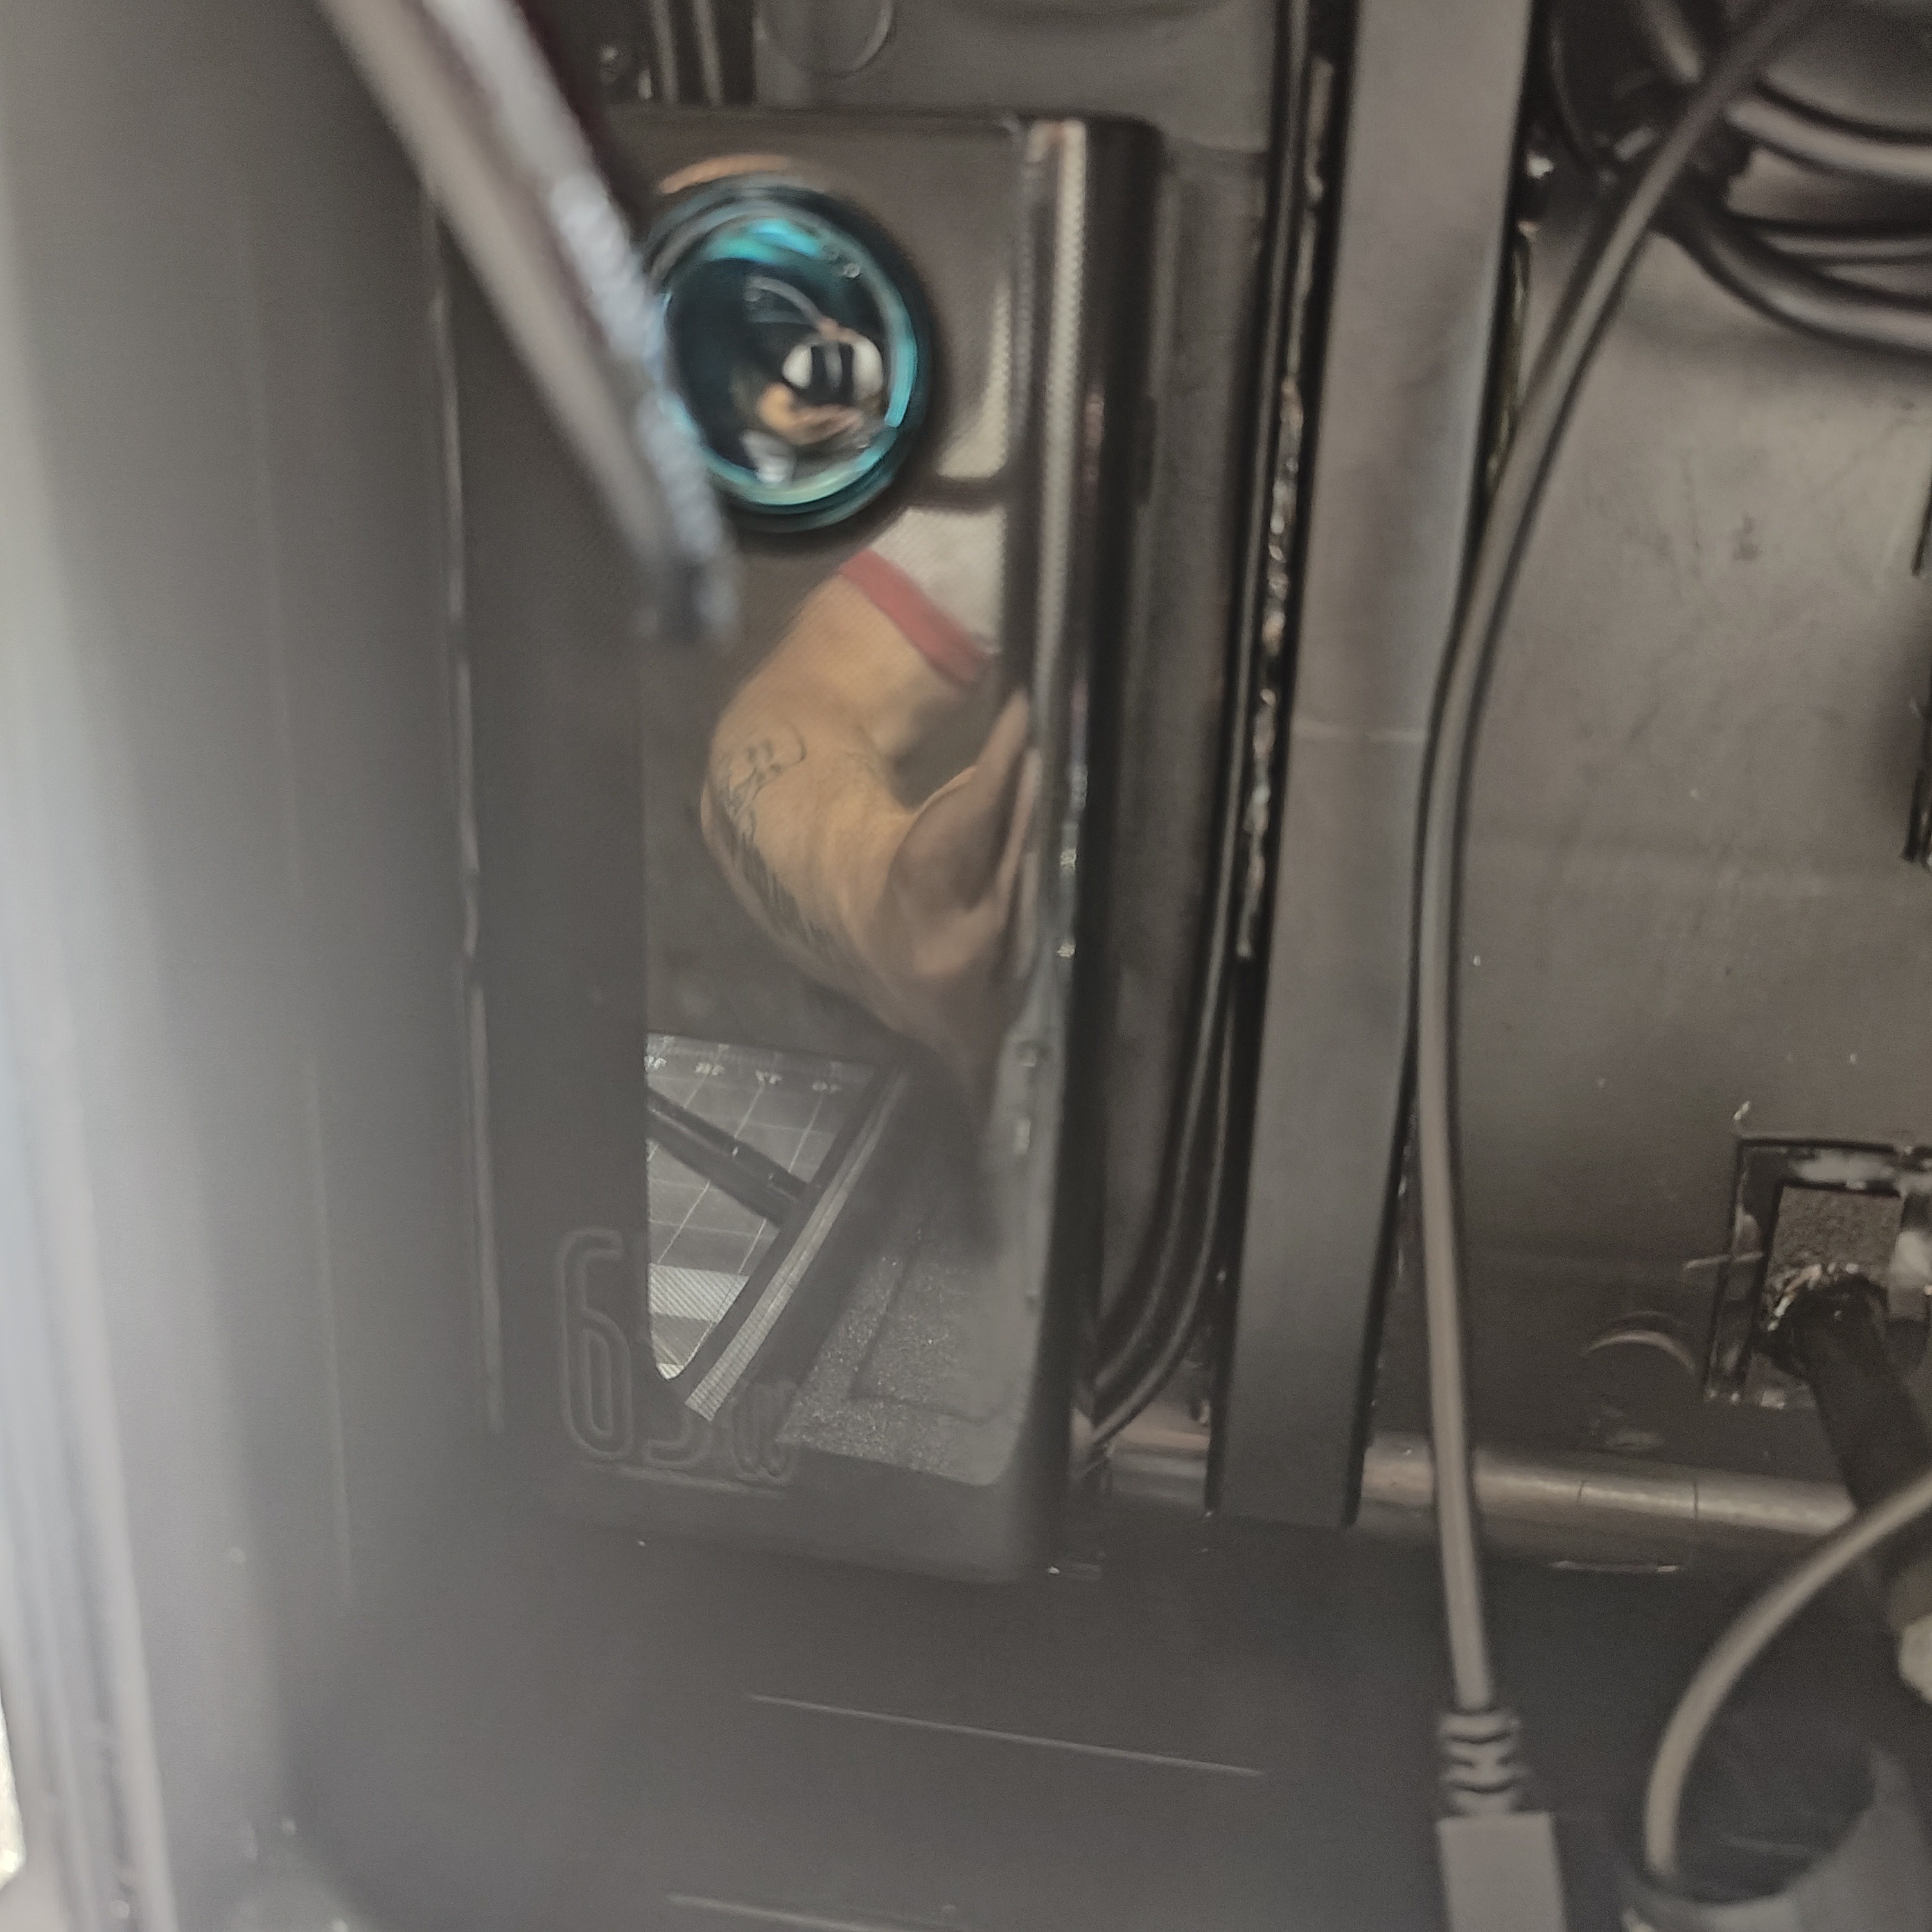
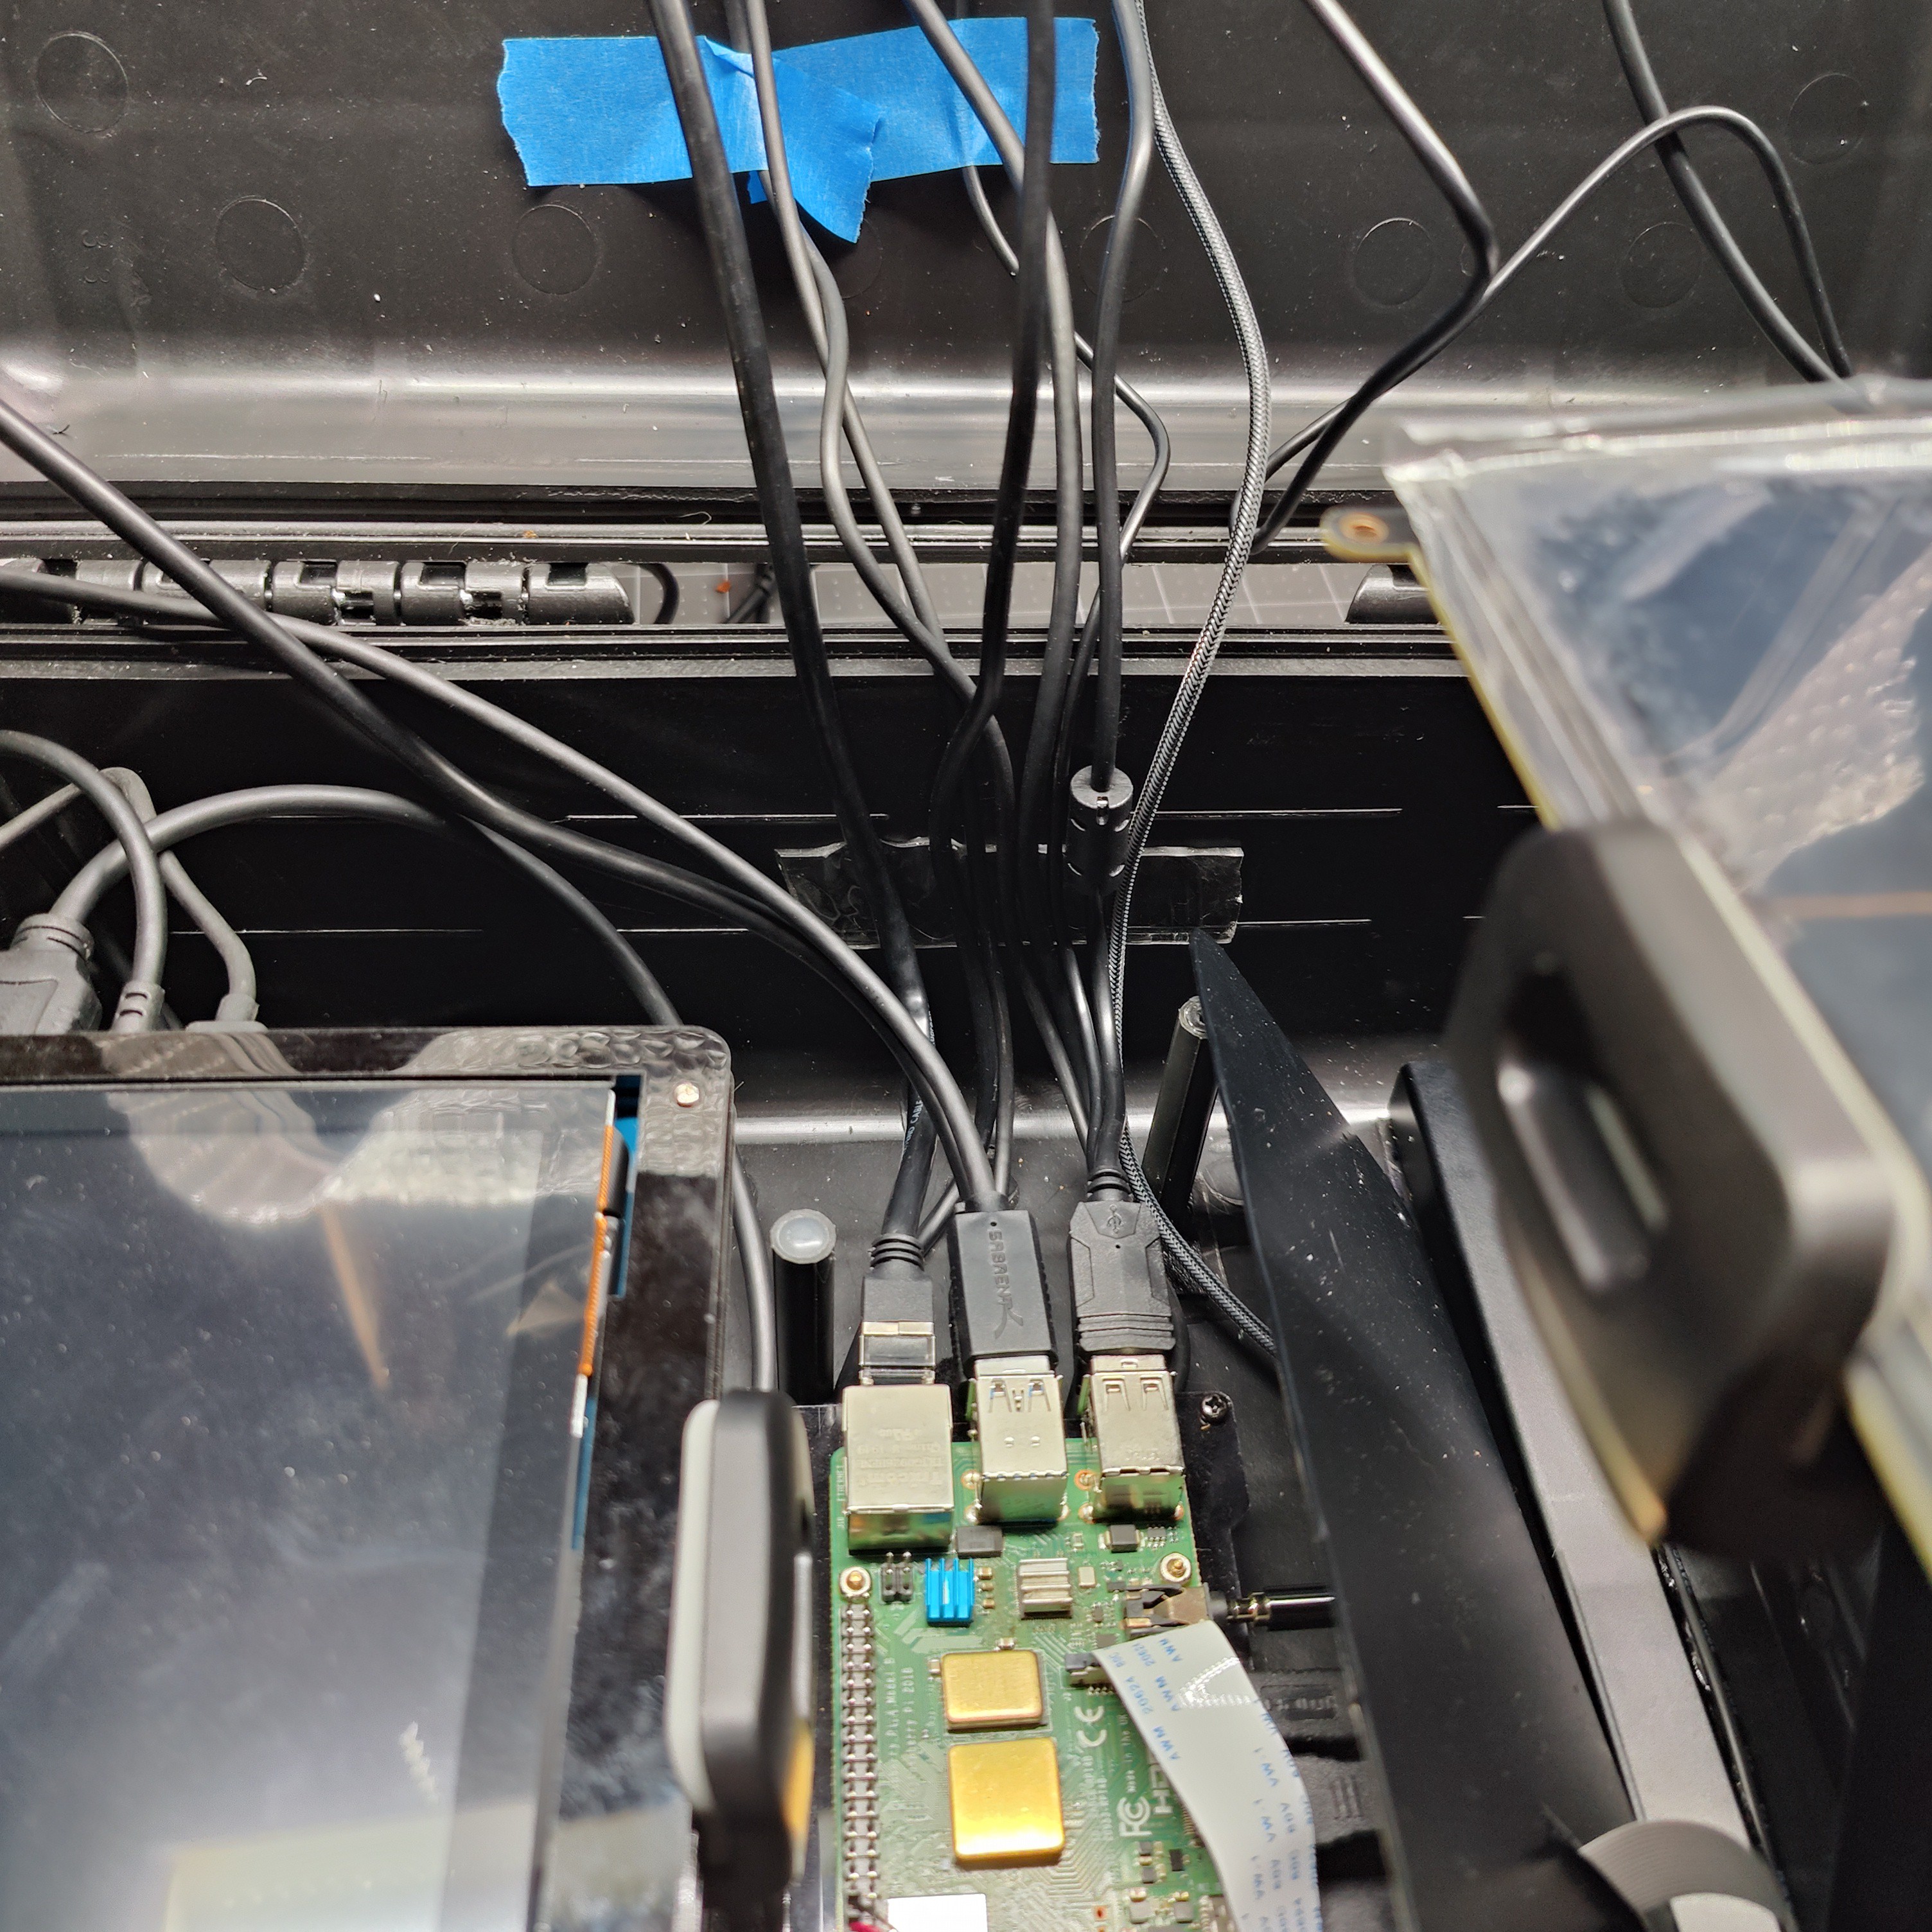
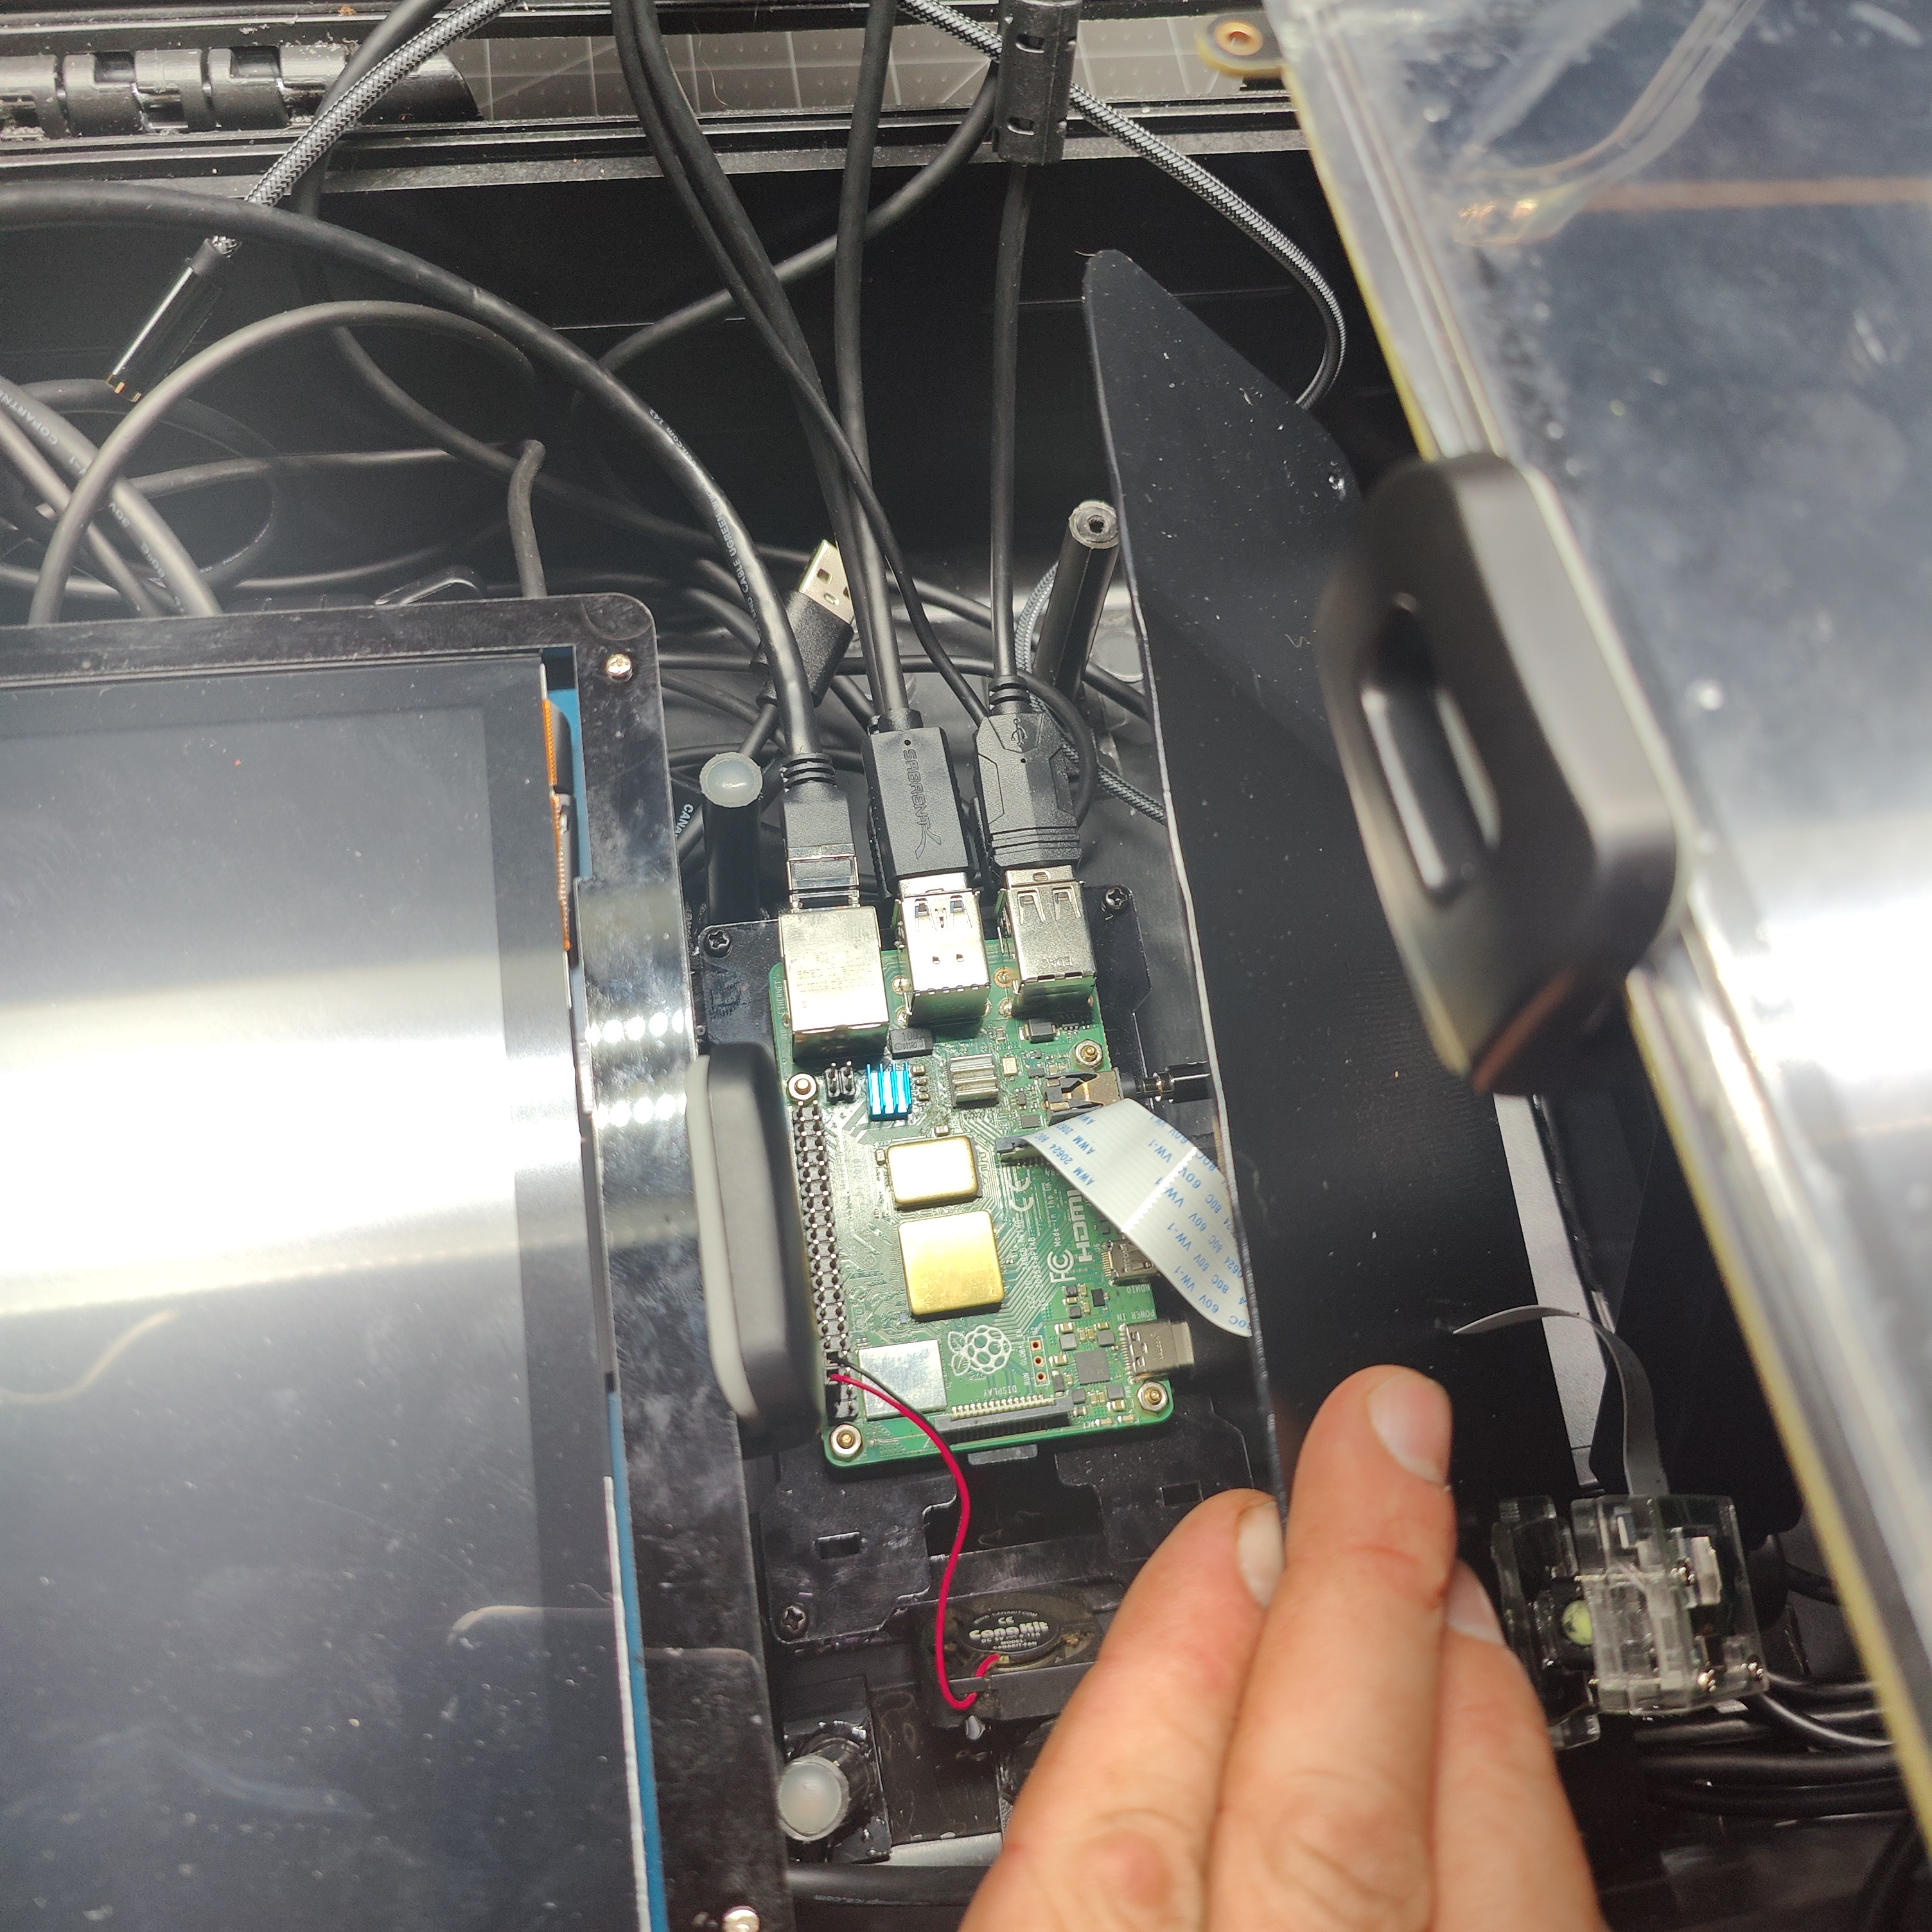
7Connect all wires to the Pi // Start running wires
![]()
This step is pretty straight forward, remove the panel that was fabricated and is covering the Pi. Start plugging in all the wires and cords. The wires you know will be going to the lower portion (the keyboard panel) this includes the Pi power switch, 4 port switch and Pi power cords and the touch cord for the 10.1 inch screen . You can nicely and neatly run them straight down and secure then with a piece of nano tape. The other cords can be left loose for the time being. The USB to pin cable will run from the battery to the 4 port USB hub in the keyboard panel below . Now is also a good time to mount the Pi fan under the panel if you have not already, this can be done with nano tape or UV resin. When securing wires on either side for the screens nano tape can be used also to keep them neat.
-
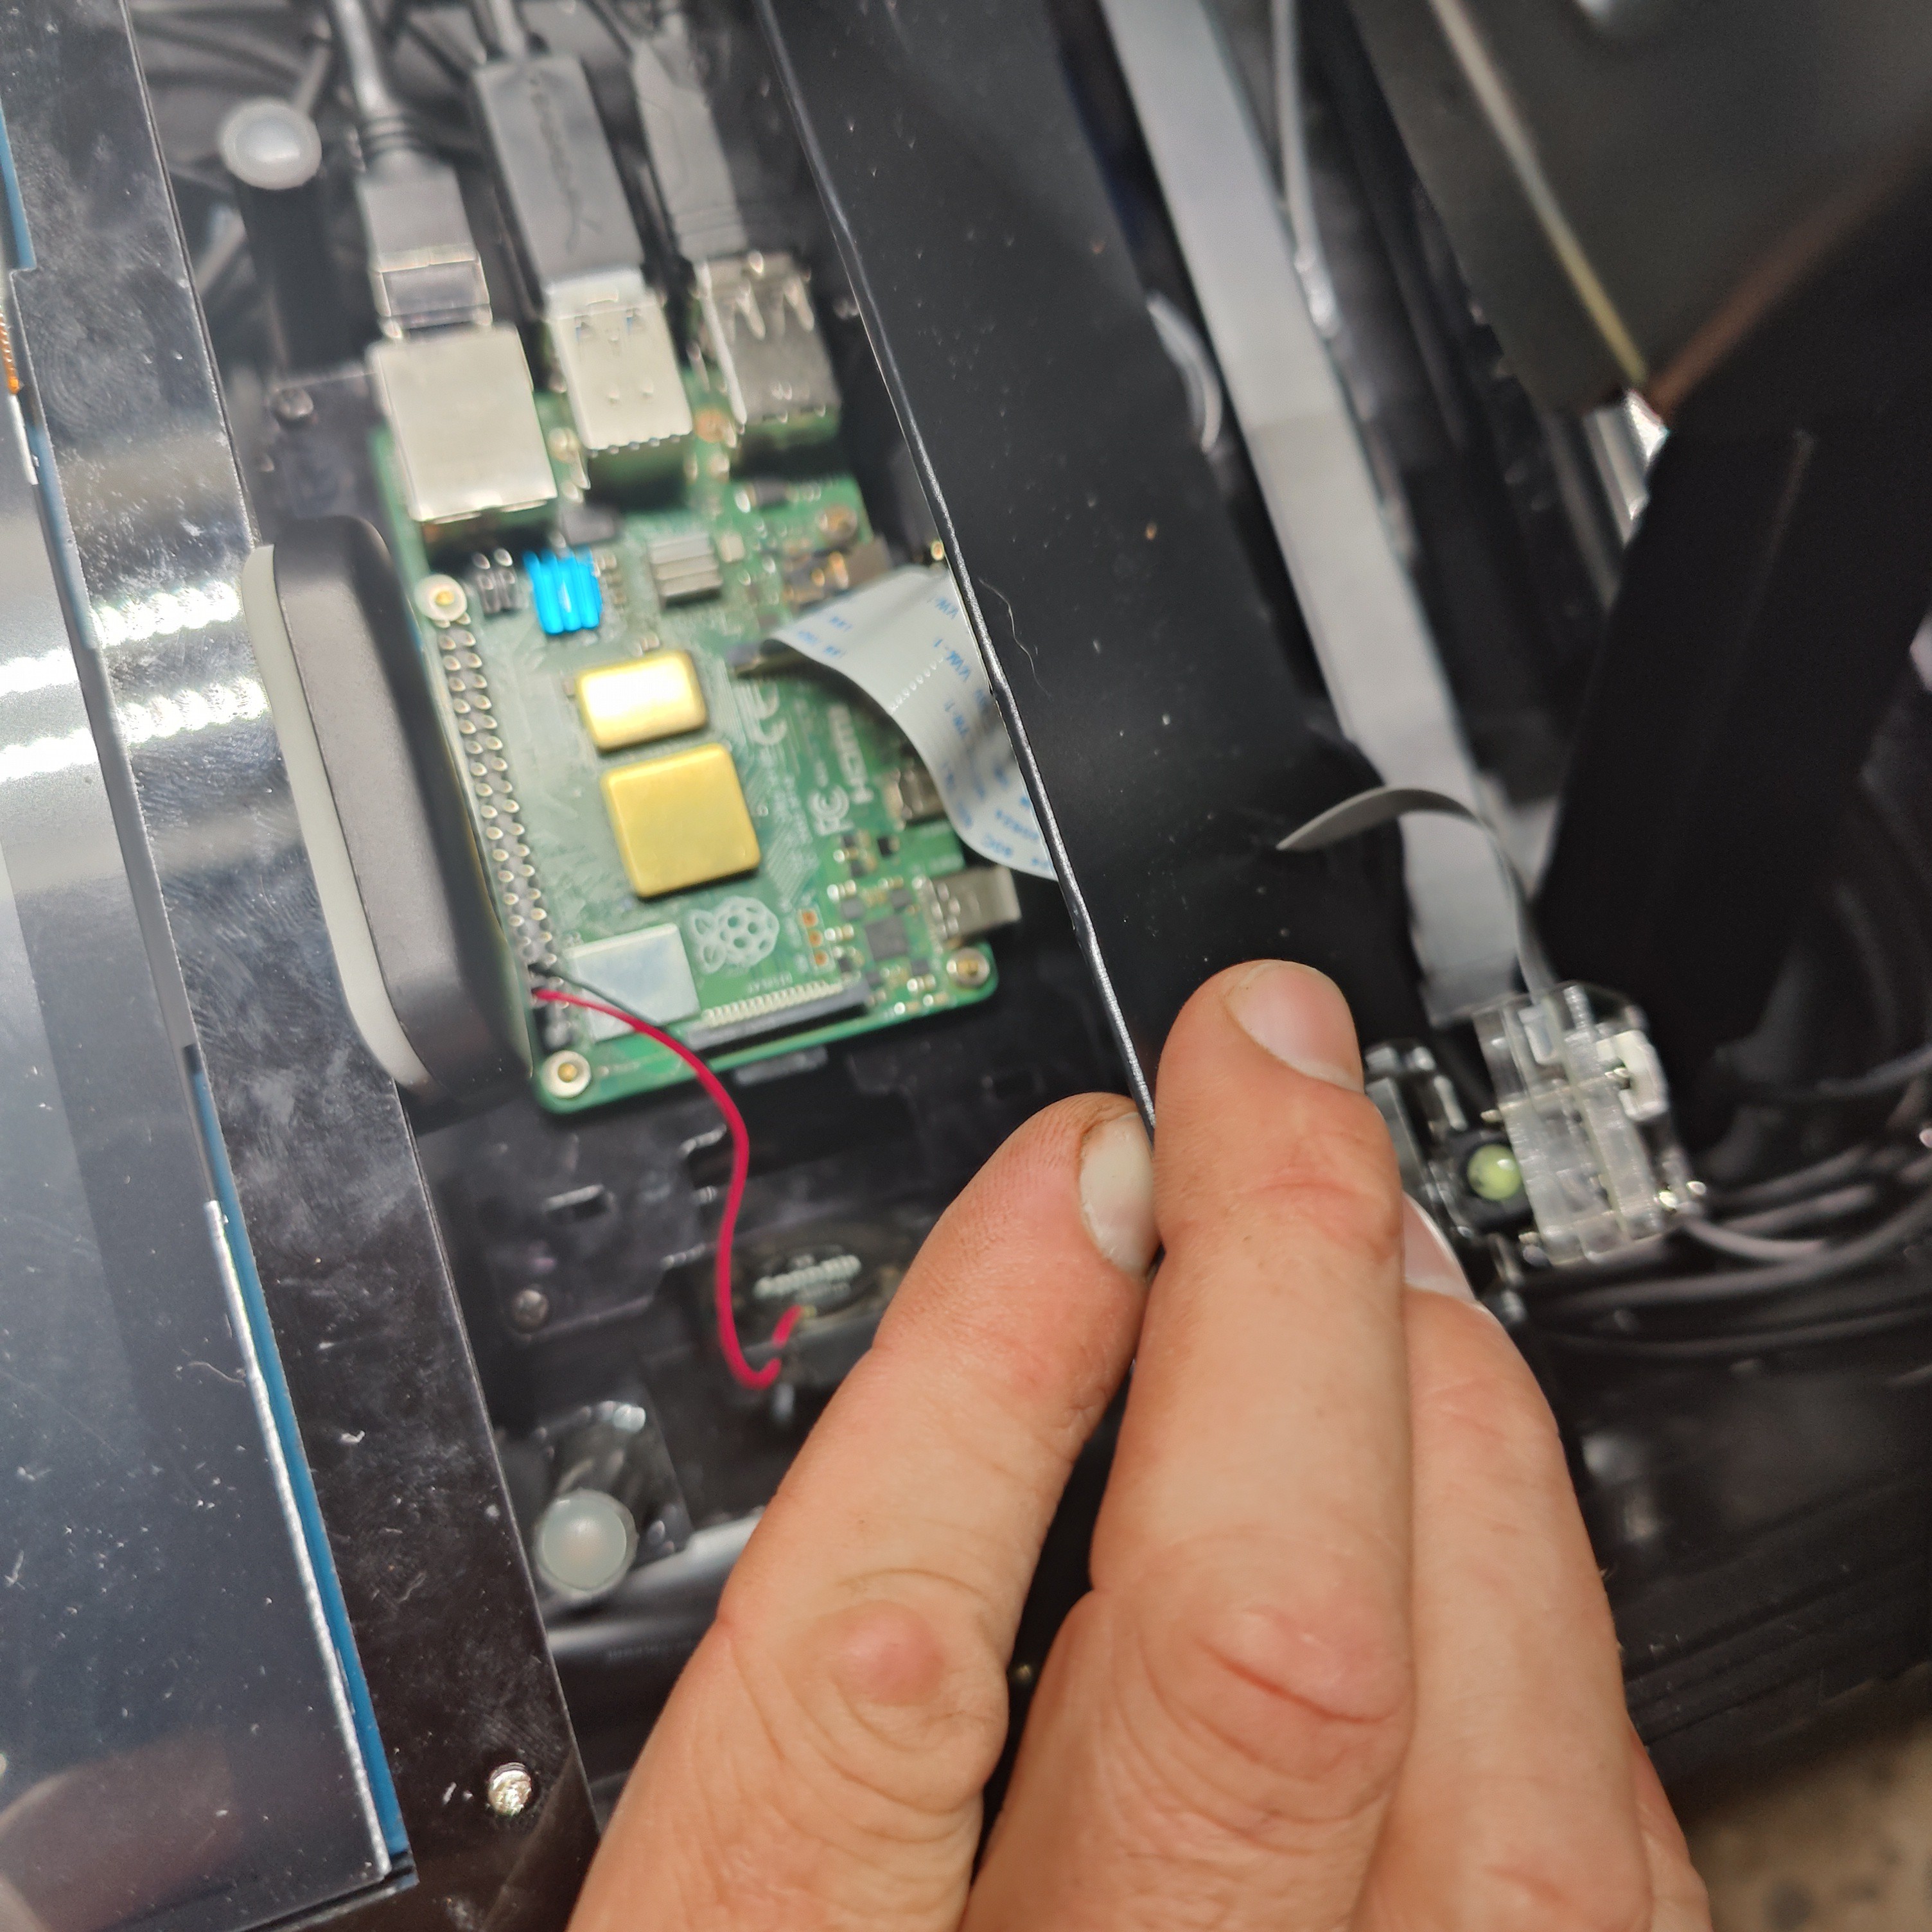
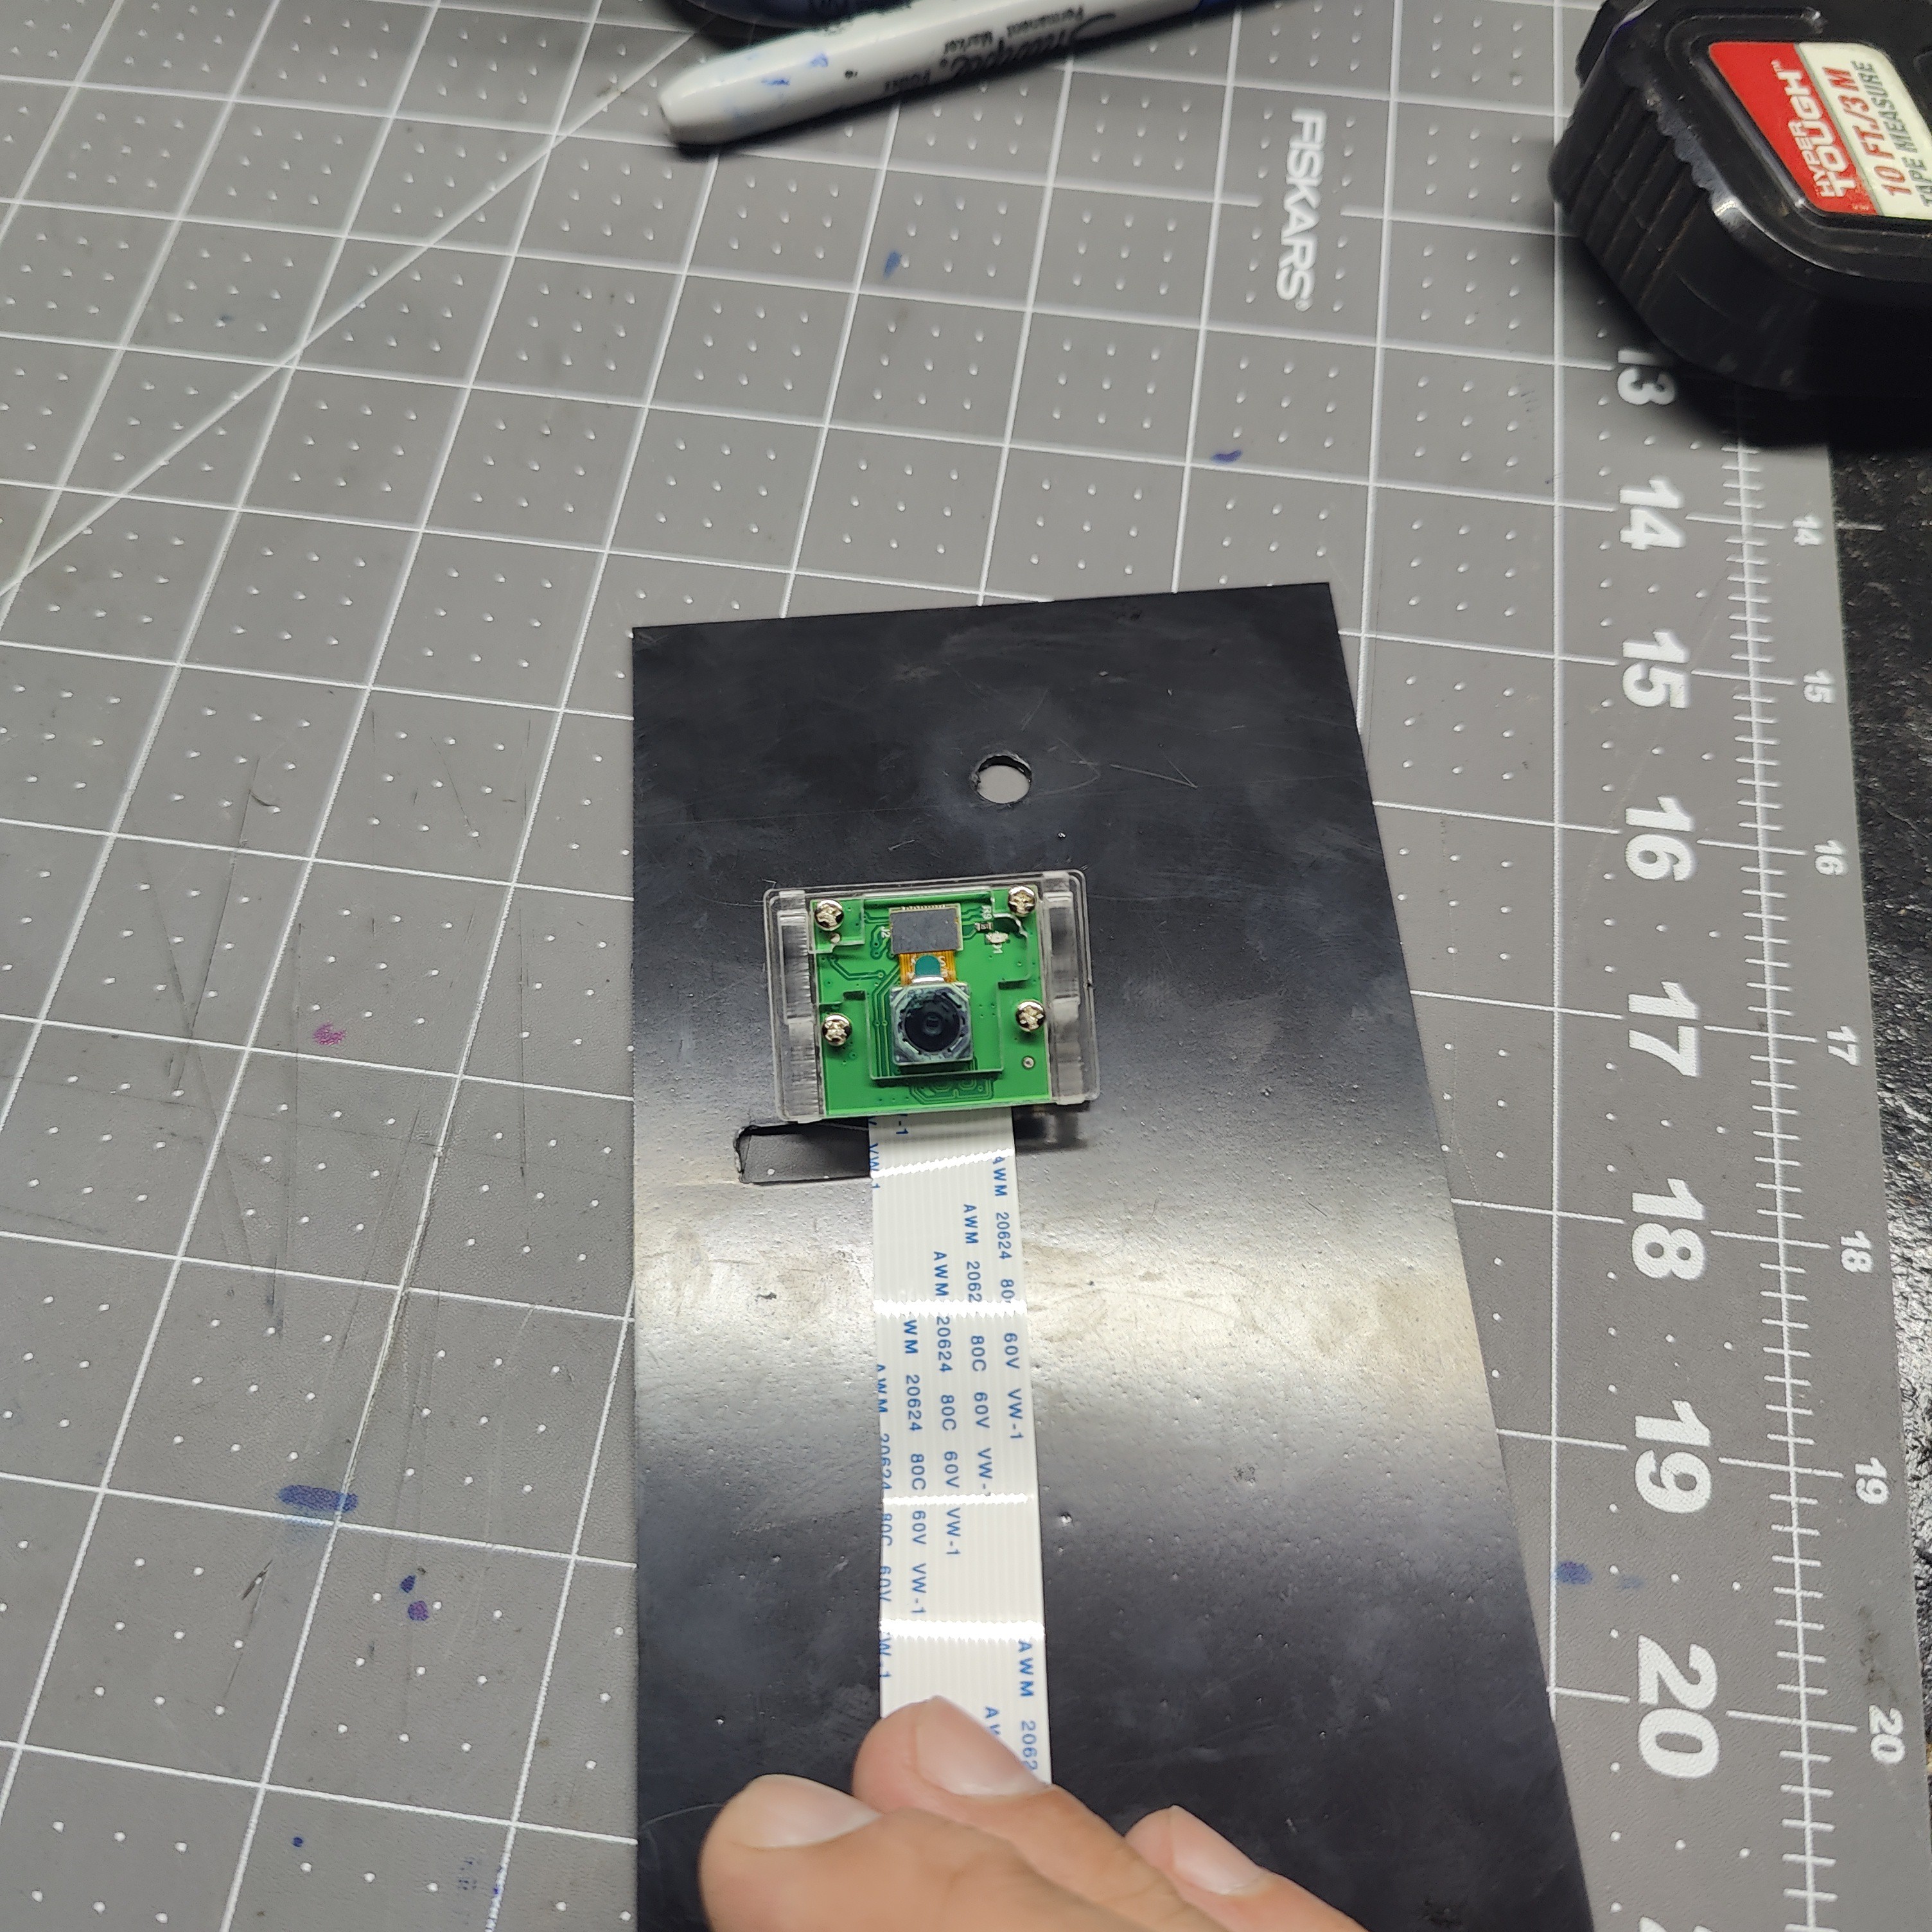
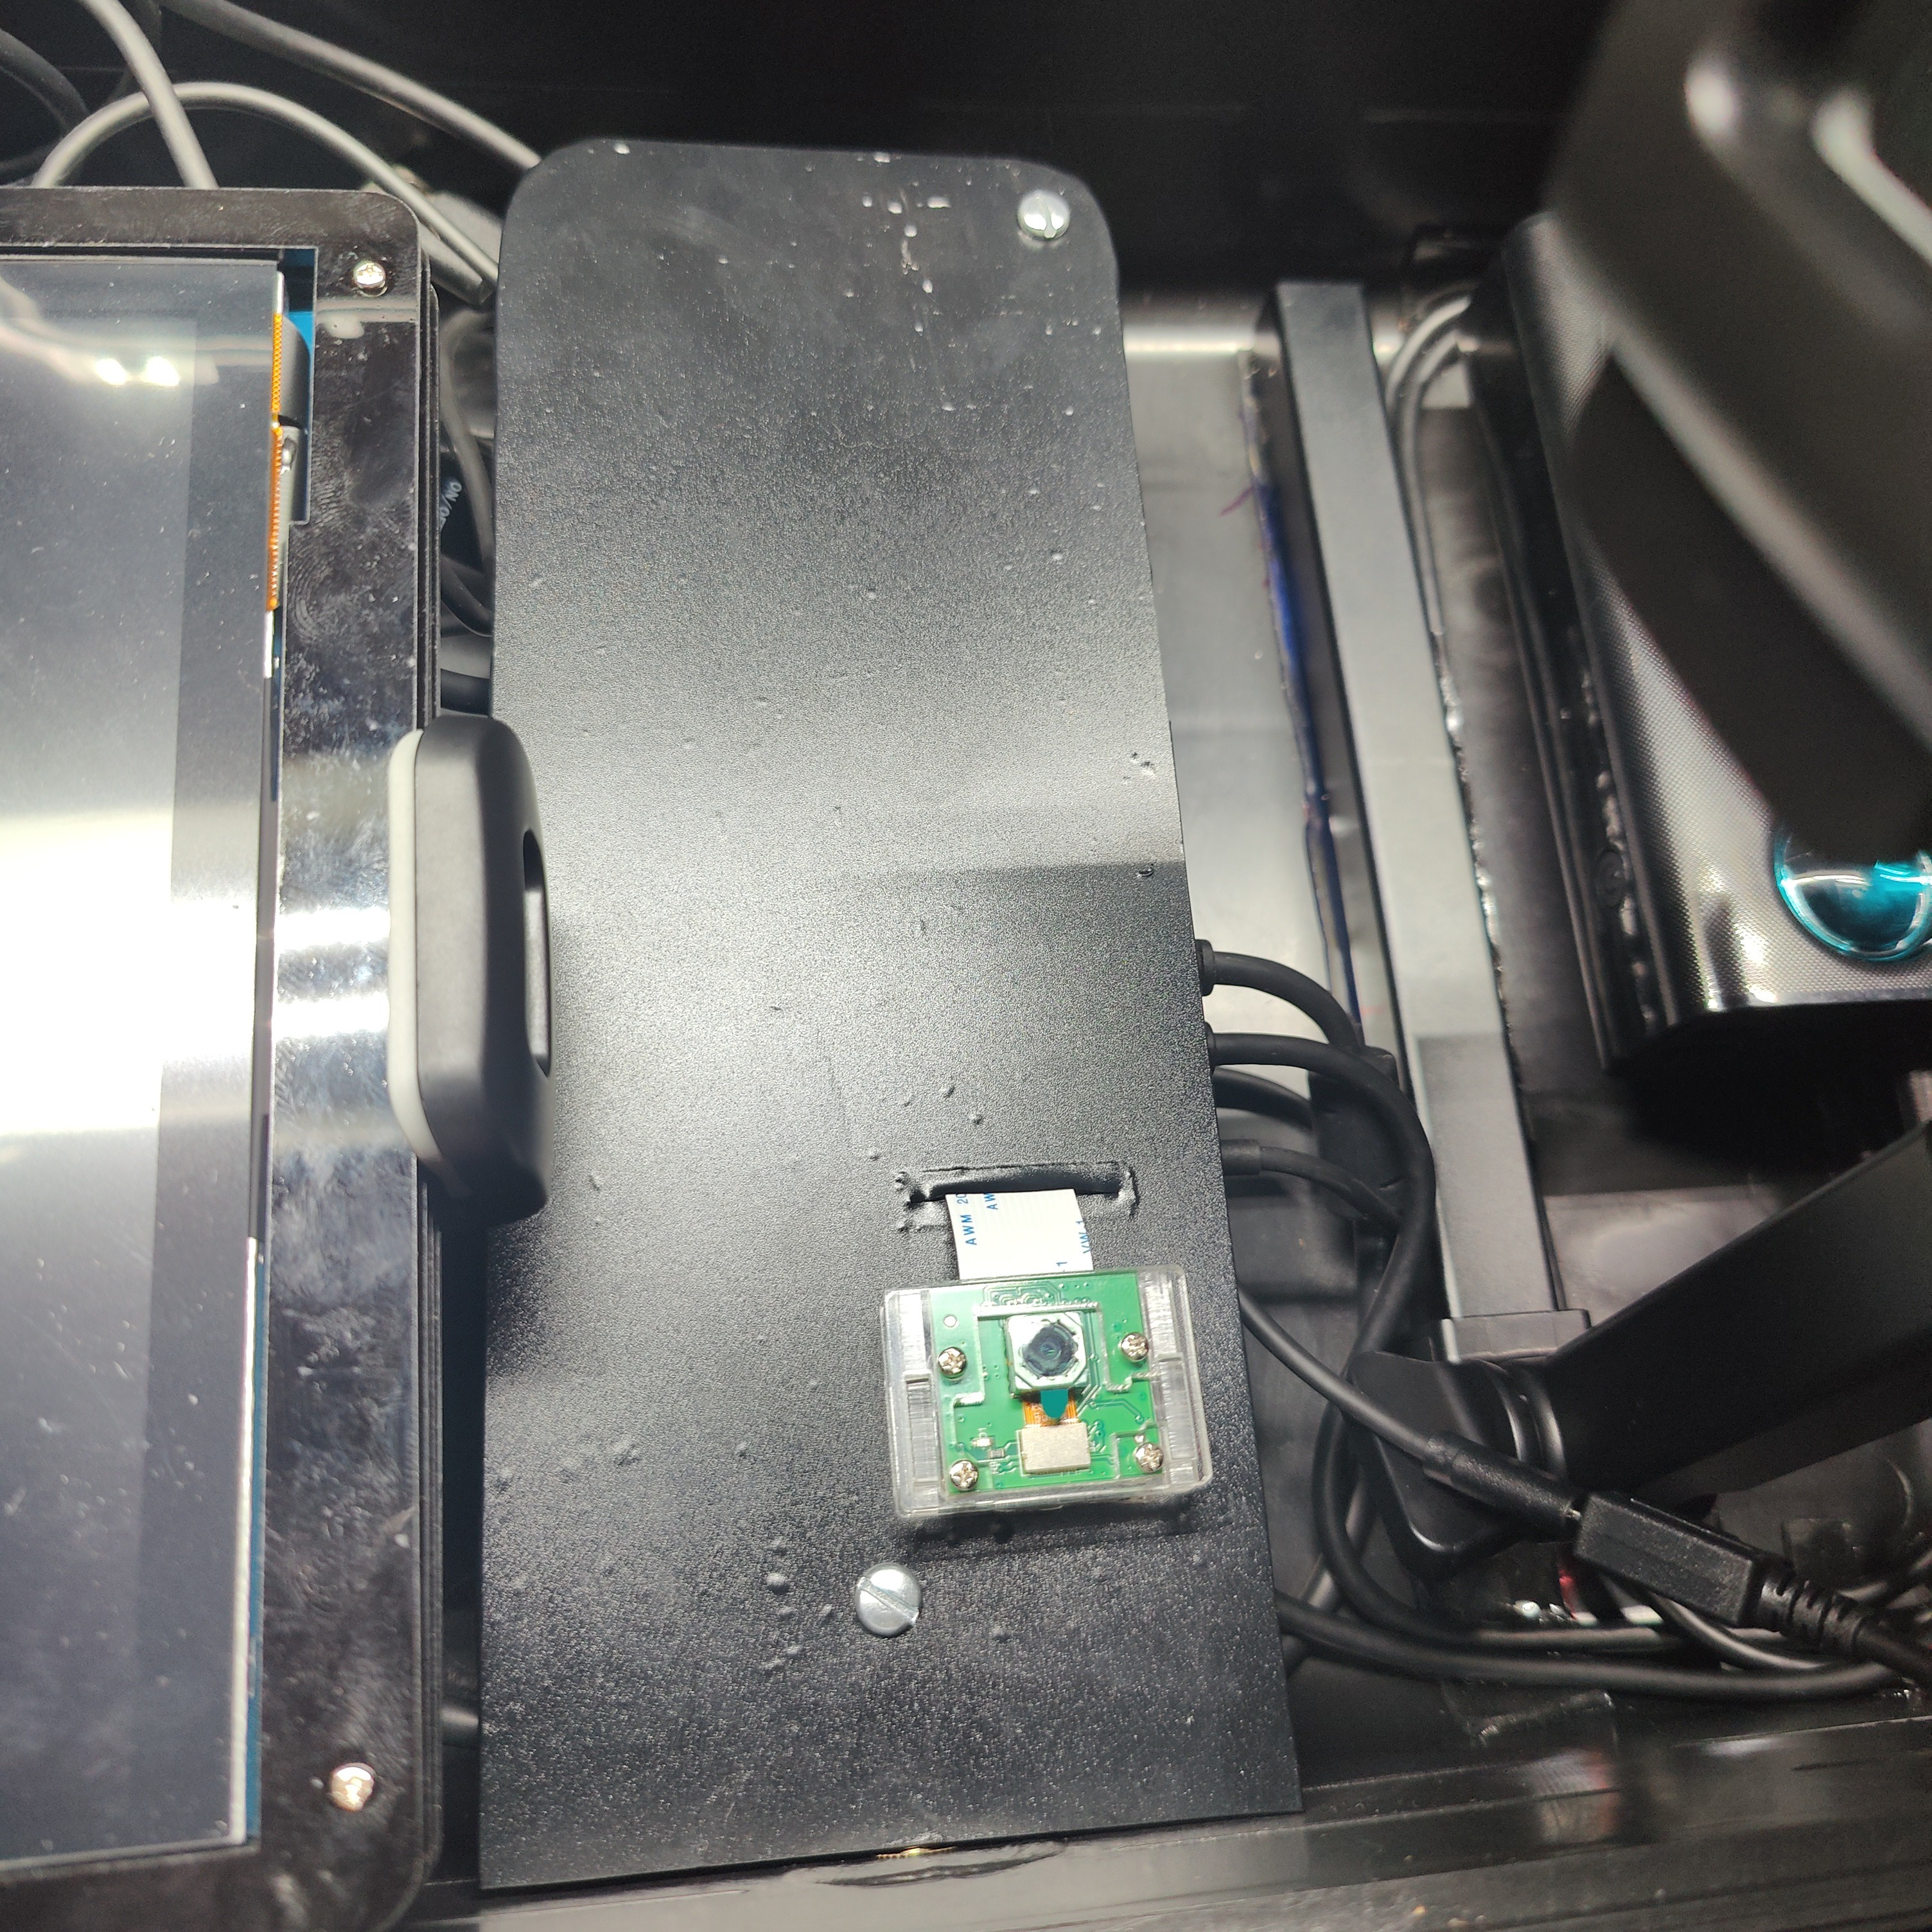
8Build / Mount webcam on Pi cover panel
Before starting to build the webcam enclosure that comes with most pi webcams, modify the pieces by removing the two legs with a small craft saw, so you are left with just a box enclosure. Now use a wire spacer, cut a small square out of sheet plastic and make a small back mount like the mounts made for the Pi panel. Use UV resin to secure the spacer to the square then fill the spacer with hot glue, let cool. Put nano tape on both the bottom of the mount and the back of the cam case. When you choose the spot for the cam make sure mark a line under where it will sit , Now cut a slit on the panel where that line is with a razor knife, This is where the cams ribbon cable runs thru. Place the square above the slit and press the back of the cam to the top of the mount, run the ribbon cable thru the slit and plug it into the Pi.
![]()
![]()
![]()
![]()
![]()
-
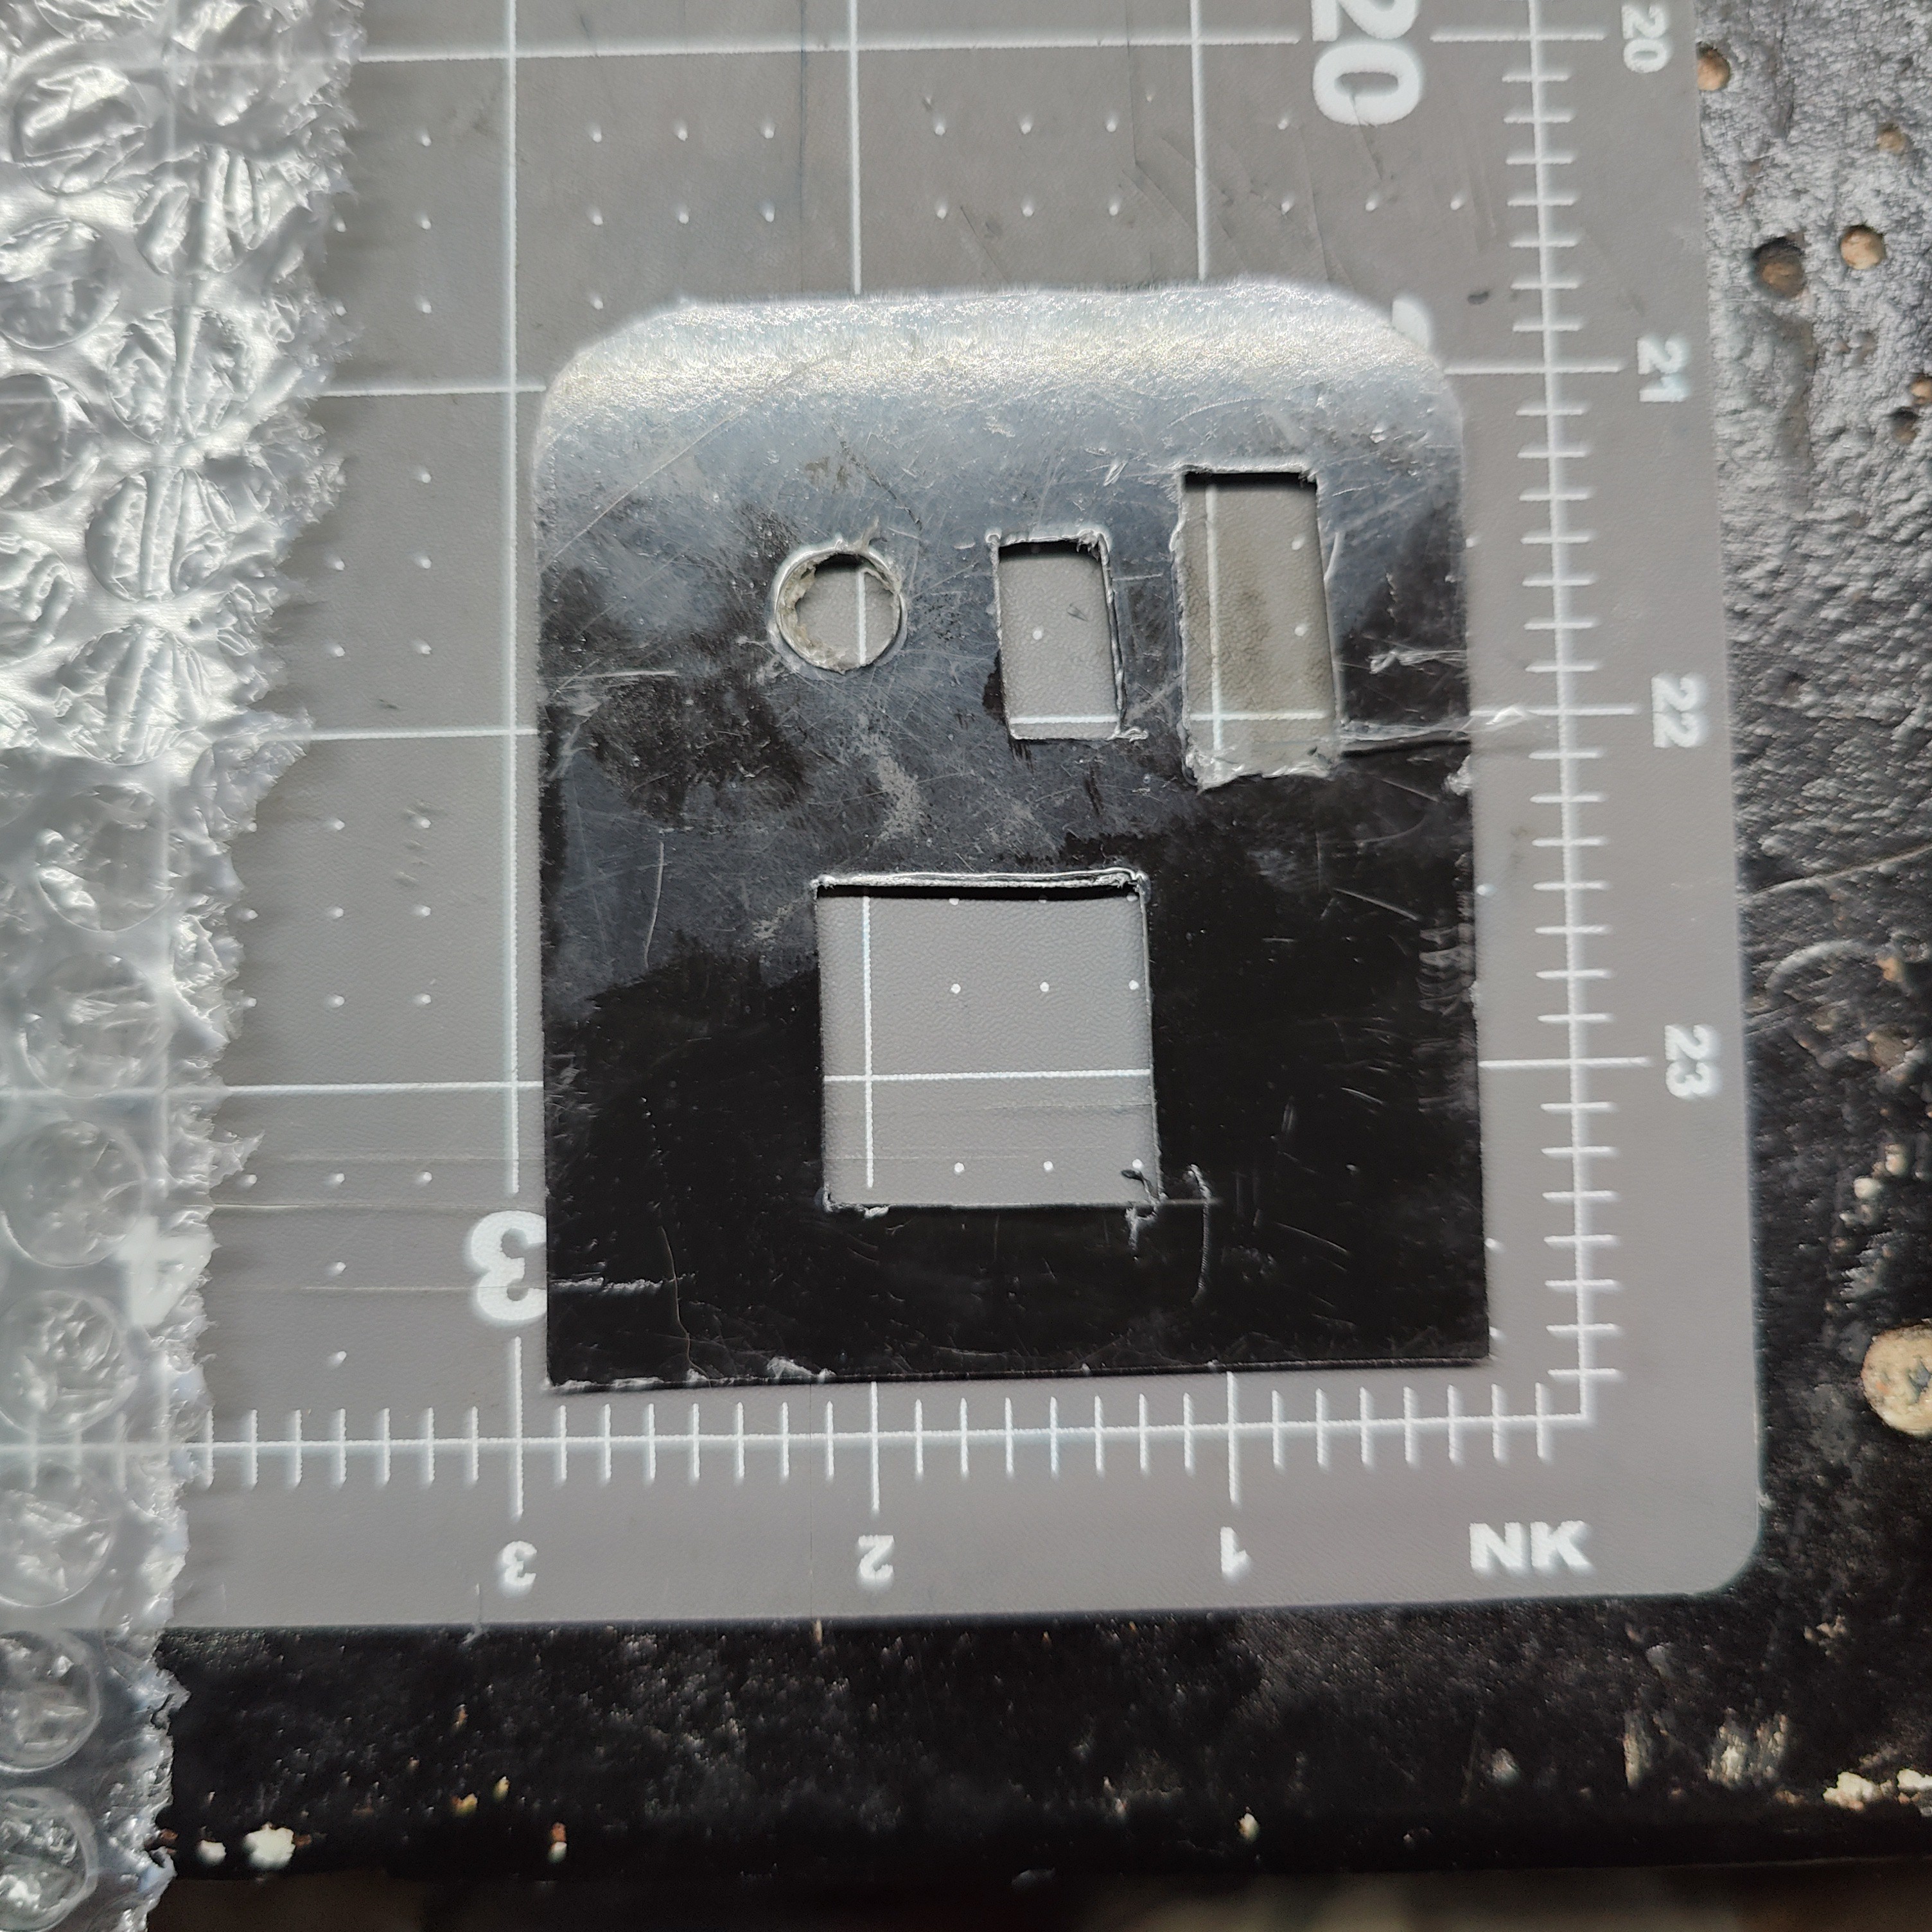
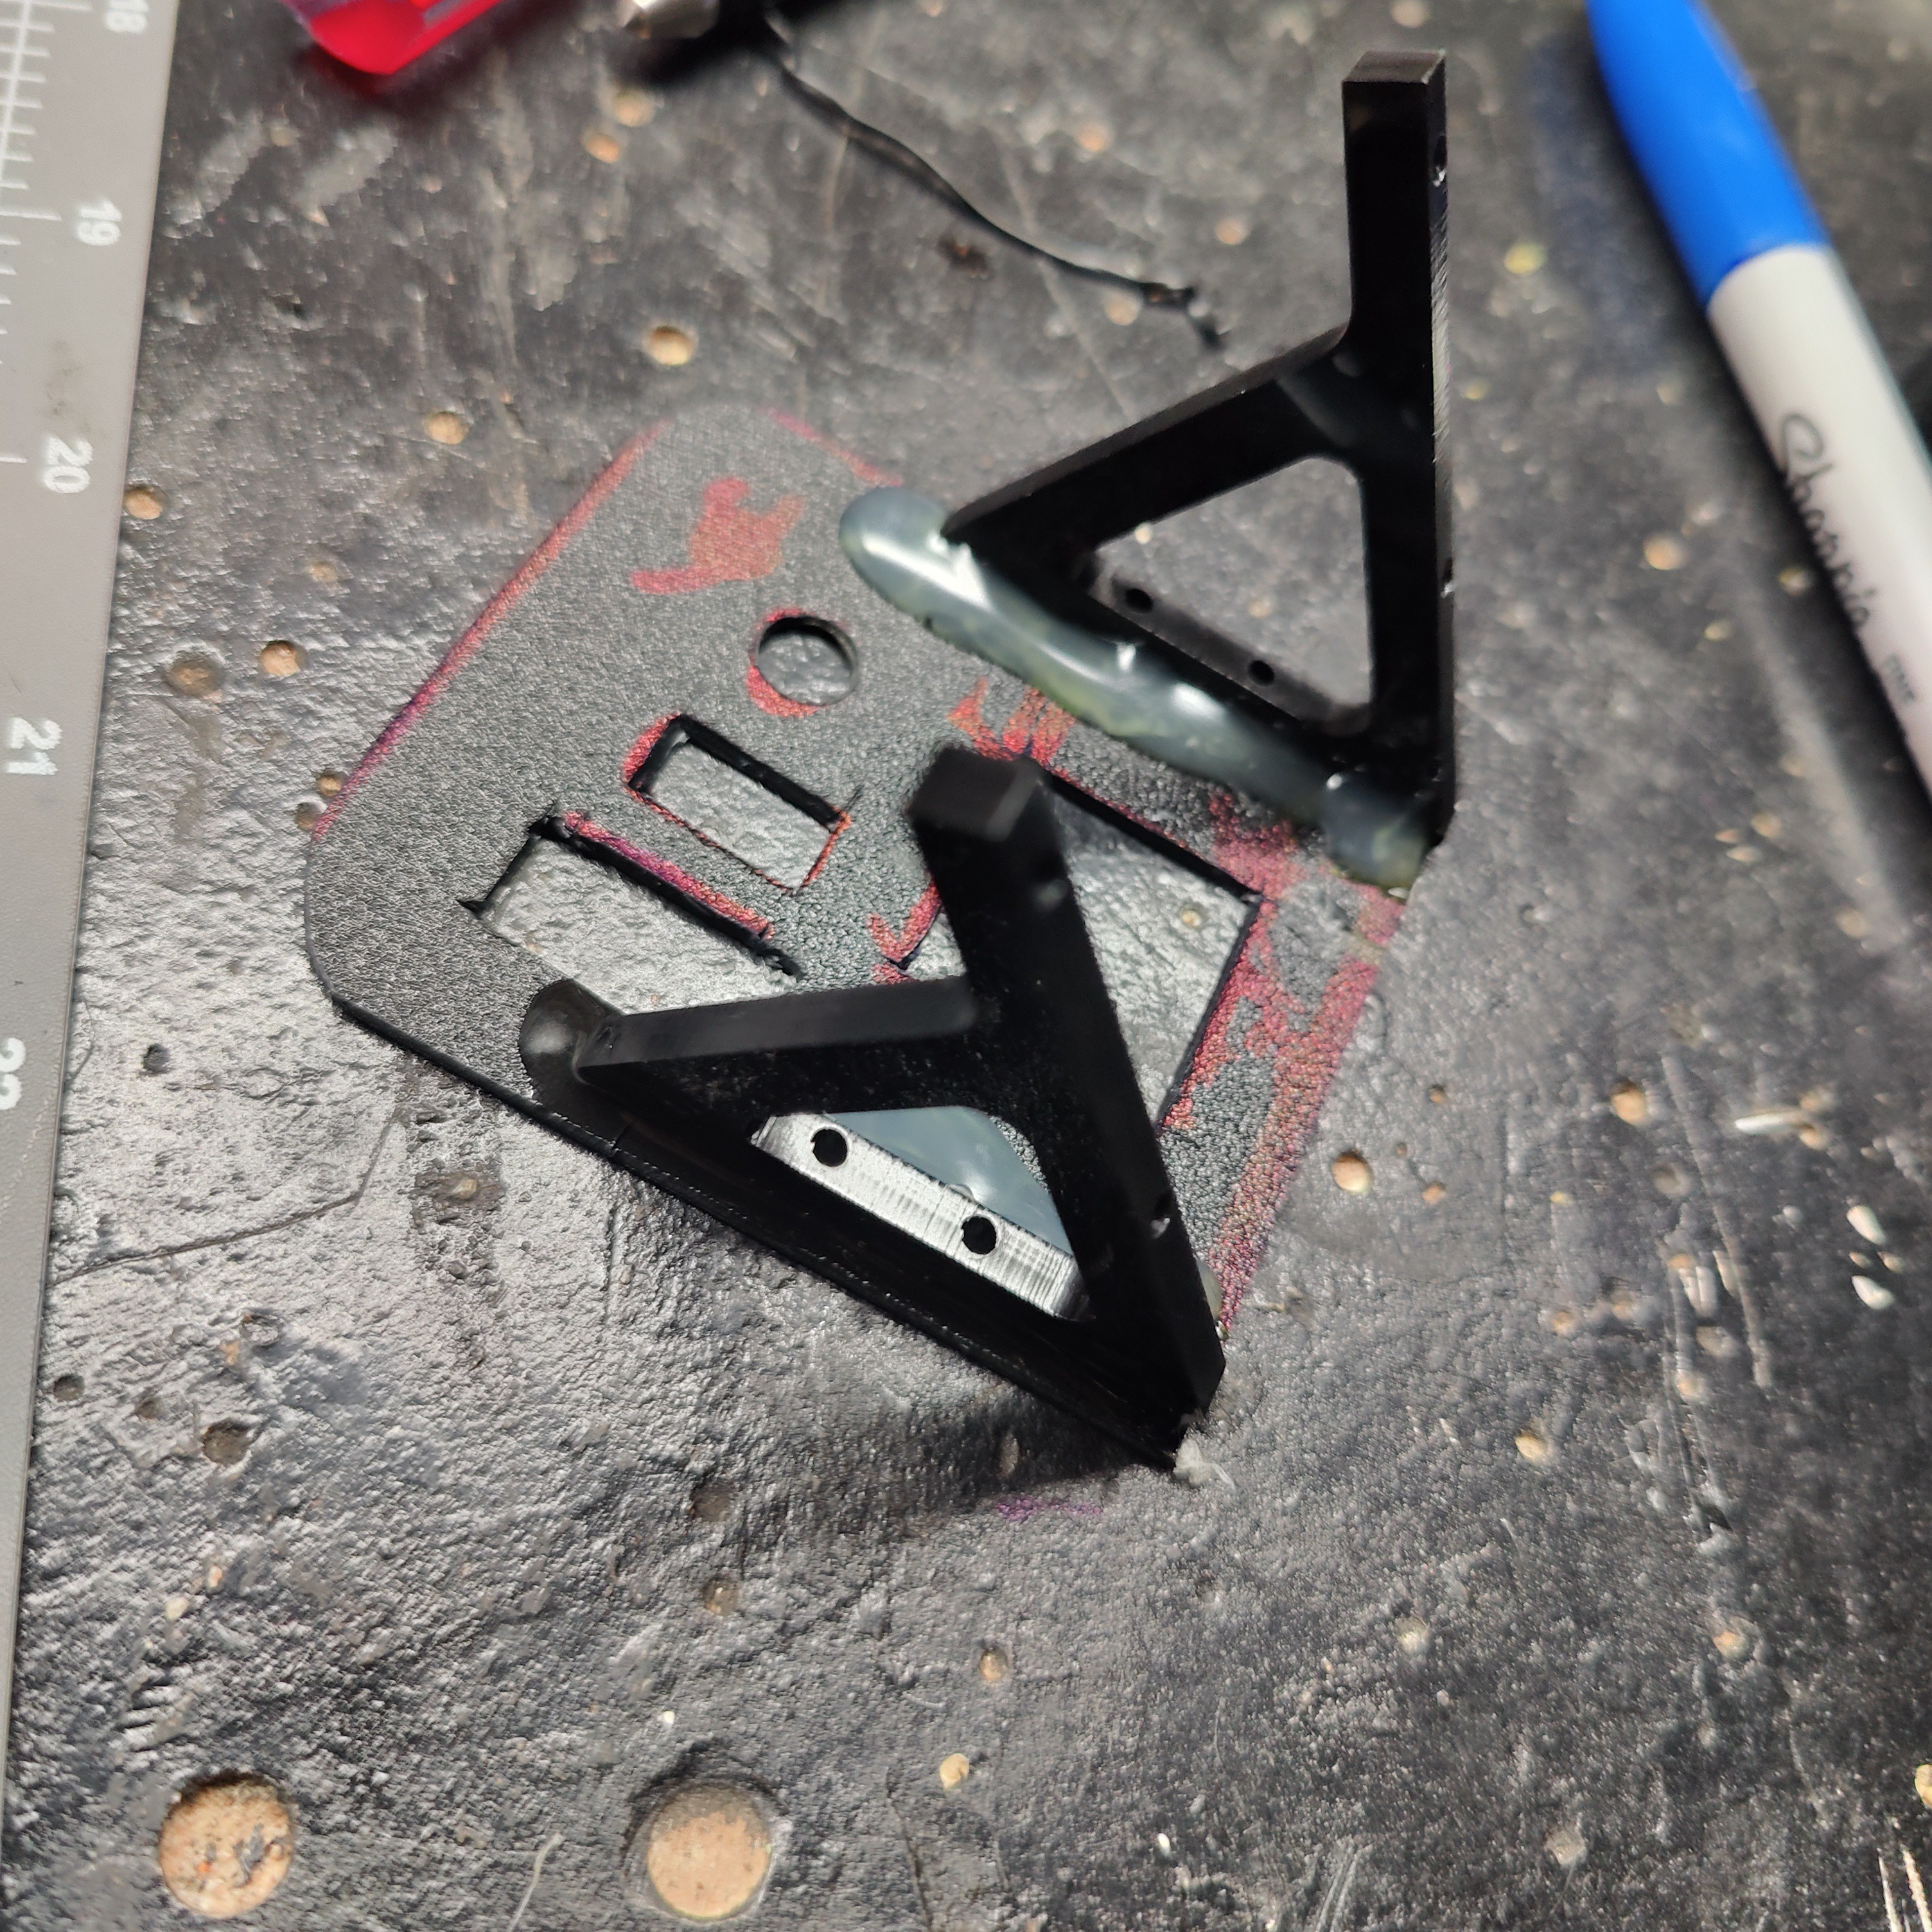
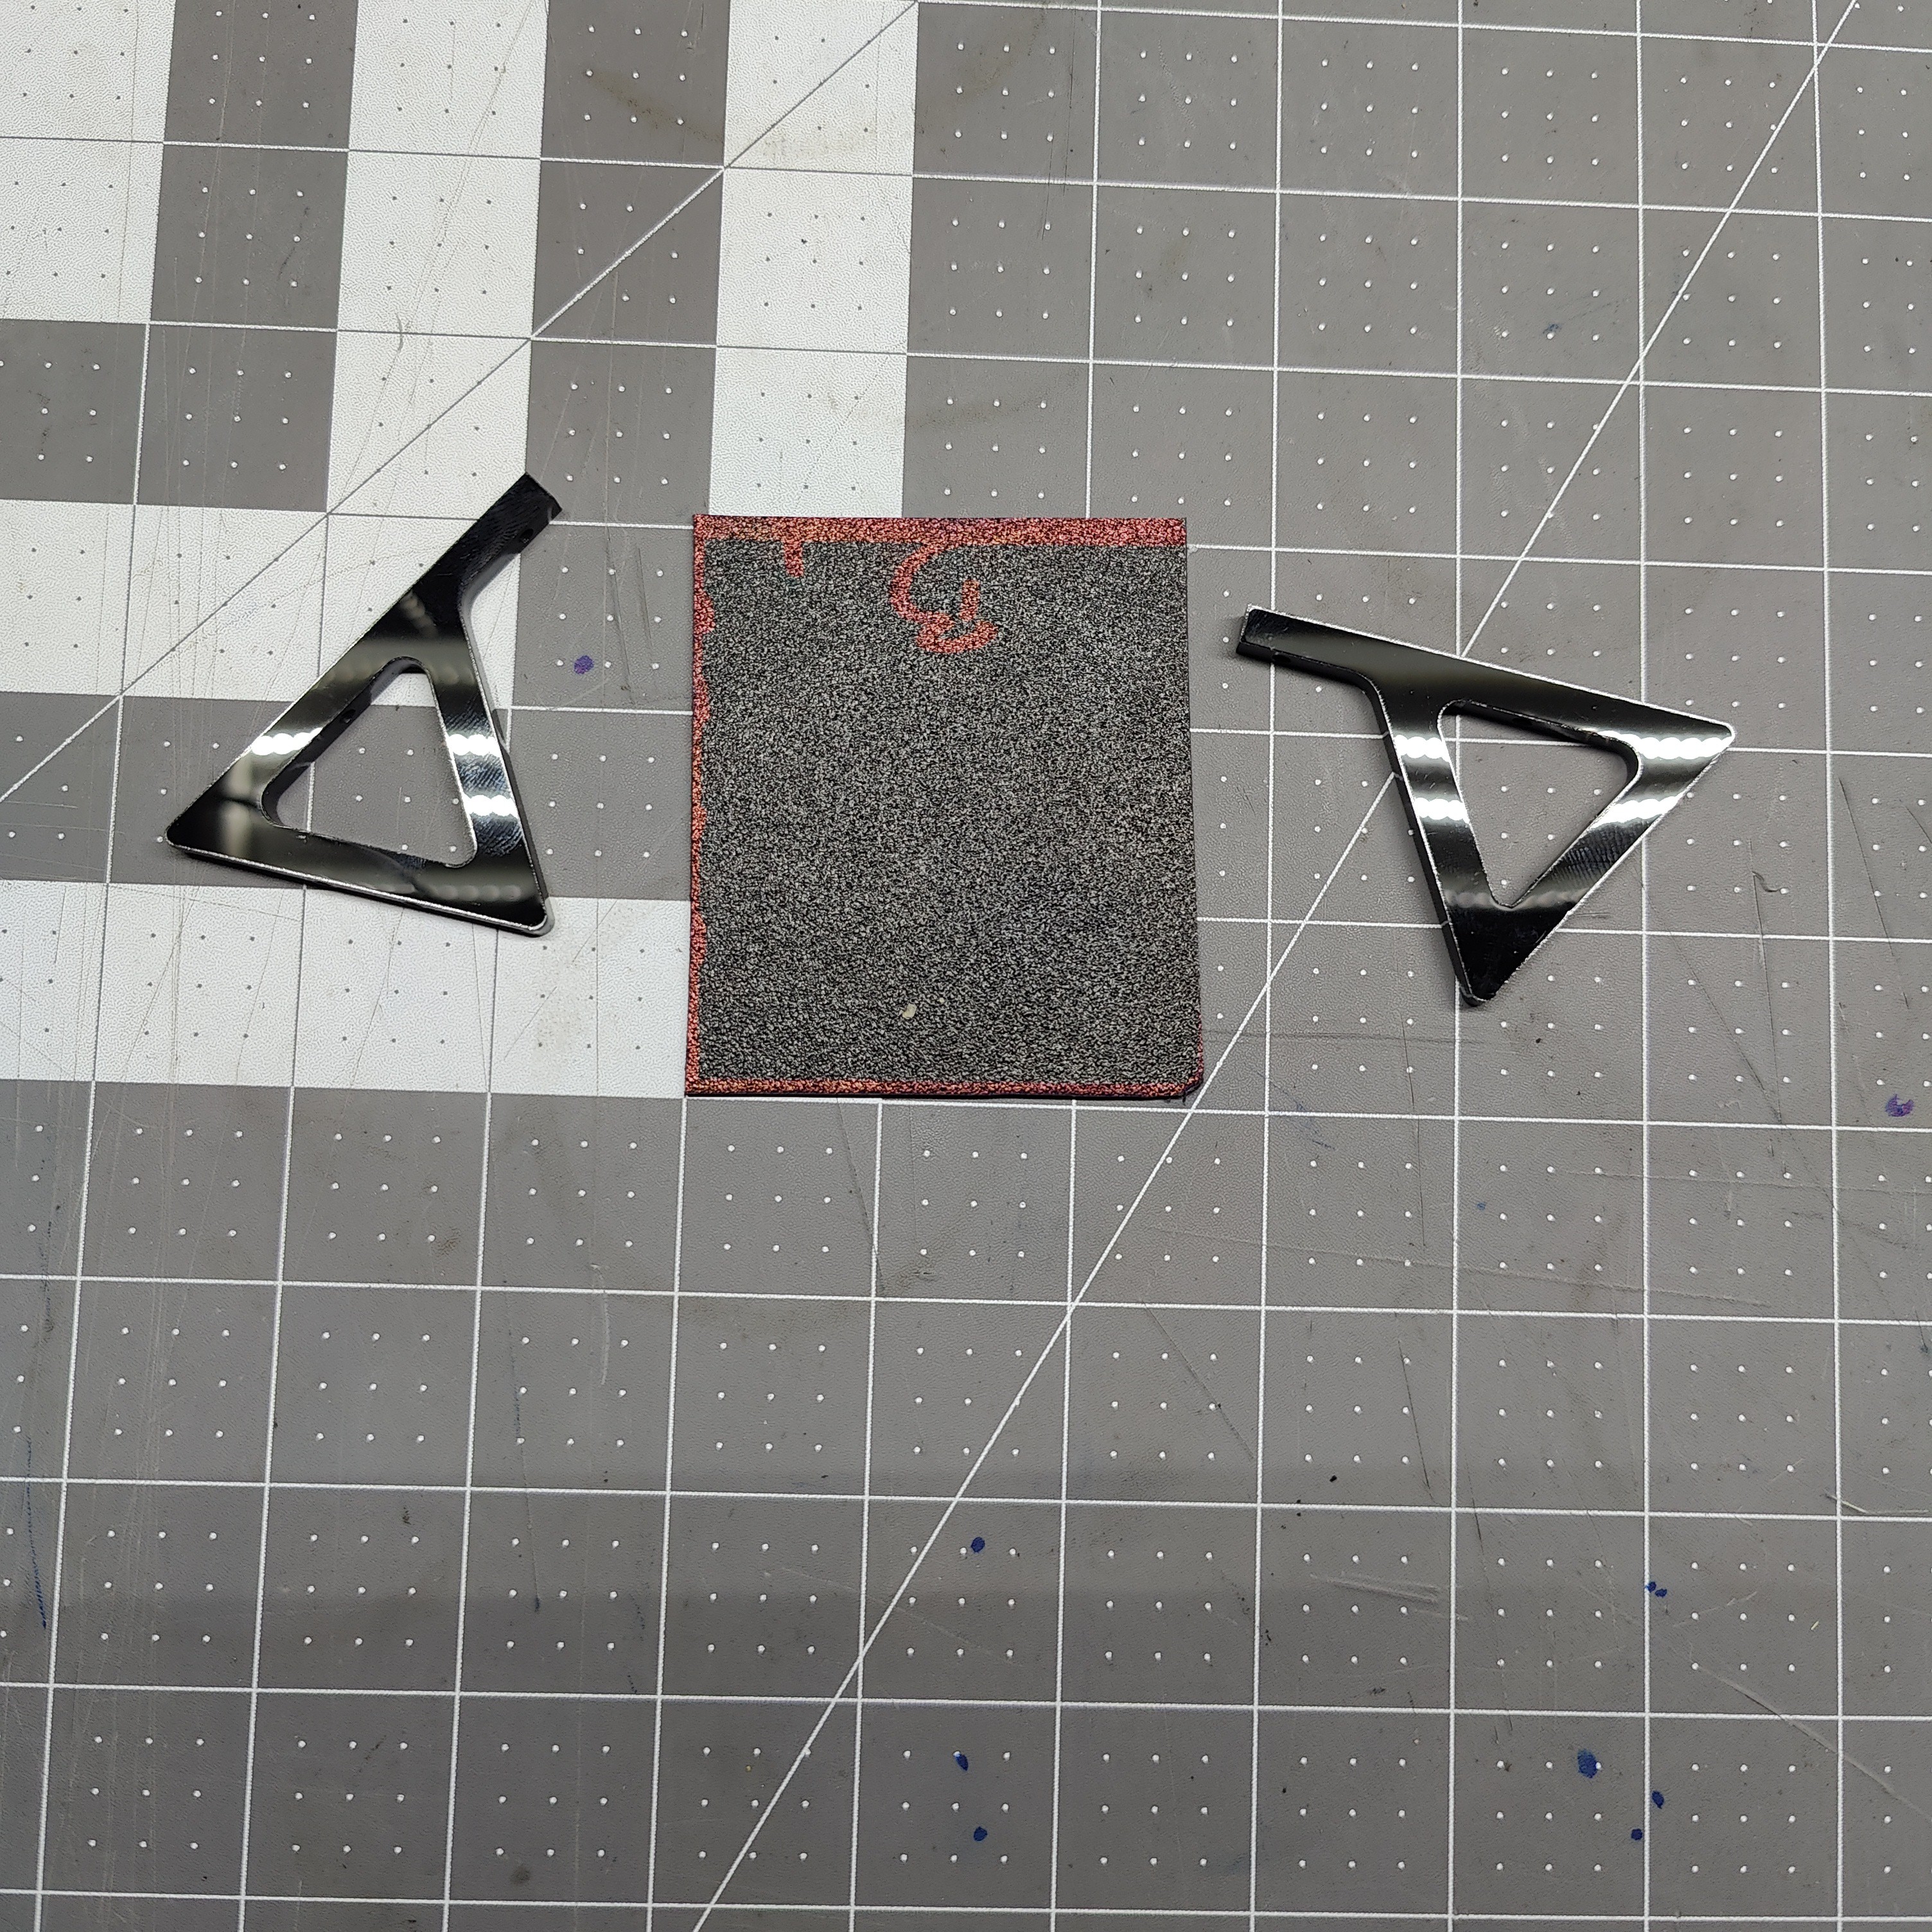
9Fabricate and Place a panel behind the 10.1 inch monitor for additional ports.
For this step first raise the 10.1 inch screen out and take some measurements of the free space left behind the screen when its closed. I got a 2 inch by 3 inch space about halfway back in the case right between the battery and the Pi panel. Remember back a few steps when I set aside the legs for the 7 inch case, here is where they get used. Fabricate a panel with sheet plastic by cutting out a 2x3 inch panel, then place all ports where you want them , make sure they will fit proper in those spots then mark the locations. Ports going in are // audio // eth0 // usb // usb-c // . The USB port runs to the USB 4 port hub on the keyboard panel below. Take a razor knife and cut the holes out for the ports. Now with a combination of UV resin and hot glue secure the legs to the back of the panel on the left and right side. Now glue all ports into place from the back of the panel. Place nano tape on the bottom of the legs and place the panel in the empty space behind the screen.
![]()
![]()
![]()
![]()
-
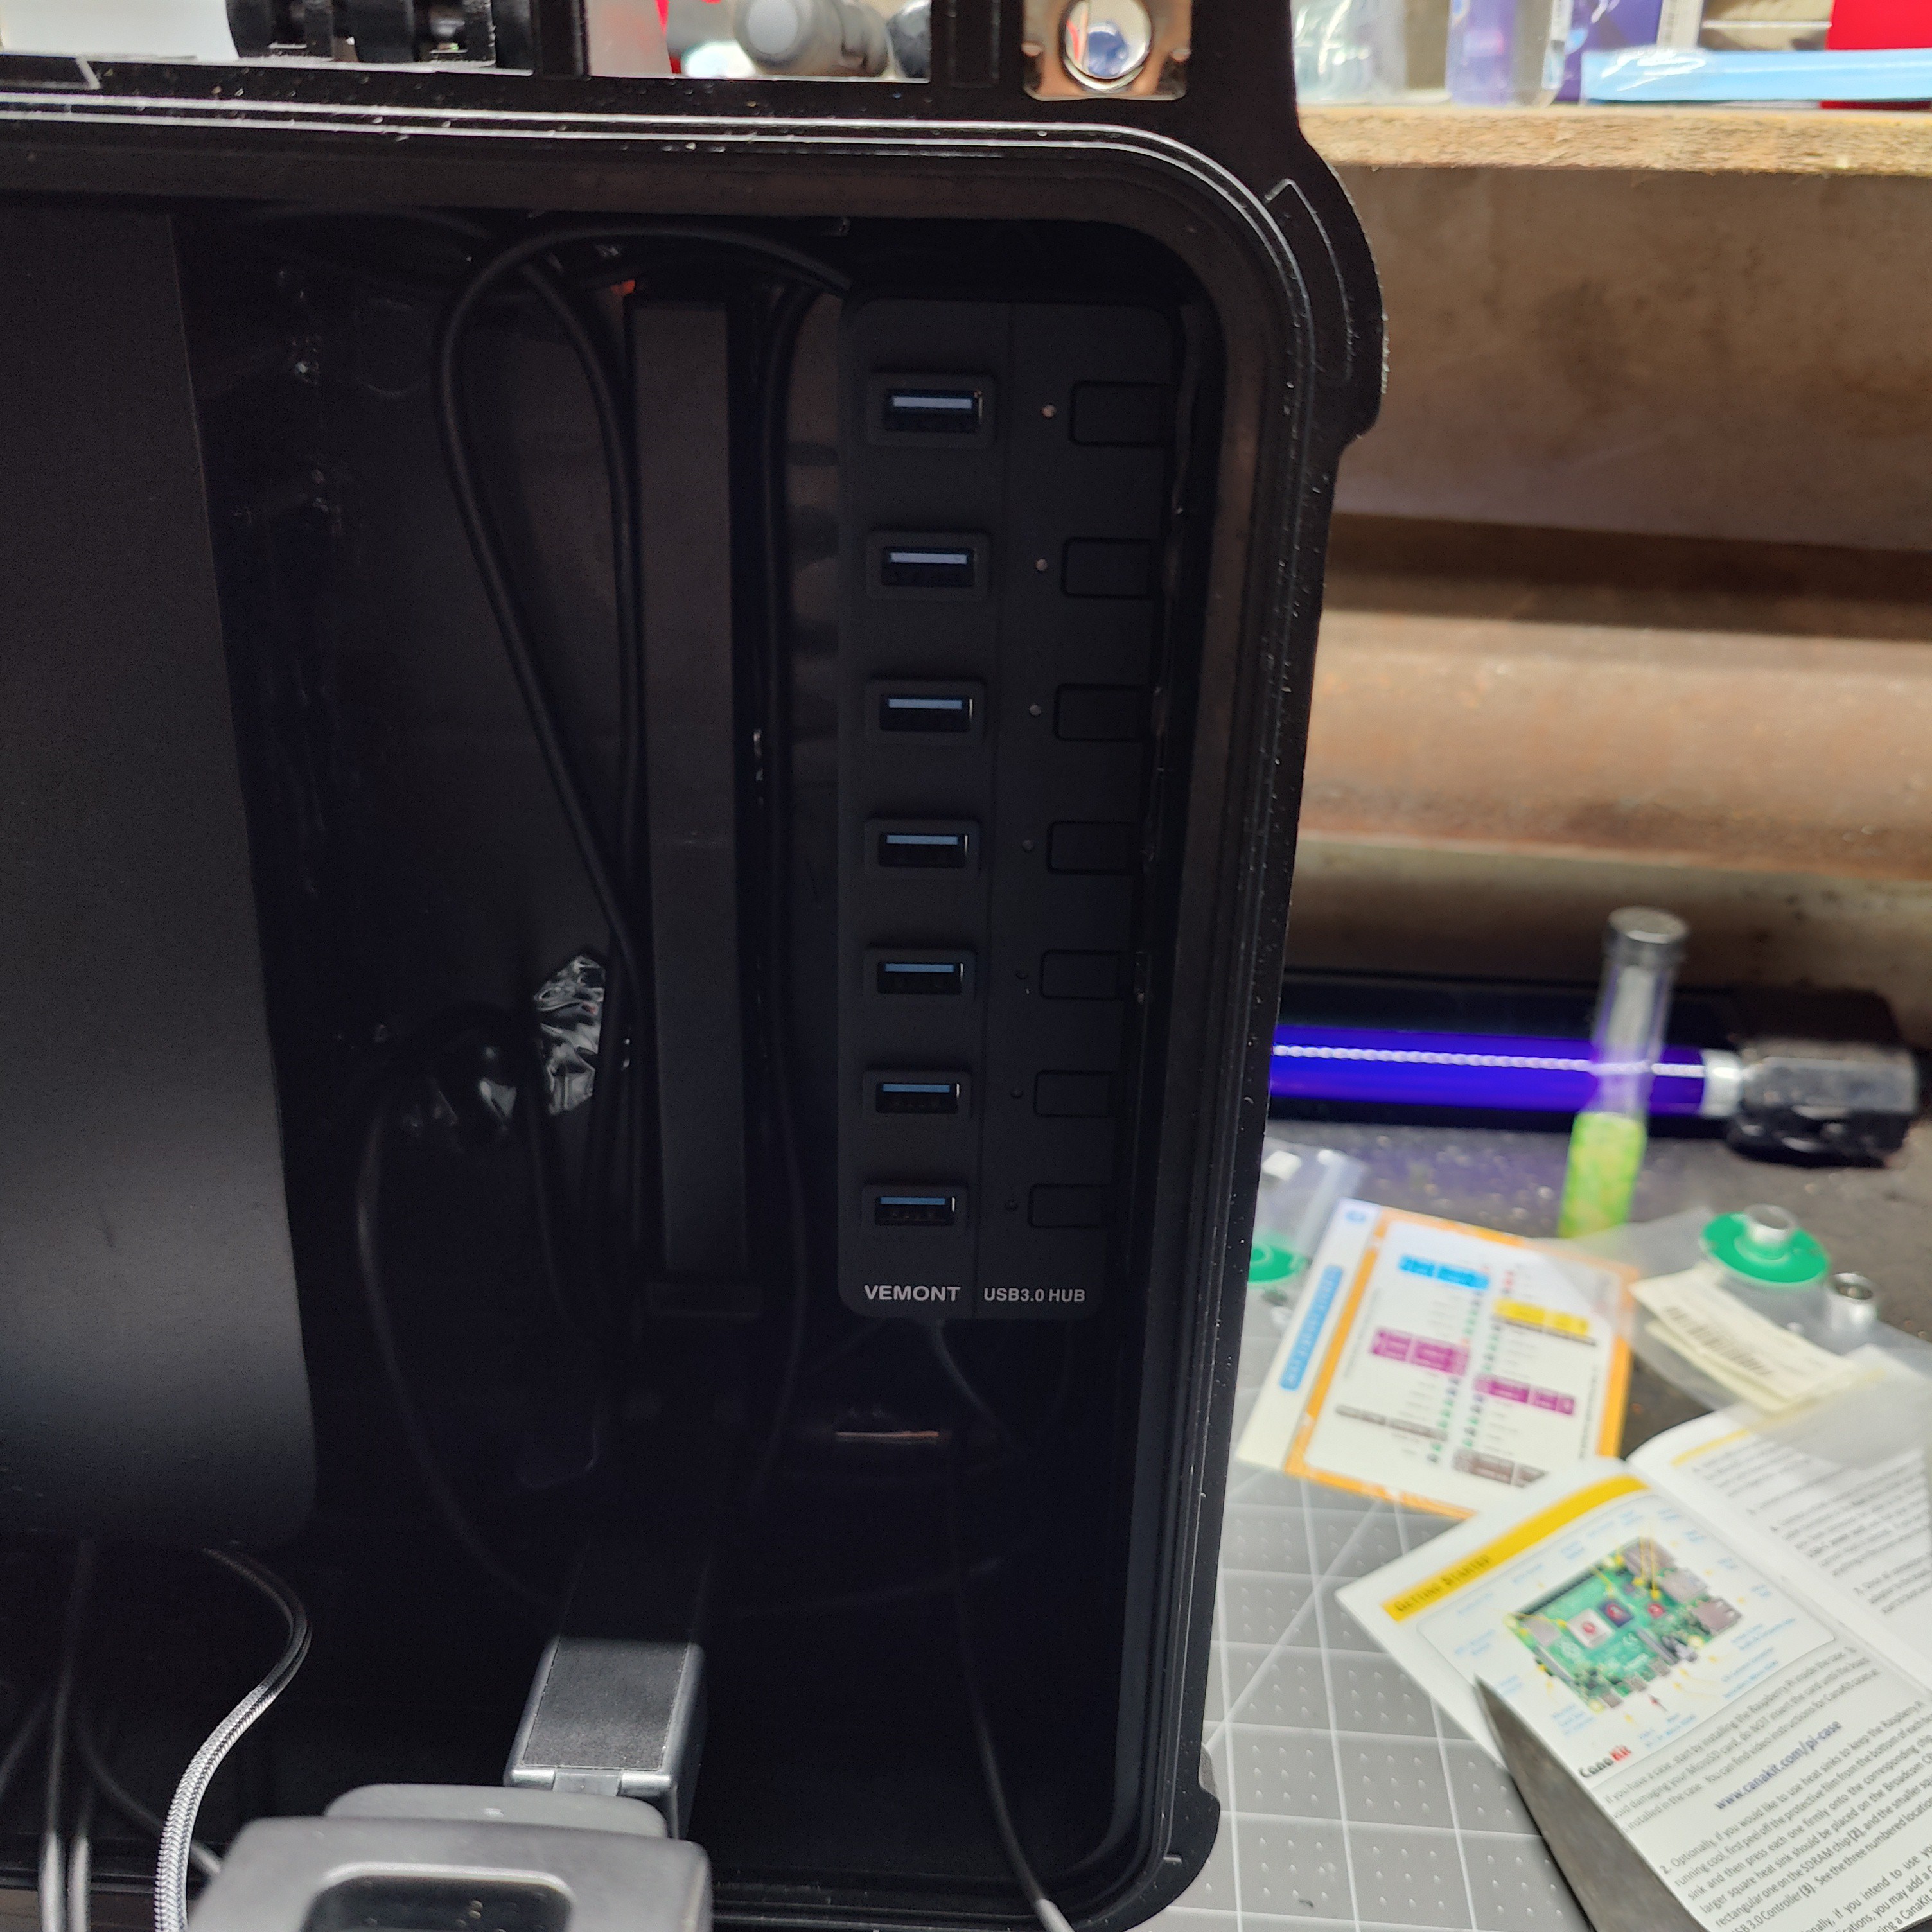
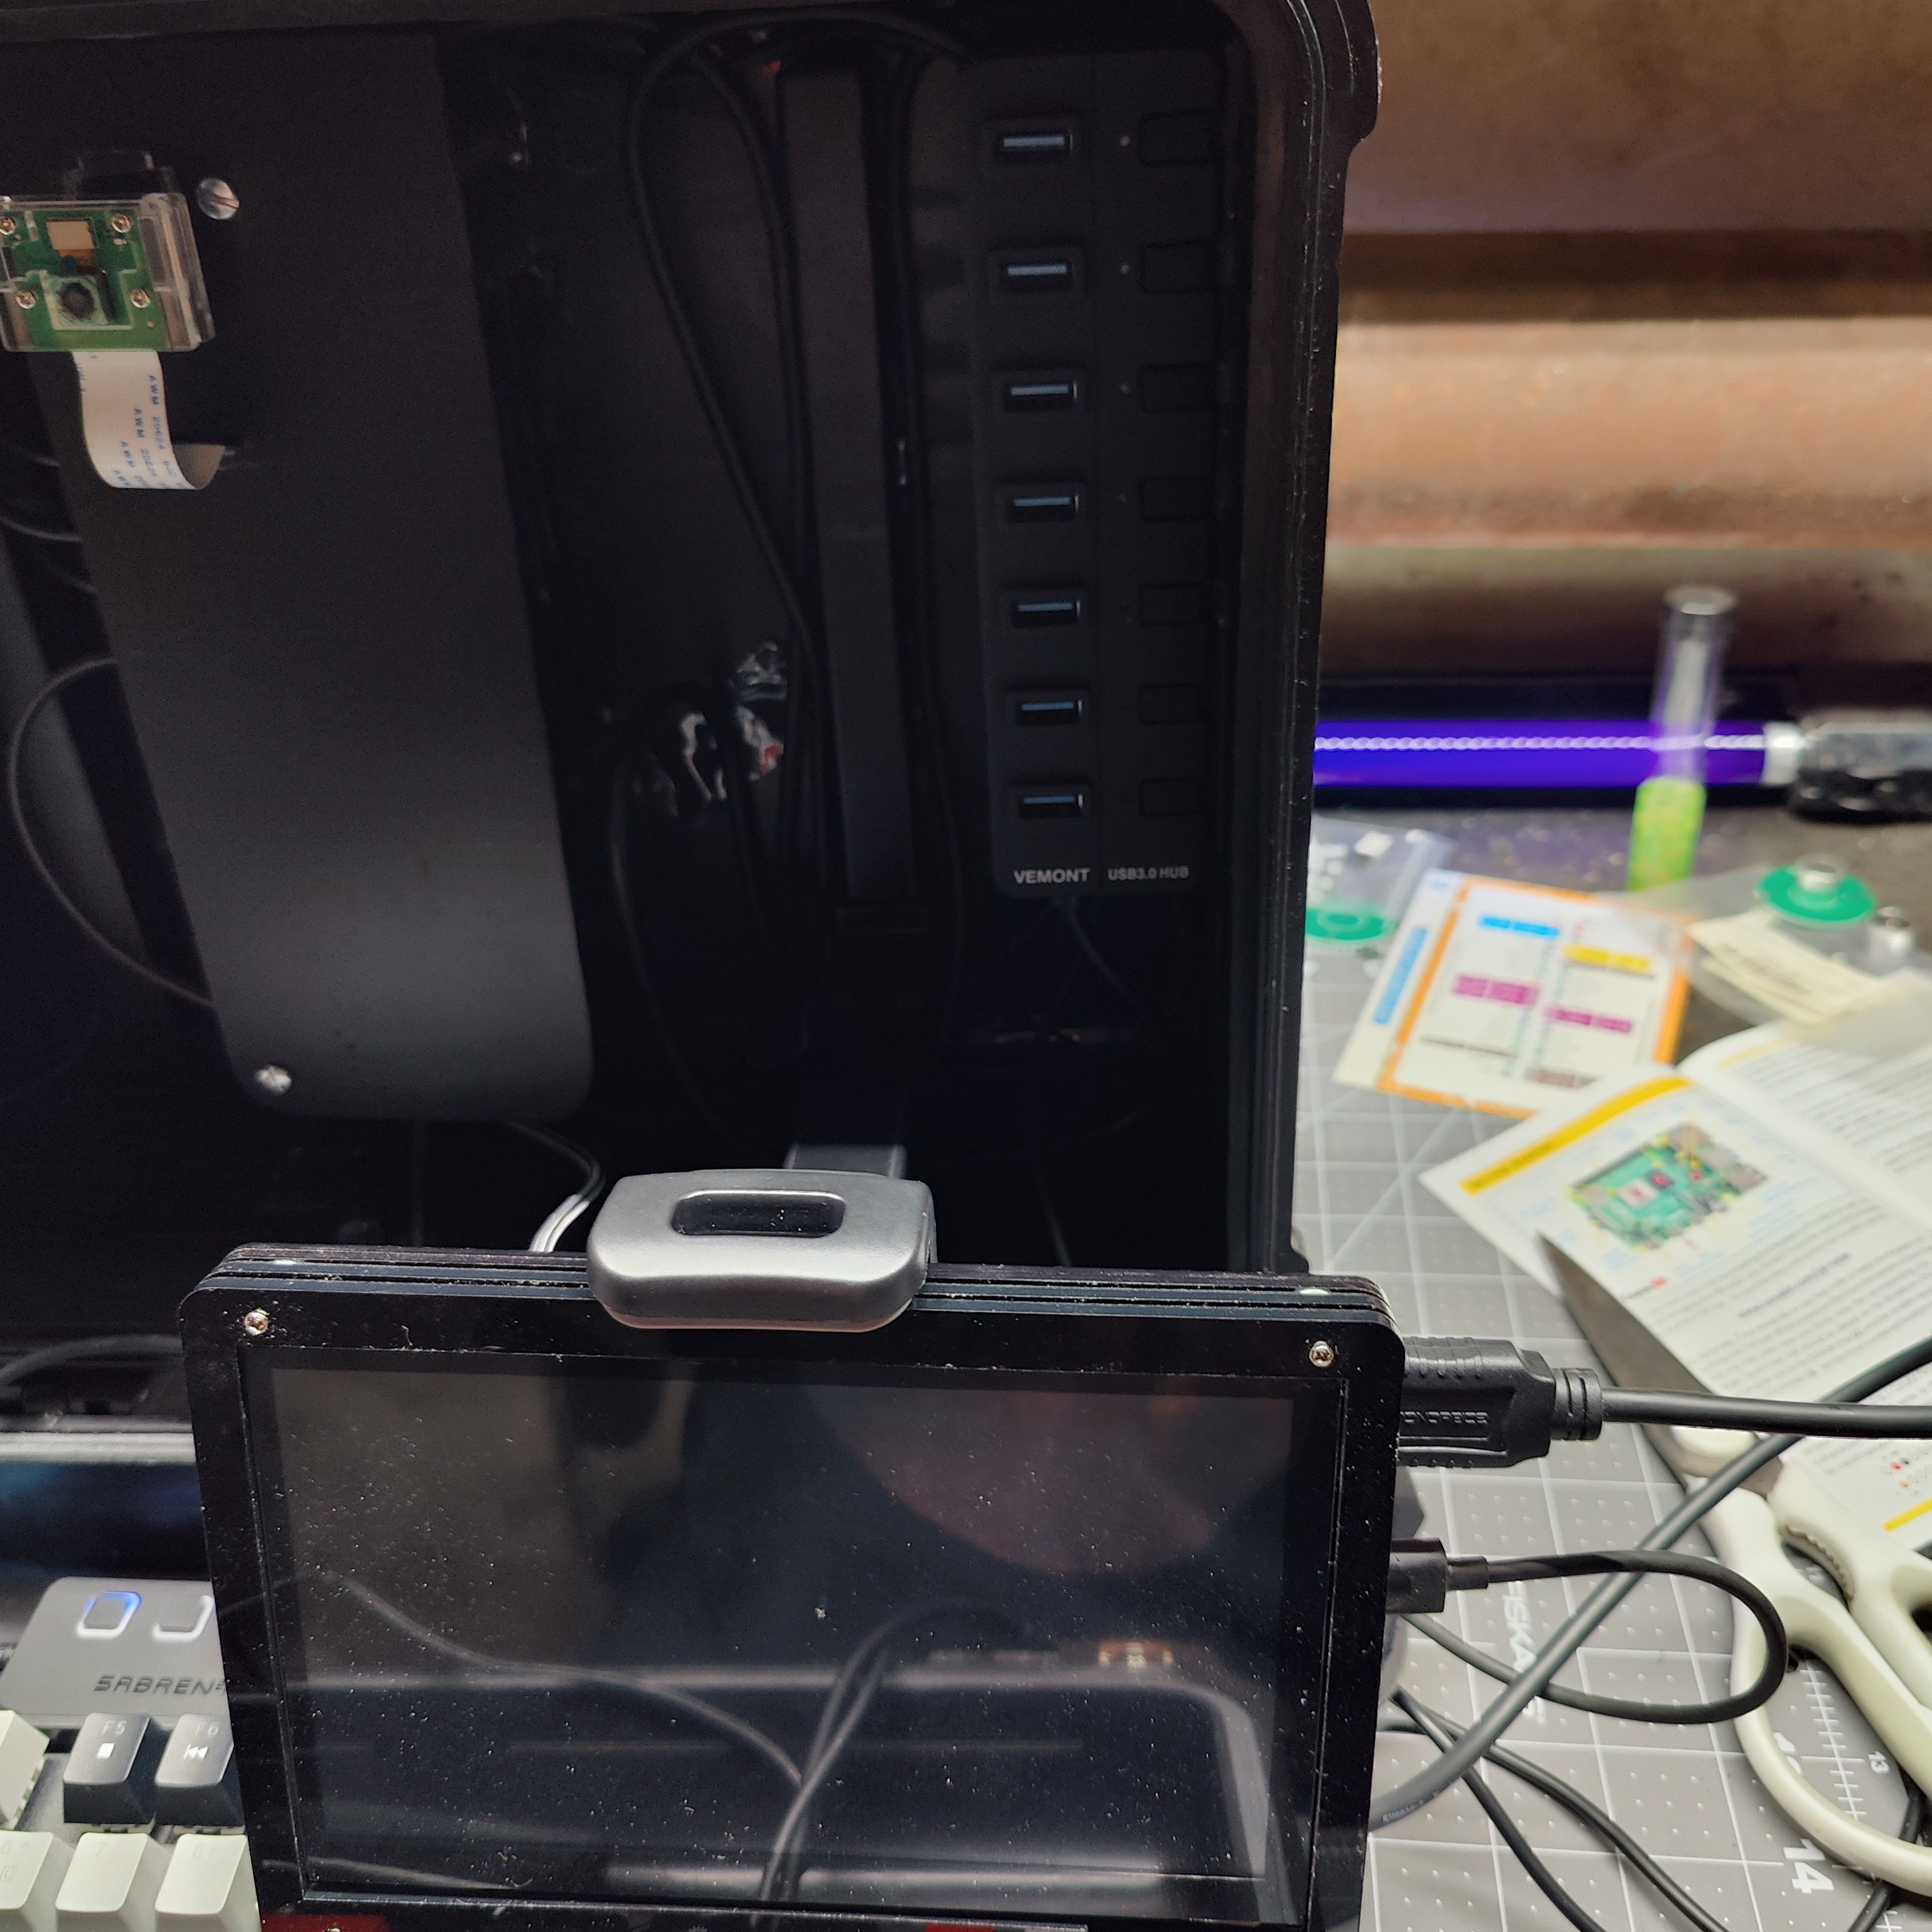
10Mount 7 port USB hub
This is pretty straight forward. I mounted this hub behind the 7 inch screen the exact same way I mounted the battery, with a piece of nano tape down the side and slapped it to the right side about midway back allowing for the screen mount to be able to properly close and allowing for wire to run behind it.
![]()
![]()
[Cyberpunk] Oni mobile command center
A CyberDeck build with a cyberpunk mobile command center design.

Discussions
Become a Hackaday.io Member
Create an account to leave a comment. Already have an account? Log In.