 Digicool Things
First, I designed a budget Hexadecimal matrix Keypad, using 12x12mm Tactile push button switches, on a PCB with the keycap legends silk-screened alongside each push button switch.
I then went on to design my Ultimate Hexadecimal Keypad version, based on Cherry MX key switches (of course!).
But, finalising the best way to implement the required MX Keycaps, in a way that would satisfy my vision of the “Ultimate Hex Keypad”, is where this project originally stalled. Until now!
But first, please join me on Part 1 of my Hexadecimal Keypad journey by viewing the video below, where I assemble the first prototype of my initial Tactile Switch based budget Hex Keypad.

 Amitabh Shrivastava
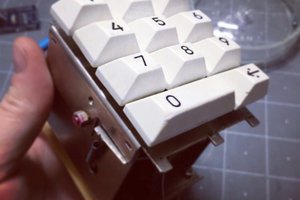
 Thomas
 Patrick Thomas