 Daniel
I have finally decided to give Hackaday a try and create a project log documenting the steps towards building a rocket camera out of a Raspberry Pi zero. The motivation behind this project is the fact that action cameras are expensive and in my opinion they are not worth the bang for buck when it comes to rocketry.
A Rockit rev. 1 flight computer will detect launch, measure altitude, and acceleration, trigger the camera and deploy a parachute.
The project objectives are:
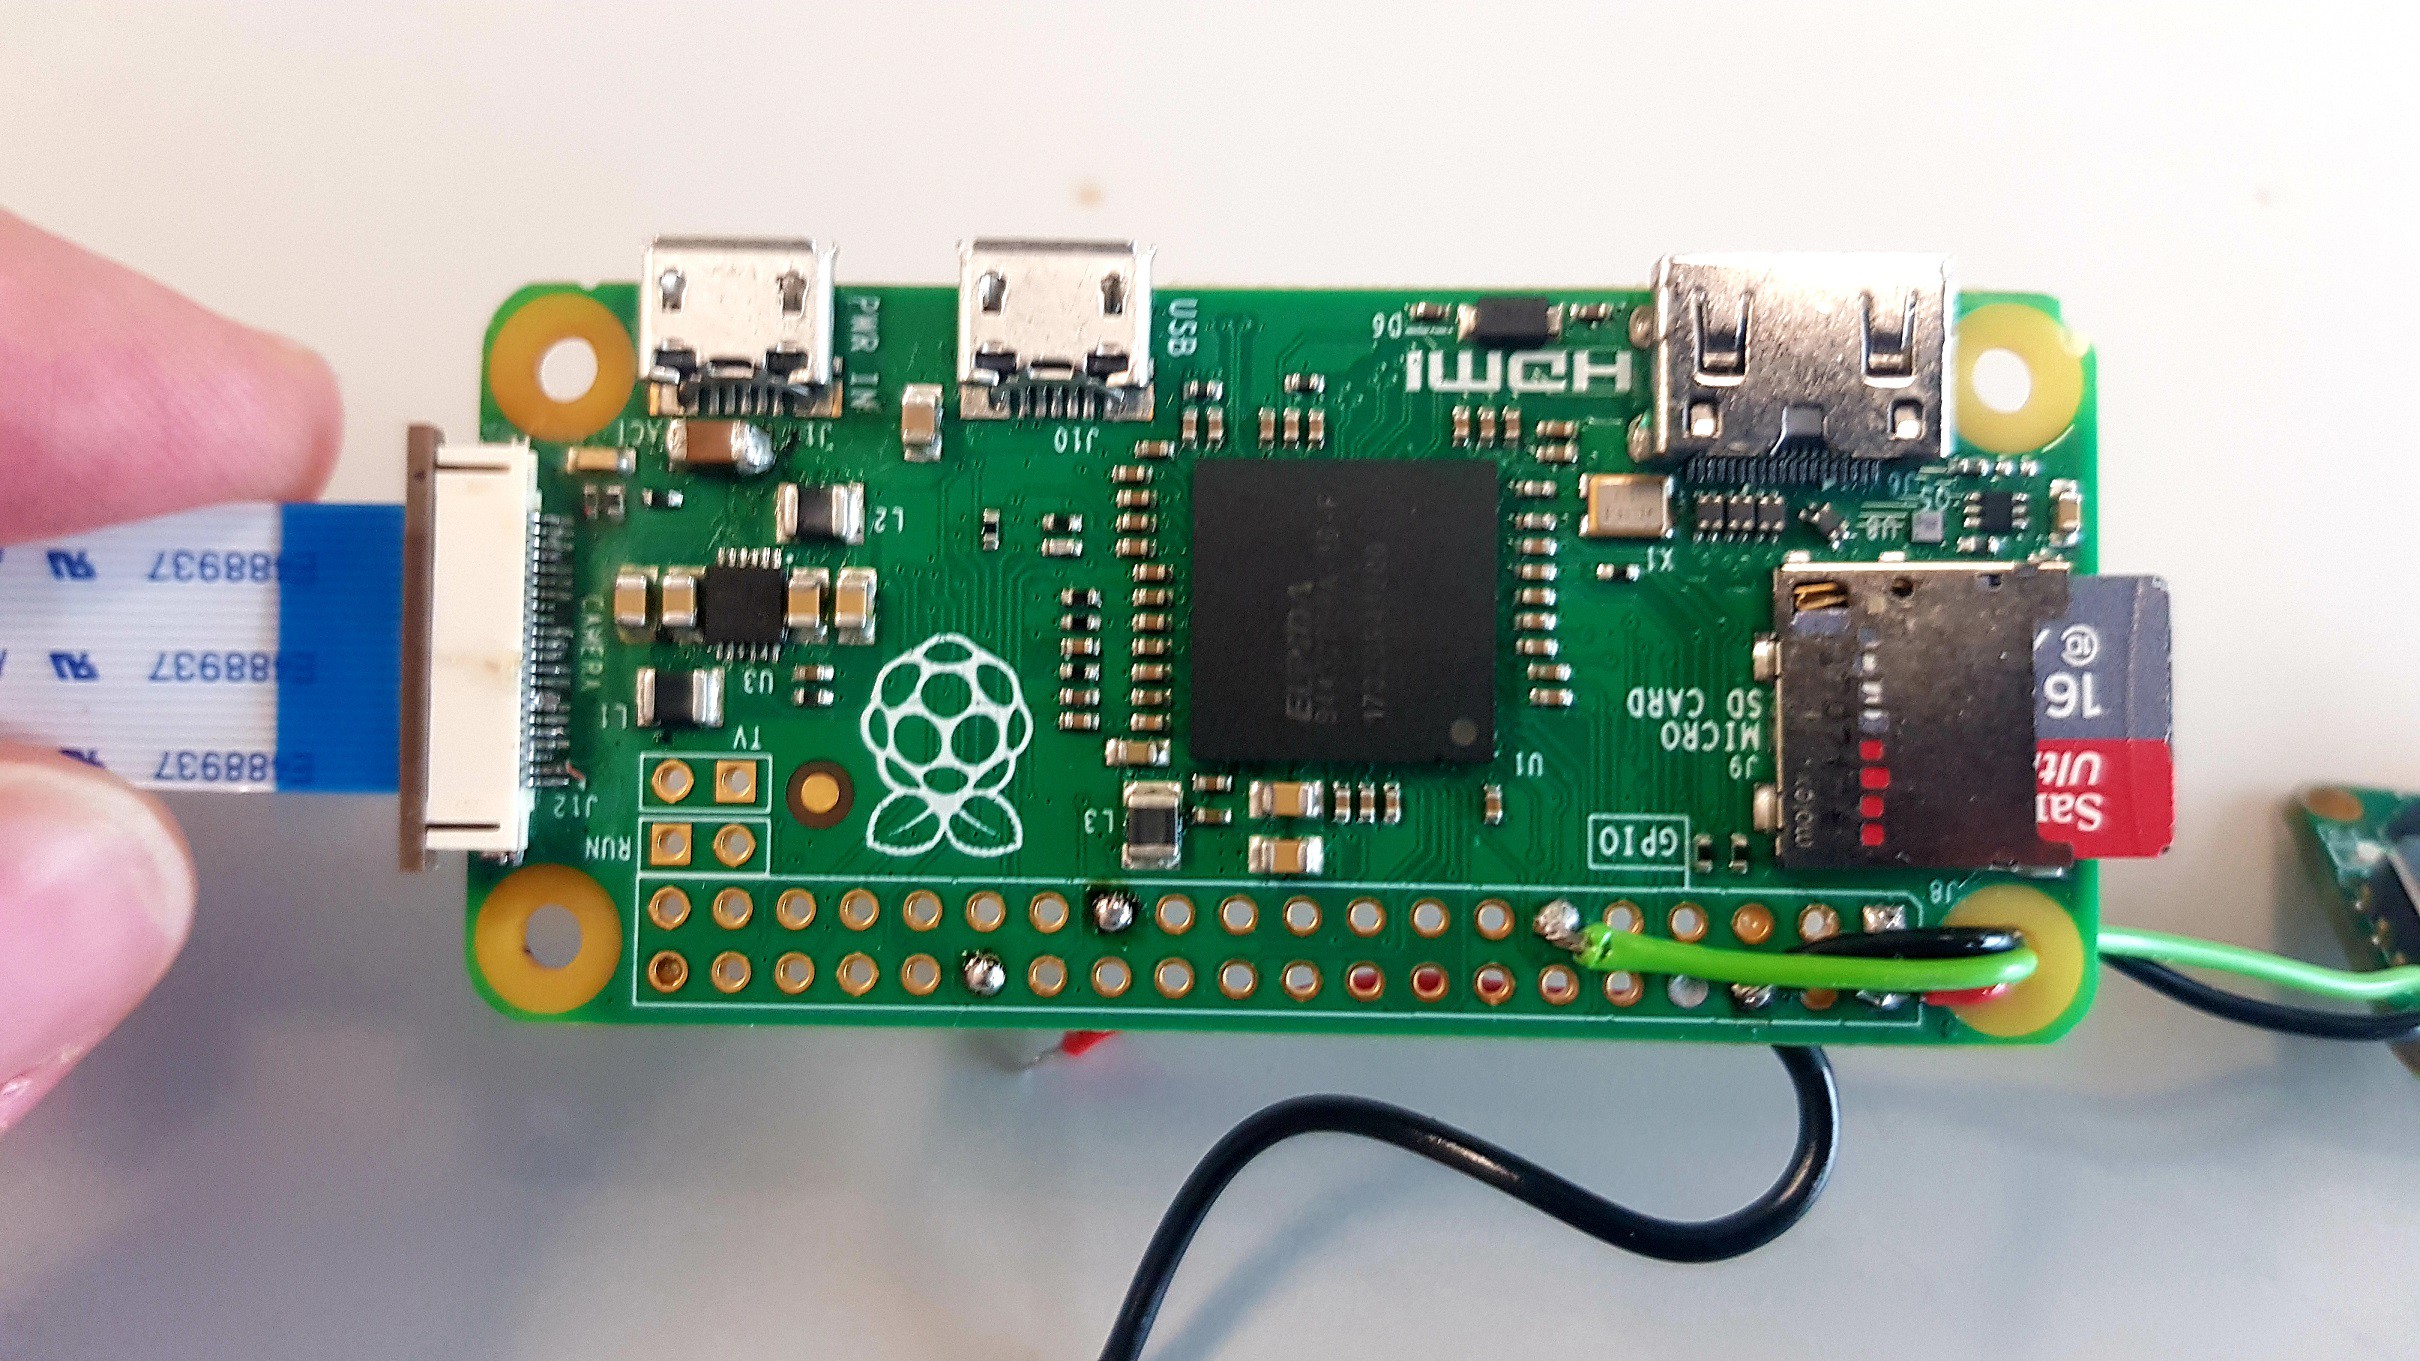
- Combine a Raspberry Pi zero with a wide-angle lens camera capable of shooting 1080p at 30fps and a Rockit flight computer.
- Build a water rocket
- Integrate the electronics in the payload section of the rocket.
- Launch and recover the rocket.
- Enjoy the video.
The idea is to use Hackaday as a project log for regular updates and YouTube for video tutorials and launch videos.
Enjoy the ride!


 Sai Sathvik
 Artur
Artur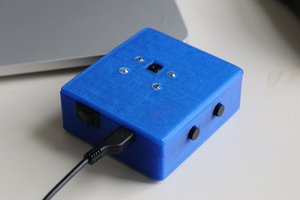
 Connor Yamada
 Mateusz Formicki