 ascendtech.robotics
AscendTech 4-H Robotics Club, a team of high school students, designed and manufactured Archelon, a remotely-operated vehicle (ROV) capable of streamlining commerce as well as benefiting the health and safety of the general public.
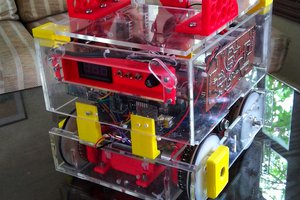
Archelon features powerful, advanced image- processing software as well as a robust, modular, economical design. With innovative payload tools and operated by eight bilge pump motors, the Archelon ROV is perfect for operating in precarious conditions to address the issues on our sea ports and water fronts.
Links
- https://github.com/AscendTech4H/AscendTechROV
- https://www.ascendtech4h.org
- https://sketchfab.com/models/6301f13787b343ce81dd5a0d121bbc7e
Problem Statement
Maritime trade is an integral part of the United States economy. Unfortunately, with all of the activity and vessel traffic, the ports are not immune to accidents and pollution. Chemicals and rogue cargo fall into the water, and many thousands of dollars are spent yearly simply trying to clean up after these activities.
Harsh ocean environments, severe weather conditions, and other factors render certain diving expeditions to be dangerous ventures. As such, the maritime industries are in need of safe and reliable methods to help manage their work. Remotely Operated Vehicles (ROVs) are the perfect robotic applications to make commerce more efficient as well as to protect health and safety. With powerful functionality and efficiency, ROVs are the superior technology to apply to these underwater situations. Although ROVs vary in complexity, all have visual devices that can document sights of the environment. ROVs additionally can have supplementary end effectors, such as measuring devices and claws. These devices are imperative for scientific activities in environments that would otherwise be harmful to humans, ranging from mapping coordinates of hazardous cargo containers to assessing the contamination of sediment areas. Not only are ROVs a crucial part of the maritime trade industry, but they are also essential to protecting public health and safety by removing hazardous chemicals and materials. It is because of this robotic application, as well as other similar applications, that we are able to ensure the safety, health, and commerce of the everyday American citizen.
Solving The Problem
Archelon is designed with the purpose of streamlining commerce as well as benefiting the health and safety of the general public. Archelon features powerful and advanced image-processing software as well as a robust, modular, and economical design. As a lightweight and compact vehicle, the Archelon ROV is perfect for operating in precarious conditions, which is ideal for sea ports and water fronts. A collection of these ROVs could be used to accomplish underwater tasks that would be dangerous for humans, thus saving numerous lives. Each ROV is capable of moving objects, taking agar samples, shining lights, and completing a variety of other tasks. With these abilities, the Archelon ROV is capable of improving public health, the cleaning the underwater environment, and bolstering maritime trade.
The World-Changing Underwater Robot
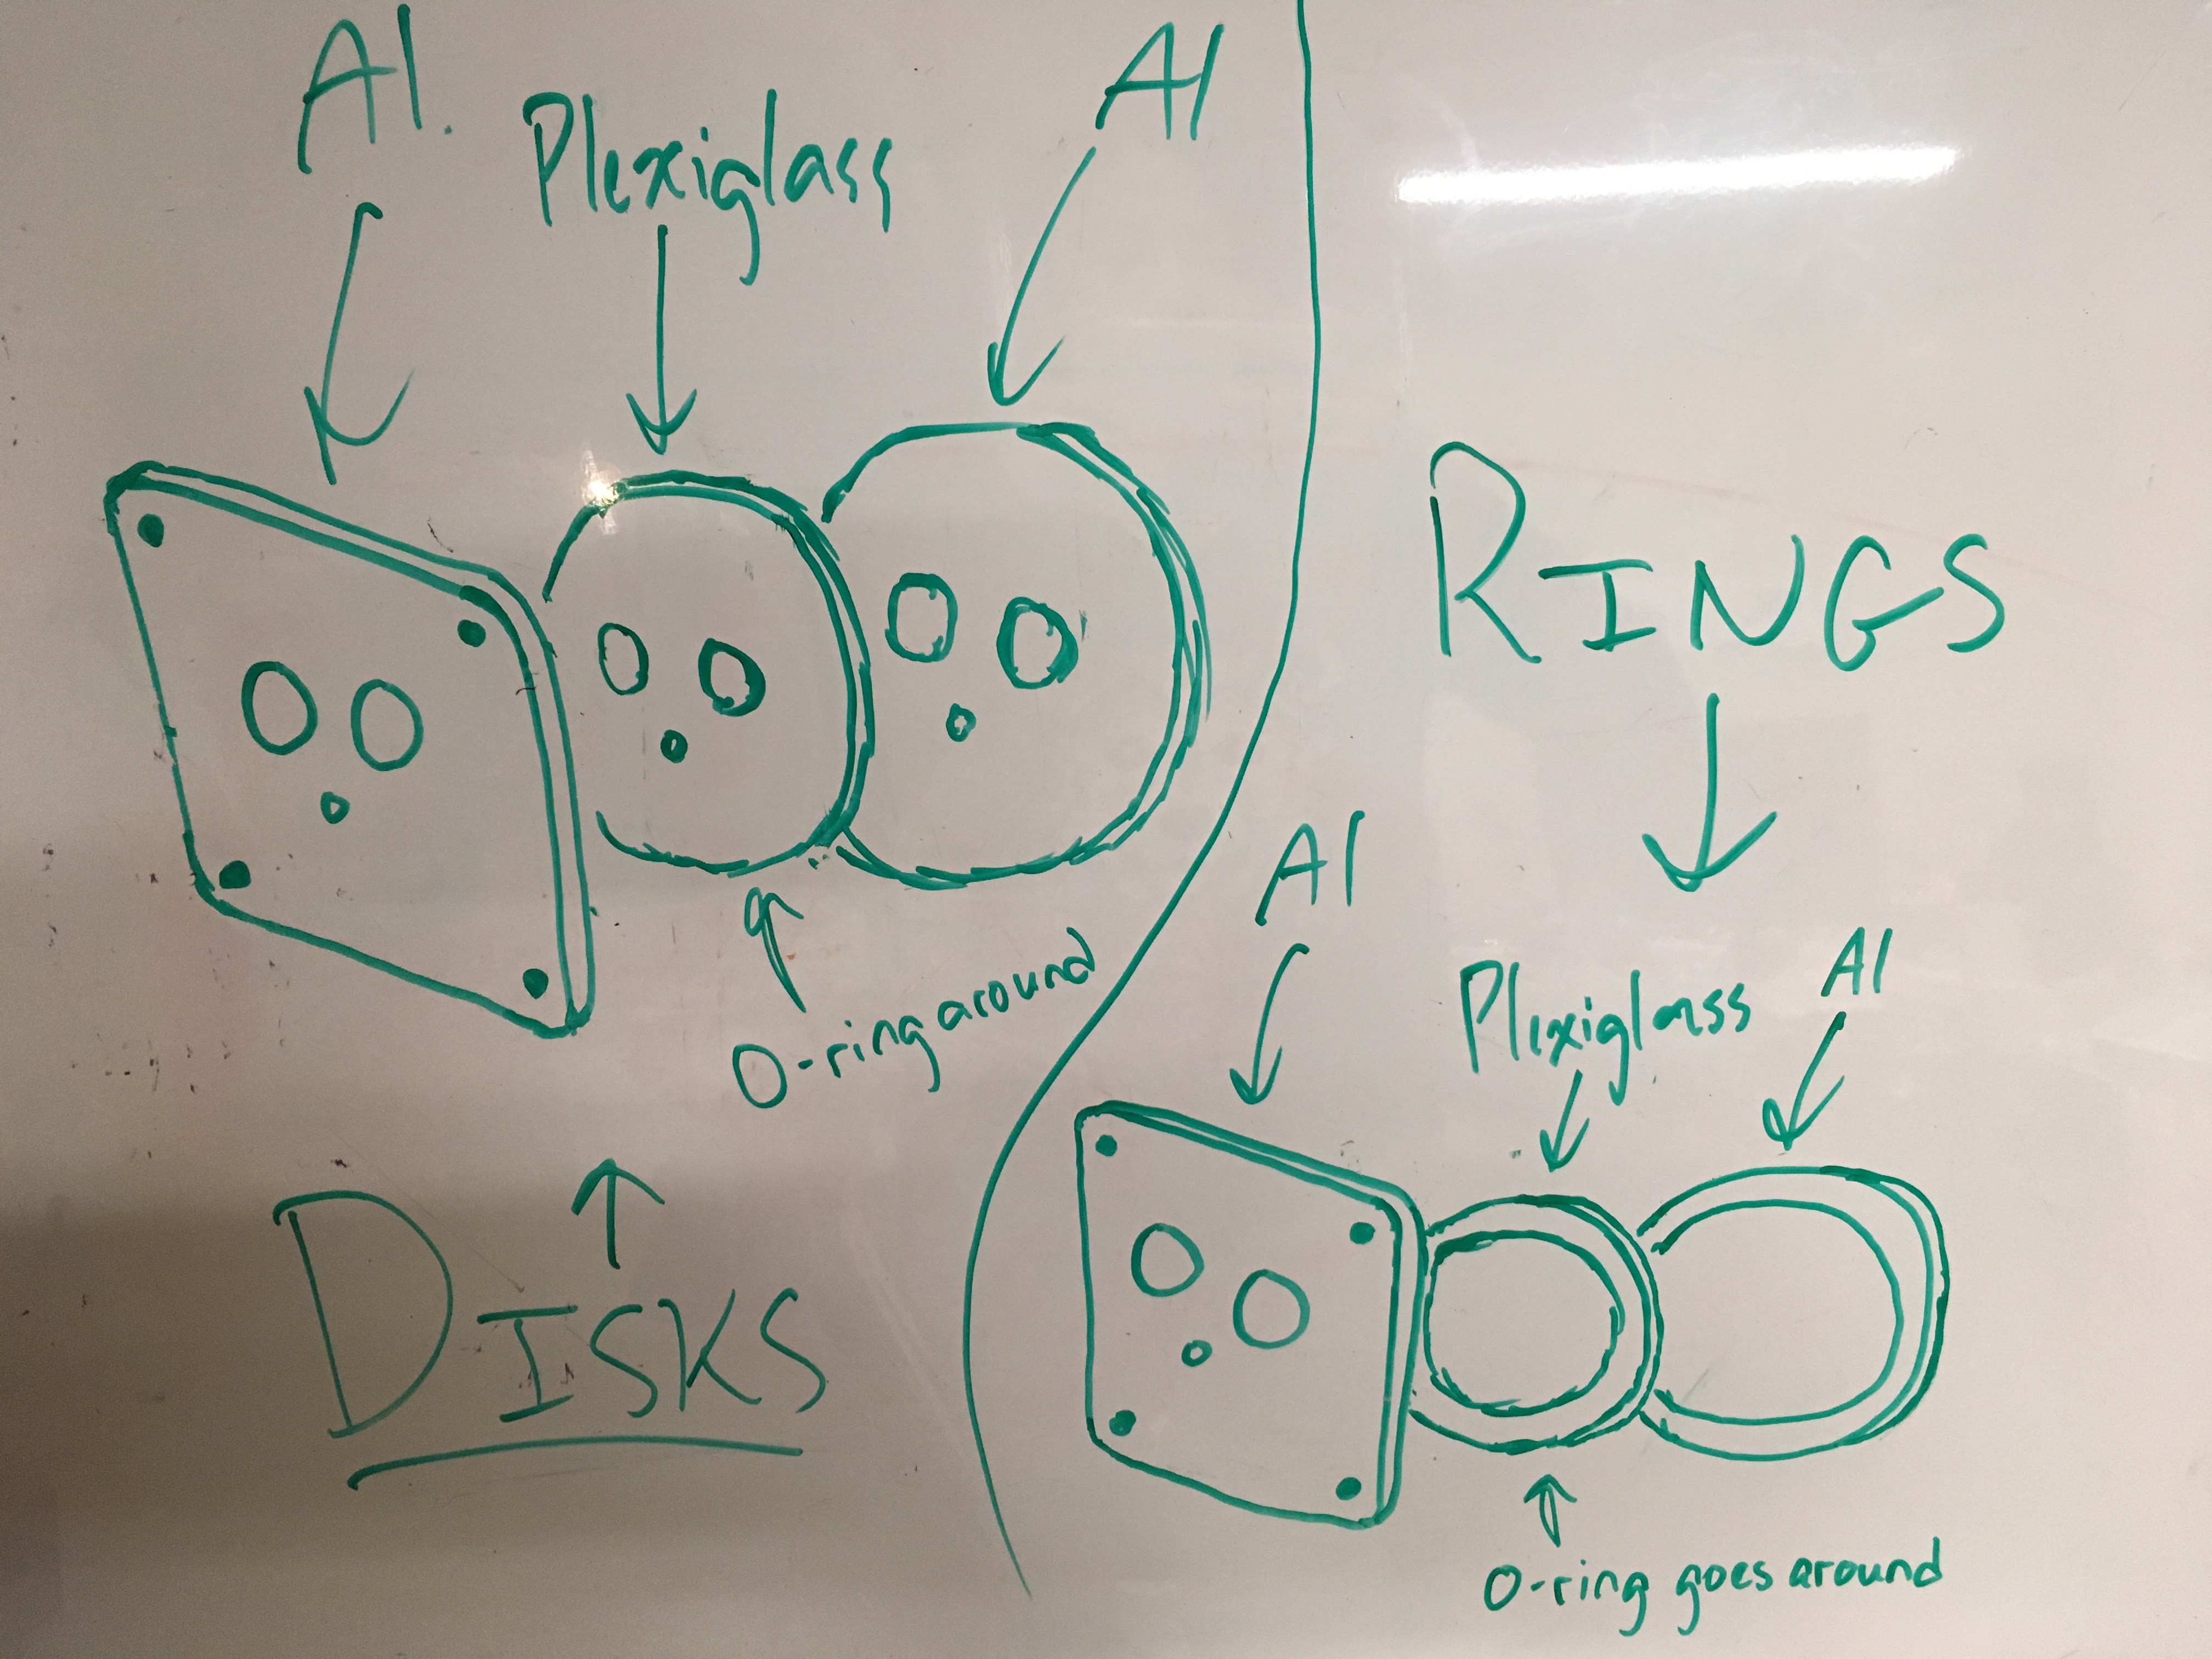
The Archelon ROV has many aspects that make it revolutionary. From its inception to its implementation, the design contains features that make it safe, affordable, and reliable. The ROV is designed to be extensible, with different modular attachments giving it the requisite flexibility to complete various tasks. For example, the claw ordinarily acts as a gripper but can be combined with the custom agar sampler to become a very powerful tool for assessing the health of underwater communities. Even the agar sampler itself is designed with multiple head attachments to allow for optimization during use. This philosophy of modularity and extensibility is also applied to the rest of the ROV, resulting in swappable camera mounts, adjustable ballasts, and movable motors. This also makes the ROV much easier to create at home or on...
Read more »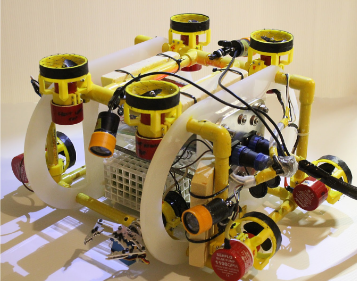


 NEBRA Labs
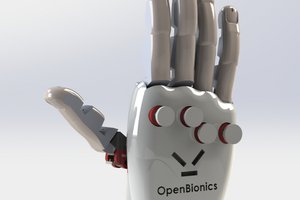
 OpenBionics
 allai5
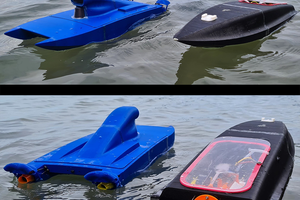
 New Dexterity
looks expensive
have you heard of the silicon glue, or that waterproof glue you just dip your electronics into it and then it doesnt need any parts to keep stuff waterproof