 kodera2t
Again I would like to write this circuit and ROM image is NOT my original. Just I made PCB files (Eagle files) and will show some fundamentals of how to write EPROM..
Before making, please read Grant's 6-chip 6809 computer carefully!!
The software, BASIC should be contained in UV-EPROM. Actually I had no experience of making something by UV-EPROM. (I have one just for duplicate something..)
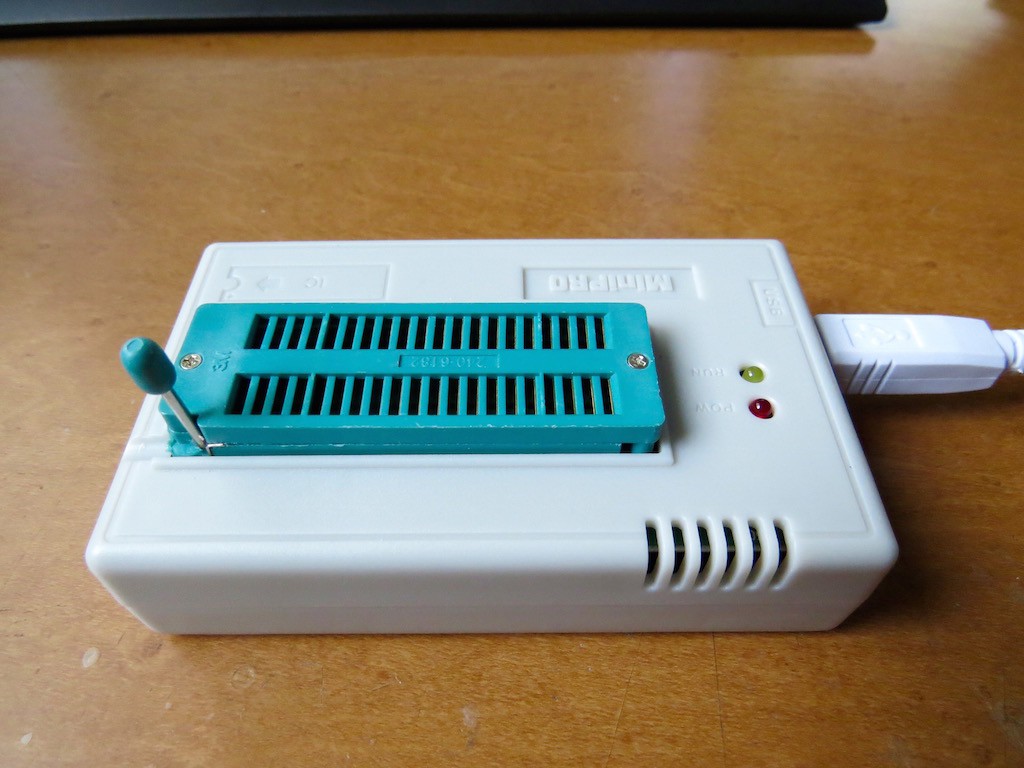
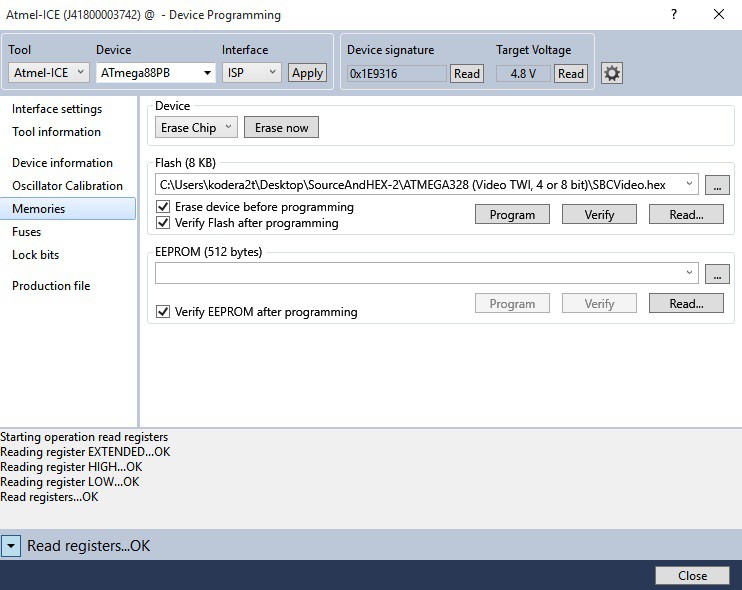
The pre-owned programmer does not support modern OS (supports only before windows 7) and this time I bought this tiny programmer, TL866. This programmer is very universal and supporting not only EPROM but also PIC, Atmel AVR even DIP ATMega1284P !! very useful one.
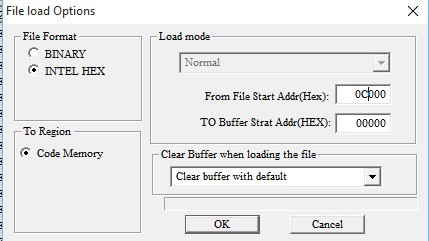
After setting USB driver, ROM image released on Grant's homepage can be loaded by specifying start address:0C000. The released ROM mapping corresponds to memory map and BASIC part starts from 0C000.
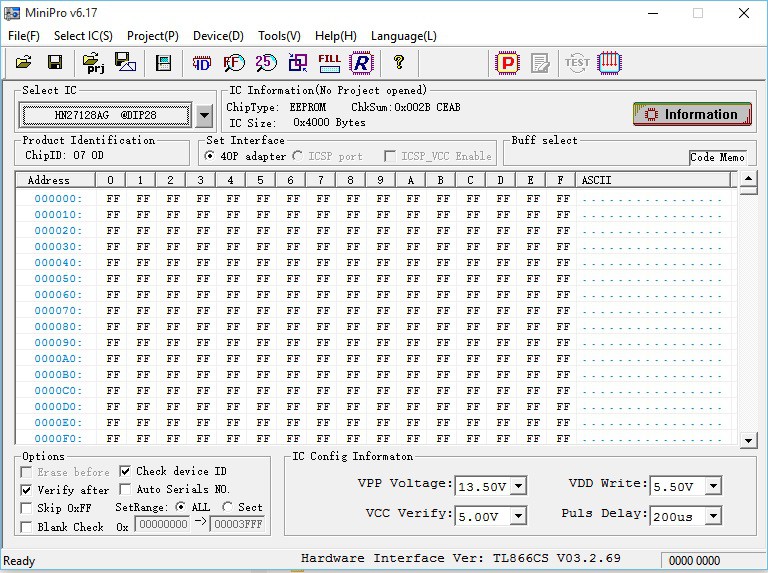
After loading, you will see bunch of FF. The beginning part is still empty and we can add another function init.

BASIC part starts from 1B00 and,,,,
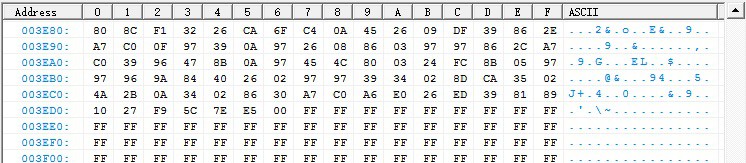
BASIC ends at 3ED6.

The very end of ROM (3FF0 to 3FFF), these byte will be found.
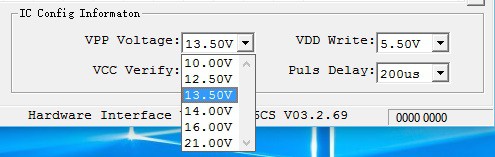
This programmer supports various writing voltage (up to 21 V), and NMOS type is also supported. Please refer data sheet and choose correct voltage.
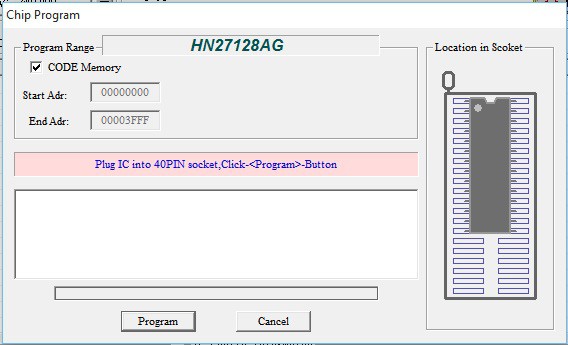
Choosing "program" will show this windows. just press "Program" will write BASIC ROM.
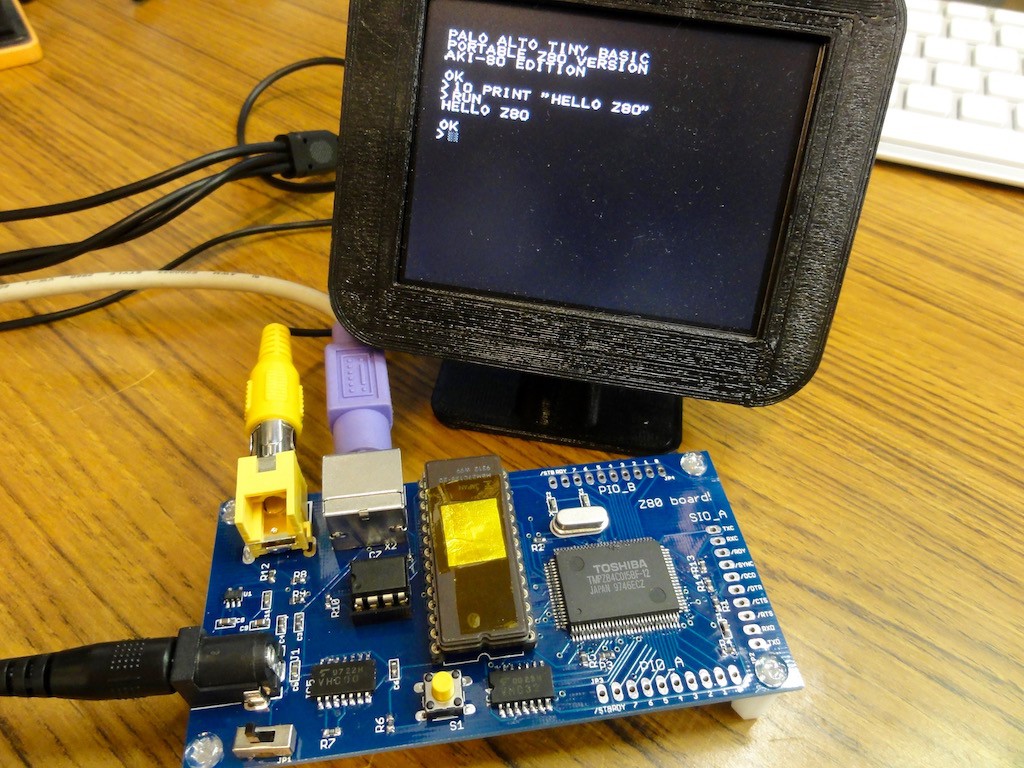
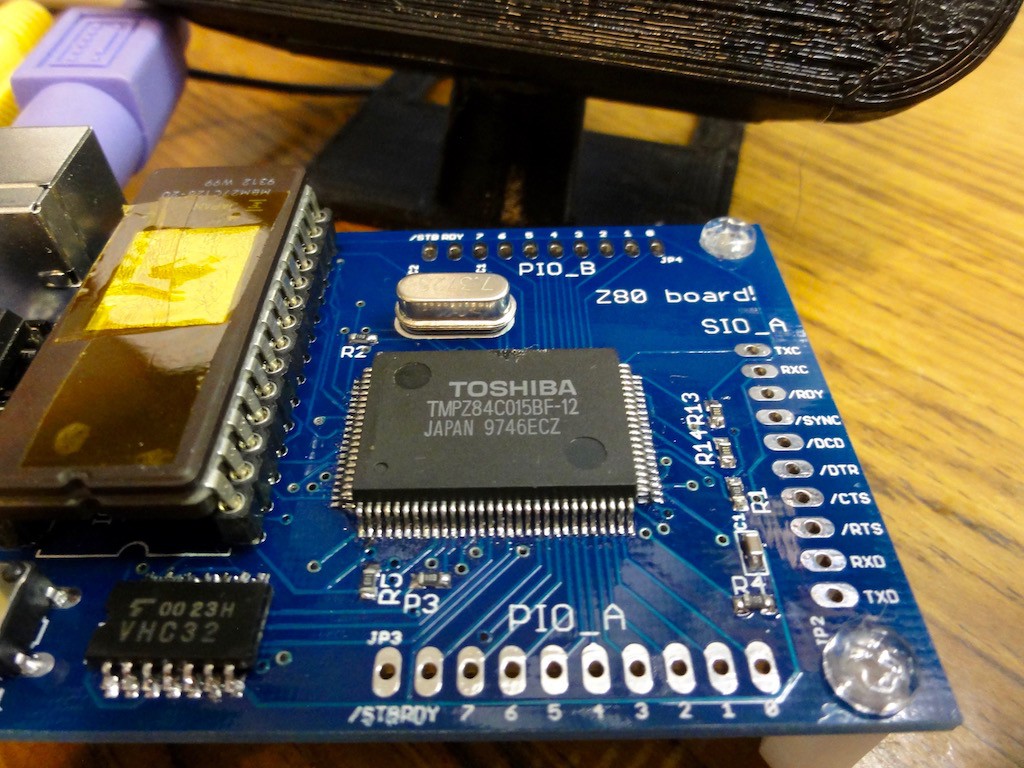
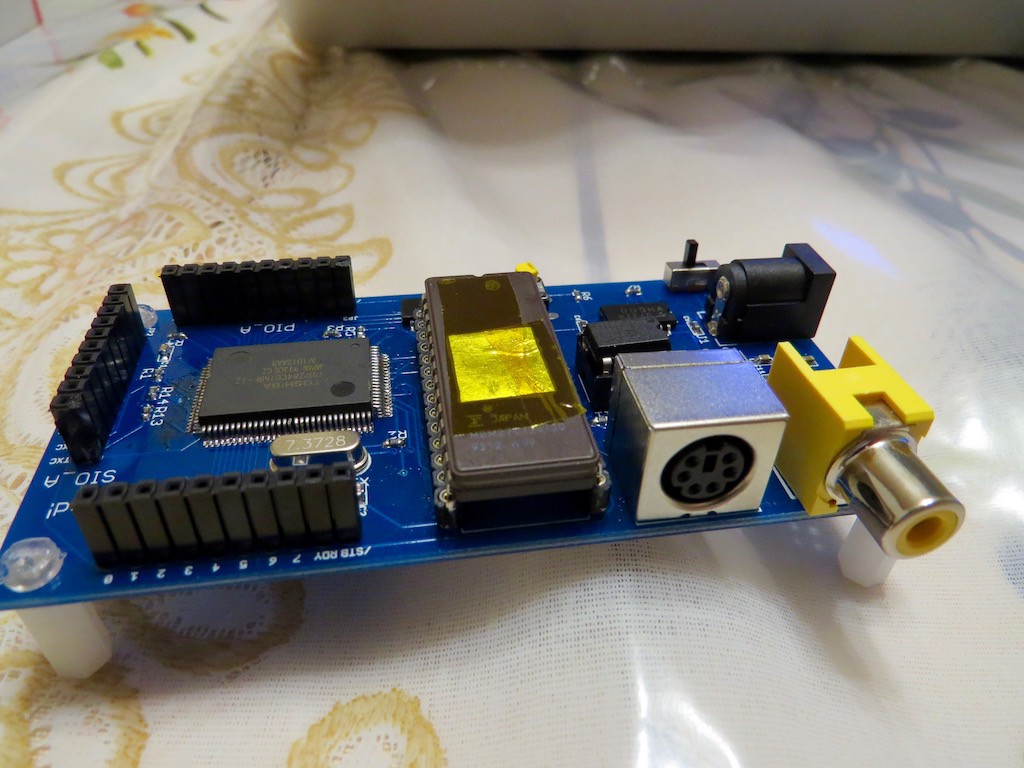
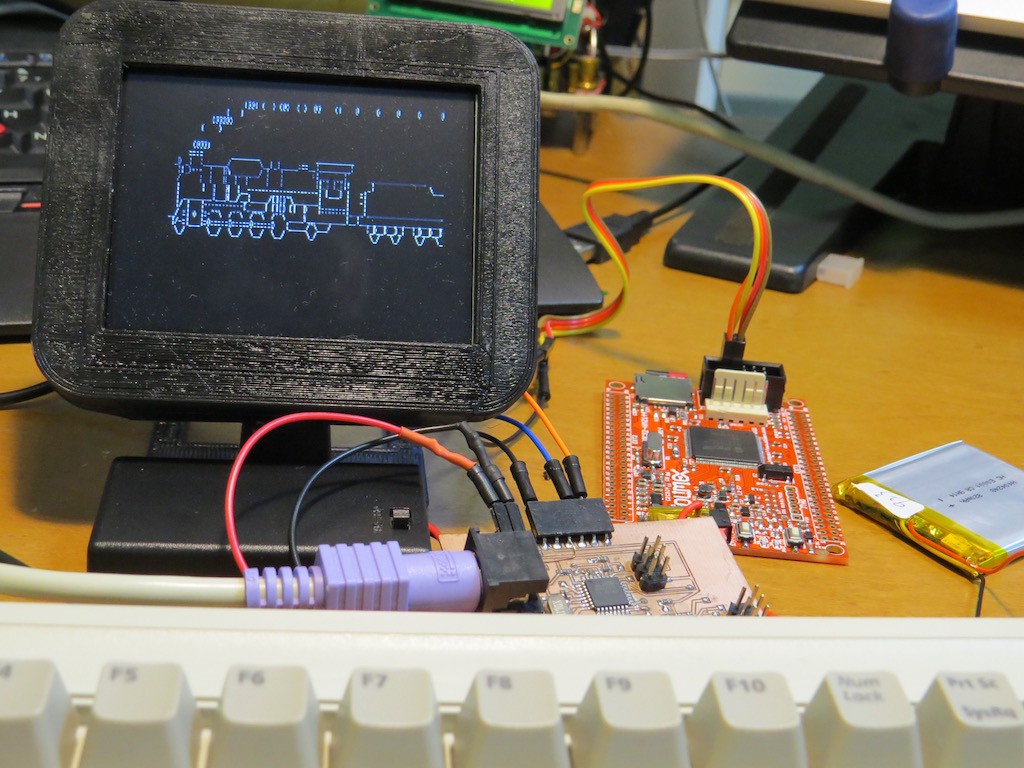
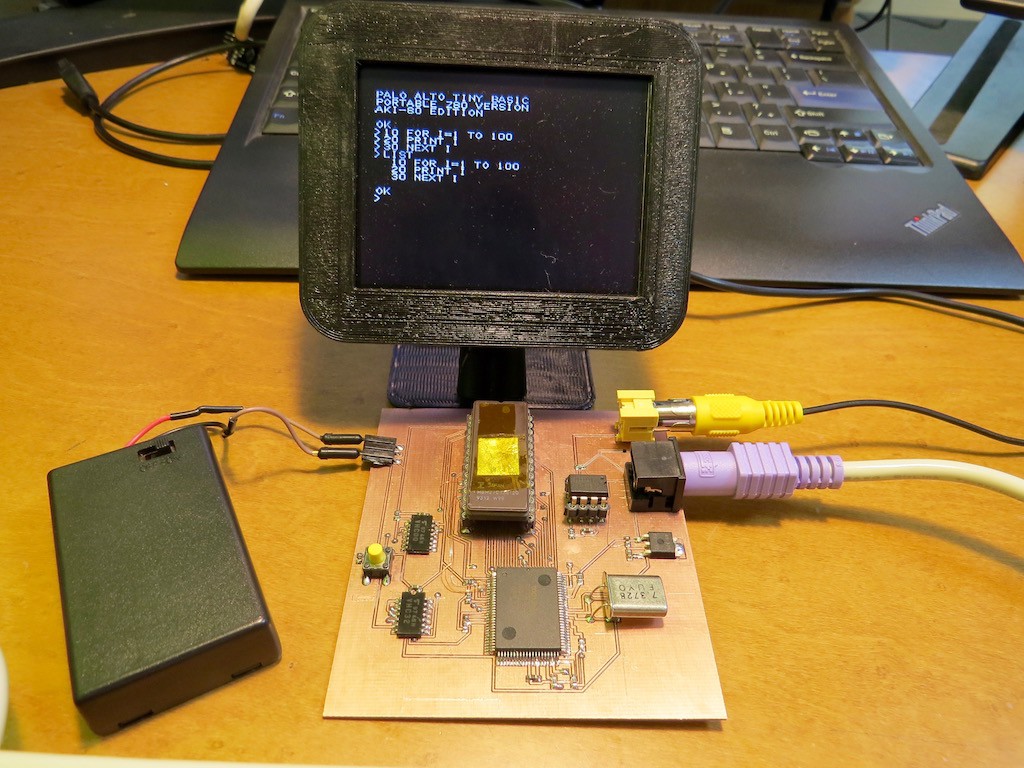
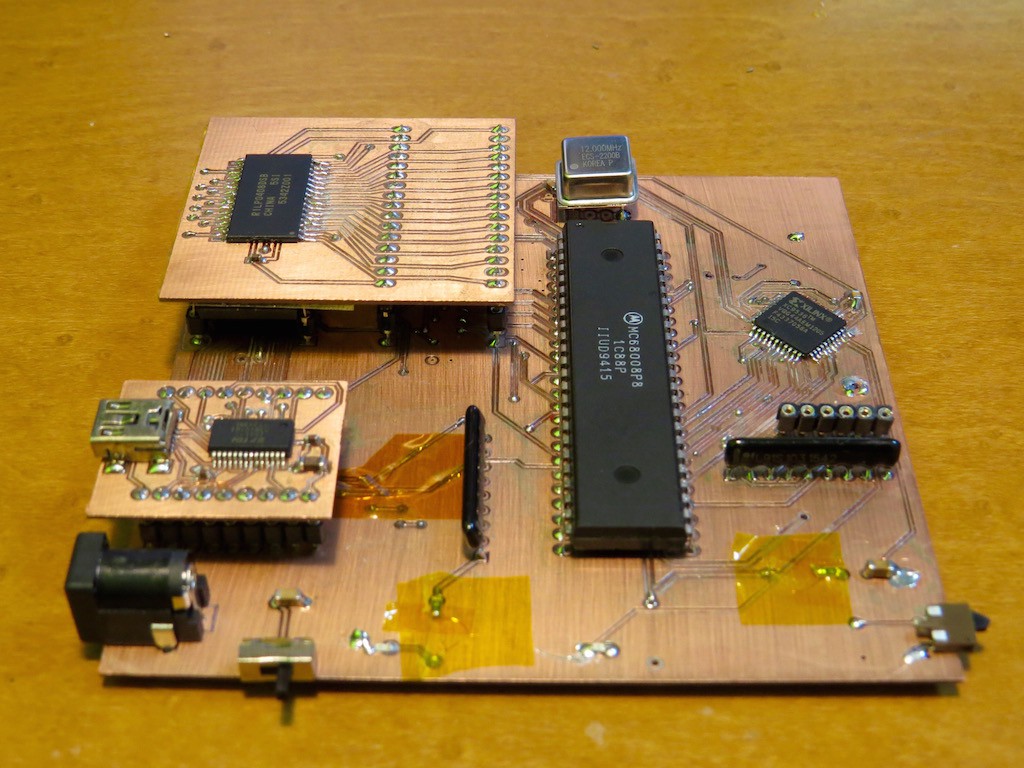
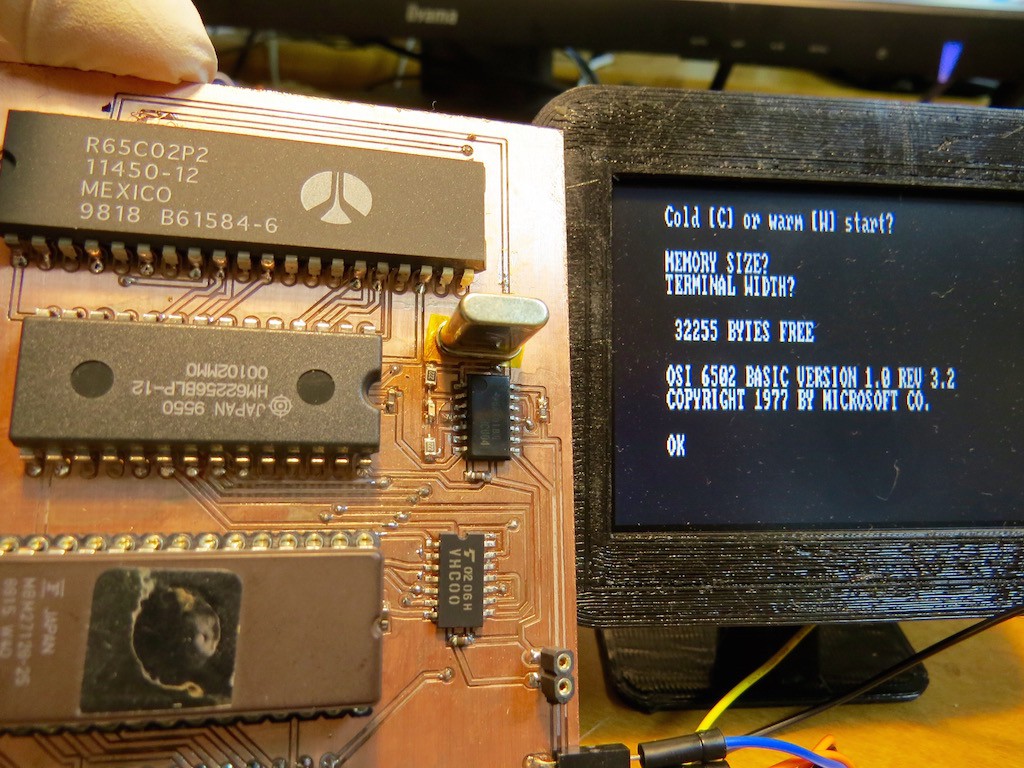
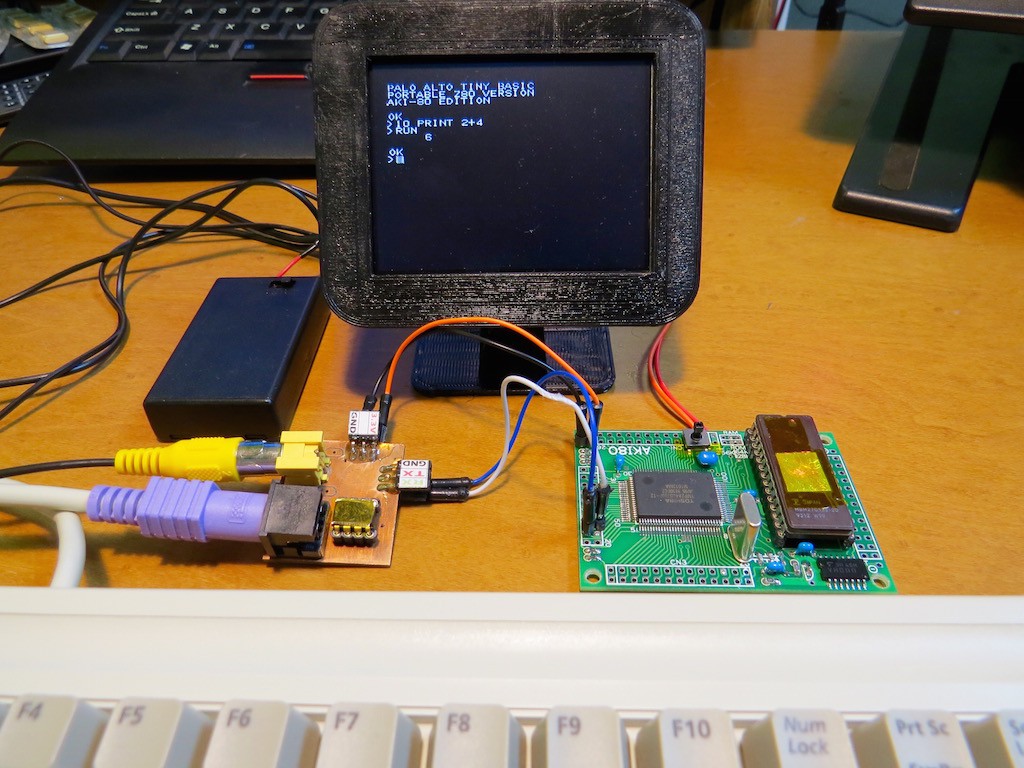
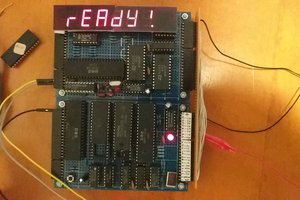
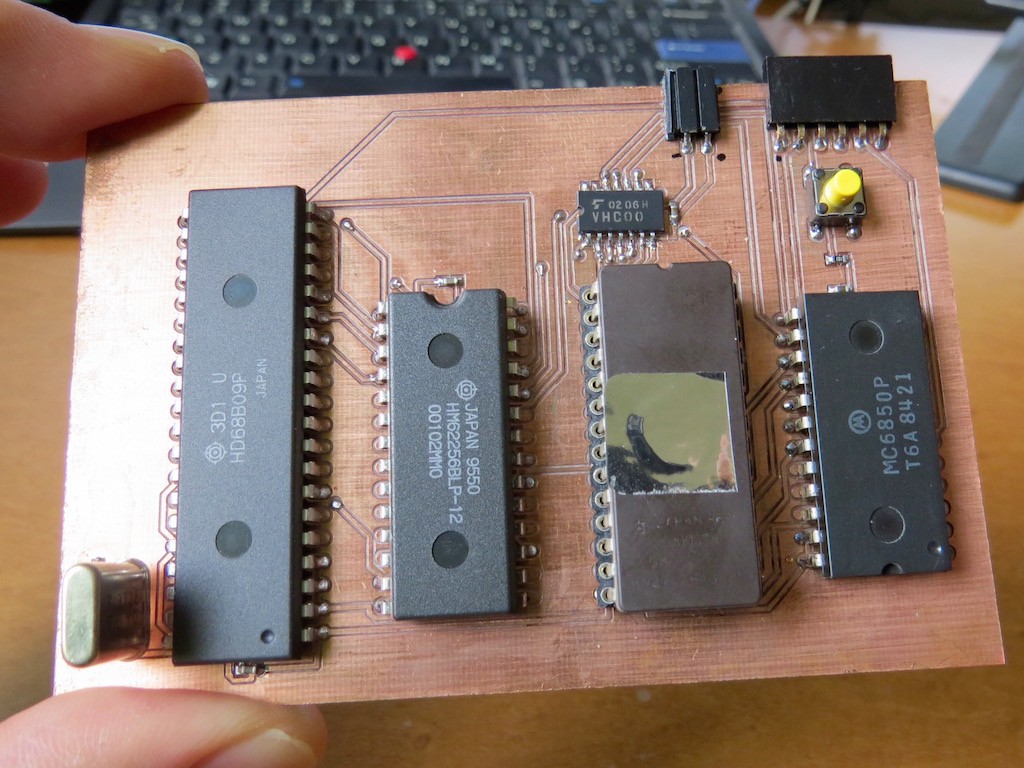 And this is the completed BASIC computer. 5V (VCC) is taken from USB-TTL (where 5V has direct connection to USB bus voltage) but also I added two pin VCC terminal (left of serial interface)
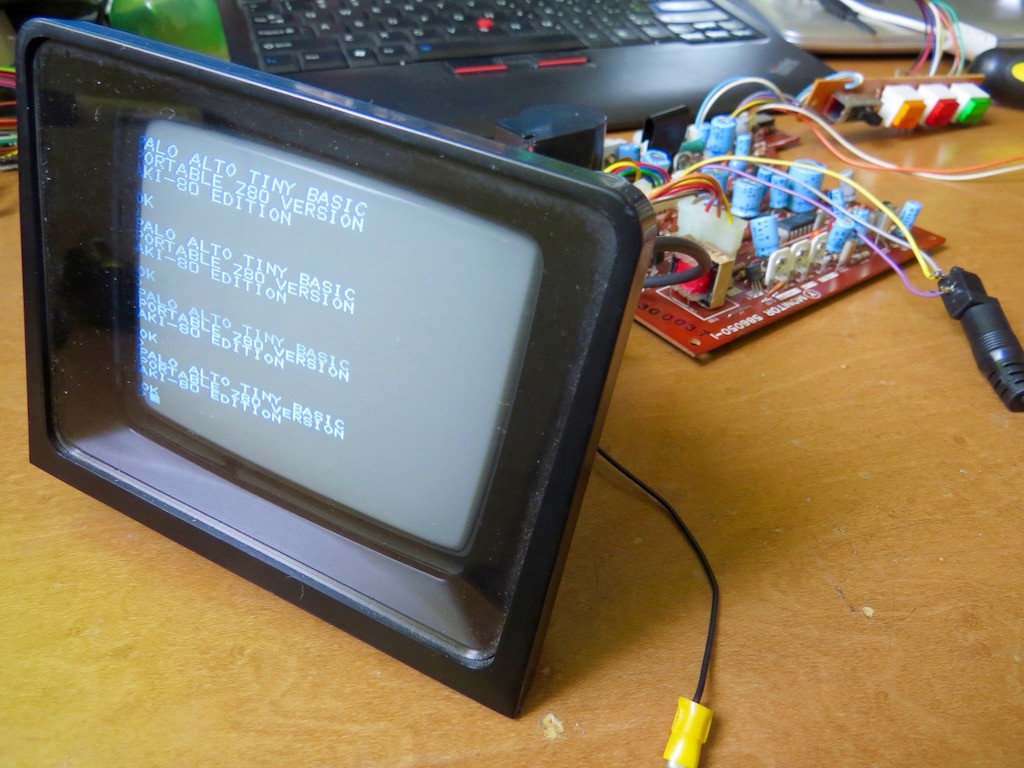
PCB files are released on github and actual operation can be found in the following movie.
Have fun!


 Koen van Vliet
 Colin Maykish
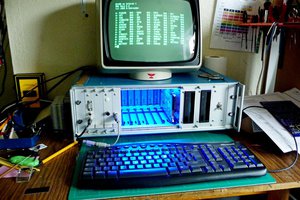
 Keith
Keith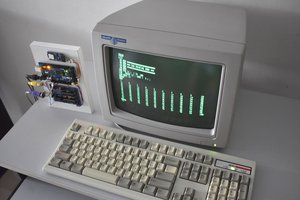
 John
John
Love this project.
Are you going to release the code for the LPC, that's a total gem. It would be nice to add a mouse as well.