 ziggurat29
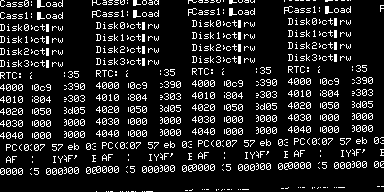
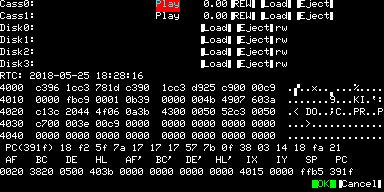
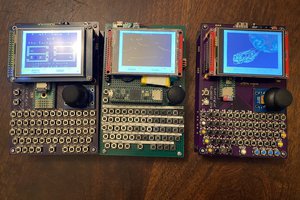
I did this project to keep myself occupied while recovering from some surgery in 2015, for which I would have limited mobility for about a month. I didn't think I'd be up to doing bench work, so I used some existing PCBs to allow me to focus on the firmware, which I could do lying down (both literally and figuratively). I used a UBW32 (from Schmalzhaus) as a CPU 'breakout board' and also a UBW32-MCC (from Dontronics) to provide the VGA, PS/2 keyboard, SD card, and power connectors. Later, I supported another board: the Olimex Duinomite-mini (and reportedly the Duinomite with the IO board). The Olimex boards are much easier to come by, inexpensive, and ready to use out-of-box. But no color :(. But, hey, the TRS-80 Model I was a monochrome, anyway! (I just like the green screen effect.)
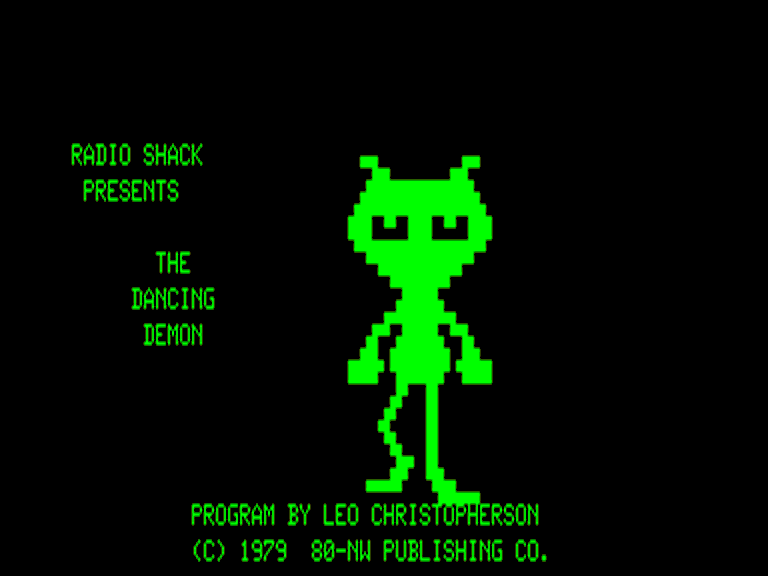
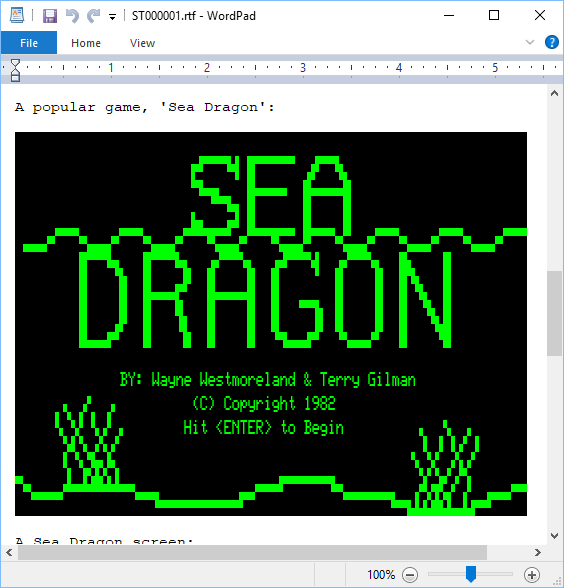
Q.v. a little demo from early on running the famous dancing demon:
"If I have seen farther than others, it is because I have stood on the shoulders of giants." -- Newt.
There was a lot of existing code that I relentlessly twisted to my own twisted porpoises, so it's appropriate for me to give a shout-out to those who wittingly or unwittingly helped in some way.
Props to Geoff Graham, who allowed me to pilfer his Maximite code for the video and keyboard 'drivers'. And also indirectly to Lucio Di Jasio, for describing the clever 'SPI and DMA as a video generator' technique, which was used in Geoff's project (and by extension, mine). I am very jealous that I can't claim to have invented that myself! Brilliant!
Props also to Tim Mann, a developer of software for the TRS-80 (actual) back in the day, and also creator of the 'xtrs' emulator for unixian systems. I used the Z80 CPU emulation code (which I modified a bit for my purposes). (It, in turn, is derived from another source which I cannot name, or else I'd cite it as well. Clarendon Hill? Either way, the license seems functionally public domain.)
Props also to Matthew Reed, author of TRS32, an excellent (albeit non-open-source) emulator for Win32 systems. I use it sometimes for comparison, and also the TRSTools are quite useful for extracting files from floppy images.
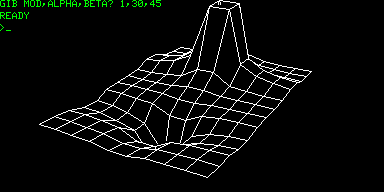
Props also to all those others who helped kept the memory of the TRS-80 alive; otherwise I would have had scratch to work with when starting this out. In particular those who have supplied rare software and manuals, so that I could realize exotic things like the 'high-resolution' graphics HRG1B modification, and the Orchestra 80 sound.
Thanks also to those who have helped by indulging me in testing builds on boards that I do not have in my possession to get those working. Debugging by text messaging is even less efficient than printf() style debugging.
Anyway, I've derived a lot of entertainment from it. I can't believe I'm still hacking on this 3 years and augmenting it 3 years hence. It's kind of remarkable what we thought was cool in those days looking back from the present.


 Jorj Bauer
 PK
PK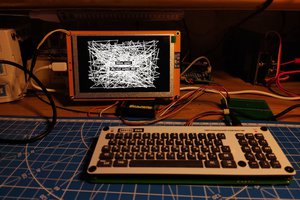
 svofski
Still checking back into this project every so often to read the discussion notes and hope that there is enough interest to explore/develop more features perhaps including perhaps a serial port in some way...?
Wondering how many of these emulators have actually been built by people around the world? If the postings of people on this forum are just a fraction, then I would say quite a few... I am still impressed and my Olimex duinomite-mini is still working amazingly rock solid with this project.