 Quinn Morley
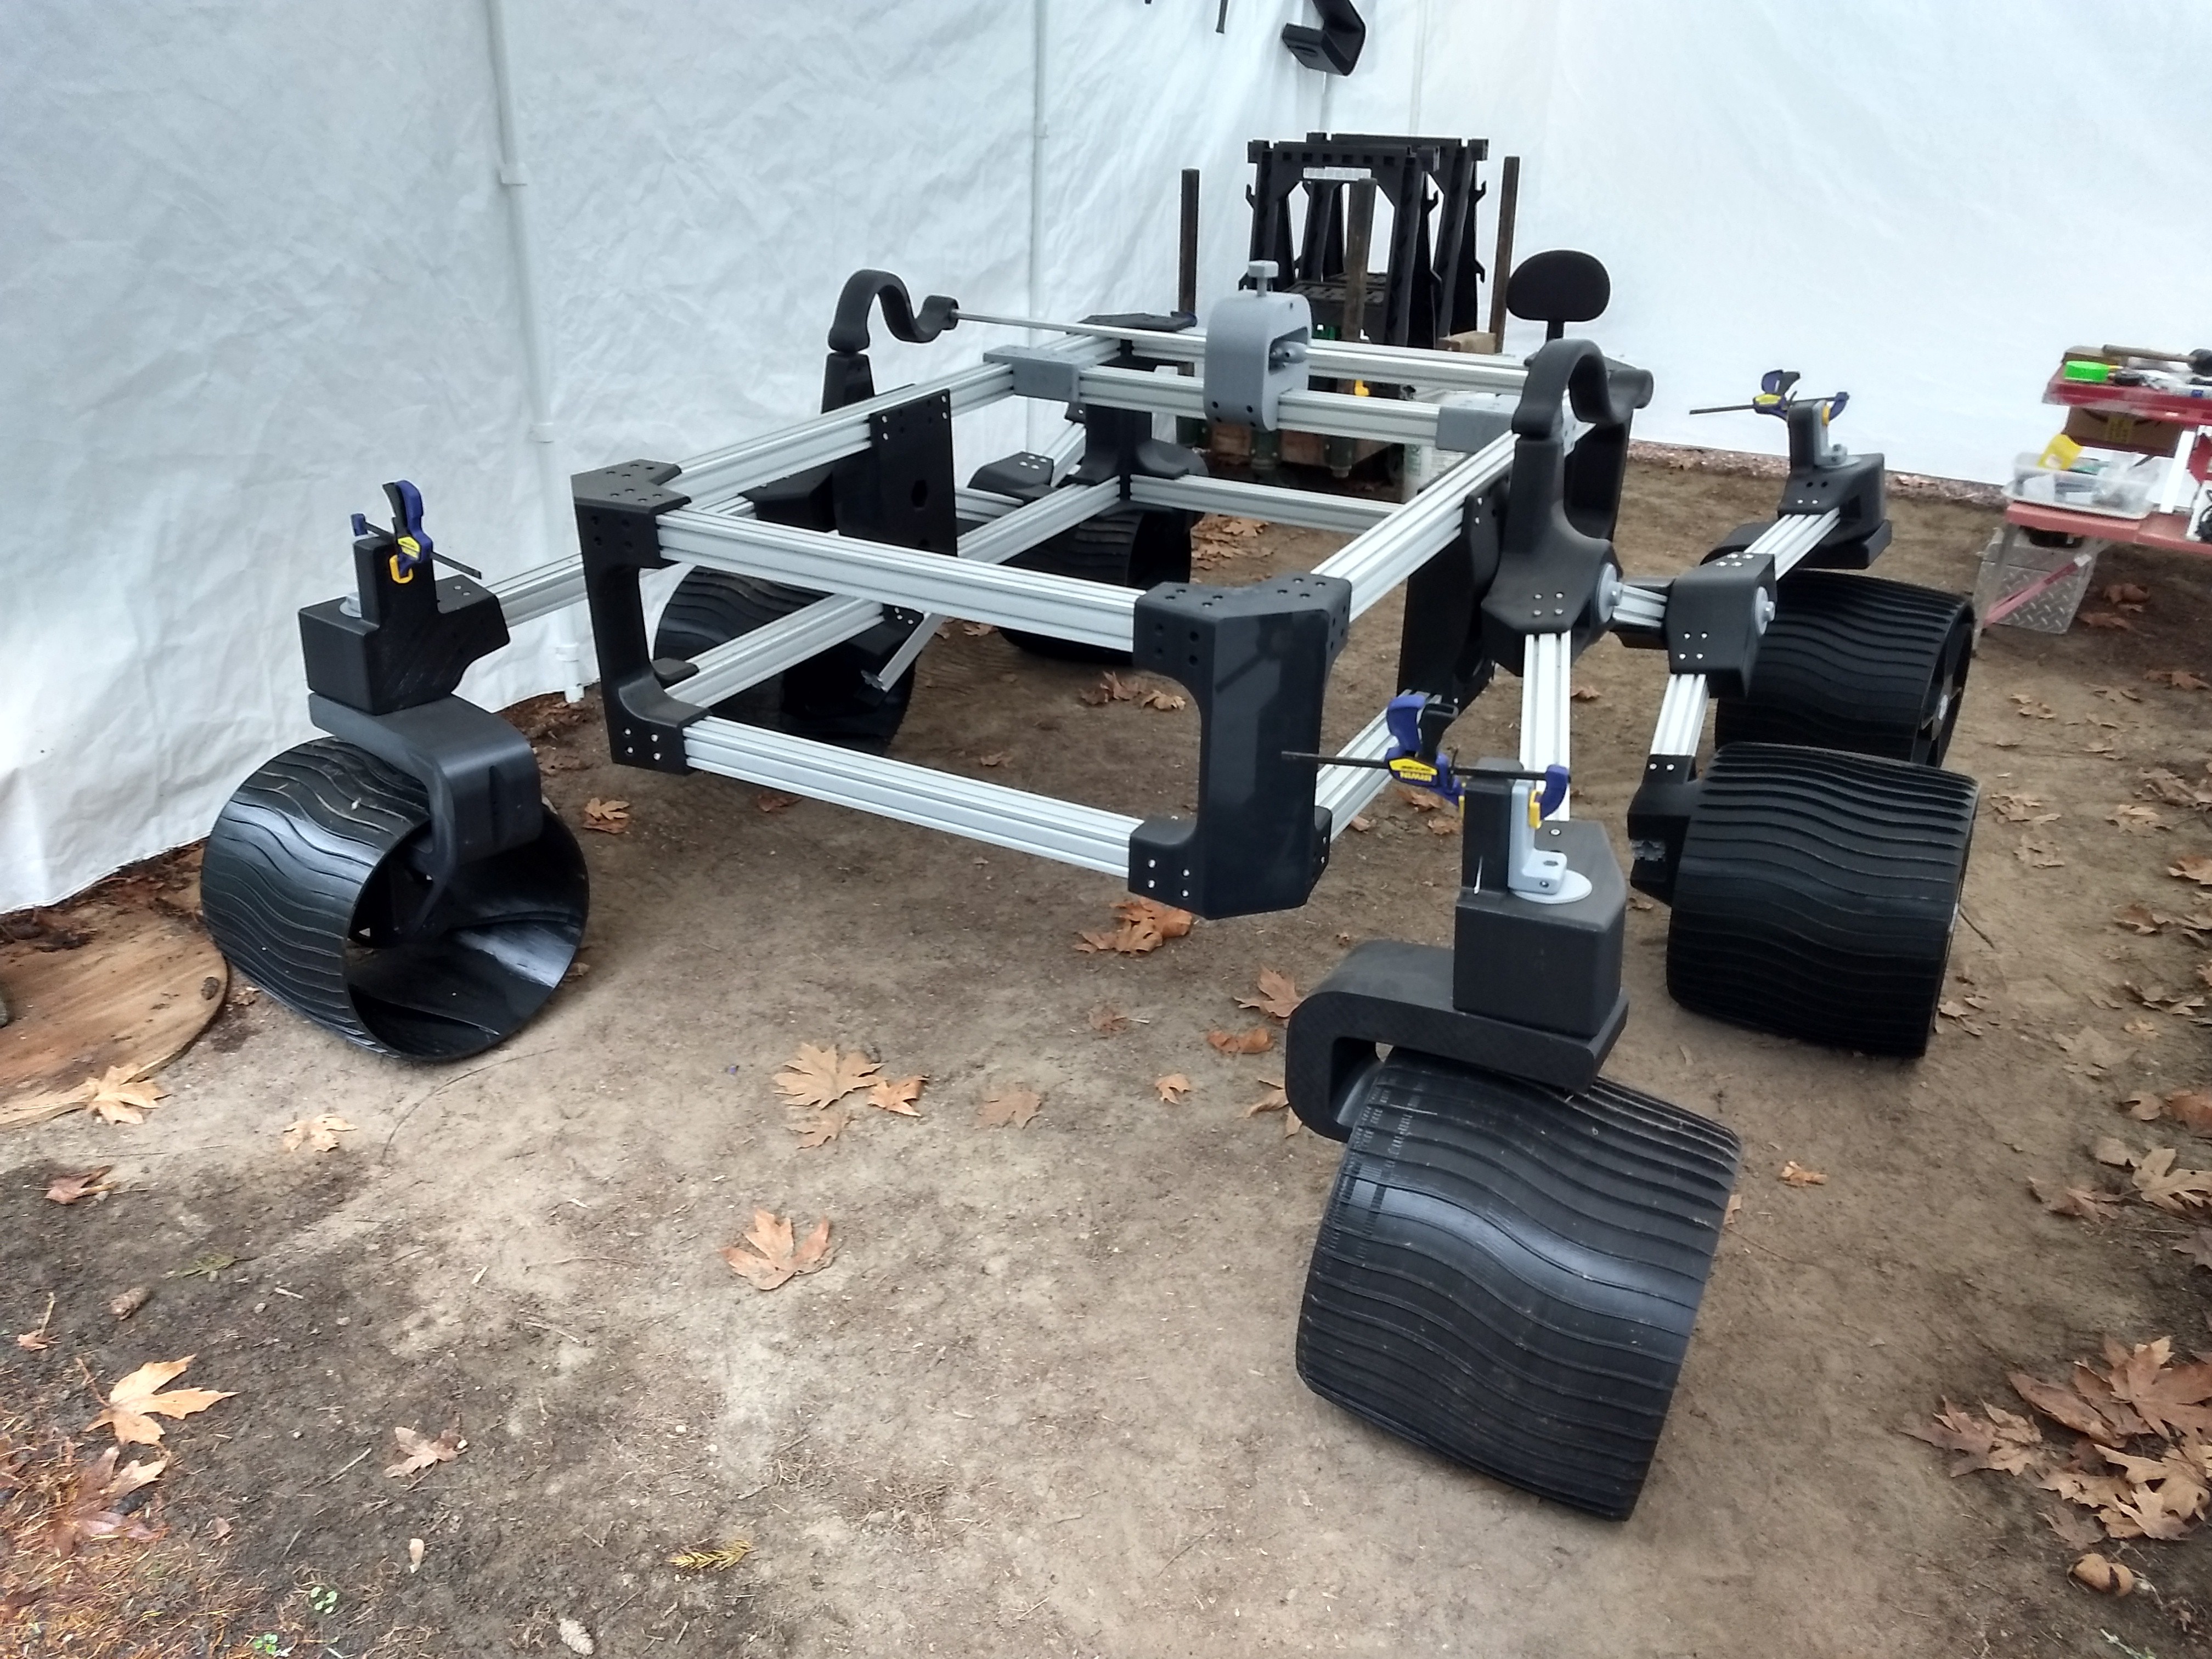
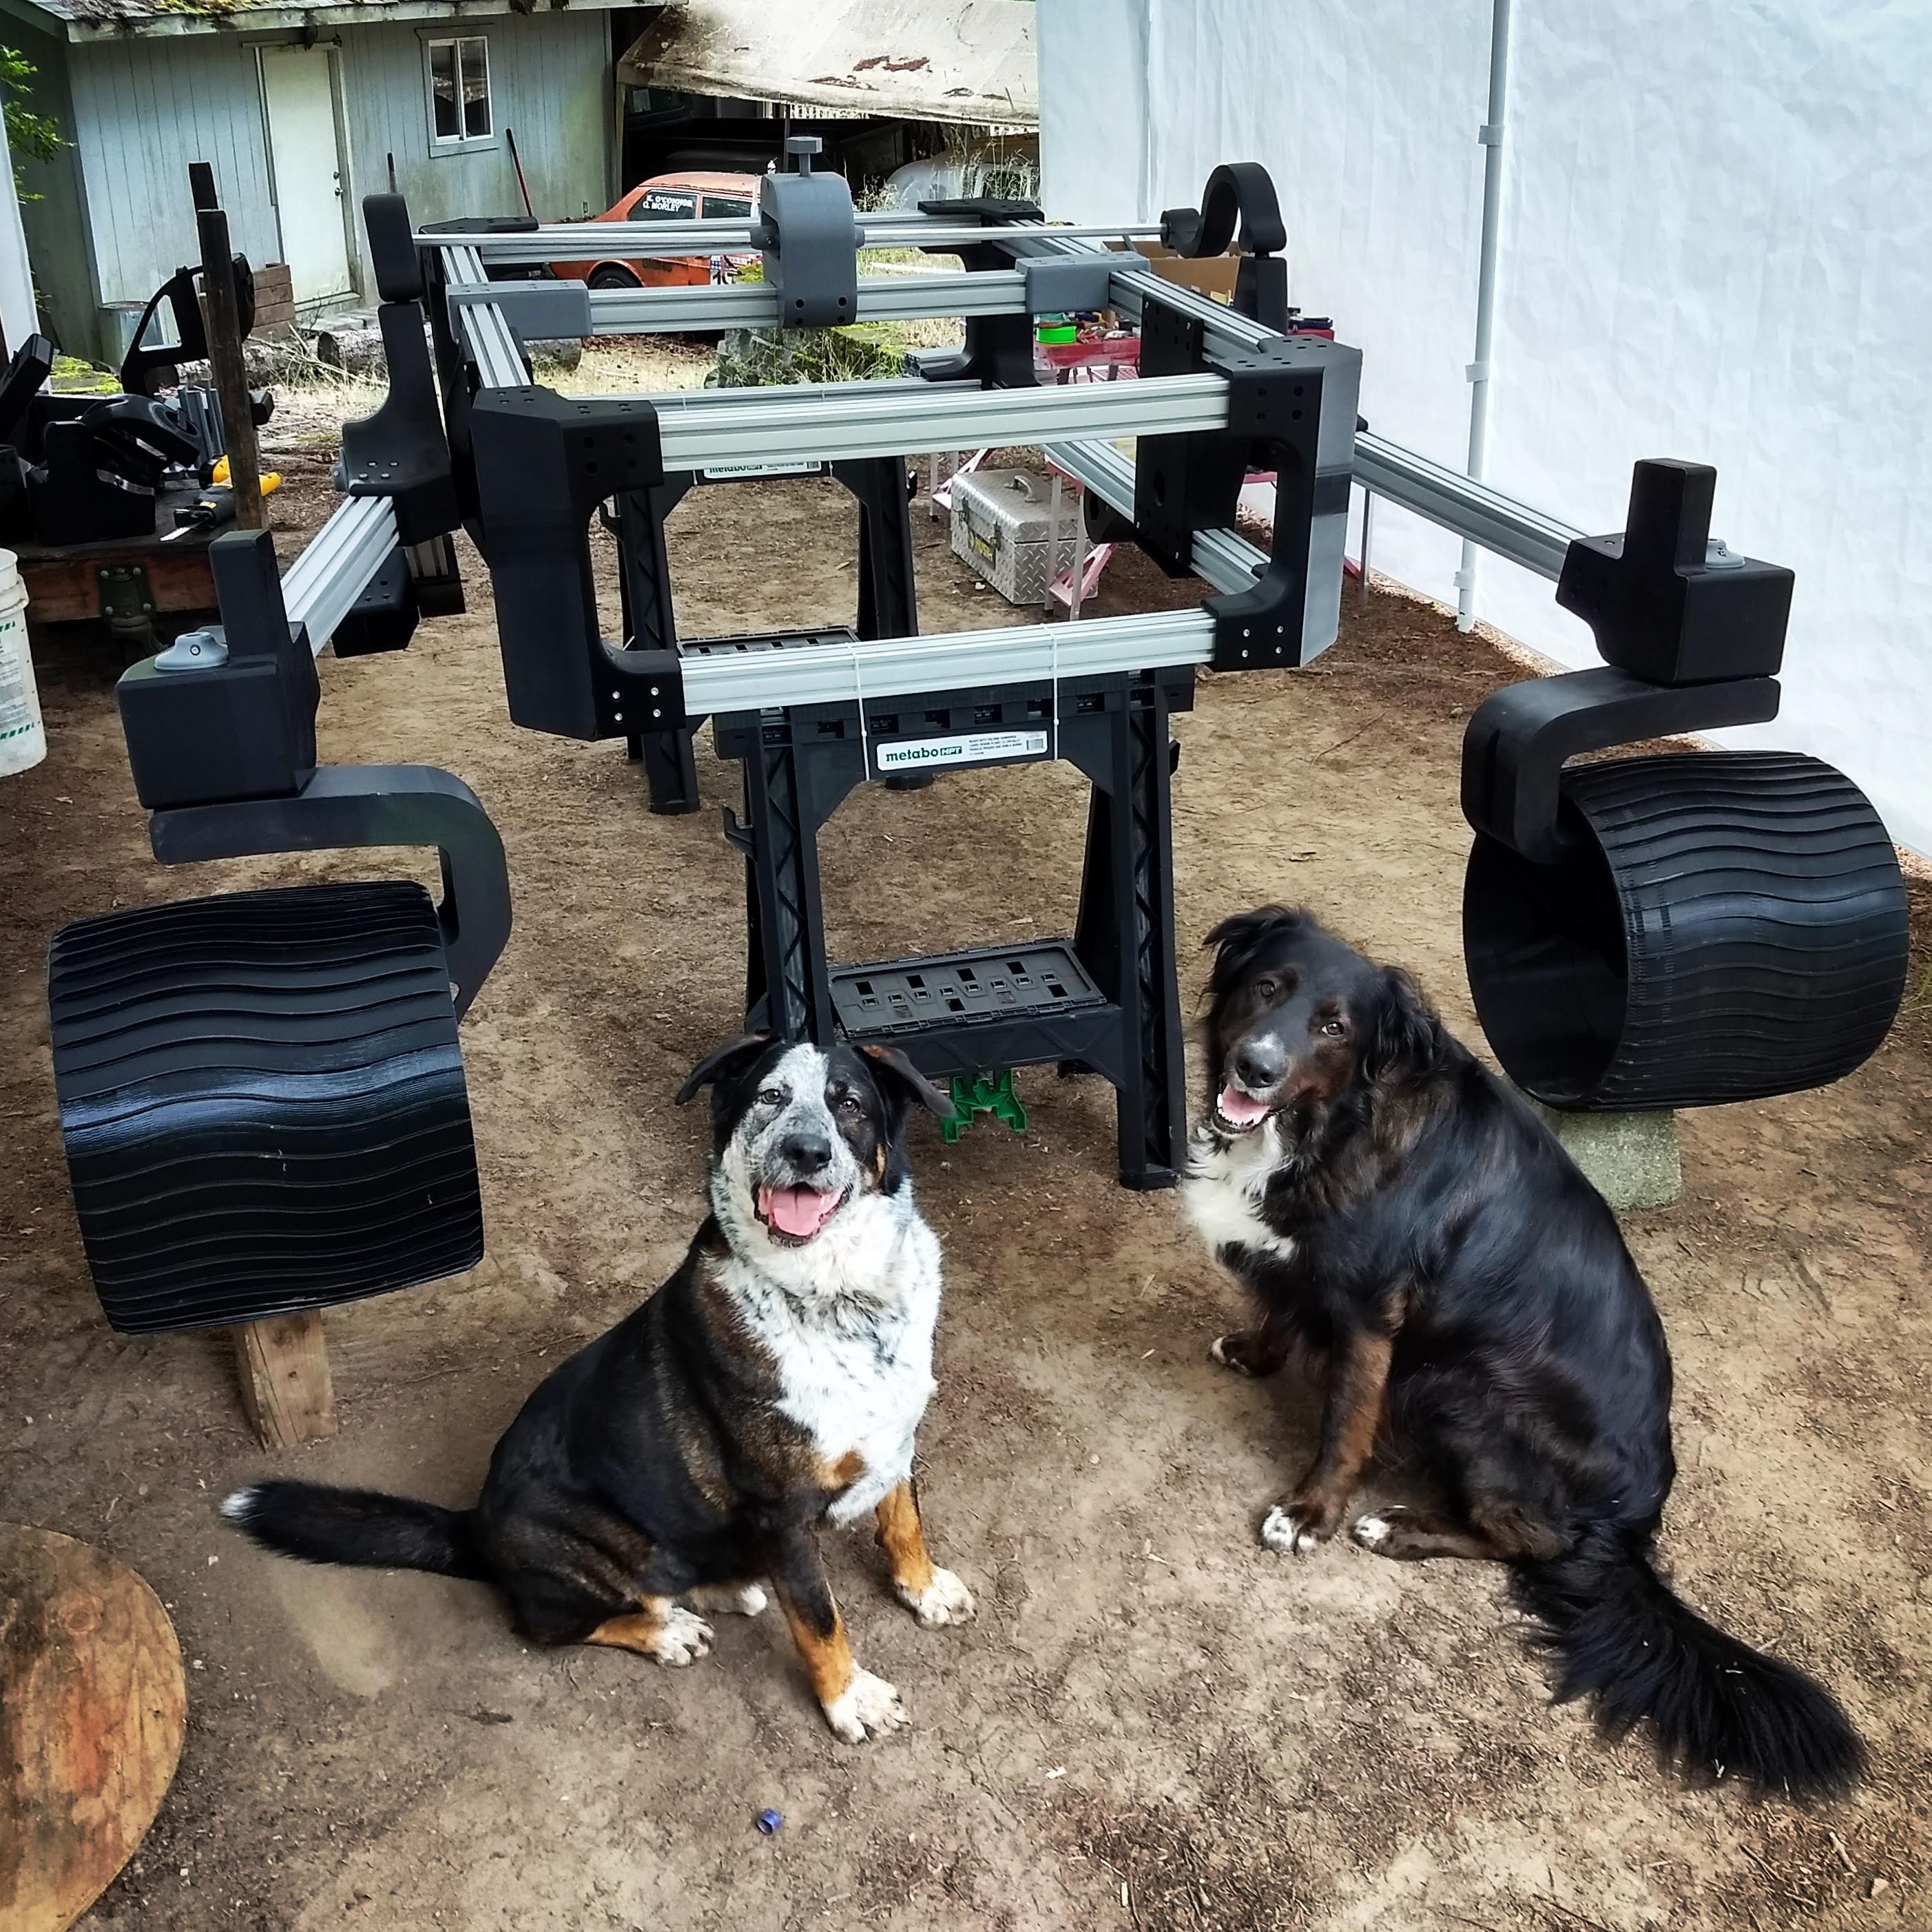
This is the QMRD3 Rover (Qualification Model Rover Demonstrator for Deep Drilling). It is a 4x scale copy of the Sawppy rover designed by Roger. Due to the size difference, several changes (mainly relating to motors and power transmission) have been made and an entirely different motor strategy is required. You can find more about Roger's original Sawppy rover at https://hackaday.io/project/158208-sawppy-the-rover and https://github.com/Roger-random/Sawppy_Rover
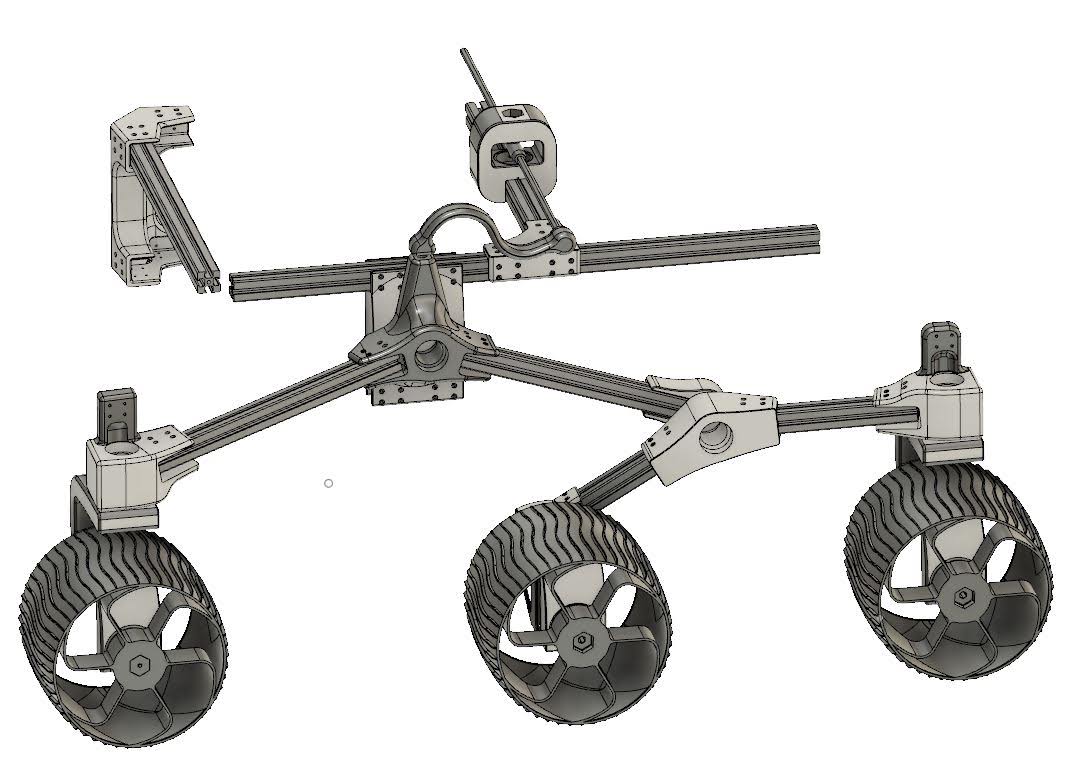
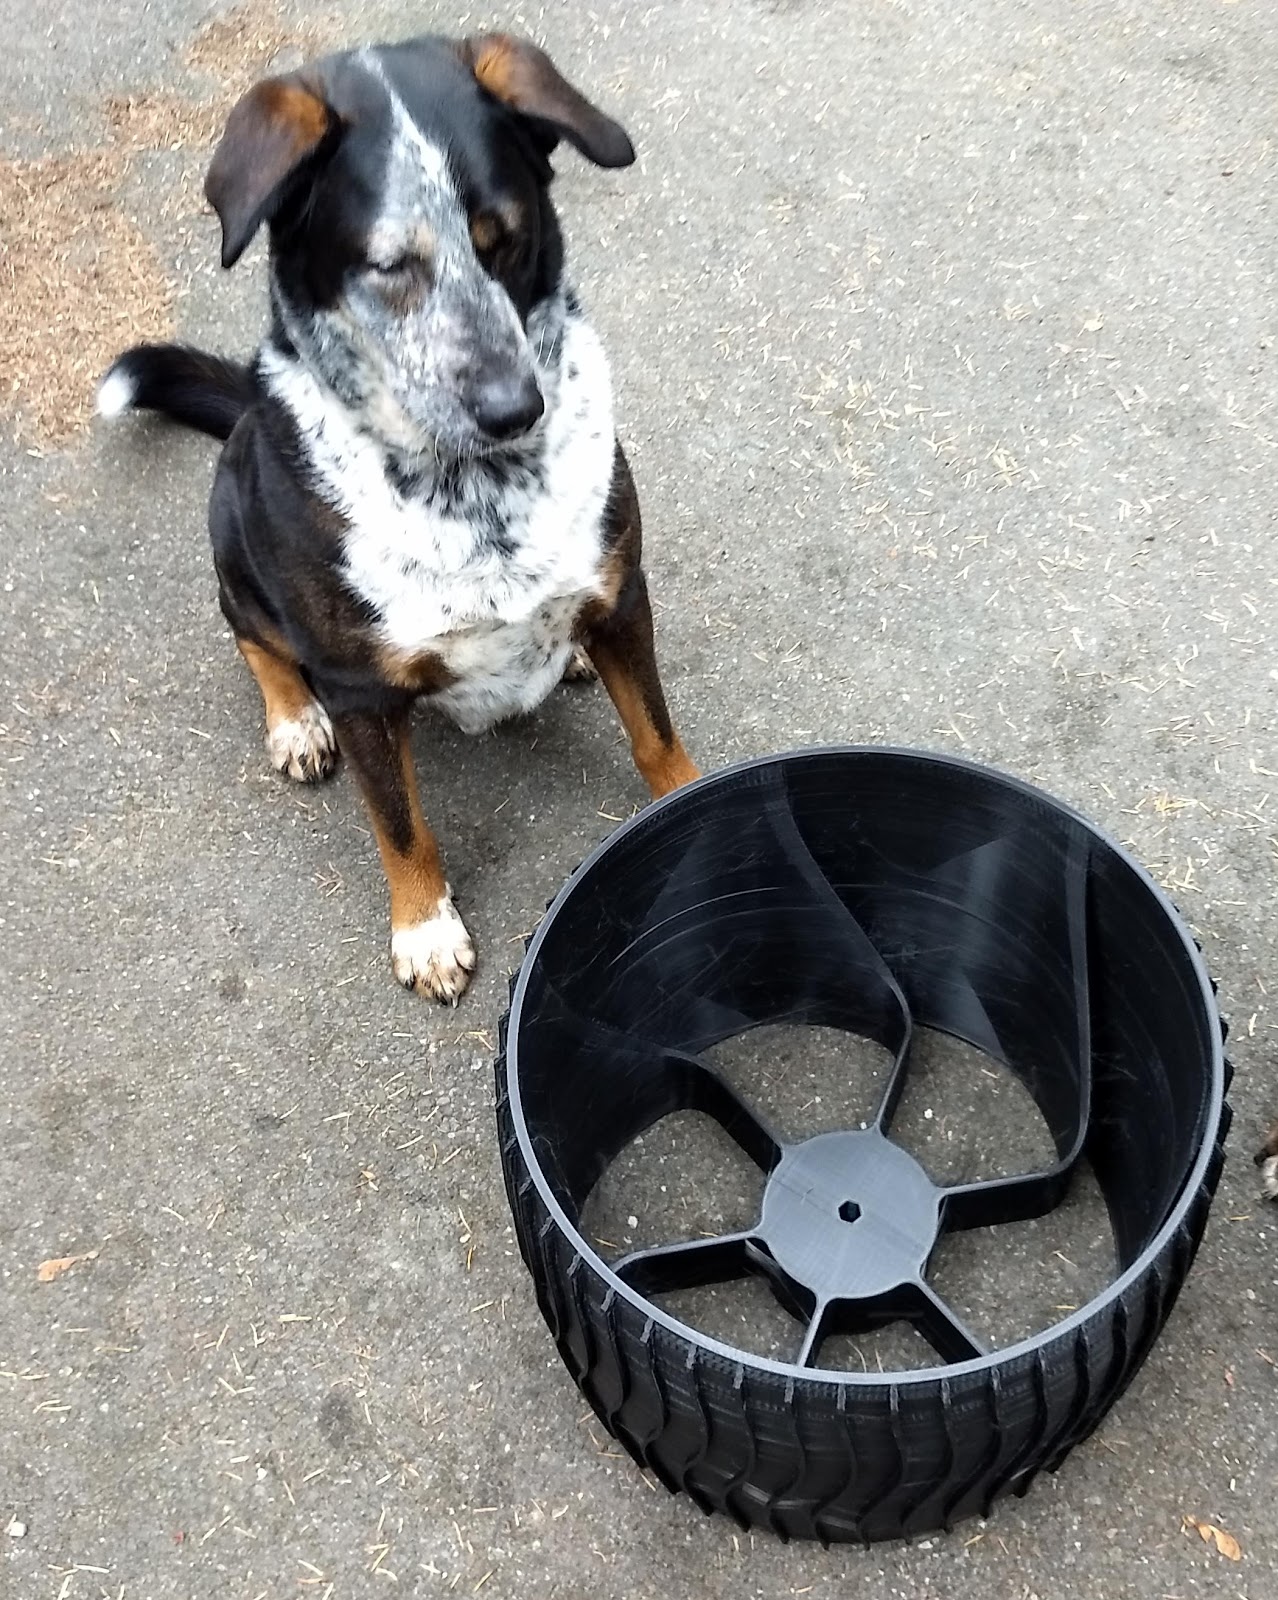
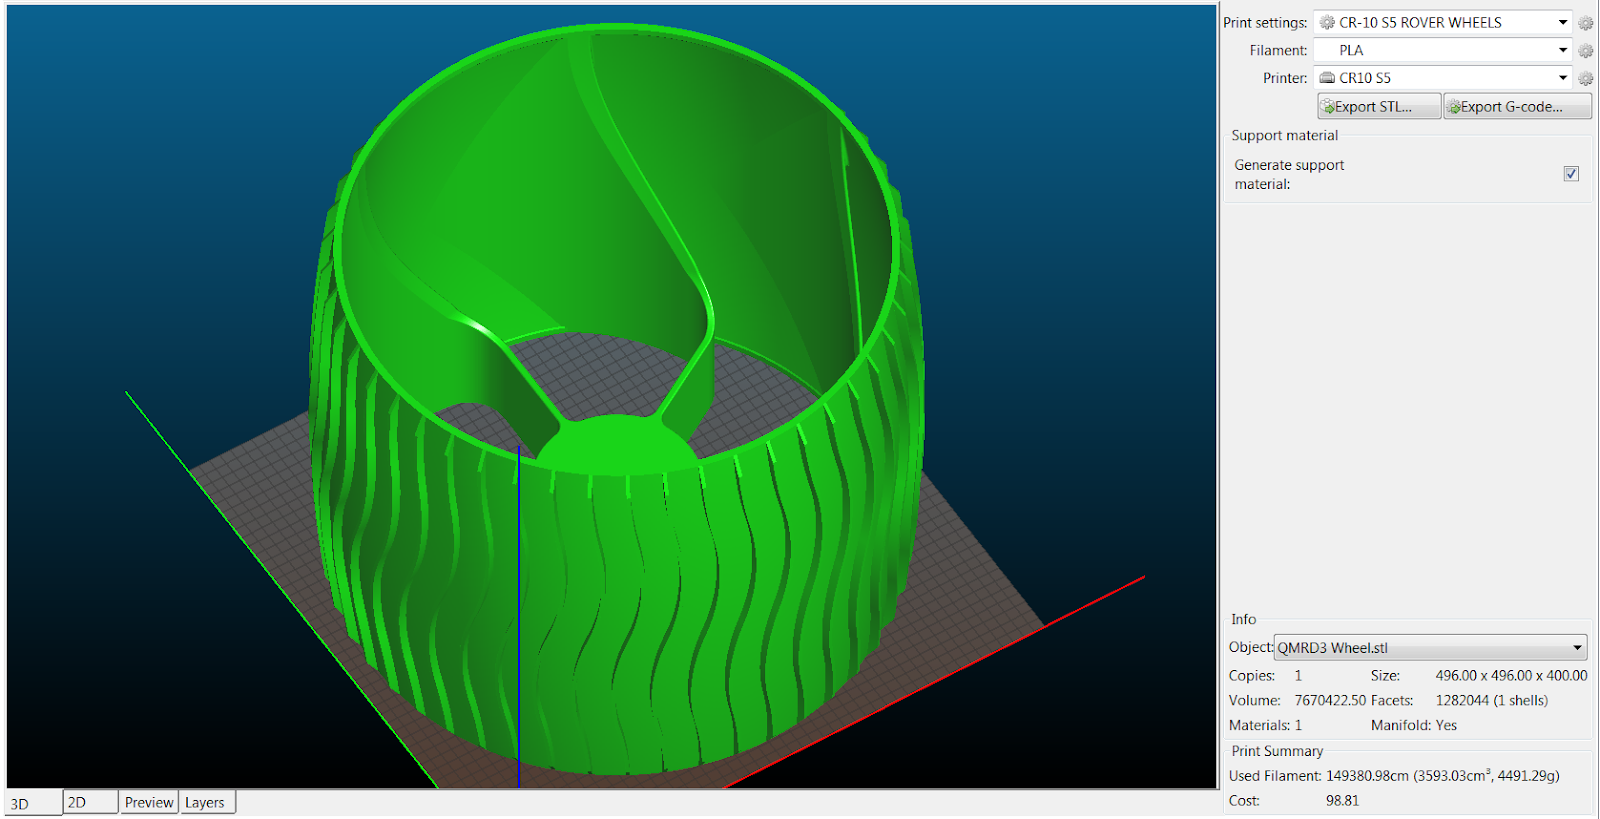
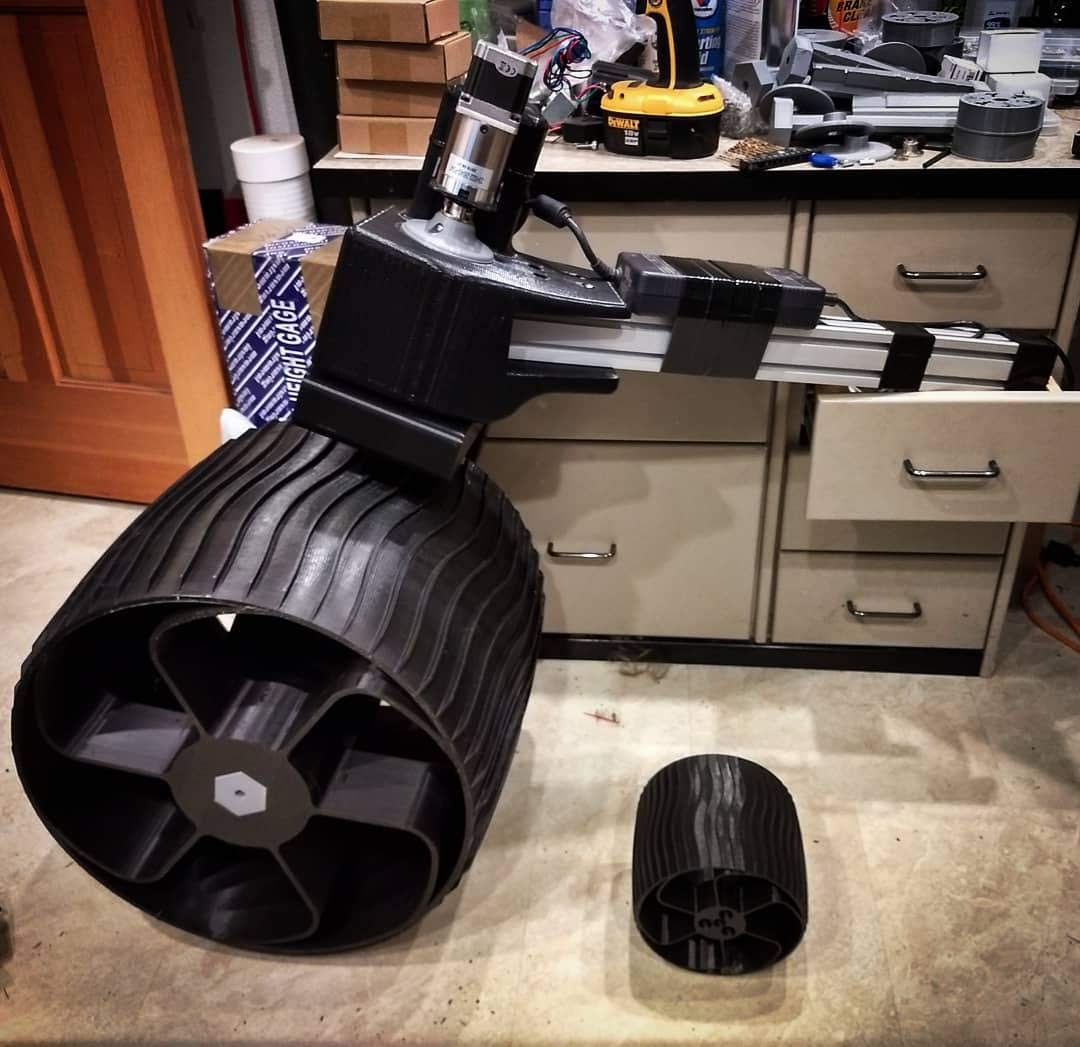
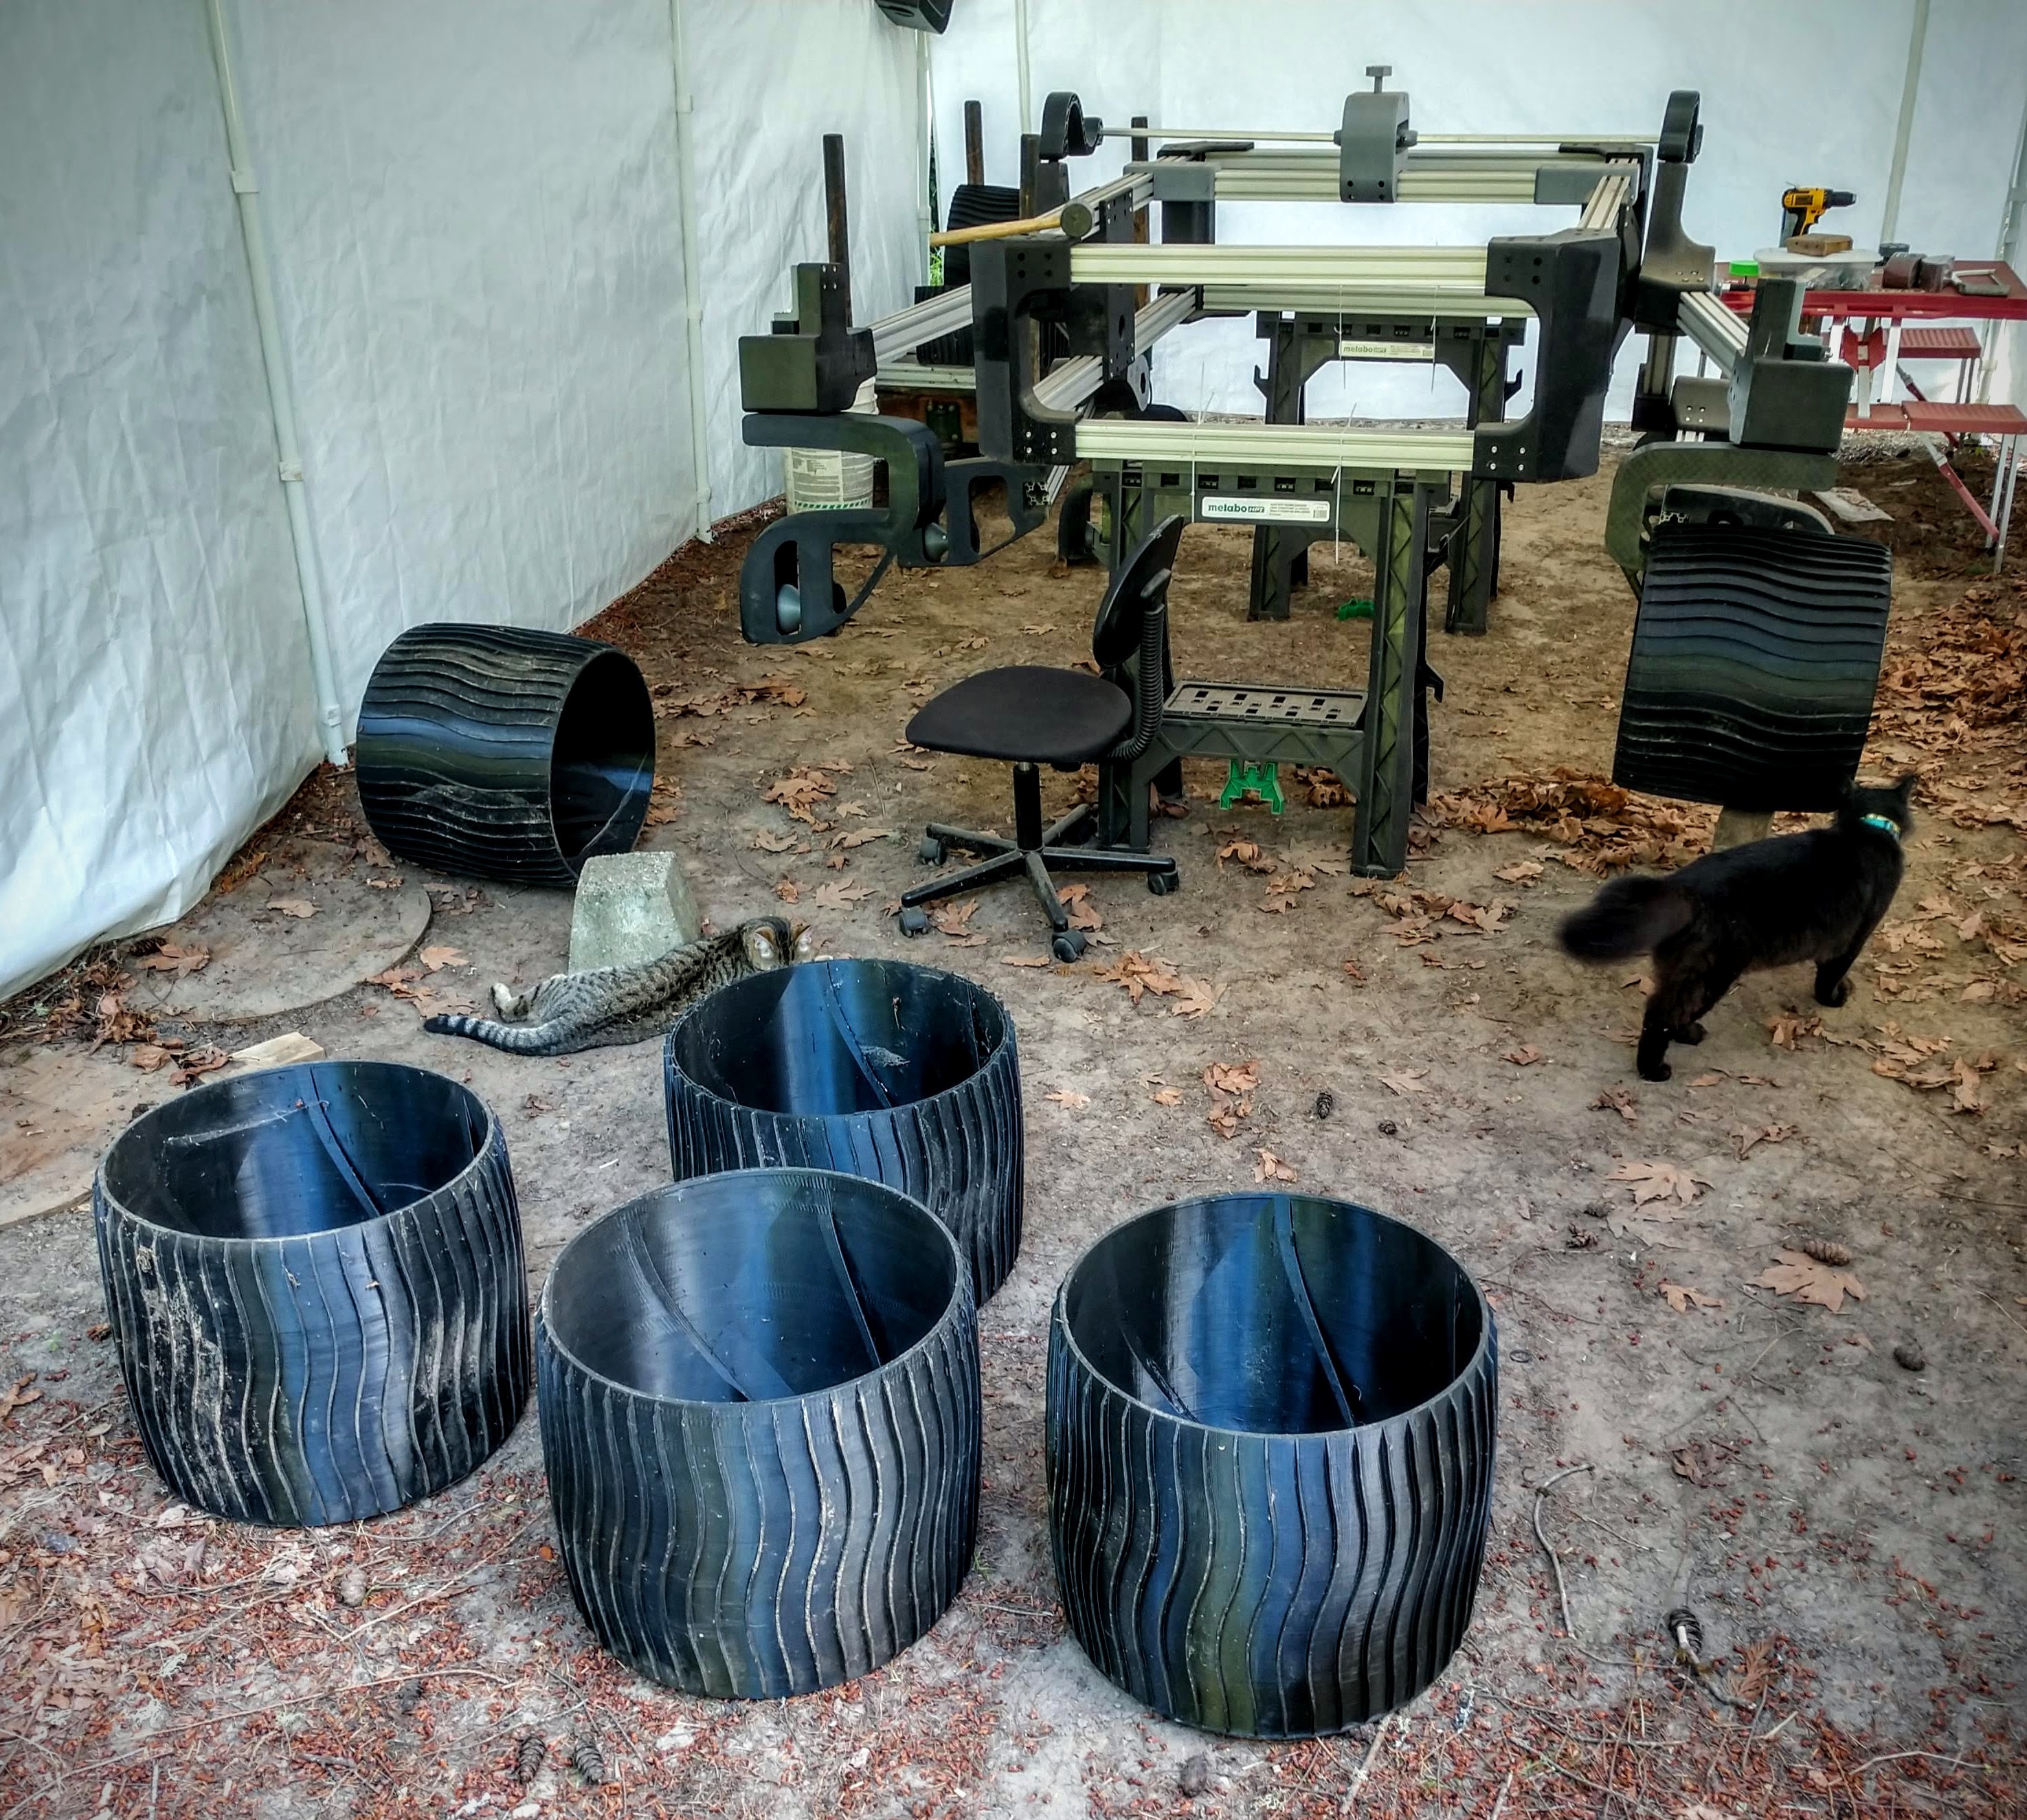
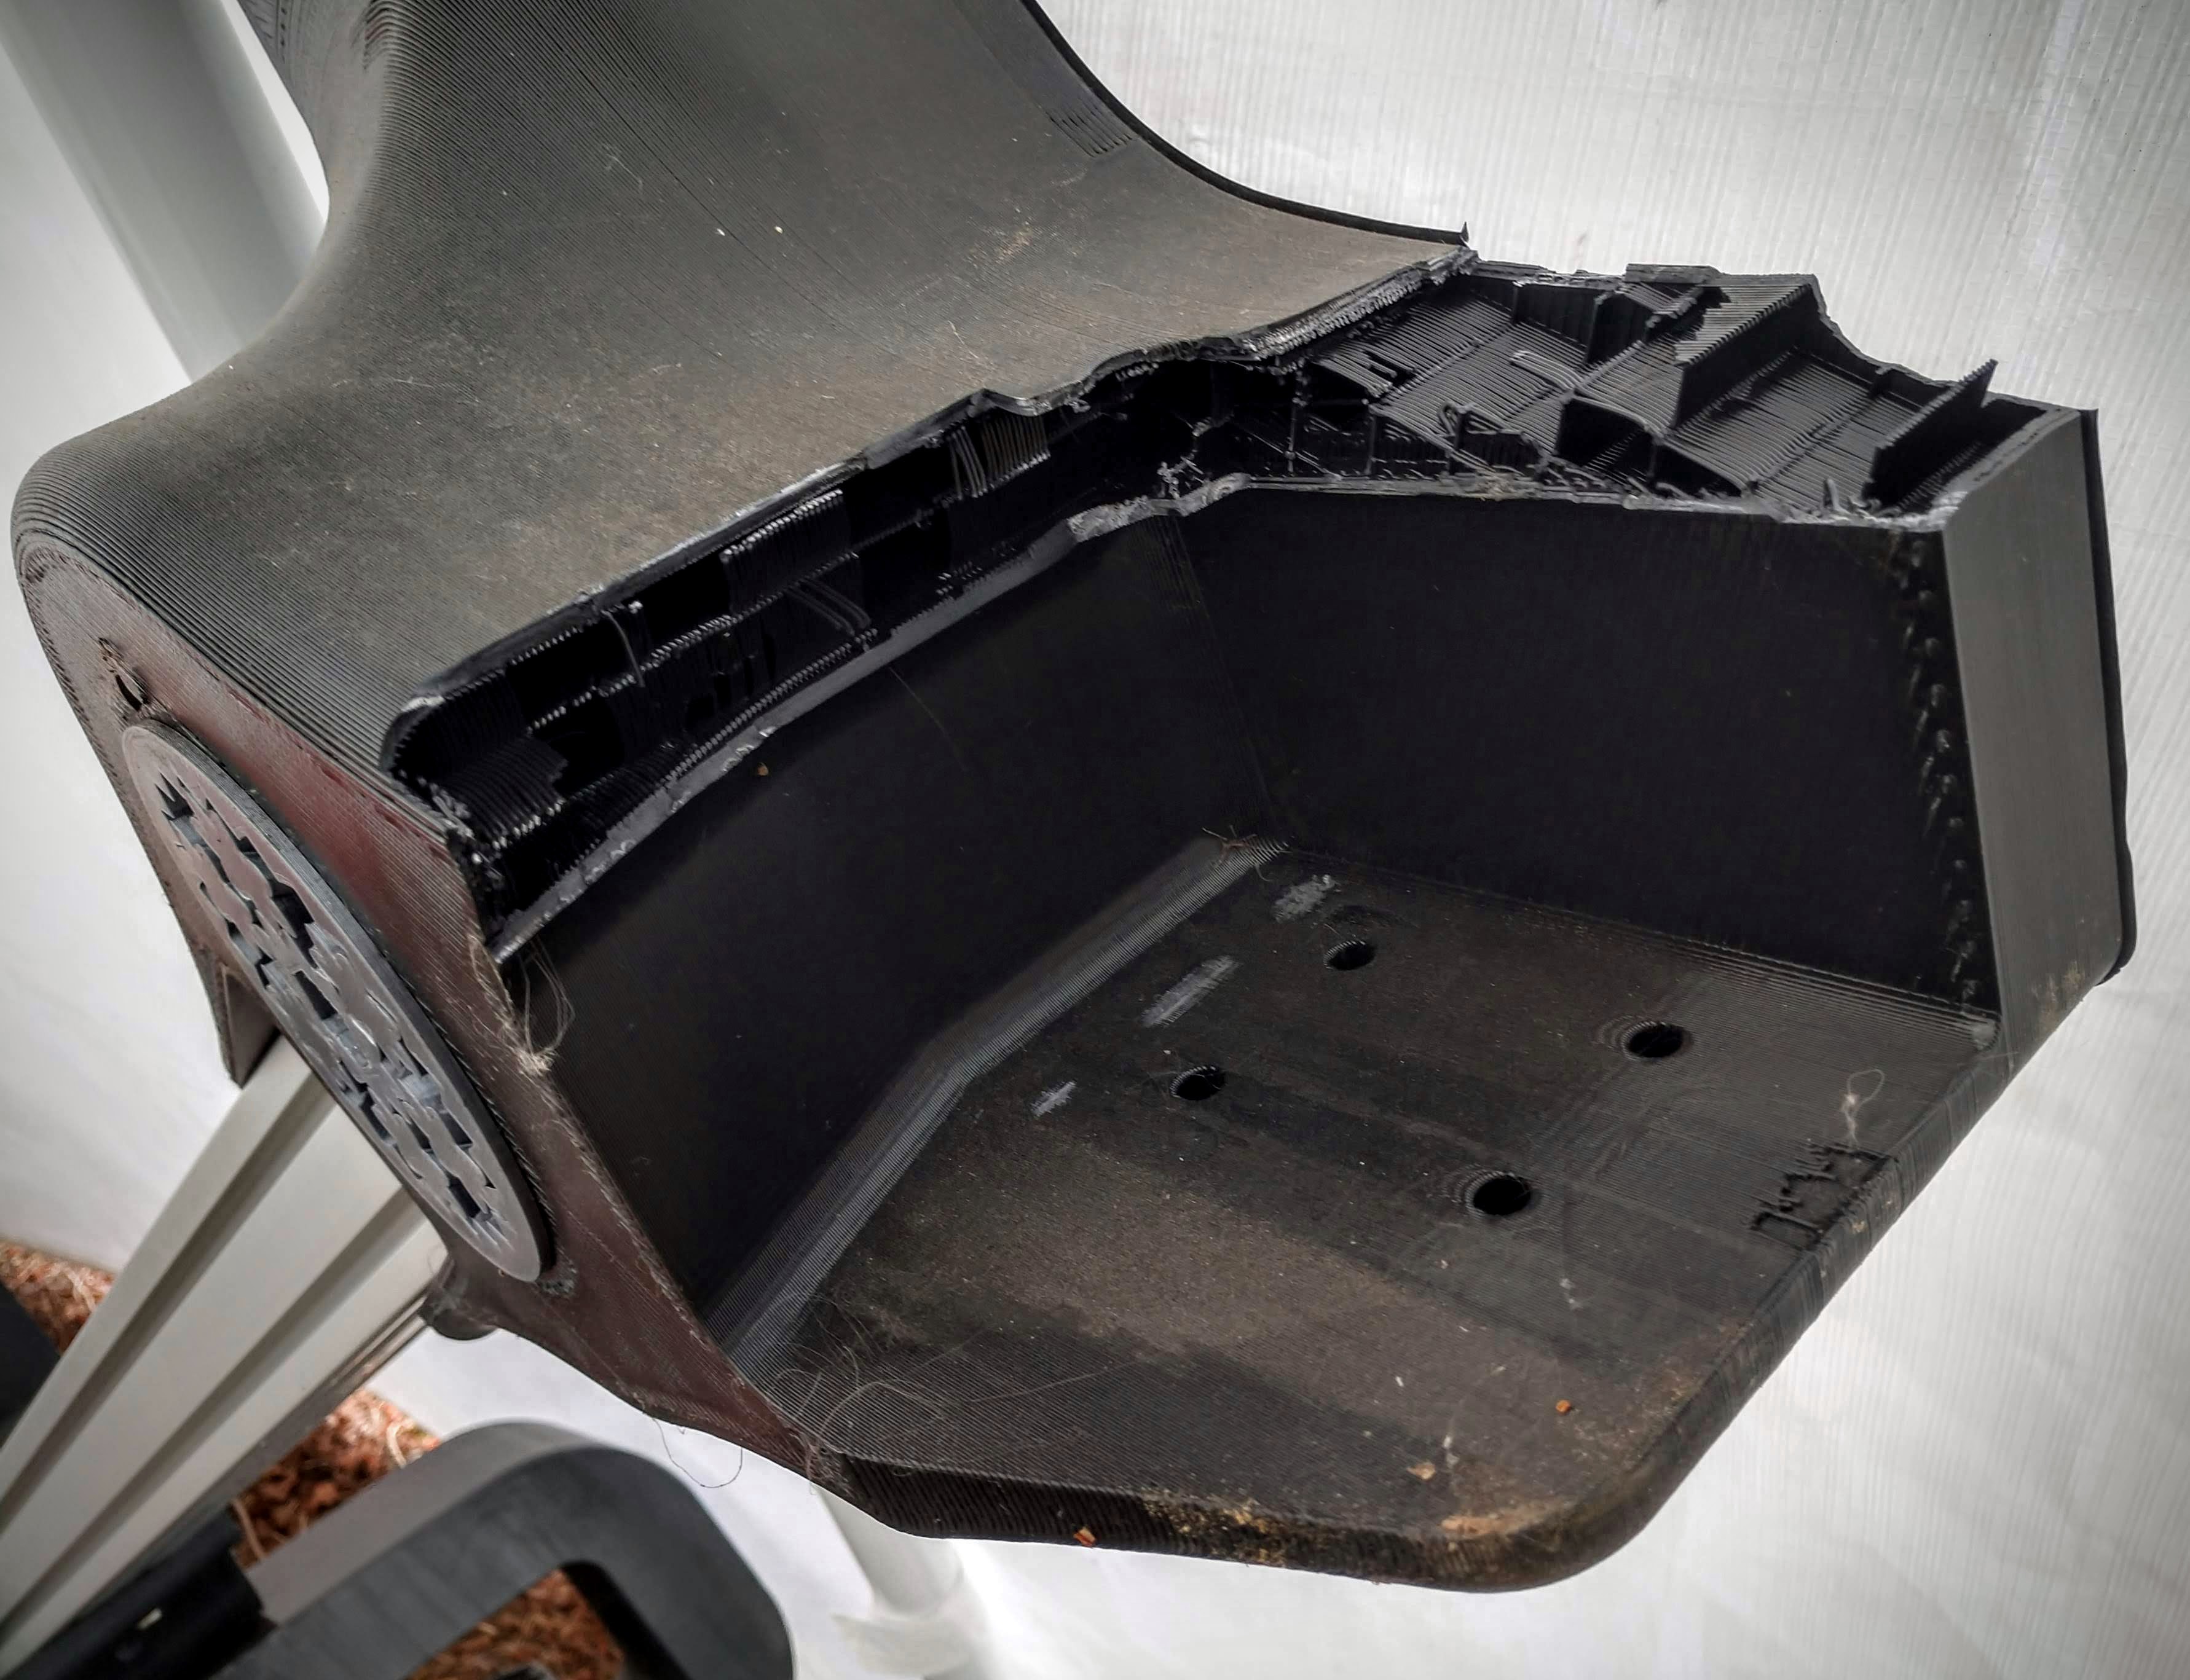
This rover was born out of the necessity for a mobile testbed with flexible mounting options, but is turning into quite a project, both in the amount of work involved as well in the many ways that it represents the bleeding edge of home-workshop additive manufacturing capability. For example, each wheel weighs 5kg and takes 4 days to print (0.8mm nozzle, 0.4mm layer height, 1.2mm extrusion width, single wall and 10% infill), with a material cost of ~$100. A screenshot with the details of the wheel print is below. If you are inclined to build a rover like this, the wheel should be your deciding factor. It is by far the most expensive and largest printed component.
The Rover Chassis has reached Version 1.02 and all components have been prepared for the larger size. A Github repository for QMRD3, containing STLs as well as the Fusion360 archive is available here: https://github.com/Shootquinn/QMRD3
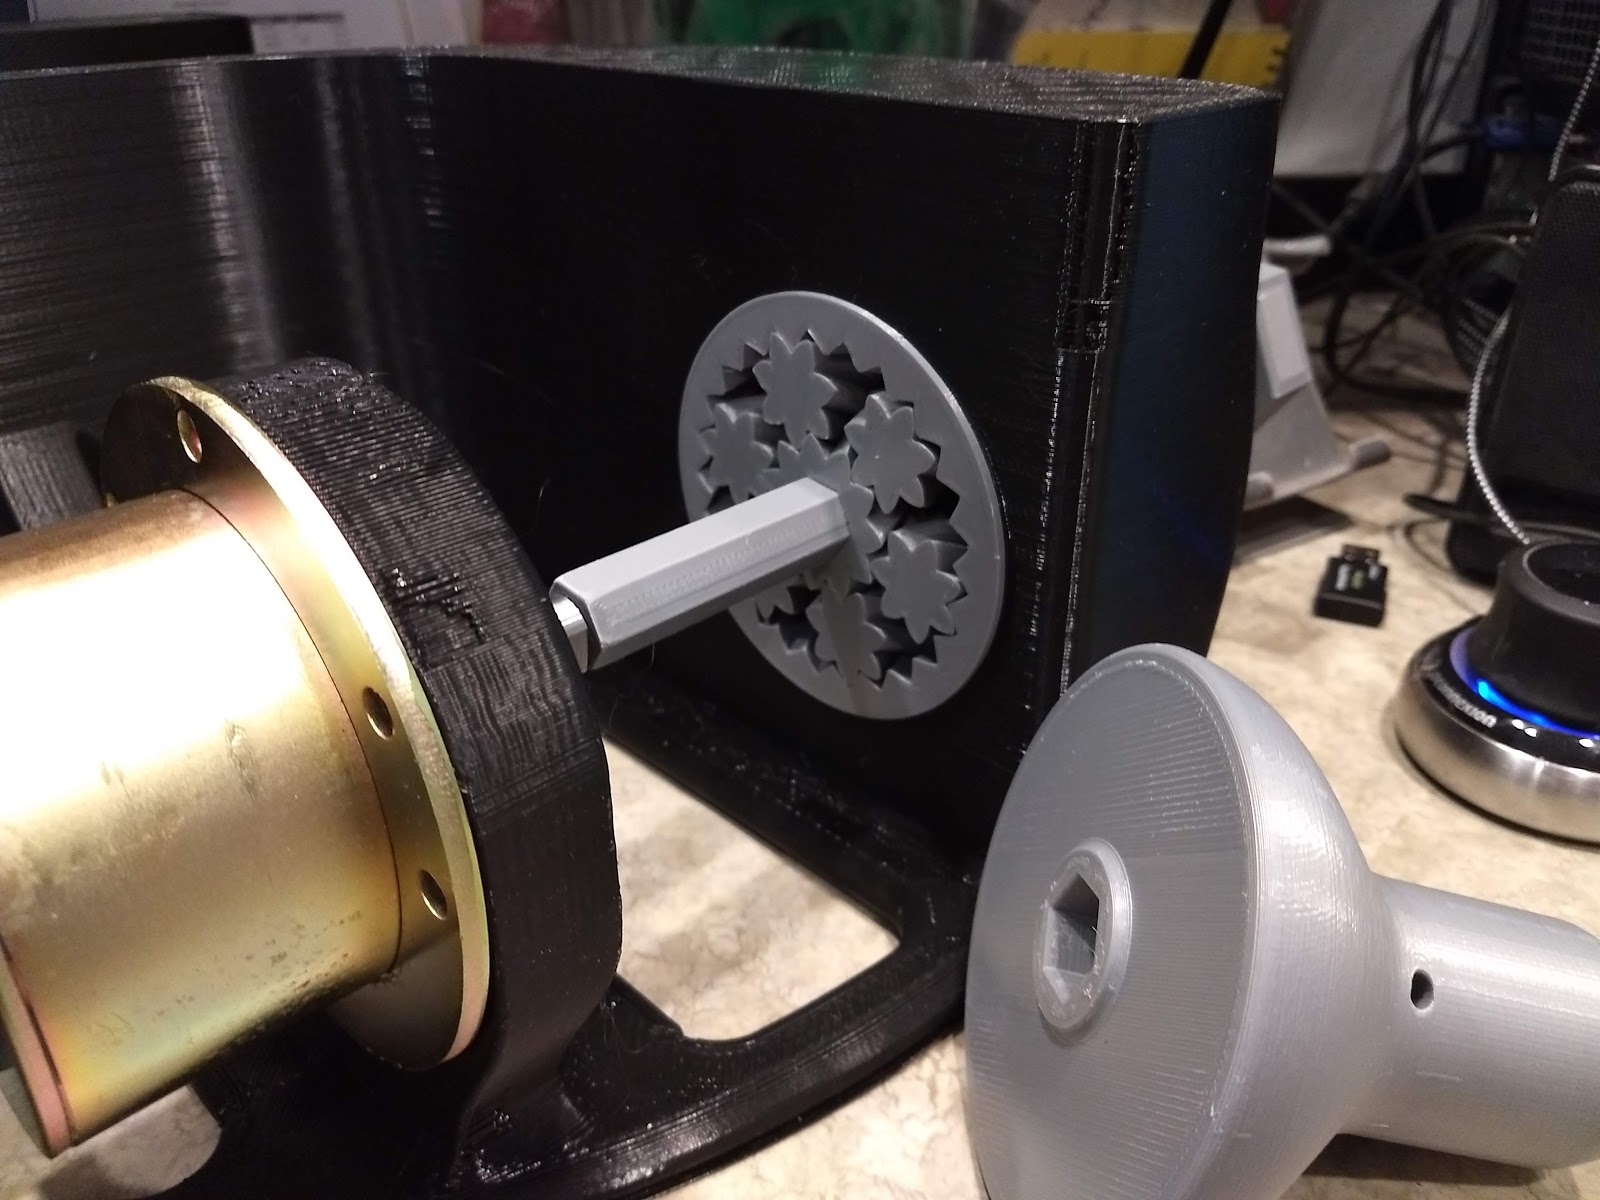
Also of note is the 22mm skateboard bearings used extensively on Roger's Sawppy rover have been replaced with 88mm 3D printed gear bearings. The bearings are licensed separately from the rest of the rover and the files can be found here: https://www.thingiverse.com/thing:3116838
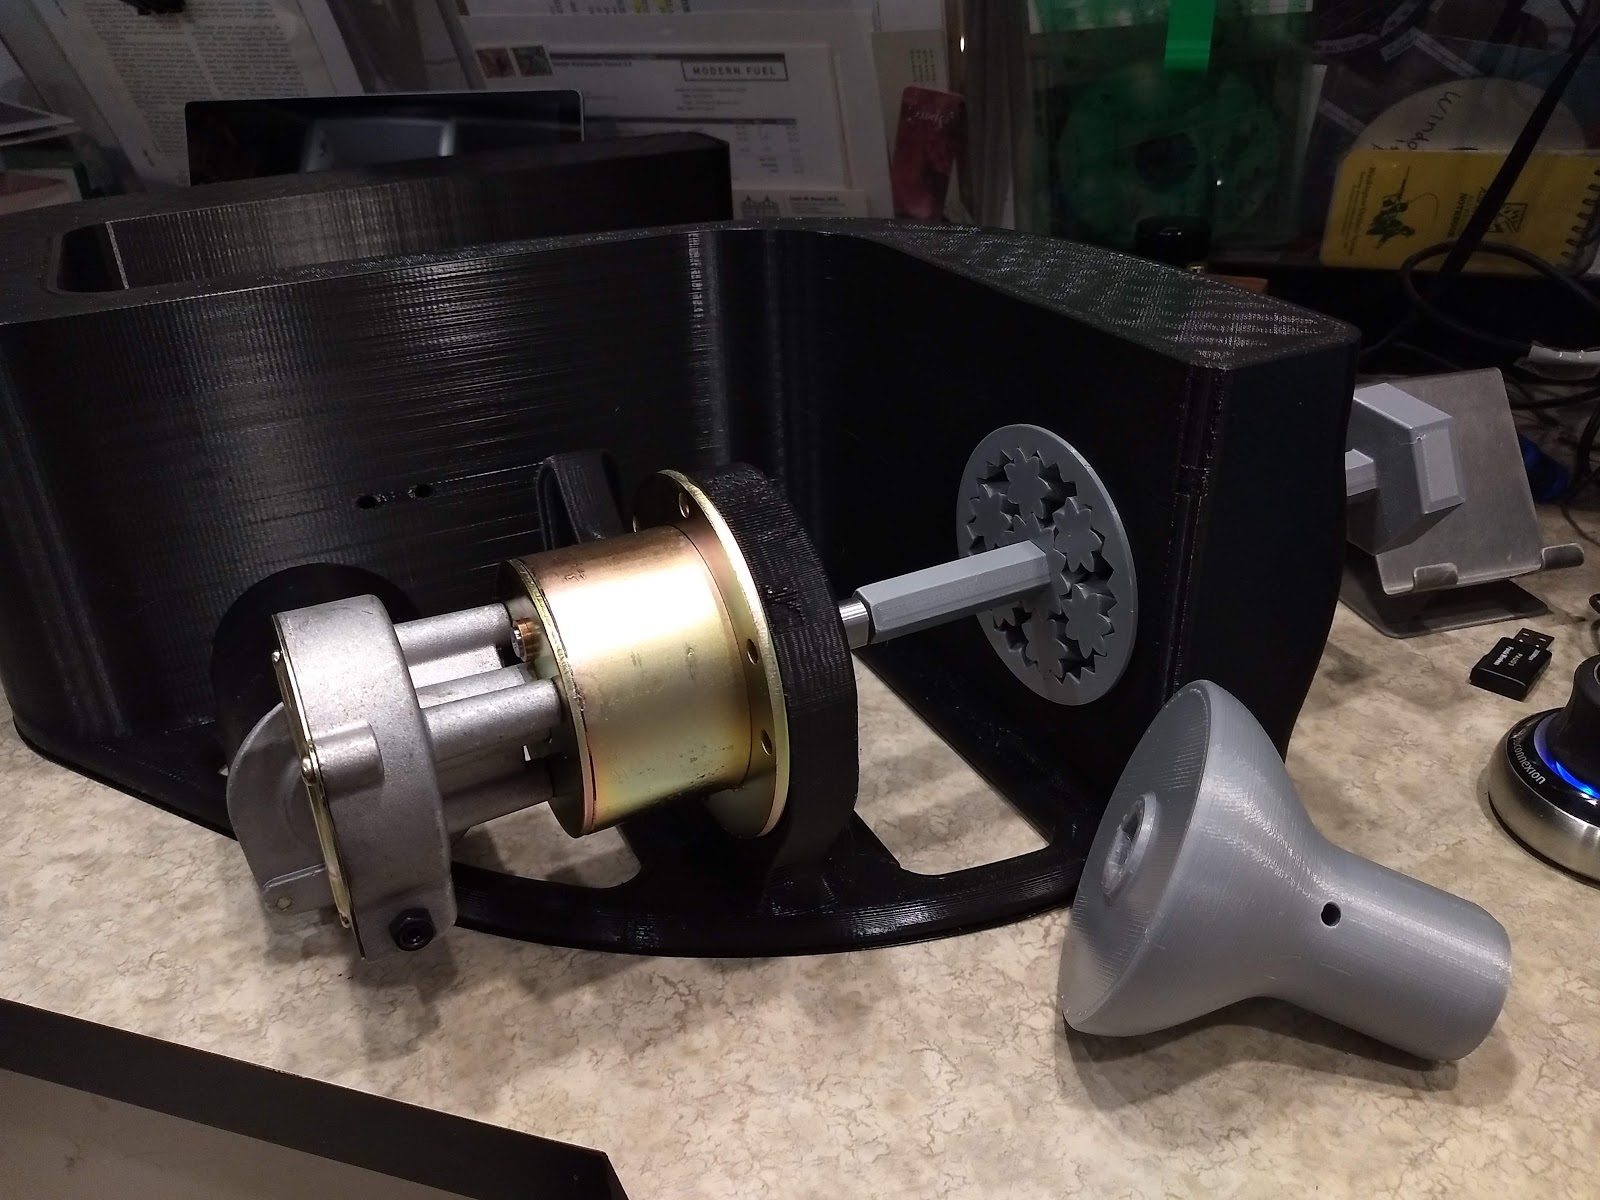

The drive motors are from makermotor and are available at: https://makermotor.com/pn00113-6-6-rpm-gear-motor-12vdc-high-torque/ while the steering motors are from Amazon seller STEPPERONLINE and can be found by searching for the following listing: STEPPERONLINE 47:1 Planetary Gearbox Nema 23 Stepper Motor 2.8A. The mounting bracket for the stepper motor is required and will match up to the bolt pattern on the steering corners.
The Sawppy was designed with a $500 budget in mind, it appears that the budget moves linearly with the scale at this point, but the scrap costs from prototyping also do. If you want to build one of these I would plan on it costing around $5,000. Eventually the cost could be reduced to $2,000 from lessons learned, etc.


 jellmeister
 Brian Brocken
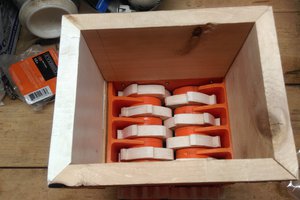
 Will F.
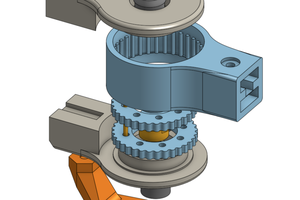
 Tim Wilkinson
Very good idea.
And recommend a stepper motor web I bought. Mtiongoo is a stepper motor manufacturer with good quality.
Recommend a stepper motor suitable for AGV wheel drive:
23HT22S4280-PG47
https://www.motiongoo.com/nema-23-gearbox-stepper-motor-56mm-28a-gear-ratio-47-planetary-2328047s1